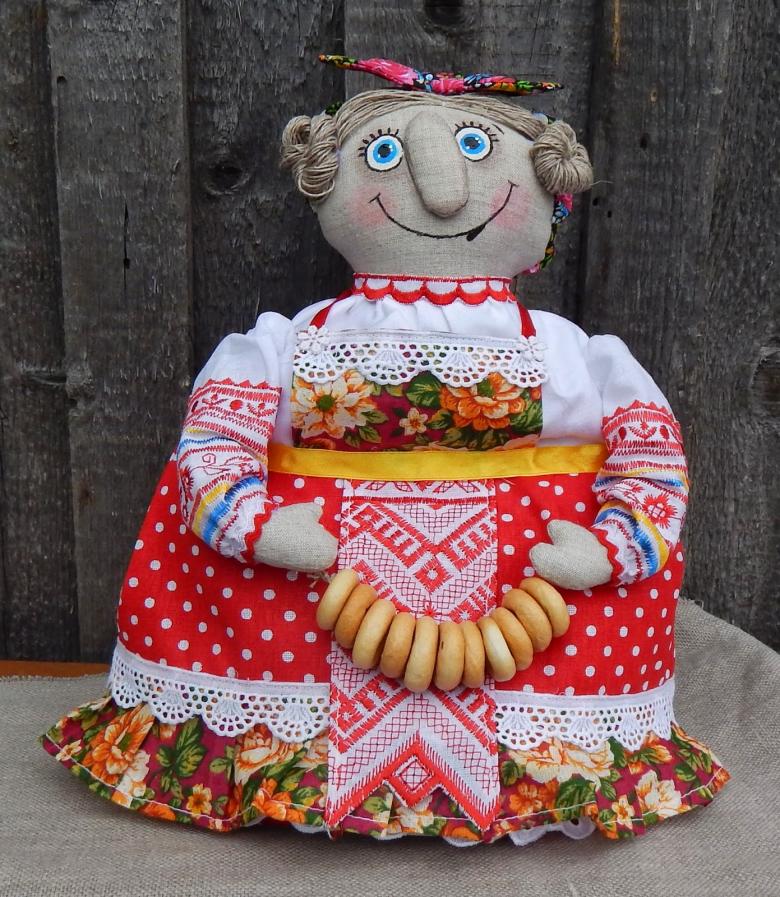
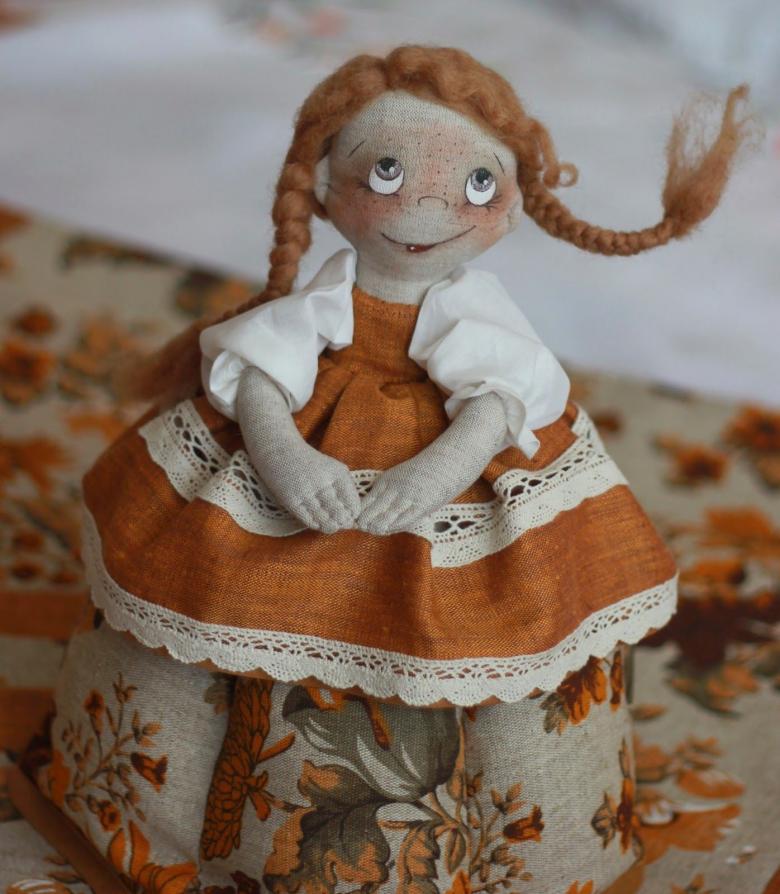
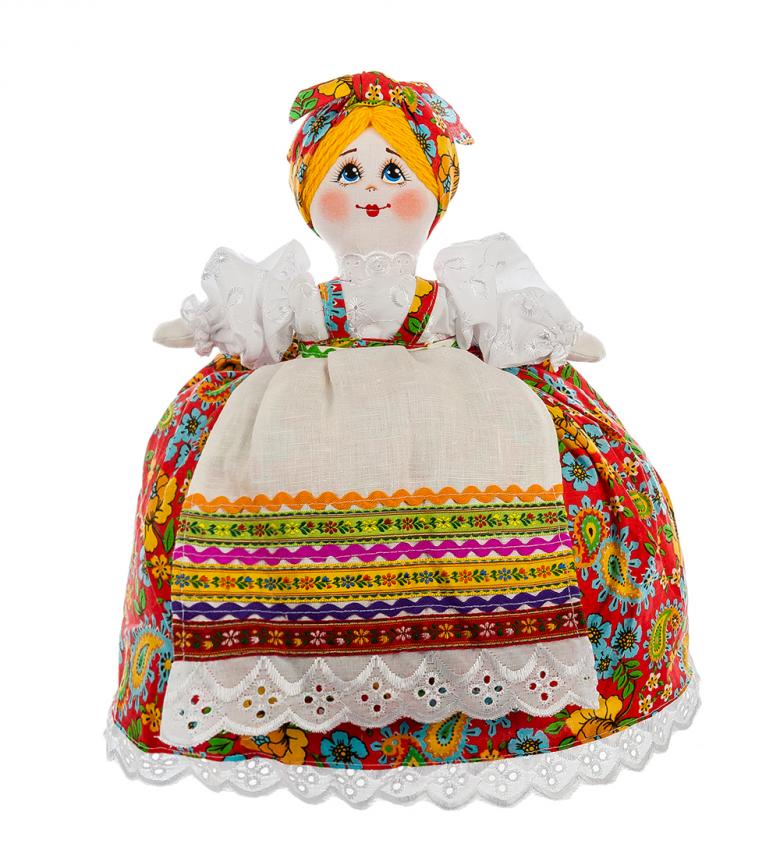
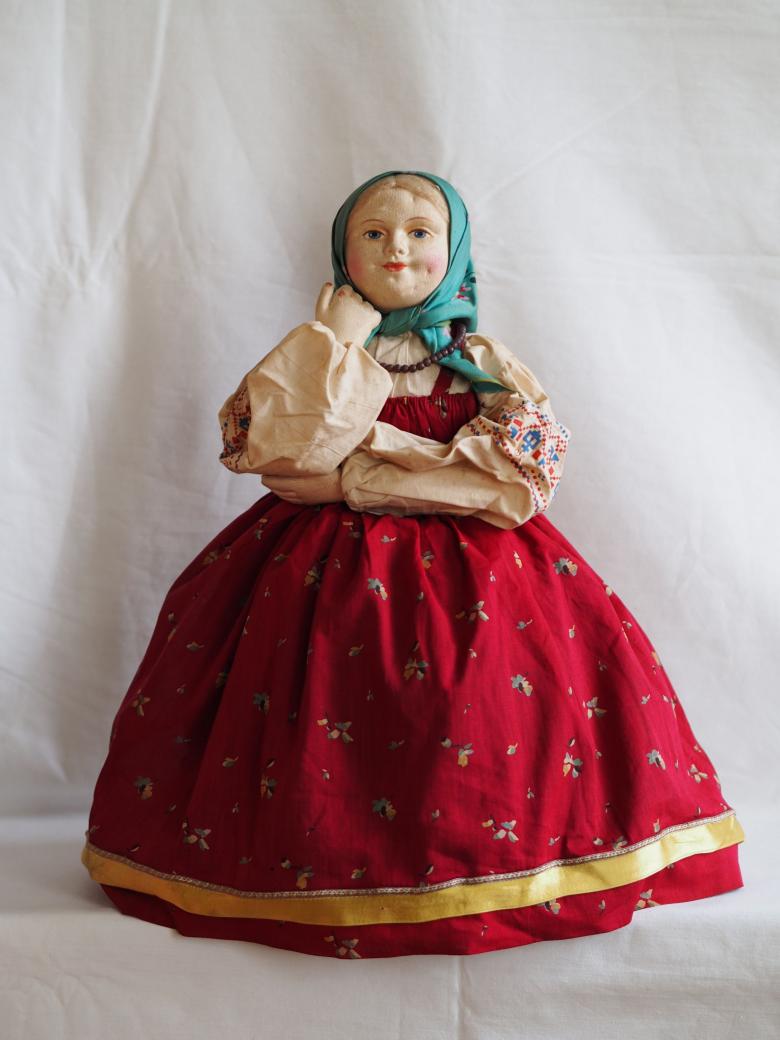
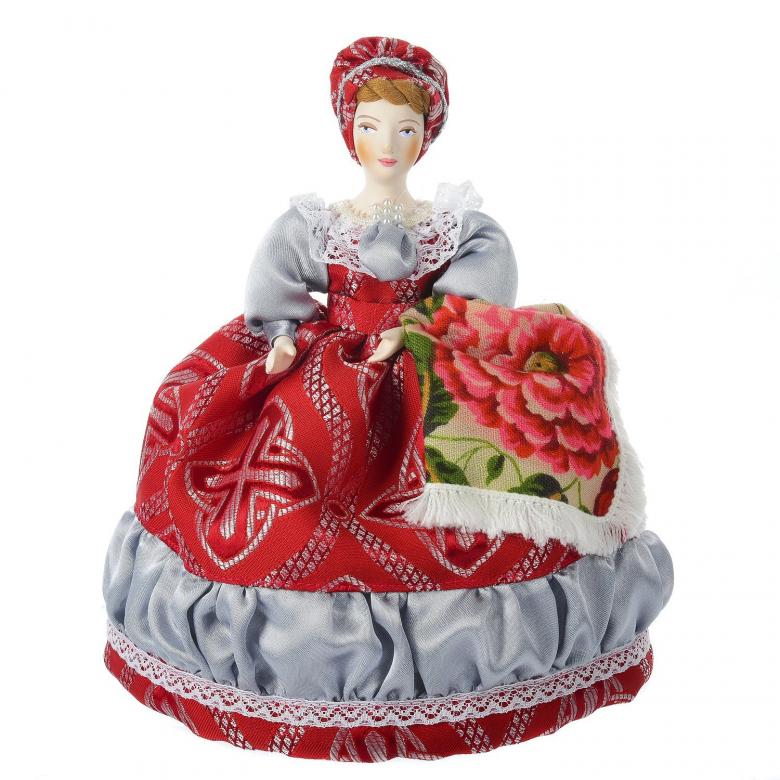
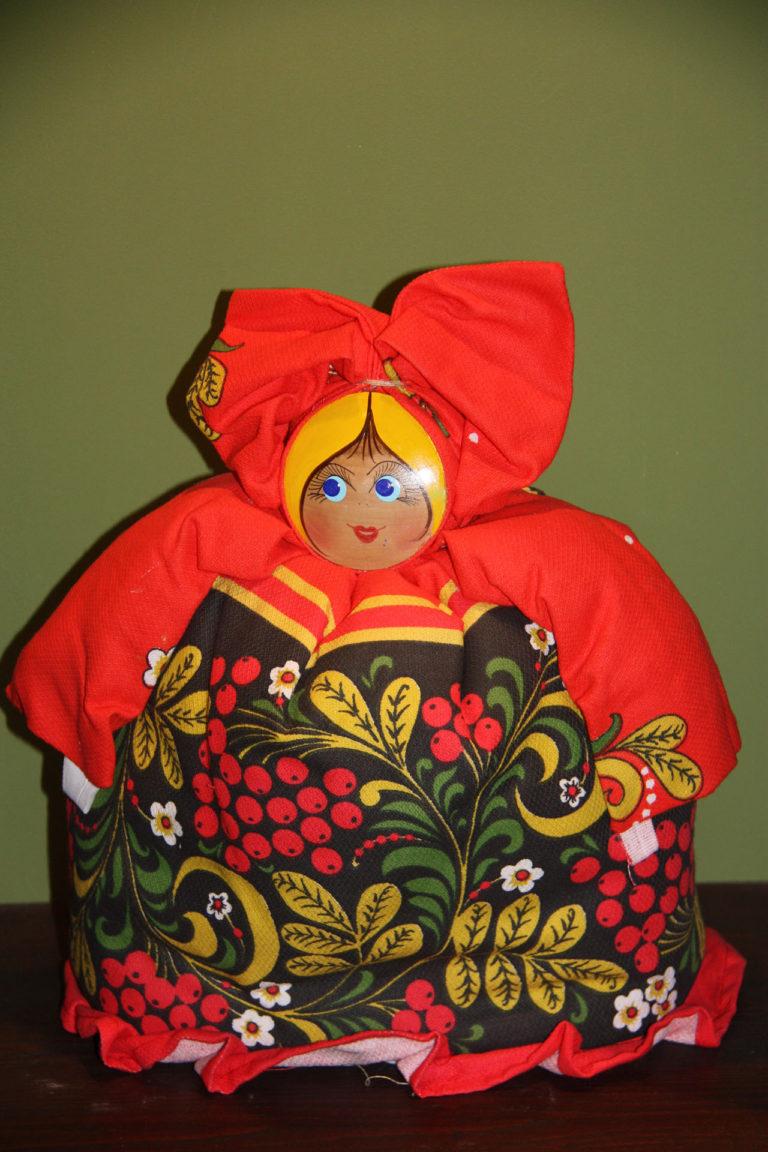
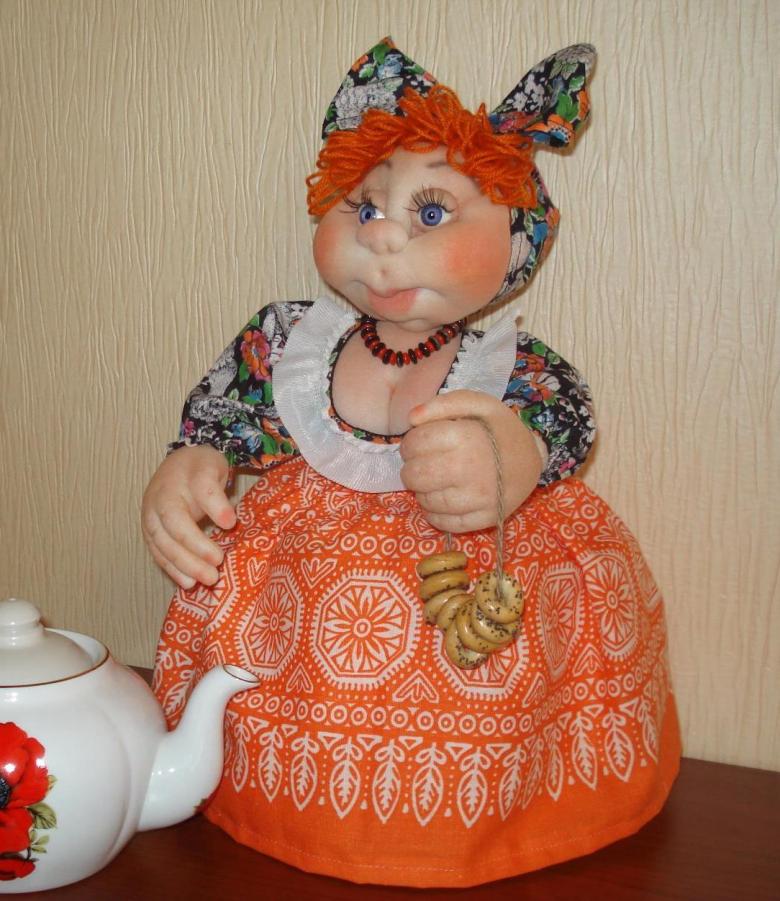
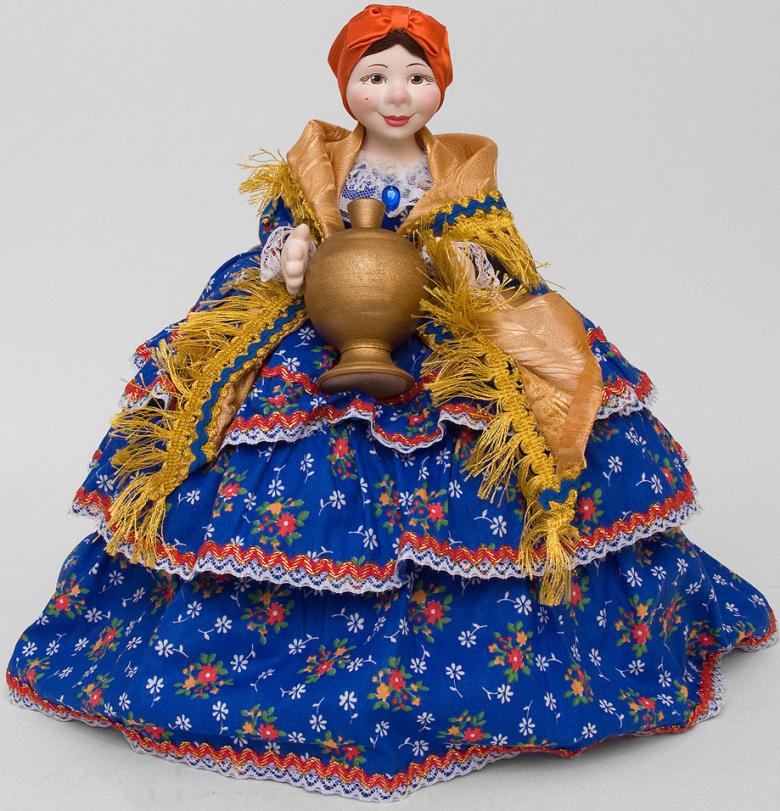
How to make a baba at the teapot with your own hands - interesting step by step master classes with photo examples
The age-old Russian tradition - to have family tea parties with fragrant tea and baranki - does not leave our homes today.

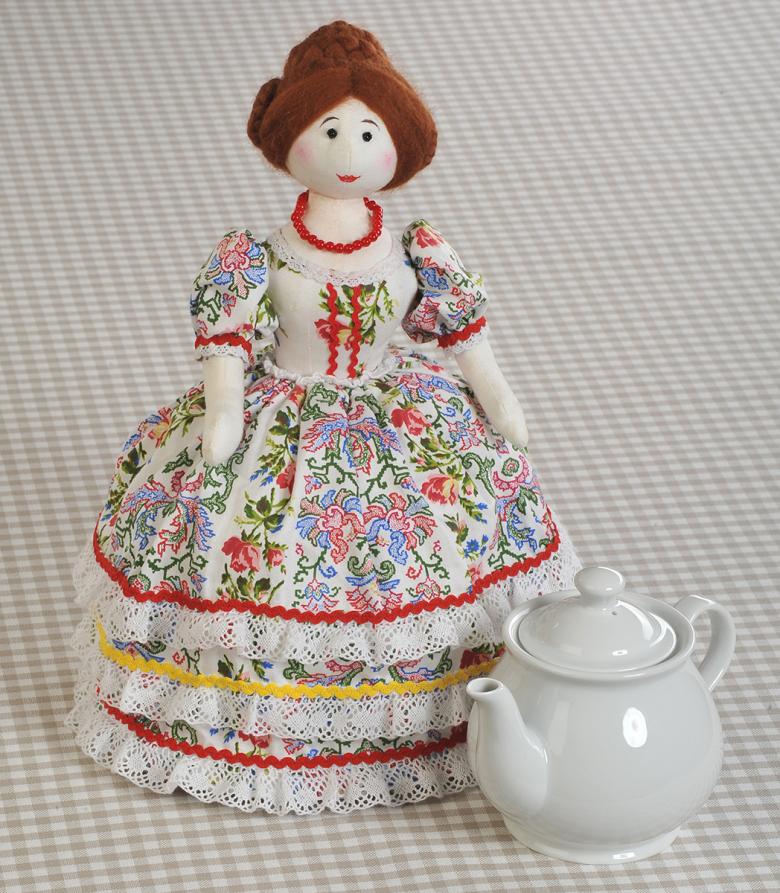
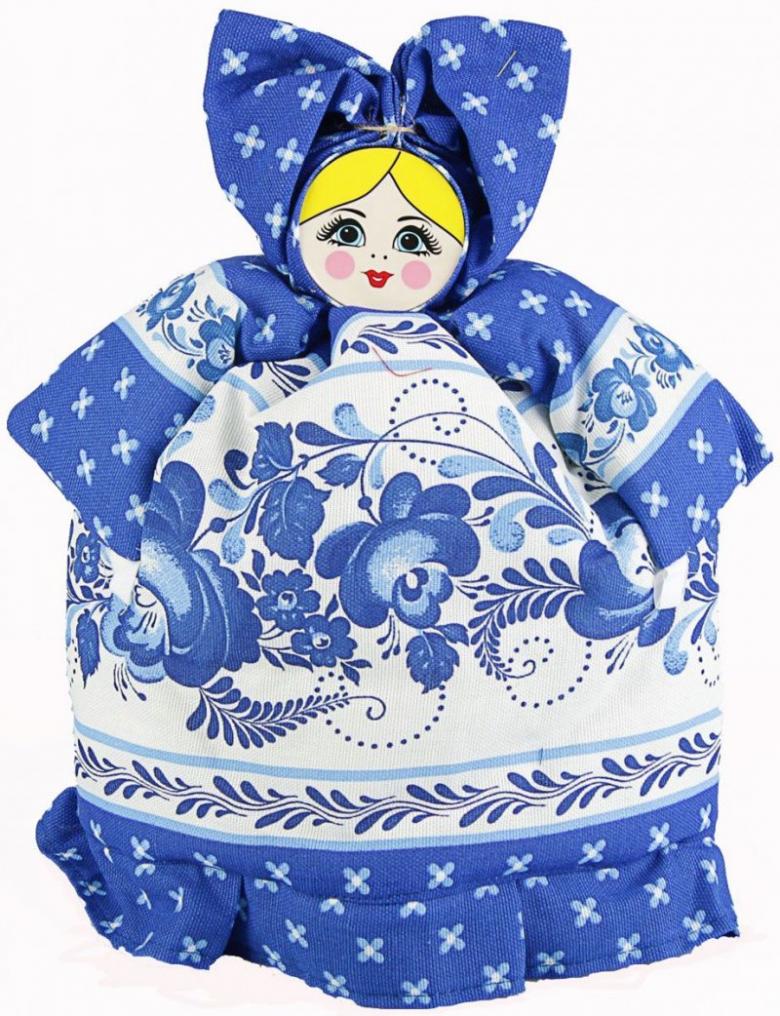
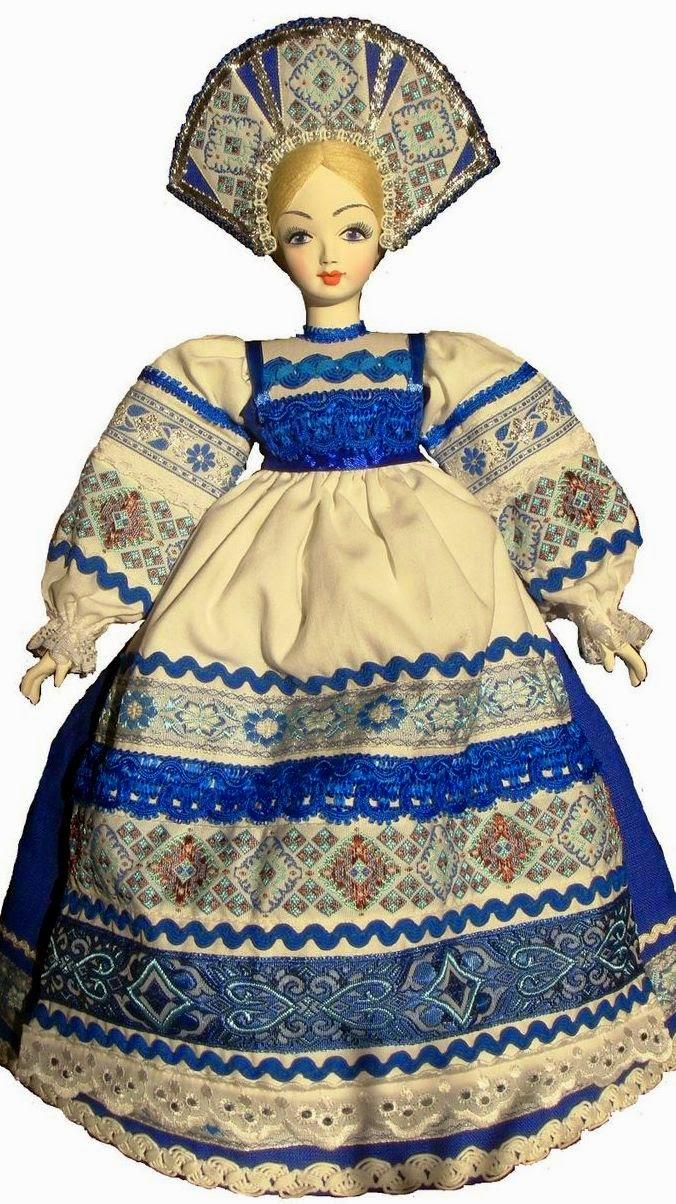
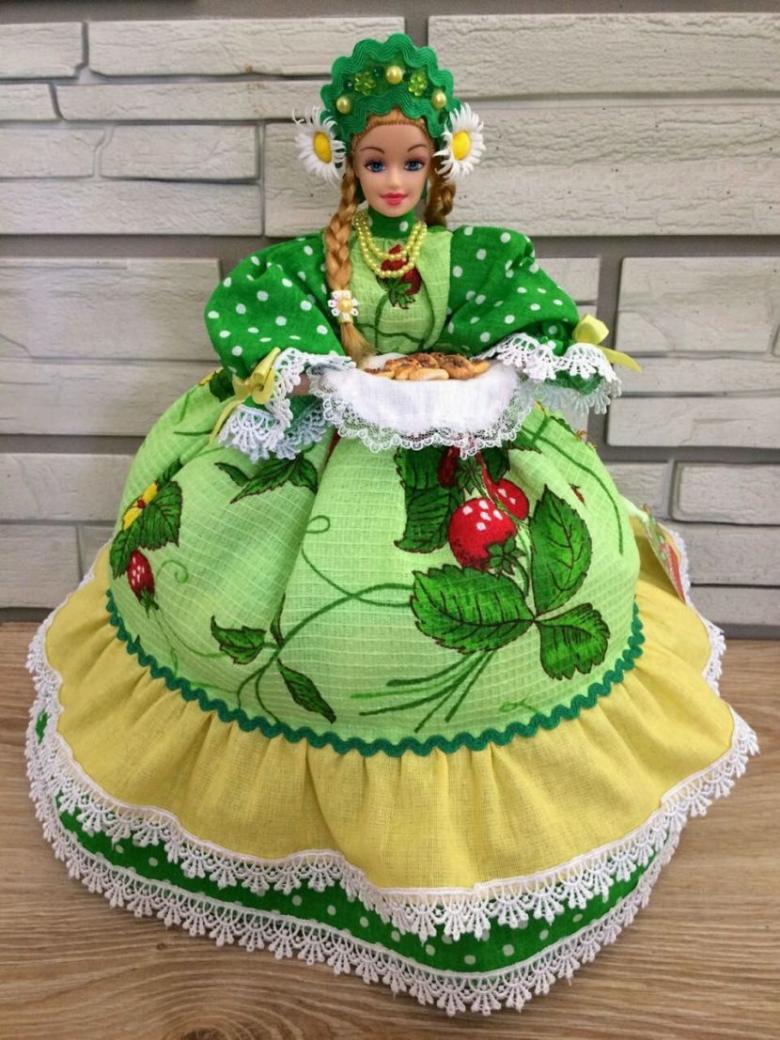
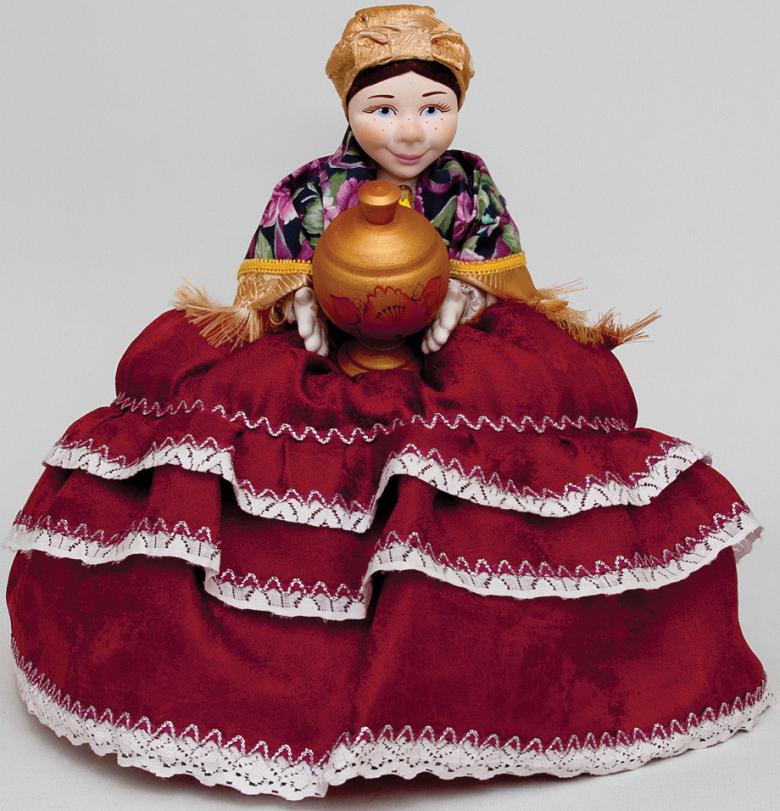
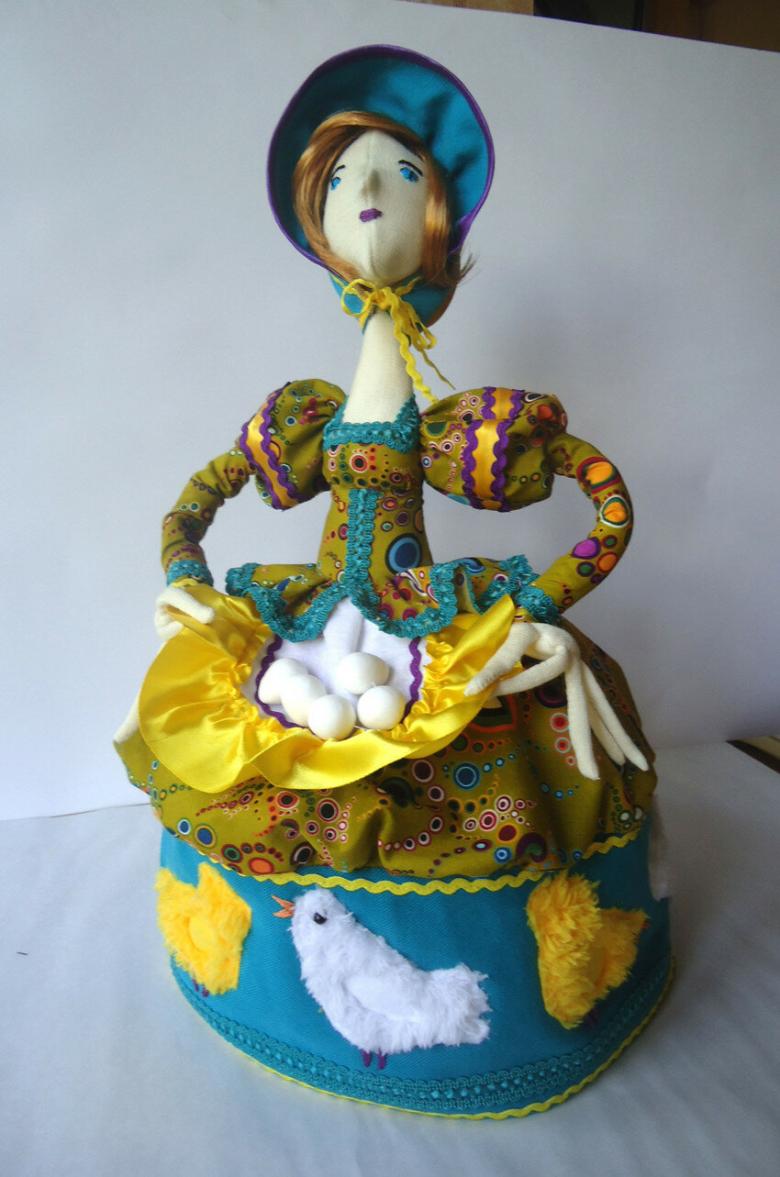
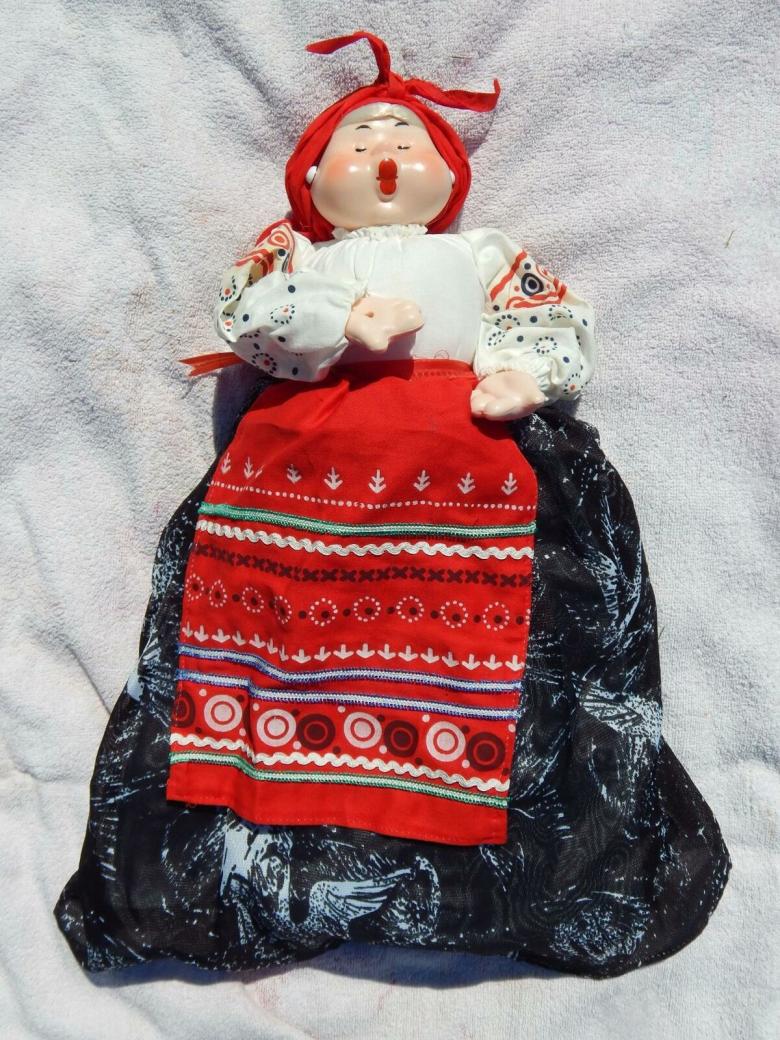
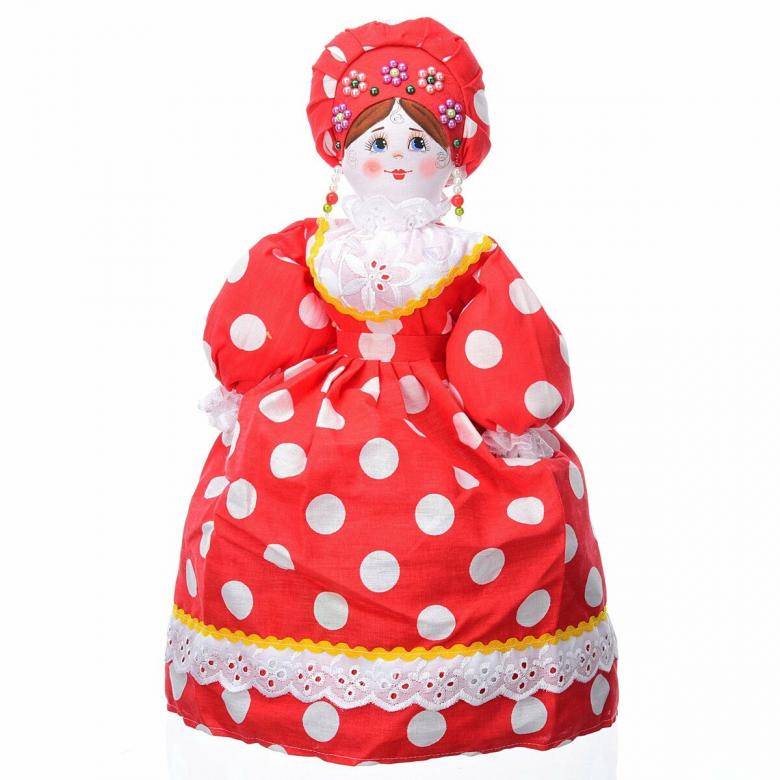
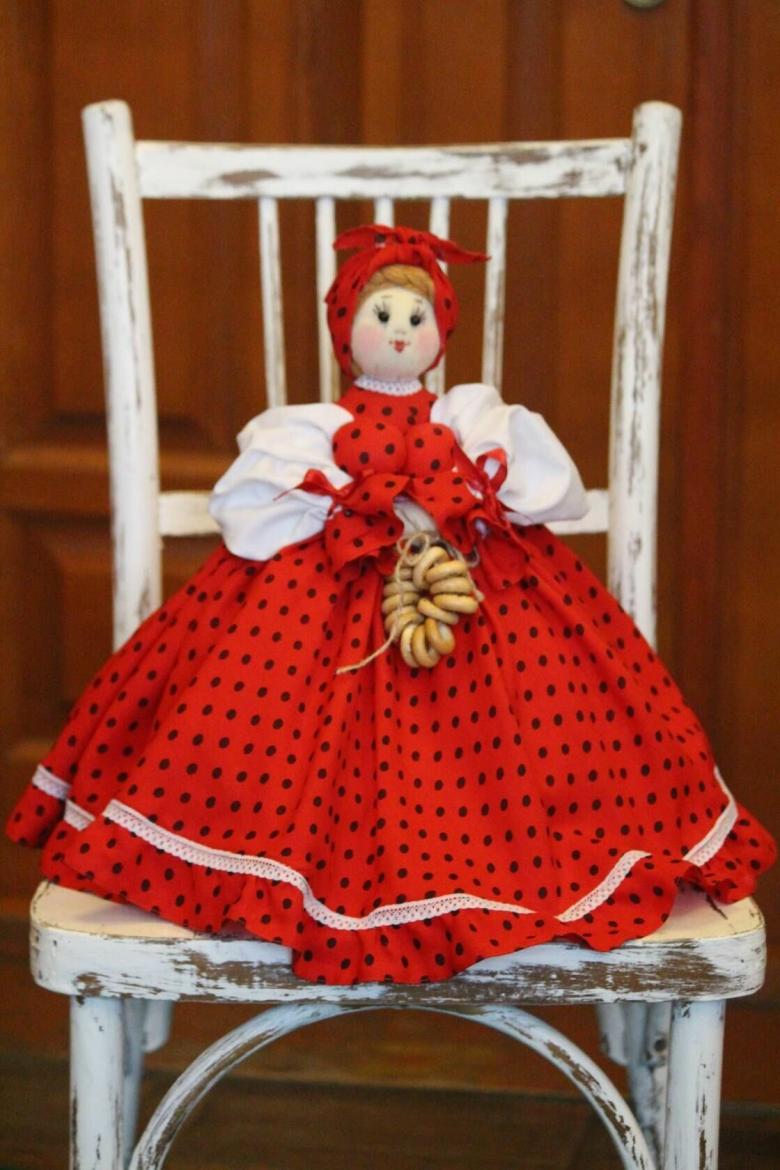
The bright cloth doll not only decorates the host table, but also allows the tea beverage to stay hot and fragrant for a long time.
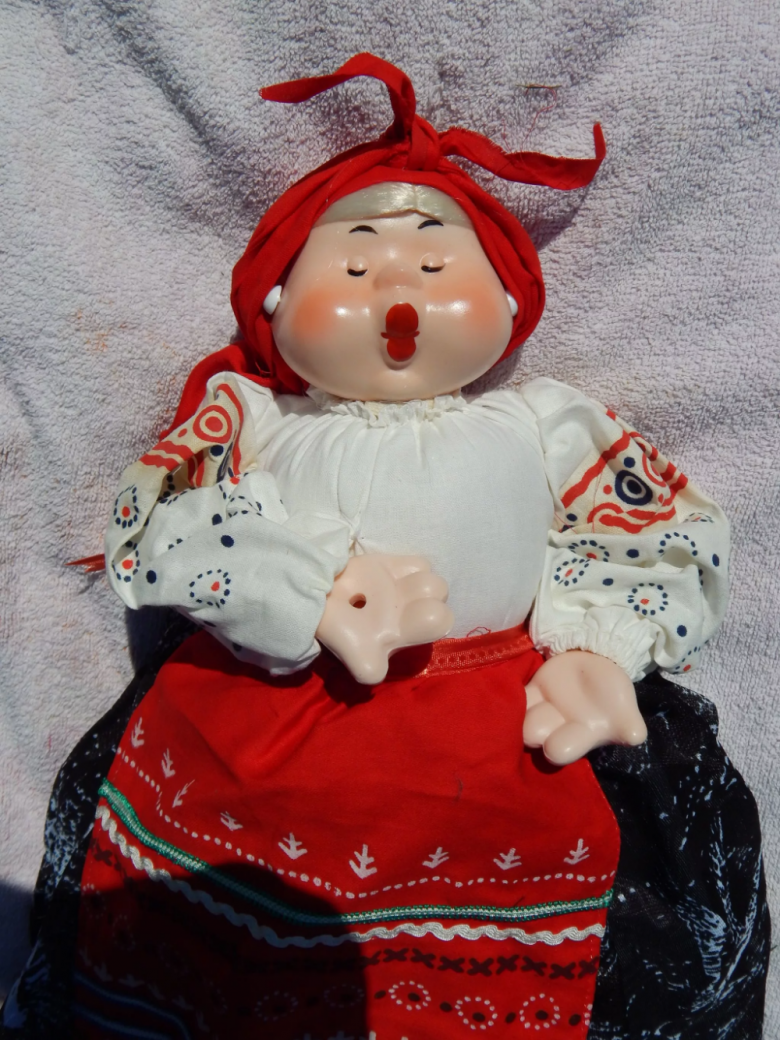
Today we will get acquainted with the tradition of brewing Russian tea with the use of a warming pad, as well as learn how to create original baba for the kettle with our own hands.
Getting to know the tradition and the Russian tea doll
The art of using warmers to make tea originated in England. But it was in Russia that it took on the scale of a folk tradition, and instead of the standard heating pad, beautiful homemade dolls began to be used.
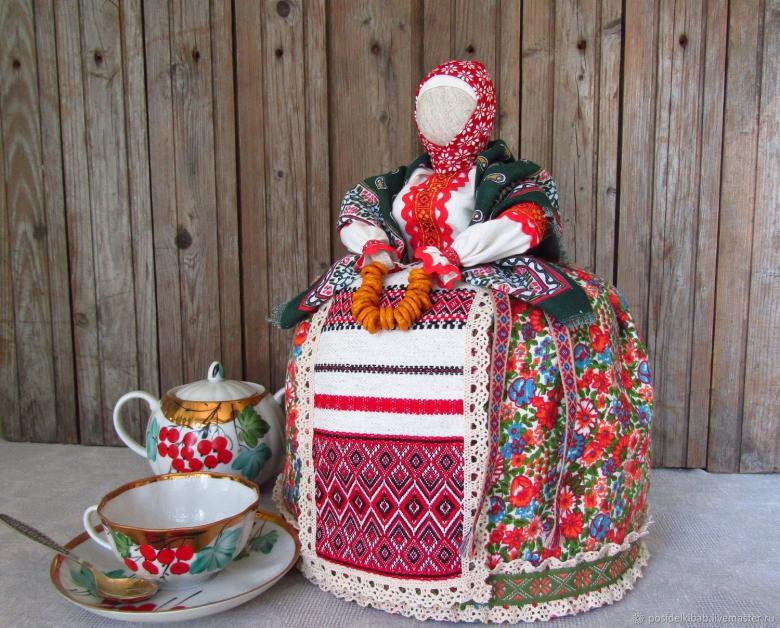
What role does the baba play when making tea?
To understand the basics of making a fabric doll, you need to know what functions it performs:
- The baba on the kettle retains heat as long as possible, and the drink stays hot.
- Some types of fabrics do not let the vapors of phytoncides and tannins pass through, which allows the aroma and richness of the tea to be preserved.
- Aesthetic role. Decorative decoration does not necessarily apply only to a holiday or cultural event. You can introduce the tradition into your family, and then every tea party will be a holiday for you and your children.
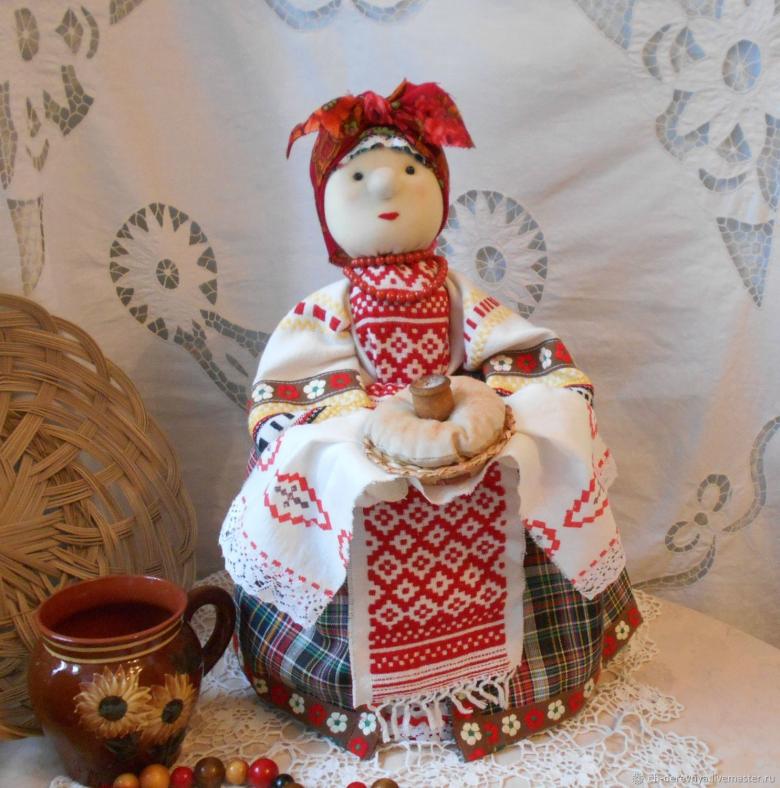
- Family amulet or talisman. Many families to this day decorate the house with symbolic amulets, one of which is a lush doll.
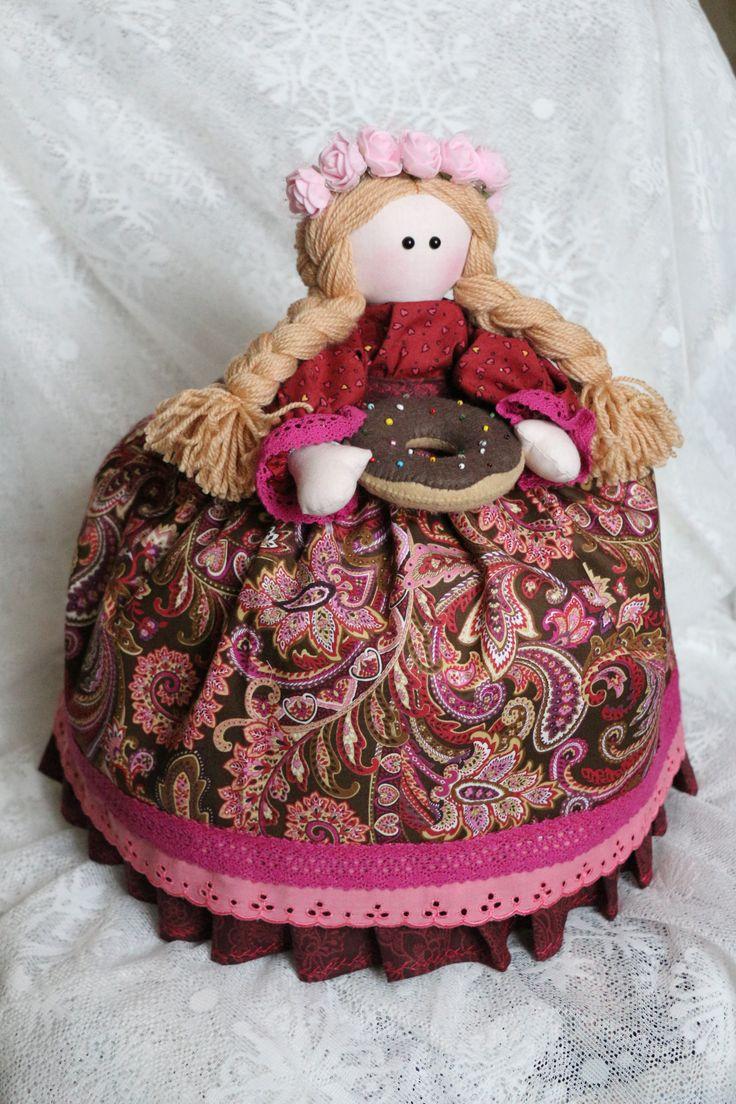
What models we will get acquainted with today
History has dozens of different variations of tea ladies, but not all models have survived in practice until today. We will review the techniques for creating the following types of dolls:
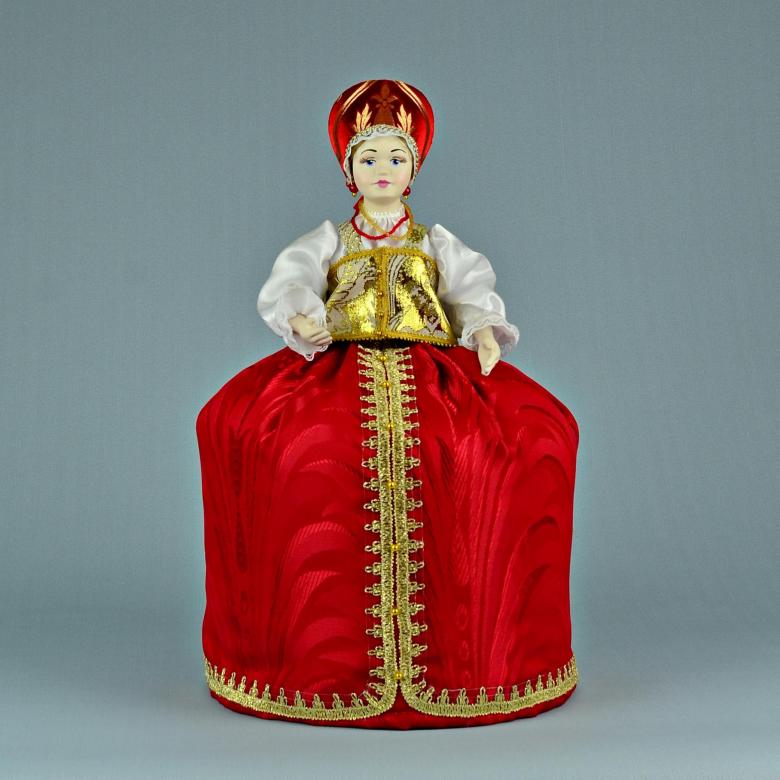
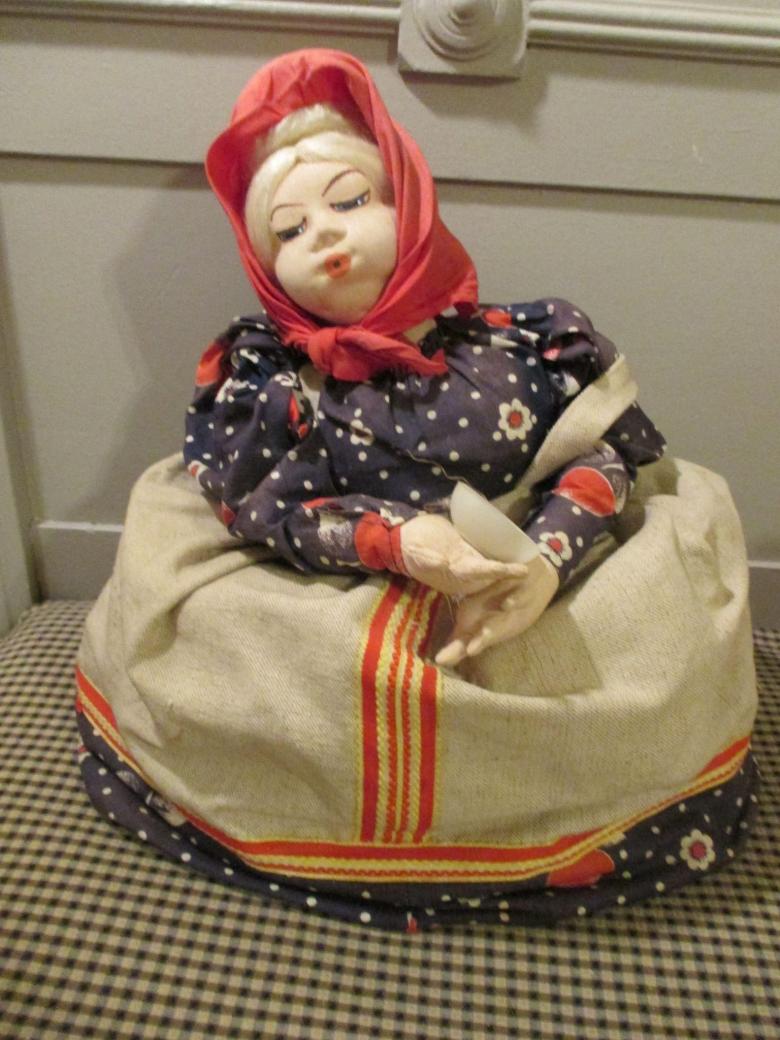
- The classic tea doll.
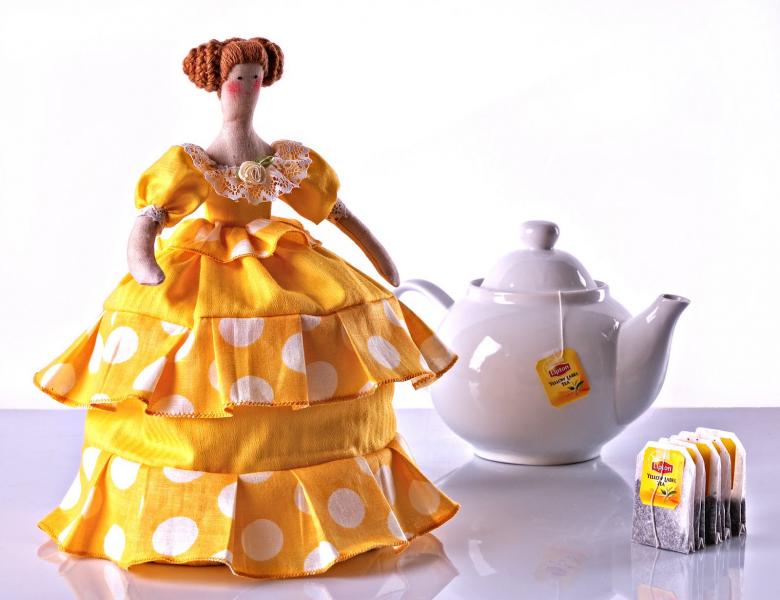
- Tilda.
- Baba from yarn and stockings.
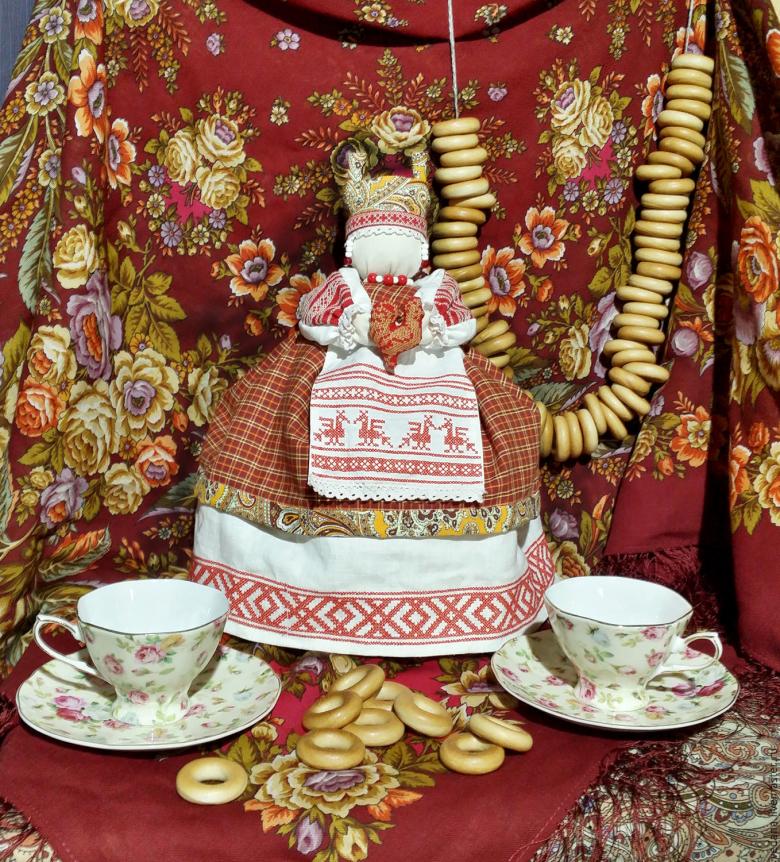
- Baba the amulet (in various sources you can meet another name - "bereginya").
Master-classes with step-by-step instructions
Making a squiggle doll with your own hands
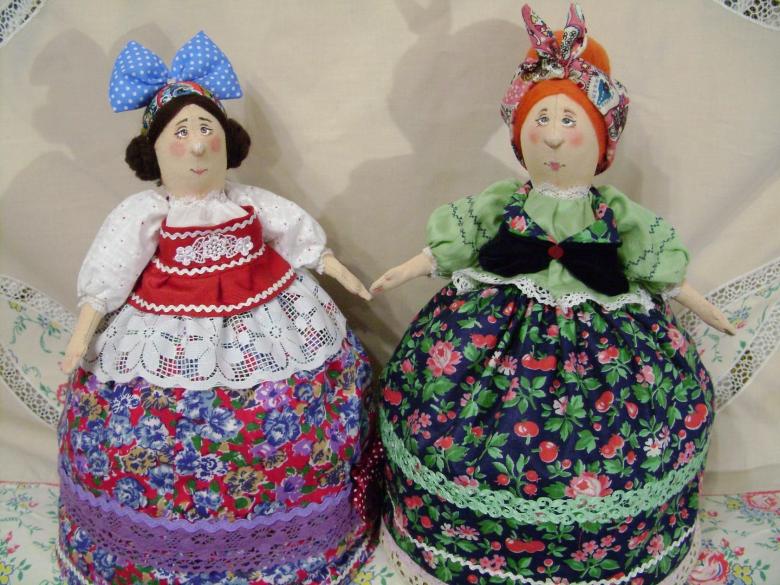
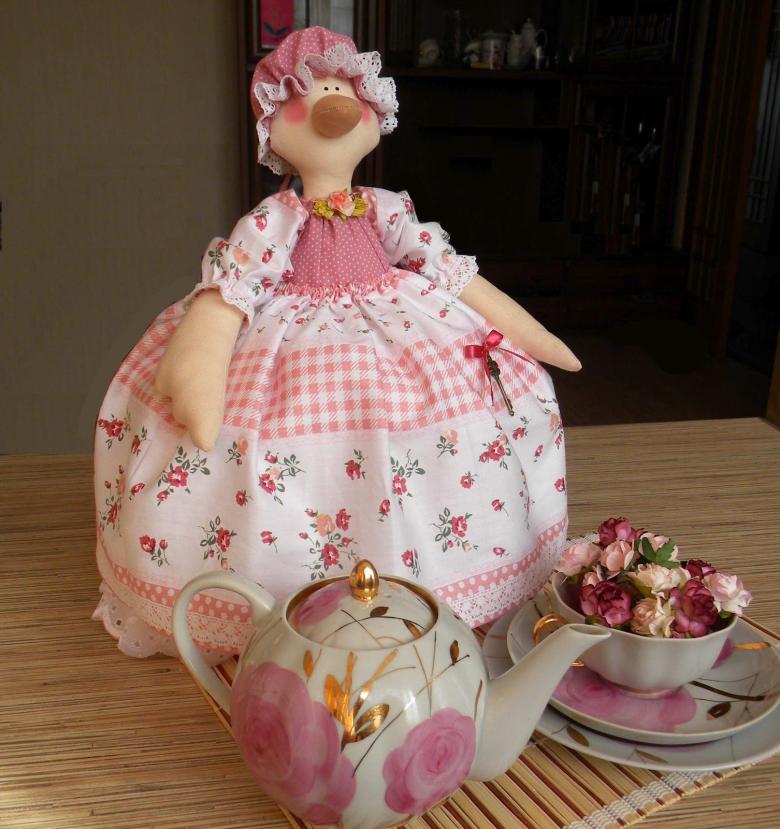
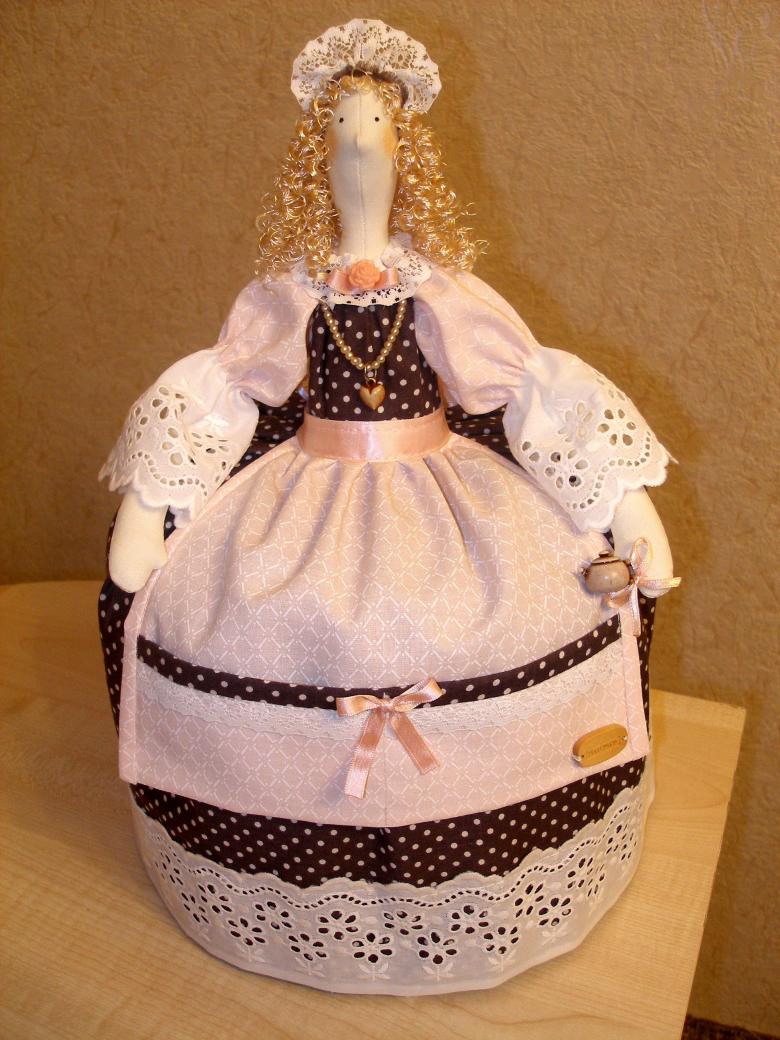
Tea baba tilda is a Norwegian model of a lush doll, which has gained great popularity among the Russian people. To work we will need:
- Fabric (use natural threads such as linen, sateen, calico).
- Syntepon as a filler.
- Yarn, buttons, ribbons, lace pieces to decorate our doll.
- Thread, needles, scissors, glue.
Step by step schematic instructions for the master:
- We prepare the patterns (we take the dimensions from the teapot and add a few centimeters for seams).
- According to the templates, cut out blanks of fabric.
- Fold the fabric parts facing each other.
- Sew over the edges of the product, leaving a free space at the bottom.
- Stitch the edges on the marks. Turn the product, fill it with holofiber. Sew tightly.
- Now we need to make a wide skirt, which, in fact, and will cover the kettle. To do this, we cut out parts of the skirt according to the template. Sew a layer of insulation on the inside surface.
- Close the finished piece in a circle and hem it to the finished skirt.
- Let's start to decorate the doll (do not forget about the aesthetic aspect of the baba).
- Make hair out of yarn. You can form a neat bundle, hem colored shawl, barrette, bow.
- Cheeks, eyes and mouth are painted with gouache.
- You can add a miniature apron of plaid fabric. Such a baba will look like a lively and hospitable hostess.
Thanks to the filler layer and natural fabrics, the squiggle baba will retain the rich aroma and temperature of the tea drink.
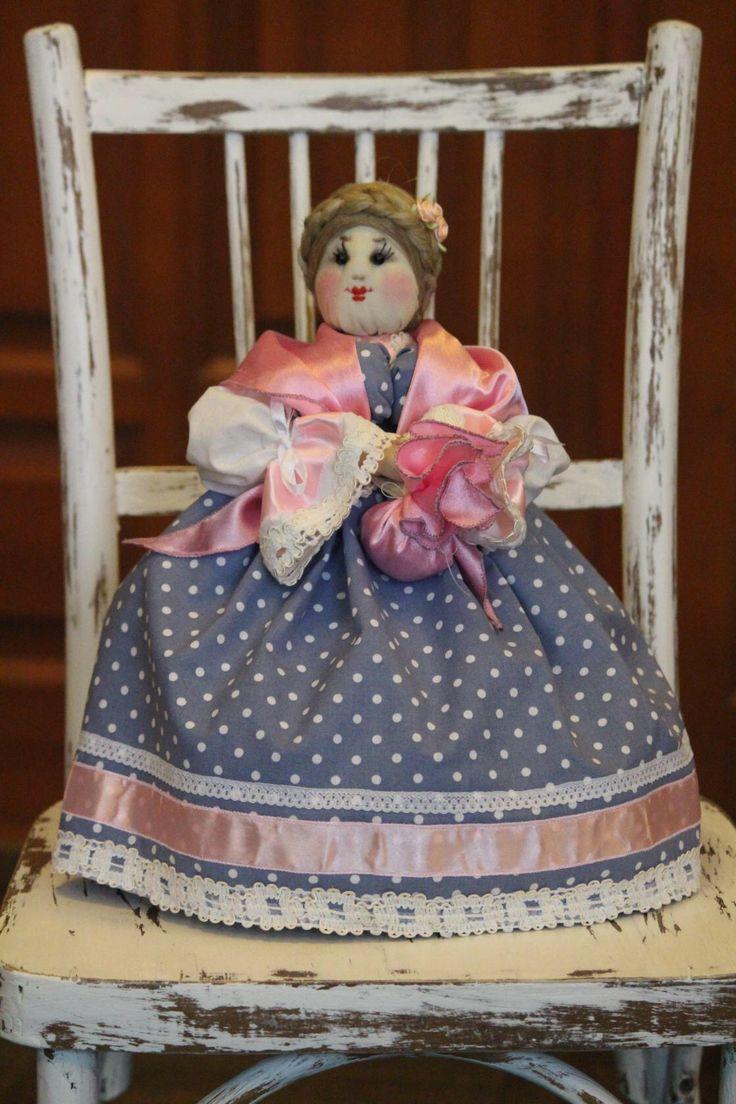
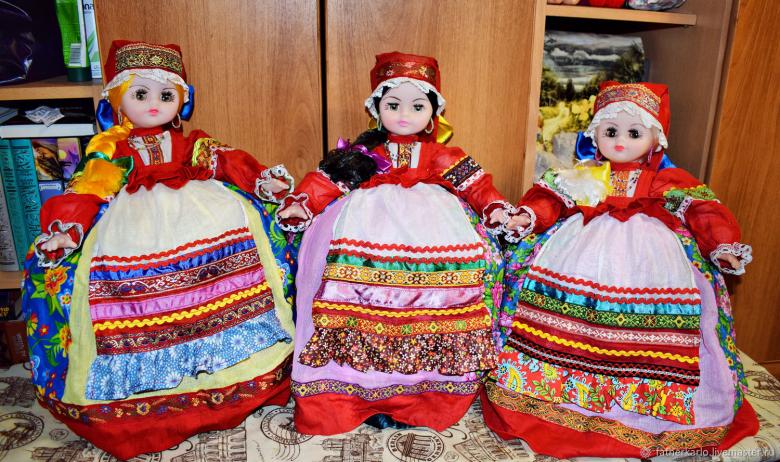
Yarn and Stocking Baba
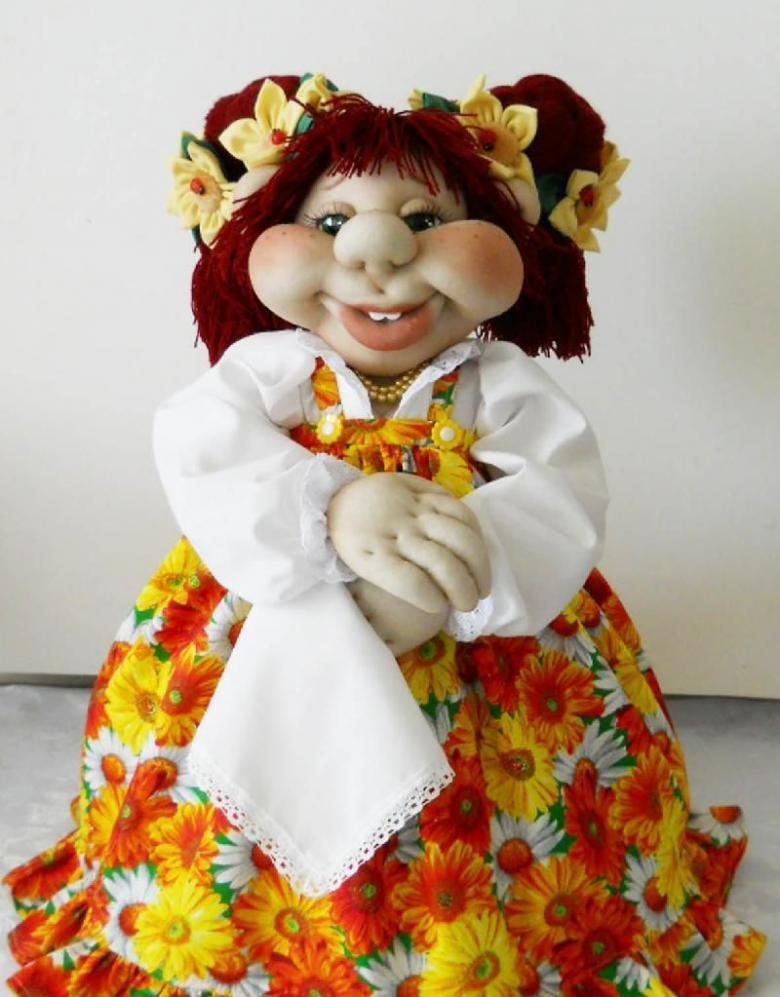
What distinguishes this model from the others? The ease of fabrication and malleability of materials are appreciated by novice needlewomen, and experienced craftsmen have long left this technique in their arsenal. The advantage of the technique: it does not require work with patterns. To work we will need:
- Capron (in your closet will surely find a pair of old tights).
- Yarn or floss.
- Filling.
- Fabric base and sintepon for the skirt.
- Thread, needles.
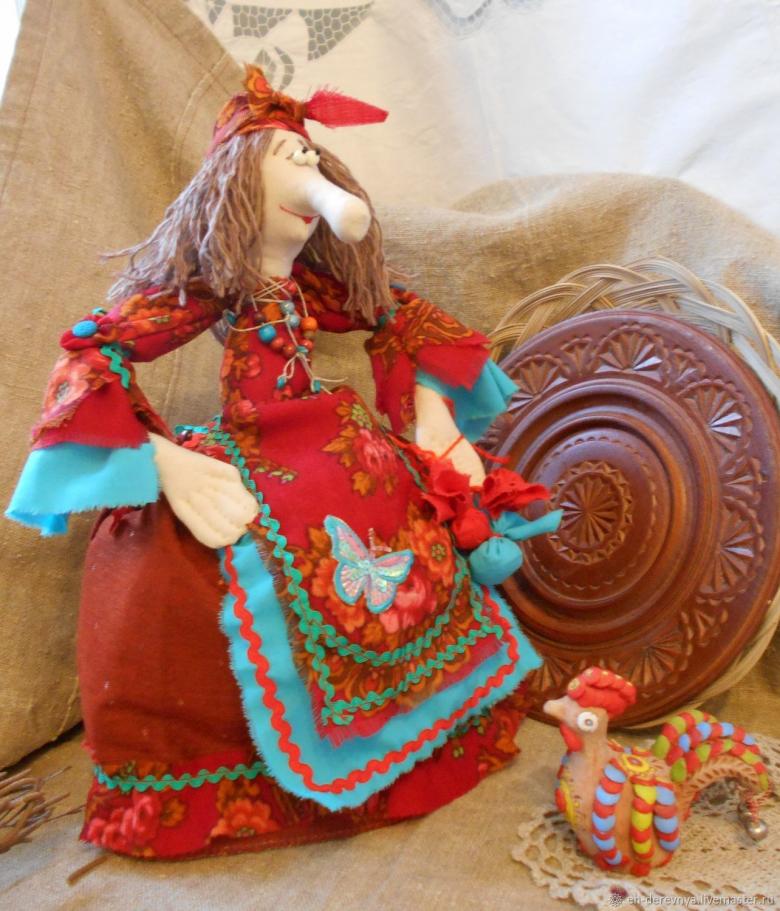
Step by step schematic instructions for the master:
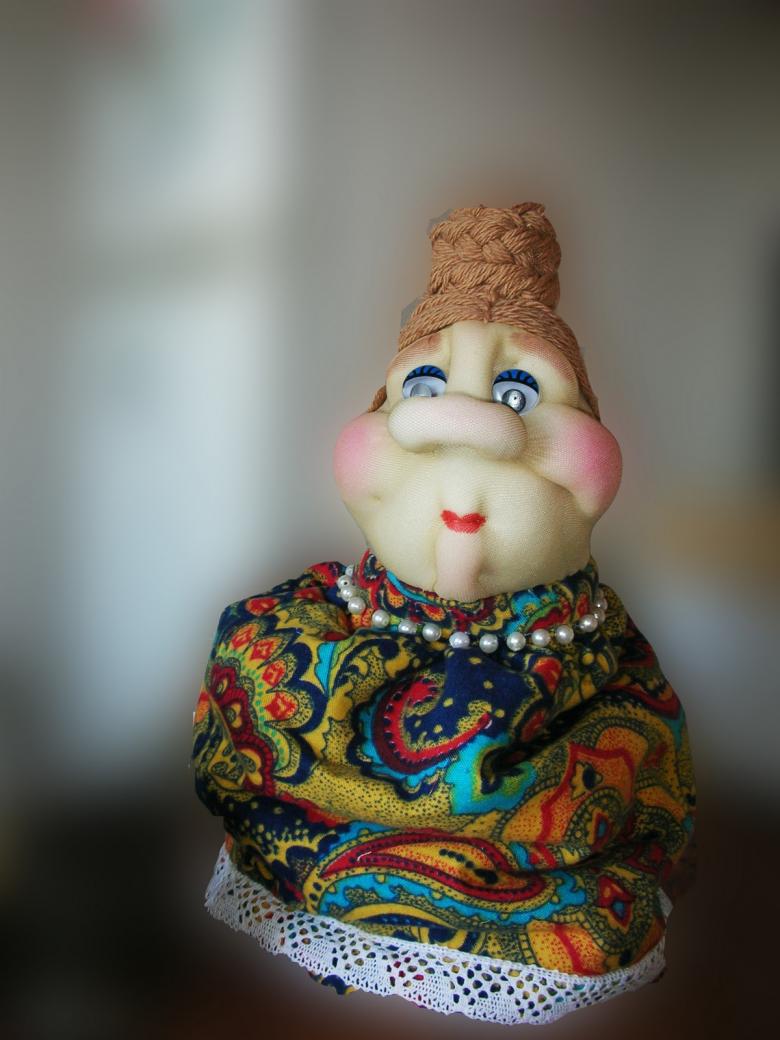
- First, we are going to work on making a doll itself. Take a stocking or cut end of kapron tights. Stuff a piece with absorbent cotton. Tie the top edge of the product with a strip of kapron.
- Using a needle with thread, stitch individual parts, forming the curves of our doll's face: nose, cheeks, mouth, arms and legs.
- Sew on the toy eyes or glue them on.
- Now it is necessary to hide the bundle of kapron on the head of the doll. To do this, we form a bundle of hair from the threads, which we glue over the tightly pulled knot.
- Then we do the same work as in the previous method. After all, the direct purpose of the baba is to keep warm and fragrant tea. Therefore, we prepare the details of the hem, hem the synthetics. Finished details are attached to the doll doll.
Baba is ready, you can make tea!
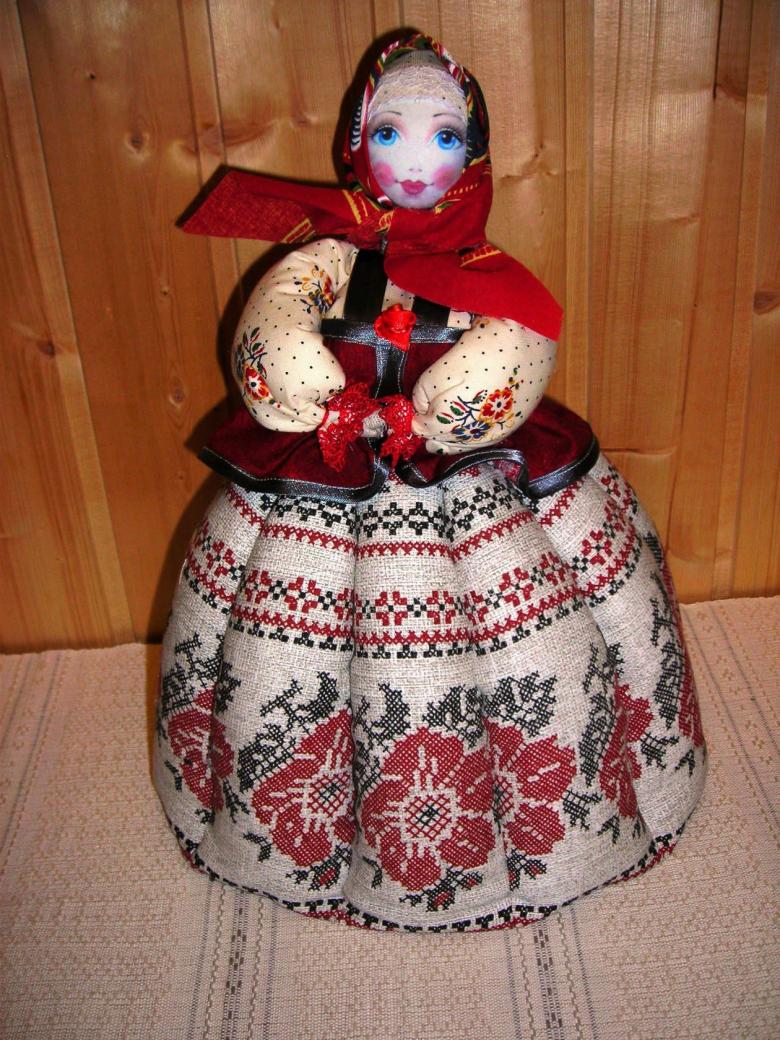
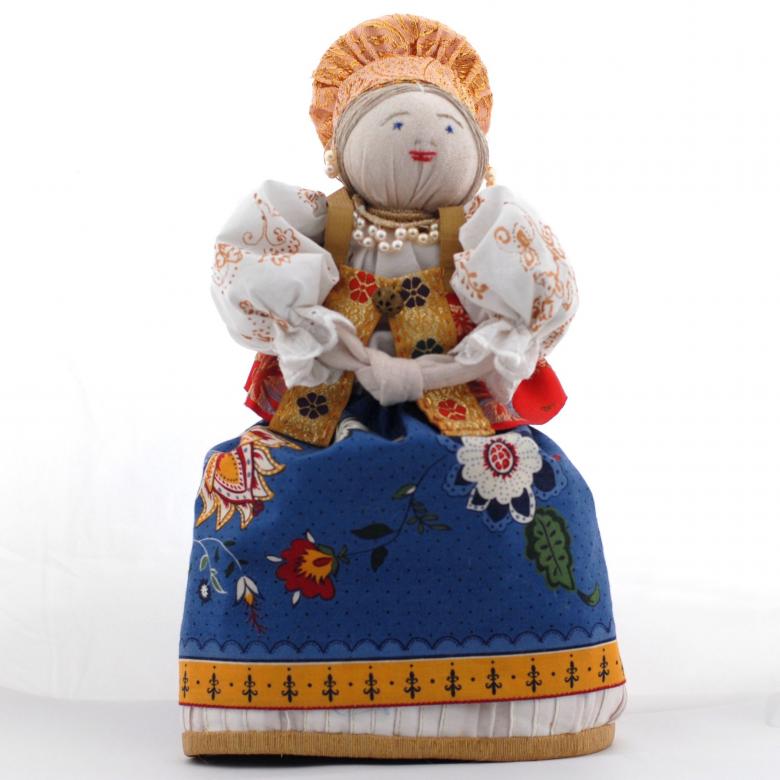
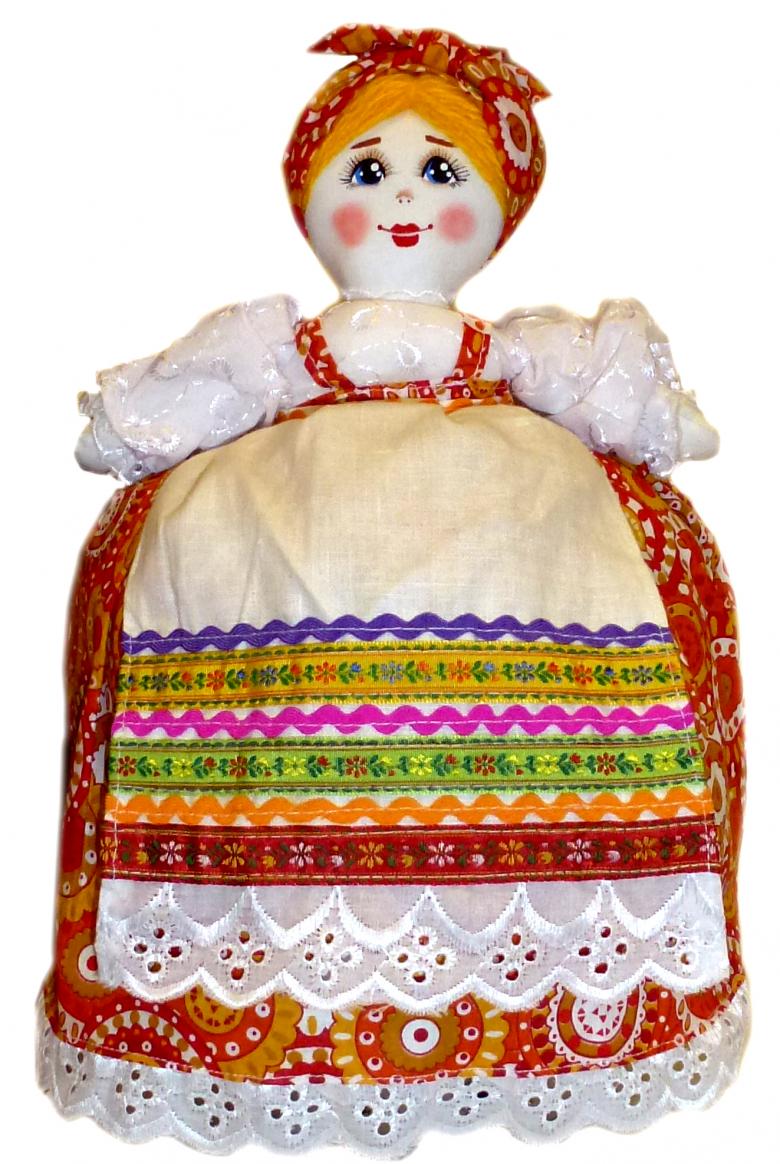
A classic tea doll
This model is a cap made of natural fabrics with filler. To work we will need:
- Fabric (linen, cotton, chintz) basic, fabrics for decoration (guipure).
- Stuffing (absorbent cotton or sintepon).
- Thread, needles.
- Scissors.
- Patterns or a template.
Step by step schematic instructions for the master:
- Take measurements of the kettle. Transfer the results on paper and prepare patterns.
- On the template of the main fabric cut blanks: we need four parts.
- Fold the blanks by two, put a layer of insulation between them. Sew the edges of the blanks.
- Next, you need to connect the resulting parts into one. To do this, lay them on top of each other, facing outward, stitch, leaving the bottom edge of the product free. If you got rough unattractive seams, decorate them with guipure or sew them with large colored stitches.
- On the front and back surfaces of a traditional warming baba, you can attach multicolored flaps. Stitch the colored sections with diagonal stitches, and get a note of home comfort at every tea party.
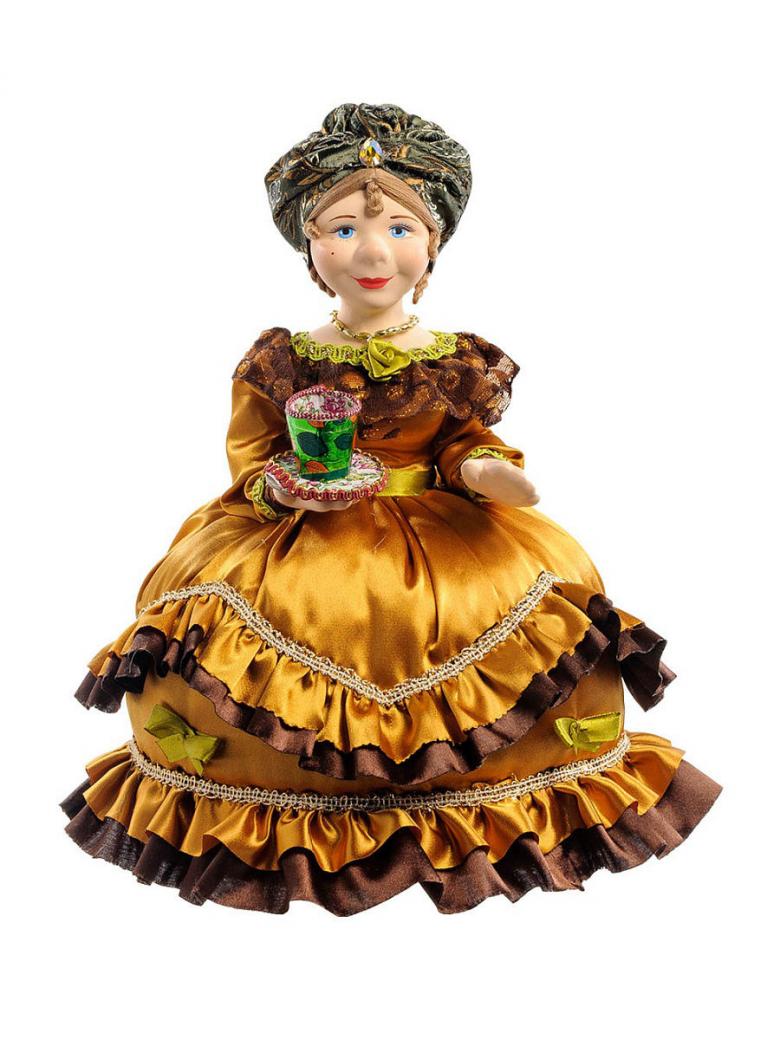
Baba's amulet
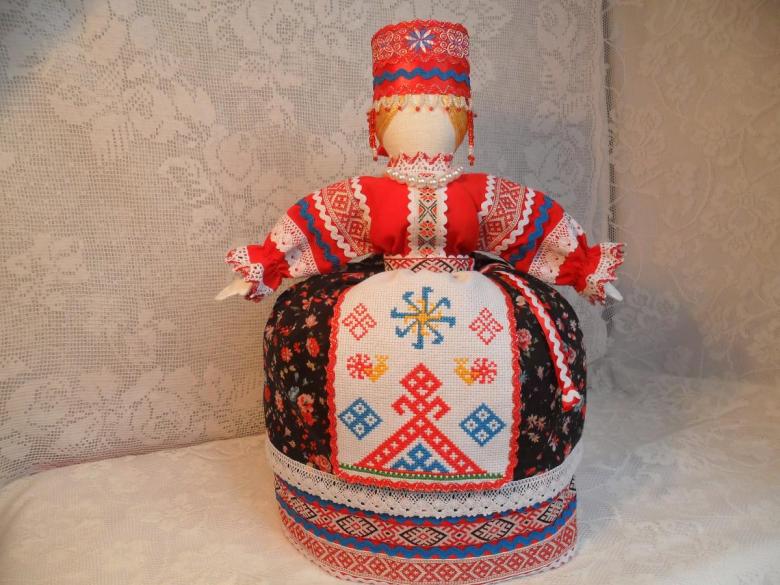
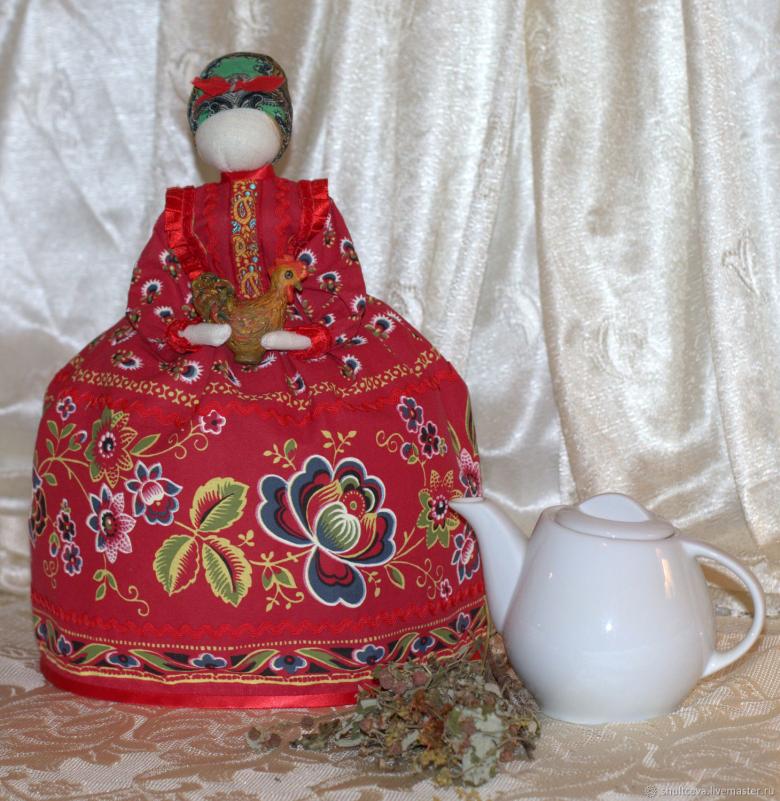
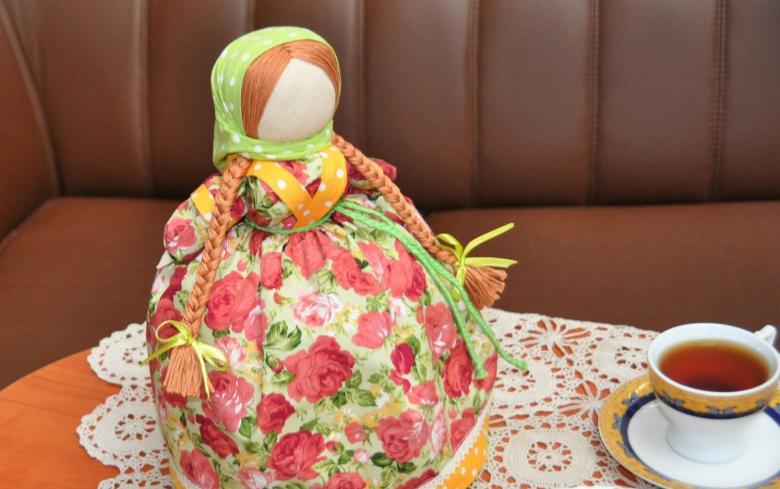
This model differs in a single detail - it has no face. The creation technique does not differ at all from that of a squiggle or a classic model.

We got acquainted with the main types of dolls for the teapot. Of course, real craftswomen daily think up new and original models of teabaggers. Fantasy and skillful hands create real miracles. If you're having trouble learning the material, you can always check out the online tutorials on how to work on the featured patterns. Imagine, create, and let your tea party be a feast every day!

