Crochet piggy - step by step instructions with photo examples
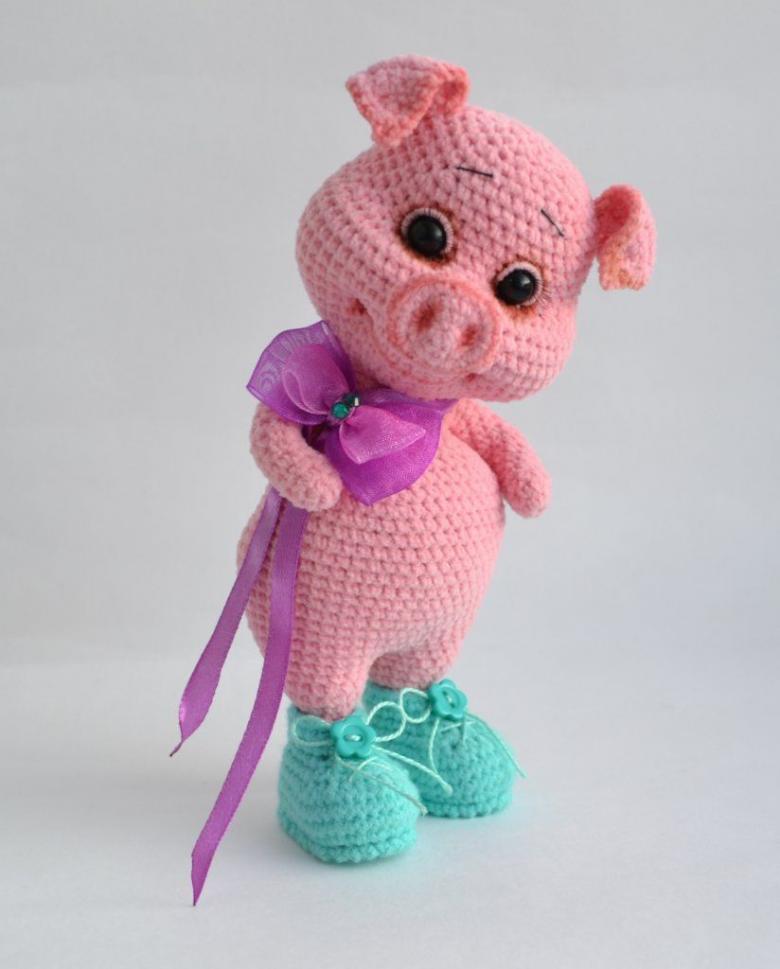
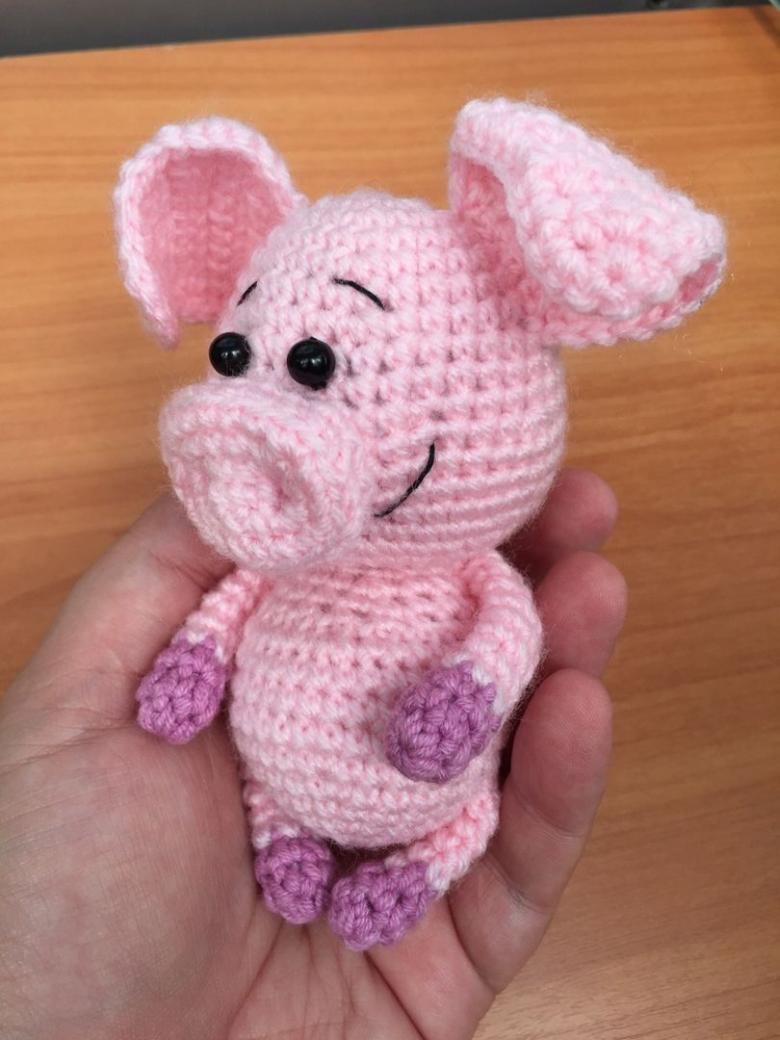
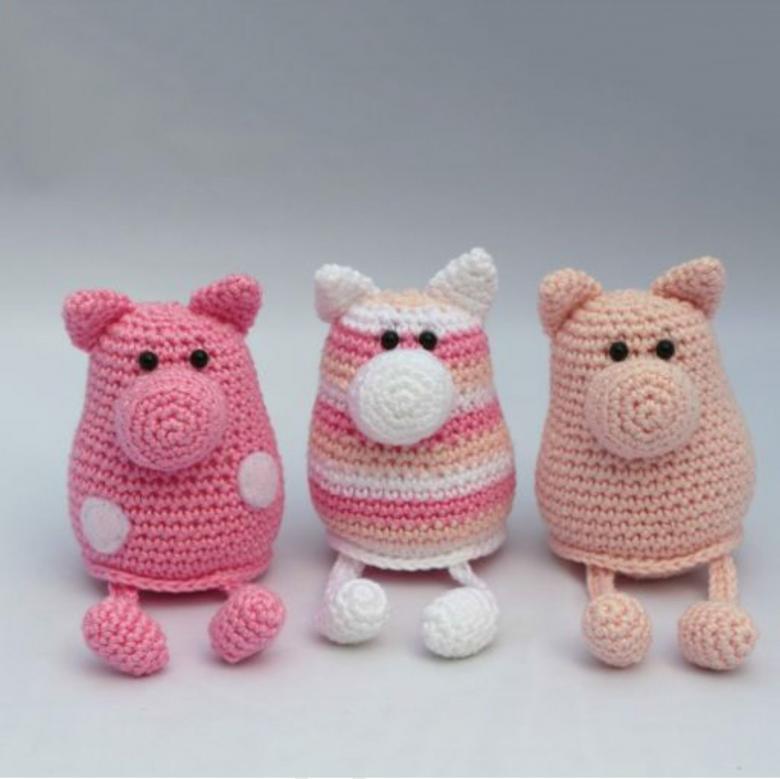
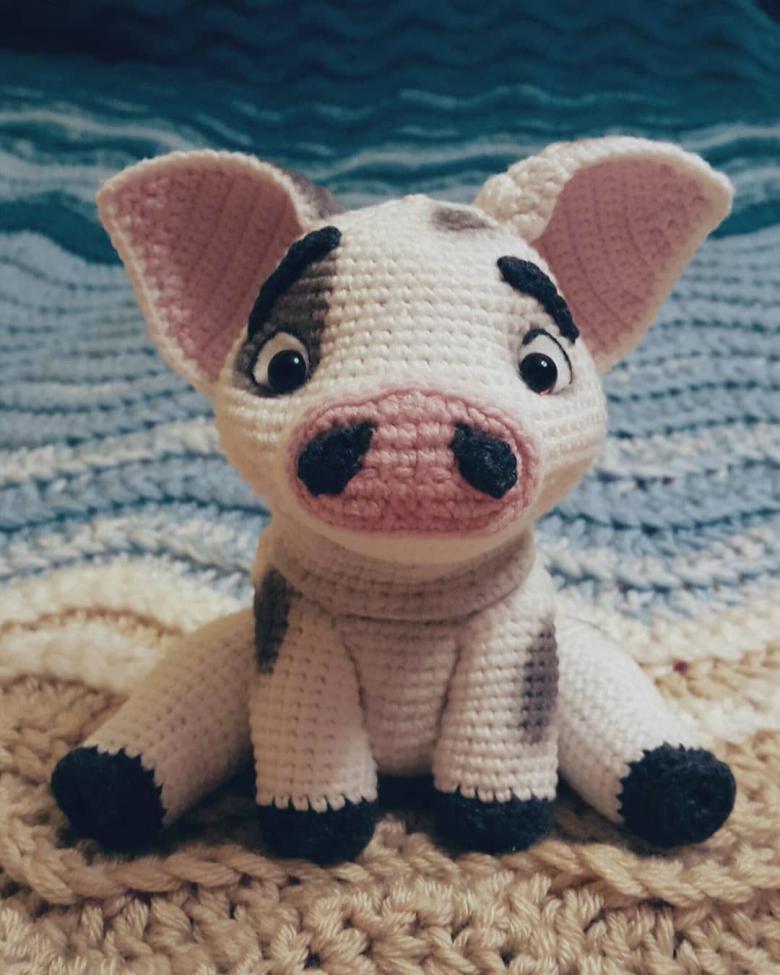
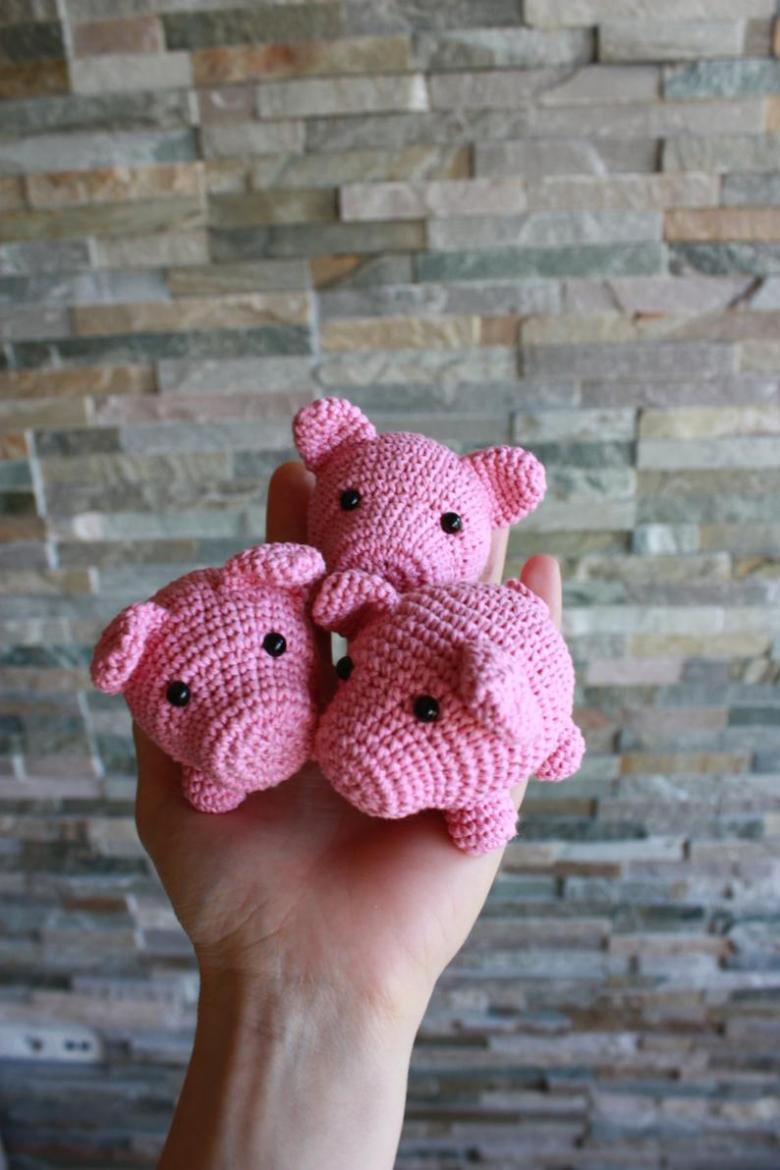
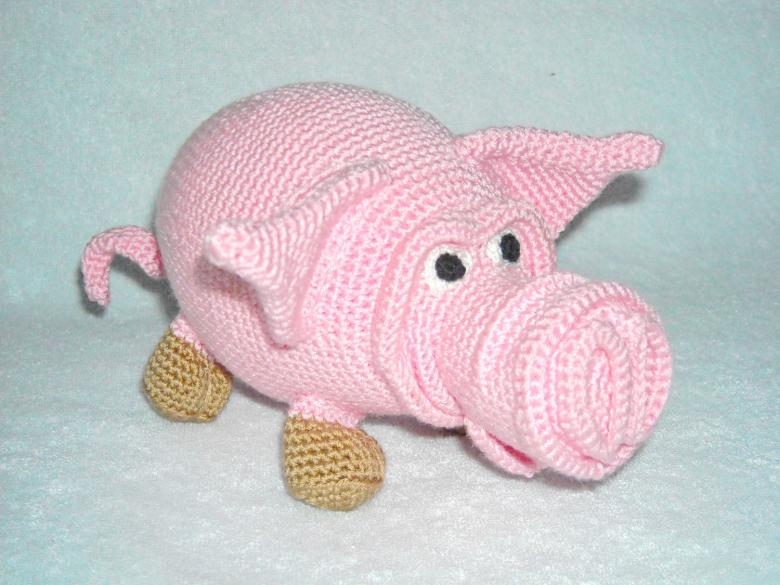
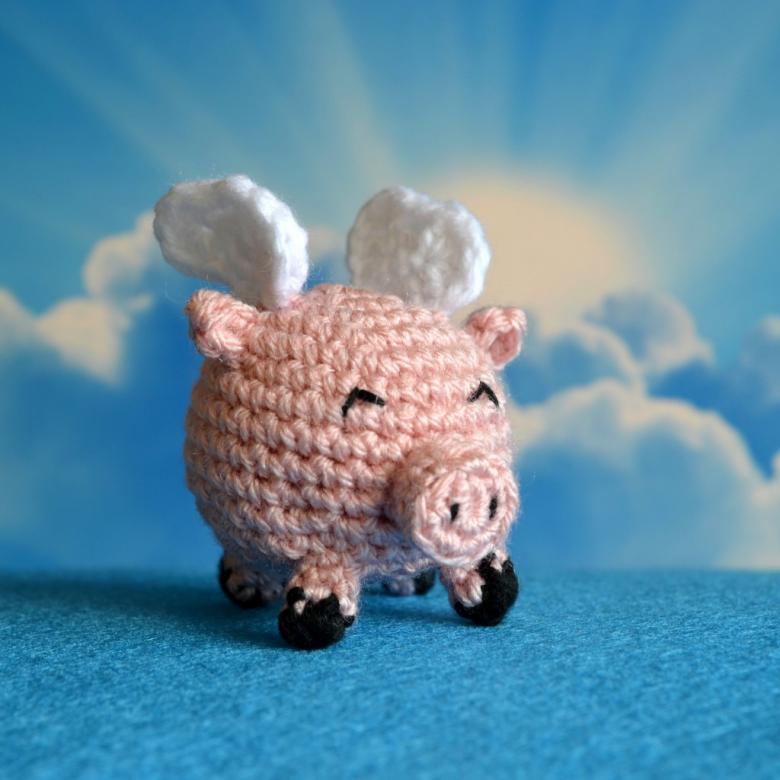
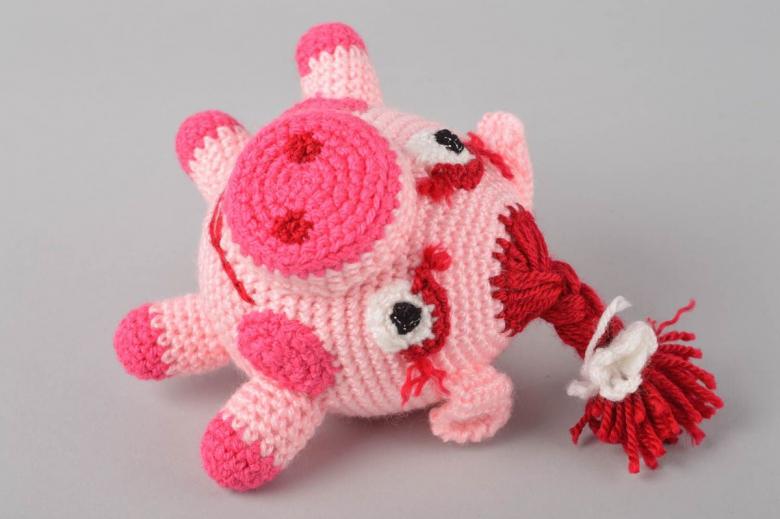
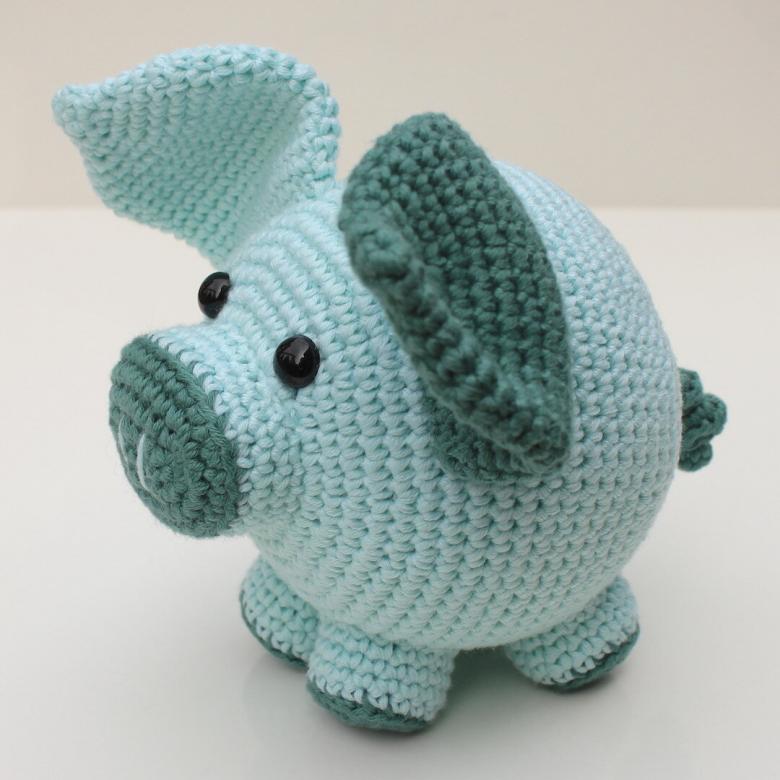
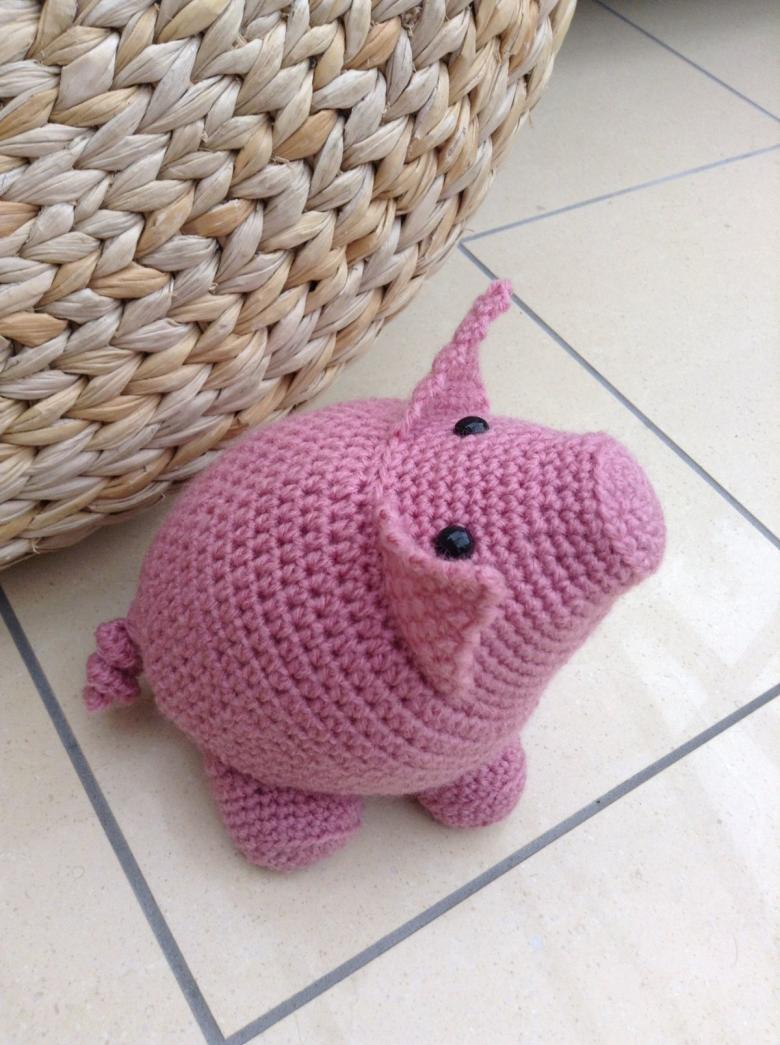
Crochet piggy is an excellent gift for a person born in the year of the piglet symbol. Crocheting pig is an easy process, even a beginner who has only recently learned to hold a needle in his hands - will cope with this task.
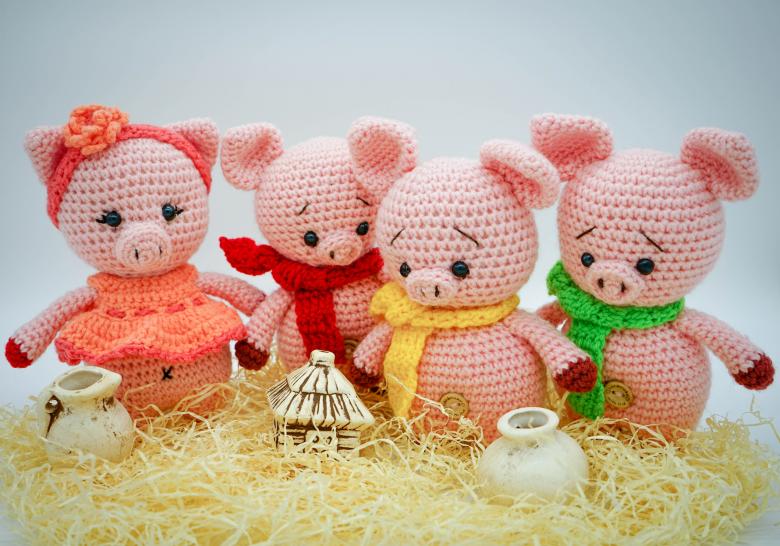
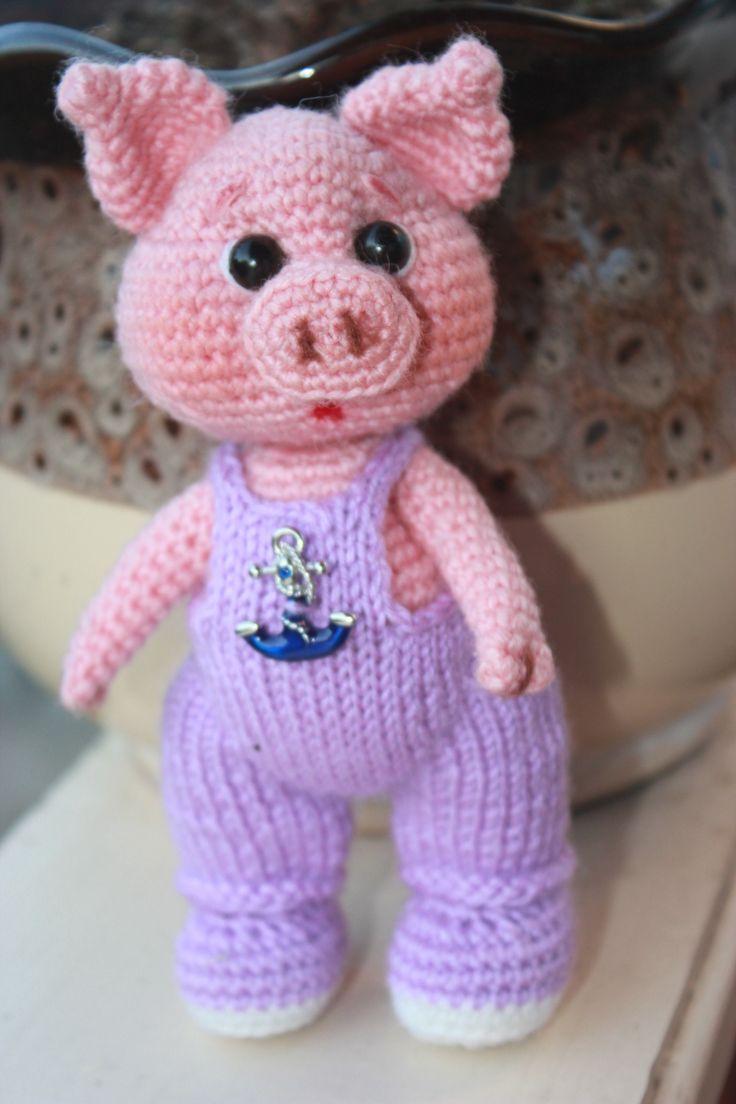
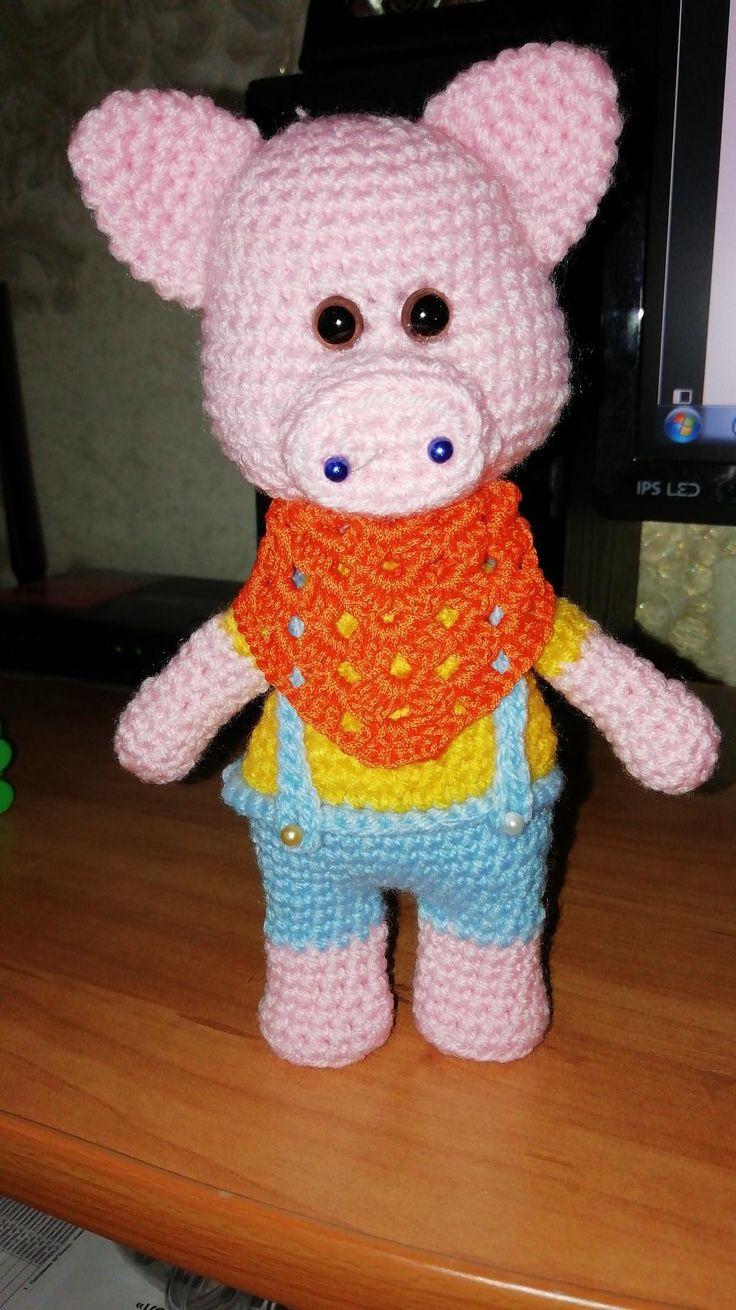
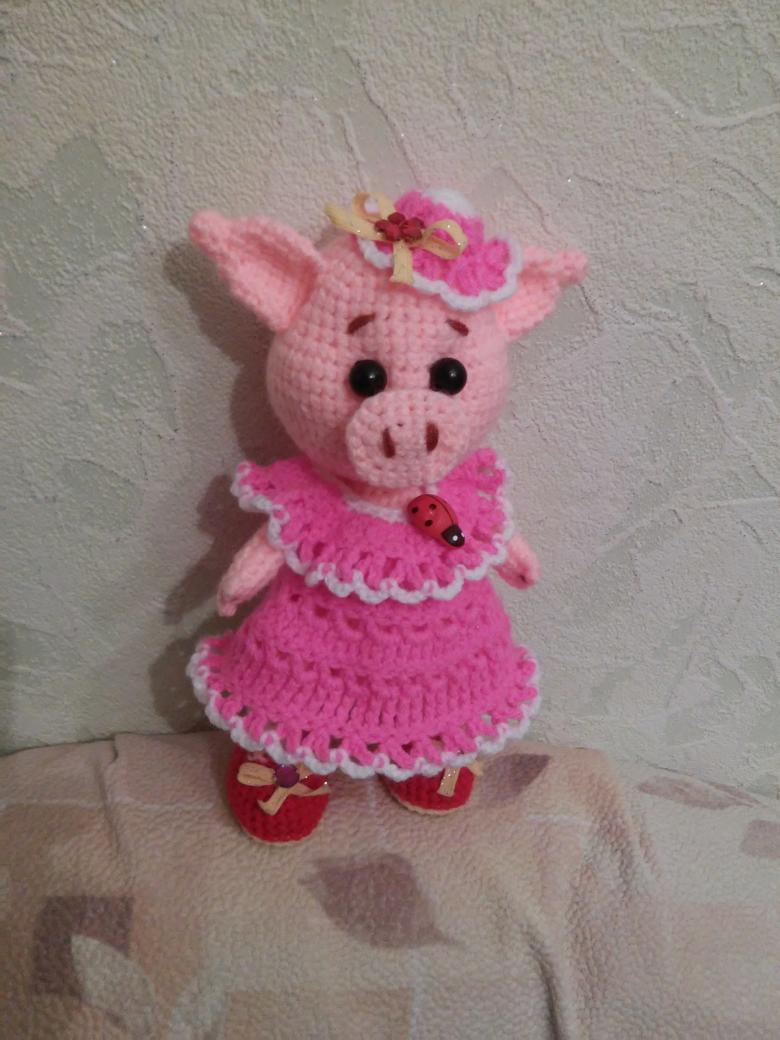
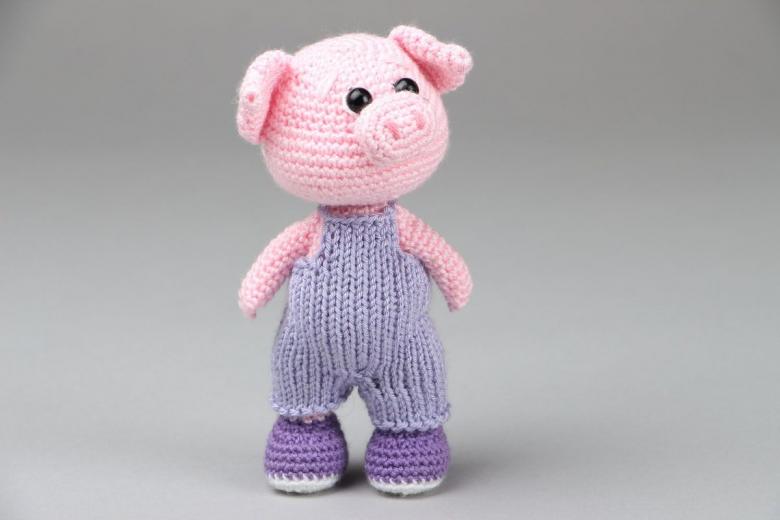
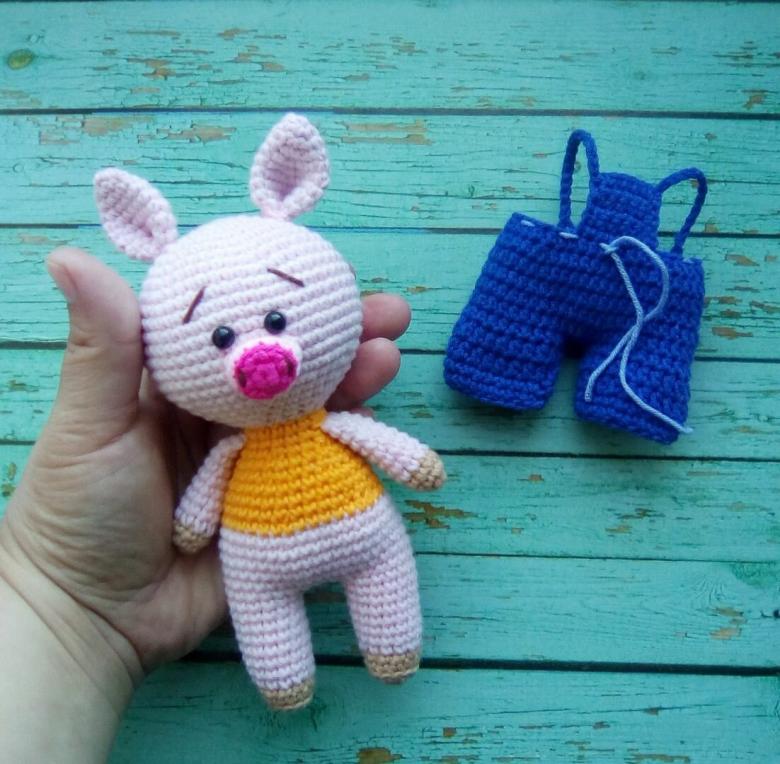
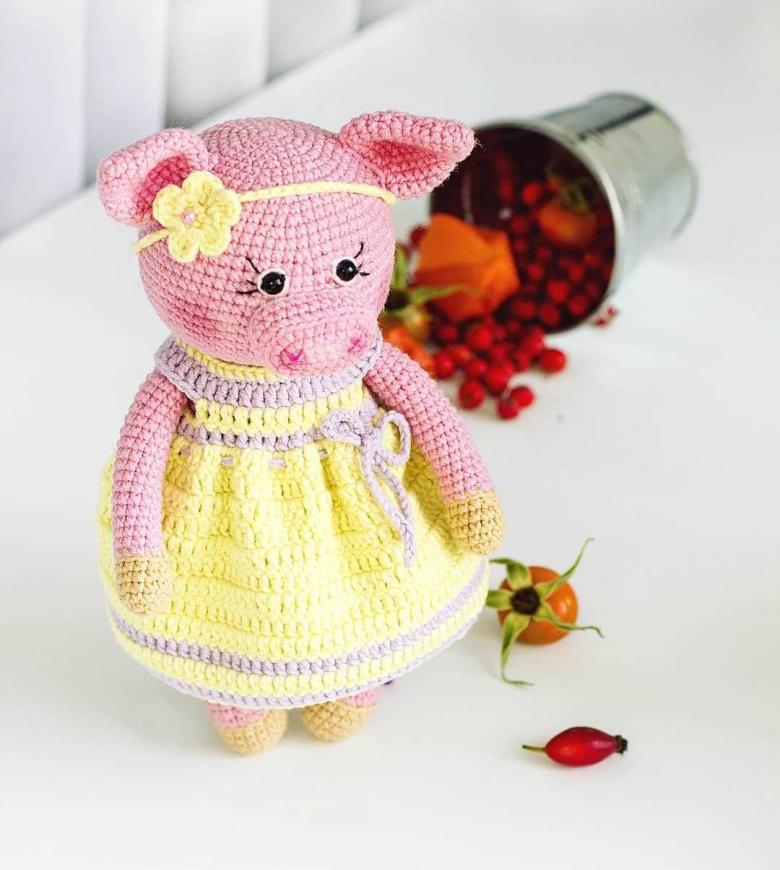
Thanks to the plan provided, you can knit a pig of the size of twenty centimeters in height, and the elements of clothing will add beauty to the product.

For knitting you will need:
- Three colors of yarn - 10% bamboo and 90% peeling acrylic.
- The yarn for the scarf is 100% cotton.
- Two hooks - 1.75 and 2.5 millimeters.
- Scissors.
- A set of needles.
- Buttons - two pieces are enough.
- Two beads will also be enough.
- Screw eyes with 9 mm fastener
- Filling
The first part of the master class on crochet piglet
You should start with a simple and gradually move to more complex elements. Let's knit the piglet:
- Collect seven air loops
- In the first row of the second loop from the hook are knit five columns without a stitch, then added another five columns without a stitch and the result should be 12 loops.
- The second row holds one no-neck column and another column is added, but which is knitted from two loops.
- In the third row, eighteen columns are knit behind the back half loops.
- The final row consists of the same number of columns. The remainder of the yarn is trimmed, but leave about 20 centimeters. Beads will be needed here and they will serve as nostrils. Using a needle we sew on the beads.
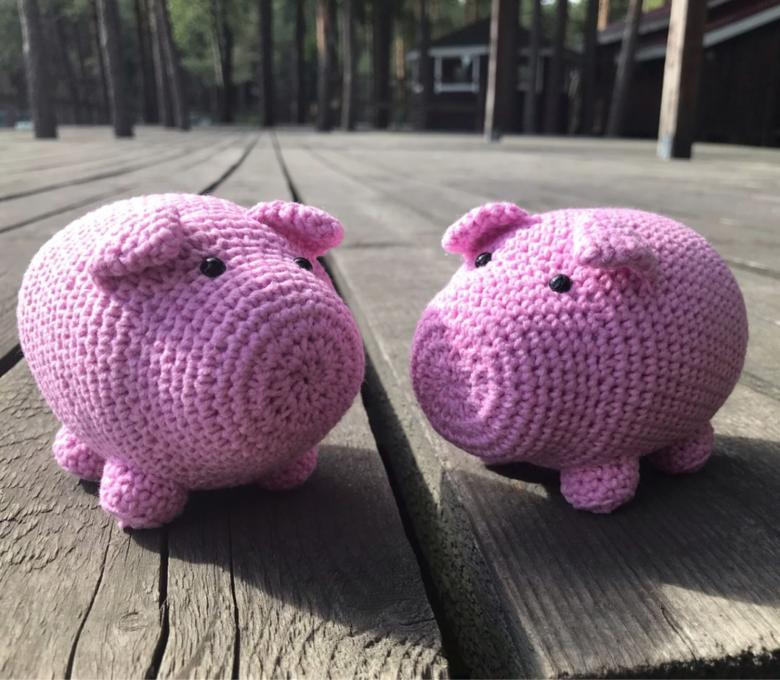
Knit ears
Two fully symmetrical parts will be the result of seven rows:
- Six columns are knitted into the amigurumi ring.
- Six more double columns are added.
- All are separated by one regular column and then double up to eighteen
- Again separated by regular columns, but this time two pieces. Next double up to twenty-four.
- Another split with one post and secured with a connecting post. Also leave twenty centimeters for sewing an ear.
- In exactly the same way, knit the second ear.
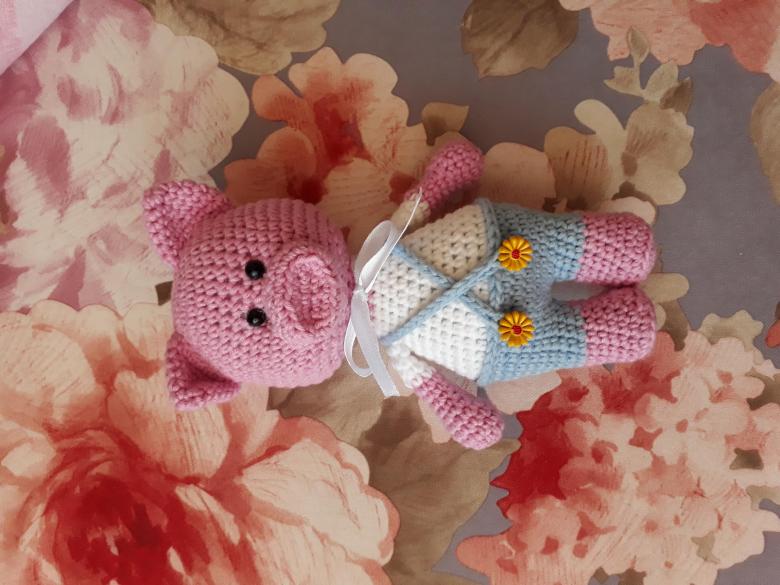
Knit the head
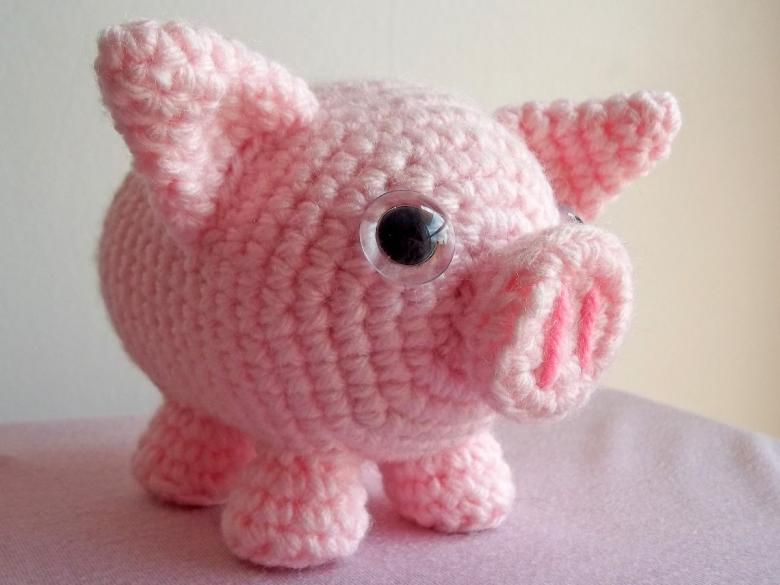
In this element there are 22 rows. Everything starts with an amigurumi ring - six columns are knitted and 36 columns are added up to row 6, you can separate the double loops with one or two regular ones. Eyes are inserted between 11 and 12 rows, three loops will be enough as the distance between the holes. Similarly, 54 double loops are knitted until row 17. Finally, the thread is cut off completely, and the resulting space is filled with filler.
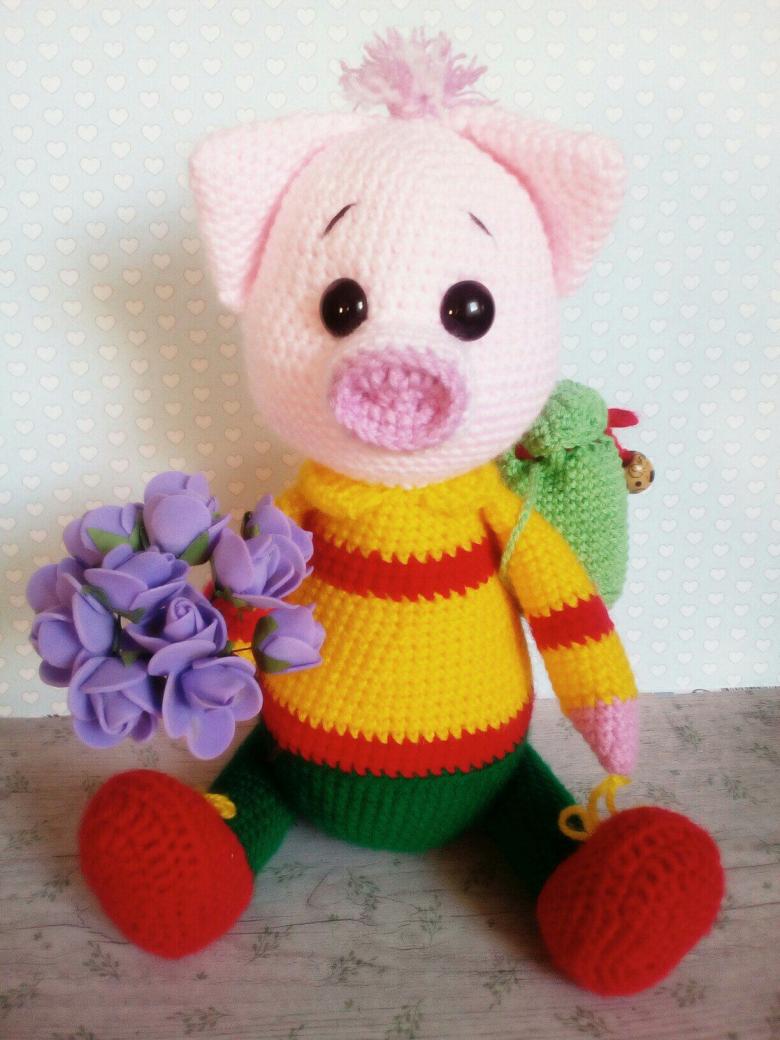
Using a needle, the head is closed and the other parts are sewn. The ears are placed at an even distance from each other. Piglet is placed just under the eyes at a distance of two loops. Do not forget about tightening the eyes, or they will be lost.

Second part of the master class on crochet piglet
The head is ready, now we need to crochet the body of the pig, and we start with the legs. It may seem difficult, but you already know how to knit single and double loops, and for the body you will need only them.
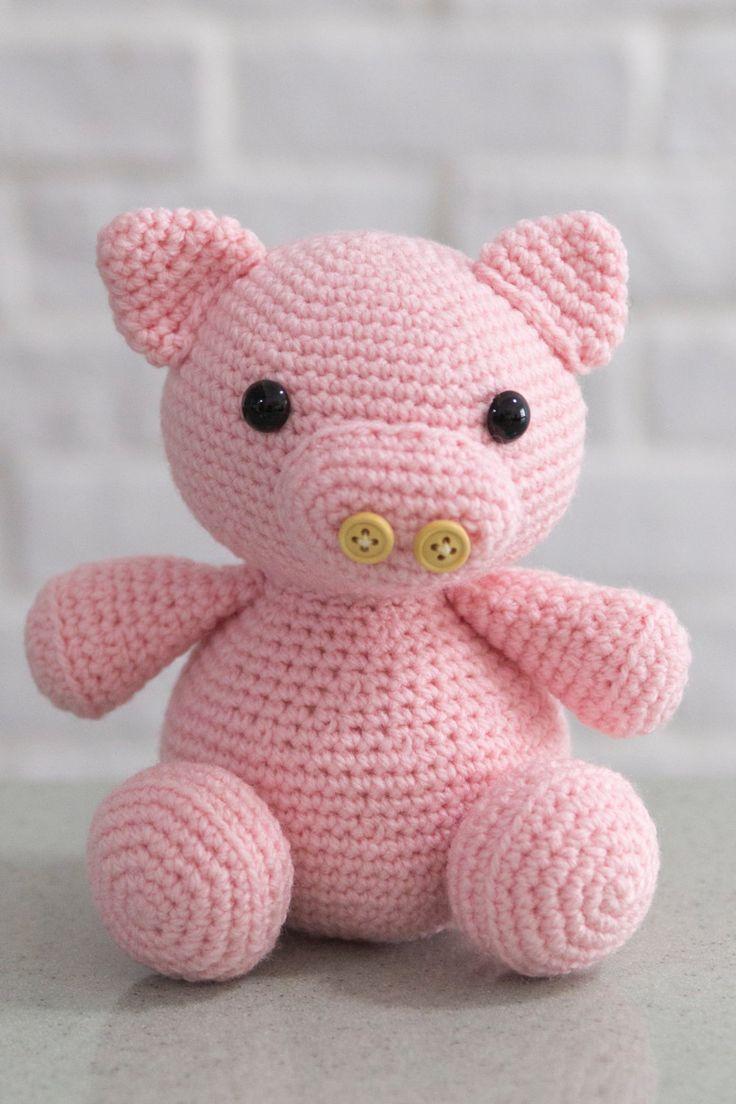
Knitting the boar's legs.
The only difficulty is knitting the torso and legs in one piece. It can be uncomfortable, but after ten minutes you get used to it.

We start with pink yarn.
- Amigurumi ring and six single columns at once.
- The second row consists entirely of doubles, you should knit up to twelve.
- Similarly, until the fourth row, 18 double stitches are knitted, but then the stitches are carried behind the back of the next stitches.
- Knit three more rows of 16 and 14 double stitches. Now cut the yarn and immediately begin sewing elements of the garment. To do this, change the yarn to blue and continue.
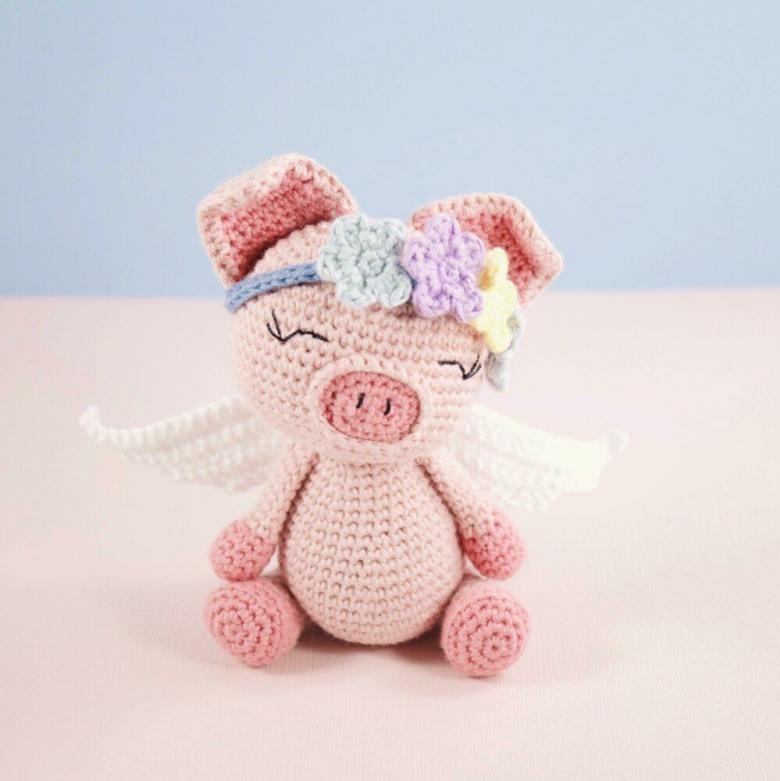
Attention! The second leg knit exactly the same, but the thread is not cut. When the feet are ready to sew on the buttons at their base. The whole cavity is stuffed with filler.

Starting with uncut yarn connect the two legs together and knit 40 double loops. At the same time dividing them by one or two single stitches. Should be 16-18 rows.
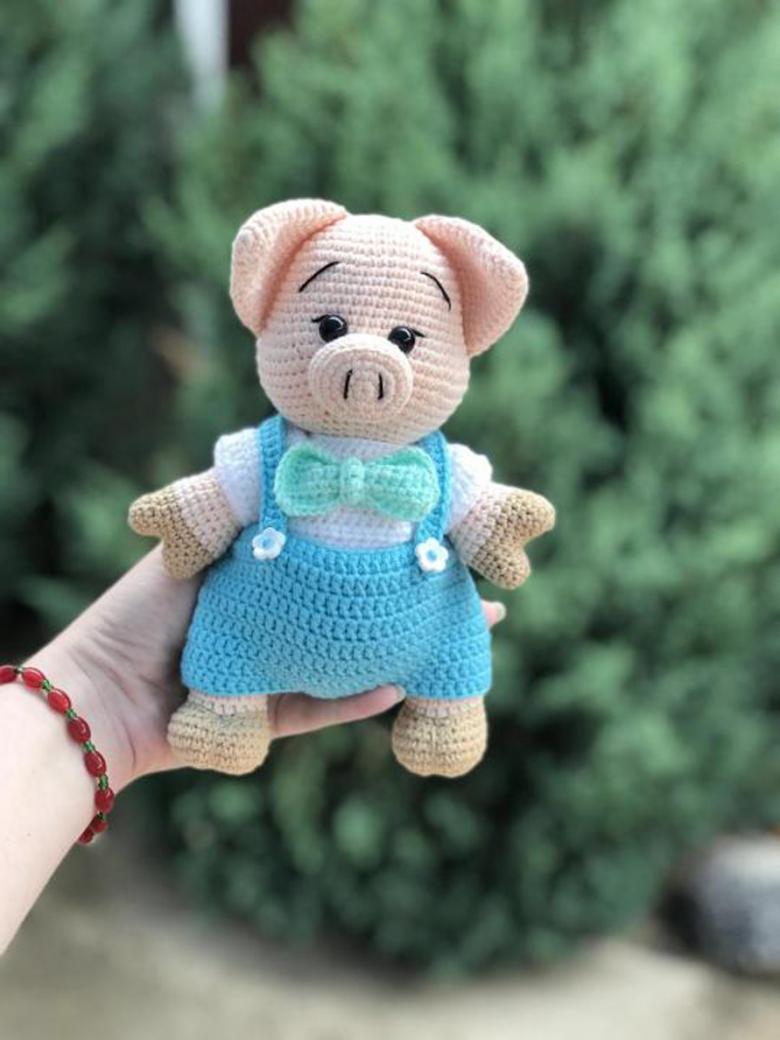
Torso knit quite simply. The shape is similar to a cone and 27-29 rows of double stitches will be enough. All rows are already separated by 2-3 single loops. The long yarn is not cut, but left to sew on the head.
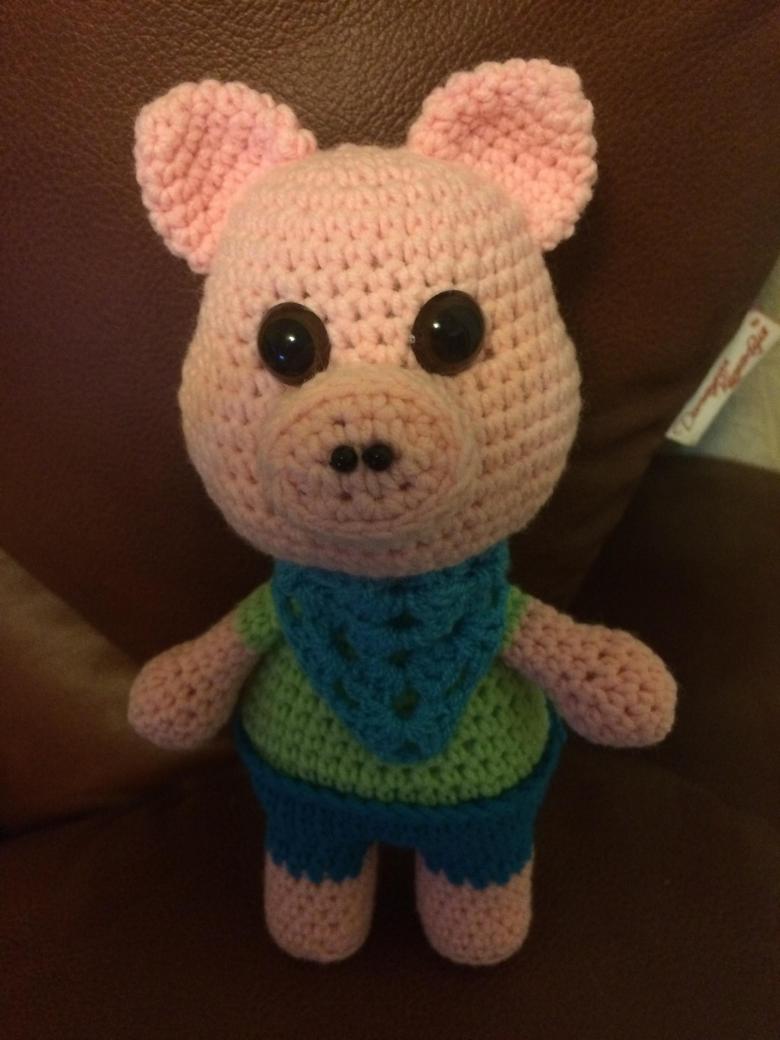
The insides are stuffed tightly, and all the necessary elements are sewn on with a regular needle. For example, two buttons will serve as fasteners for shirt straps.
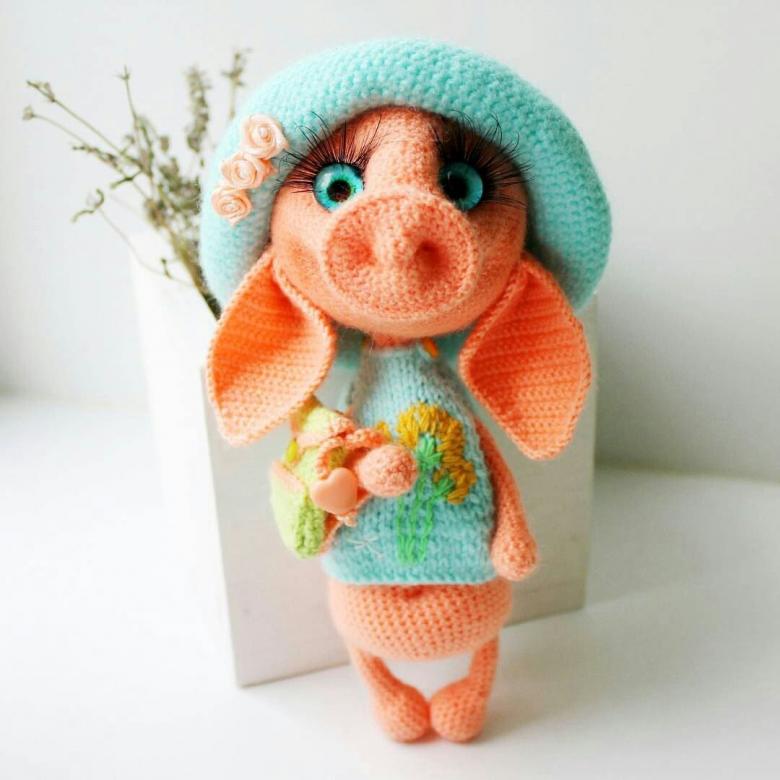
The arms do not require a separate pattern. Knit in the same way as the legs, but with half as many rows. Use two colors: pink and blue. For special craftsmen, you can advise to sew on the fingers.

For toes you need a few skeins of yarn connected to each other. Using a hook, they are threaded into the linked hands.
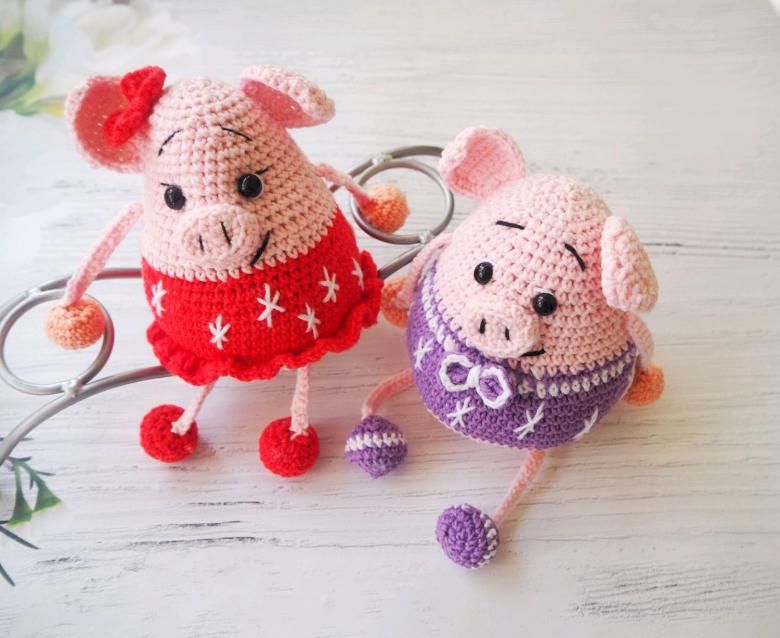
Final steps in crochet piglet crochet
It remains to join all the parts together. The legs and torso were crocheted together, so they are simply stuffed to the edges with filler. The arms are filled first, and then tied to the torso. At this stage, it is important to observe symmetry and carefully sew the parts, so that you do not have to re-tie. With sloppy action, the loops can stretch and form an empty space from which the filler will fall out.

Crochet a cactus for a piglet
A cactus is an important element for a piggy. It should look elegant and attractive, so this small detail is very necessary.
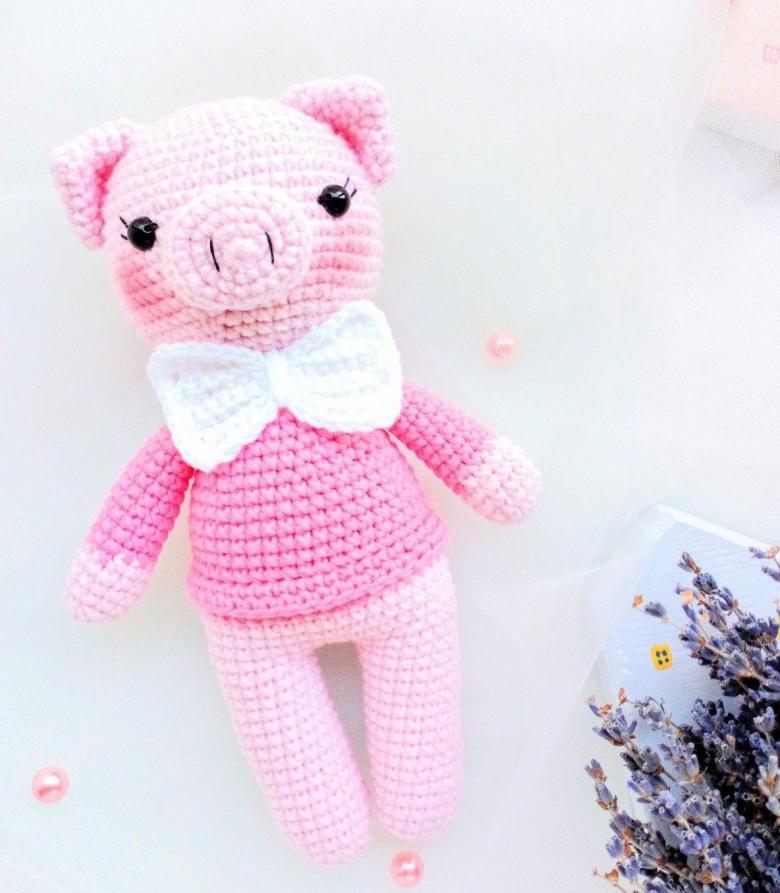
The knitting scheme is also simple:
Initially, six air loops are cast on the hook, then an interesting combination is knitted - a column with three cast-offs, a division of three air loops, again double loops with three cast-offs and a division of one air loop. Conclude this row in a single loop and a double three-way cape column.
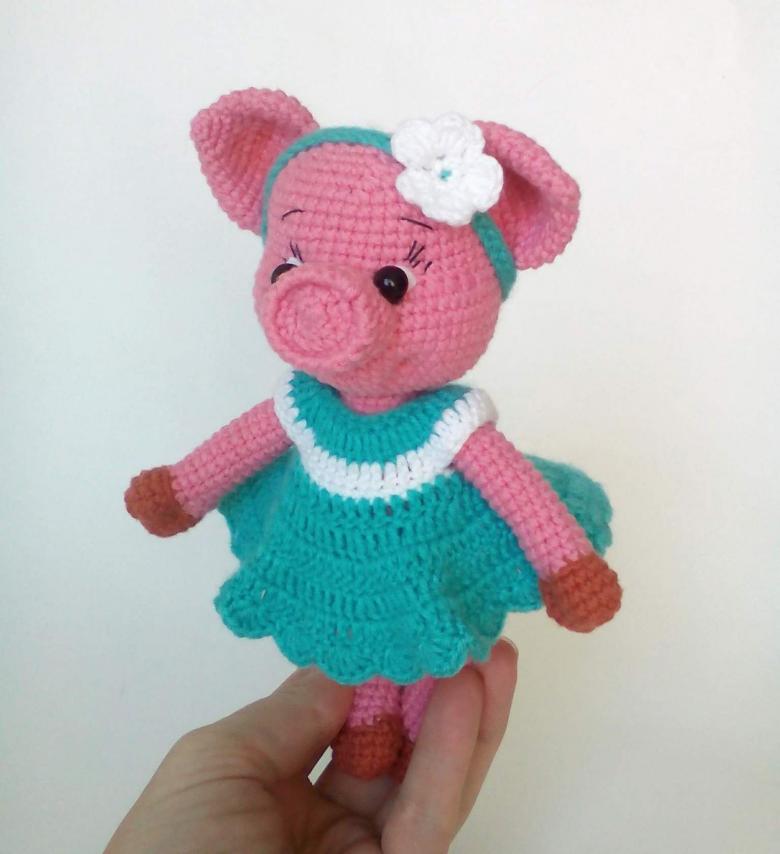
The next two rows are knit on the same principle, but the width is varied by using air loops. Now only one stitch at a time as a division.
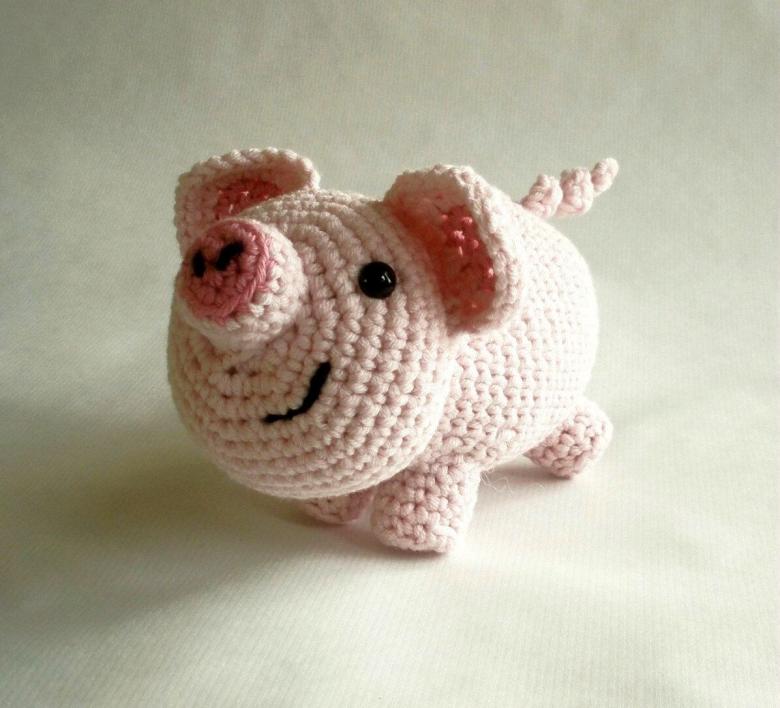
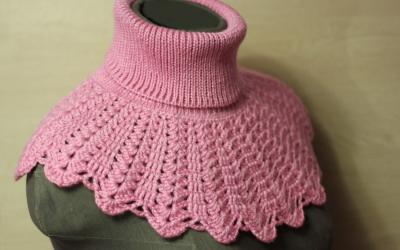
The remaining threads are not cut off, but are used to tie not the piggy neck. To fasten the cactus tightly, a needle is used, but you can also tie a few knots with your fingers.
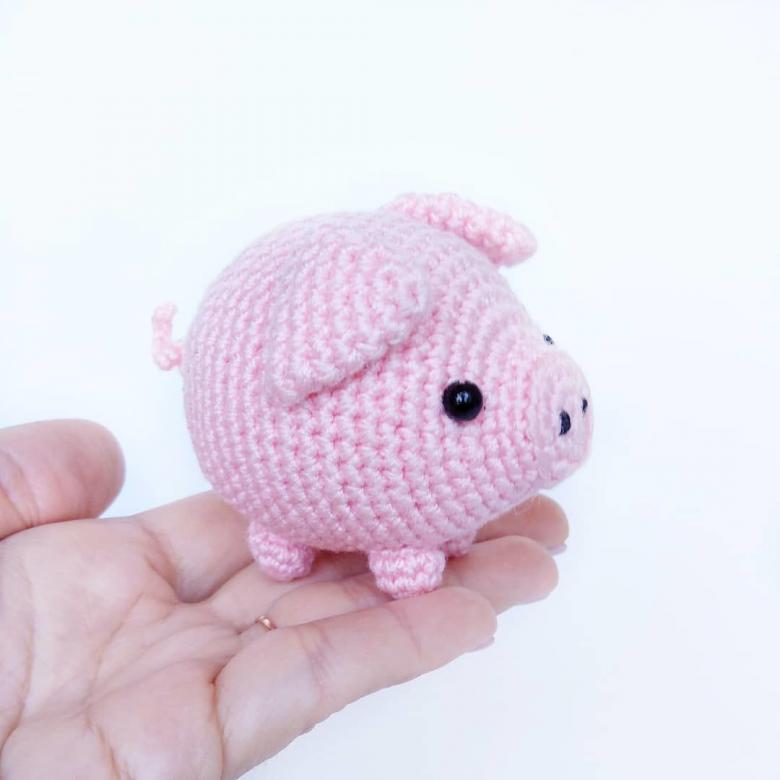
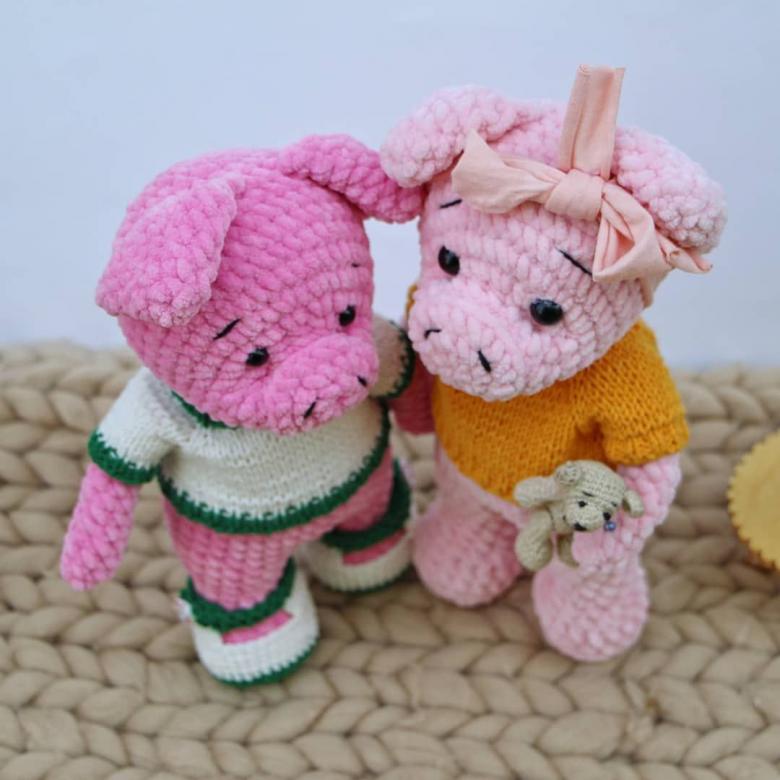
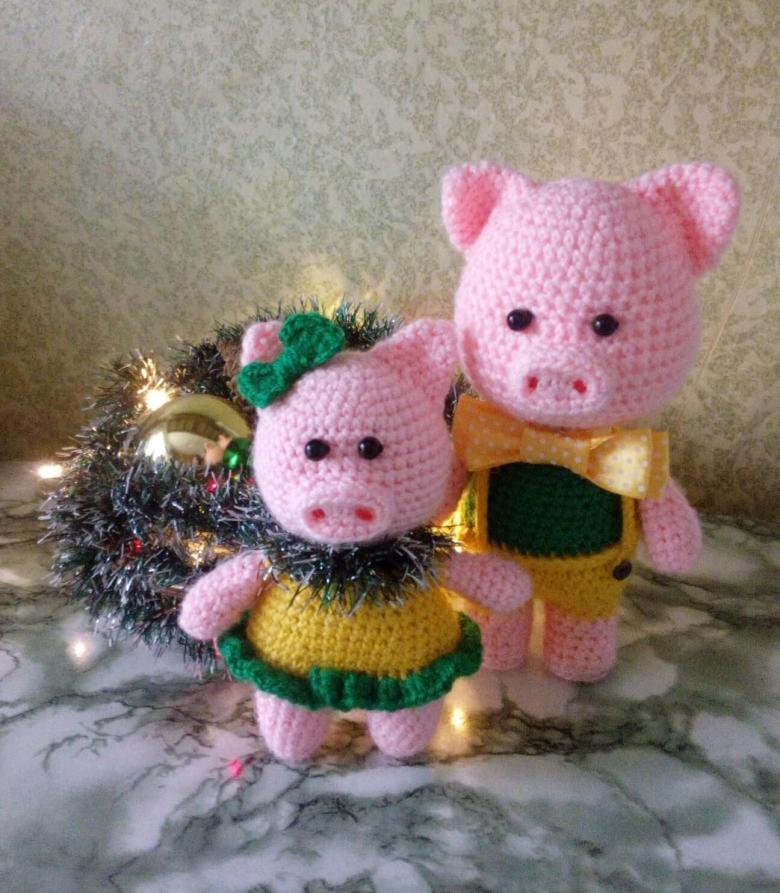
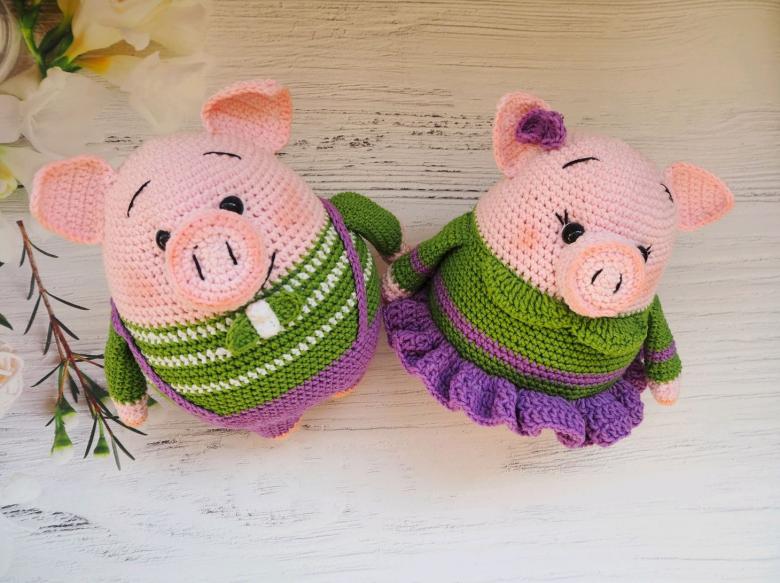
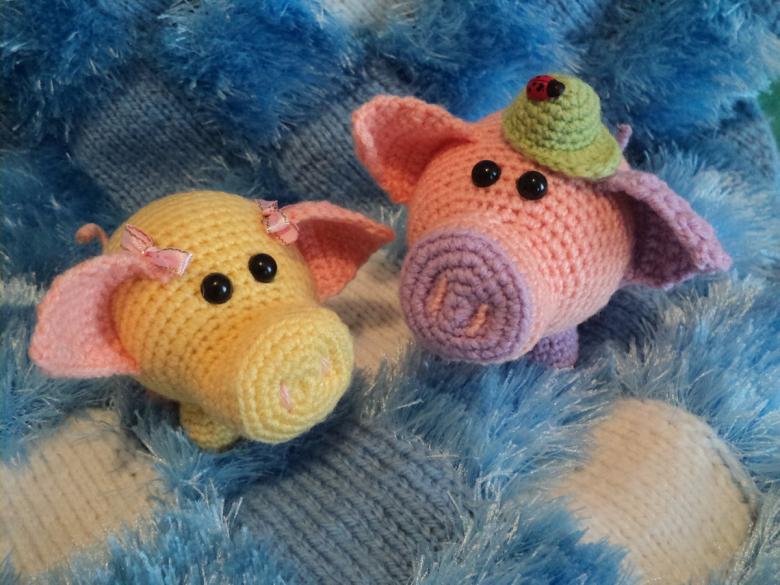
Once the piglet is tied, immediately start knitting a friend. So that a few piggies are ready for the new year. Such a toy is knitted easily and interesting. Thanks to very similar loops, hand dexterity increases and knitting is easier. If some elements seemed complicated, then do not wait - immediately turn to the Internet and watch the video, perhaps to see the action is easier than to read them.

