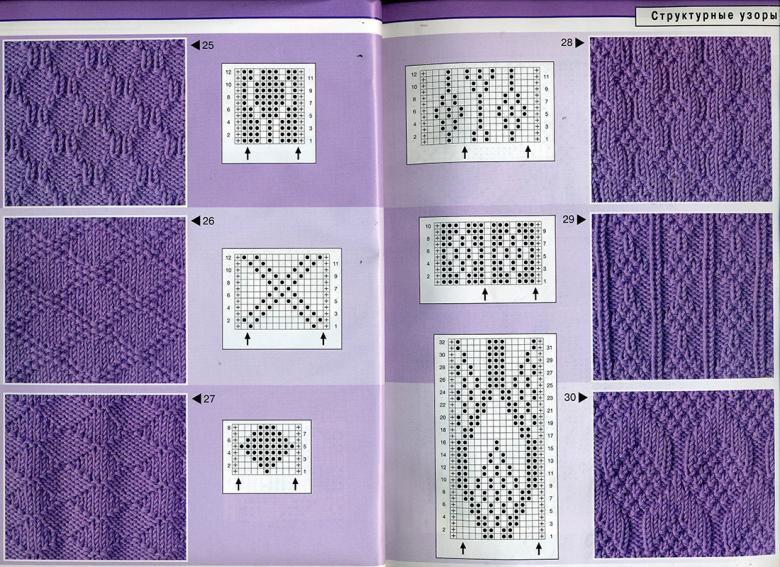
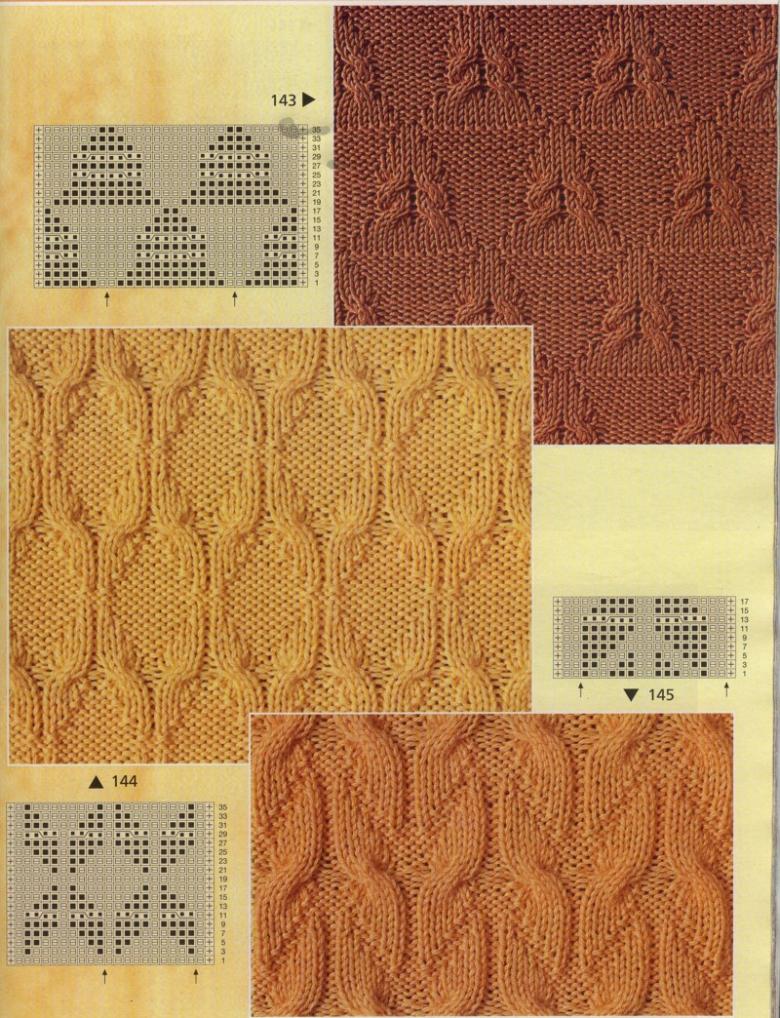
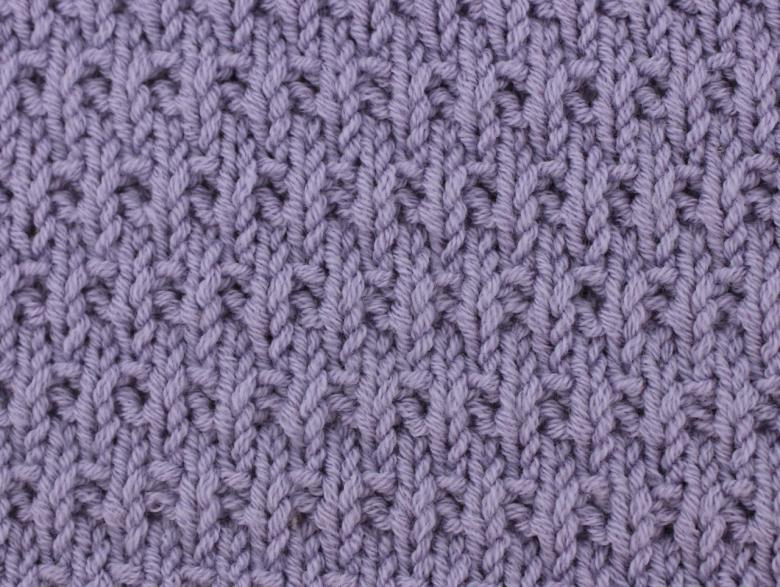
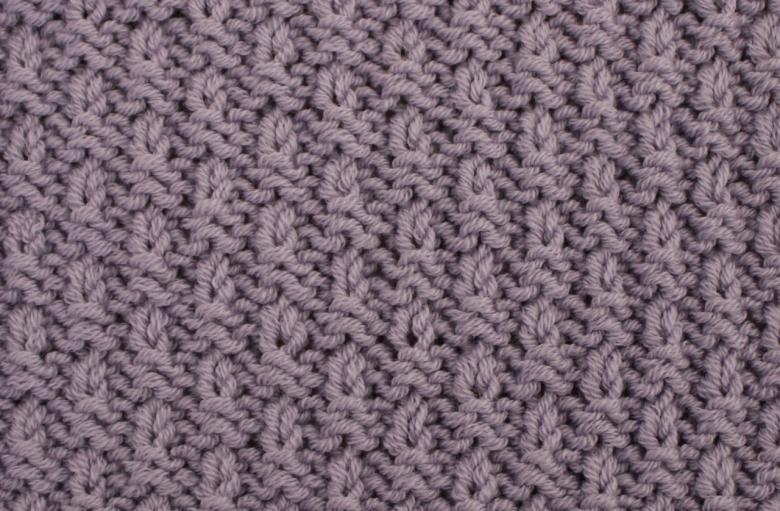
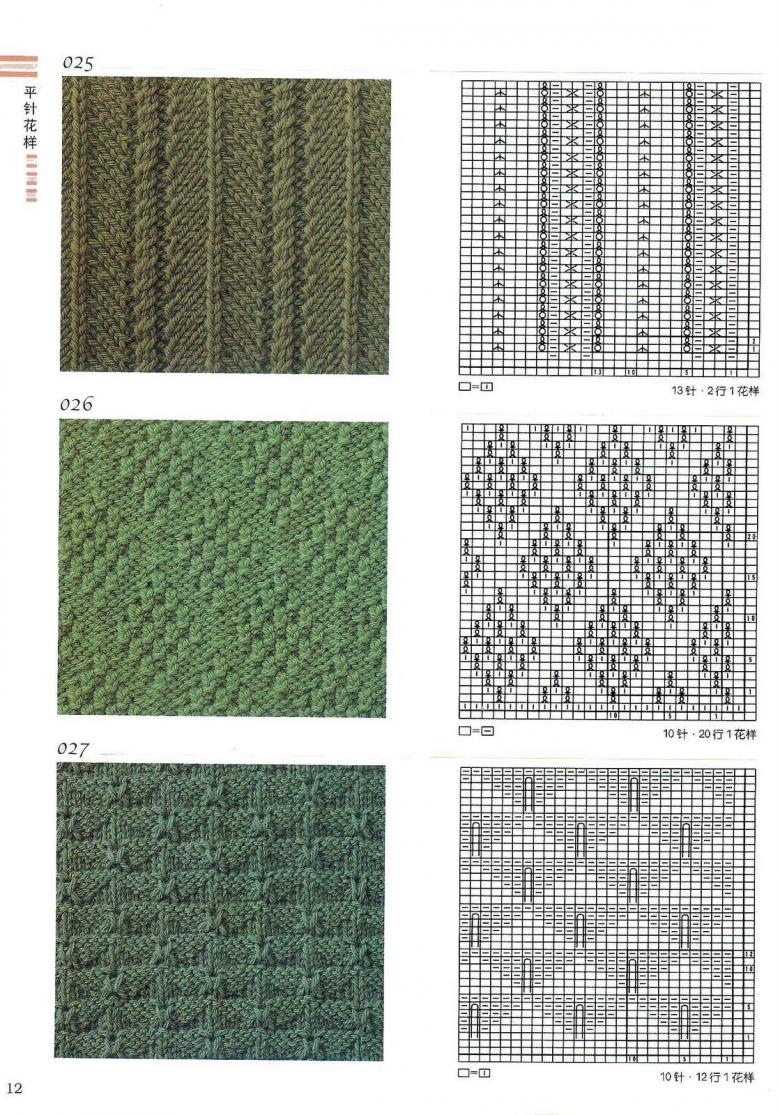
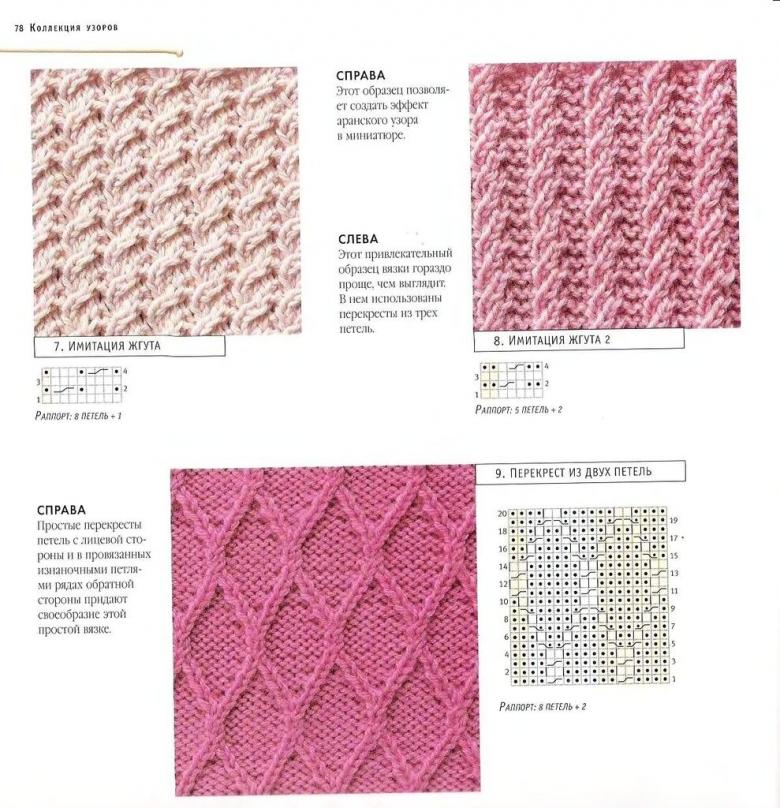
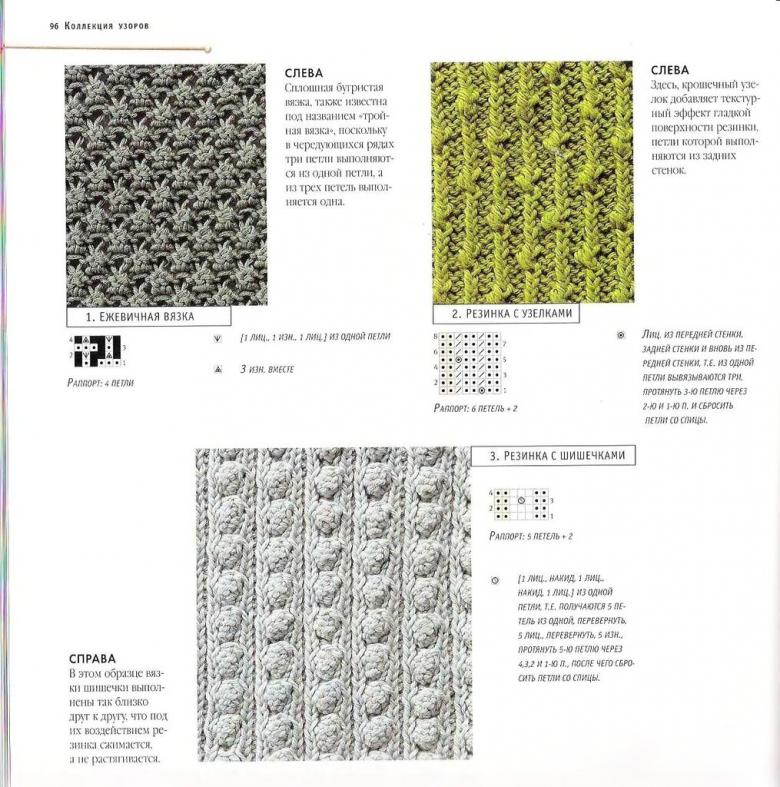
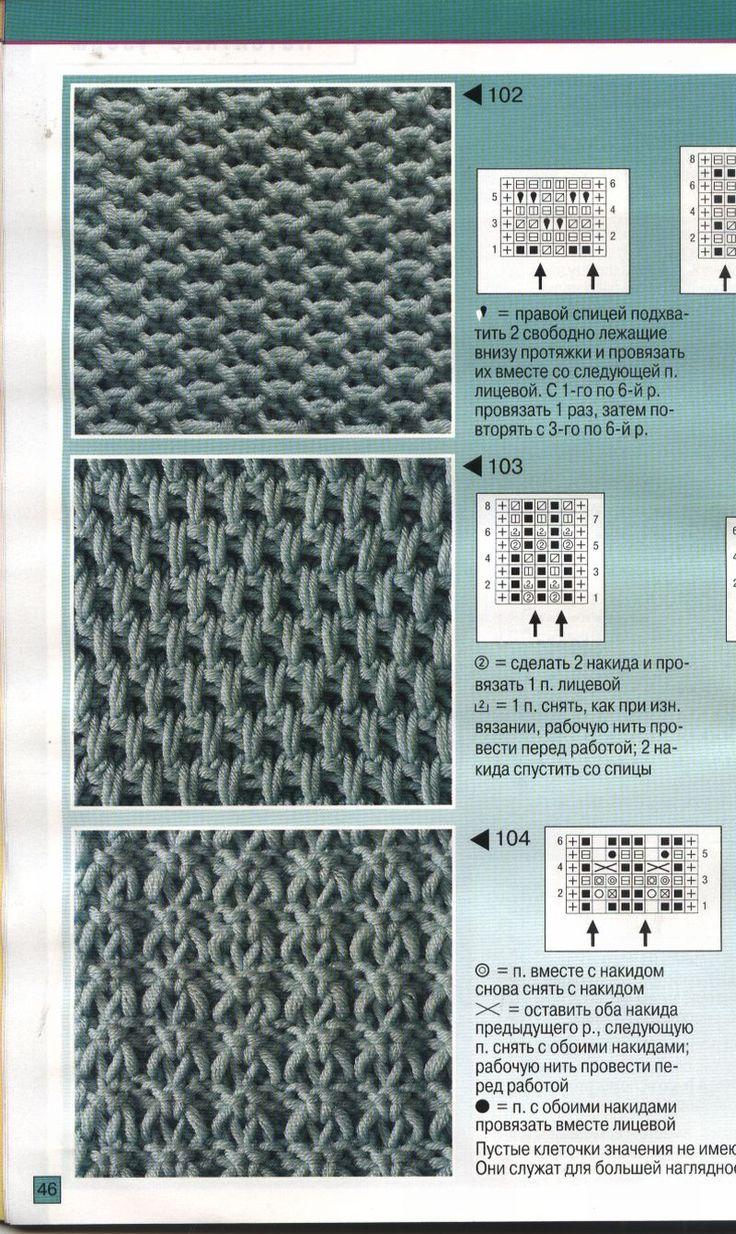
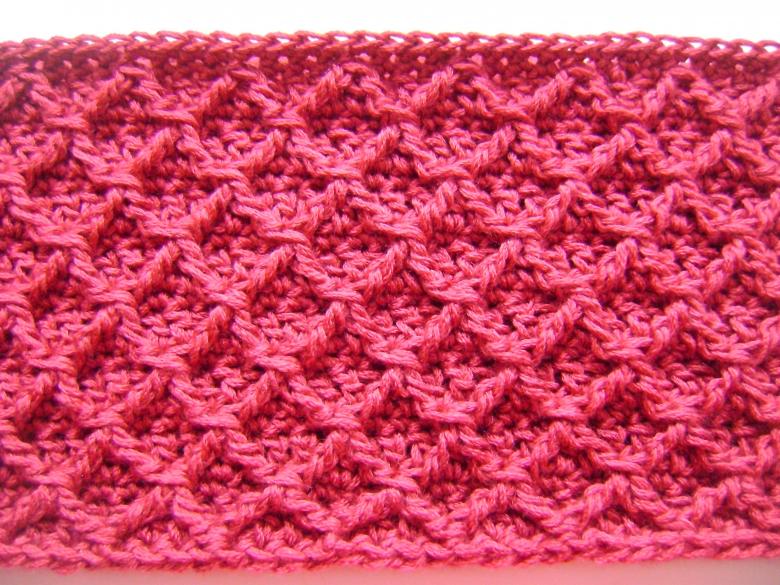
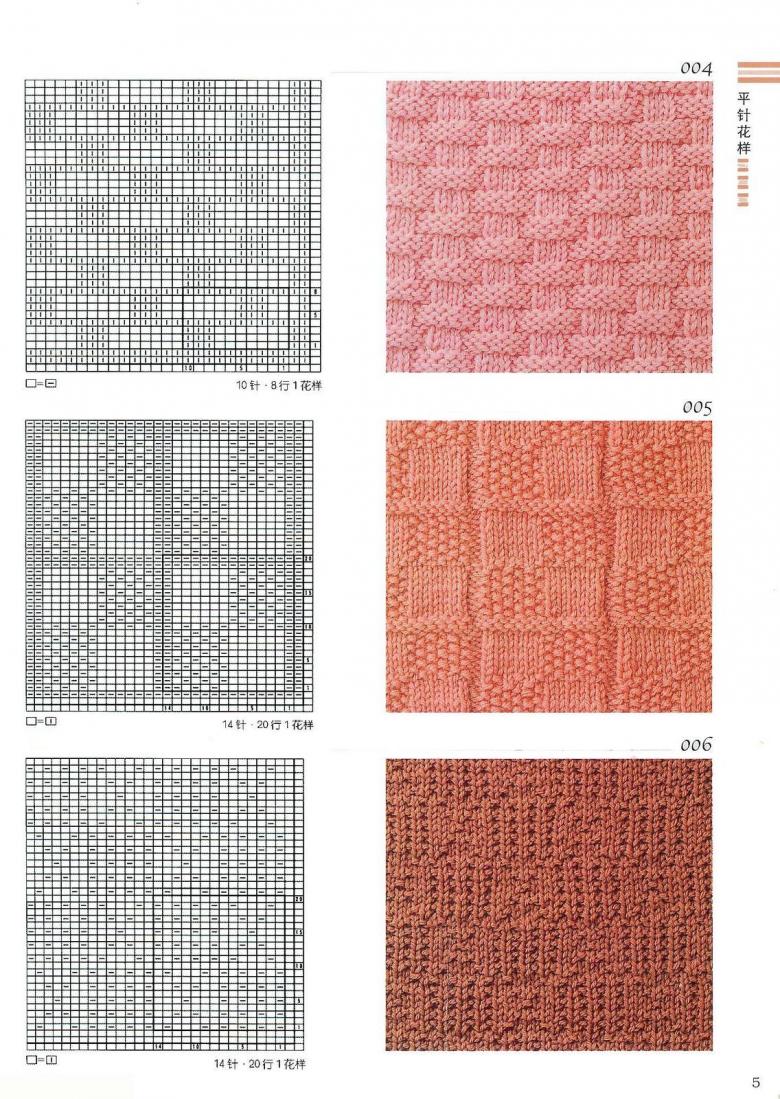
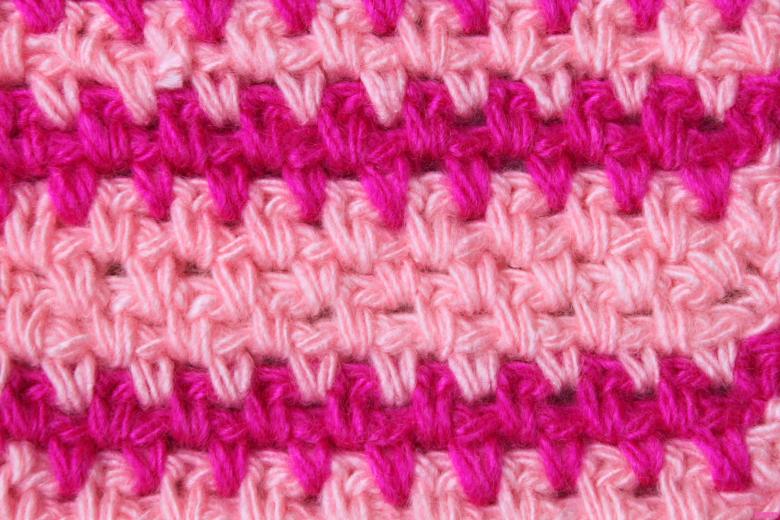
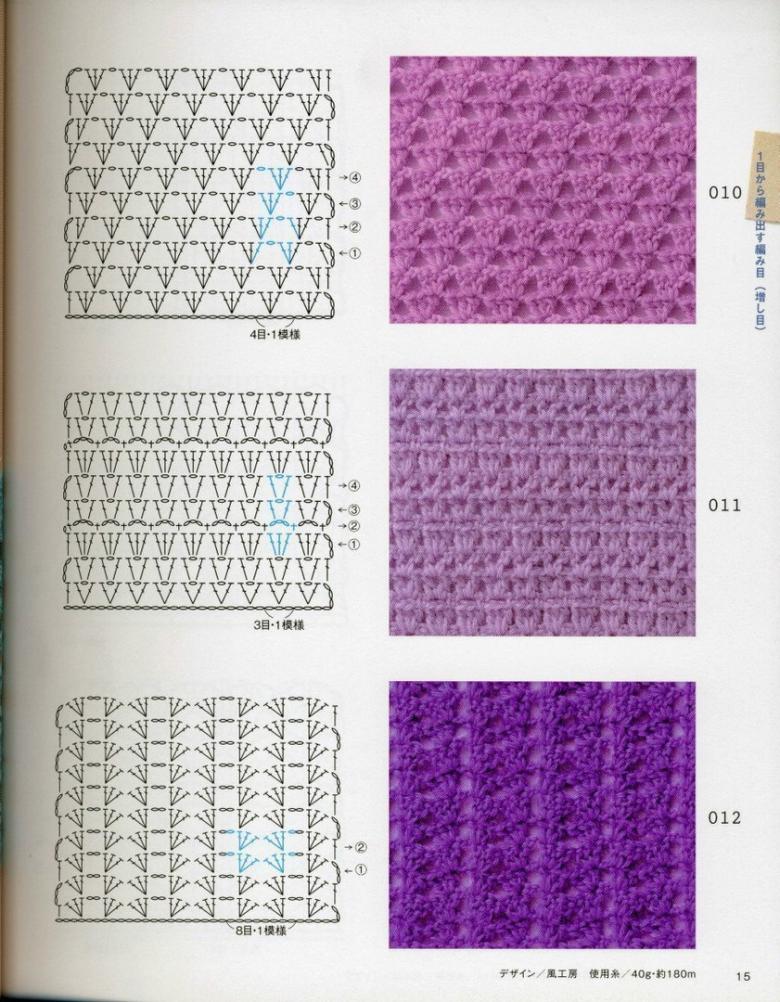
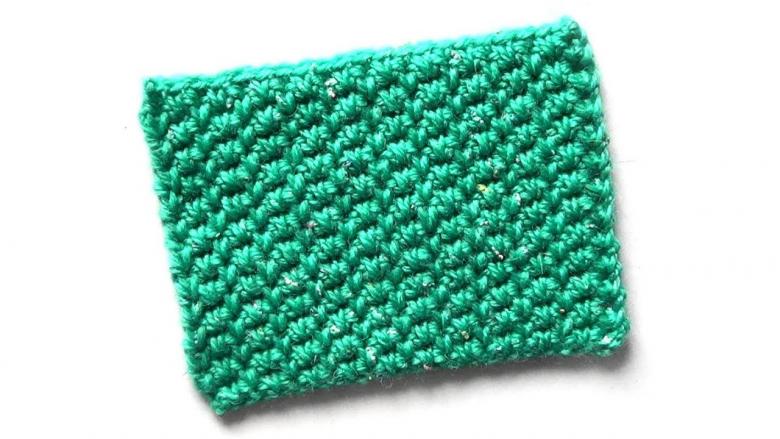
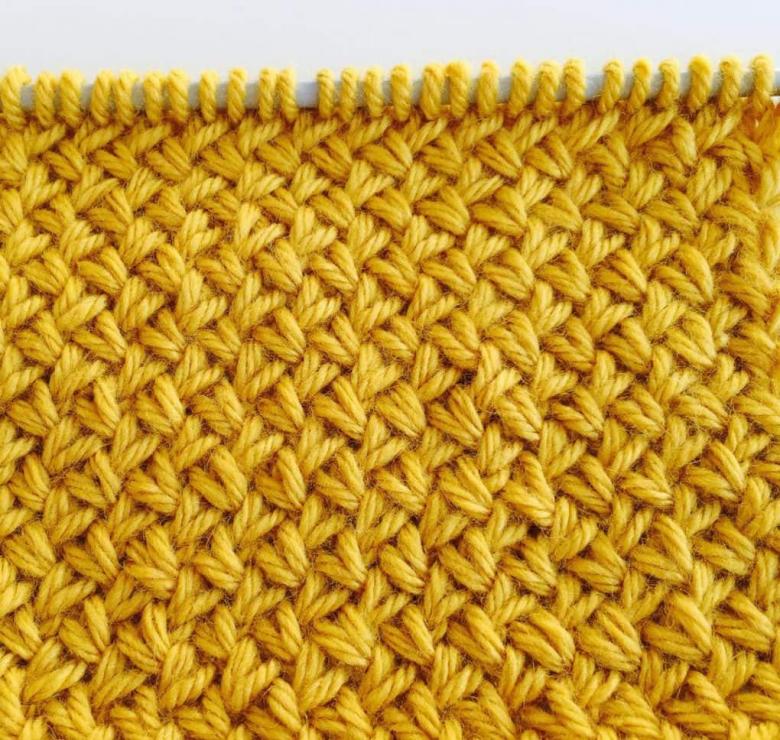
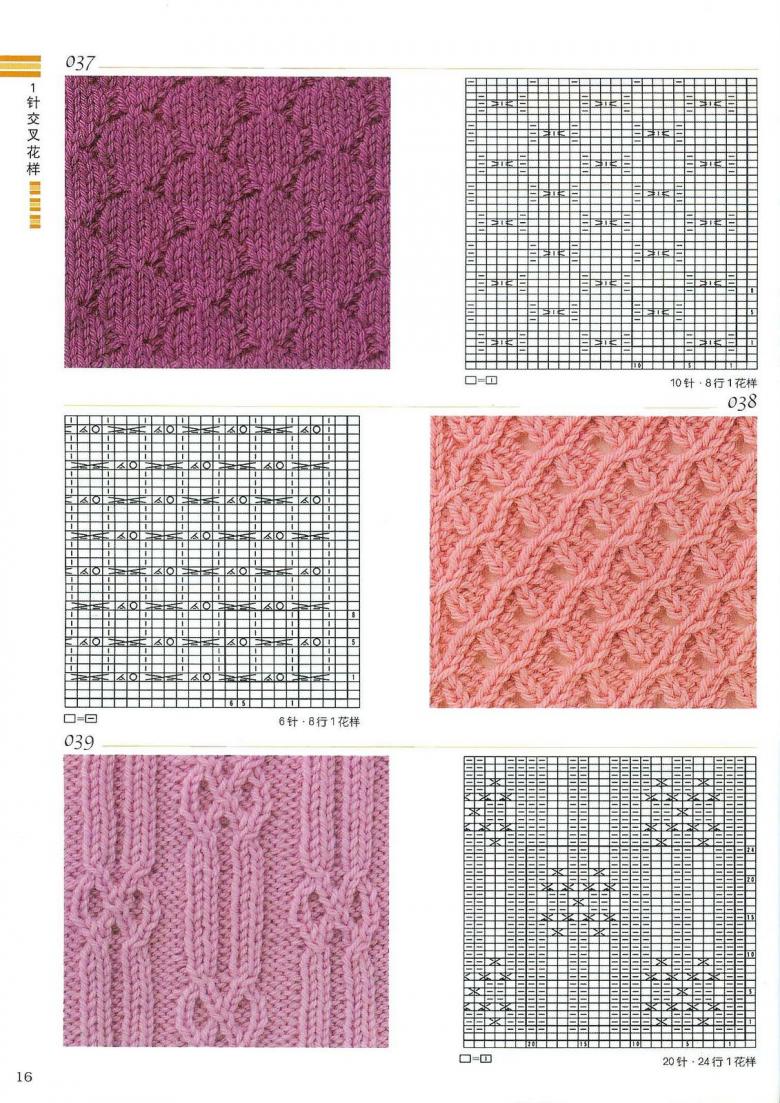
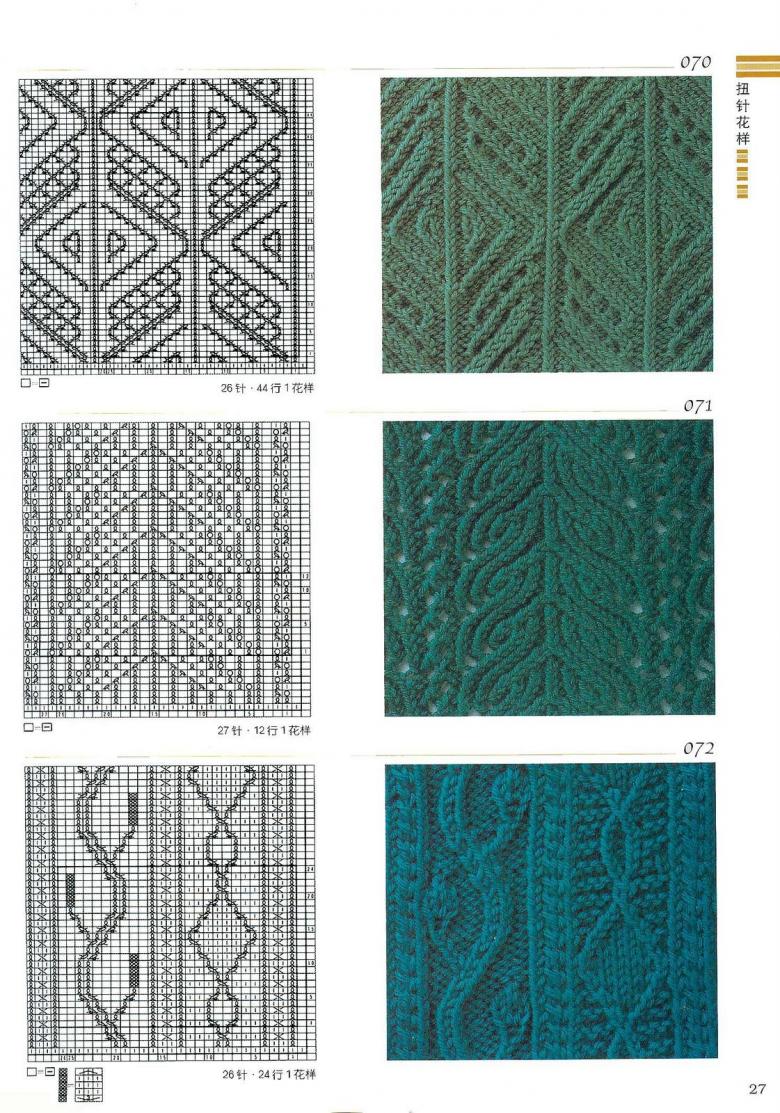
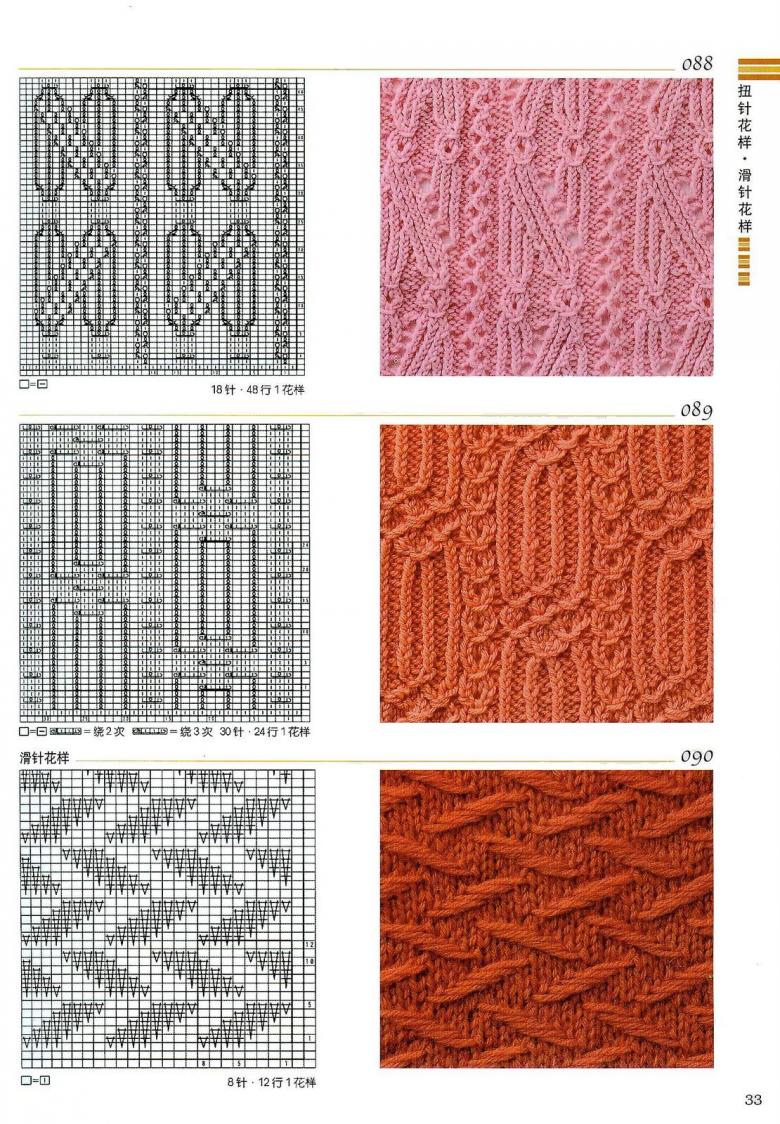
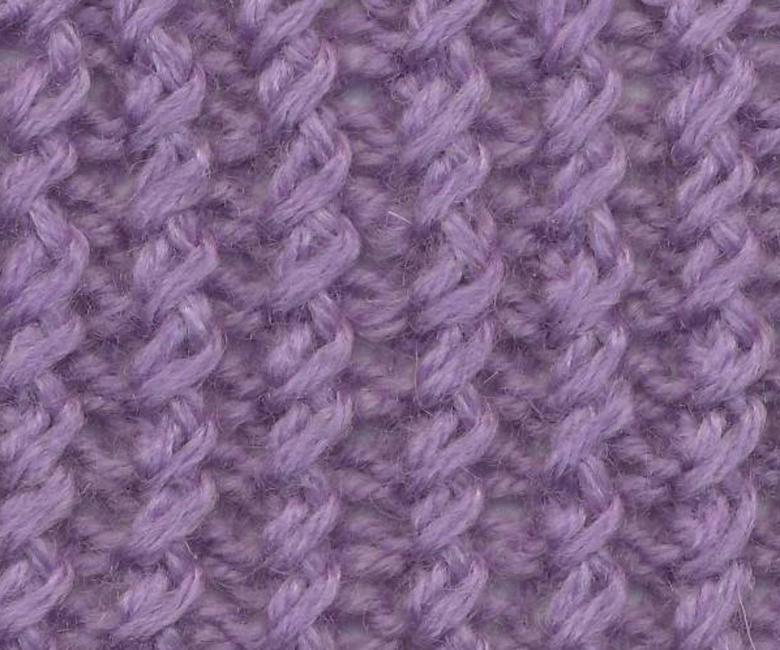
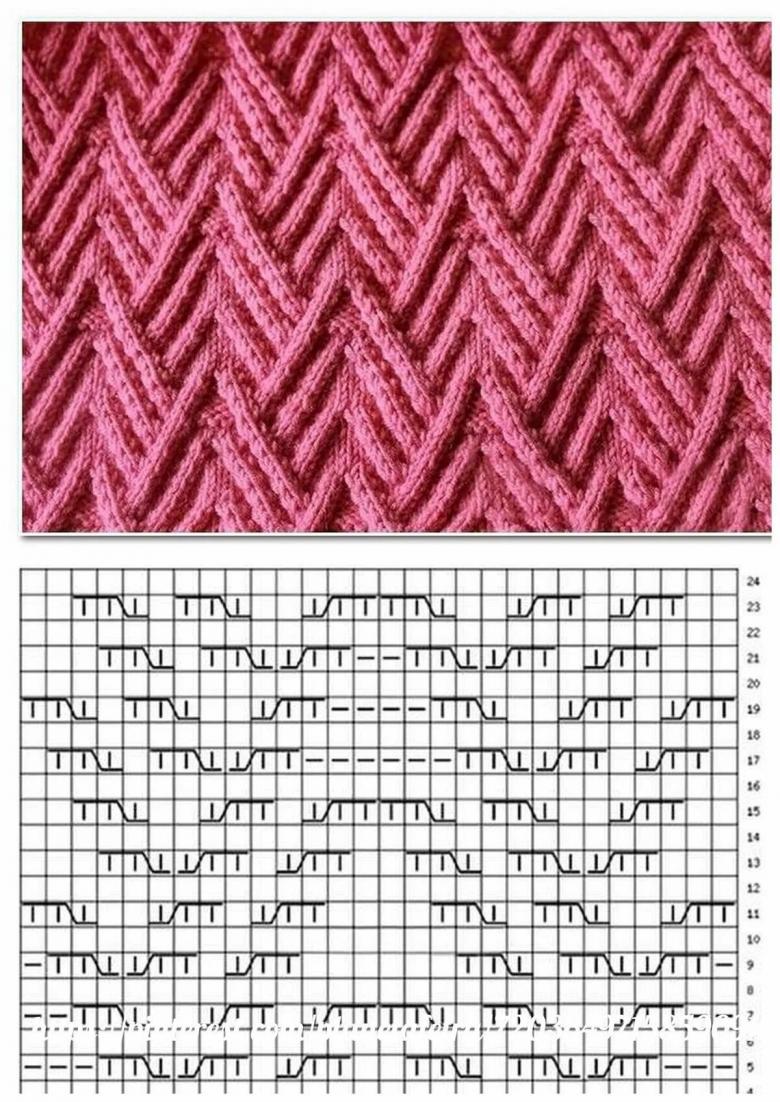
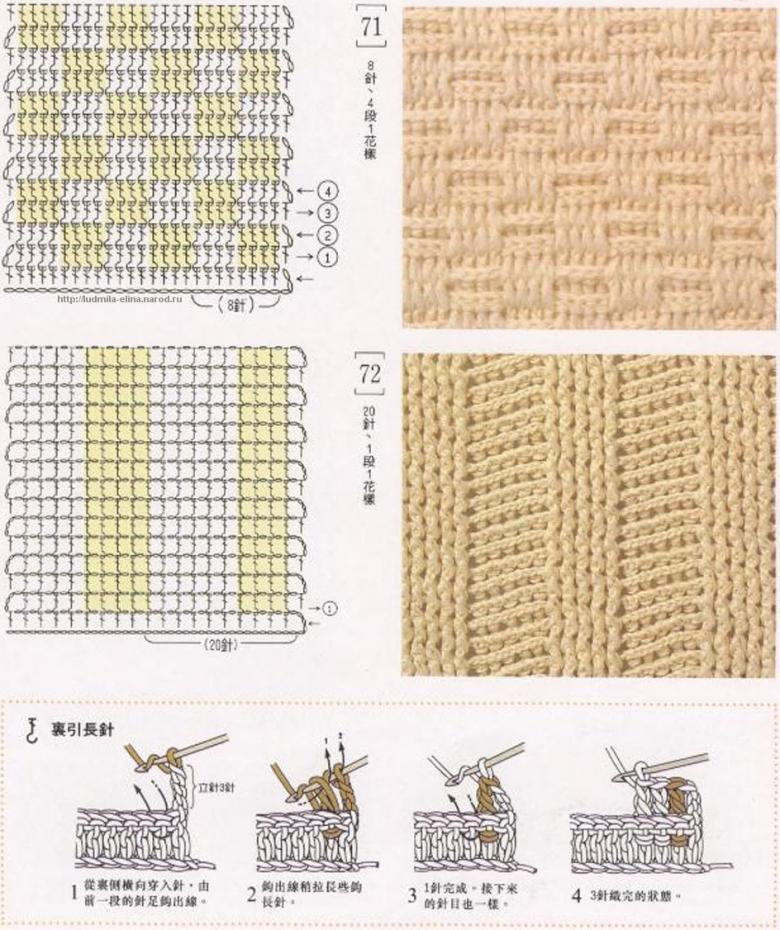
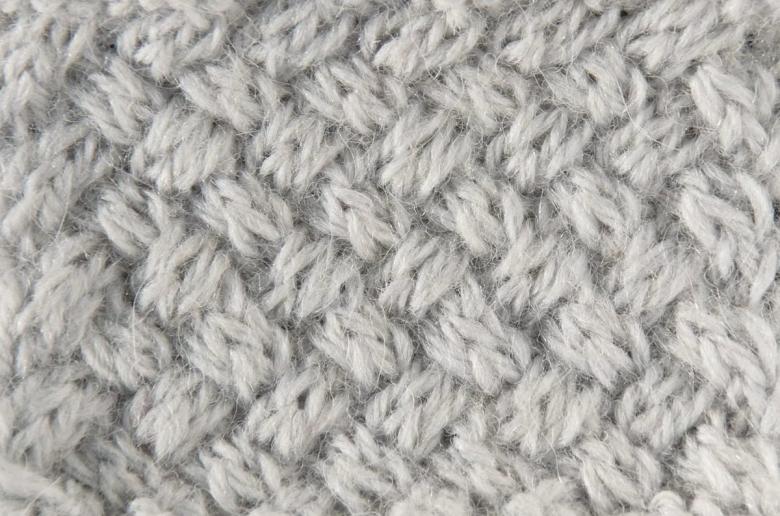
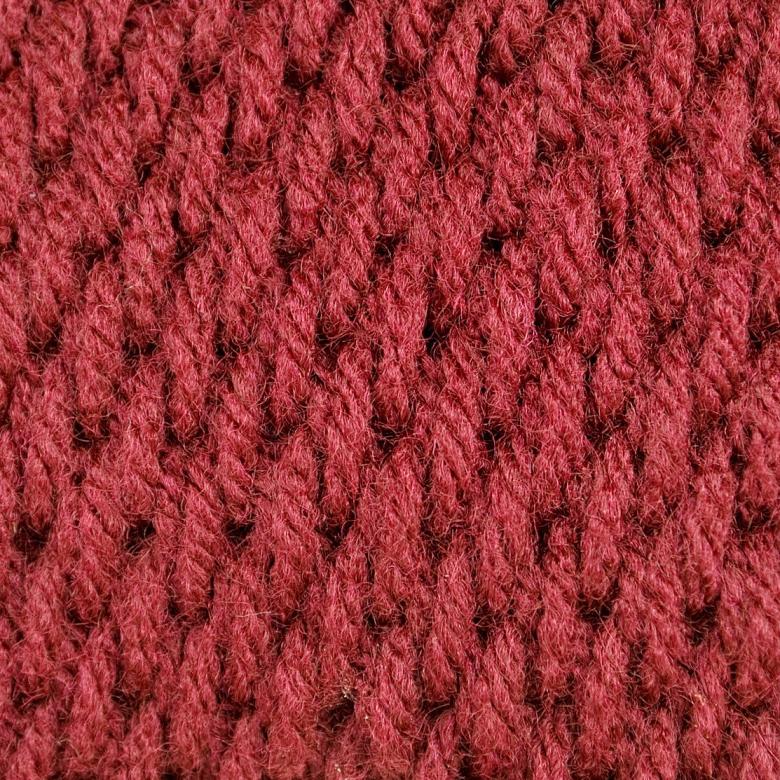
Knitting tight patterns with needles - descriptions of patterns, features, tips and photo examples
Dense patterns are easier to knit with knitting needles, not with a hook. With their help, most things are created. The advantage is obvious. It becomes possible to decorate a dress or sweater with patches, embroidery, ribbons, appliques. It is also possible to leave the fabric without additional decorations, enjoy its warmth. It is not a problem to always be on trend.
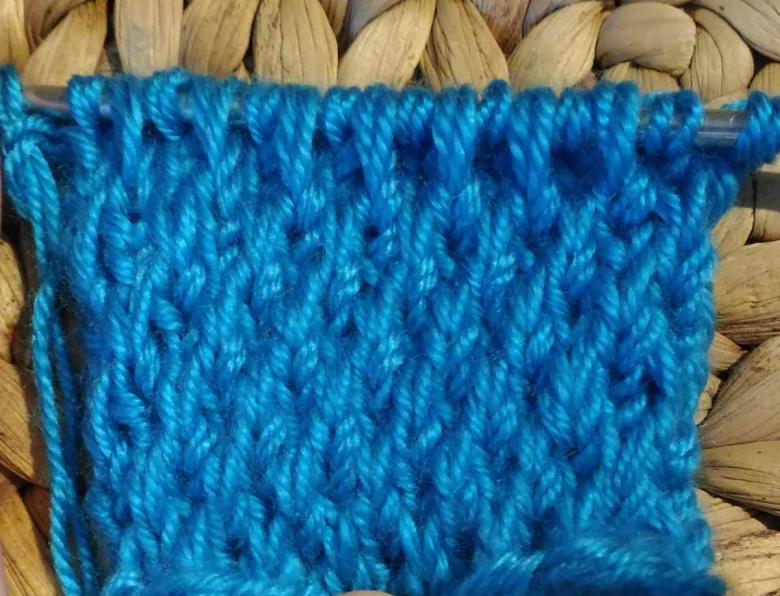
They are more convenient to knit. You can fold two or three yarns into one and finish the work faster. This is ideal for beginners. It is very important to quickly sew the details, wear your own hands created thing, hear the compliments, get excited. Such a result is easy to achieve.
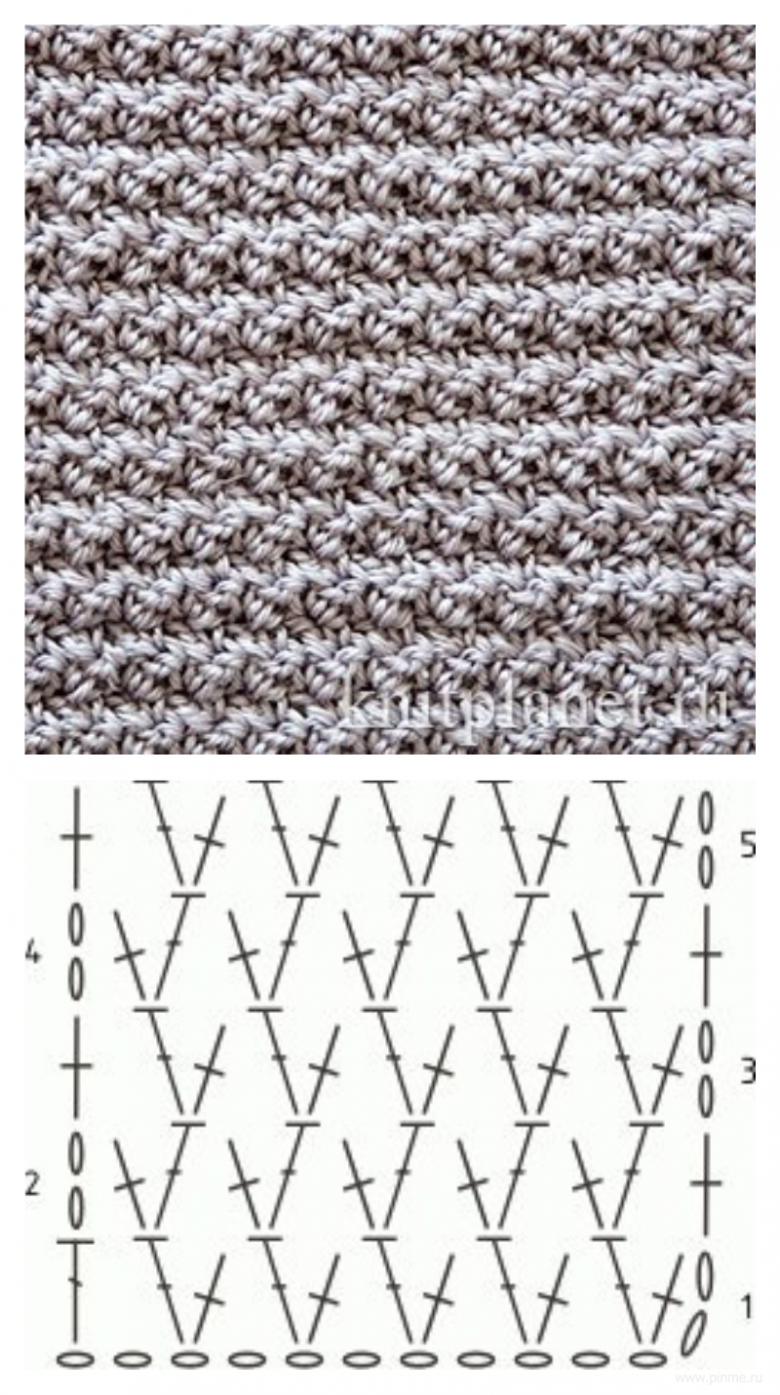
You can't do without these patterns at all in some cases. The problem is to make a winter hat without them, for example, a spring coat, a soft toy. There are disadvantages, of course. In particular, the disadvantages can include a higher consumption of yarn, labor intensity. It seems that the fabric does not increase, despite all the efforts.
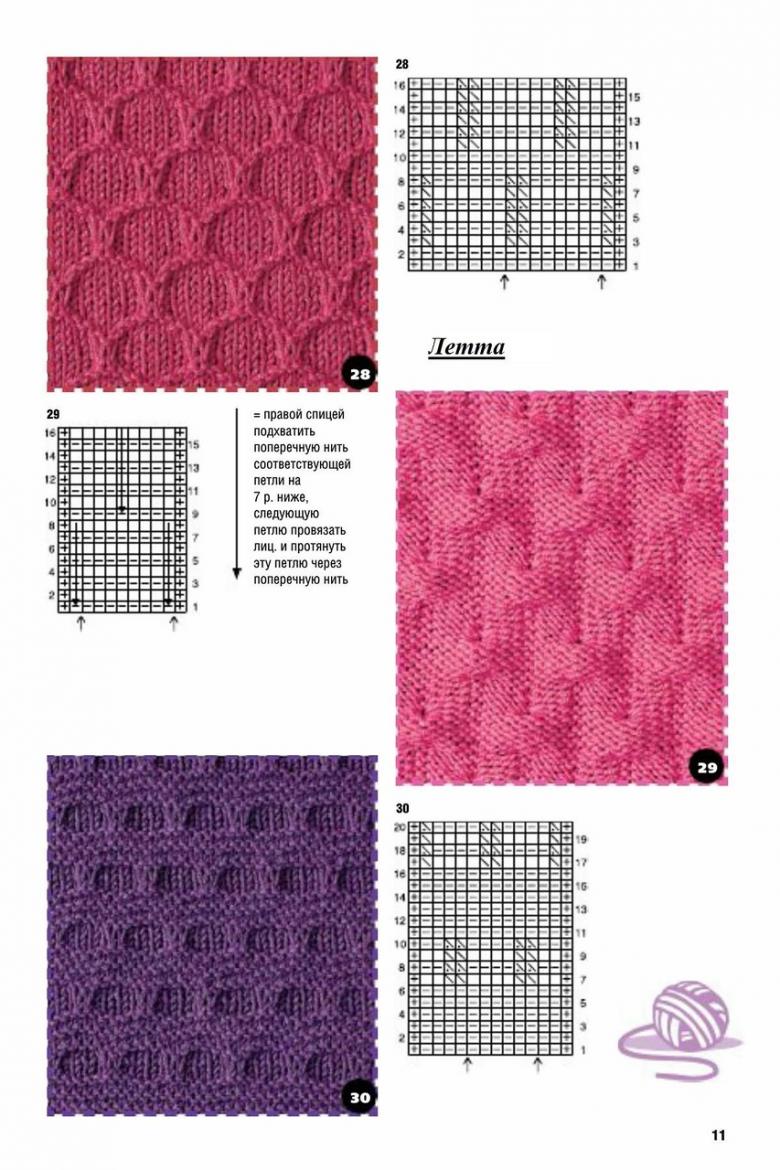
The needles are no longer weightless as the rows are added. But it is worth changing the density, start making wider loops, and this disadvantage disappears. And when the work is almost finished, it becomes clear that much has actually succeeded. I want to praise myself for his diligence, a great result.
Basic Techniques
During the knitting of dense patterns develops the skill of self-checking and neatness, attentiveness. The ornament will be obtained if you accurately follow the schemes. The master class should begin with the study of the basic techniques used. If you master them, no pattern will cause difficulty. Any pattern can be chosen, and there are many of them, and even new ones are invented from time to time.
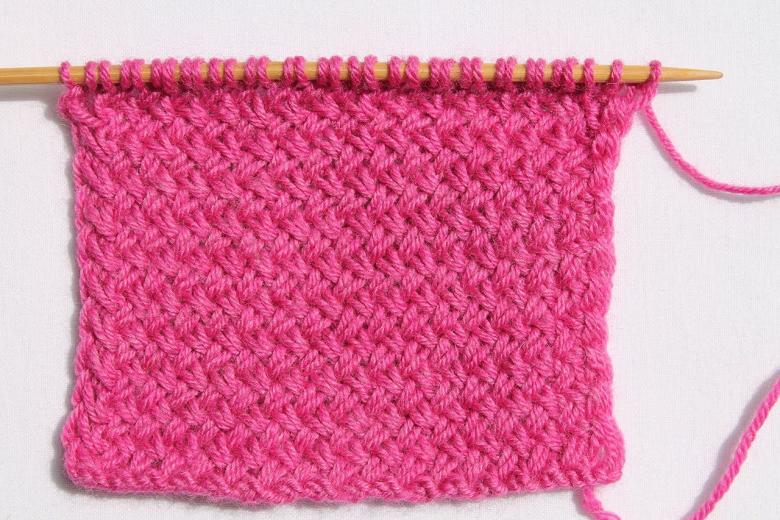
You have to learn how to knit:
- Regular front and back stitches;
- crossed;
- jersey;
- English lithe and sleeves;
- cast-off stitches;
- elongated.
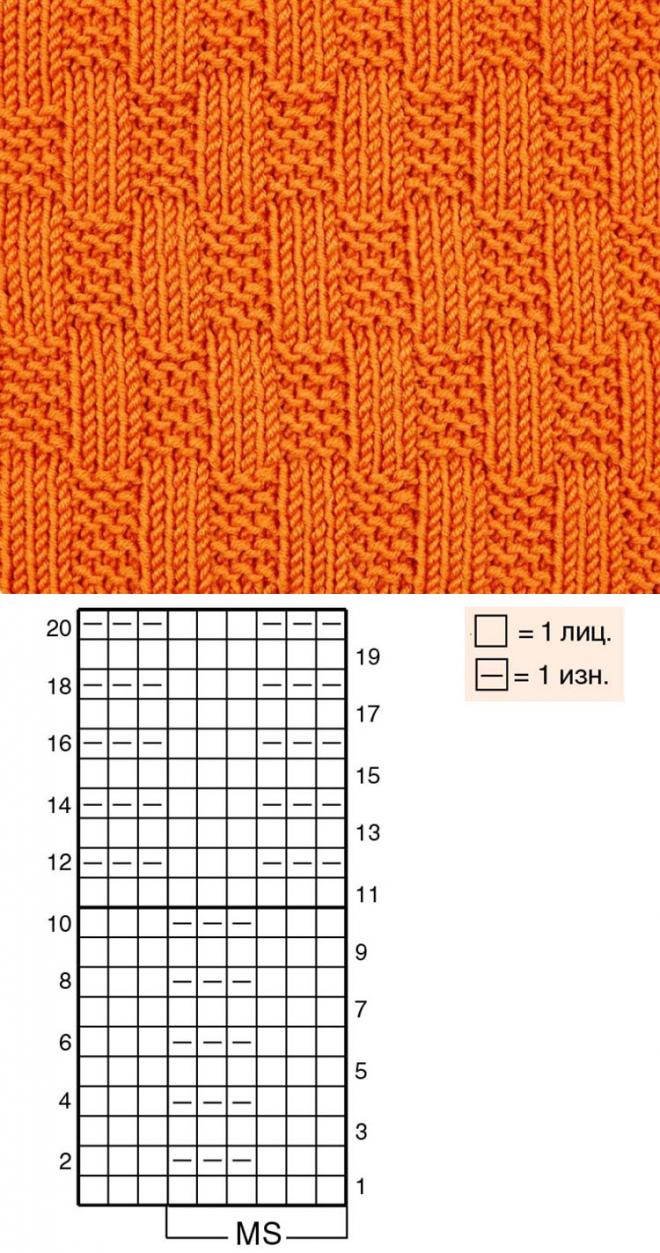
Working with tight patterns will help develop attention to all the subtleties, the smallest nuances. For example, front loops can be knit behind the front or back yarn. These are different techniques, which the beginner may consider equivalent. With a little practice, you can learn to automatically distinguish them. The embossed pattern will not have to unravel, row by row.
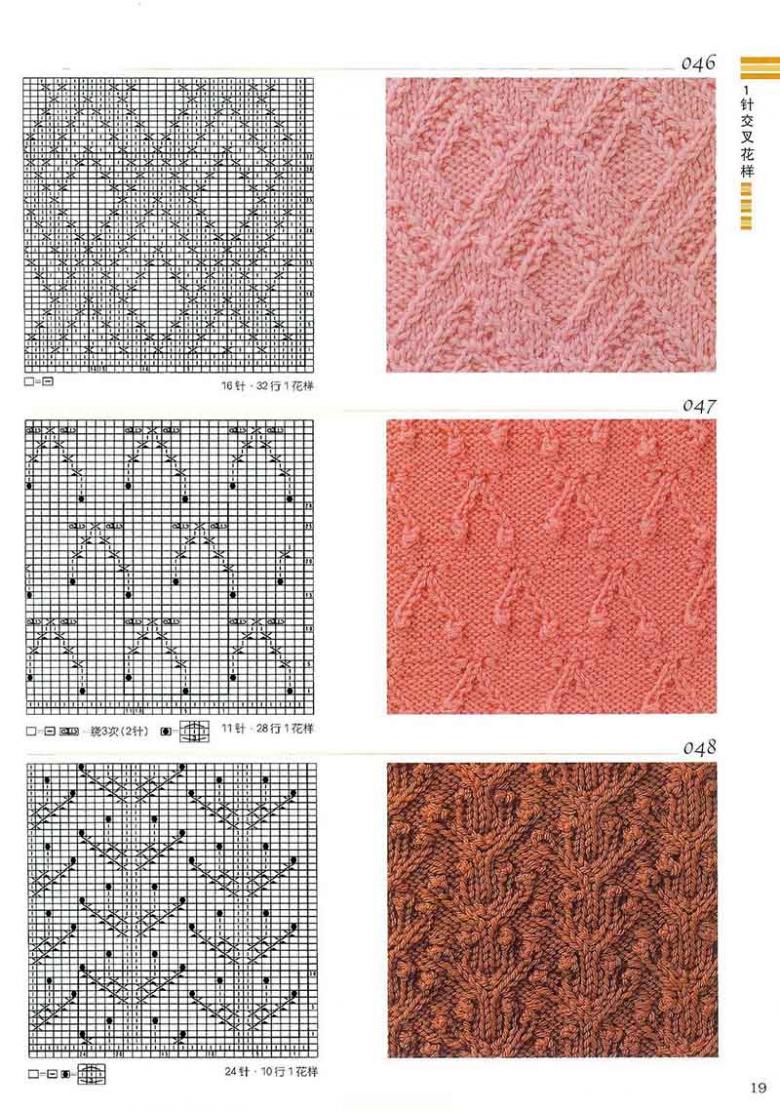
If you like an ornament, but for some reason do not work, it is better to practice a little, and then choose a less complicated. A month or two will pass, and the mistakes will be detected. The English rubber band can be replaced by a regular rubber band, for example, and pigtails by cones. It will be more interesting to knit if you proceed like this.

Textured wicker and alternatives
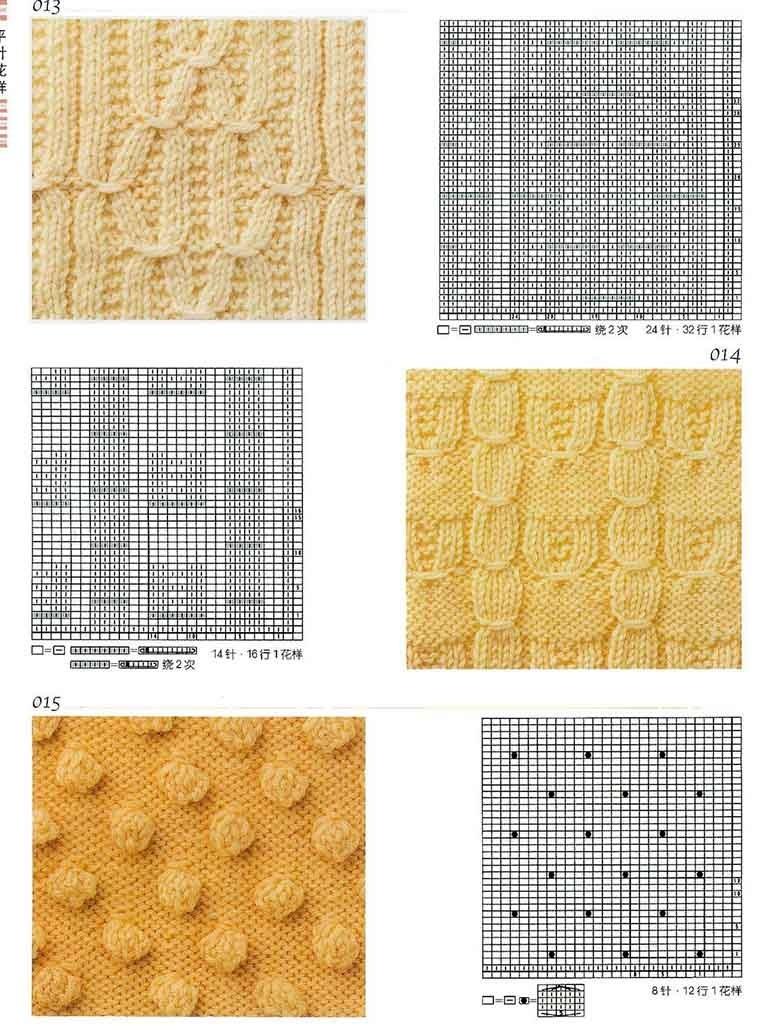
Fantastically warm and beautiful things are easy to create with textured wicker. It's also a great option for making individual pieces such as pockets, collar, waistband, hood and more.
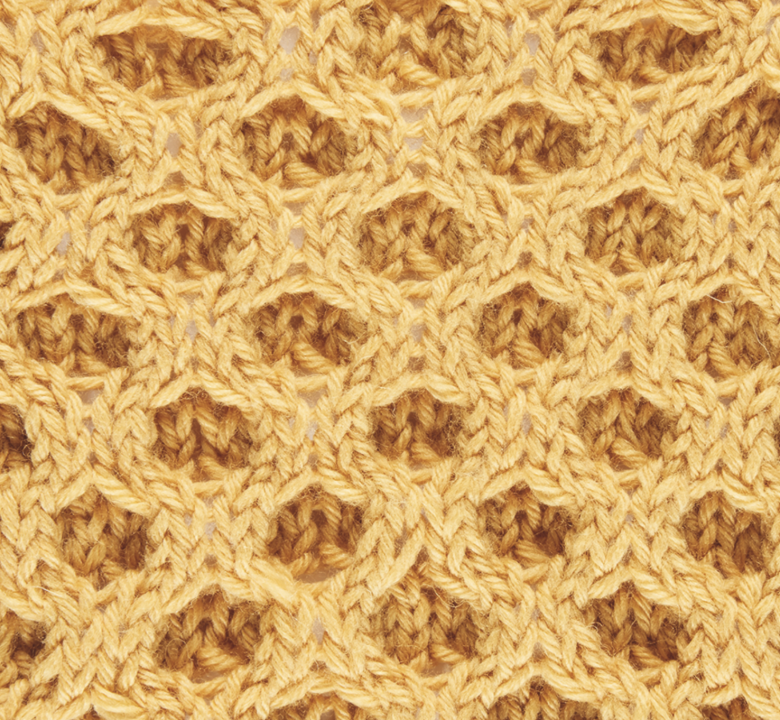
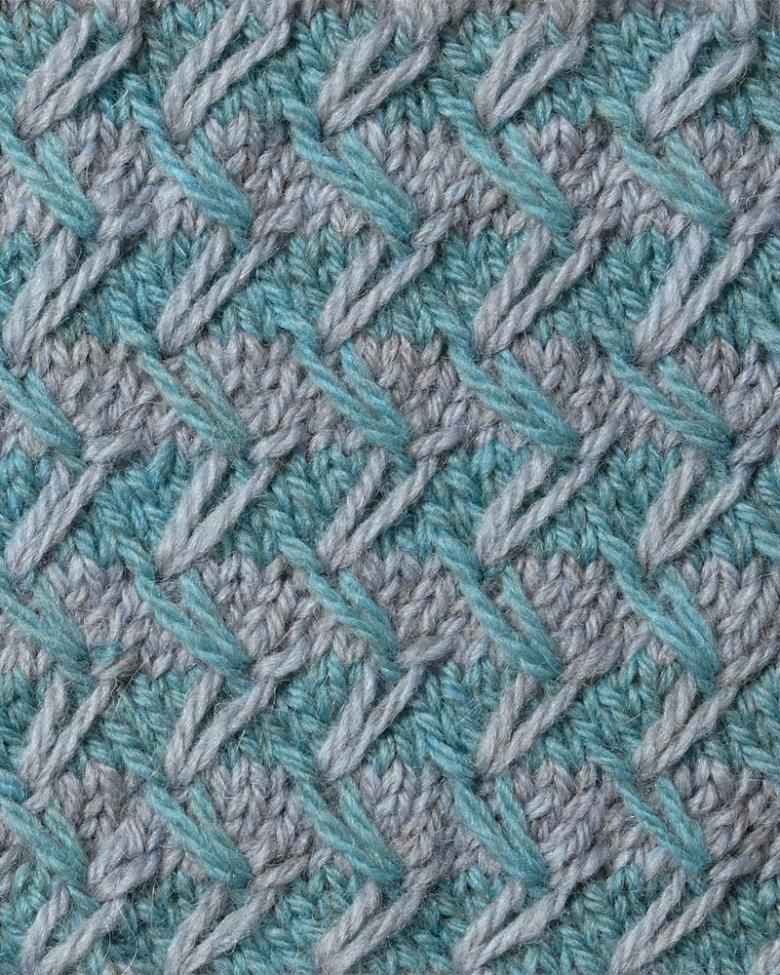
Textured braiding.
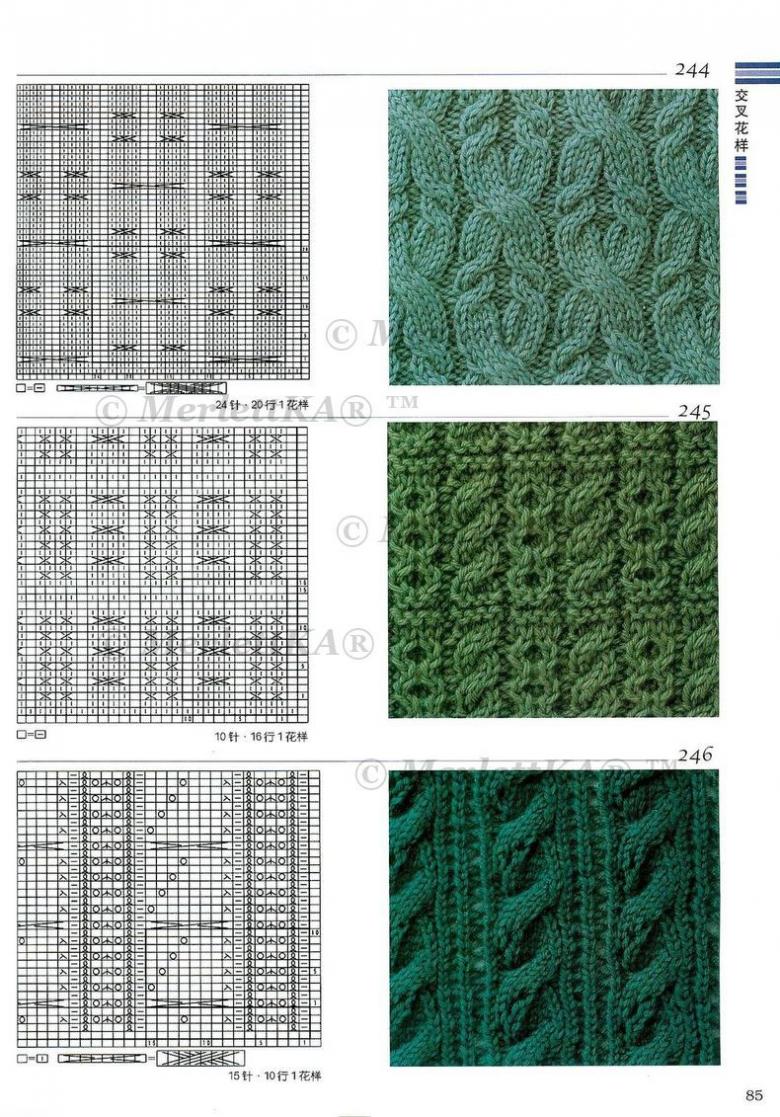
A skein of yarn, needles, photo schemes of various knits - all you need to get started. Knit texture braiding as follows:
- Dial in the number of loops multiple of 8 plus 2 edge stitches.
- The first row is made up entirely of wrongs.
- In the second, the first 4 loops are transferred to a spare needle. Behind them, the next 4 stitches are slaughtered. The back stitches are returned from the extra one, they are knit with the right side.
- The third and all odd stitches are knit to the wrong side.
- The fourth one begins with a crochet stitch and 4 faces. The next 4 faces are removed, placed behind the cloth. The next 4 faces are removed, return those on the extra needle to the main one. Make them face-side.

Pattern 2
Just as spectacular and practical as the textured wicker is the "checkerboard". It has no crossed loops:
- The first row consists of two crochets, four faces and four wrongs.
- The second, third and fourth are in the pattern.
- In the fifth, the faces are replaced by sleeves and vice versa.
Chessboard is much like braiding, though the fabric is less voluminous.
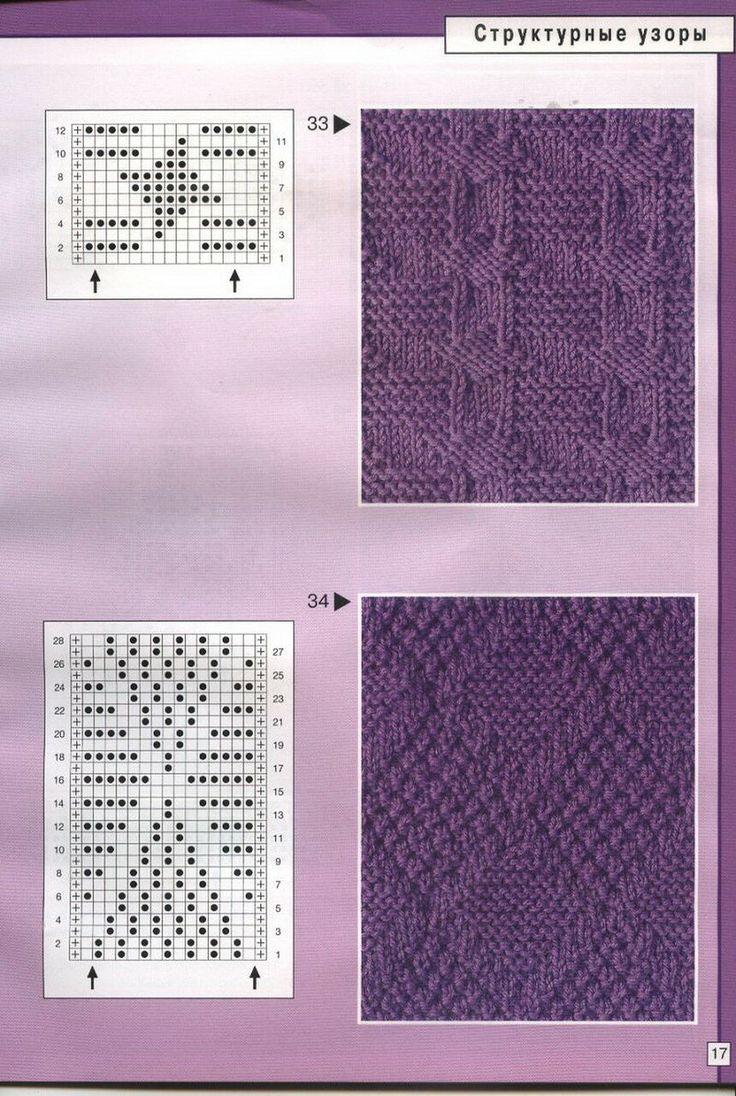
Pattern 3
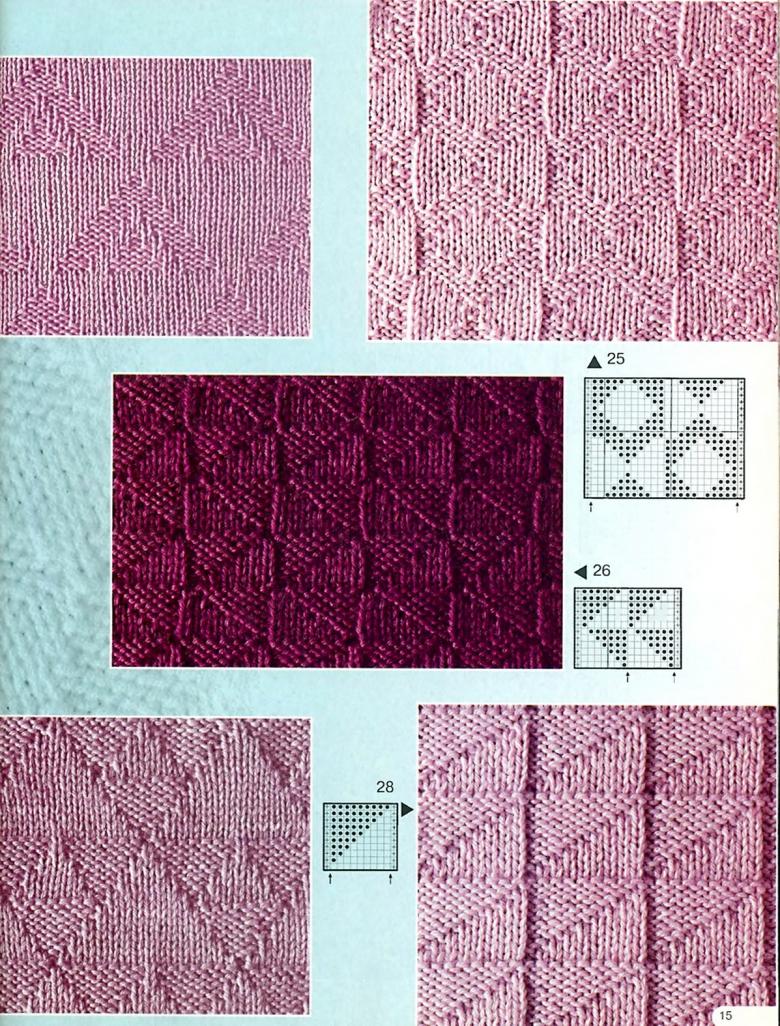
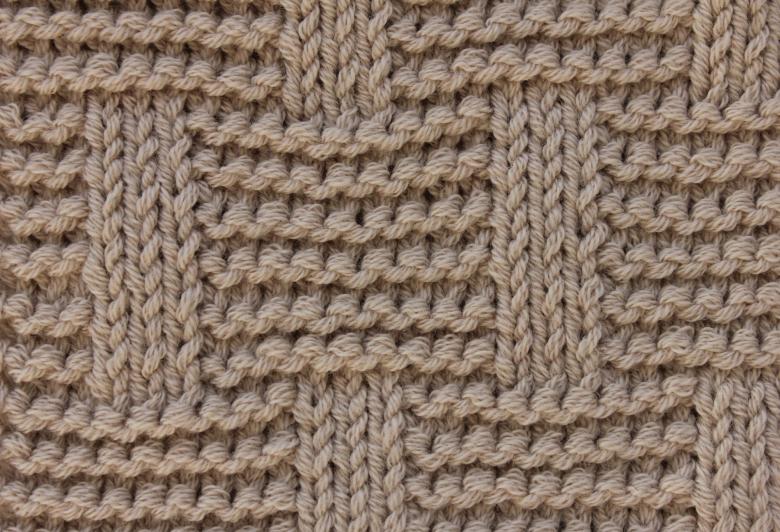
To achieve a three-dimensional effect without resorting to a complex technique of intersecting loops, you can choose this ornament:
- Dial a multiple of the rasp plus two cr-e (the rasp is 12 sts.).
- First p. - 2in, 2l, 2in, 6l.
- The second and all the even ones are knit according to the pattern.
- The third - 2ins. 2l., 2sn, 6in.
- The fifth and ninth are knit as the first and the seventh as the third.
- In the eleventh, instead of the fragment with the alternation of the hems and sleeves, make a fragment consisting of the same type of loops. Instead of the faces, respectively, a fragment with alternation. Nine more strokes in the same pattern.
Pattern 4.
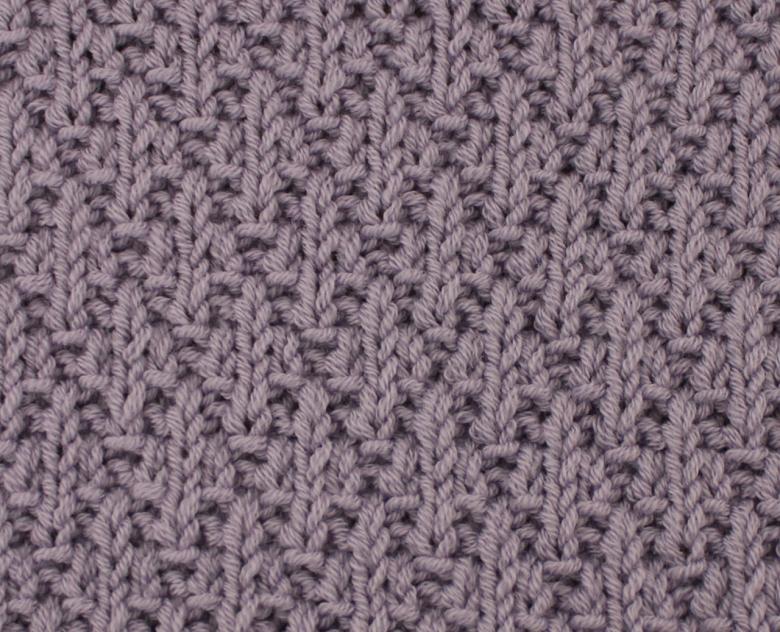
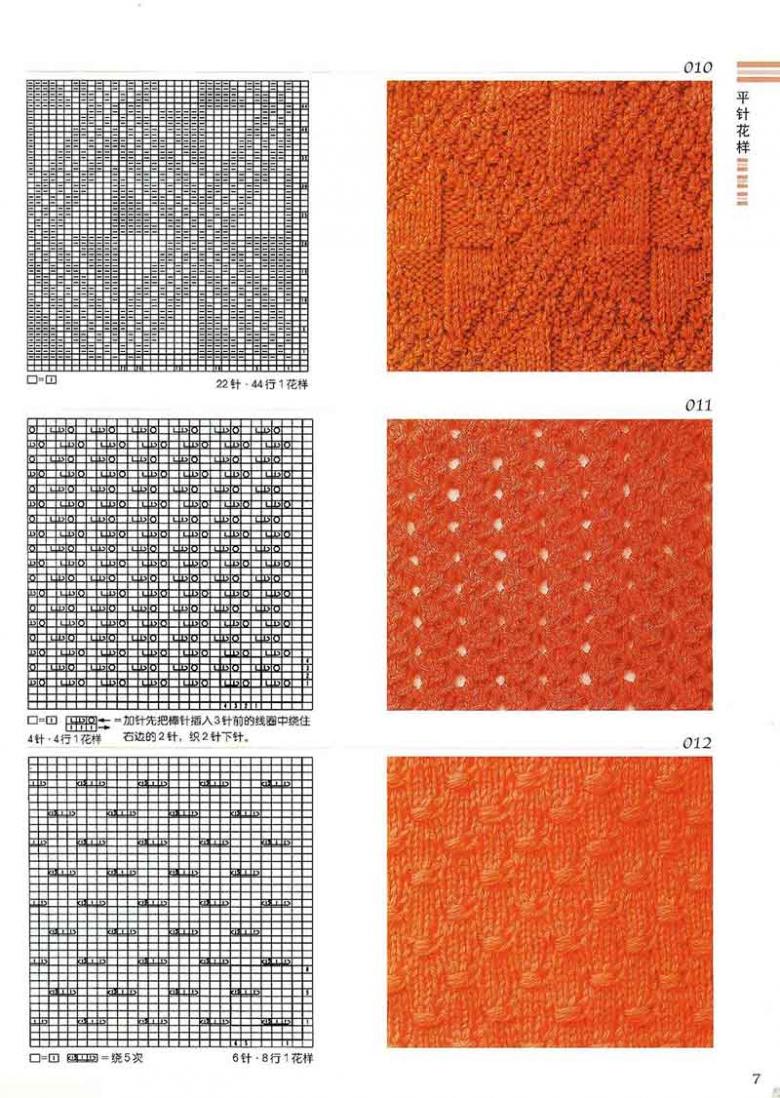
Repeats the effect of a diagonal of textured wicker without crossing such an ornament:
- The pattern consists of 4 sts, 11 pts;
- 1st - 1l, 3 in;
- 2nd and all even ones according to their position;
- scheme of the 3rd p. - 2l., 2in;
- 5th - 3l., 1 on;
- 7th - 3. ells, 1 l;
- 9th - 2 ells, 2 Ls;
- 11th - 1 s, 3 Ls;
- repeat the reportage.
Flat-knit and its counterpart
The knitting of the dense knit is very popular. Often used for making edgings. All rows are bent only on the wrong side. Her improved version, an independent ornament that makes the fabric voluminous and dense, the flat-knit 2x2.
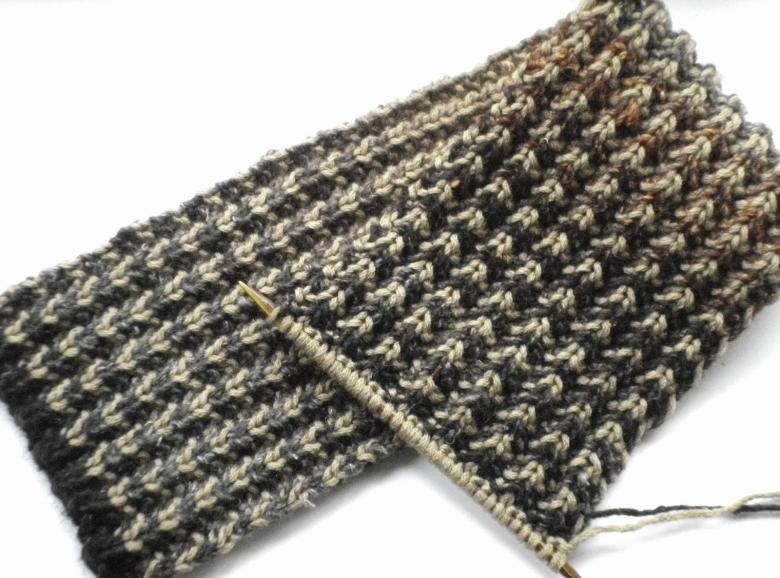
Description:
- The first row is knit in the non-fold, as in the case of the classic version;
- second and all the even - in accordance with the position of the loops (in this case - in the face);
- The third is completely with faces;
- Fifth one is with needlepoint.
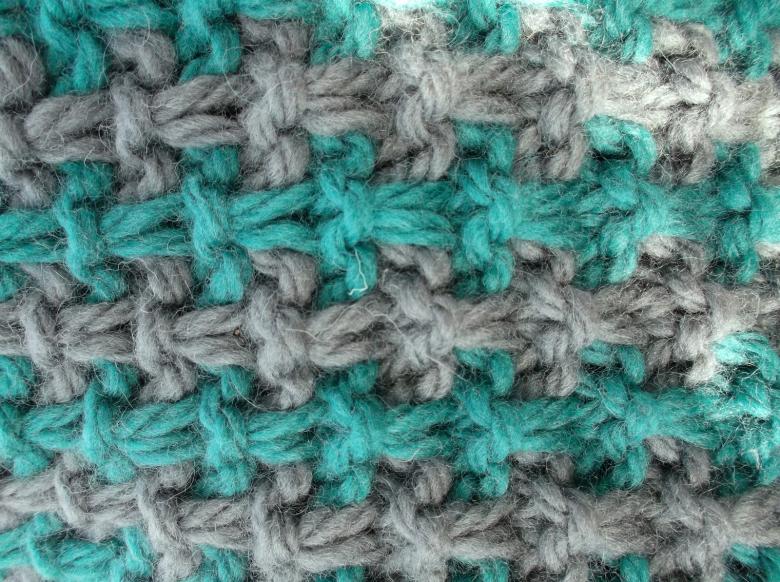
The pattern can be done in two colors, but it also looks great on its own.

Braids and analogue illusion
Cross-over is always used to create pigtails. The minimum rasp is 8 p., 6 p.
Scheme:
- After gaining a number of loops, a multiple of 8 plus the kr-e, the trim should be knit in shawl knit, rice or smooth, or rubber band. Then according to this scheme - two lefts, four faces, two wrongs.
- 2nd and other even-numbered rows are knitted as the stitches lie.
- In the 3rd make two wrongs, remove two stitches on an extra needle. Placing them in front of the cloth, knit two persons, then return to the main spokes, make them persons. The last two stitches of the rasp are wrong.
- Ð5, 7-th knit in accordance with the figure, and in the 9th crossed again (but the removed two persons should be placed behind the cloth).

The original small braid can be turned into a more complex braid. Or you can knit an illusion ornament or imitation braid. There is no need to cross the loops. Effortlessly create a beautiful relief on the fabric according to this scheme:
- A spread of 20 sts. The first row by the left side.
- The second and all the even ones according to the position of the loops.
- The third and fifth rows are knit as follows - two in, four in, six in, four in, four out.
- The seventh is entirely with faces.
- Ninth - four L's, six I's, four L's, six I's.
- Up to the thirteenth row, knit the loops as they are, do not change anything. It is entirely with the obverse.
- The fifteenth consists of two l's, six in, four l's, six in, two l's.

The twists created with a fragment of the four-left are permanently displaced by two loops.
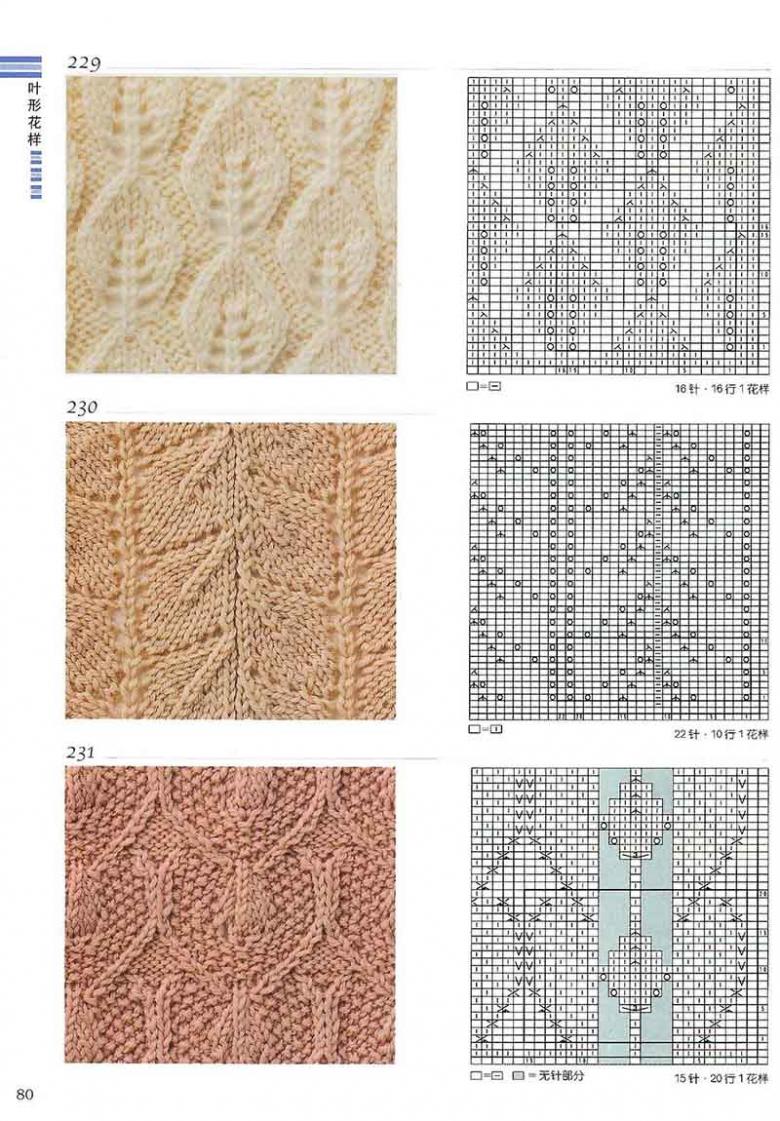
The collection of schemes of complex and simple dense ornaments will help to master the basics, learn new techniques, complement your closet with an interesting sweater, sweater, jacket in a sporty style or business, romantic. It should be remembered that these varieties of patterns can also be used to create summer things.


