Knitting simple patterns for beginners - a full description of the different knitting schemes
Knitting has long been recognized as a meditative activity. As we know, relaxation is a change of activity. Working with your hands in any creative technique allows you to relax, disconnect from negative thoughts, get involved in interesting work, realize fantasies and ideas in life, and as a bonus get your own handmade original piece of decor or clothing.
Virtually every woman and some of the men have basic knitting skills and enjoy using them to create simple things. The relaxing effect of knitting is noted by everyone who has ever been fond of the whimsical weaving of yarns, whether by crochet or spit.
Basic elements in knitting needles
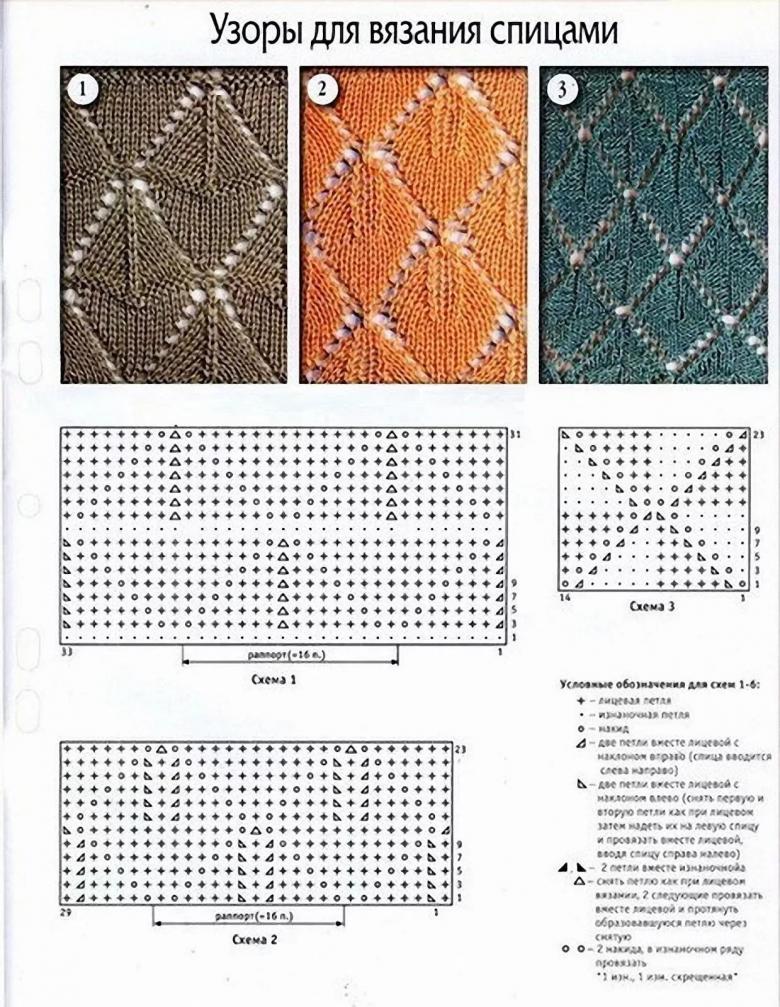
Canvass, woven from yarn, can have any pattern, dense or openwork, with relief elements or rare arches. At the heart of each piece are simple "bricks" that alternate among themselves in different sequences, forming a given look.
Types of elements:
- hinges:
- front;
- back;
- English facing;
- English to the wrong side;
- abc;
- knitting two stitches from one stitch;
- removal of untouched stitches;
- looping the stitches on the needle;
- bevels;
- long stitches.

The front stitch is performed as follows:
- Position the thread behind the work.
- Insert the right needle from left to right behind the front wall of the buttonhole on the left side of the tool.
- Grasp the working thread coming from your index finger and pull it through the left hand stitch.
- Remove the finished buttonhole on the right needle.

The inverse is done in the same way, the only difference is that the working thread is in front of the work, and the right needle is inserted in the opposite direction, from right to left.
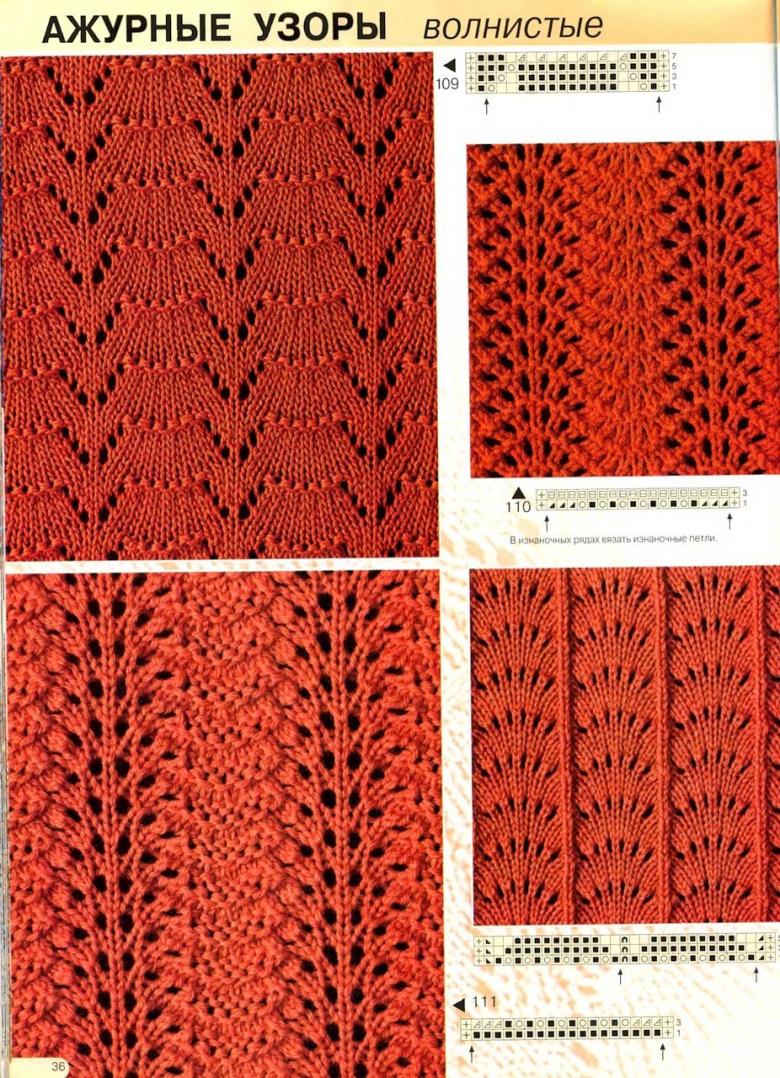
English versions of buttonholes differ in the direction the needle is inserted. On handmade blogs devoted to knitting, there are many photos that give detailed descriptions of how to do the basic elements.
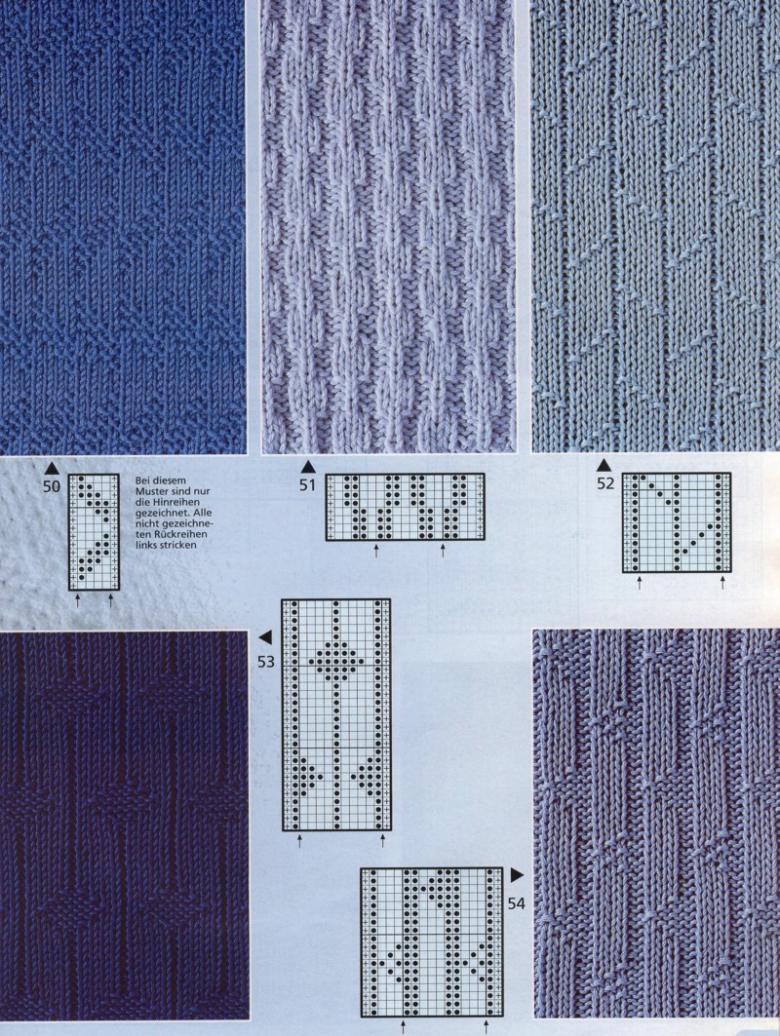
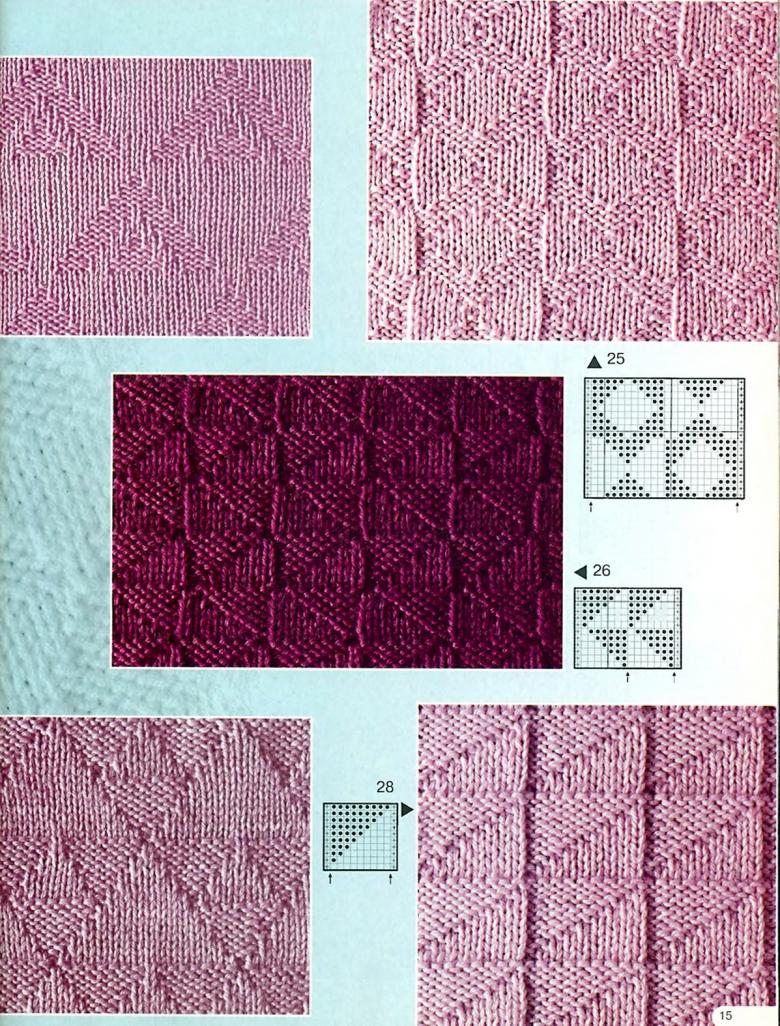
A selection of simple ornaments includes shawl knitting, stocking knitting and their combination.
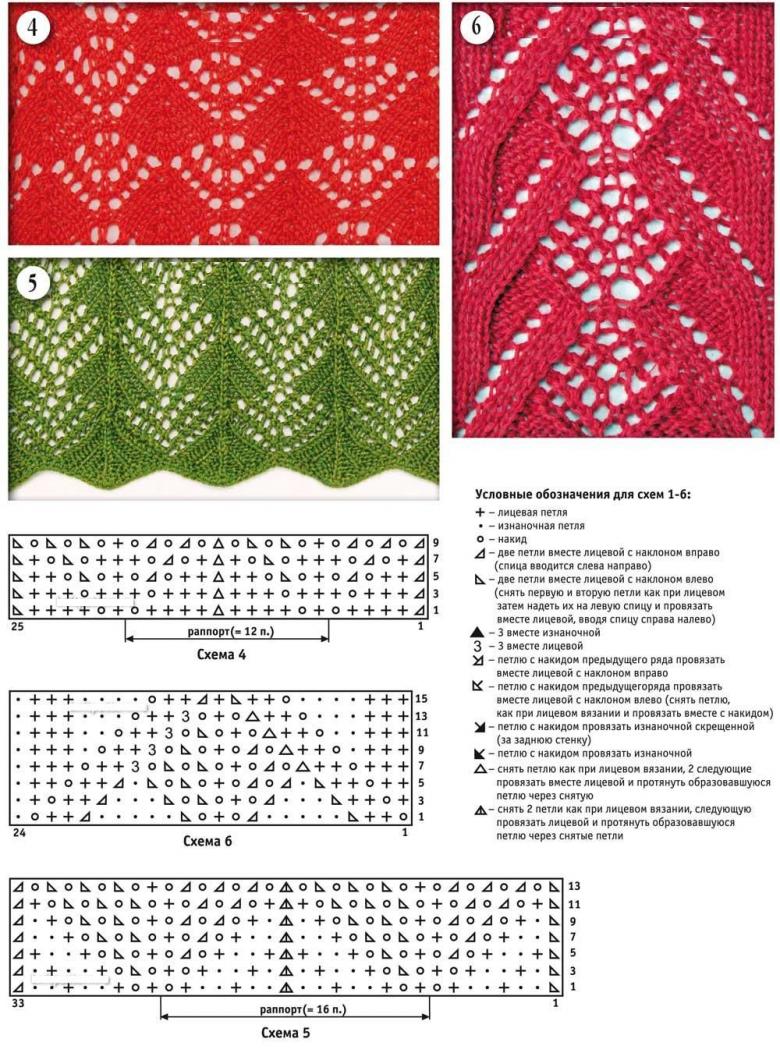
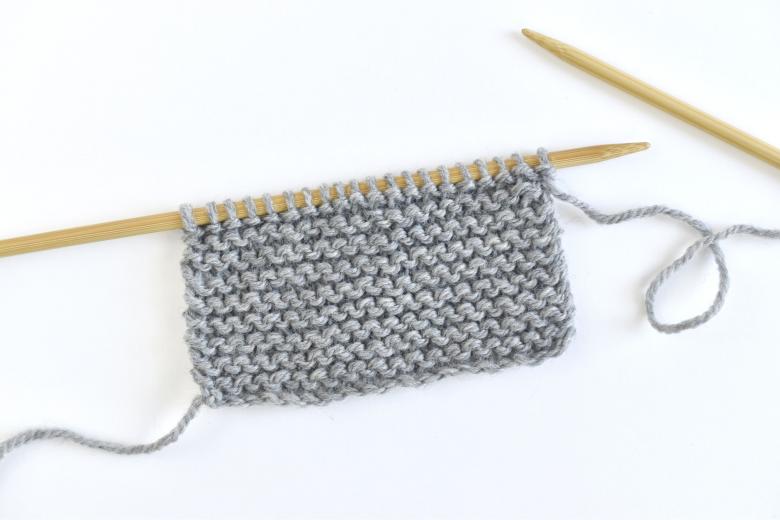
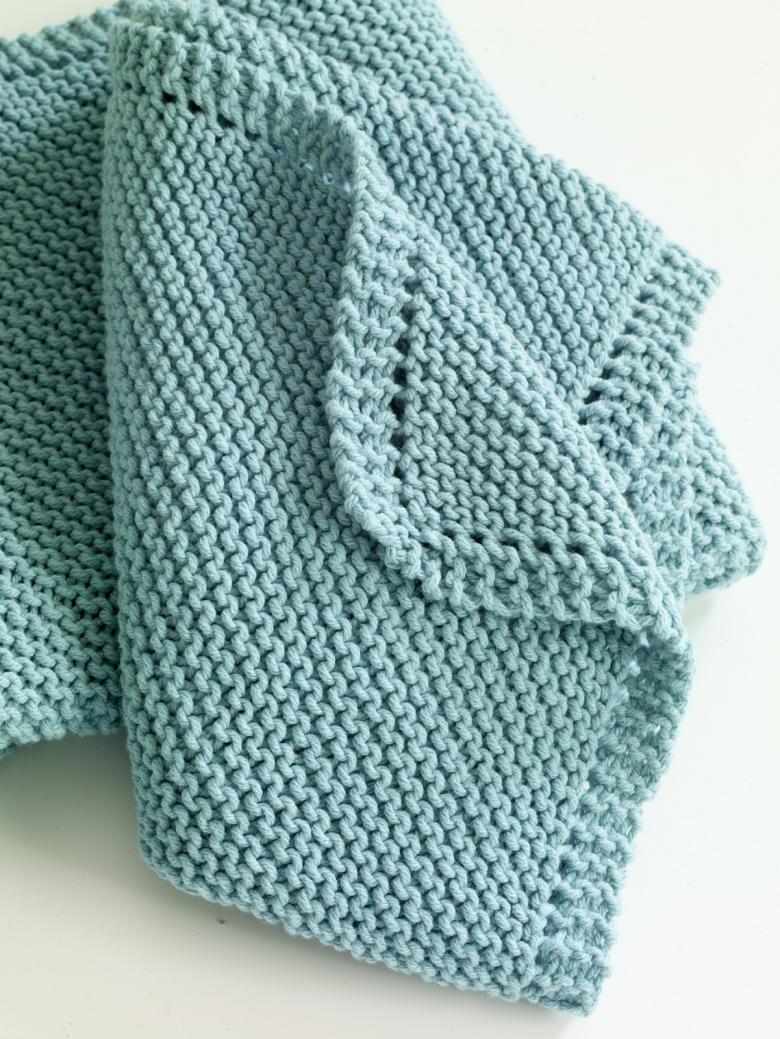
Shawl knitting
The fabric looks embossed, has elastic properties. Suitable for any type of yarn. No ironing or steaming is allowed when wet-heating. The pattern is formed by knitting only front stitches in each line.
Hosiery knitting
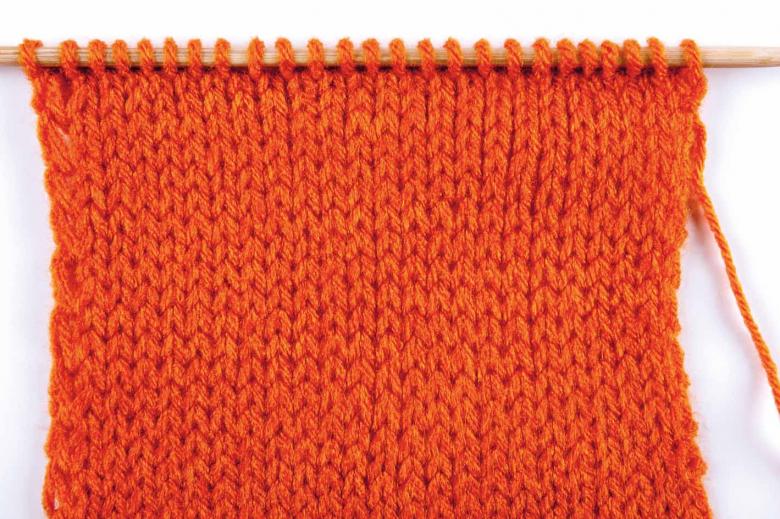
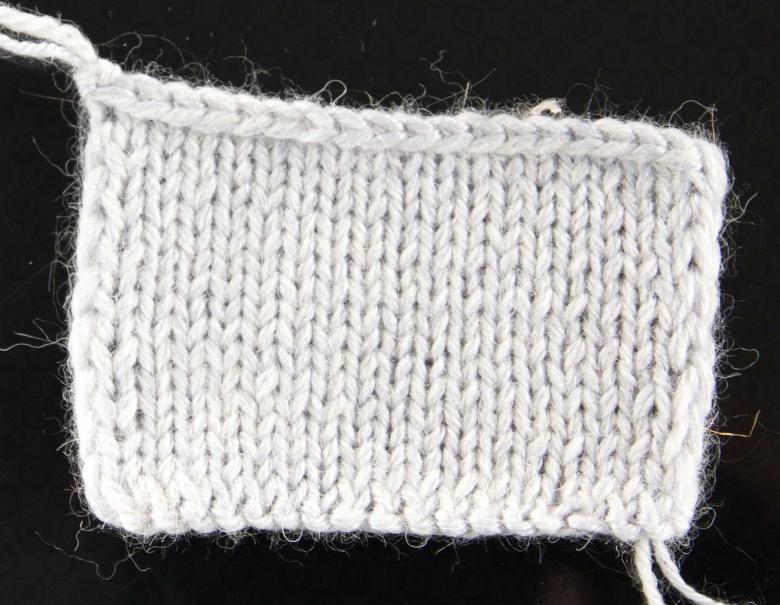
The main side of the fabric is formed by the front "bricks", the back - the wrong ones. In other words, the second line is knitted according to the pattern. The properties of the knitted fabric are attractive because of its density. This technique is used to create hats, scarves, sweaters and plaids.

Stitching .
In the initial row do an alternation of both types of loops one piece at a time. In the next row, knit in reverse order, over the front - the back and vice versa. The result is a very elastic fabric, used for cuffs, headbands of hats. For this pattern is suitable for any kind of yarn, the elasticity of the selected material does not suffer. When stretched, the cuff returns to a compressed form.

Weave
A simple but original ornament is made up of standard loops, with their alternation in odd rows, even rows are knitted in the pattern. The surface of the piece looks embossed, but is also quite supple.
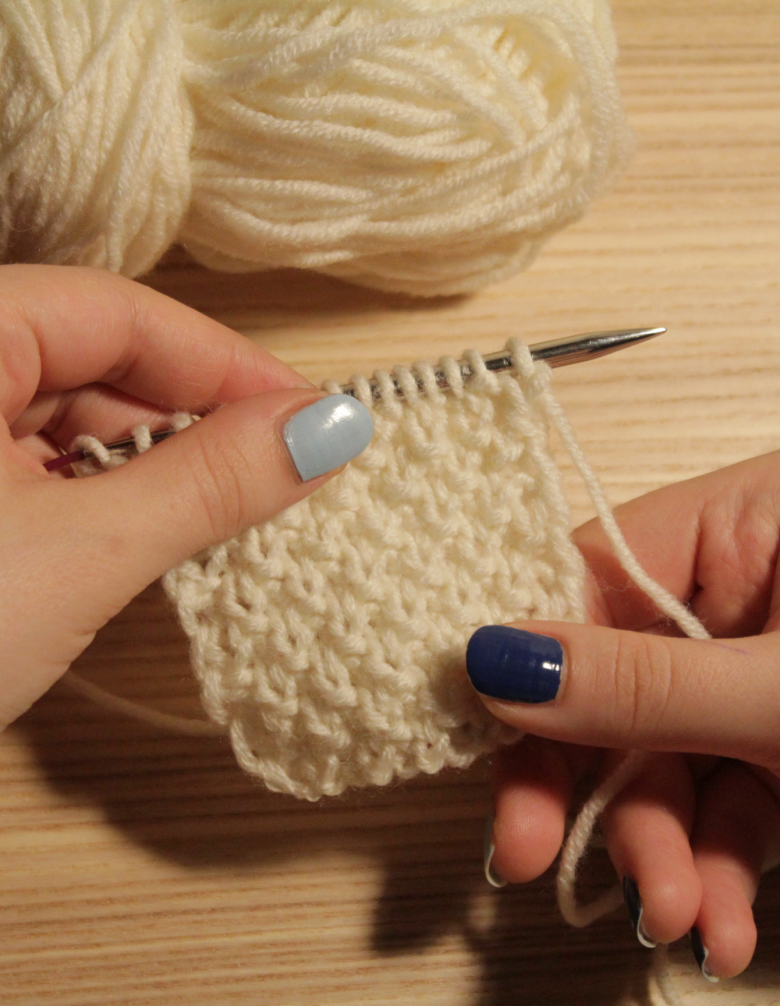
Rice pearl.
The beginning of the process looks like an elastic band, but the second line must be made in exactly the same way, not according to the pattern. The third and fourth line are in reverse order. The result is a pattern that resembles a bee honeycomb. Looks good on hats, snoods, adding to things delicate and voluminous look.
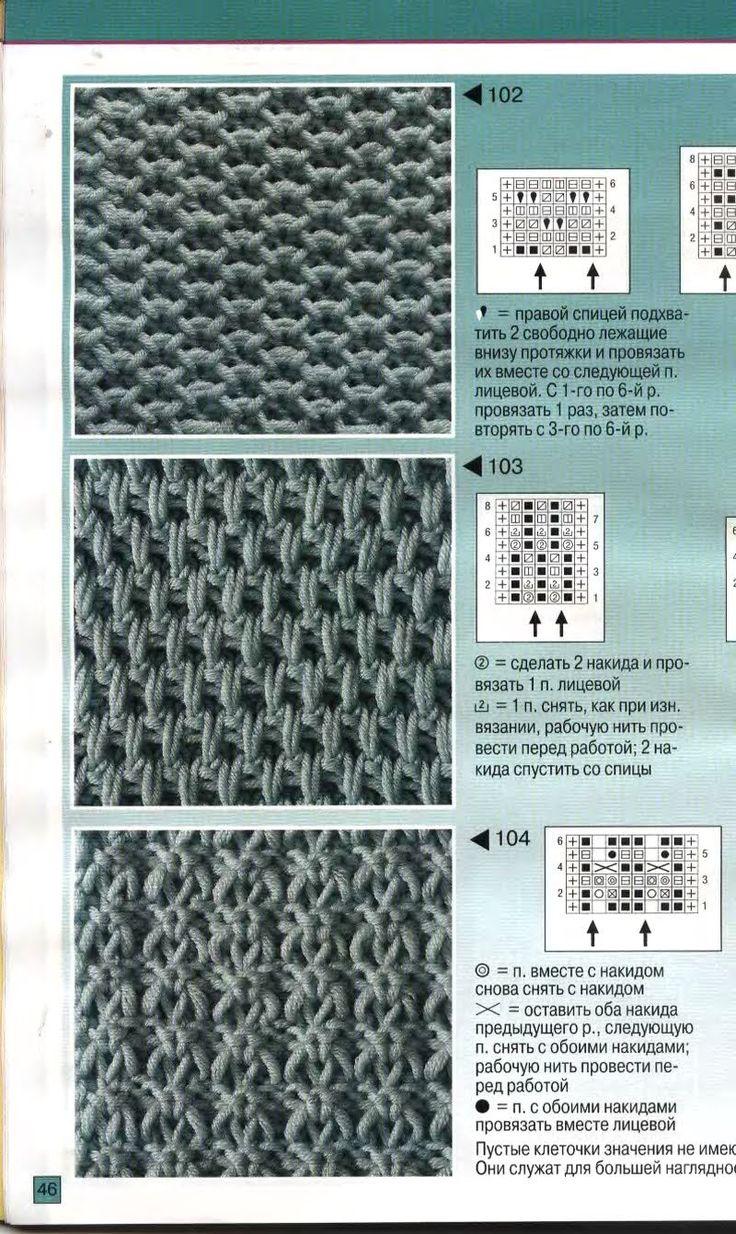
Asterisks .
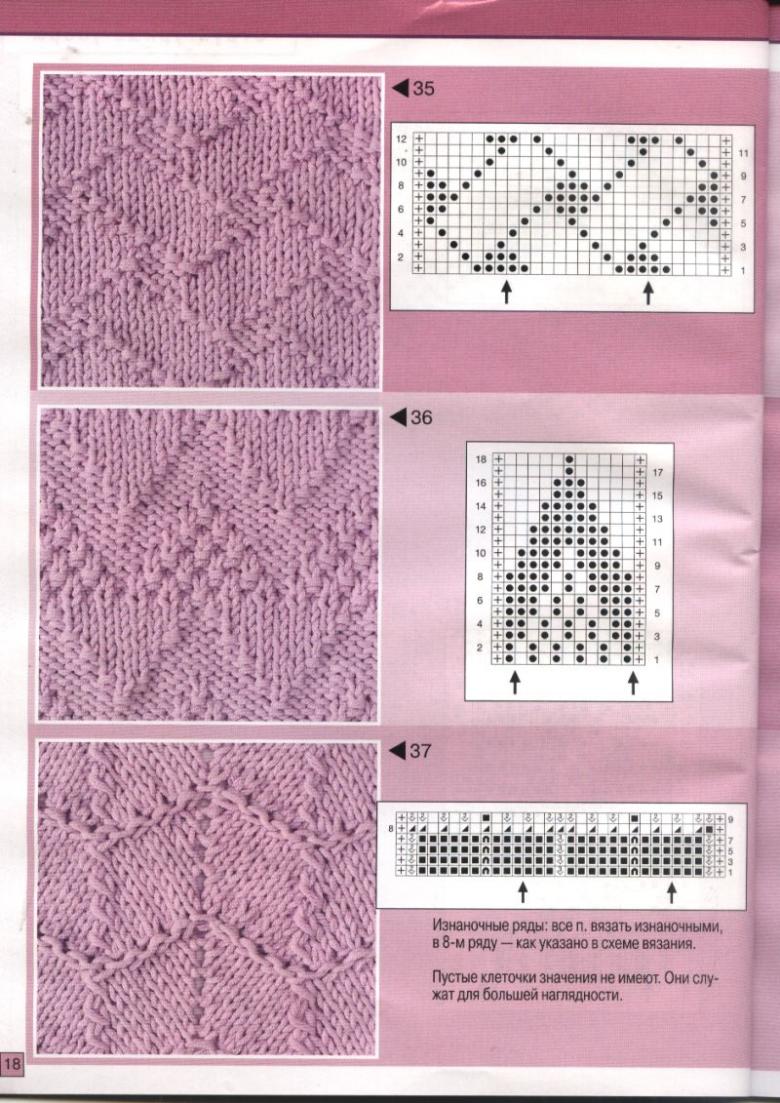
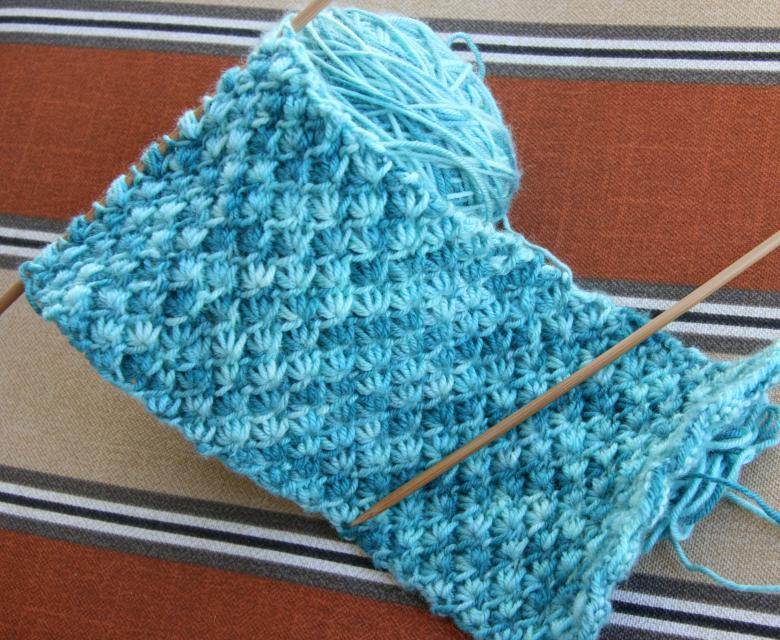
Number of loops should be a multiple of two. Scheme of the process looks like this:
- In the initial line, dial in the working loops and do them in the wrong way.
- In the second line of the initial component to make the face visible, then proceed to the creation of the asterisk.
- For the asterisk, three stitches to do together as a crossed stitch.
- Without removing it from the tool to grab the hook and knit them together.
- The third sequence and all subsequent odd ones do as the wrongs.
- Repeat the process from the first point.
Despite the density, the product has a tendency to stretch. Therefore, the main component should be knitted looser than the others.

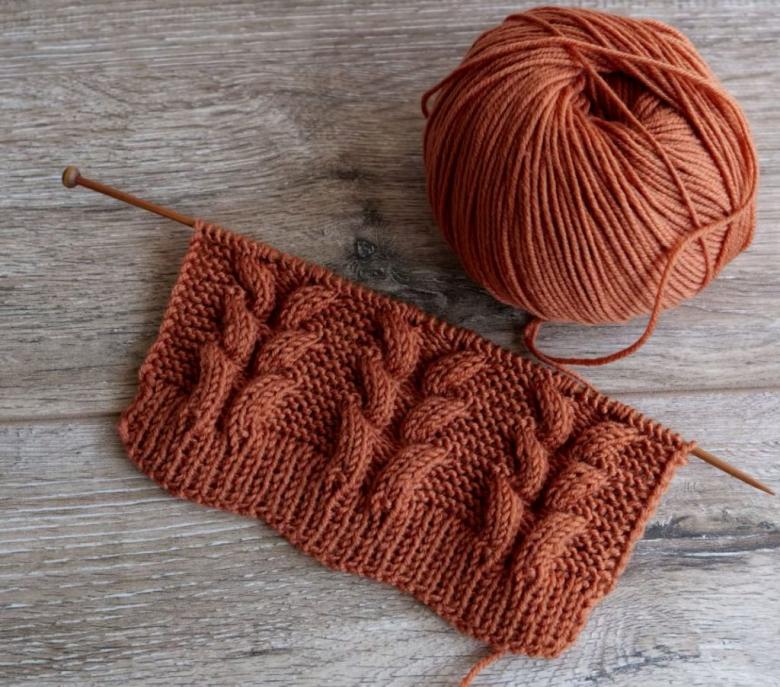
Braid .
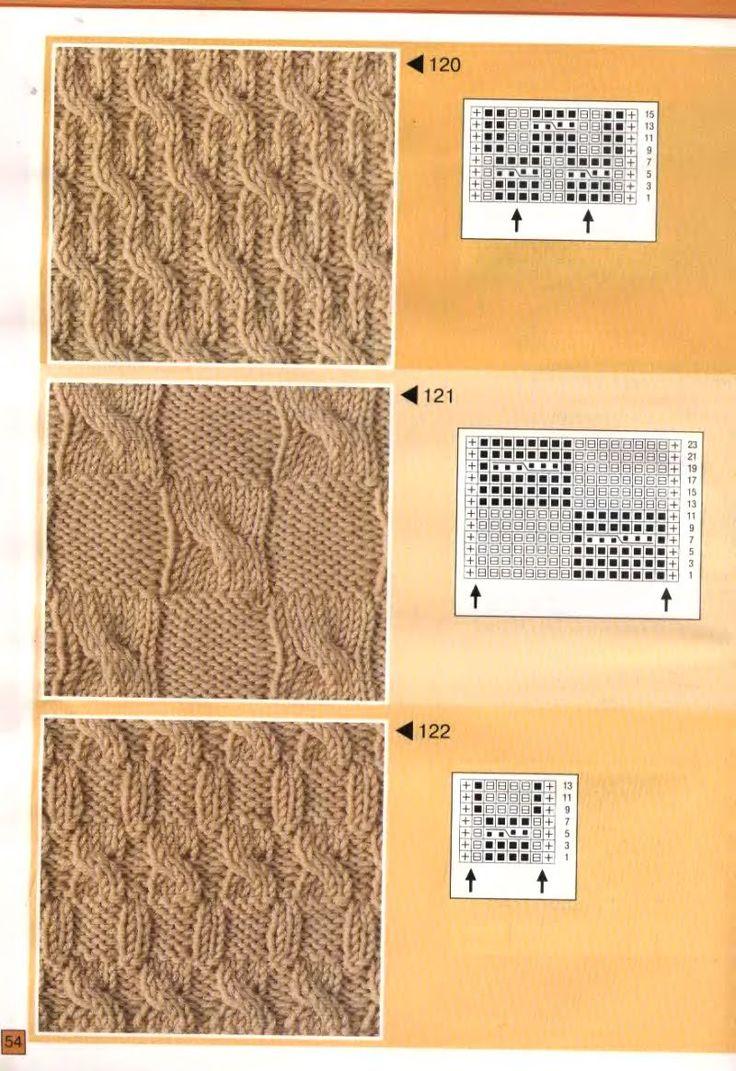
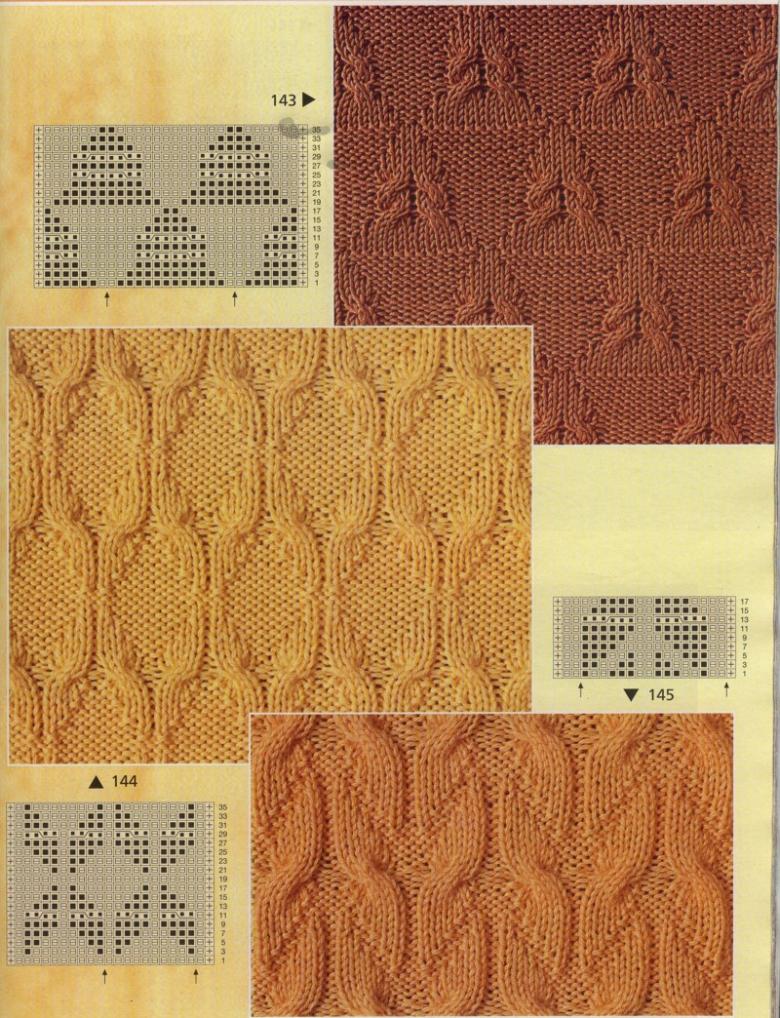
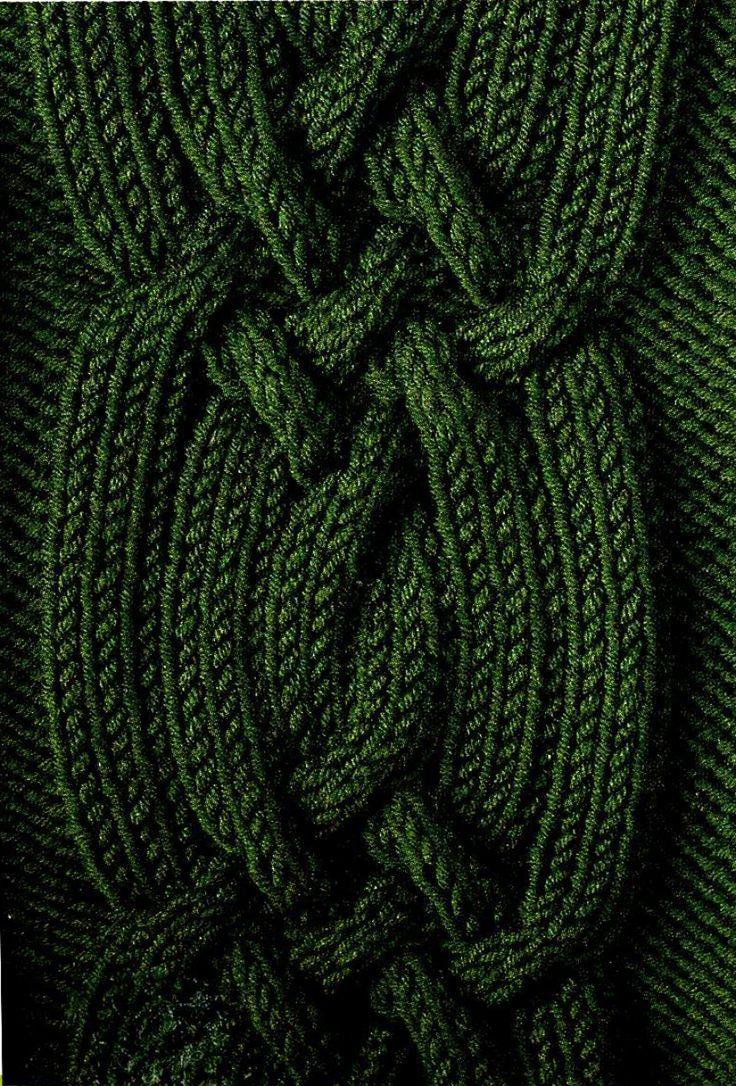
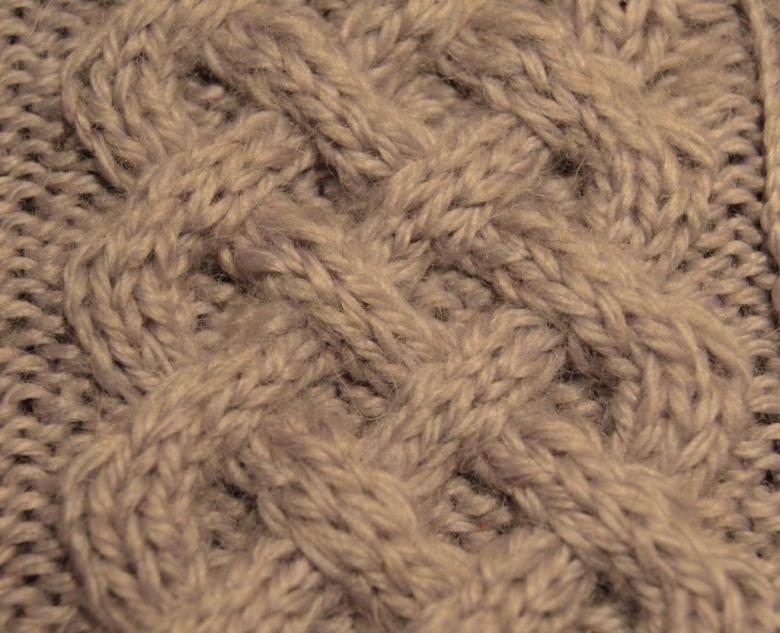
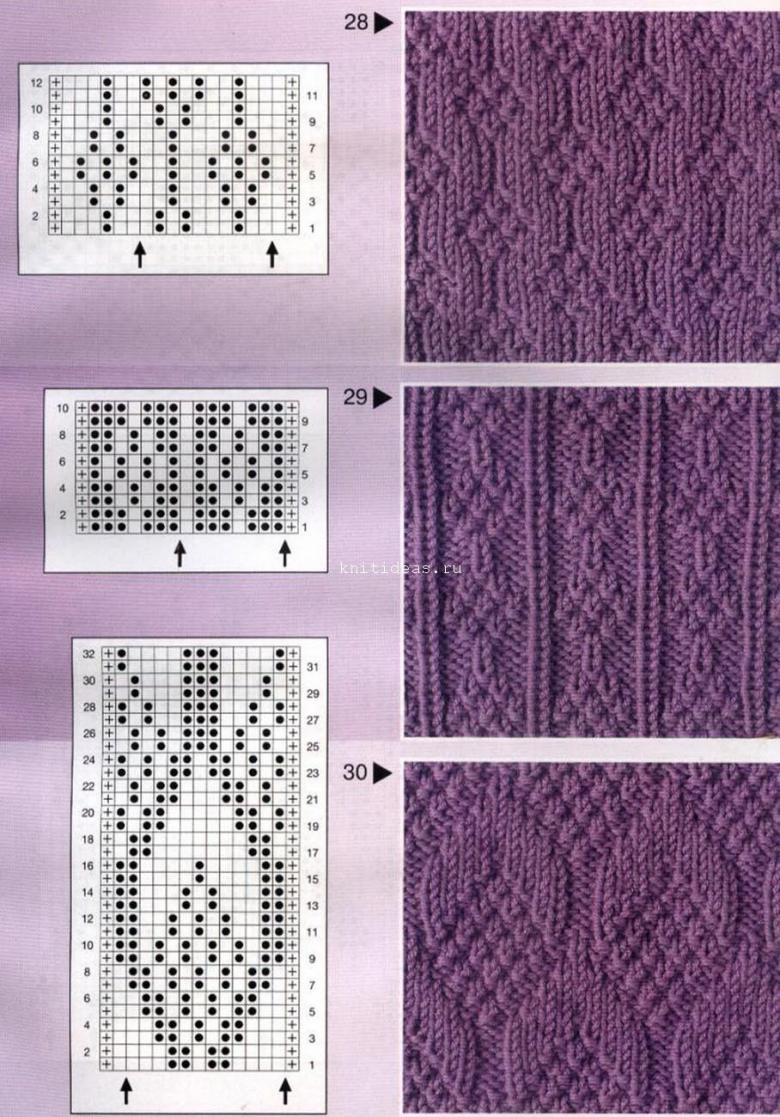
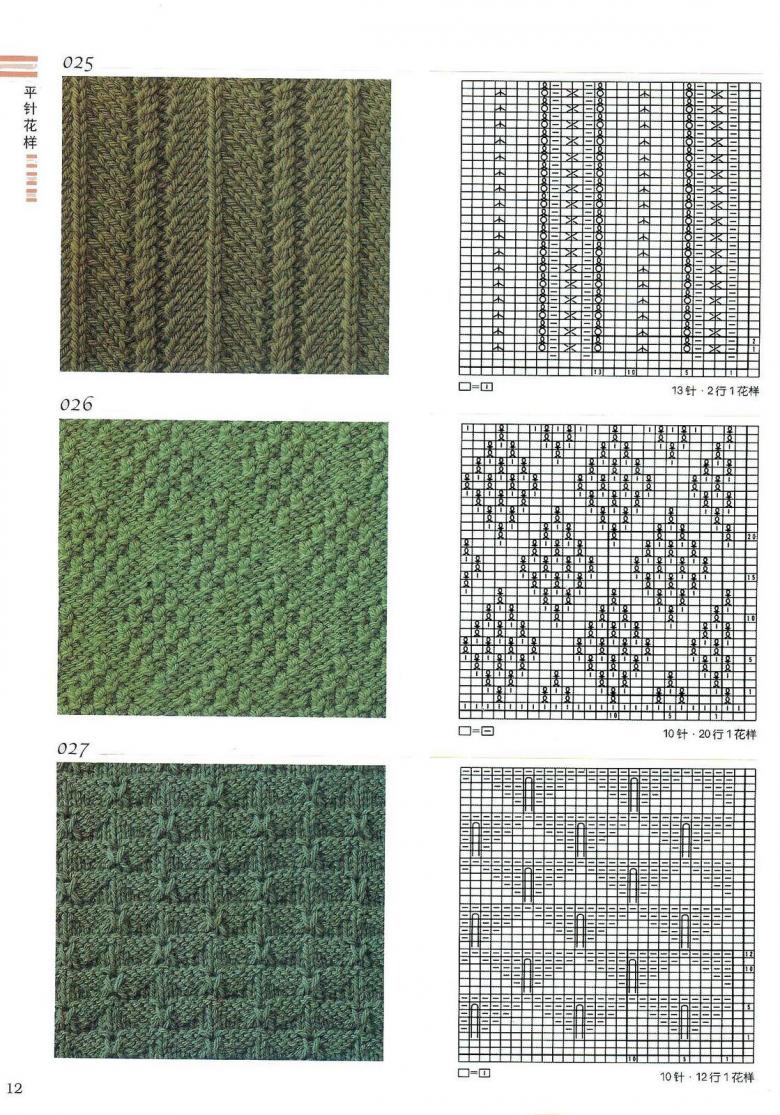
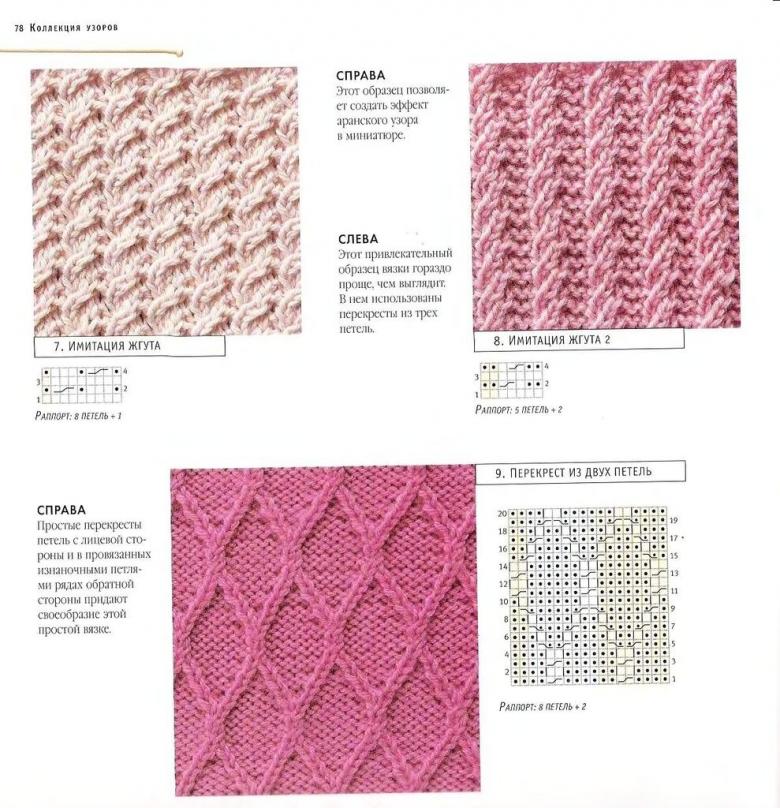
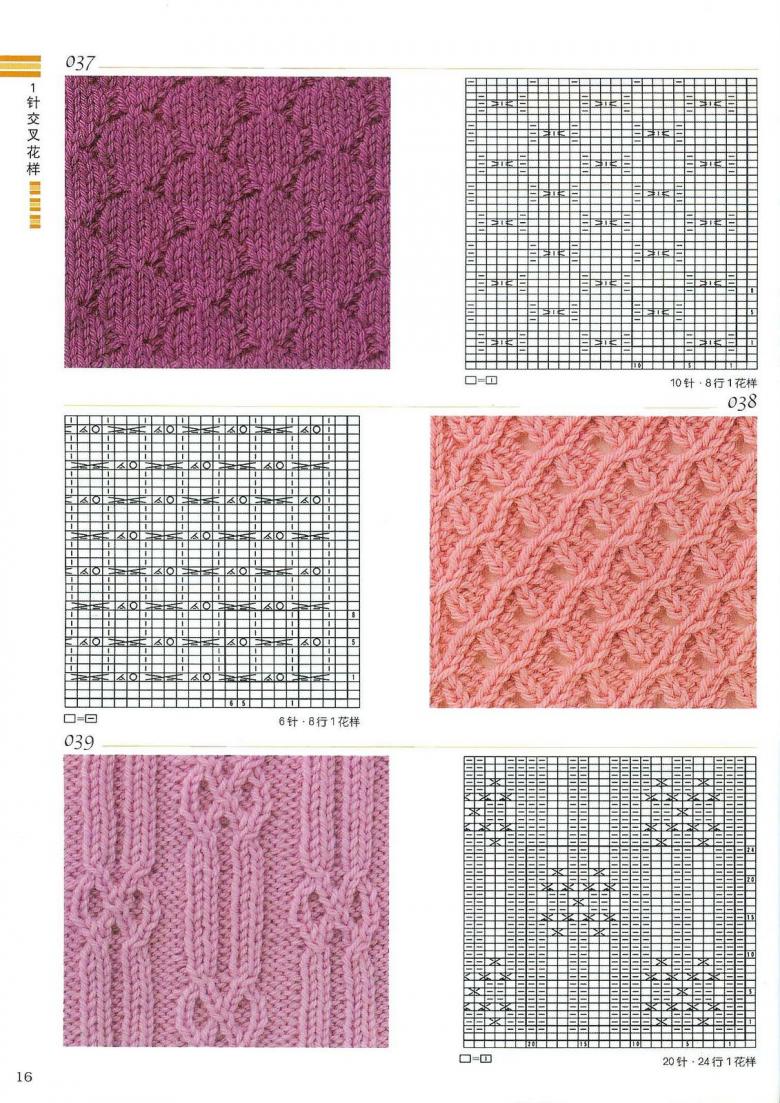
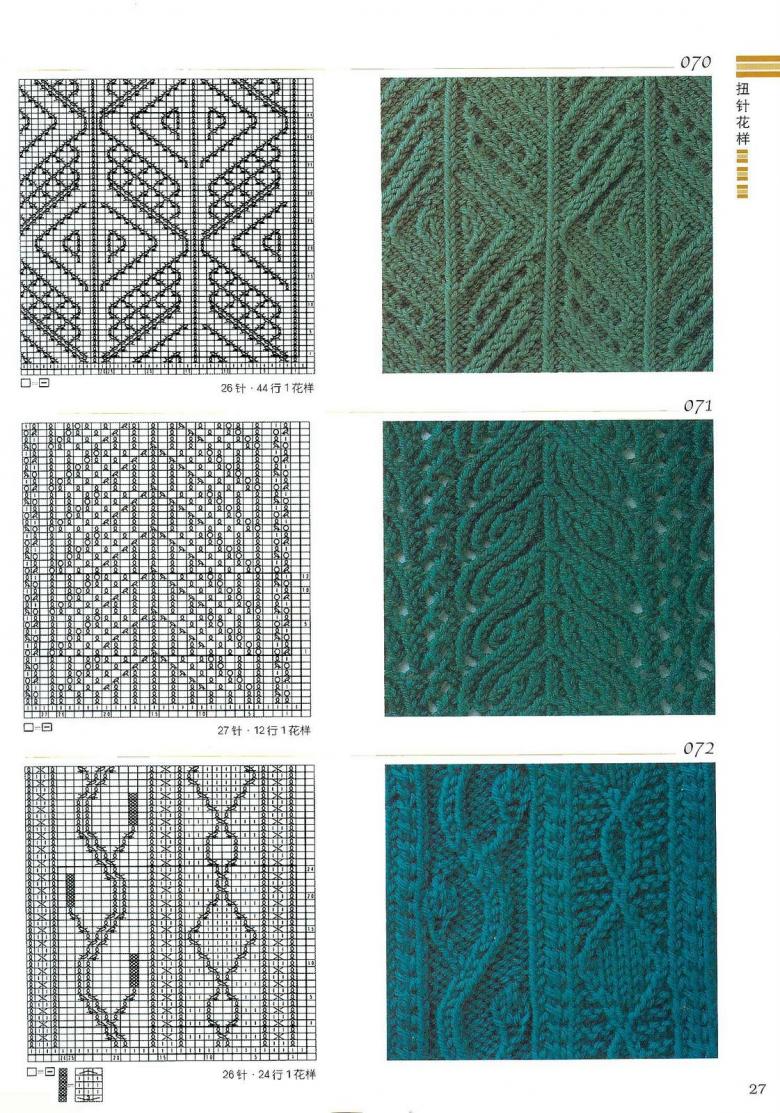
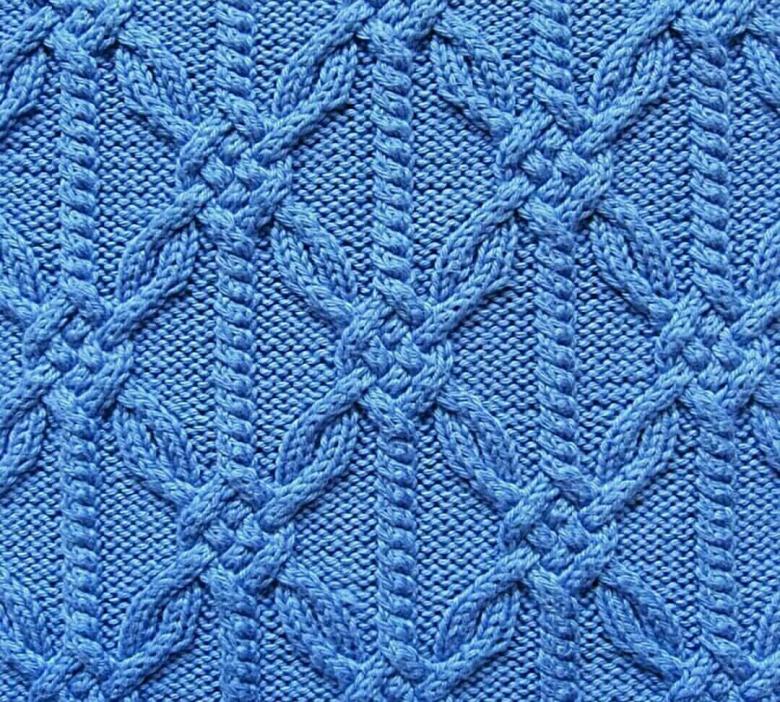
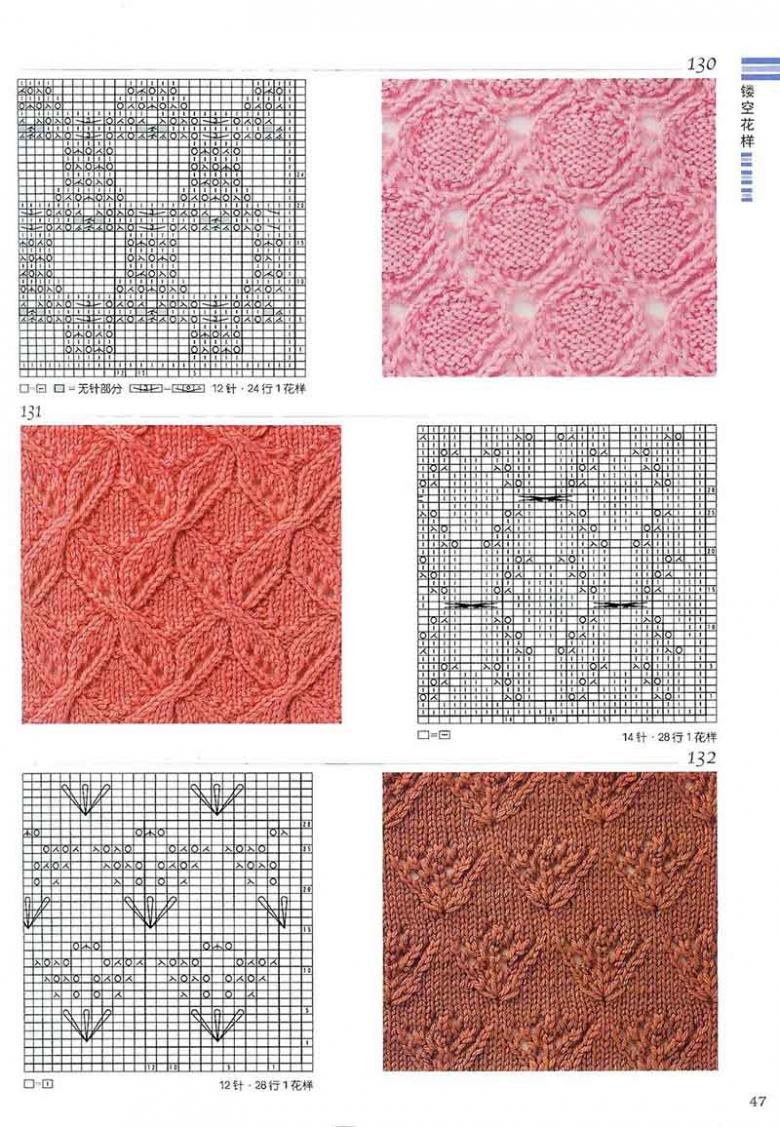
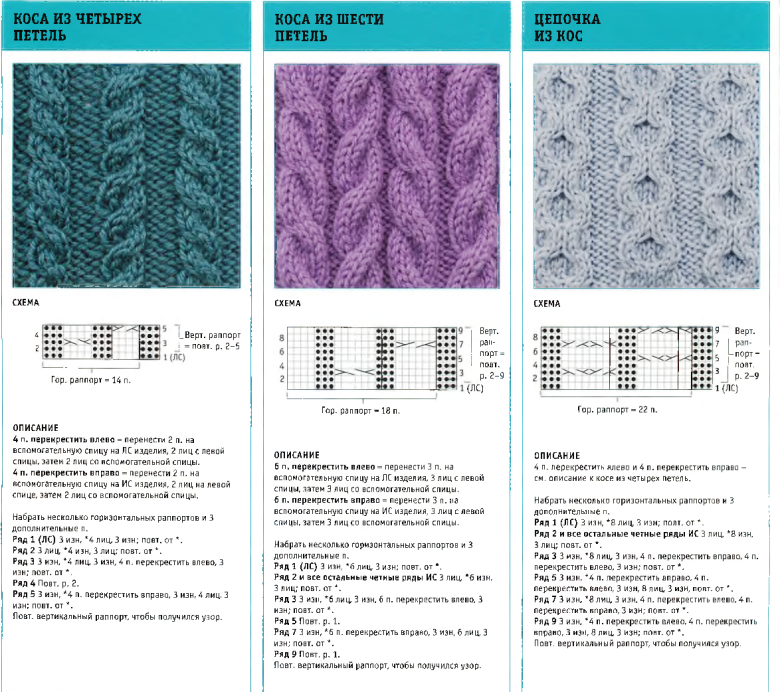
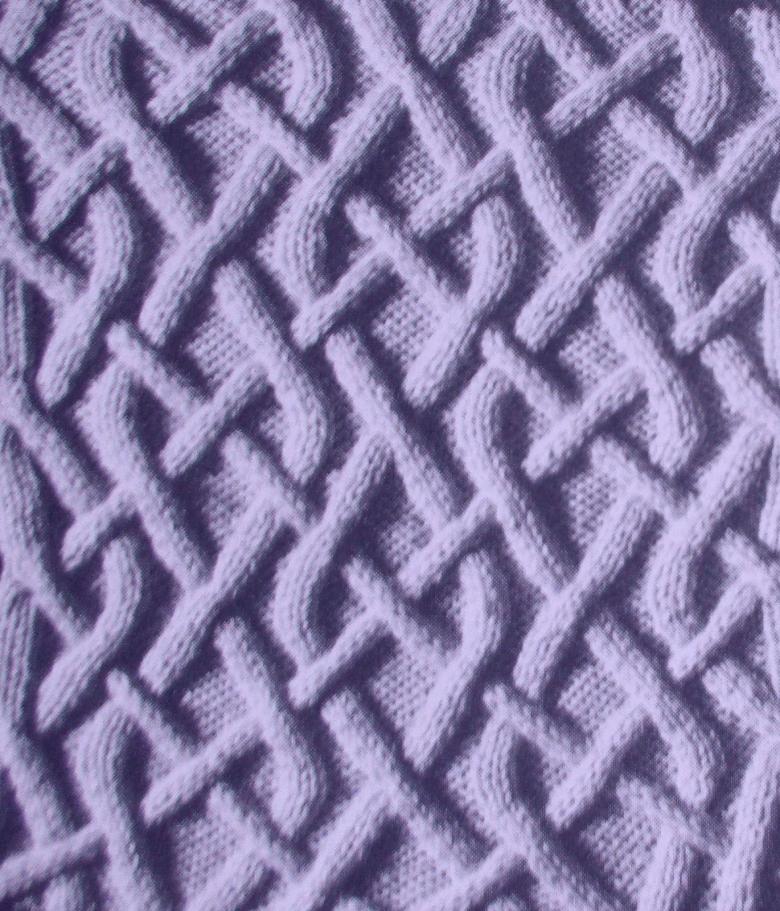
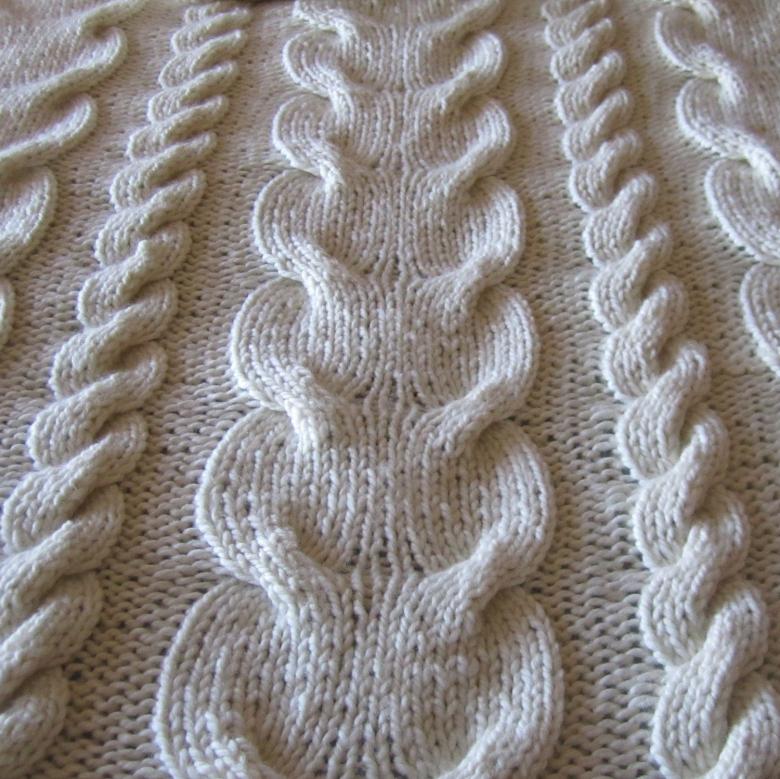
To knit the "braid" pattern, use an extra needle. This type of ornament is considered difficult compared to other techniques. But if a little practice, the pattern is knitted easily and turns out flat. In the work will have to master the movement of a large number of loops. Schemes for braid, tourniquet and similar patterns are marked with an extra needle in front of the work or behind the work, accompanied by other signs.

To knit a simple but beautiful braid, start the process with these steps:
- Dial in a number of stitches that is a multiple of 10.
- The first sequence consists of 3 st sts, 3 face sts, 1 st, 3 face sts.
- Next, 3 non-single sts, 1 non-single st, 3 non-single sts, 3 non-single sts.
- In the third line, take off 3 stitches, remove an unbroken stitch, 2 st stitches, 1 st, 2 st stitches, remove the same.
- Take off in the wrong way one piece of unconsecrated stitches, 2 of the last stitches, 1 dits.st., 2 of the last stitches, take off one stitch in the same way, 3 of the last stitches, 3 of the last stitches, 2 of the last stitches.
- 3 in. st, knit a stitch from additional needle in front of work after two loops in the previous row, 2 in. st, 1 out. st, take off one stitch from additional tool, 1 out. st.
- Repeat from the first point.

Canvas is knitted with thick textured yarn. The fabric is dense and warm. Wet-heat treatment is carried out according to the recommendations on the yarn label.
Pinecones
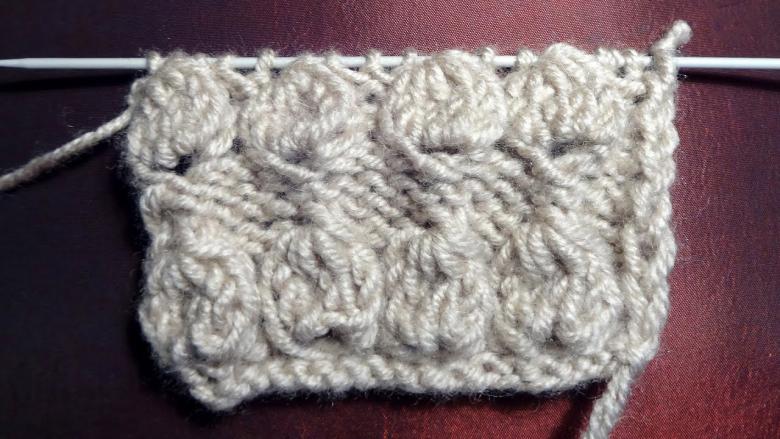
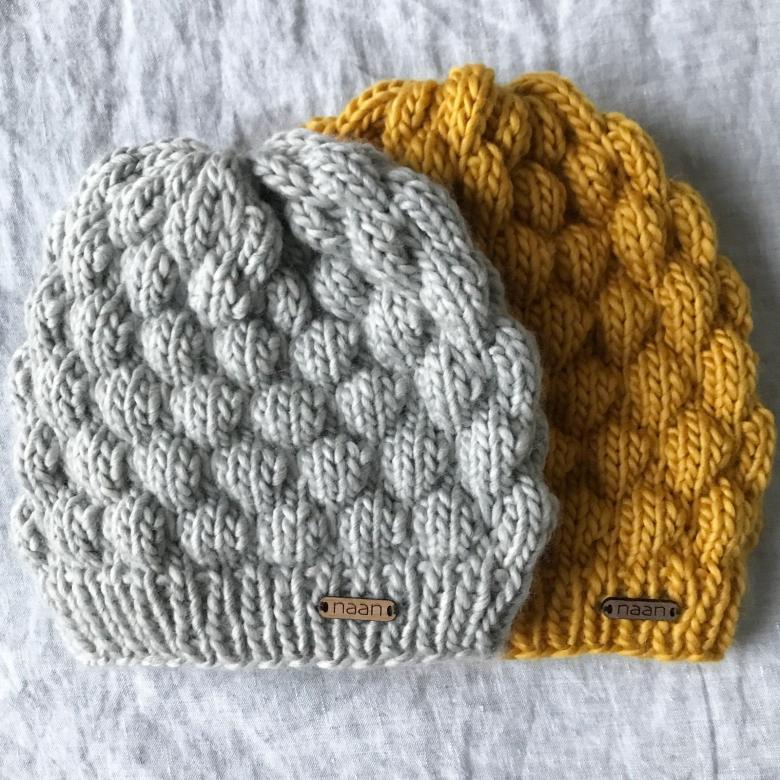
Convex round objects similar to cones are usually used to decorate hats, neckline area in sweaters. Pinecones are made on the front side and can be knitted in two ways.

Method 1.
- The first row of main, the next - the reverse loops, so 4 rows of stocking smooth.
- Begin to make a bulge of five loops, after their dealing the canvas is constantly turning over.
- Make additions through one.
- When the bump reaches the required size, knit together 5 stitches and move on to the process over the thing.
Pinecones perform in staggered order, but you can place them chaotically.

Method 2
The cones look slanted, giving the garment an original look. Scheme of the process:
- The convex element begins with a front "brick," make a hinge.
- From the loop in the bottom sequence, pull the yarn and knit on the face.
- From the bottom line pick up another loop, pull it out and do the same.
- As a result, there are several working buttonholes on the working tool.
- Half of them are removed, carefully holding it with your hand.
- Take the hook, pick up the working thread and pass it through the buttonholes.
- Loop from the hook to loop on the stitch and then knit.

The work requires skill. Without experience, working components will try to "escape" from the hook. Convex ornaments are usually arranged in a staggered pattern. When using thick yarn, cones have a large size. On sweaters it is not very convenient, but on hats and snoods - just right, unusual and warm.
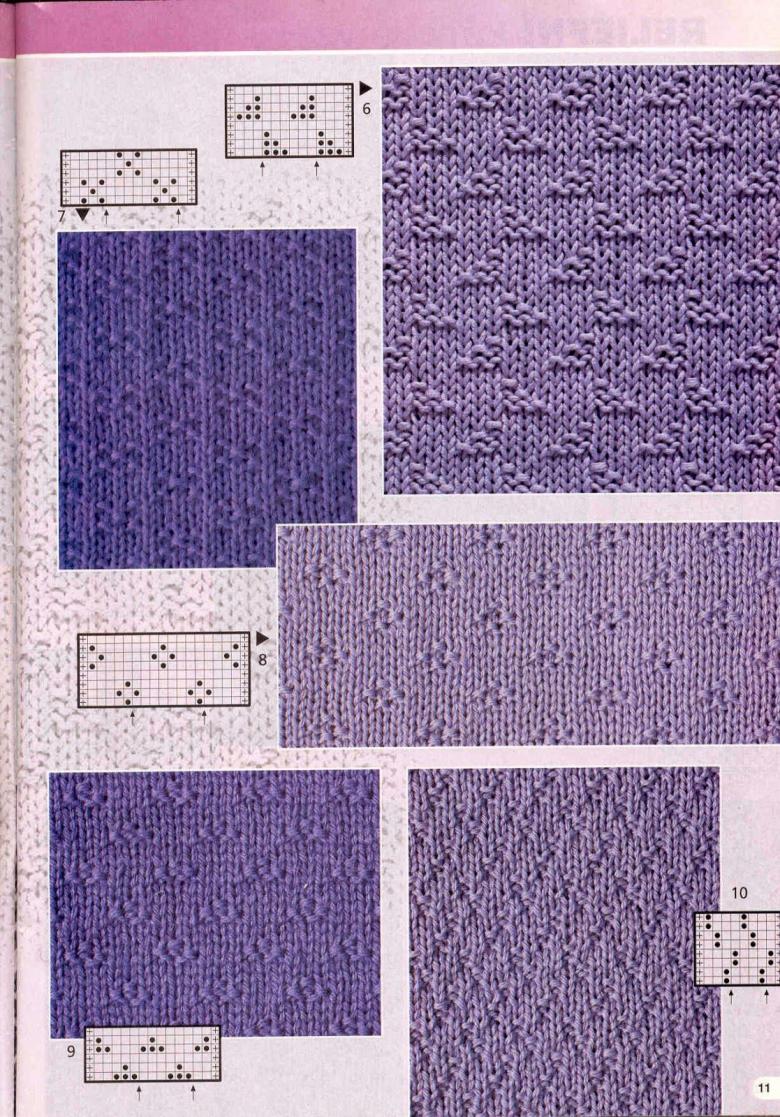
The variety of patterns created from simple elements is surprising in its number. Each of them in its own way beautiful and suitable for certain things. A complete catalog of patterns can be found on the expanses of the Internet or in printed publications. And still it will not be complete enough. Knitting is like music, which is born of seven notes and is always beautiful in a new way.

