Handmade crafts from the egg trays - three elegant master classes
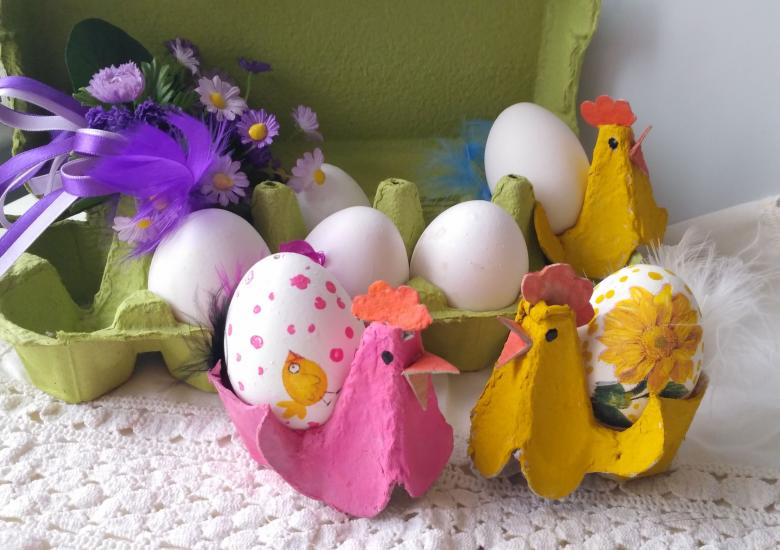
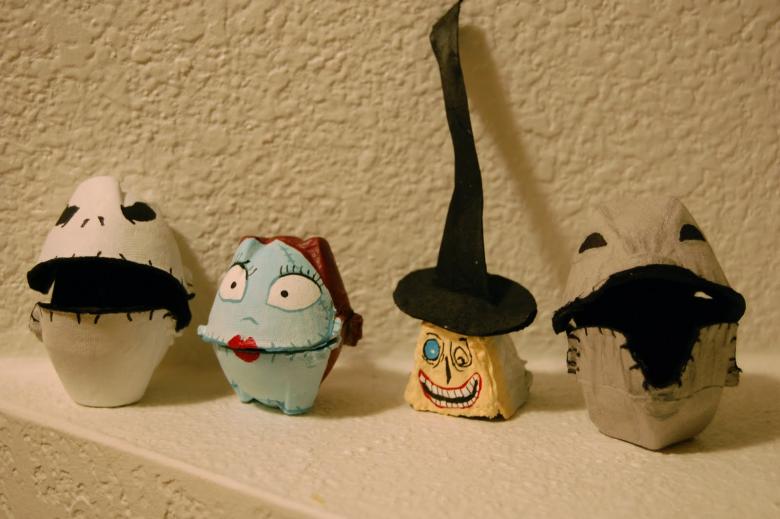
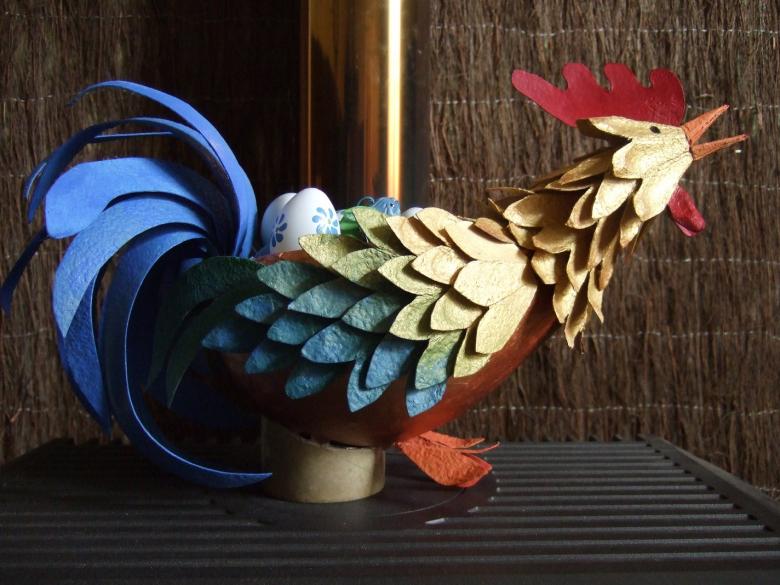
As many times mentioned on our portal, the material for all kinds of crafts can be absolutely any thing, even inconspicuous in appearance. Restricted to the choice of materials you can only your imagination.

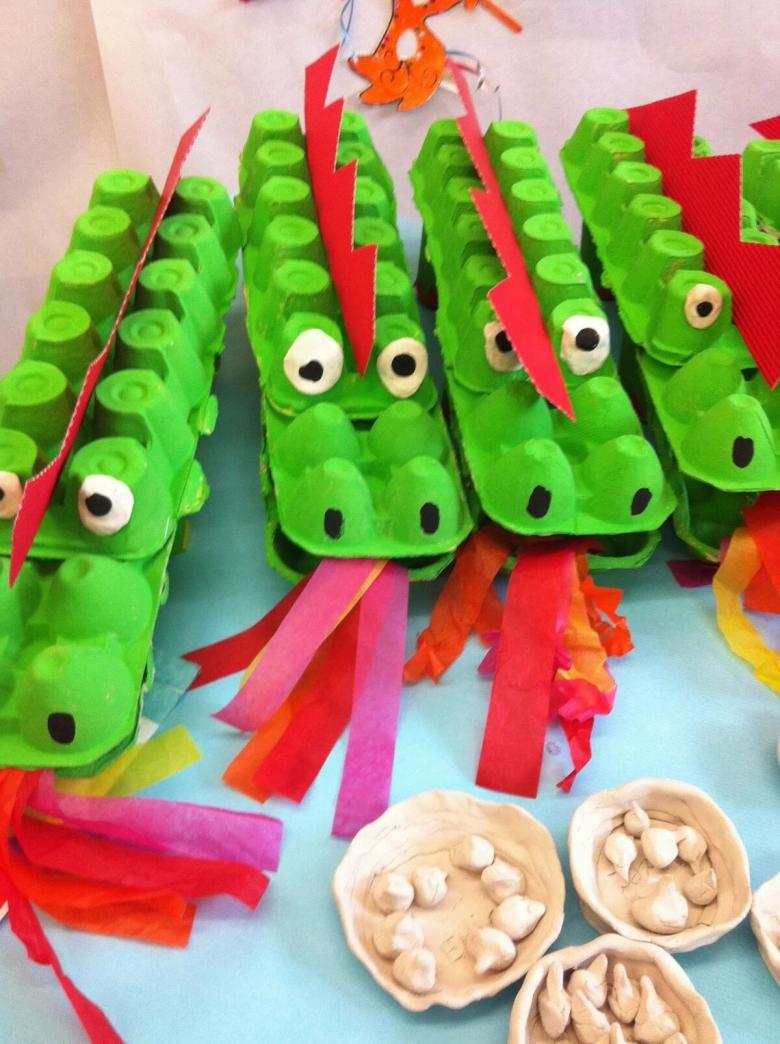
For people it is natural to simply throw things like empty egg cartons, a dozen of which were bought in the nearest supermarket. But, after you read this guide, you will be able to give a second life to such an object, making a beautiful craft from the egg trays with their own hands.
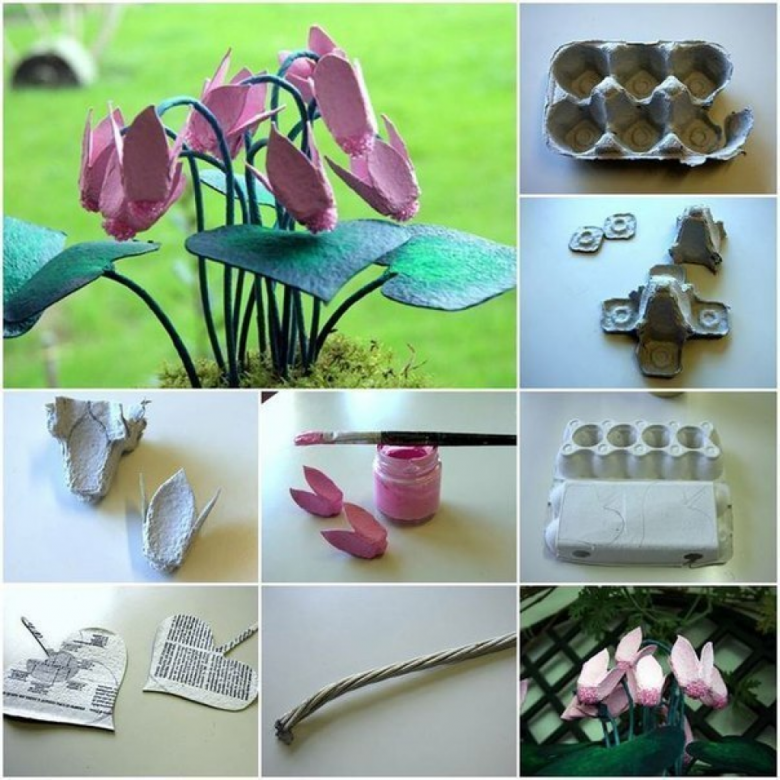
To the process of creativity and creation of all kinds of things, it is worth connecting your children. After all, for such a fascinating and certainly interesting pastime, a child can develop creativity and all kinds of artistic abilities. In addition, as you all know, the work with their own hands affects the fine motor skills of hands and fingers, the development of which has a beneficial effect on the mental activity of children.
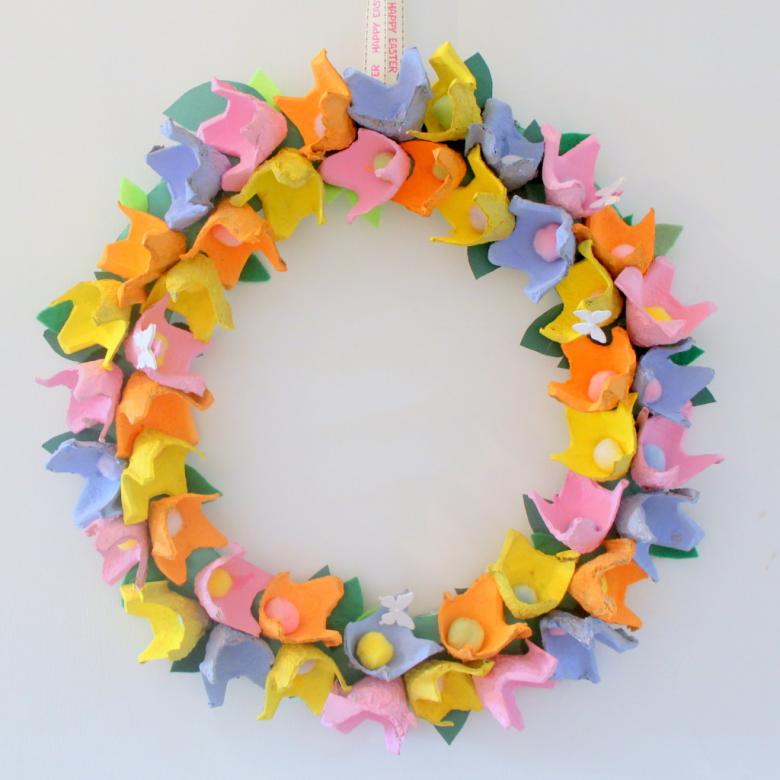
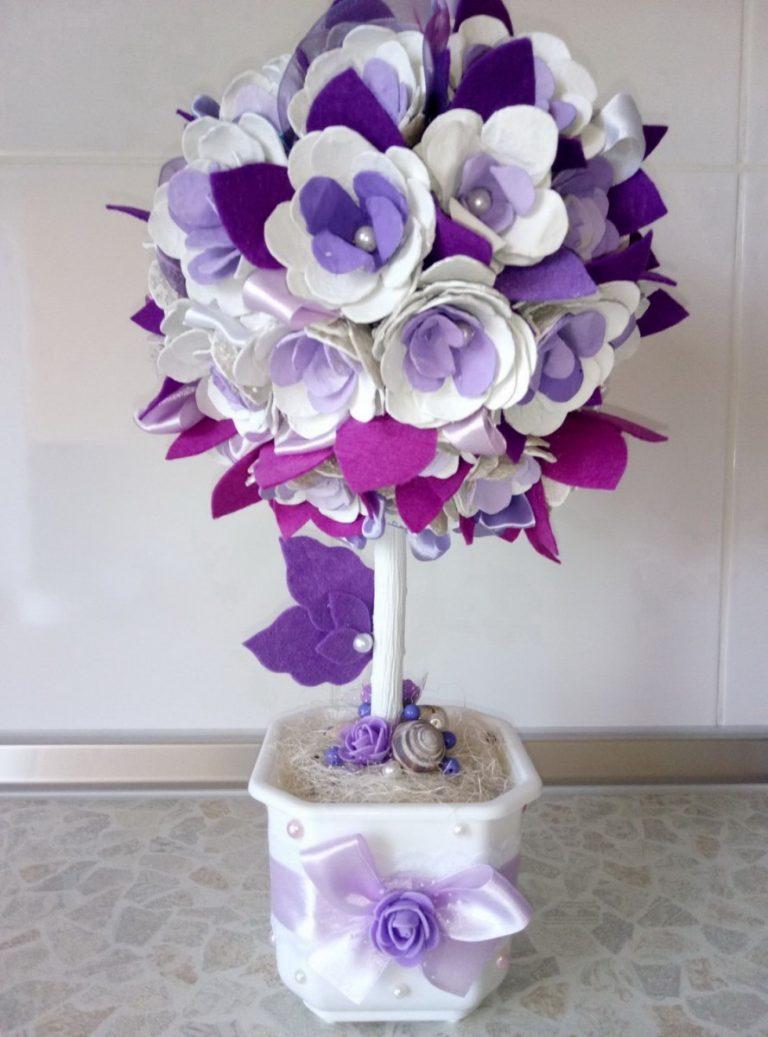
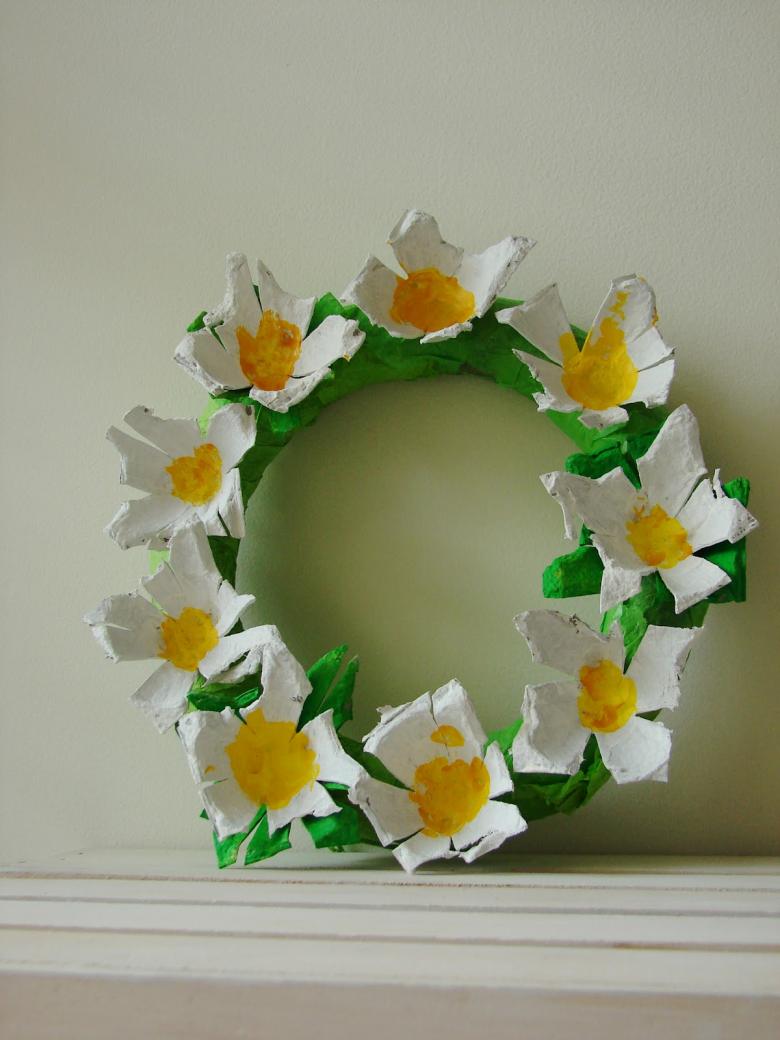
Making a garland from egg trays
To make such a craft is quite simple, you will need to show a little patience and diligence, the result of which will be a great, beautiful garland. For this trap, you need a set of glue gun or some other glue of good quality, a Christmas garland and a couple of egg cartons.

A step by step guide on how to make
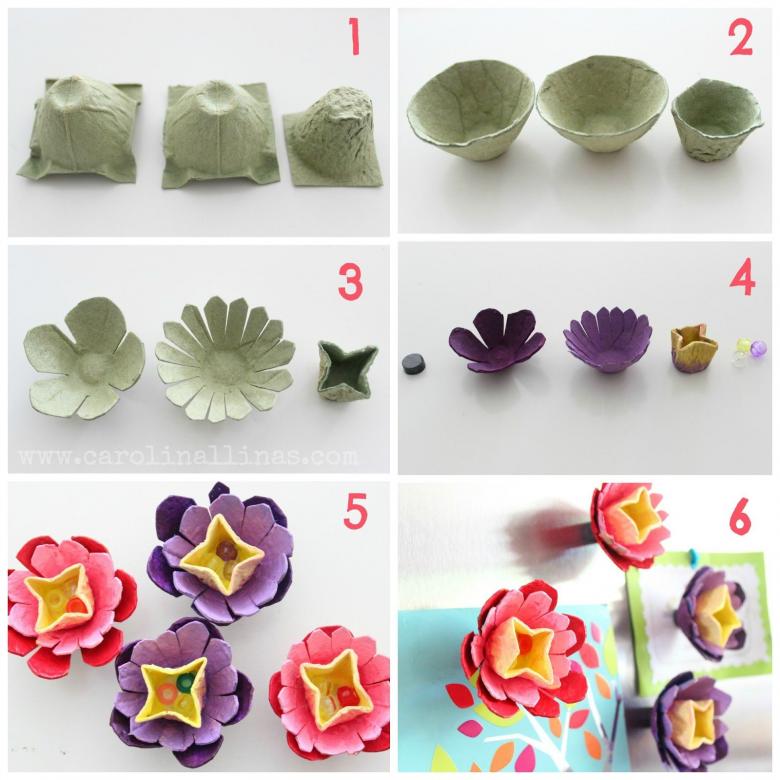
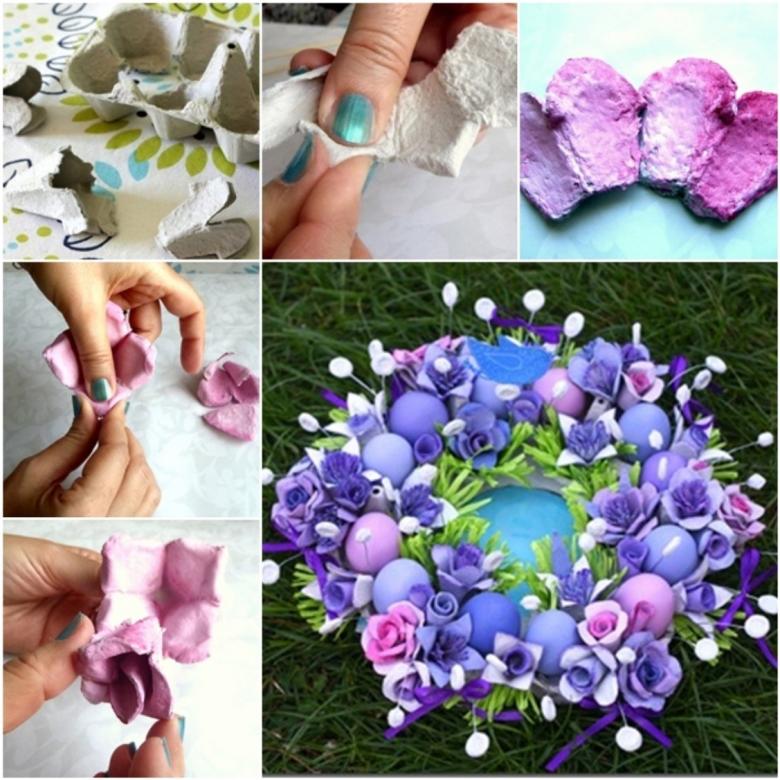
- For one part of the flower-shaped garland, you will only need two cells, so you will need to cut the tray into separate components at once.
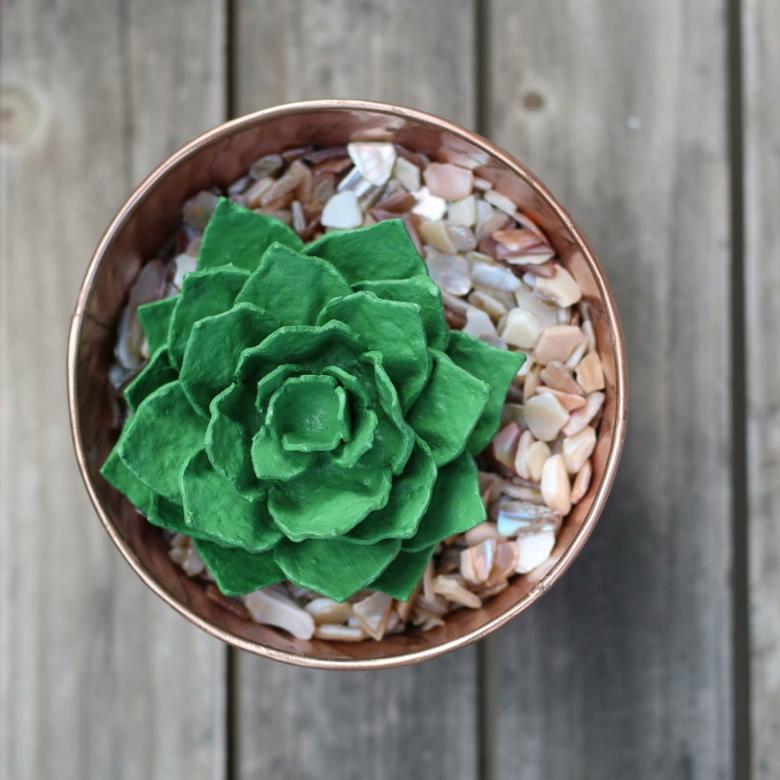
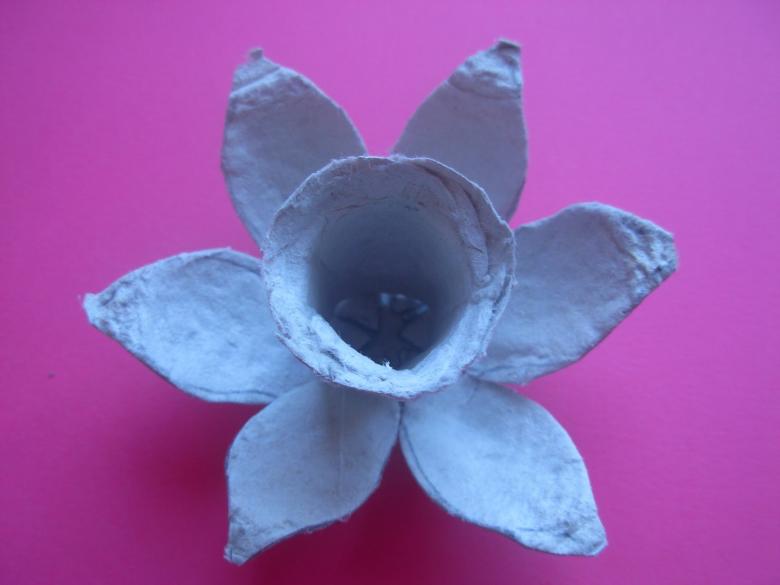
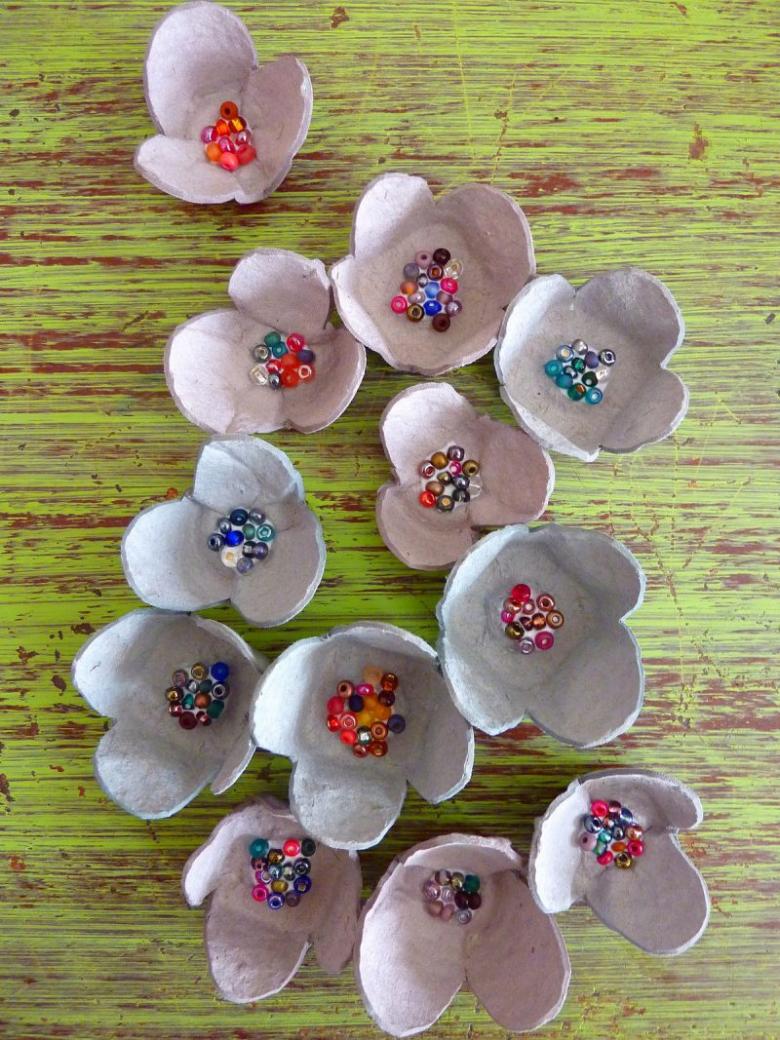
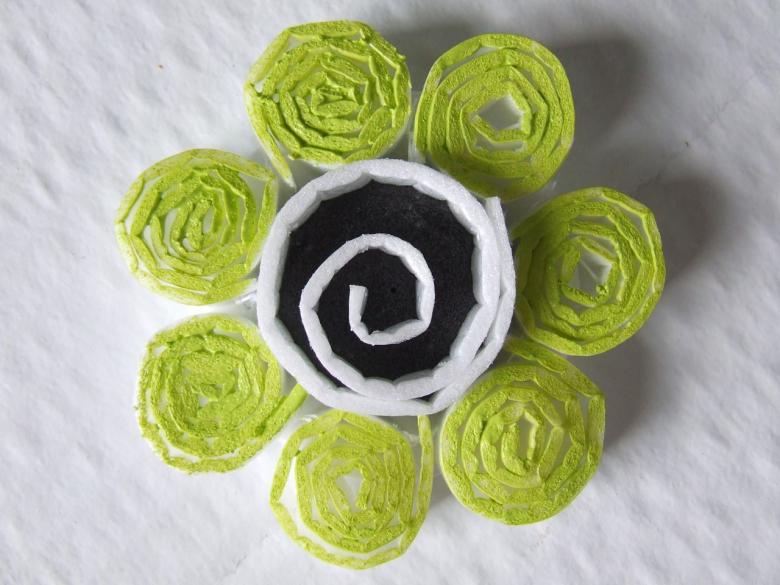
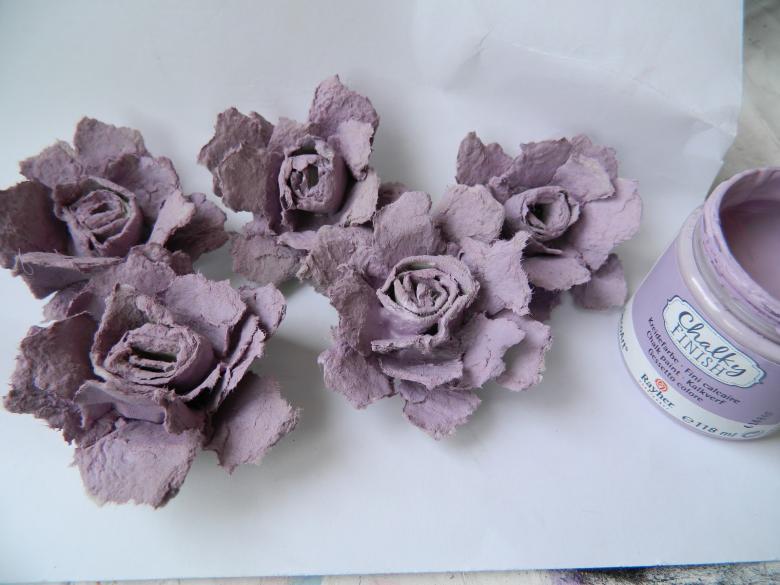
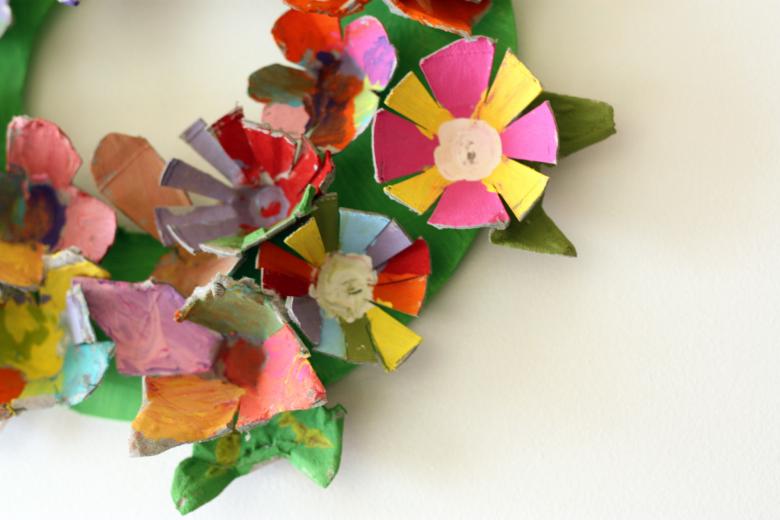
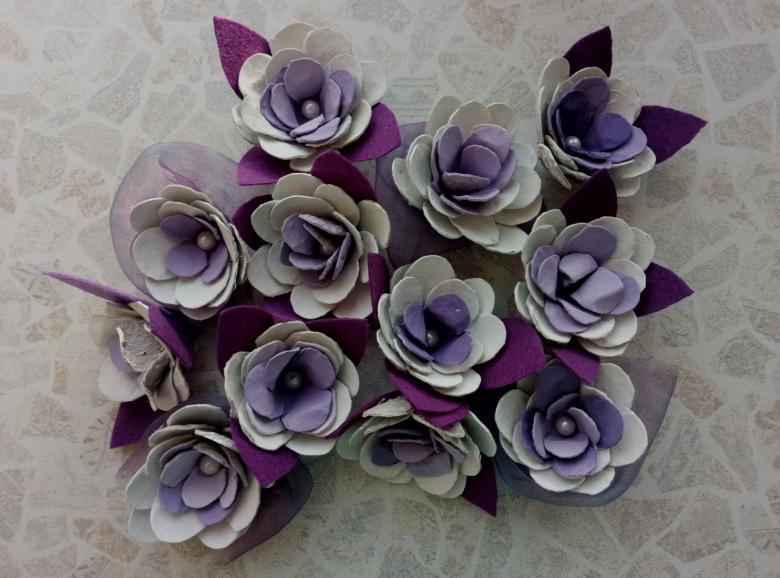
- Each resulting part of the garland needs to give the shape of a flower. To do this, divide the boxes of two cells into 4-5 petals, simply tearing off the edges of the cups.
- After your own hands are given the form of florets, it will be necessary to paint them in different colors. To make it easier, you can beforehand paint the whole egg tray.
- To get the relief on the outside of the flower, it is enough just to press on the inside.
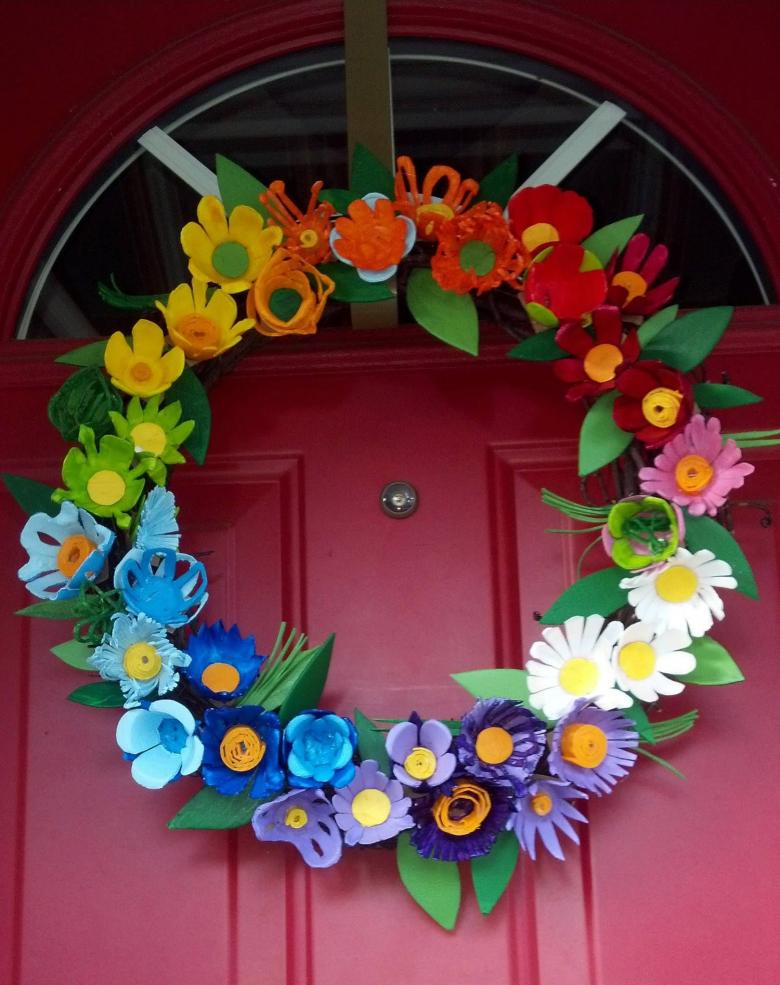
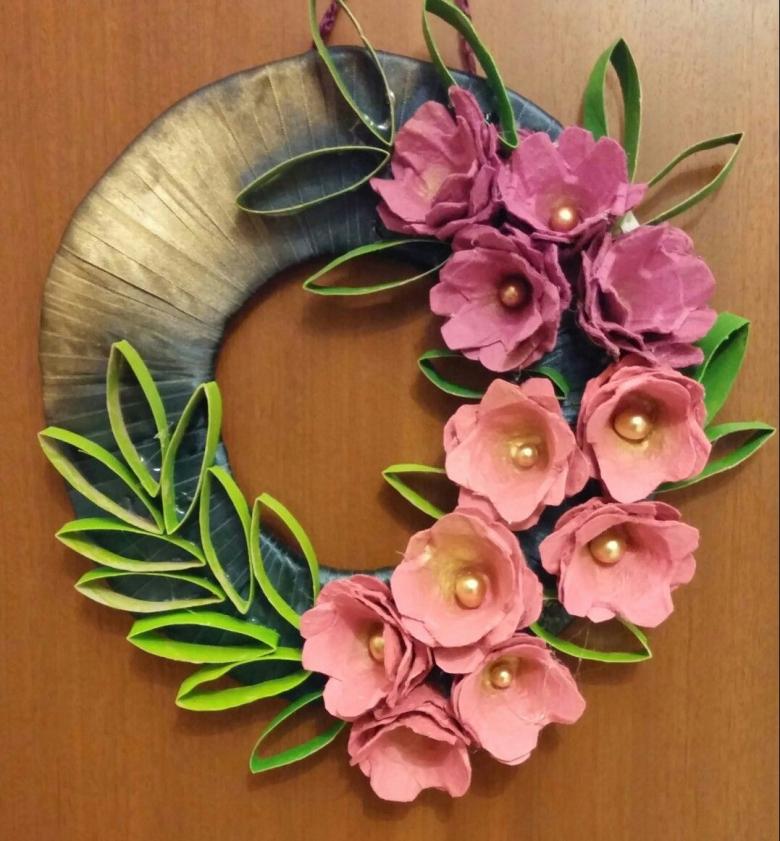
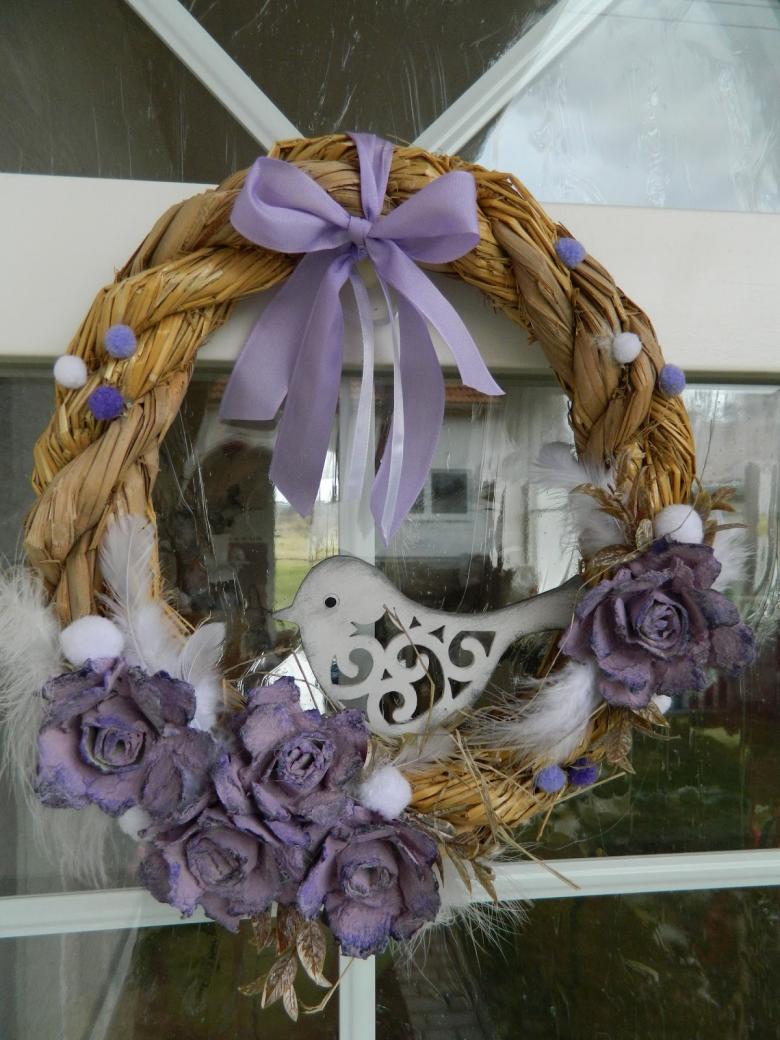
- Use glue, or a glue gun to fix the flowers between each other and on the garland. To do this, you will need to cut the paper almost to the center, and then insert the flower into the garland. Along the edge of the gap the flower is glued with glue. The following flowers are attached to the garland in the same way, and fastened to each other, also with glue.
- It is worth noting that the garland will look bulkier if you leave a couple of bulbs between the homemade flowers. After completing the process of fixing the roses on the garland, you can add some small details, such as colored ribbons, which can be tied with a bow.
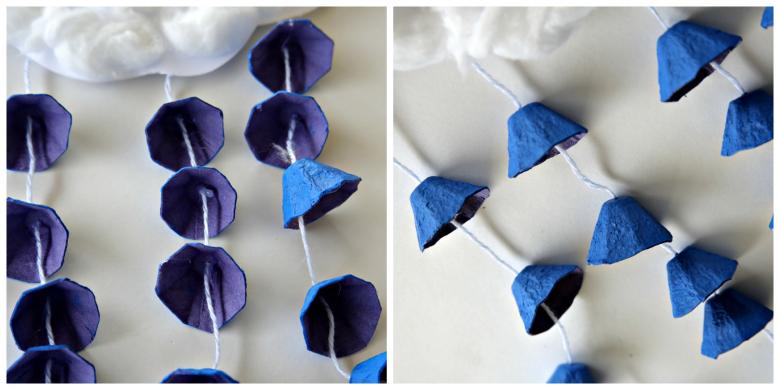
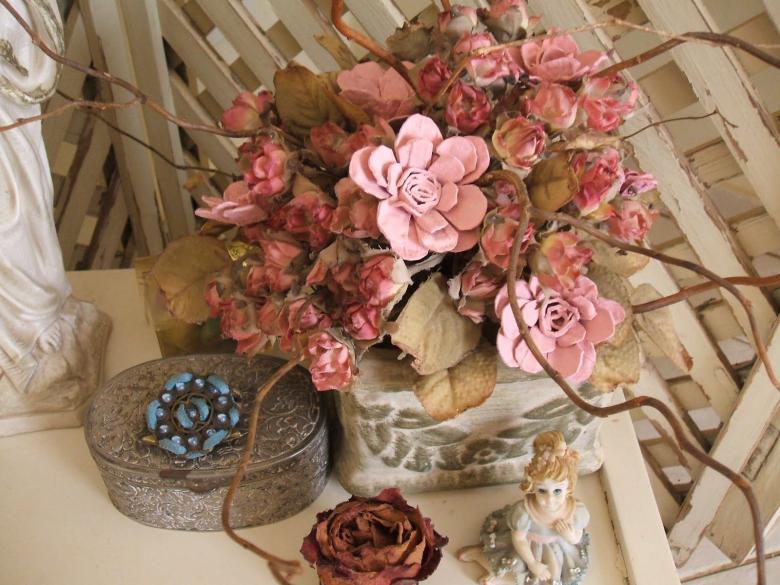
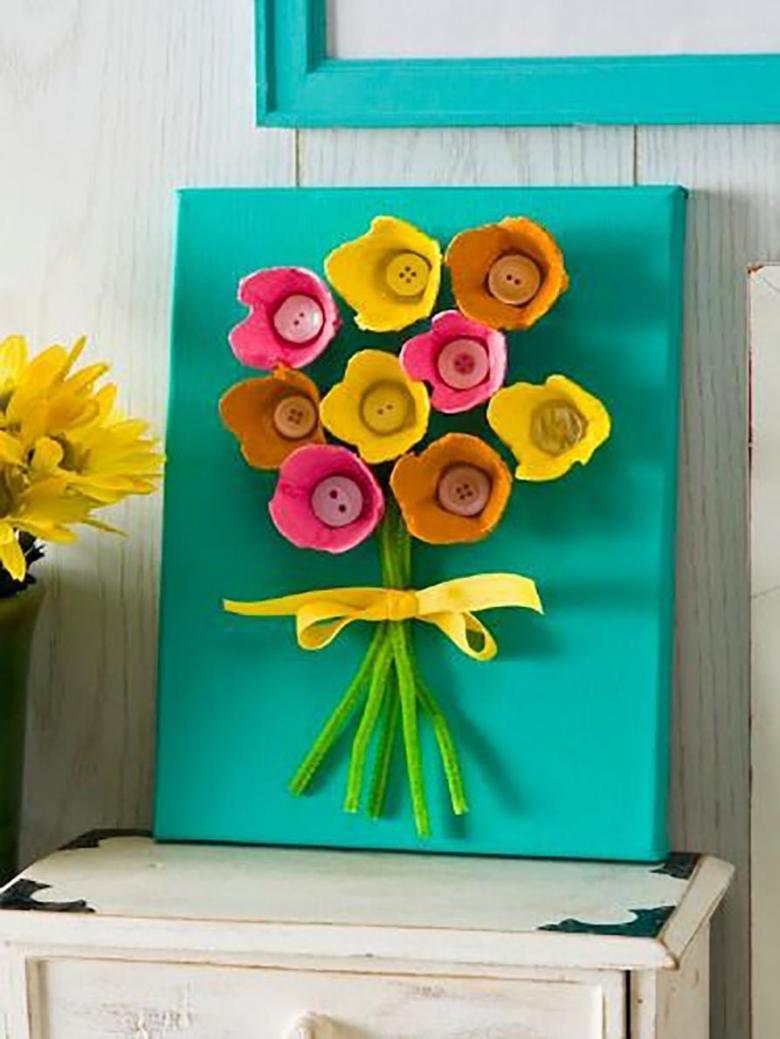
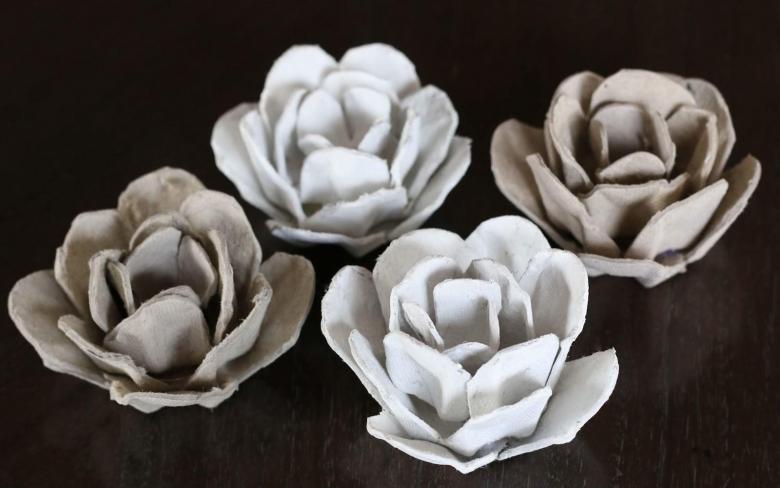
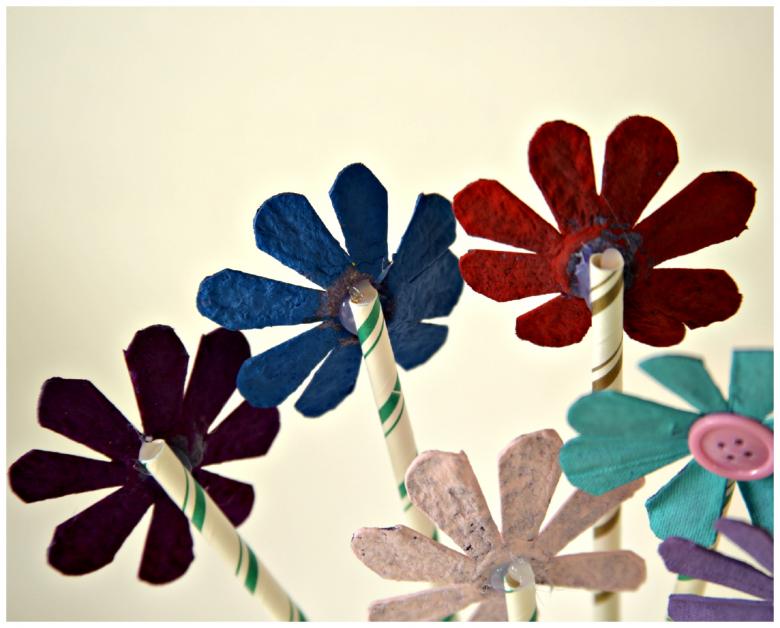
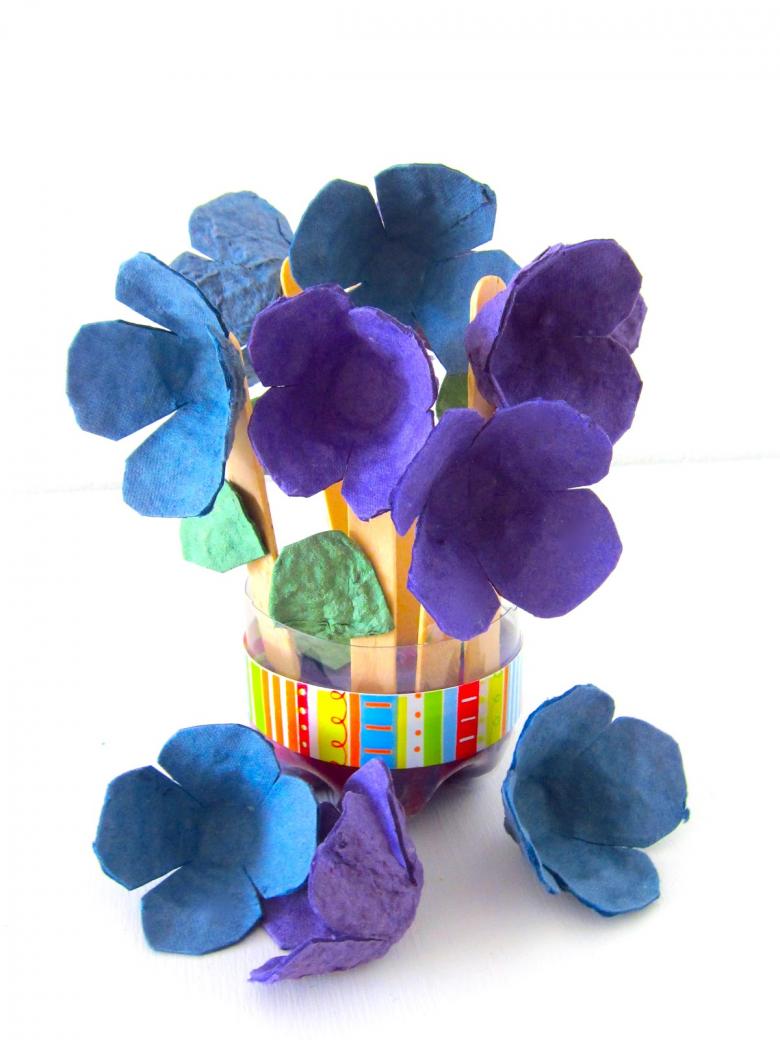
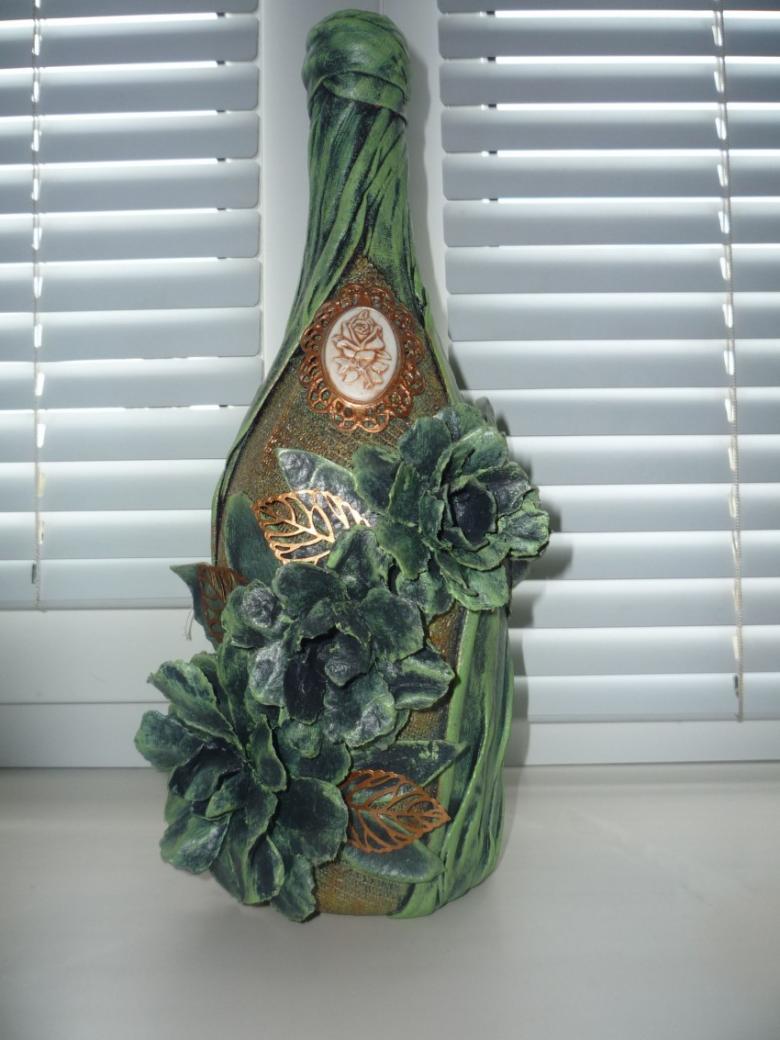
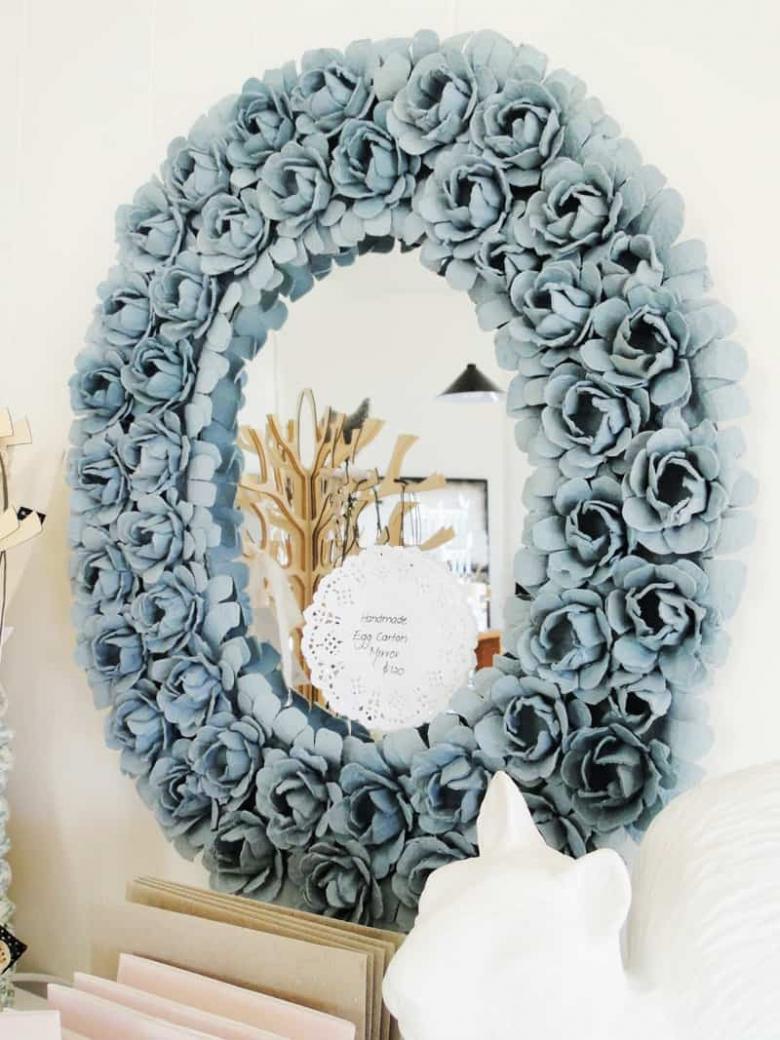
Similarly made flowers from the egg cells can be found a variety of different applications. You can use the resulting crafts for the decoration of picture frames, and picture frames. Also, such flowers will look great on the chandelier, and it will be a nice decoration.
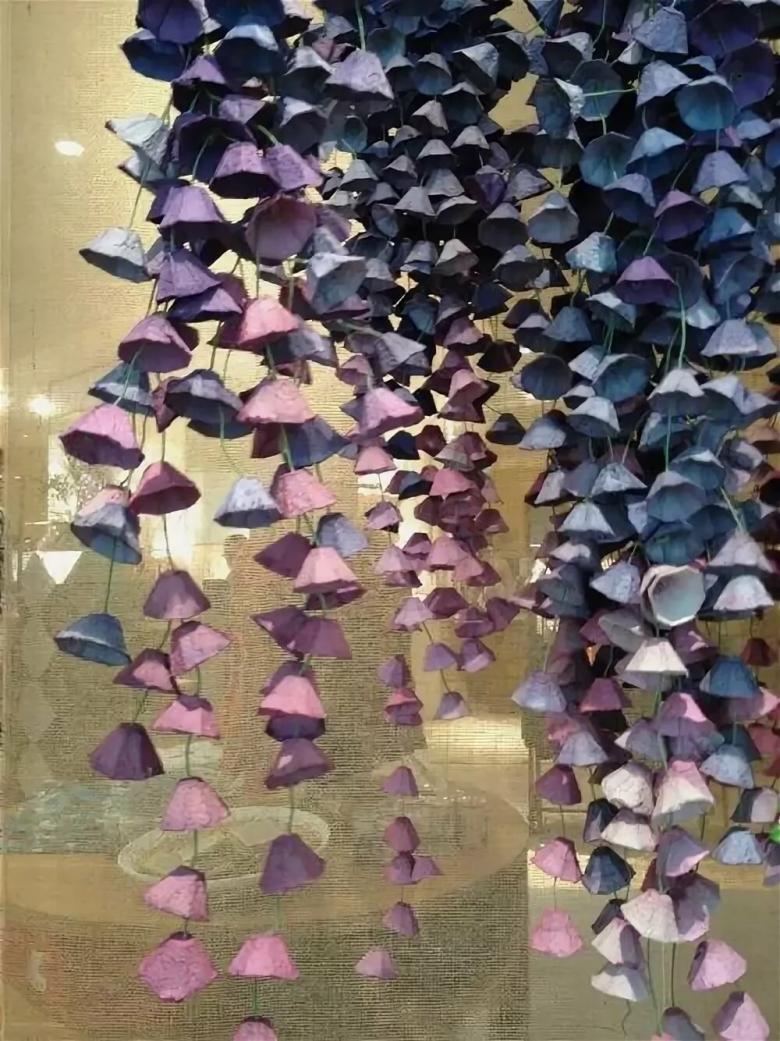
Making fish figures out of egg cartridges
Who would have thought that such a seemingly useless thing as an egg carton can turn into a great decorative fish figure. In order to make such a funny thing, you will need only a few egg trays, glue, ordinary scissors and a pencil. Also, you will need such an unusual material as black pepper peppercorns.
A step-by-step guide to making
- From a whole egg tray, to begin with, we need only one part of it. We cut it off with scissors, and with the same scissors we round the corners. You can make it smoother by using a simple pencil to trace the contours of future corners before cutting them. Remember the proverb: Measure twice, cut once! You will need as many as twelve of these cells with rounded corners.
- Scales from fish will be made this way - all previously made cells, simply inserted into each other.
- The tail of the fish will also be made in the form of rounded cells, one of which will need to be set aside in advance. It will be necessary to cut off the sharp ends with scissors, and give the shape of the tail. Then, this part is also attached to the main part of the figure.
- Another part of the egg tray will be needed to make a fin. Just mark its contour, using a simple pencil, and cut it out with scissors. It is worth to make for the resulting fish side fins, which can be made in the same way.
- The final stage of the work is to assemble the individual parts, and fix them to each other using glue or a glue gun. It is also worth using peas of black pepper, which will serve as eyes for our beautiful fish. The mouth of the fish is simply drawn with a simple pencil or marker. The figurine is ready!
Making a frame for photos from egg trays
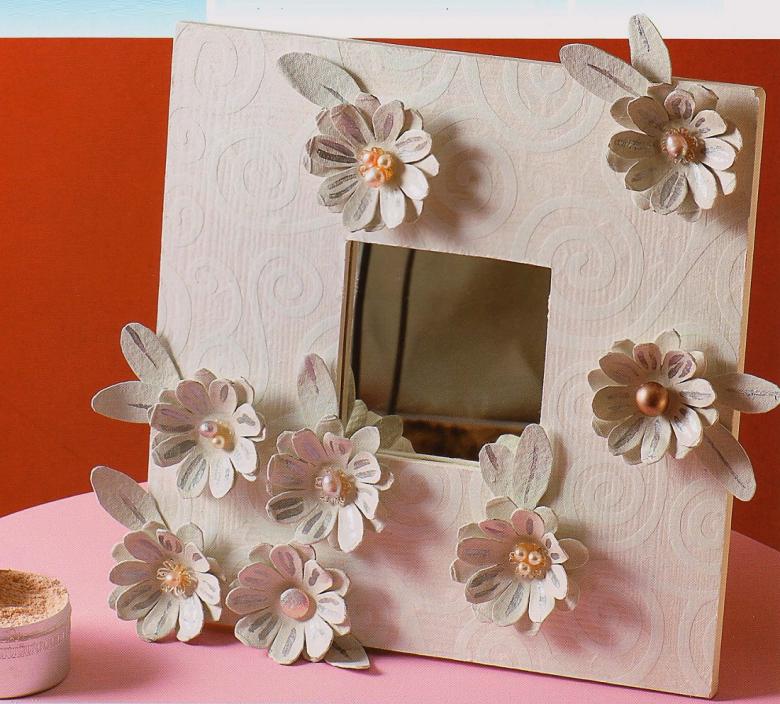
You can make a beautiful and unique decorative frame, which will be a great decoration for your favorite photo or picture, with your own hands, using simple egg cartons. The list of tools you will need is quite simple: empty egg cartons, a glue gun, a simple pencil or felt-tip pen, scissors, and a sheet of thick cardboard.

A step-by-step guide to making
- The base for our future frame is an ordinary sheet of white cardboard. The photo or picture you are going to decorate, you will need to glue in the center of the white sheet so that the cardboard edges are visible on all sides. Their width should be just a few centimeters.
- Next, it will be necessary to cut the egg tray with scissors. The cut is made exactly in the middle, along the pre-marked line. The upper, protruding part is cut in the form of a flower, the contours of which are also outlined with a simple pencil in advance. As a result, you will get a cell, the appearance of which resembles a small paper flower.
- Next, it will be necessary to cut off a pair of cells from the egg tray, and round their corners, also using scissors.
- The paired cell is divided into two parts, on each of which it will be necessary to depict with a pencil or pen a four-leafed flower. At the bottom inner part will be the center of the flower, which will need to be removed. As a result, you will get a flower that is larger than the first one.
- Next, using a glue gun, you will need to glue the two flowers together. In the other empty cell, using a simple pencil, a circle is outlined, and lines that will go from the central part to the edges of the cell. All this is cut out, the necessary incisions are made, and glued to the inside of the flower.
- Petals for our figure are also made of empty cells. On them, a pen outlines the contour, and then it remains only to cut out the finished petals. To make them more similar to the living ones, you can wet the edges.
- The final stage of the work is the placement of the resulting flowers on a cardboard frame. The leaves should also be pressed tightly to the flowers, and secured with a glue gun. You can place your bouquet on the frame in any way you want, here your imagination and creativity work. Made flowers can be different sizes, and also differ in the number of petals. It is also worthwhile to paint the flowers in different tones and shades beforehand to give the frame even more uniqueness.
As you could see by reading this guide, even such a simple thing as egg trays, which most often simply goes into the trash, can become an excellent material for the development of creative abilities. In addition, if you do handiwork with your children, you will be able to spend with them a huge number of pleasant minutes, which after they grow up will turn into wonderful memories dear to your heart.

