How to make a mushroom handicraft - a collection of interesting ideas, photo examples, tips
Do you want to go back to a carefree childhood? Yes, you say. Such an opportunity will arise if you, together with your child think about interesting to spend time. Mushroom crafts, will plunge you into a magical country of creativity and tell you how to make cute mushrooms from natural and artificial materials, not complicated movements.
The most common plasticine crafts
Plasticine Technique
Ideal material for children's creativity is plasticine. This soft, pliable, colorful material is perfect for kids to create a whole collection of mushrooms.
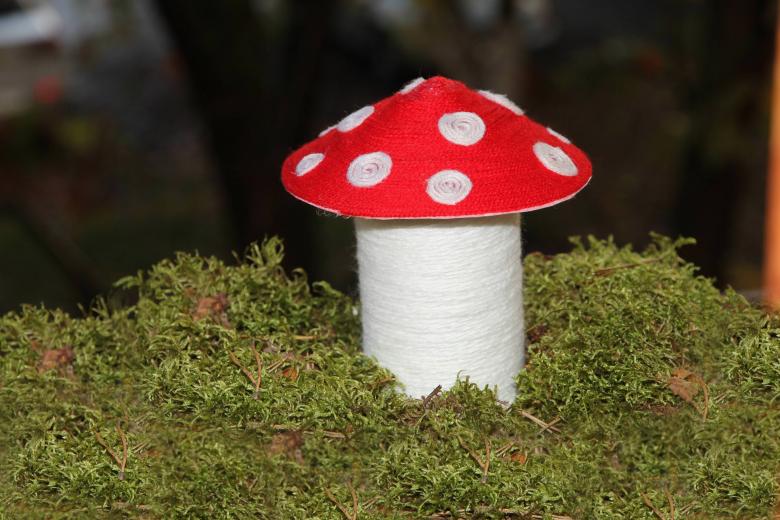
We will need:
- plasticine;
- table;
- a board to roll out the clay;
- a knife-stick.
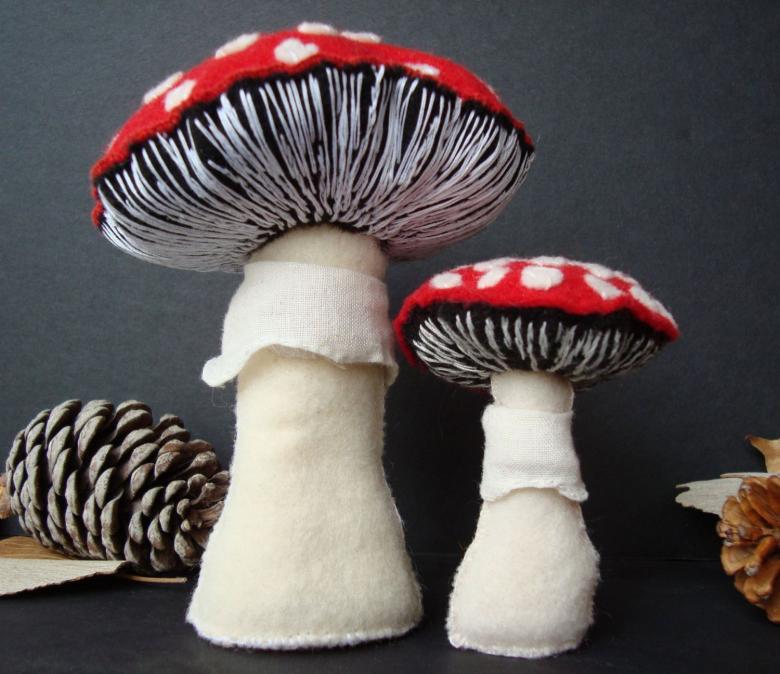
First, let's roll a sausage. Where there will be the cap of the mushroom, we will make the trunk thinner, and where the roots of the mushroom, the trunk will be thicker. To make a mushroom hat, we will roll a ball and flatten it to the assumed size of the hat. Such simple mushrooms offer kids to mold in kindergarten, gradually complicating tasks.
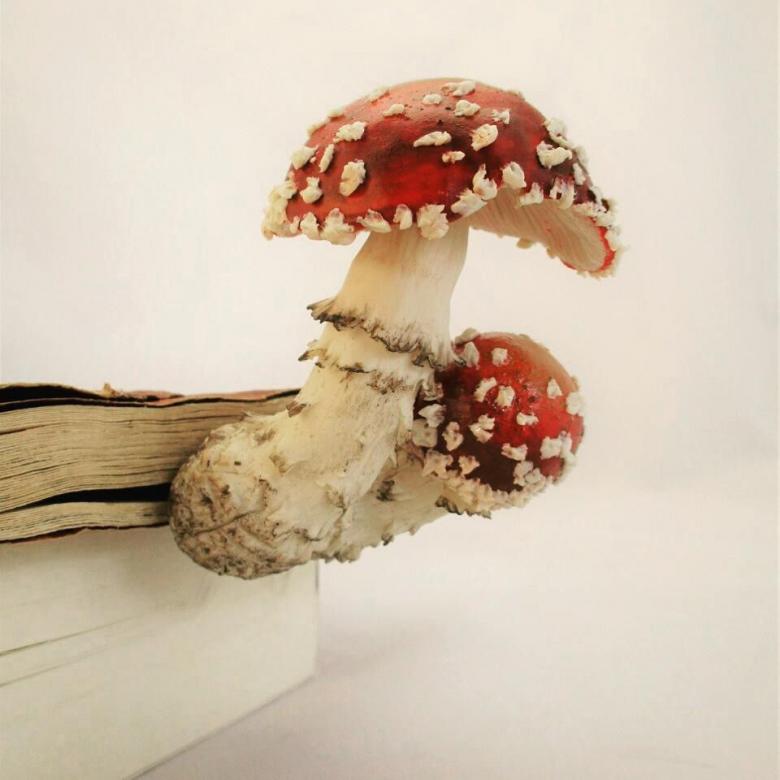
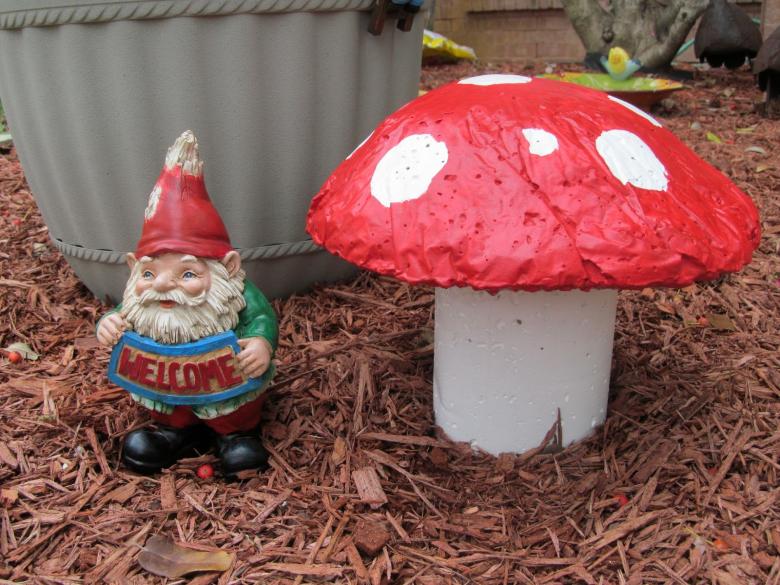
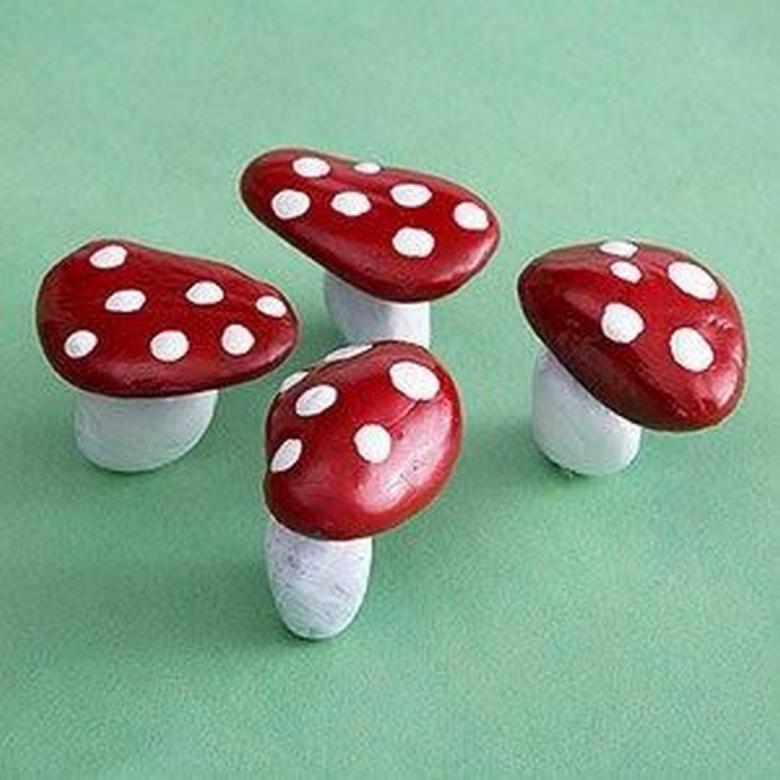
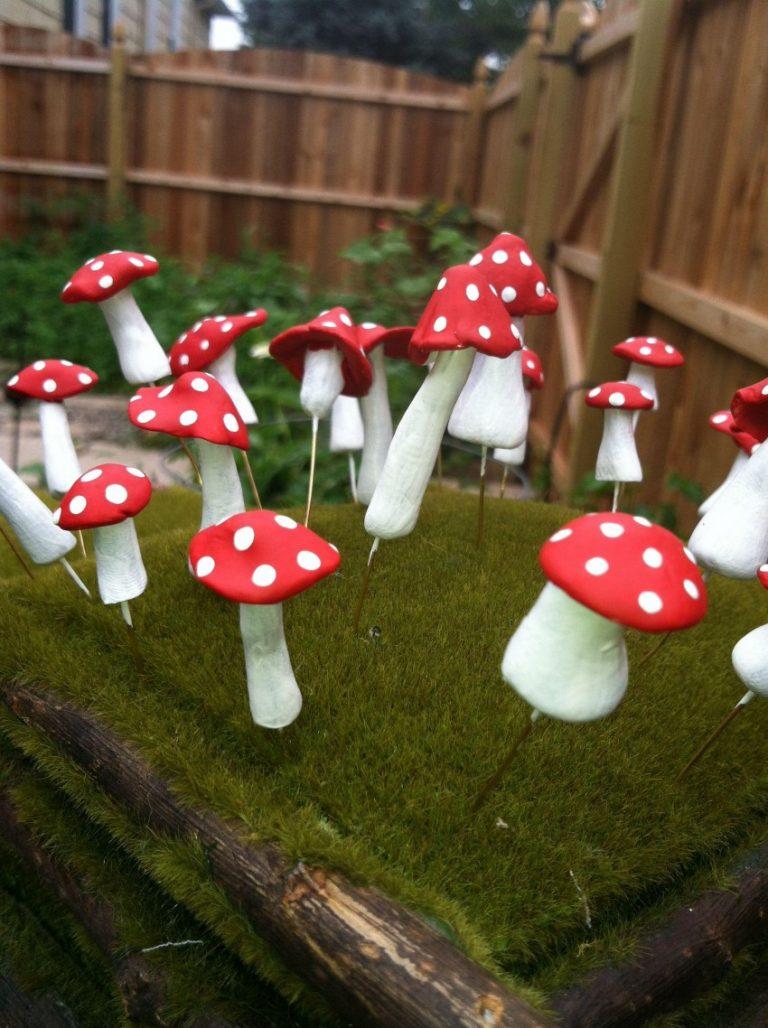
You can add some elements, such as grass or white dots, as on a hat of a poisonous fly agaric mushroom.
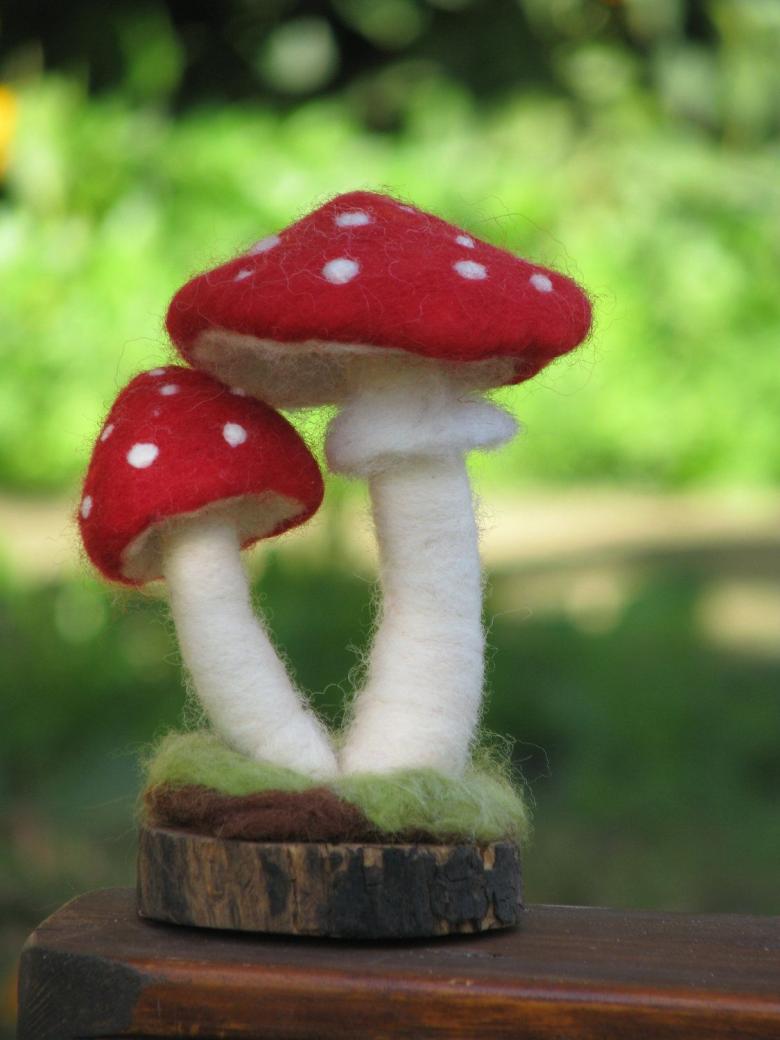
To make the grass we roll a green sausage, spit it a little and cut the fringe, as if it were a blade of grass. And we wrap the fly agaric. On the hat we attach white, small, flattened balls.
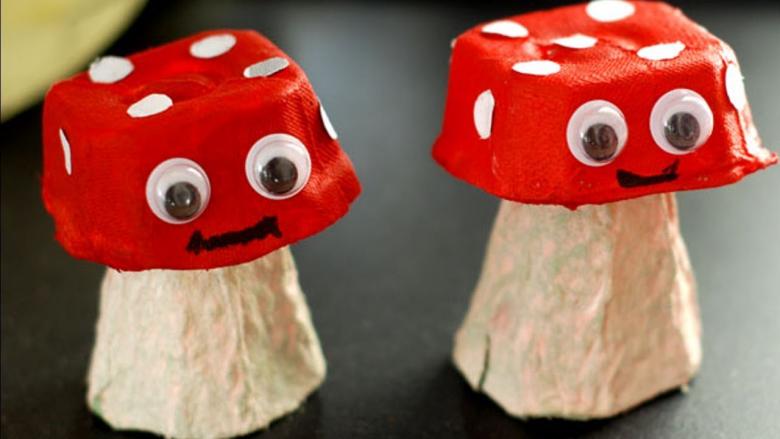
If children still have attention, you can offer to make eyes from white balls, mouth and nose with a knife.

Consider another version of the mushroom, only with a double hat. Roll two white sausages. One smaller we need for the skirt, we attach it around the trunk and flatten. Next, we work on a hat. Roll out of white color two balls. The first one you flatten, the second one you leave, it will give us the volume for the second hat. Take red plasticine, form one ball. Stretch it out on top of the white ball and the first hat. Make the patterns inside with a stack knife. It remains to glue white peas and our mushroom with a double hat is ready.
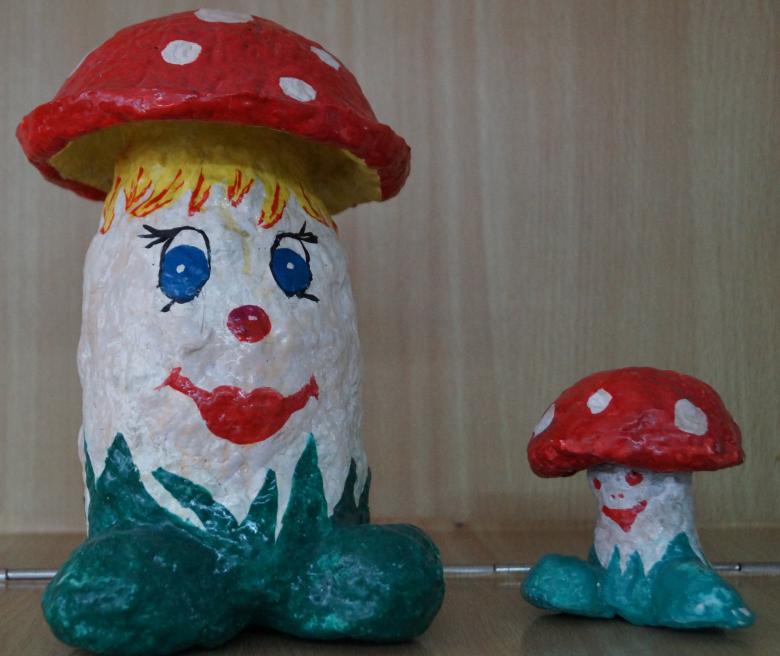
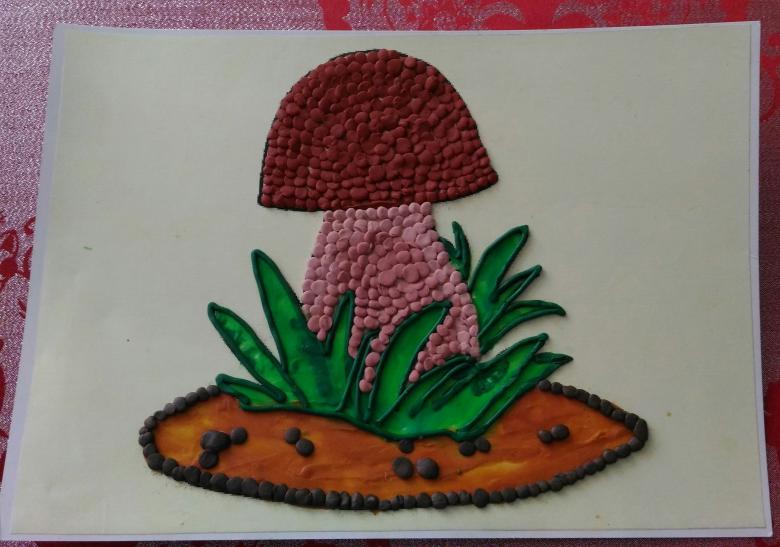
Working with plasticine involves different techniques in molding, such as the technique of plasticine, which is done by rolling with a rolling pin or a free bottle of plasticine, like dough. From it cut out a silhouette and other details of the handicraft. The drawing is made in layers.
Smear technique
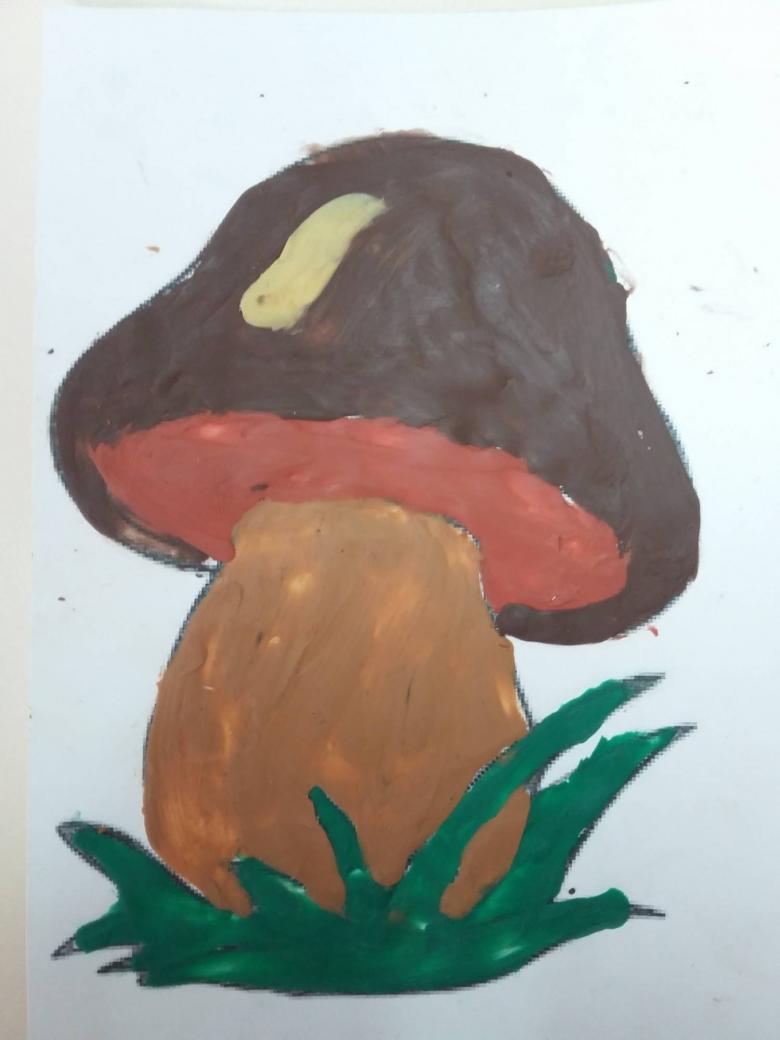
Another technique to consider is the smear technique. We smear the clay on the prepared surface.
The considered techniques are used for flat applications. In more detail, let's study the smear technique on the example of the handicraft House
We will need:
- plasticine;
- a small jar with a lid;
- hot water;
- a knife-glass.
We take a jar of glass, plastic, heated plasticine with hot water, smear on the surface of the jar. We leave room for the door and windows, which will be made with the same technique, but in a different color. Complicate the work with additional elements. Add green branches and pink flowers of vines on the house, doors, window, with the help of a stack depict the material of which the house is built, brick or wood.

Fill the surface of the lid with plasticine and the work is ready.
As decoration inside the house, you can put a light bulb, a glowing toy.

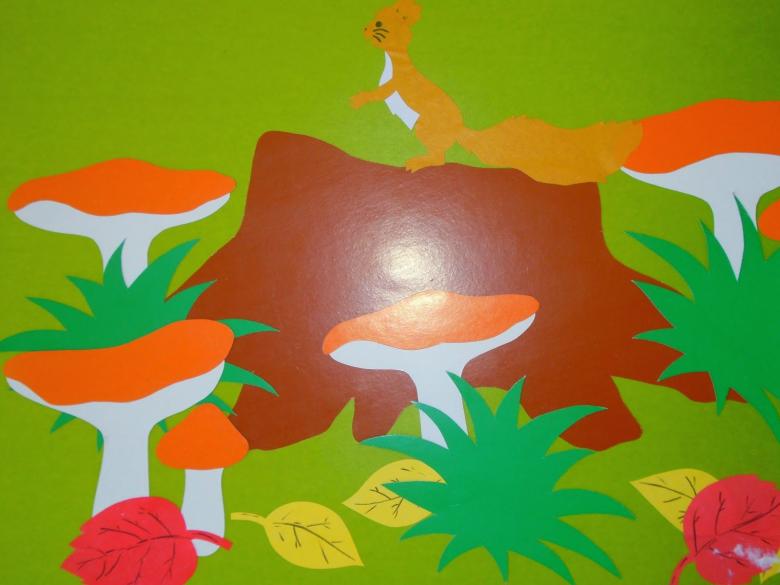
Simple mushroom applique for kindergarten
Working with paper
The next material, which is widely used by teachers in the kindergarten is colored paper. To start working, children need a safety briefing, explaining how to use scissors. Children under five years old cut out the details himself tutor.
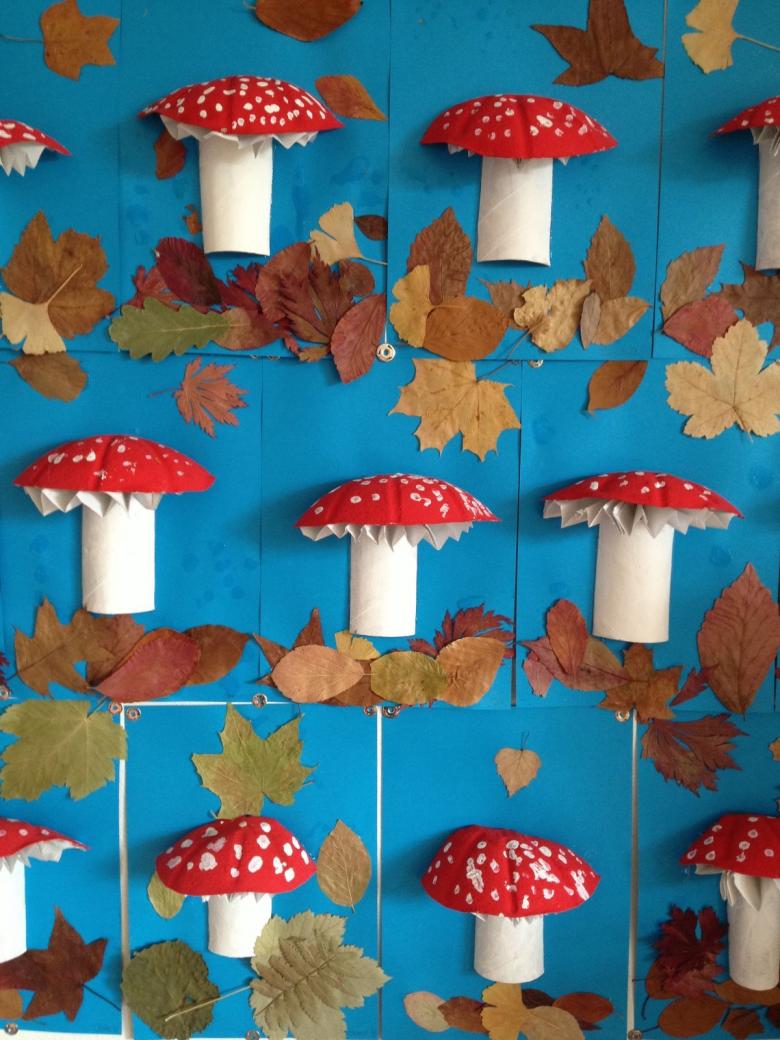
For the mushroom crafts we will need:
- colored paper;
- cardboard;
- scissors;
- glue;
- Handicraft blanks.

Ready-made parts glued to cardboard. Decorate the mushroom eyes, mouth, circles on the hat and fix the grass on the leg.
Number of used decorations depends on your imagination and age.
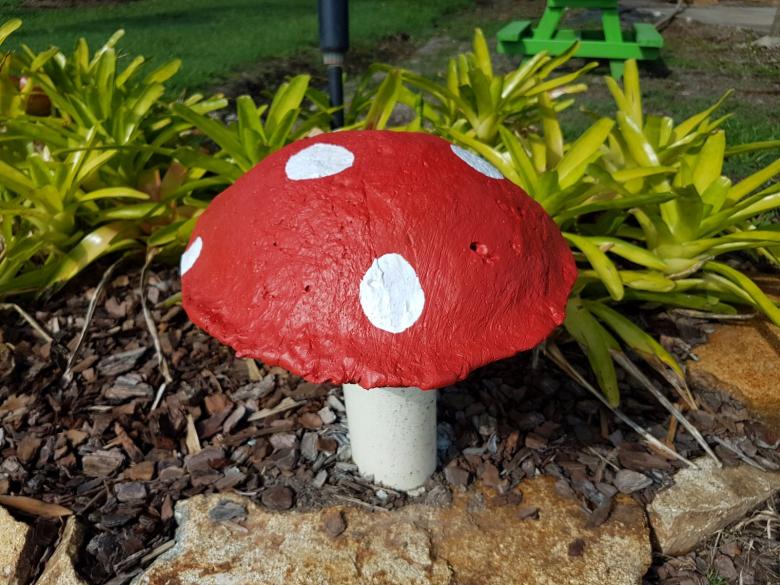
Make a mushroom lantern
Any handicraft is especially good if you make it together with your mother and put it on her shelf. Such a handicraft mushroom lantern we will now consider
We will need:
- cardboard;
- glue;
- scissors;
- A transparent paper or a file.
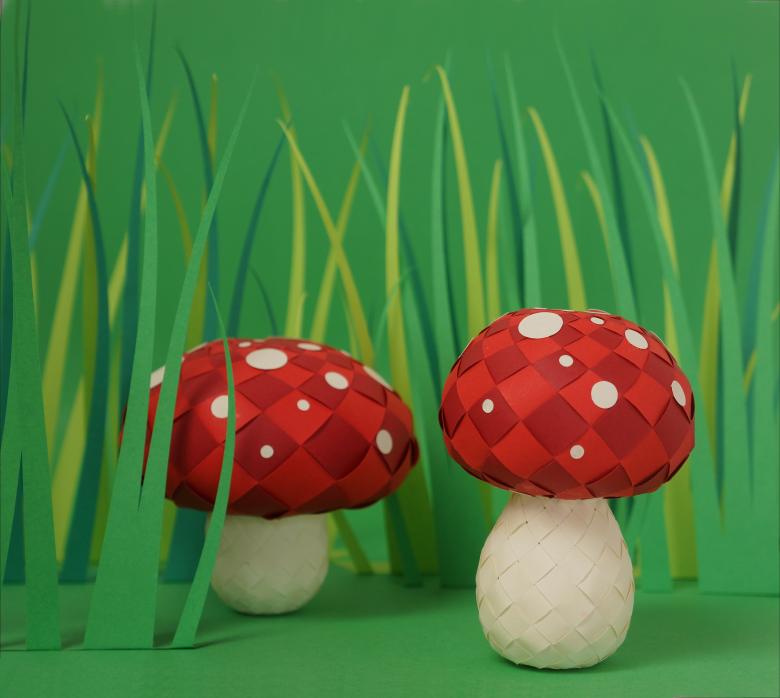
Cut out the silhouette of a mushroom, in the middle of which we make a hole and attach a transparent paper or a file. We should have two mushrooms for the volume of the figure. Finally we make the sides and insert a flashlight or a light bulb for illumination. Choose lights with a dim light to avoid fire. That's how we got a light fixture with our hands together with my mother.
Applique .
Integrated activities in kindergarten. Tear-off technique and finger techniques in applique.
Teachers, often children are offered integrated crafts. What does integrated mean? Integrated combines two activities drawing and applique.
Option 1
Let's consider in more detail on the following mushroom handicraft
We will need:
- a mushroom blank made of cardboard;
- glue;
- paints.
Prefabricated workpiece of the mushroom glue on cardboard and paint with paint.

Variant 2
The following type of integrated crafts combines the technique of finger painting and the technique of tear-off applique.
We will need:
- a mushroom blank;
- glue;
- Strips of colored paper;
- paints.

The mushroom in this craft will be drawn on cardboard. The tasks for the children are as follows: draw the hat with fingerprints, and do the rest in the technique of tear-off applique. For this technique, tear up colored paper in advance and lay it out on a glue-smeared blank.
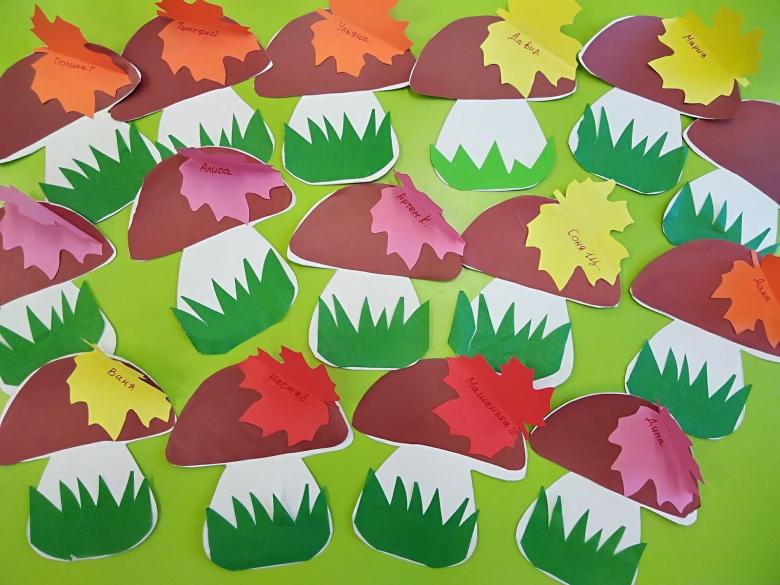
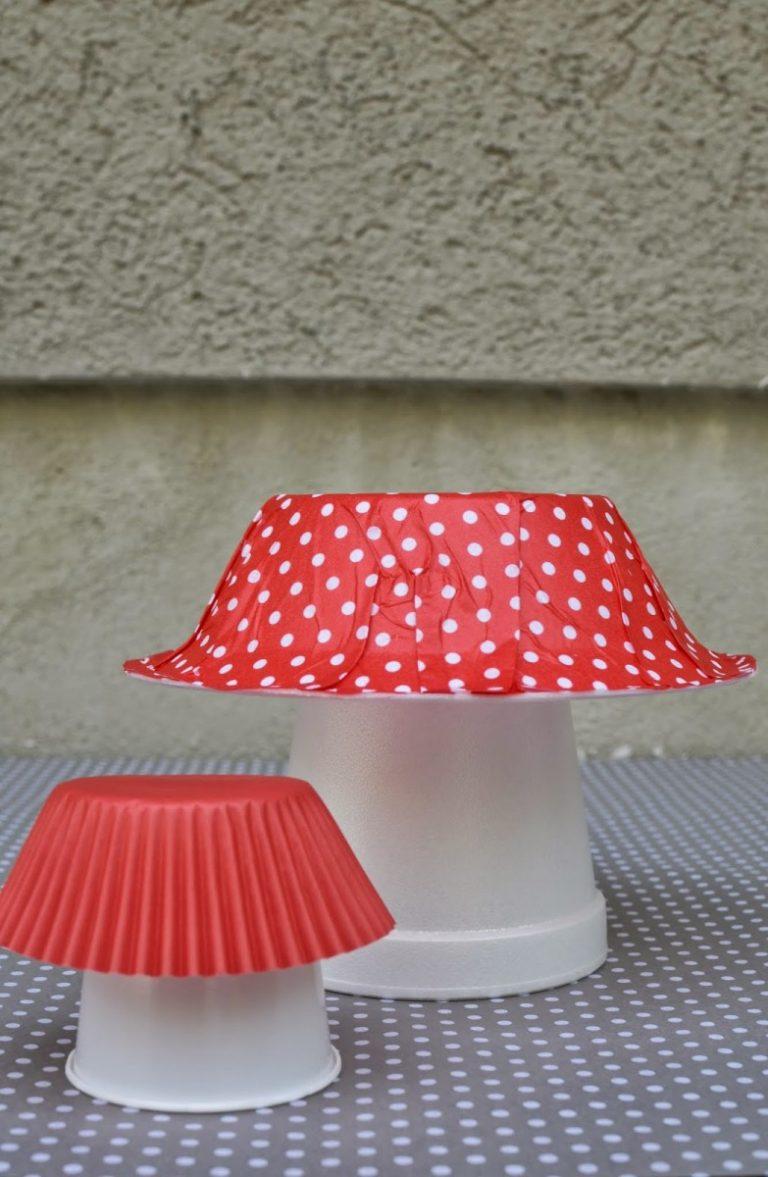
Parts that are performed in the tear-off technique can vary with the colors. Material can be used differently, such as napkins with drawings or discarded material, forms from cupcakes, which will add originality.
Background for the mushroom can be prepared by yourself. For example, we dip the sponge in paint and apply it to a white sheet of paper.
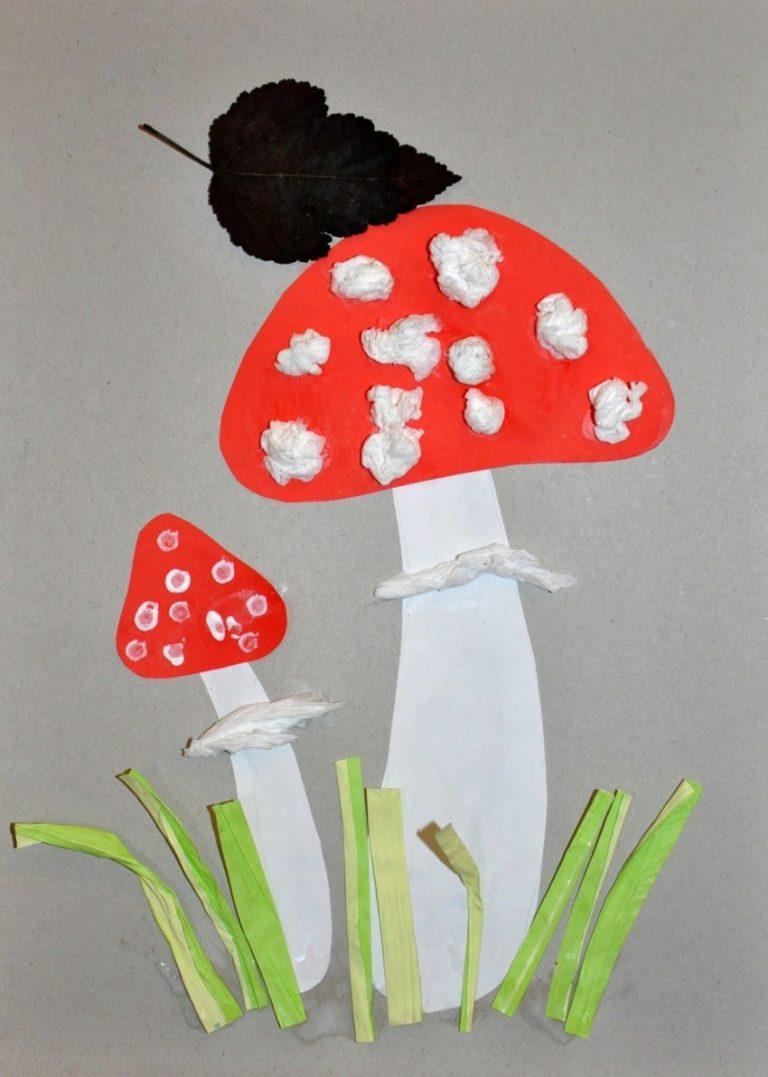
An interesting idea for a mushroom craft with a surprise
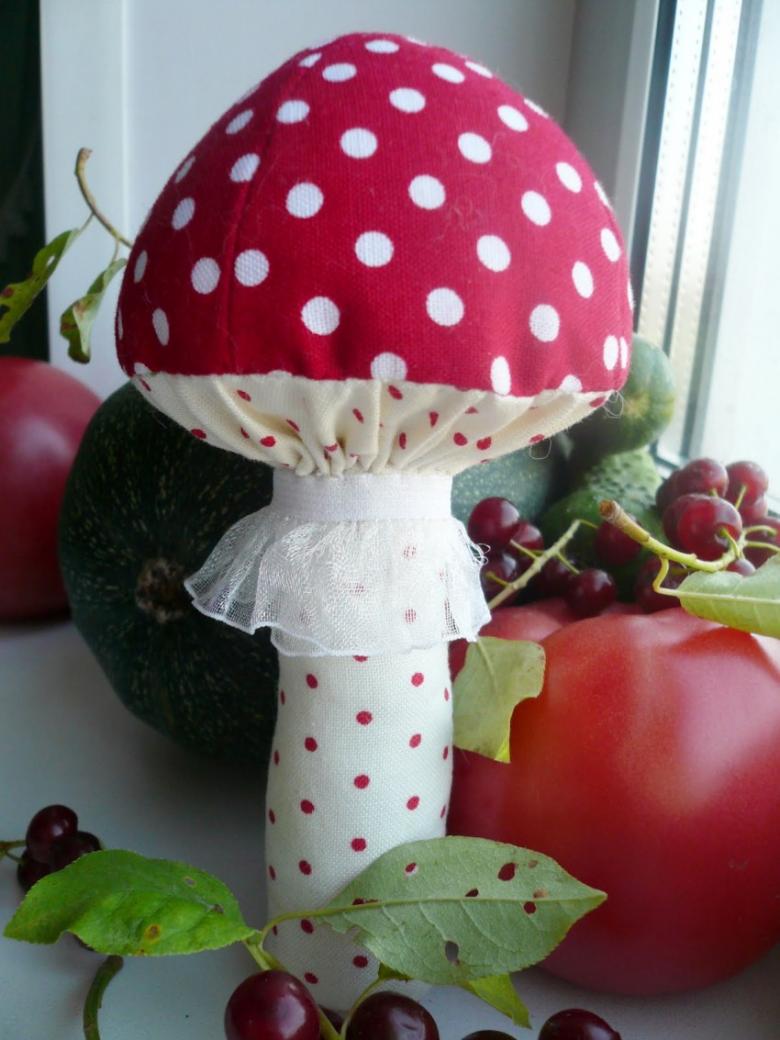
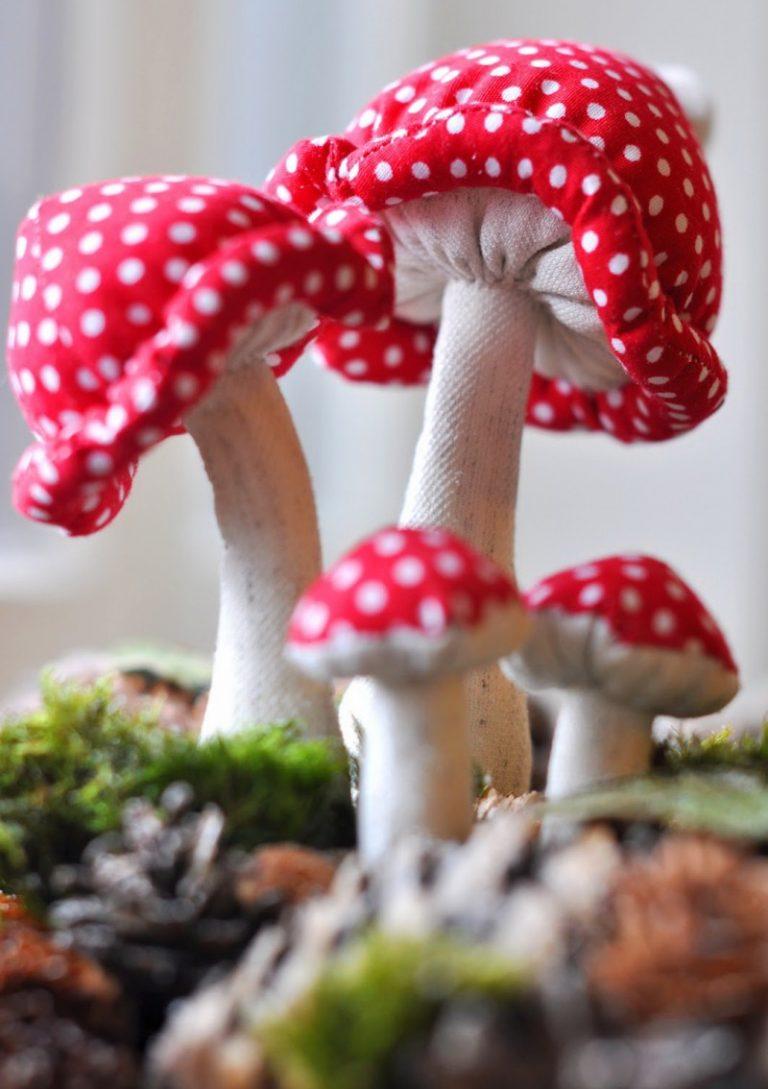
Such work can be performed from fabric.
We will need:
- fabric scraps;
- thread;
- needle;
- Additional decorations: buttons or rhinestones.

From the fabric we prepare the background, then cut out the mushroom and cover it. Leave room for the door and the surprise and fasten to the base. Then we add a door and additional decorations of your choice.
If you make a few of these works, you get an interesting developing book-baby with his hands.
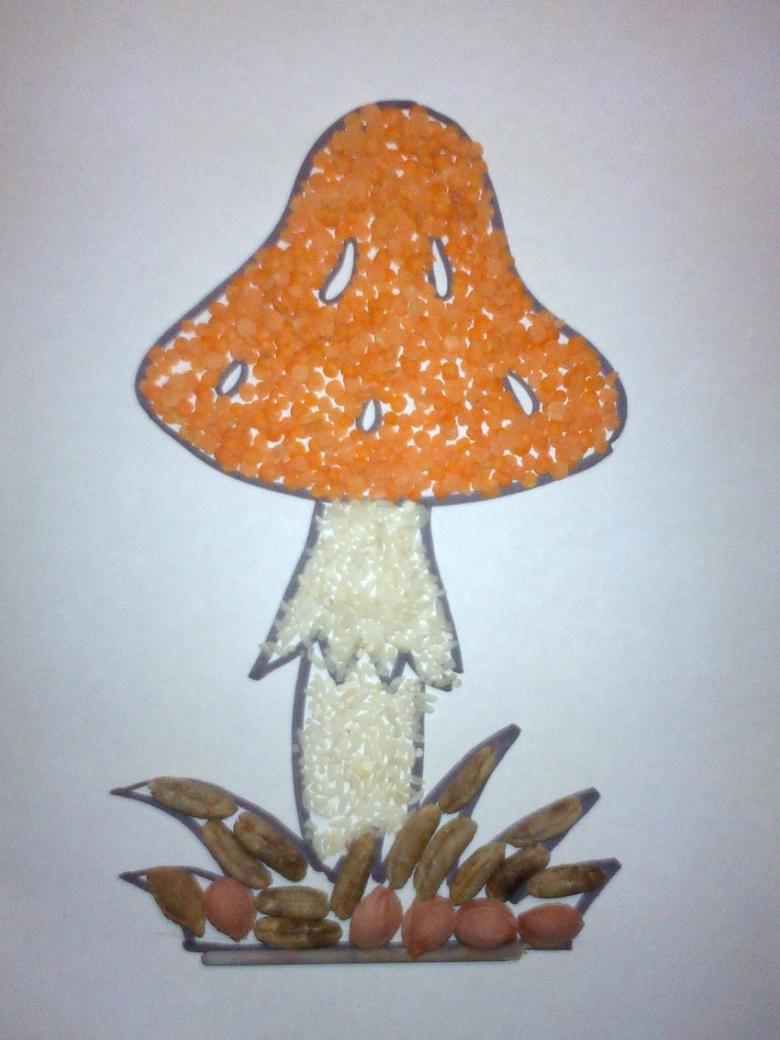
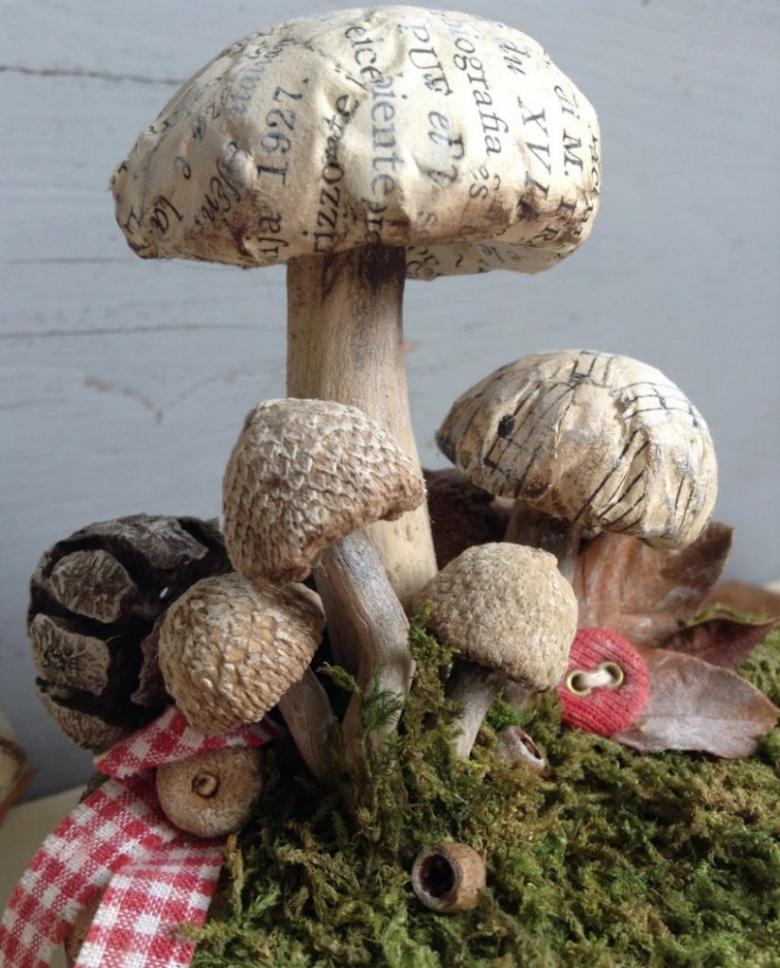
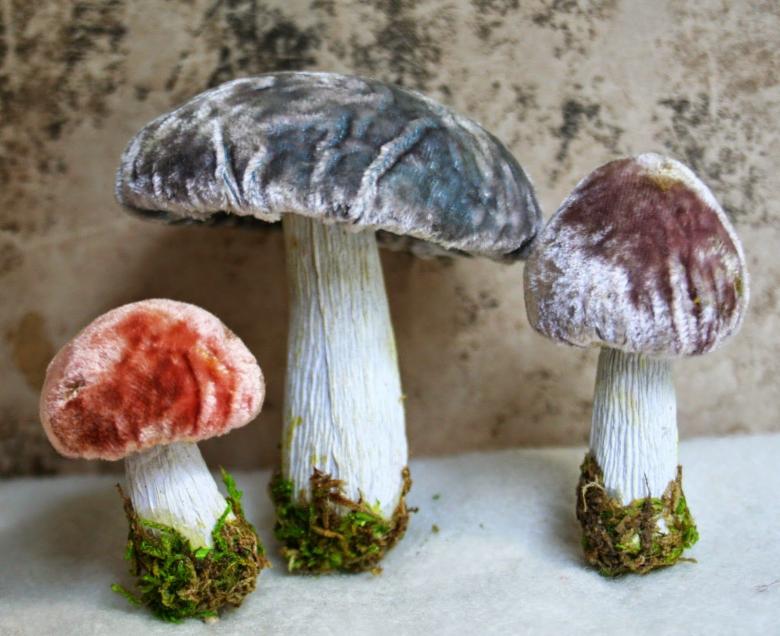
Handicrafts from natural materials
Another option with the use of natural materials. We take autumn leaves, cover them with paint and print them on paper all over the sheet. After drying, glue the application with a mushroom.
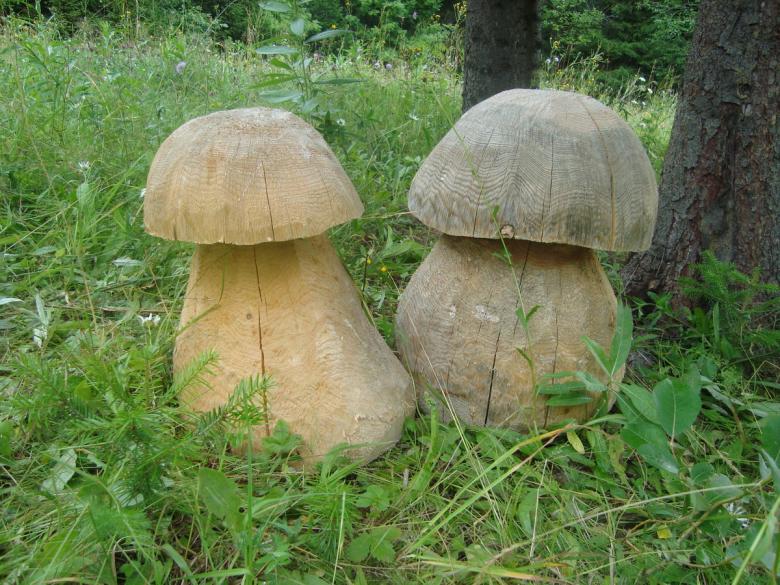
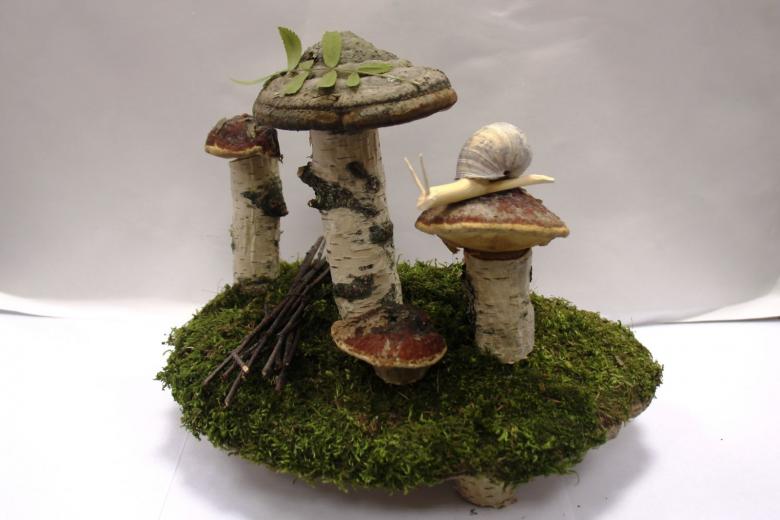
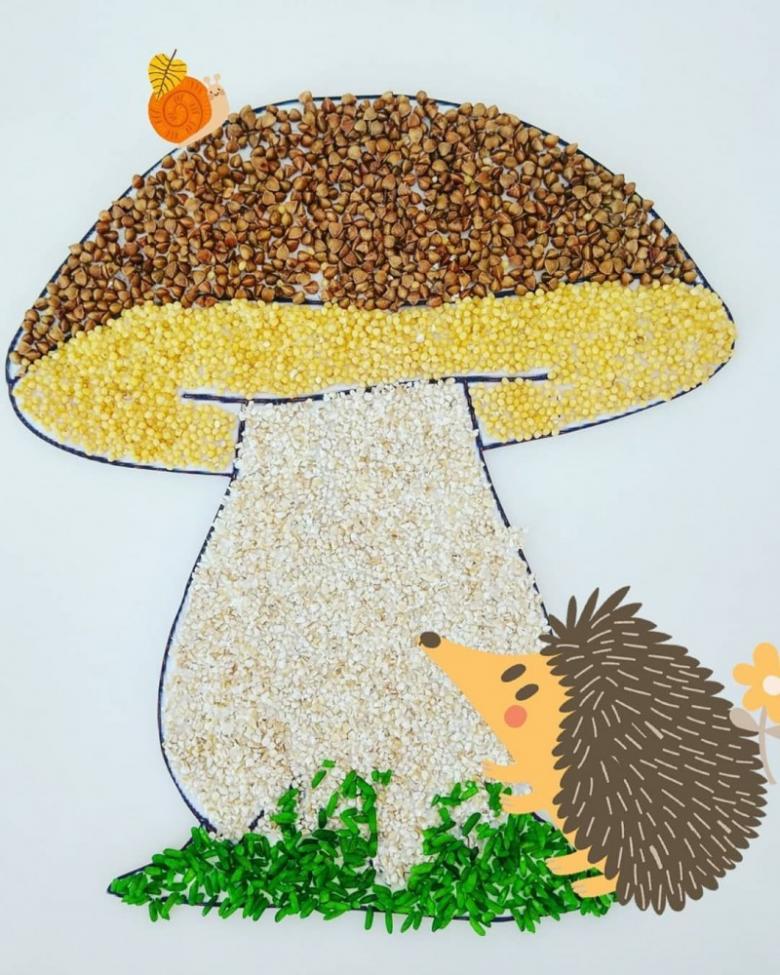
Such a handicraft is better to perform in two stages, the first stage is the background, and the second stage is the application. As natural materials are often used in master classes offer dried flowers, seeds, pieces of bark and moss. Also made crafts from cereals and salt dough.
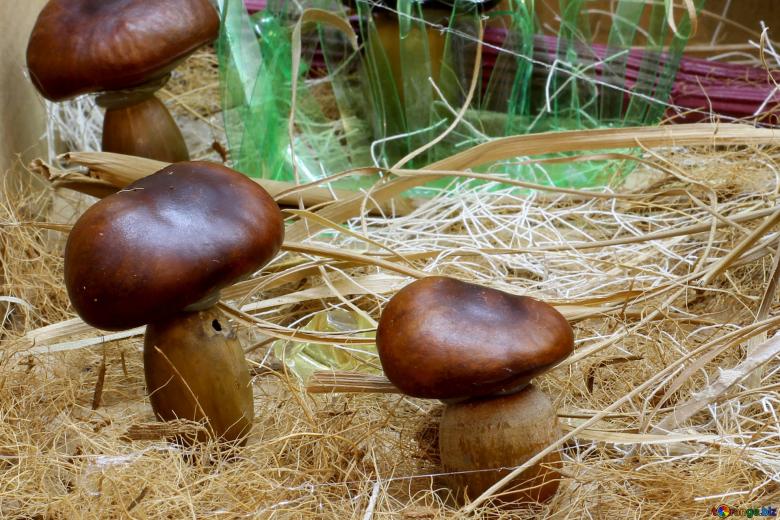
Salted dough crafts
The easiest, most accessible and safe material.
We will need in equal quantities:
- salt;
- flour;
- water.
The smaller the parts, the more elasticity and strength should be in the dough, so you can add glue pva.
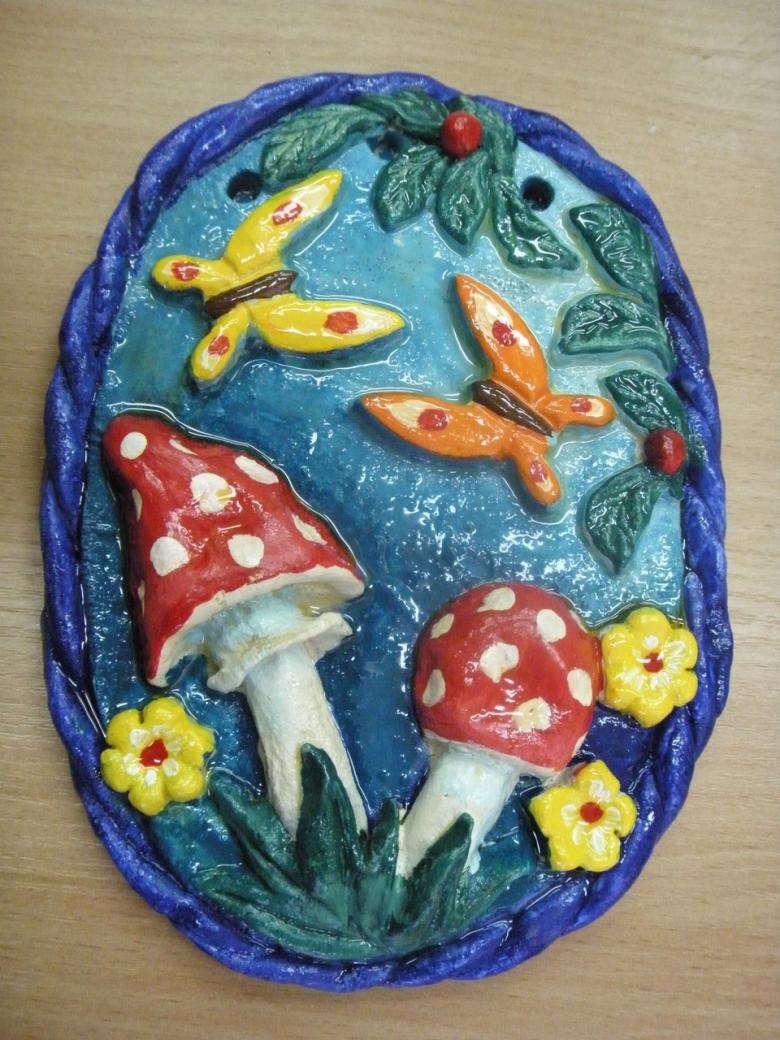
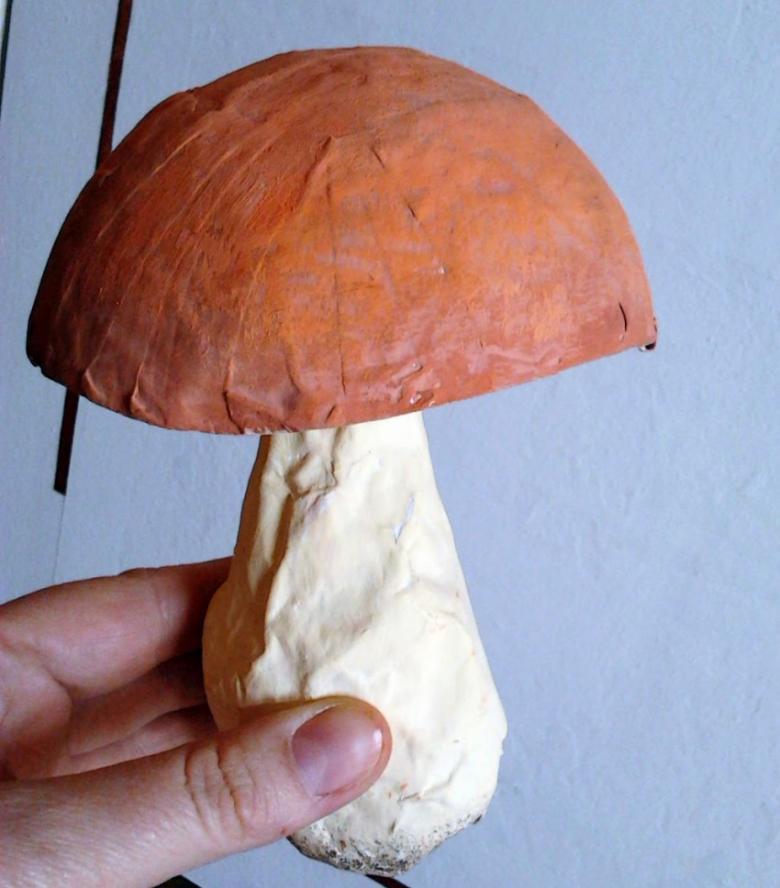
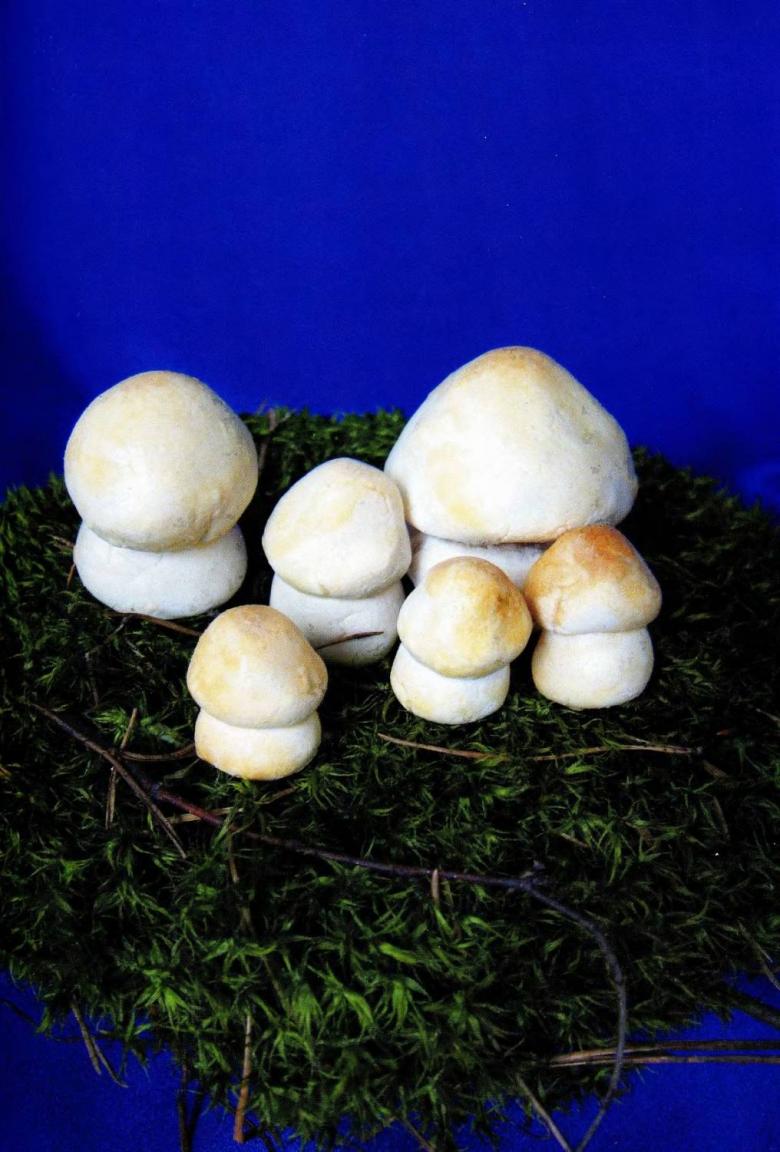
Prepare the dough and put it in the refrigerator for half an hour. Mold it like plasticine, forming a mushroom. Add a piece of foil to the piece, so that it does not spill out. When the figure is ready, bake in a preheated oven at 50 degrees, for about three hours. The larger the piece, the longer the baking time in the oven.

When the figure has cooled it can be covered with whitewash and painted.
The creative process is necessary for the child and his parents. It creates a full-fledged communication, both in the family and in the kindergarten. Interesting work ideas develop the imagination and nurture a creative, interesting personality. It creates a warm micro-climate in communication in any area.
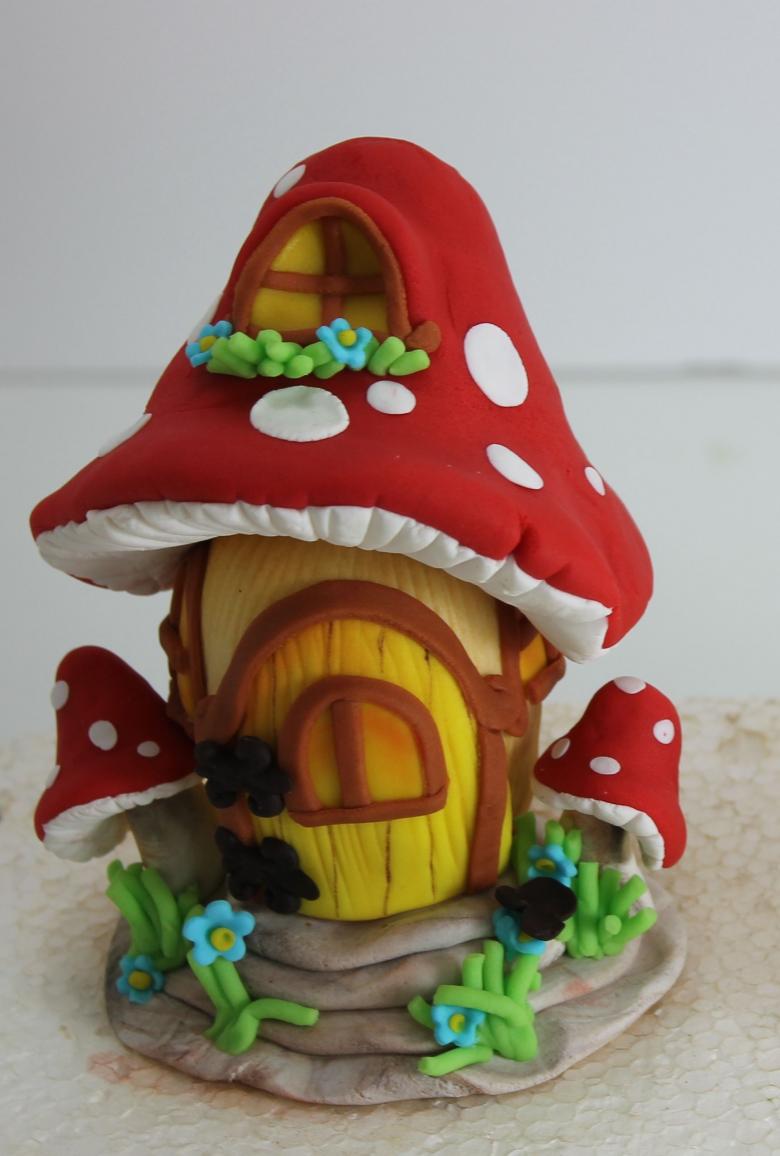
Works with their own hands are made of natural materials, safe to use. They are mini masterpieces, mastery that goes from hand to hand, with master classes, video and photo tutorials. The time you spend will not be in vain.

