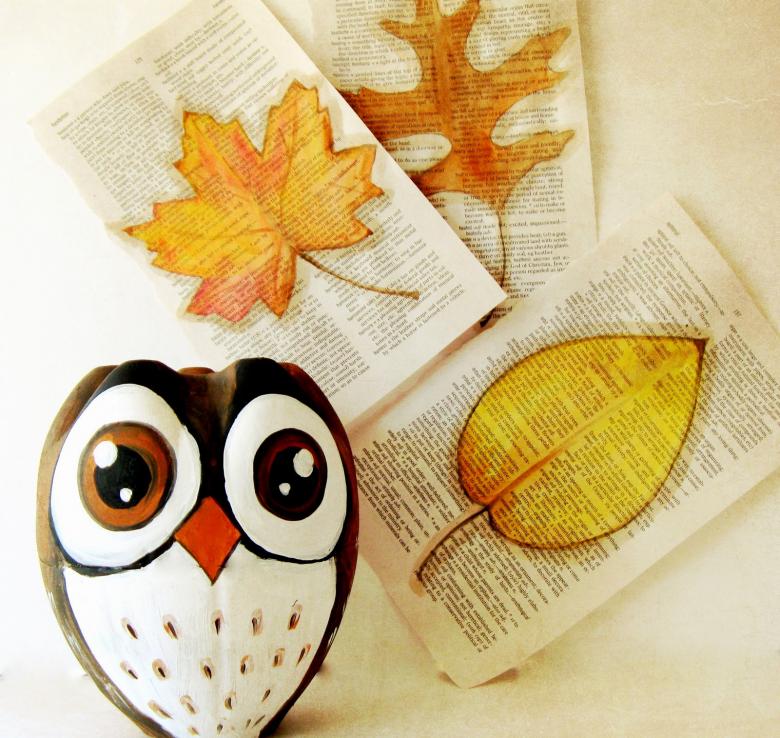
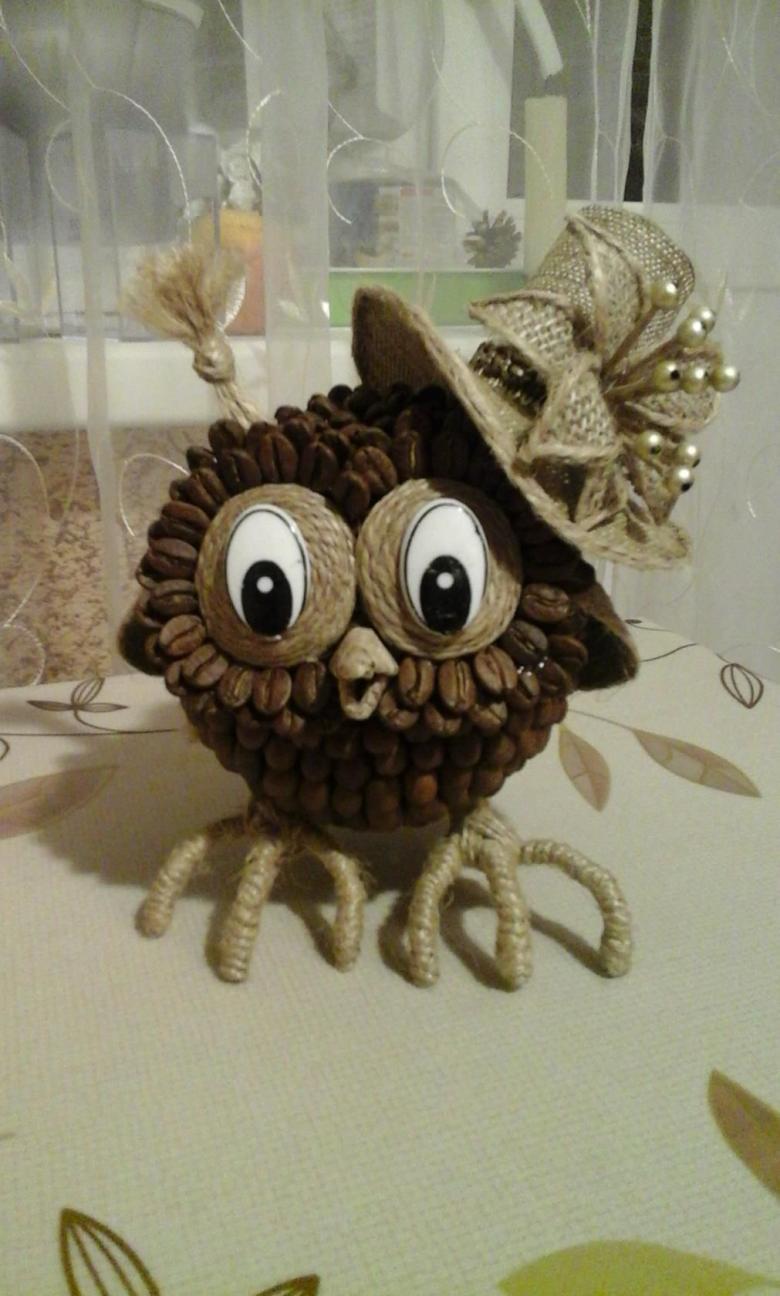
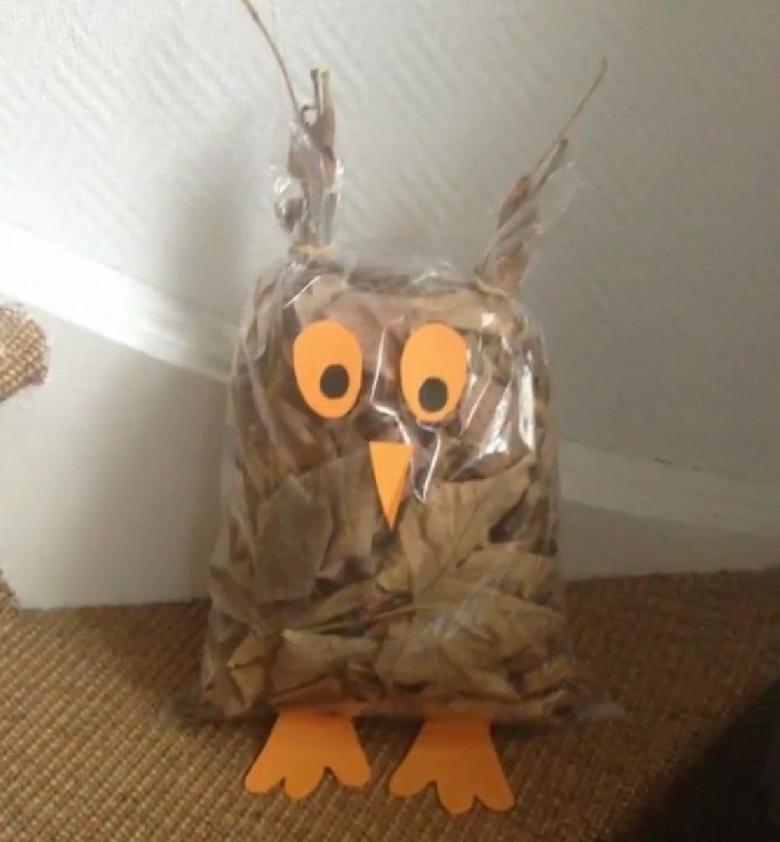
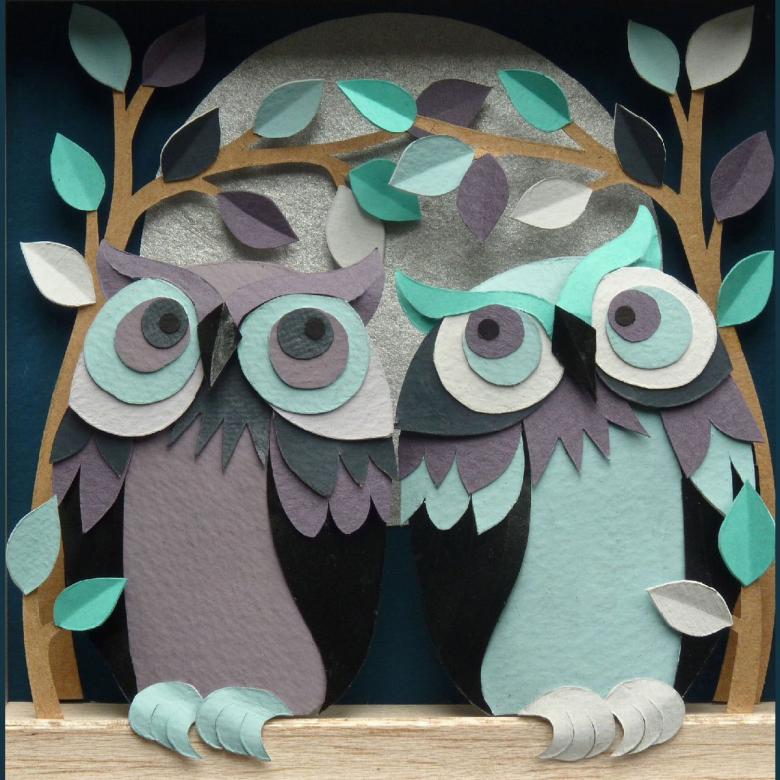
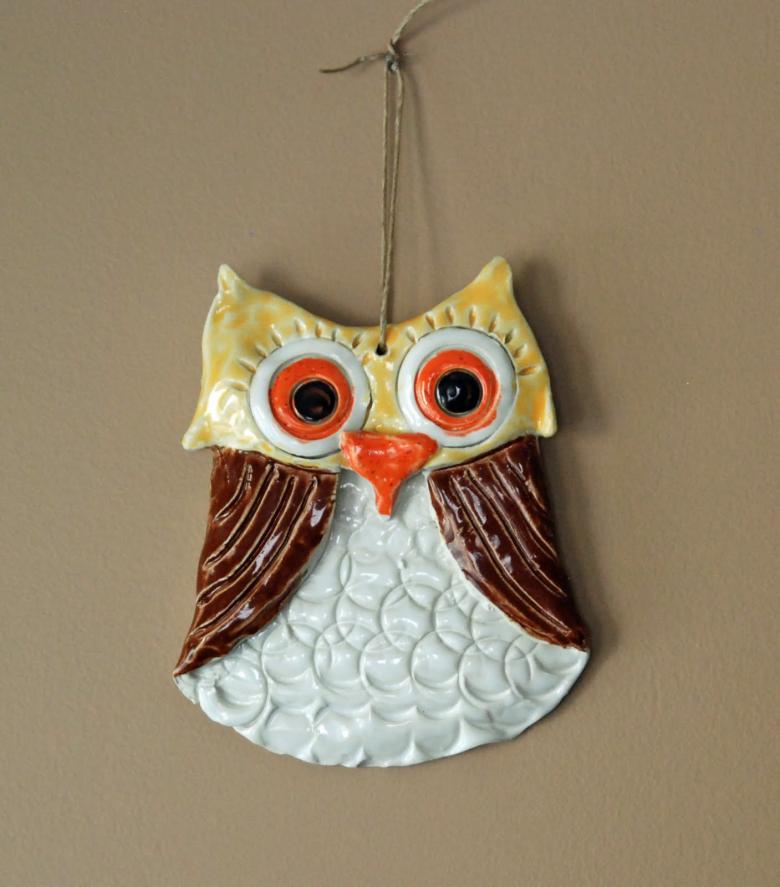
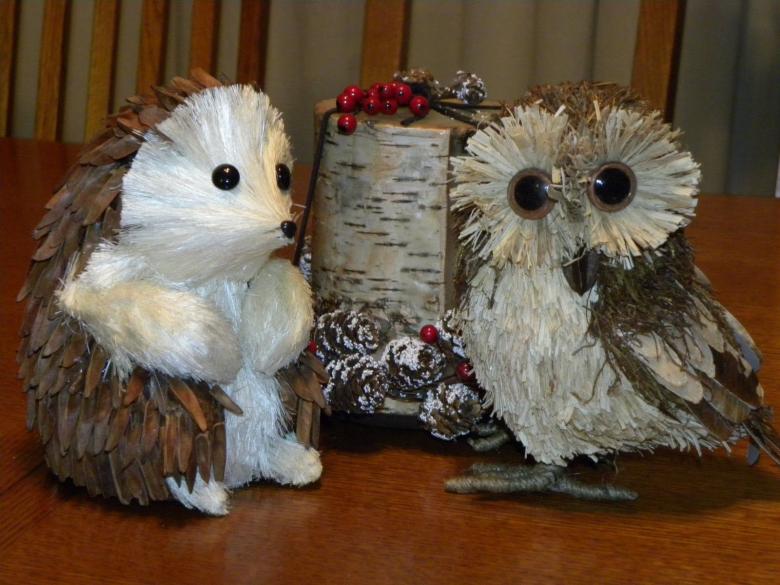
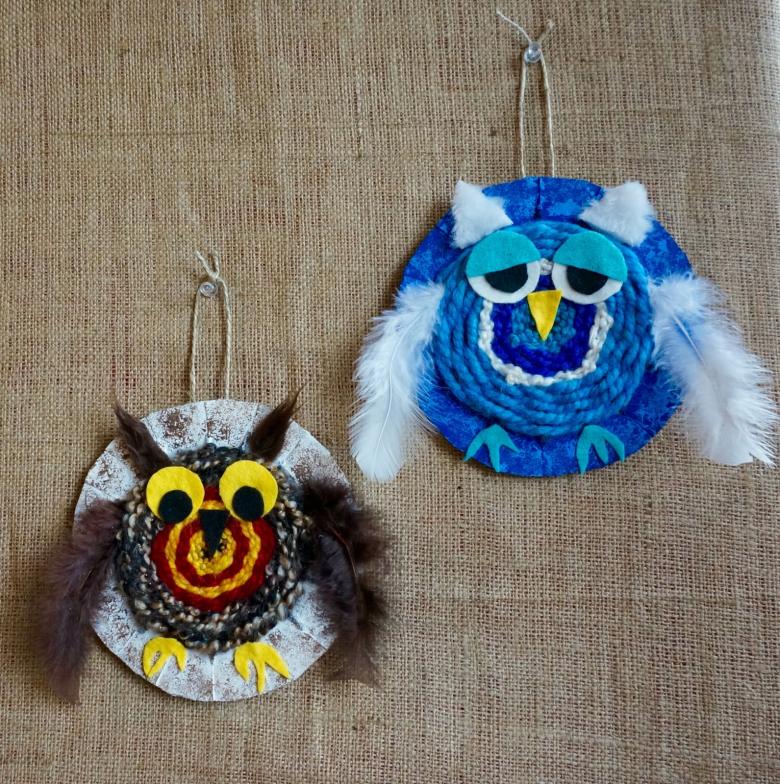
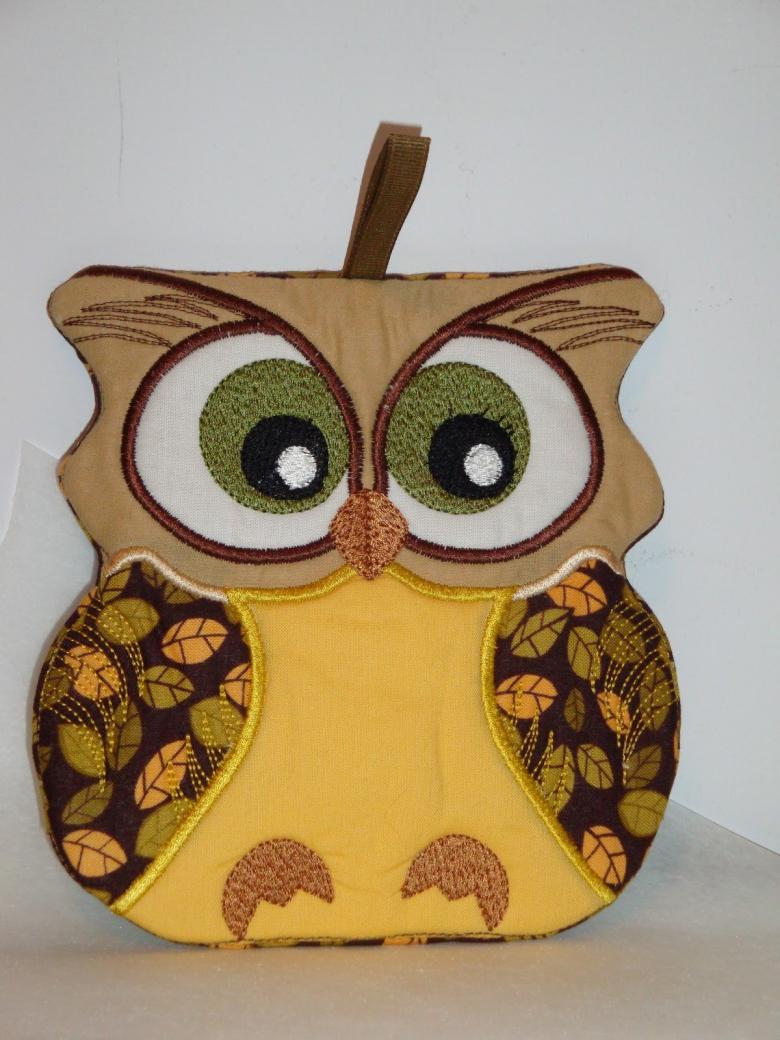
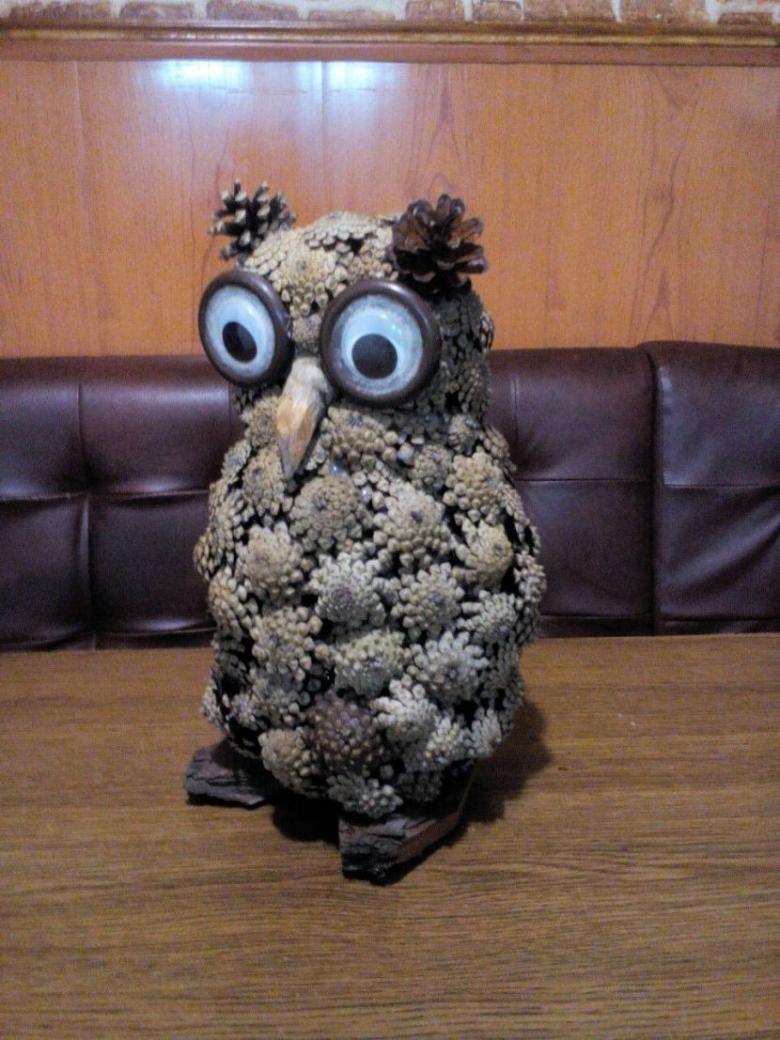
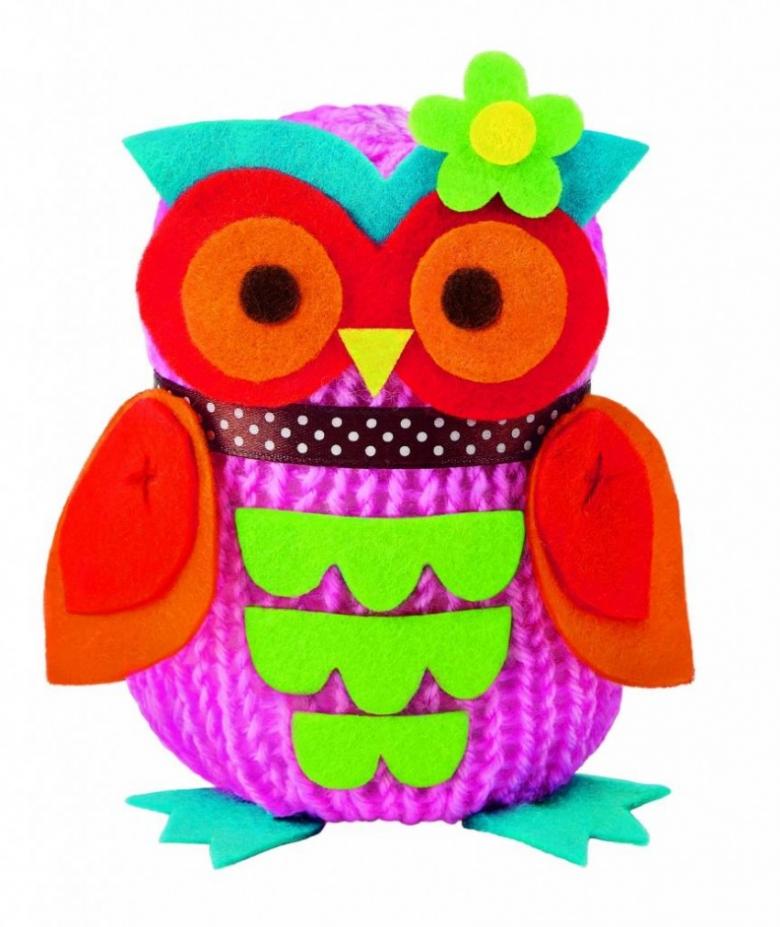
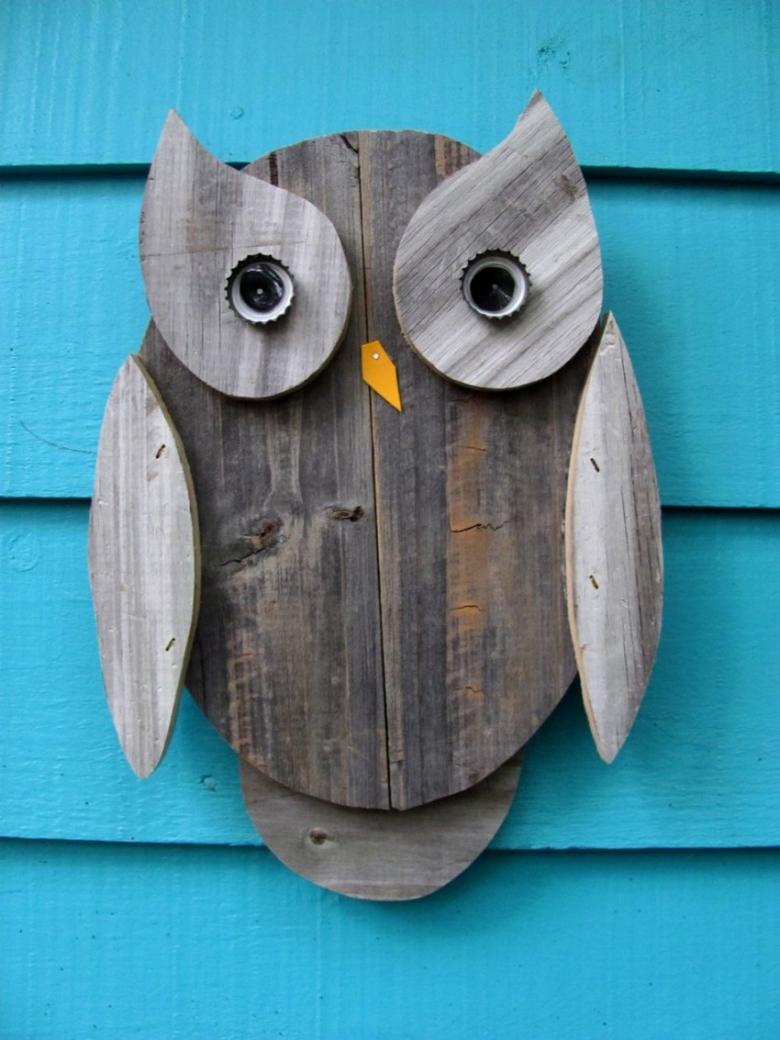
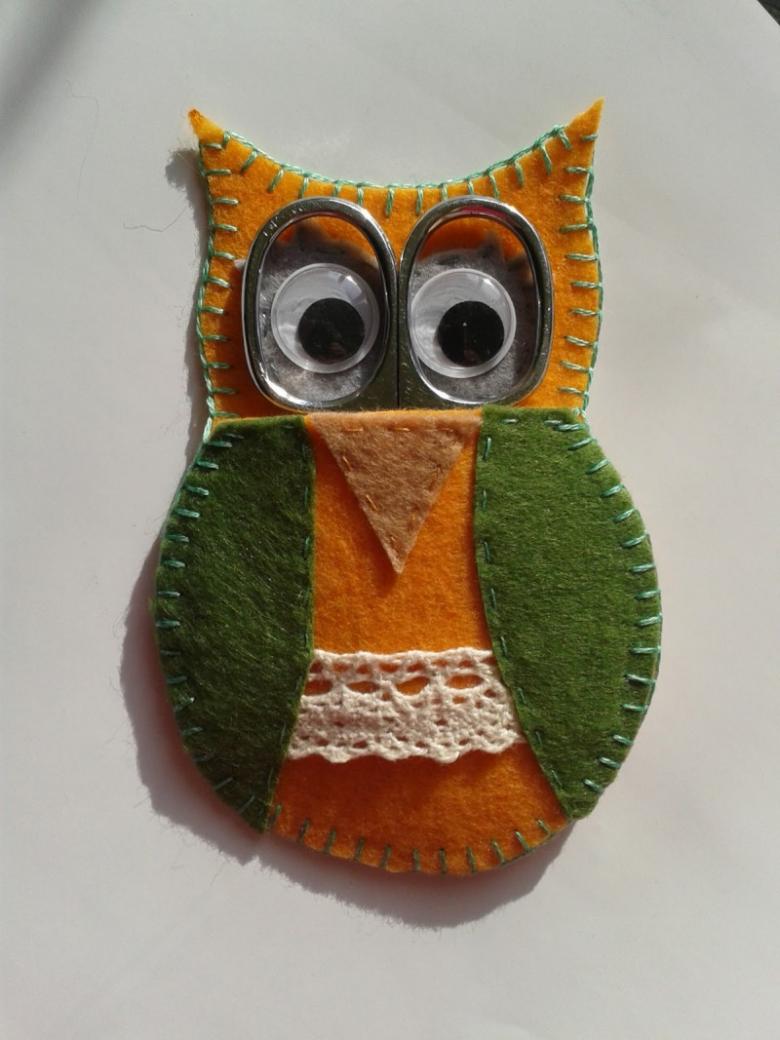
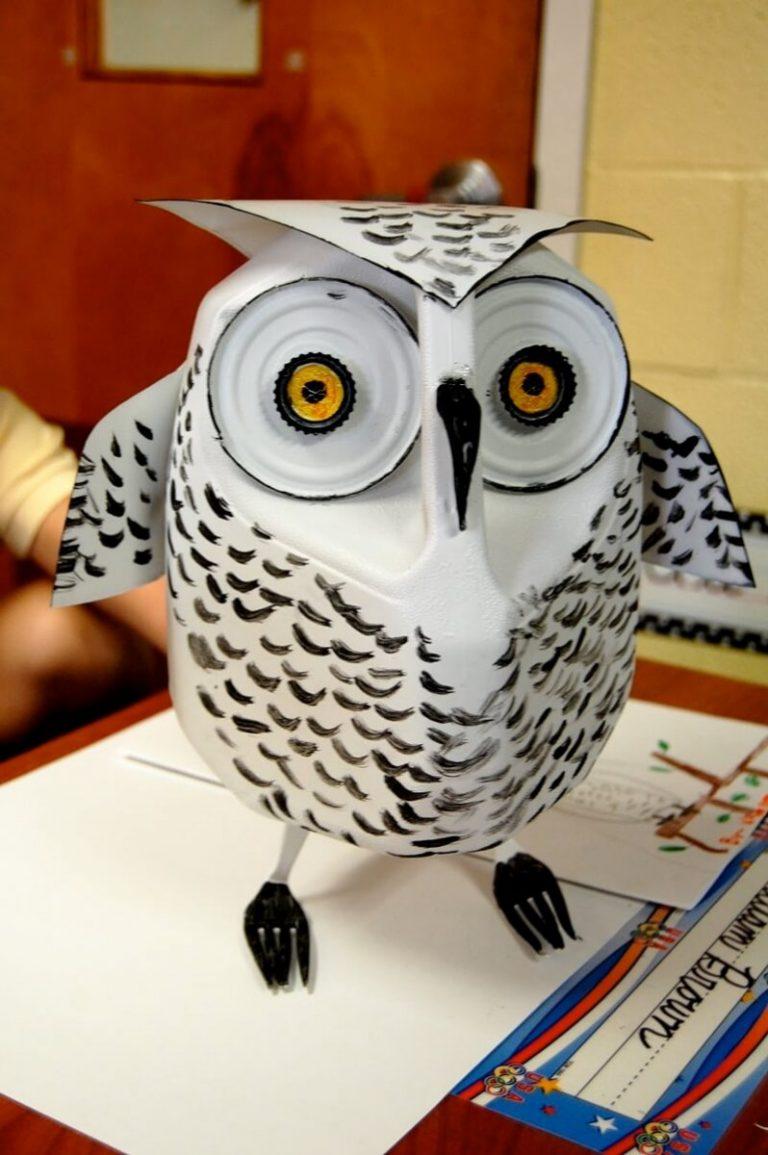
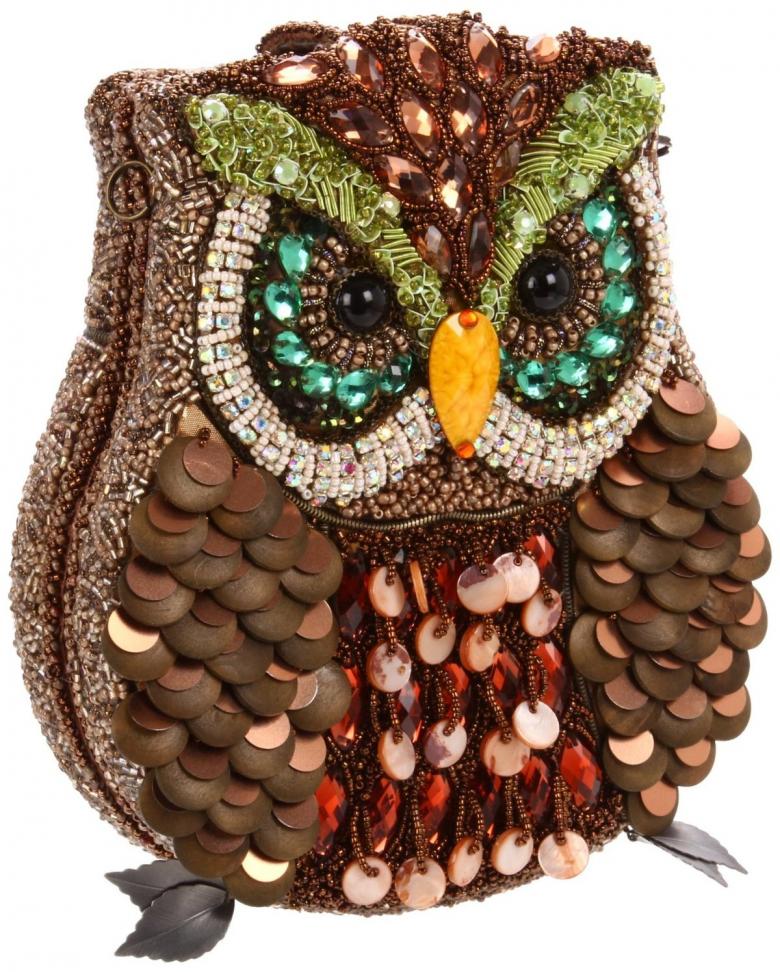
Handmade owl from paper, leaves, cardboard and other natural materials
Owls - a popular character in children's stories, from "Winnie the Pooh" to "Harry Potter. They are cute, smart and funny, crafts in the form of an owl perfectly fit into the interior and evoke positive emotions. Making a wise bird is not difficult, there are a lot of materials for this:
- wood;
- fabric;
- buttons;
- leaves;
- needles;
- cones;
- paper;
- kitchen utensils, etc.
There are many master classes and photos on the Internet. Let's consider a few options for crafts. They can be volumetric or flat.
Three-dimensional owls
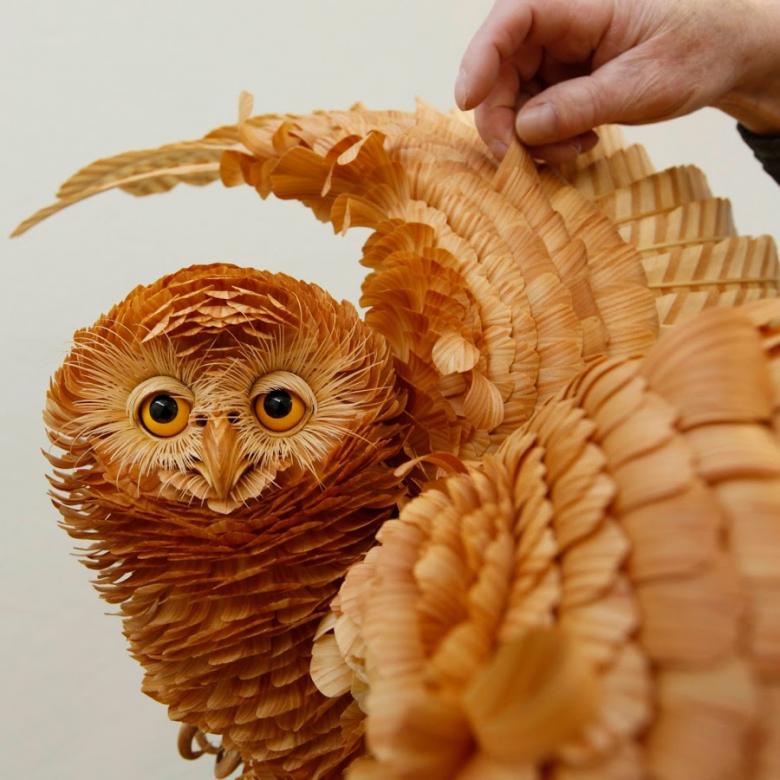
From sawn wood
We will use tree trunks for the base. If you take a large branch, the owl will be large. But the size in such a craft is not important, so you can use a sawtooth of small diameter.

Step by step instructions
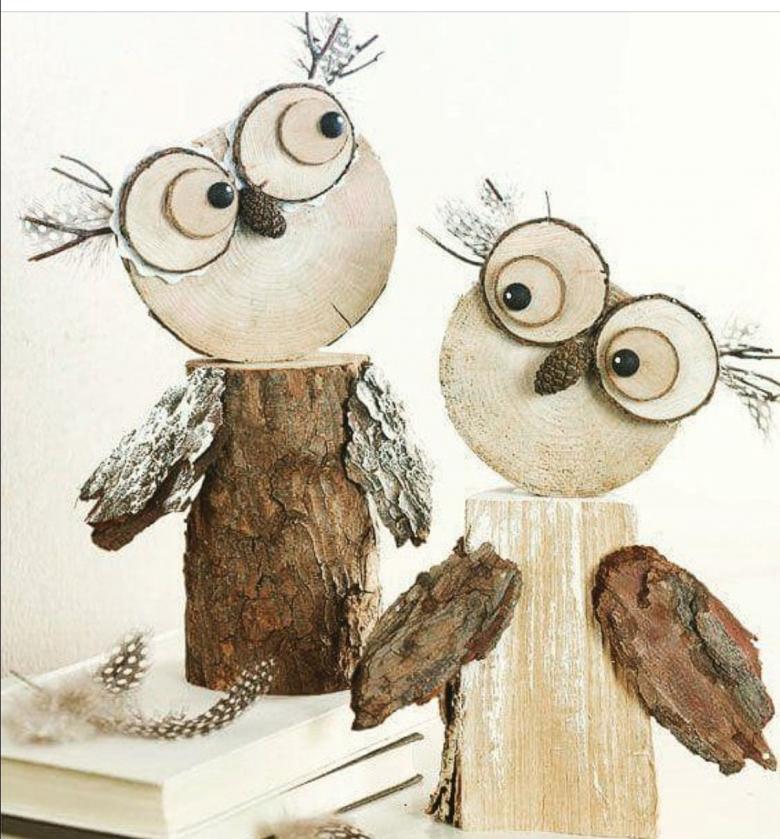
- First we will have to work with a hacksaw. We prepare one large saw cut - this will be the bird's torso. For the head, eyes and wings you will need a few smaller parts. The thickness of the sawn lengths does not matter, but they should be equal and not too heavy.
- To decorate the feathers use thin sections of small twigs, twigs, cones. All this is cut with scissors and fixed on the wings. You can use large pieces of oval-shaped bark for the wings instead of saws. Alternatively, the plumage can simply be painted. Use felt-tip pens, iodine solution or an incinerator. Another option is to design separately the feathers on the chest. For this purpose, small spokes are used.
- The eyes will be glued buttons, instead of a beak - a pinecone, ears are made from twigs. The legs are molded from red plasticine, made of cardboard or fluffy wire.
From logs
You can make a large owl from a log. A piece of trunk will turn into a torso, a cone - into a beak, spokes - into eyes. Such owls will be a good decoration for the dacha.

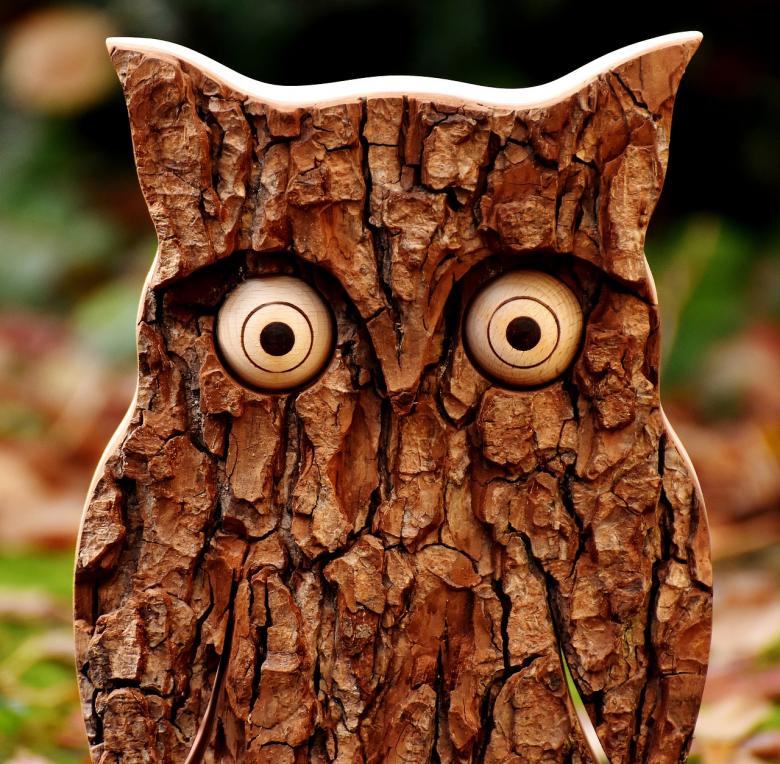
From the bark
You will need a large piece of tree bark. Cut it to an oval. Leave two triangular protrusions on top - these will be the ears. Act with scissors carefully so as not to accidentally cut them.

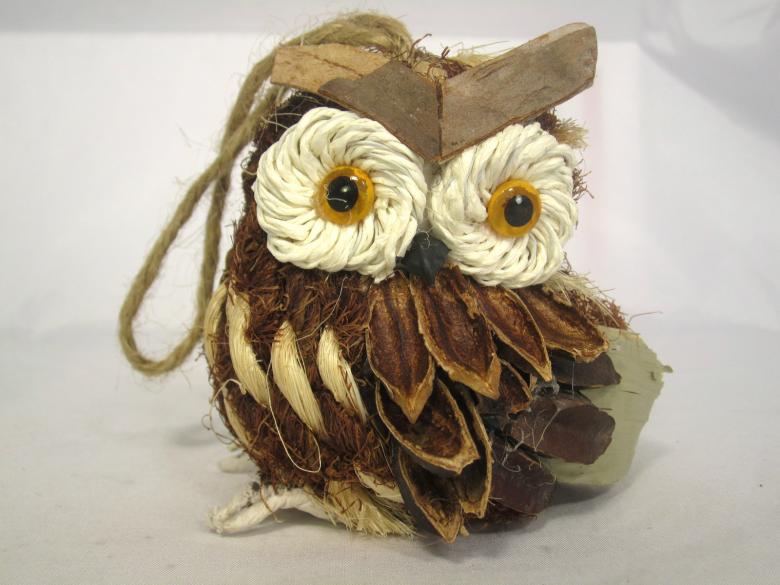
Original eyes are made from acorn hats, dried apple slices, large autumn flowers (chrysanthemums or asters), small spokes, buttons and even large loafs. The wings are made of cardboard or fabric, give them the shape of a leaf. An interesting option - Autumn leaves.
From cones
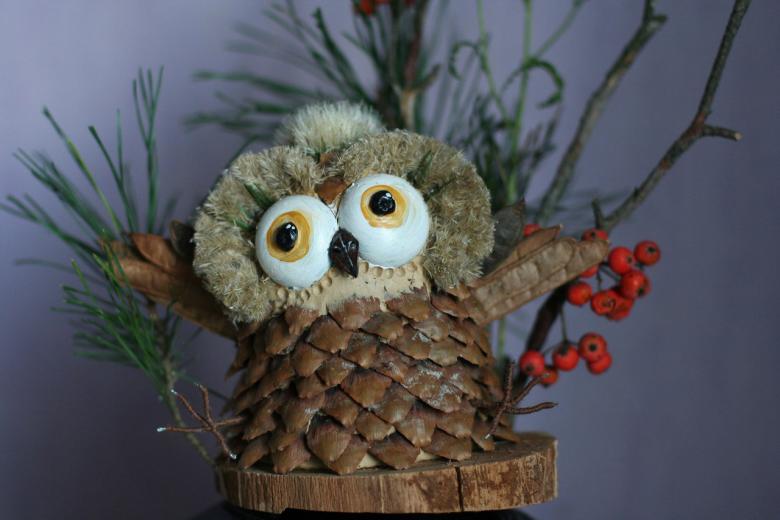
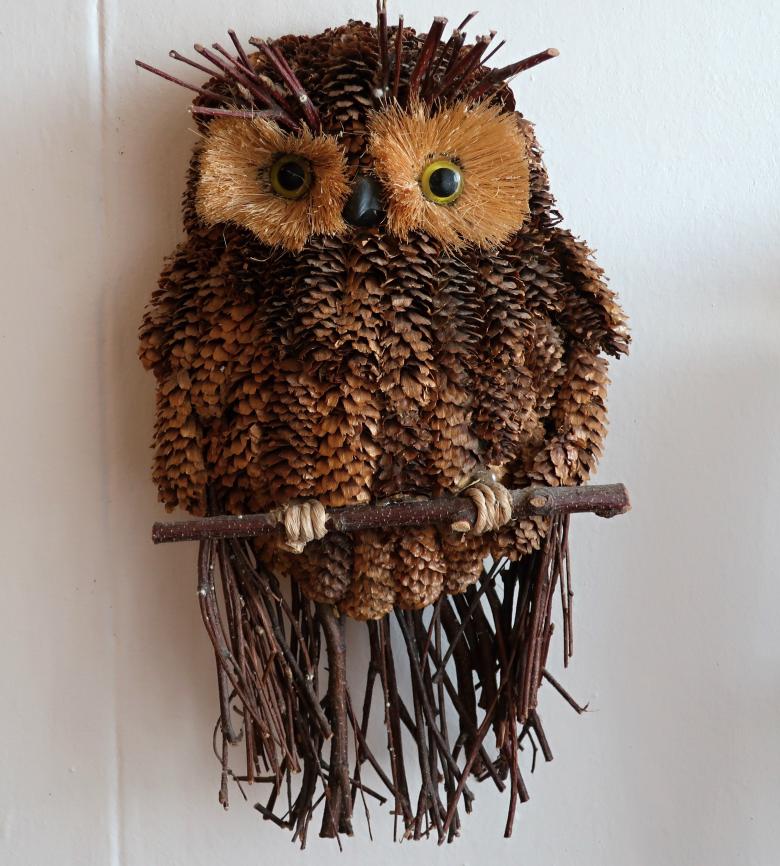
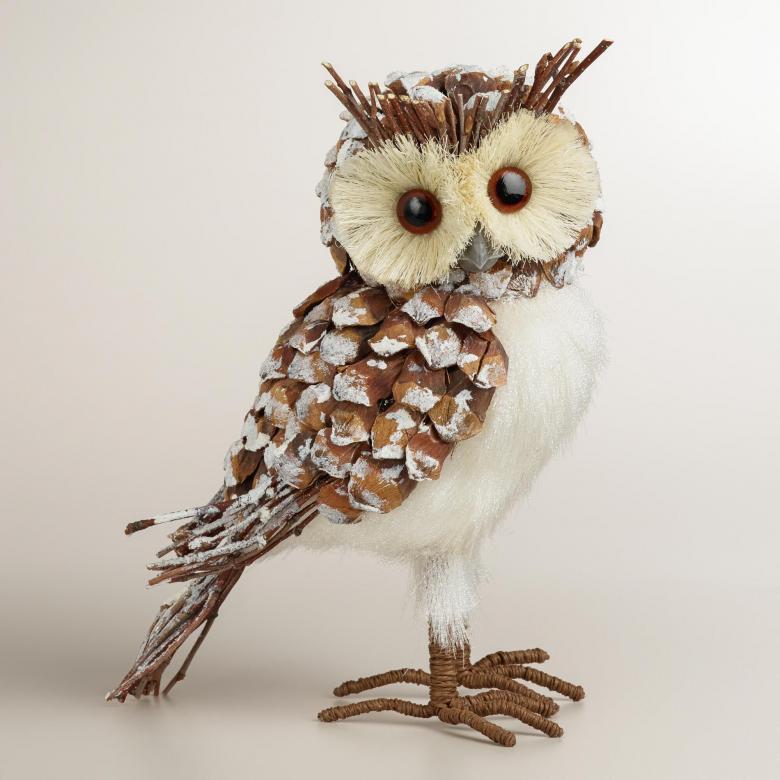
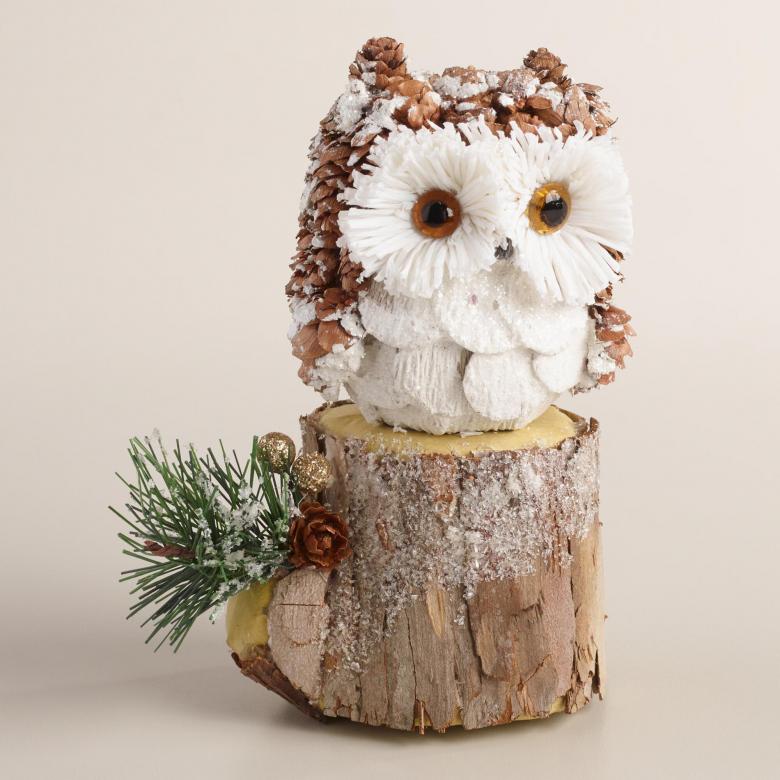
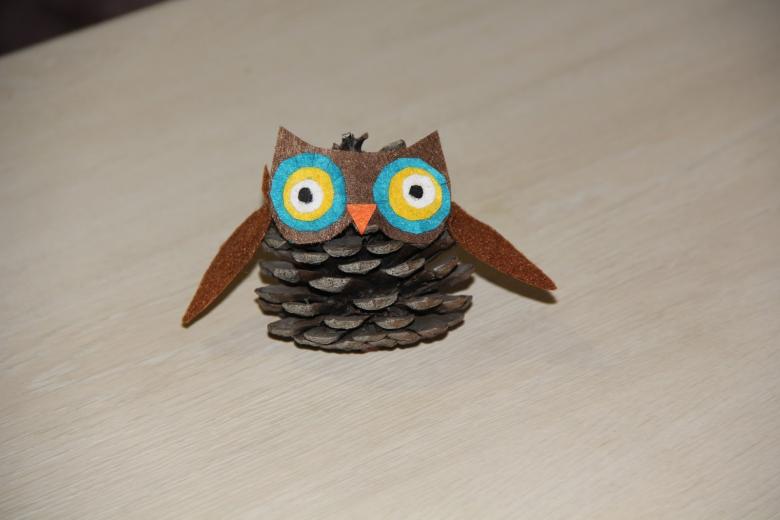
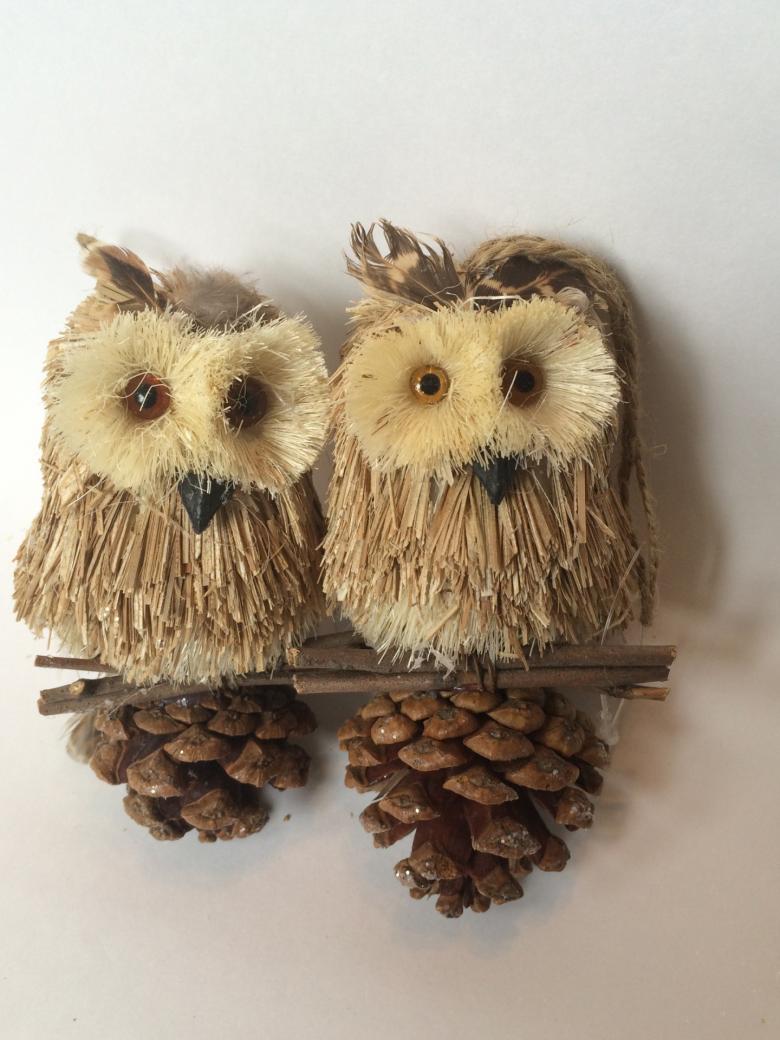
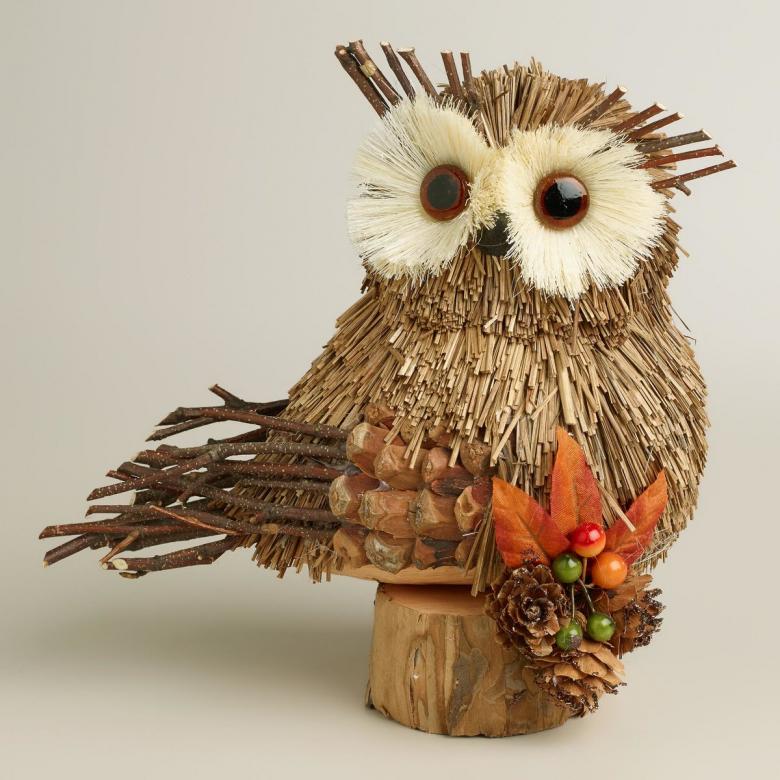
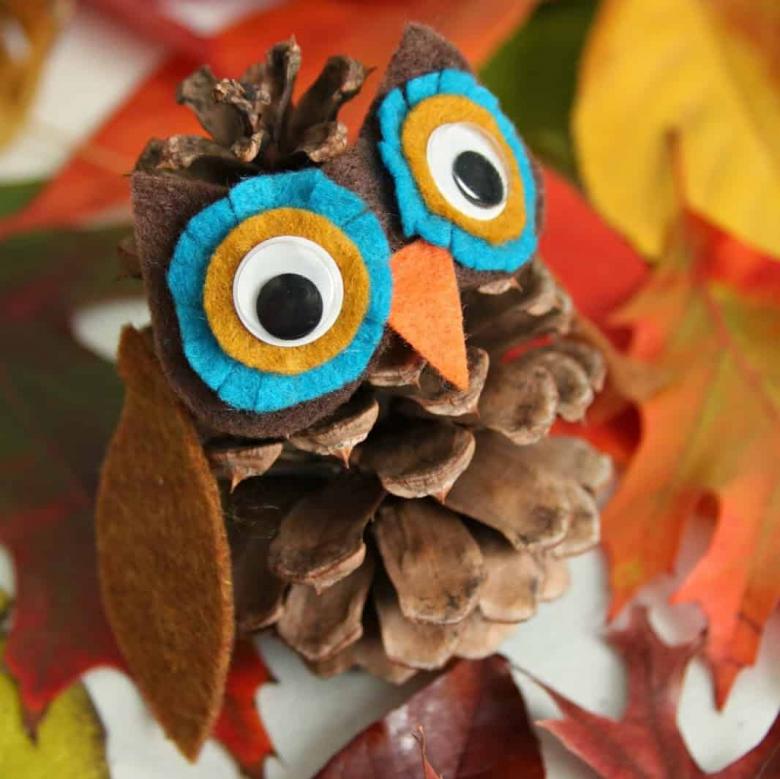
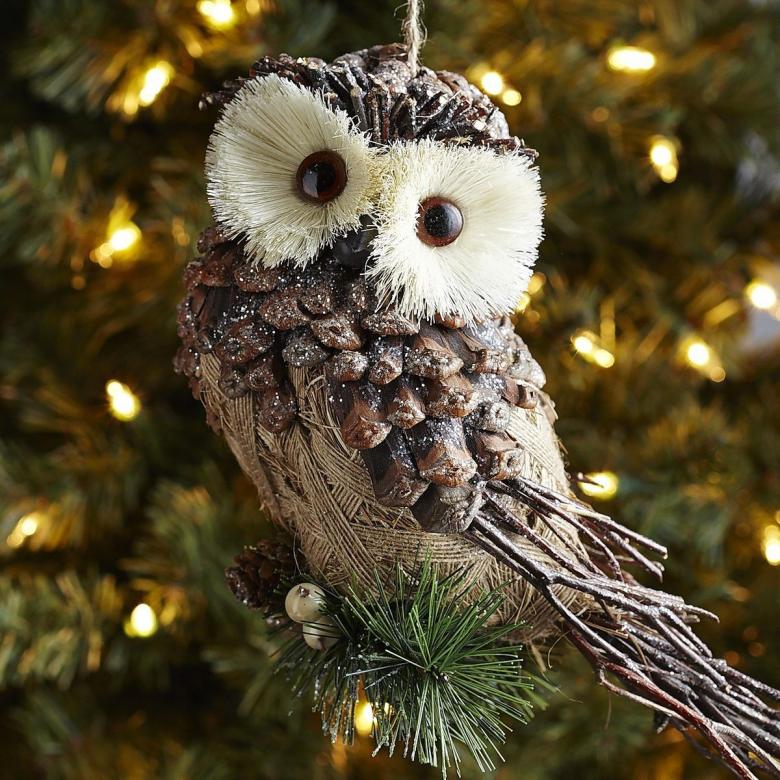
To make a craft large, use as a base Use a cedar pine cone. But if you don't have one on hand, you can use a pine or fir tree. The first will be the head, the second the torso of the bird.
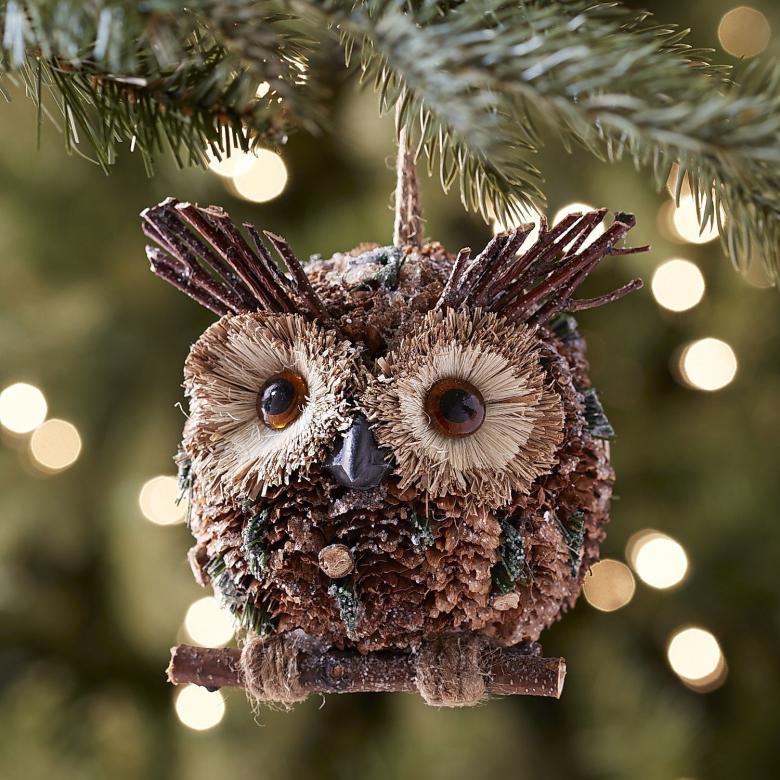
We will fasten the elements with plasticine. You can use glue, but it is easier to work with plasticine.
- Connect the head and torso of the owl at an angle to each other. If the place of gluing looks not too neat, do not worry - later it will be covered with large elements depicting eyes.
- The legs will be twigs or two pods of dry beans, planted on glue or plasticine.
- Making the wings. To do this, from the sides of a spruce cone - the body - carefully cut out a few scales, fill the resulting holes with glue and stick there a small bundle of the thinnest birch twigs.
- The eyes of the owl will be unusual. For them, we will need two bundles of hay or straw. Each of them is tied with a thread in the middle, with the free end of the material is fluffed out. The result is an even circle. In the middle of each piece we attach a button.
- Make holes in the cone and glue the pieces there, fixing thin twigs on top - they will be eyelashes.
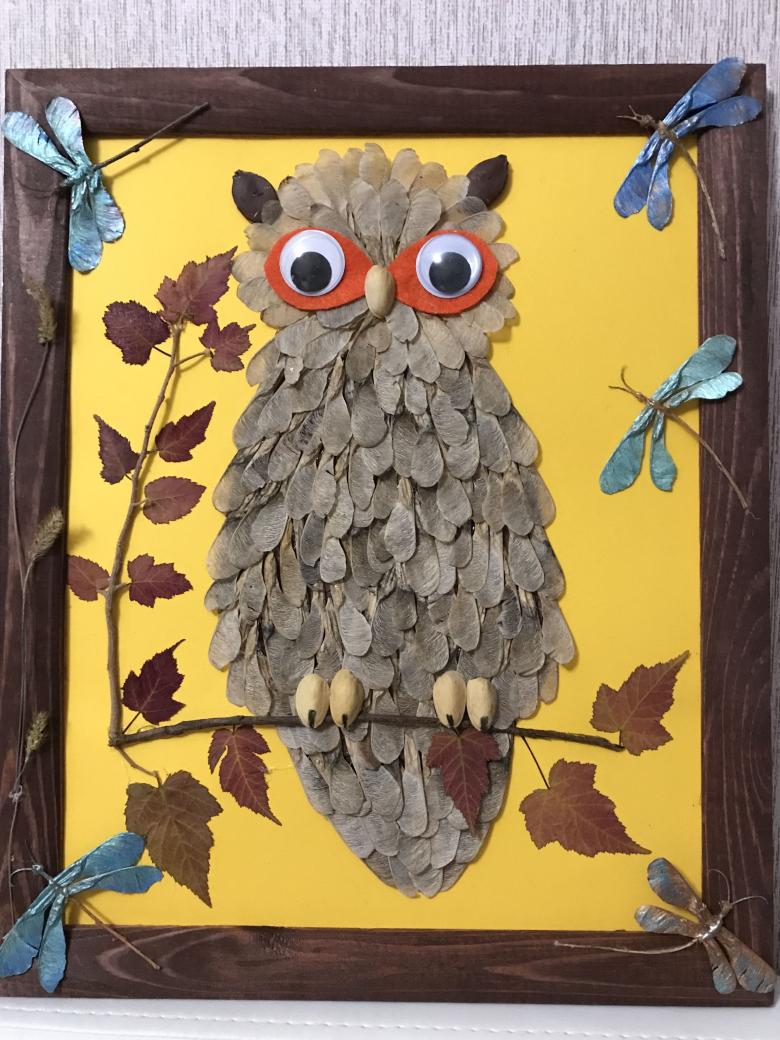
You can use one cone for the owl instead of two - this craft is easier. On the "torso" glued eyes of cardboard or paper, wings and nose are made from dried orange peel, cut into pieces, ears - from leaves. We set the owl on the moss - and the composition is ready. Another piece of moss try to attach it to the head, it looks funny.

You can use not the whole cone, but only the scales. Carefully detach them and lay them on a sheet of plywood owl competition. Glue the scales. Fill the rest of the plywood with twigs, autumn leaves and any other material you can think of.
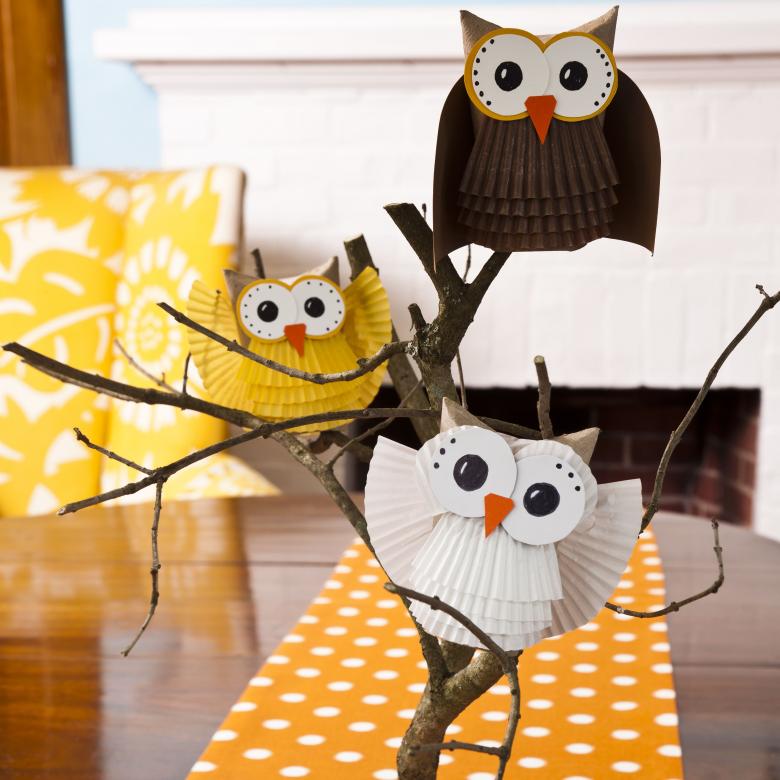
A simple but original composition can be made from a glass jar. Throw small cones, chestnuts inside, acornsThrow in small cones, chestnuts, acorns and spruce twigs, and decorate the outside of the jar to look like an owl with eyes, ears, beak and paws.
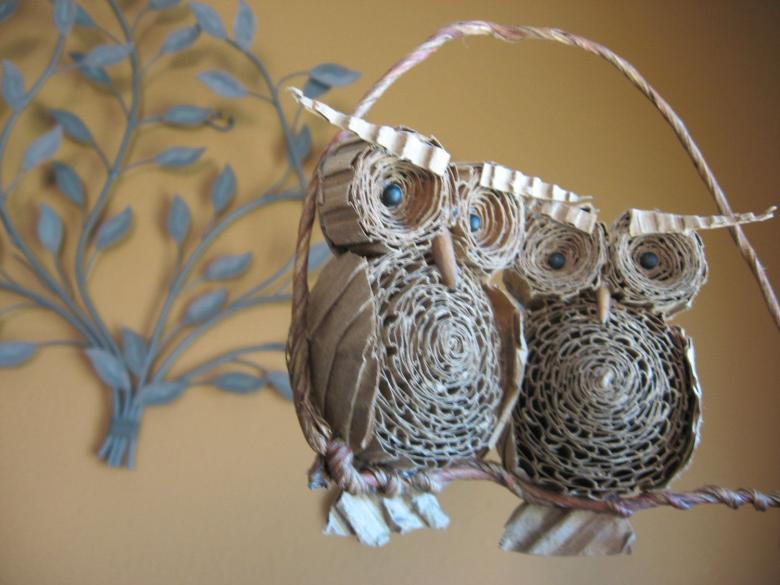
From the twine
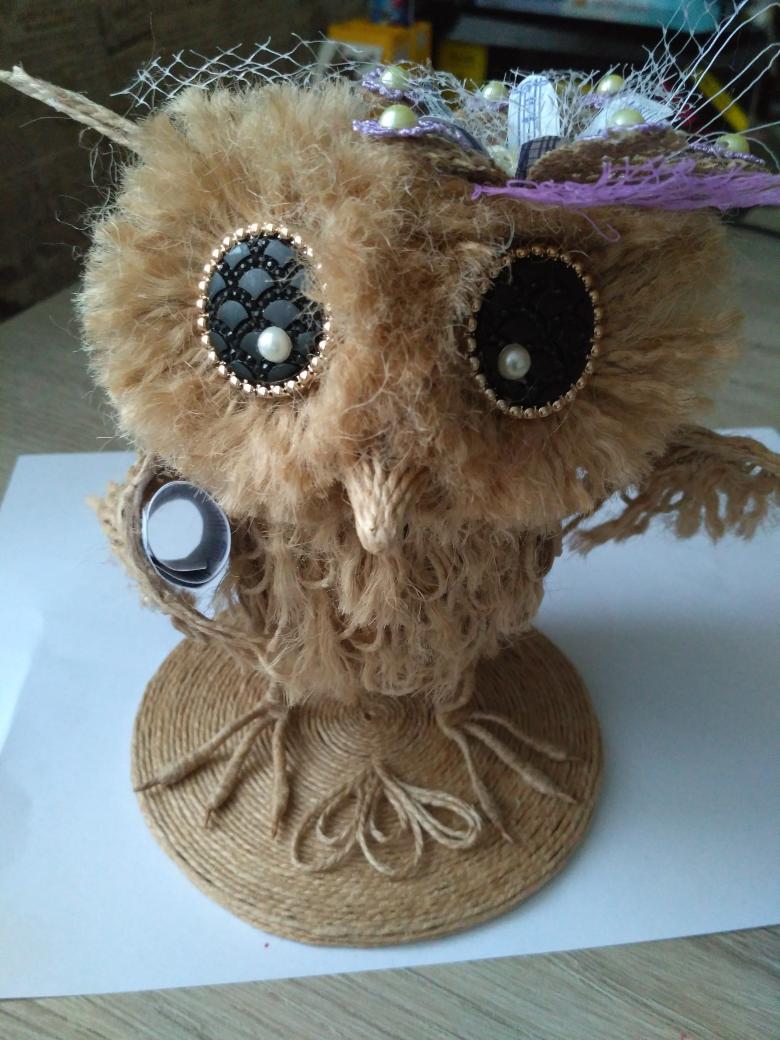
- To make this owl, first inflate two balloons. One oblong and larger balloon is the body, the other is a small round balloon, the head.
- Pour glue (silicate or PVA) into the bowl.
- Throw a skein of twine in a bowl and make sure the glue soaked it thoroughly.
- Wrap the twine around the balls, suspend them from the chandelier and wait for the glue to dry.
- We pierce both balloons. We have two pieces of twine.
- Glue the head and torso.
- We make eyes from absorbent cotton (cotton disks), add goggle buttons. For ears and nose work well orange peel. On the neck tie a bright ribbon.

From a bottle
Even a simple plastic bottle is great for making an owl out of it. From it you should cut off the bottom (it will become the top of the head) and the top without the neck (it will become the body). Put the parts on each other and paint "to match the owl". Note that the gouache must be finished with hairspray after drying, otherwise it will stain.
The owl wreath
This is a very beautiful and uncomplicated composition. To make it, you need natural materials and a large piece of cardboard - part of a pizza box or household appliance.
Making
- First we take cardboard and with scissors form a ring - the base of our handicraft.
- Smear glue, attach to the ring all natural materials that are at hand - small flowers and leaves, twigs, clumps of grass, wood chips, pieces of birch or bark.
- We decorate eyes - glue pieces of colored cardboard, as bright as possible. From the same material we make wings, a beak and paws. Wings cut out of paper in the form of an oak leaf will look spectacular.
- If you want to make the eyes more interesting, cut flowers from fabric.
Helpful tips
Instead of a ring as a blank, you can use a cardboard circle. In this case, natural materials should cover its entire surface. It is convenient to use a glue gun in the process, then you do not have to smear the entire surface with glue. You can neatly attach all the elements of the decoration separately.

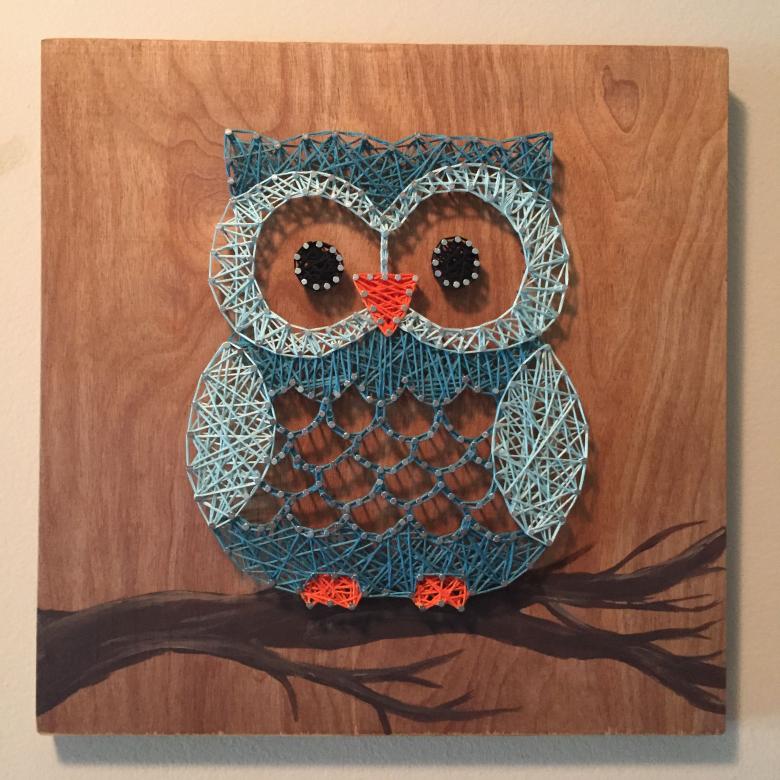
Applique owls .
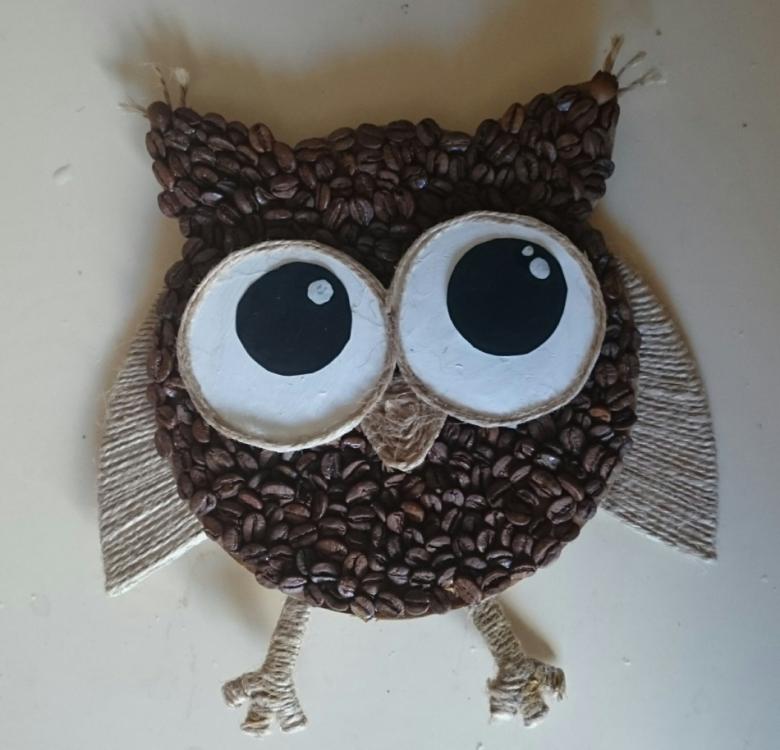
For applique, you will need a cardboard blank in the form of a silhouette. And then give full space to your imagination. Materials can be varied:
- leaves;
- needles;
- flowers;
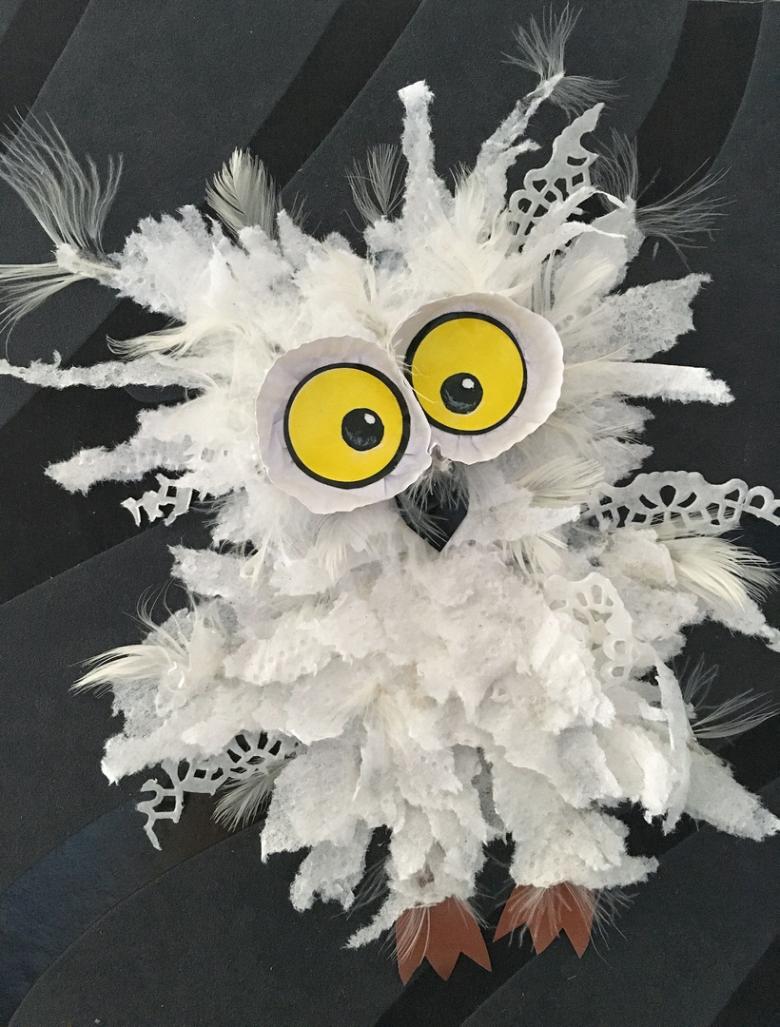
- poplar fluff;
- caps from beer bottles and cans;
- Plastic lids cut into sawn-off pieces.
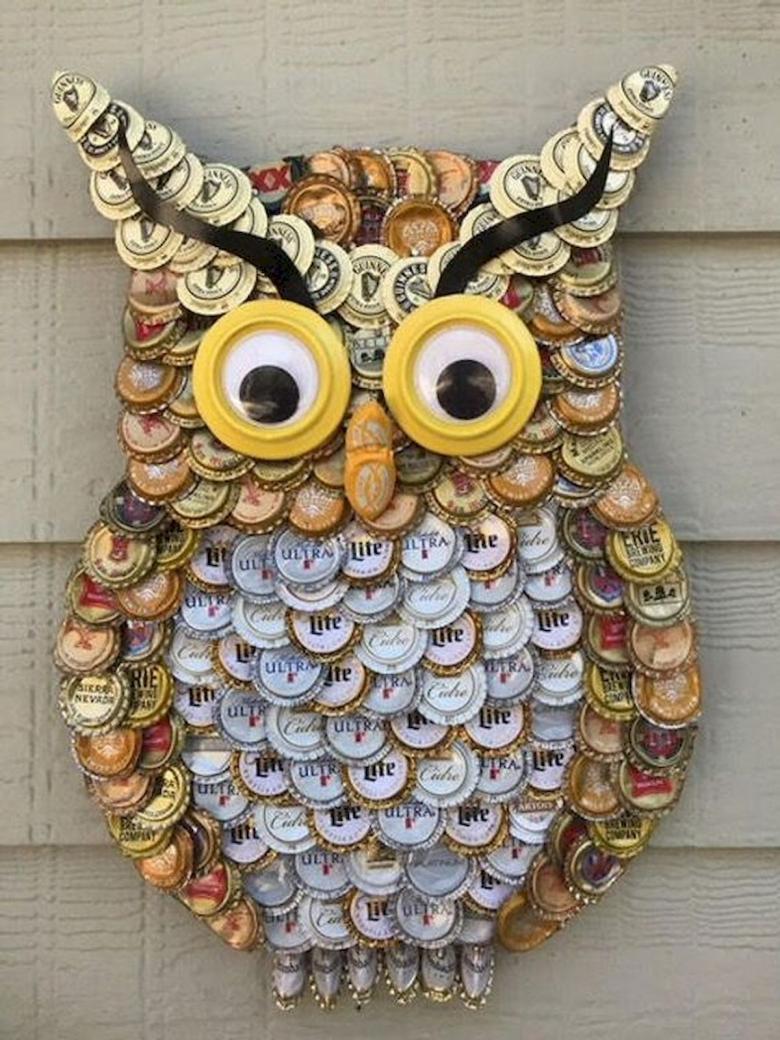
All these and any other materials (that you can think of) are glued on a cardboard base. For making the eyes and beak you can use any of the above options.

One generally accepted way to make an owl, of course, does not exist. All techniques can be combined. The more different ideas you use, the more fun your owl will be and the more interesting it will be to make it.

