Handmade acorn crafts - three detailed master classes with photo examples
Autumn is a golden time of the year for those who are engaged in decorative art and making crafts from natural material. Colorful autumn leaves, plant seeds, chestnutsNuts, cones - can't list everything! Today we'll tell you about how to become a general of the whole army, make your own hands an original Christmas tree toy and stylish bracelet!
There are stressful situations in life when you find yourself alone with your little child: his mother left you for rearing and ran away on their own affairs, no toys, the nearest store is 100 km, and you are a fierce opponent of computer games. What to occupy him with?
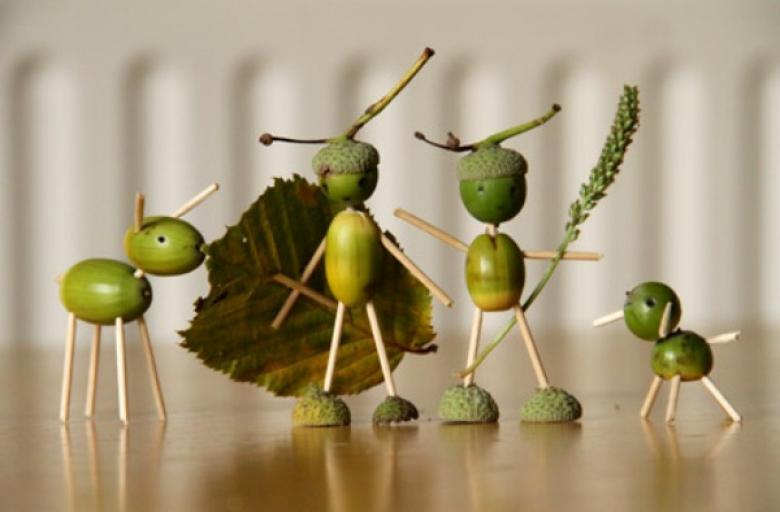
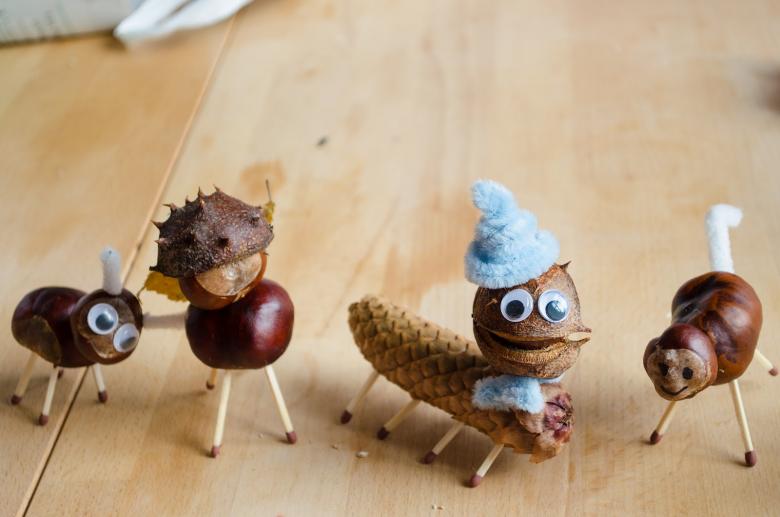
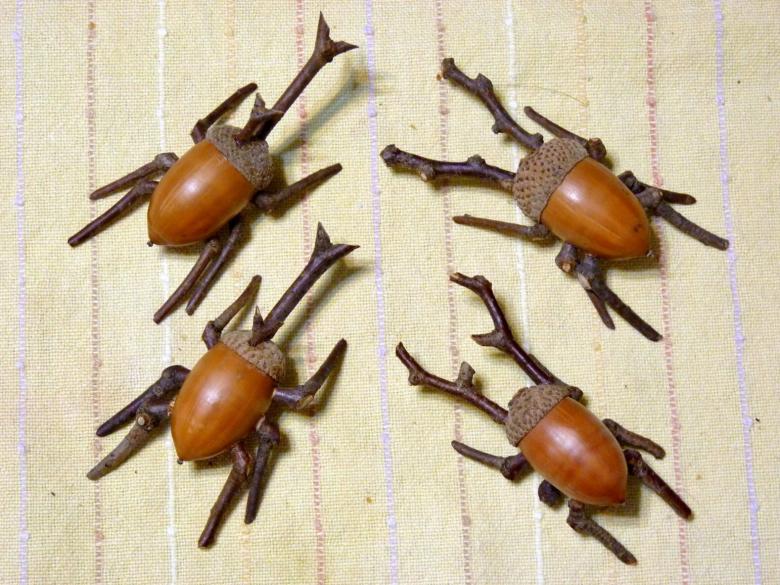
And that's where a man's wit comes to the rescue: we have acorns, after all! If we are dealing with a boy of 5-10 years, then the best thing for him to do is to play with toy soldiers. What will you need for this?
Acorn army
Materials .
- Before you begin, you need to prepare the following materials: acorns, matches, plasticine, glue, mom's colored nail polish, white office or colored paper.
- Acorns. It is best to collect them in late summer - early fall, in dry, clear weather. To do this, go to the woods, park or garden. Oak berries come in many shapes, colors and sizes: from almost round to elongated and oblong, golden brown and green, small and large. All will come in handy! If they are wet, you can dry them by spreading them on the newspaper at home.
- Matches. To connect the parts, you can use matches (one box is enough) or wooden toothpicks. But do not forget - matches are not a toy for children!
- Glue. We will need some glue to fix the acorn caps, which tend to fall off. PVA, rubber or super-glue will do. How to use it correctly - read the instructions for use!
Tools
Tools needed: awl, sharp knife, scissors, brush, colored felt-tip pens.
- The awl. It is necessary for piercing holes in the dense skin of fruits. You can replace it with a thick sewing needle or an arrow for darts.
- Knife. This will be needed for cutting acorns and matches. Use a well-sharpened joint knife or a knife with retractable detachable blades.
Be careful when working with the awl, knife, and scissors: follow safety procedures!
How to work
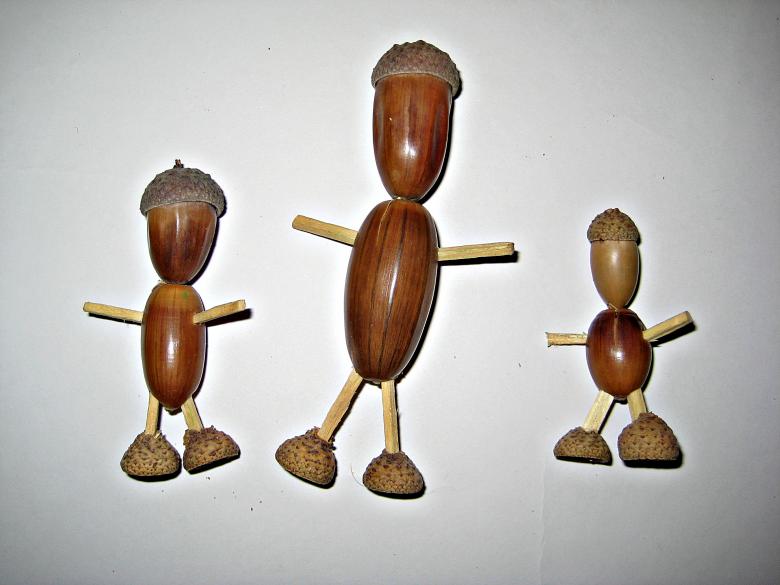
For ease of performance, we will immediately agree that the acute part of the acorn - this is the nose, and blunt, the wide side under the cap - the back of the head.
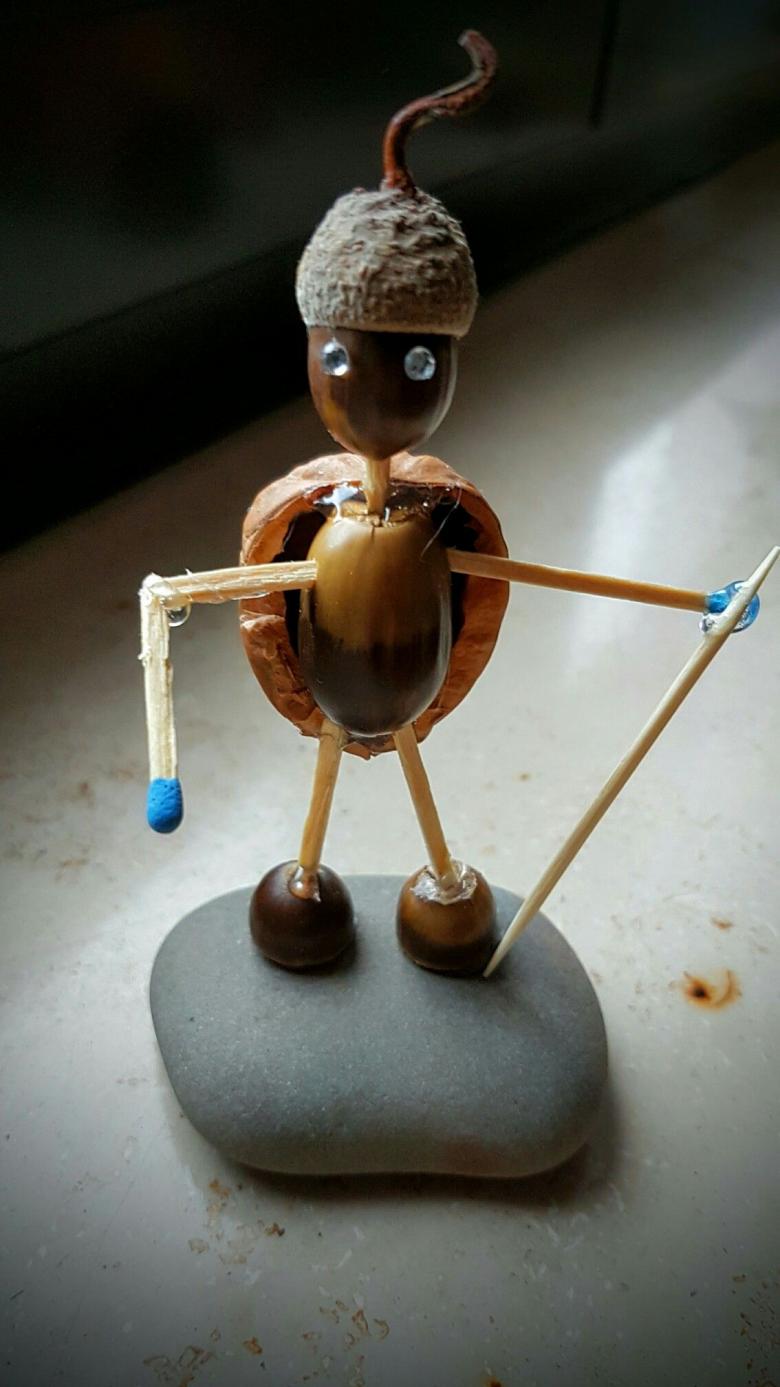
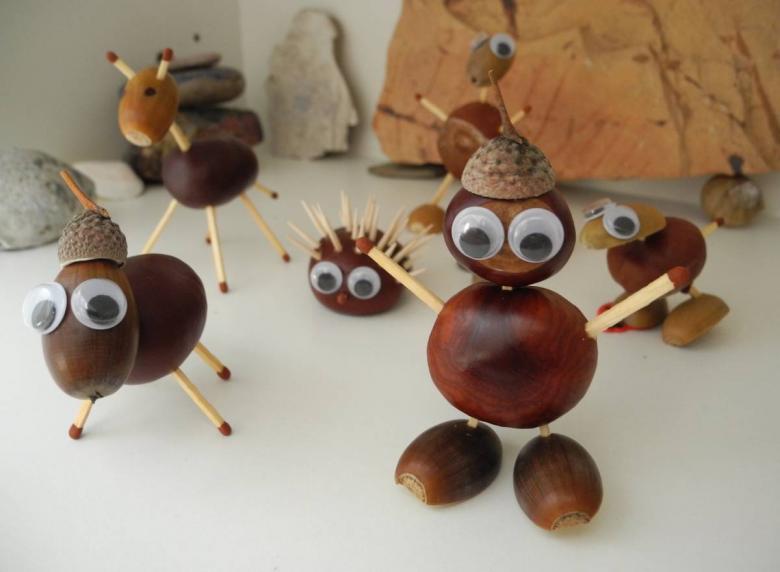
- Let's make the torso of the soldier. Take a larger fruit and separate the cap from it. Needle pierce two holes for the legs at the bottom, on the side of the back of the head and two on the sides above, for the arms. As well as one on the spout side, for the head. The depth of the punctures is not more than 3-5 mm.
- We take 5 matches. We divide one of them in half - enough for two necks. We shorten two of them by about 5 mm, we don't need very long arms! We do not need very long arms! We use a knife to remove wax from the matches for legs, or we cut the heads off. If you use toothpicks, we shorten them by 1 cm from one edge!
- Making the legs. For them you need one, medium sized acorn. We remove the cap and carefully cut it lengthwise. Do not cut all the way through at once! First make a circular incision of the peel, and then divide it into two parts. We get two feet. On the side of the heels, but not very close to the edge, make a puncture. Insert the matches in the torso from the bottom, then add the feet. Hats can also be used for the feet. If there will be two armies in the battle, then make one with feet from halves, and the other - from hats, so that they are different.
- Before fixing the head, make the warrior a cape. If using white paper, draw a simple symbol or emblem with felt-tip pens, the same for all soldiers of the same army. Add insignia of soldiers, officers and the general. Or take colored paper in two colors and finish drawing insignia. The size of the cloak is 5X3.5 cm, no larger than the area of a matchbox. At the top of the cape, at a distance of 5 mm from the edge, we make a hole.
- For the head we take a fruit rounder and with a hat, which is very similar to the helmet. Make a puncture from below, from the side of the nose. A short match is inserted first into the torso from above, put the cape on top of it, then put the head. If the cap falls off, we glue it on. Instead of glue, you can even fix it with a small piece of plasticine.
- Arms are inserted at the right angle to the torso. We make them out of matches shortened by 5 mm.
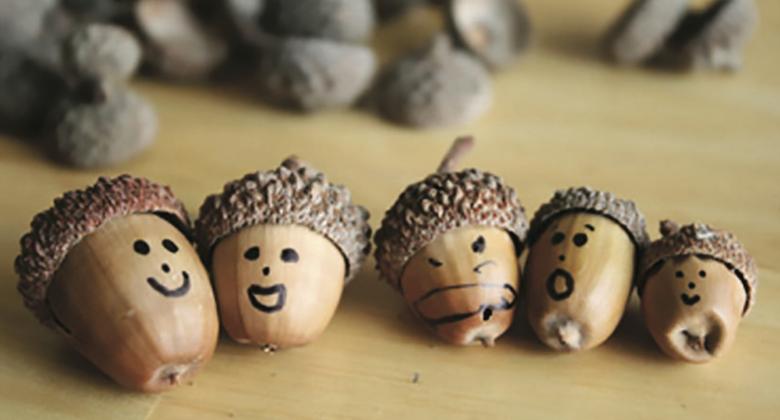
- Colored nail polish put points: eyes on his head and buttons on the uniform. Draw a big smile, we do not have the army of Urfin Jus! We wait for the varnish to dry.
- It remains to arm our valiant army. Magnificent swords and spades are made from toothpicks. One toothpick can make two swords. Shields are made from large hats. Attach weapons and shields to arms with plasticine.
Having made the first bogatyr, you will immediately understand how to quickly make the rest. Try to divide the whole process into separate operations: making torsos, legs, heads, arms, cloaks, swords, painting with varnish.

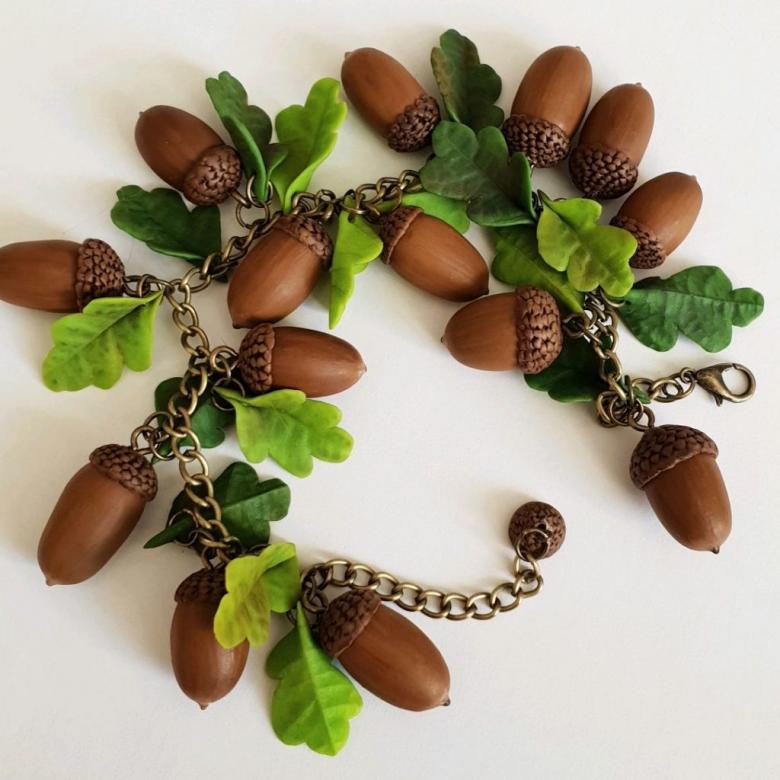
But what to do if our ward is a girl of 5-10 years old? Then let's create a piece of jewelry: a bracelet on her arm!
Bracelet of acorns
Materials
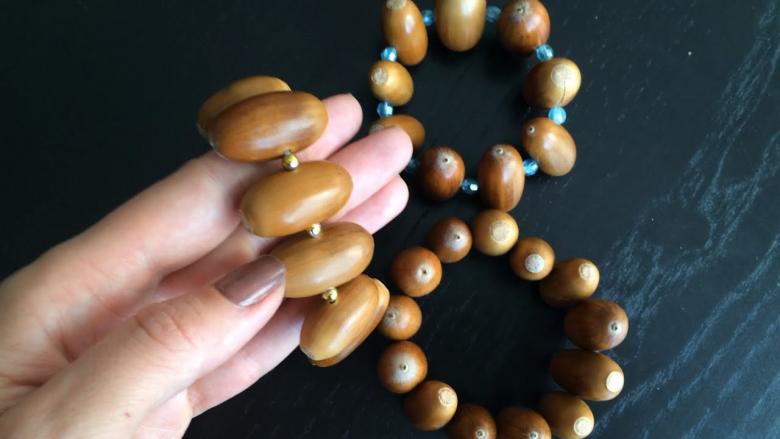
You need to select 15-20 acorns of the same size, prepare beads, buttons. Still need a latex rubber band length of about 20 cm. Usually it is present in the girls who are engaged in beadwork.
Tools
An awl, a large sewing needle, a knife or scissors. If you have a screwdriver, an electric drill or a drill with a fine drill bit, then we are unspeakably lucky!
What to do
- We take the fruits of oak and clean them from their heads, cut off their sharp spines so that they do not scratch your hand.
- We mark the place on the acorn, where there will be a hole. We do the puncture from the side, in the center. It is possible to pierce the hole with an awl, but there is a risk to splinter the workpiece. Therefore it is better to drill it accurately! We drill on the board.
- Insert a latex rubber band into the needle and start stringing the fruit. We alternate them with large beads, small buttons or hats that were removed before. We also make holes in the caps.
- When you have the right amount, try on a bracelet. It should not fall off the hand.
- Tie the ends of the rubber band in a tight knot, cut off the excess.
The decoration is ready!
And now, to please your beloved mother, let's make an original Christmas toy.
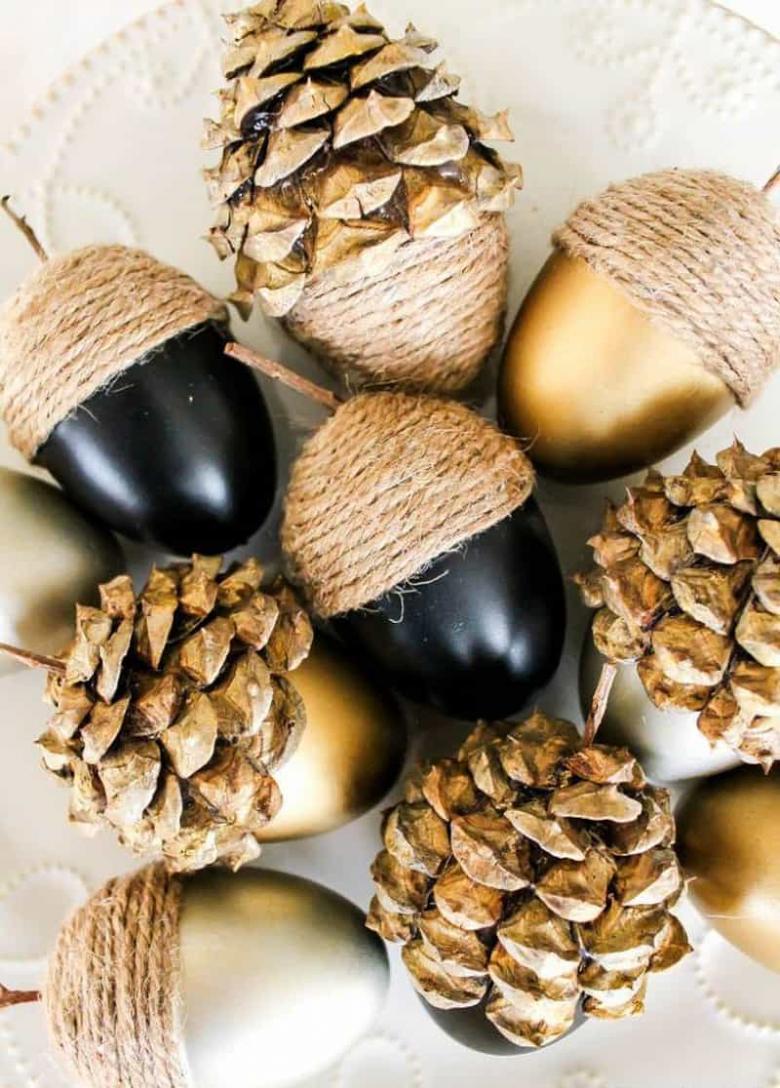
Christmas tree toy
Materials .
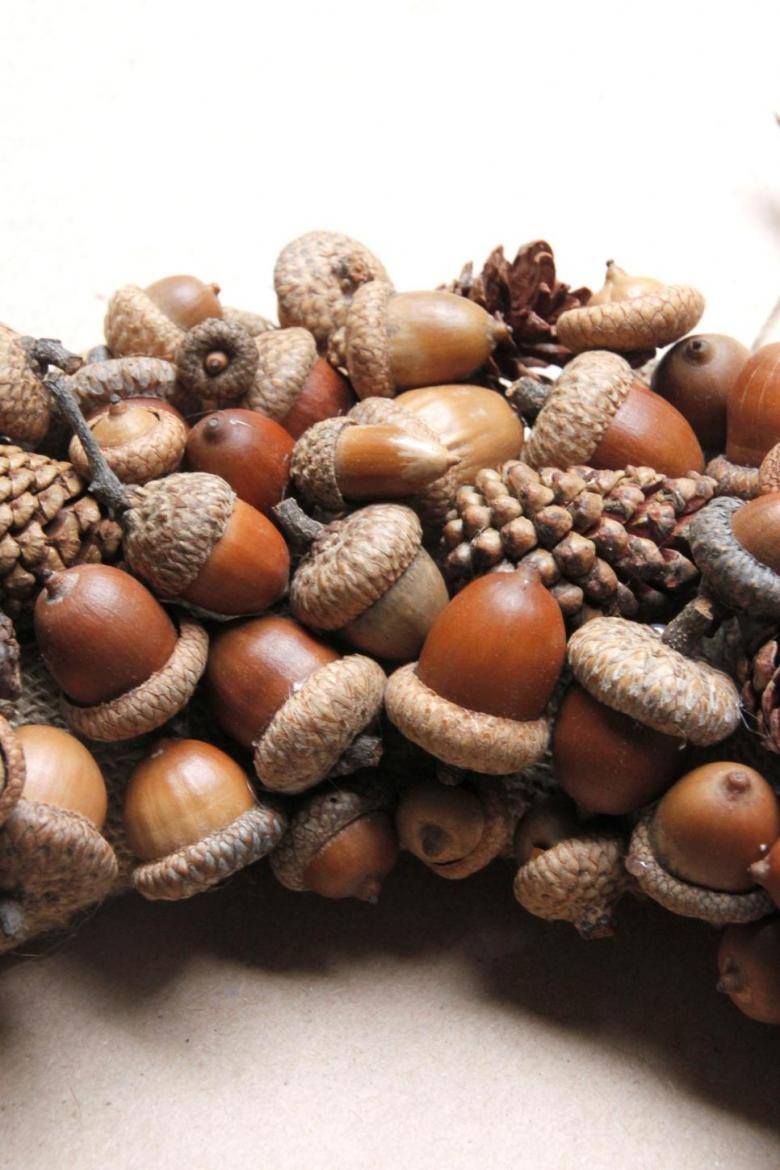
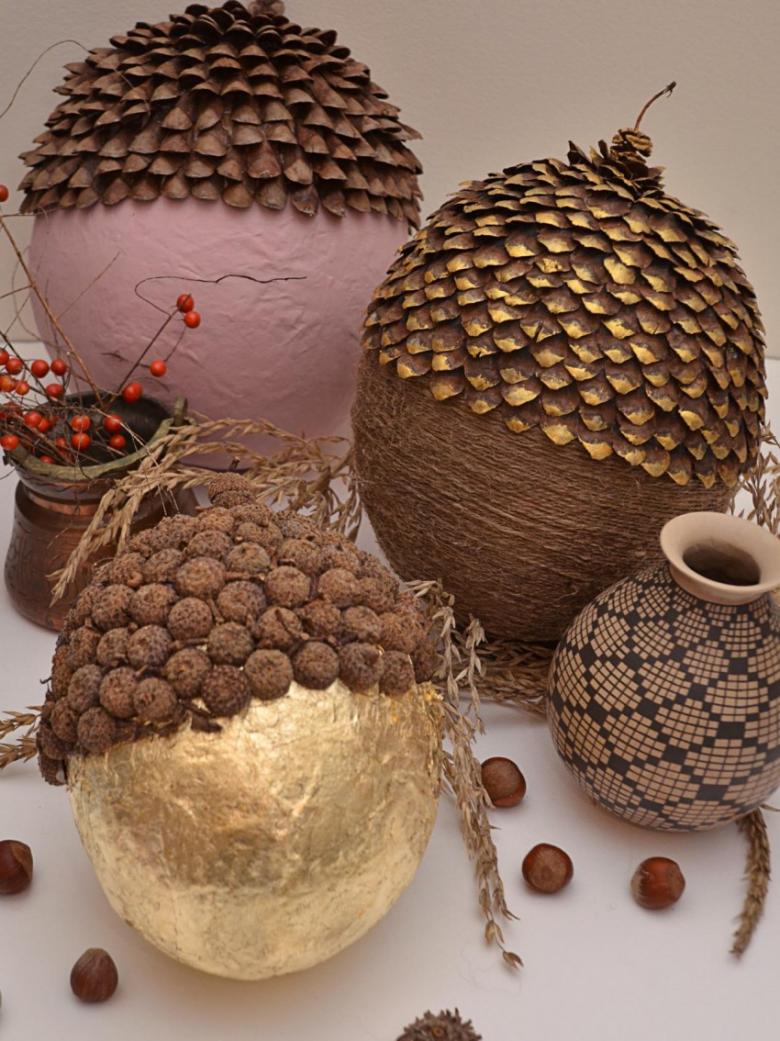
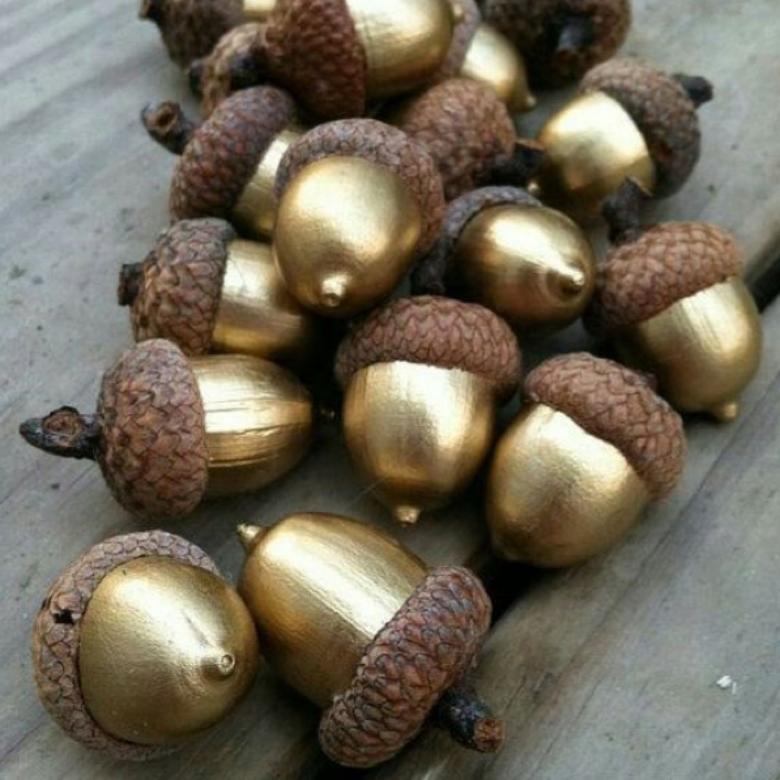
We will need hats from acorns and the basis for the decoration. The base can serve as a ready-made smooth plastic Christmas tree toy in the form of a ball, foam plastic ball, bought in advance in a store or made yourself from paper.

To make a ball of paper we need PVA glue, water, good quality toilet paper (pack of 4 rolls) or 1 roll of paper towel, gouache. Prepare in advance a thin decorative cord about 20 cm long, acrylic rhinestones or sequins.
Tools
Need the following tools: a knife, flat bristle brushes #15-20, a small bowl, a glue gun.
How to work
- Clean the flats with a knife, cutting off the protrusions left by the cutter, making them flat. The number of hats depends on the size of the ball.
- If we do not have a ready-made ball, we make it ourselves from paper. In a container with warm water of about 1 liter add 2 tablespoons of PVA glue. Unwind the roll of paper and put it in water in pieces, stirring. You should get a homogeneous, not very fluid, but not too thick mass. Let it stand.
- Unwind the second roll of paper and start forming a dense ball the size of a fist. Hands are periodically slightly dampened with water. To make the clump you can take cheaper paper.
- The obtained clump begins to cover the prepared paper mass with an even layer, squeezing out the excess water. Form a ball, trying to give it an ideal shape. Put it on a piece of polyethylene or newspaper and leave to dry. The drying process can be accelerated in the oven at a low temperature. Put foil on the baking tray!
- In a styrofoam or paper ball, when it is well dried, fix a loop of decorative cord. To do this, use a sharp stick or the back of a brush to make a hole about 1.5-2 cm deep in the ball. Using the same stick, we put there the glue-soaked ends of the loop. Wait for the glue to dry. If you used a ready-made toy for a base, it should already have a loop!
- On the white ball it is desirable to apply a color primer from a mixture of dark-brown gouache with PVA glue. Let it dry!
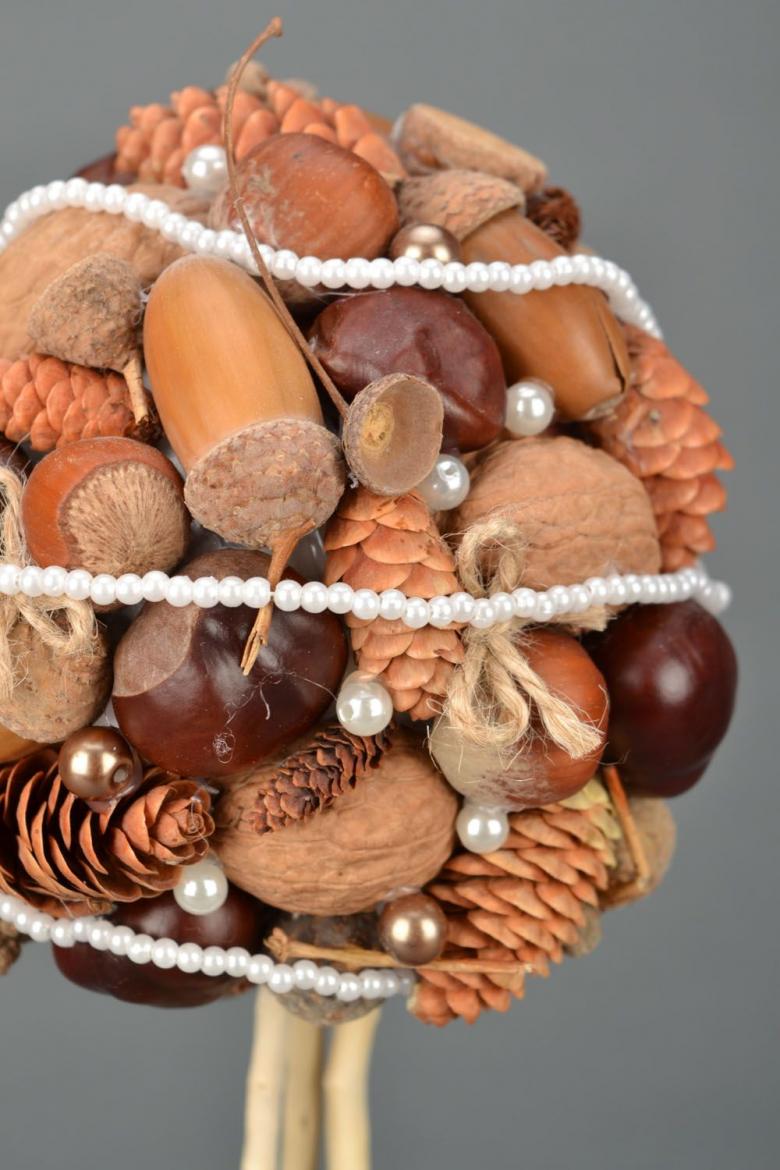
- Now take the caps from the acorns, drip on them with glue from a thermal gun, and begin to slowly glue in circles around the place where the string is attached, as the glue hardens. You can drip a little glue on the wide lid and dip them there instead of on each flathead. Observe safety precautions when using a glue gun - glue is hot!
- The main thing is to take your time! Gradually glue the entire balloon. It already looks spectacular on its own, but if you glue one acrylic rhinestone or sequin into the center of each hat, it's even cooler!
Be sure to assemble a troop, make a bracelet or Christmas tree ornament with your child. Give him or her simple operations to do and have fun with him or her! To prepare for school, develop verbal counting while you work by counting acorns, matches, soldiers, and anything else! Don't forget to take pictures of your masterpieces to create a personal creative portfolio and just for memory!

