Children's crafts from paper - a selection of simple step by step master classes, photo ideas
Parents love to tinker with their children and make something together. True, not always enough time to thoroughly create something worthwhile. But there are many ideas for paper crafts that can be done quickly and easily.
We all love it when our child, pouting lips, something diligently makes. Immediately want to come up and take part in such an important and interesting task. The child glues paper on the table with his chubby little hands? Surely he wants to make something! You can join in and channel his energy into children's paper crafts.
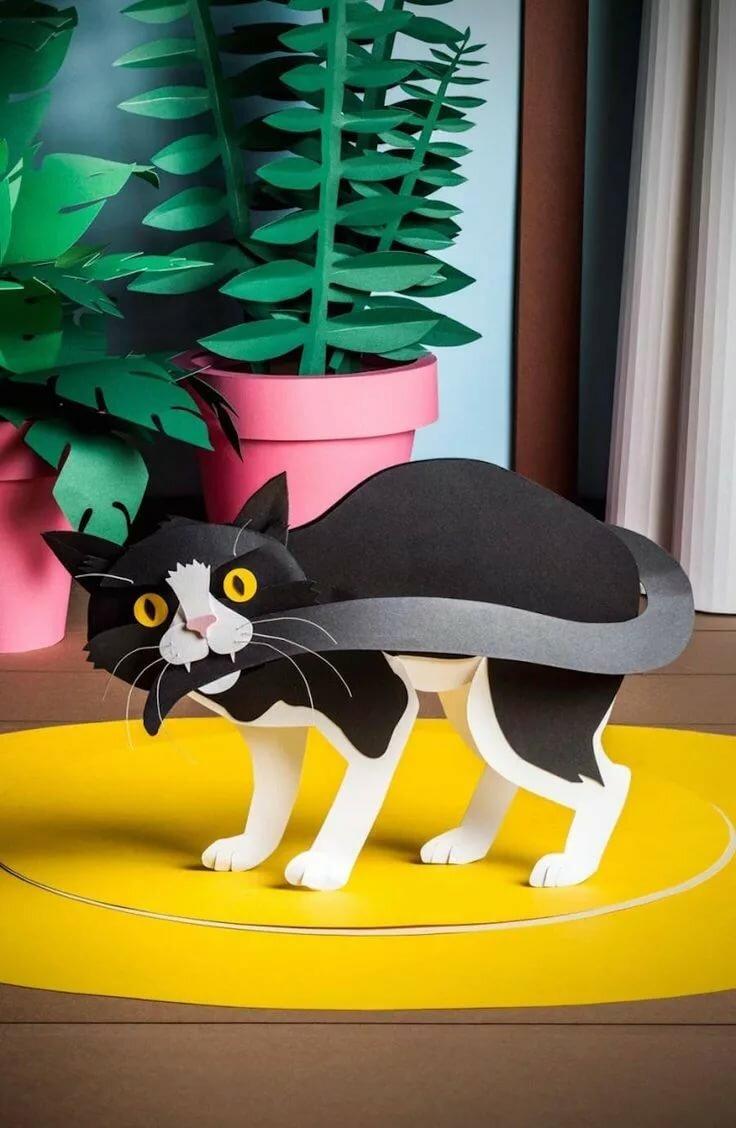
A kitten made of paper
You can make a cute 3D kitten from colored paper. For this we will need:
- Colored paper
- white paper
- Black marker
- Paper glue
- Brown felt-tip pen
- Scissors
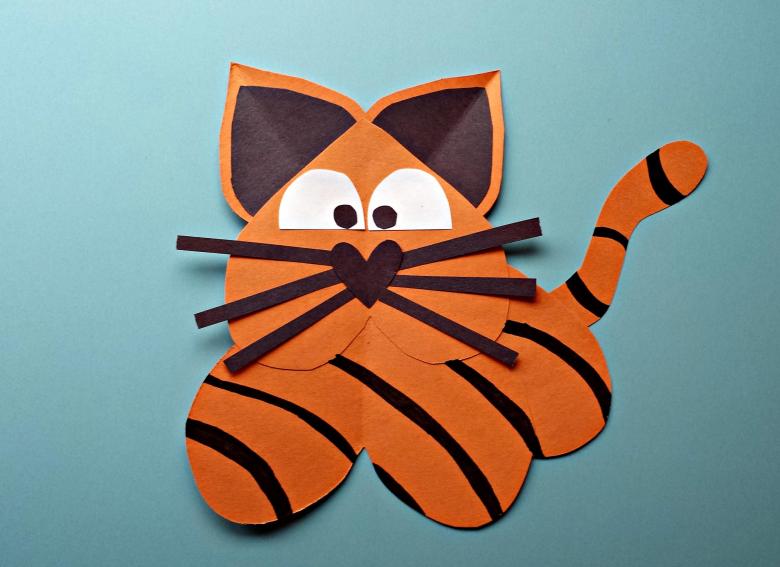
From white paper, cut two circles up to 1 centimeter in diameter. From the light pink paper cut the same circle, but only in the amount of 1 piece. Now take the orange paper and cut out two circles with a diameter approximately equal to the diameter of the glass or glass. From the same paper cut out two ears. The pink paper also need to cut out shapes that resemble the ears, but smaller in size than the ears of orange paper.
Proceed to the design of the body. To do this, you need to take one large orange circle and draw a tail on the edge of the circle. Cut out the tail to the middle of the circle, so that the tail is attached to the circle, but at the same time it is like a separate part. Outline the tail with a brown felt-tip pen and draw stripes on it.
Next, this circle should be cut to the center with scissors. Now you can fold the finished piece of cone and glue the edges of the incised circle. Thus, we got a cone-shaped body with a tail.
Now begin to assemble the head. To do this you need to take the second large orange circle and glue two white circles at the same level. These will be the eyes. The distance between the eyes should be about 5 millimeters. Then glue the bottom of the pink circle - a nose. Under the head you need to glue red ears, and on them the pink parts. This is the inside of the ear. The head is almost ready.
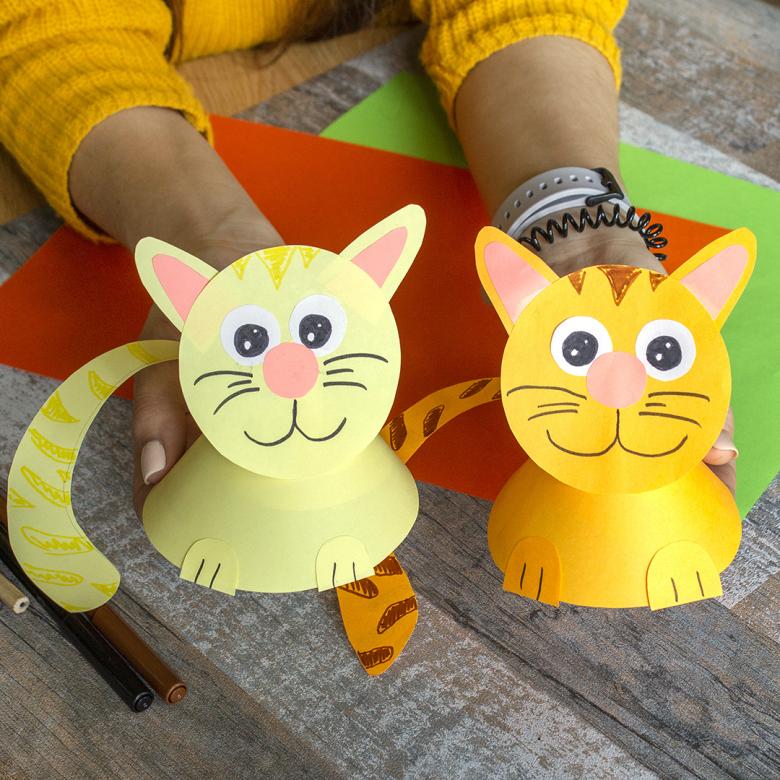
Next, draw the pupils of the eyes with a black marker. Inside the pupil leave white highlights. Under the nose, draw the cat's whiskers and cheeks.
Glue the finished head to the cone-shaped body and put the cat on the table. The handicraft is ready!
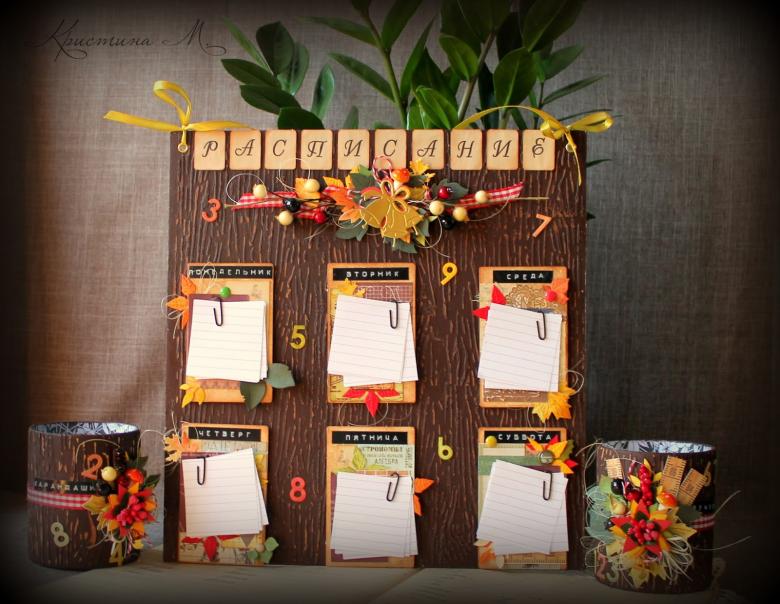
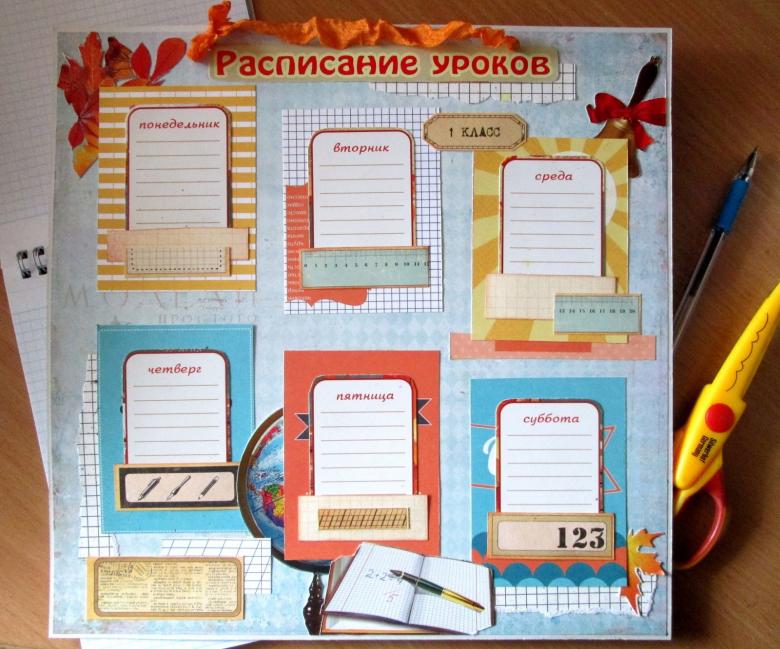
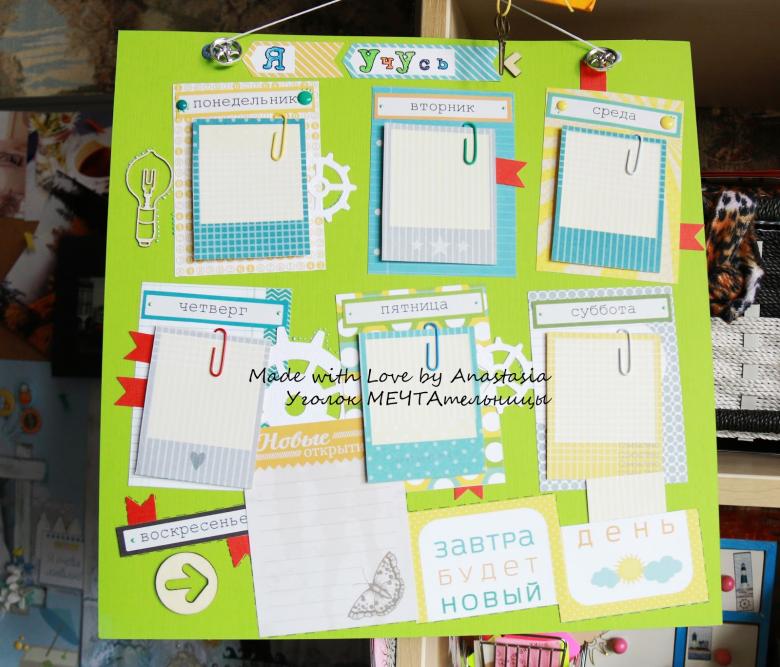
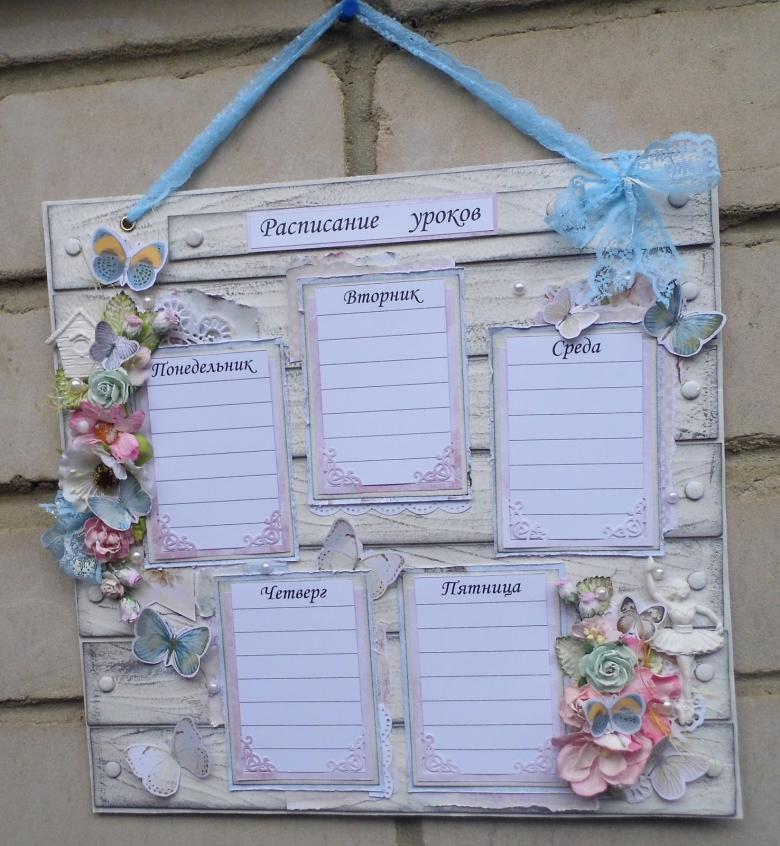
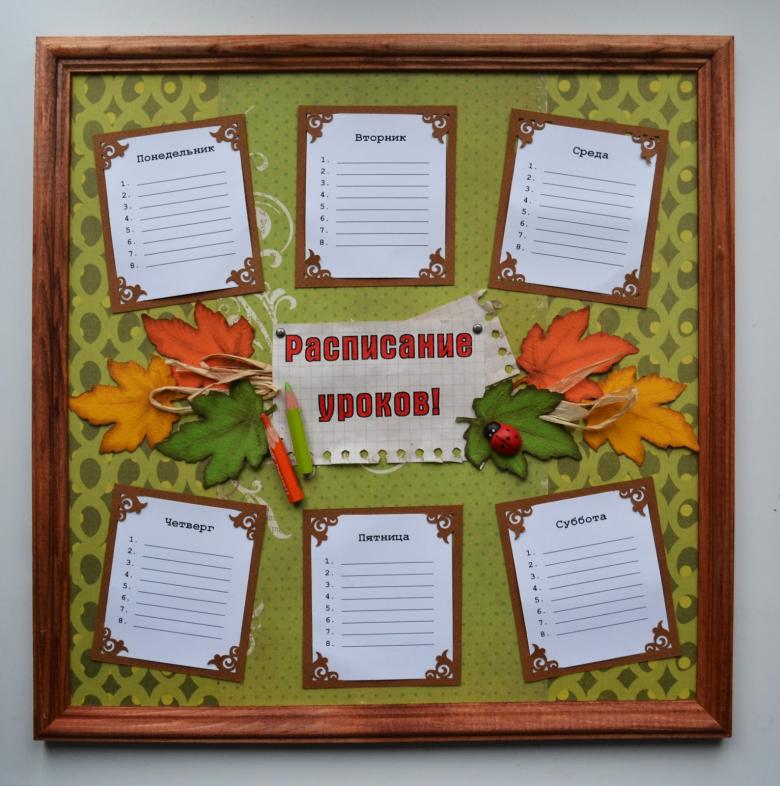
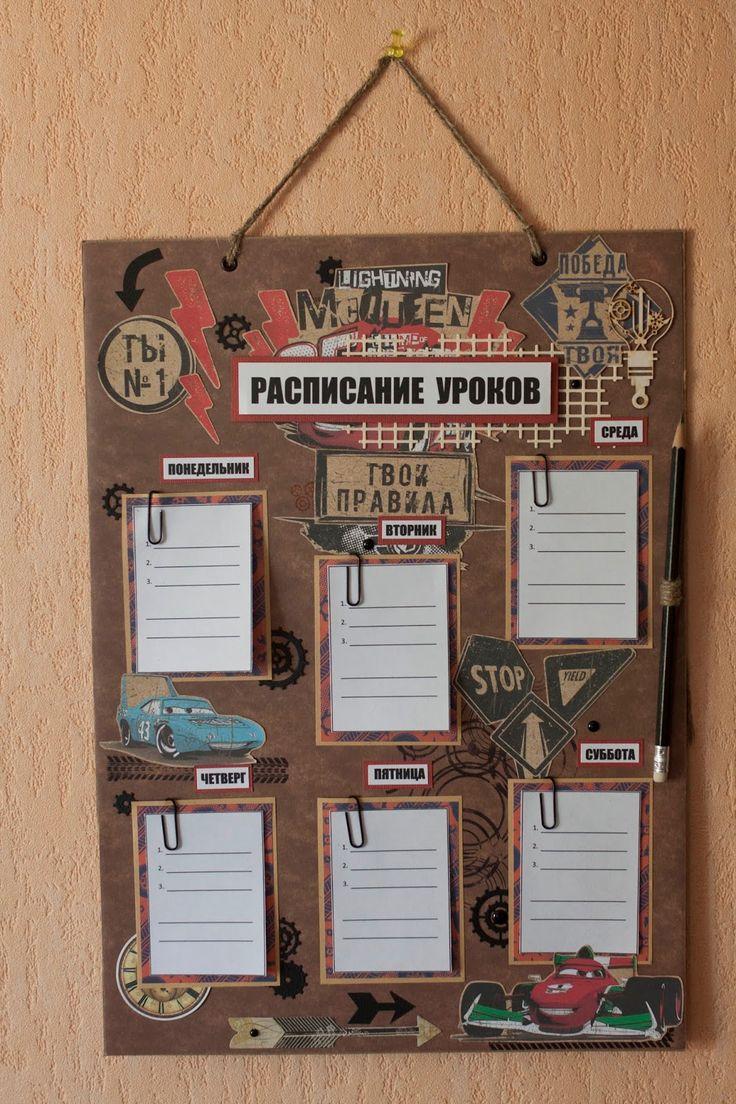
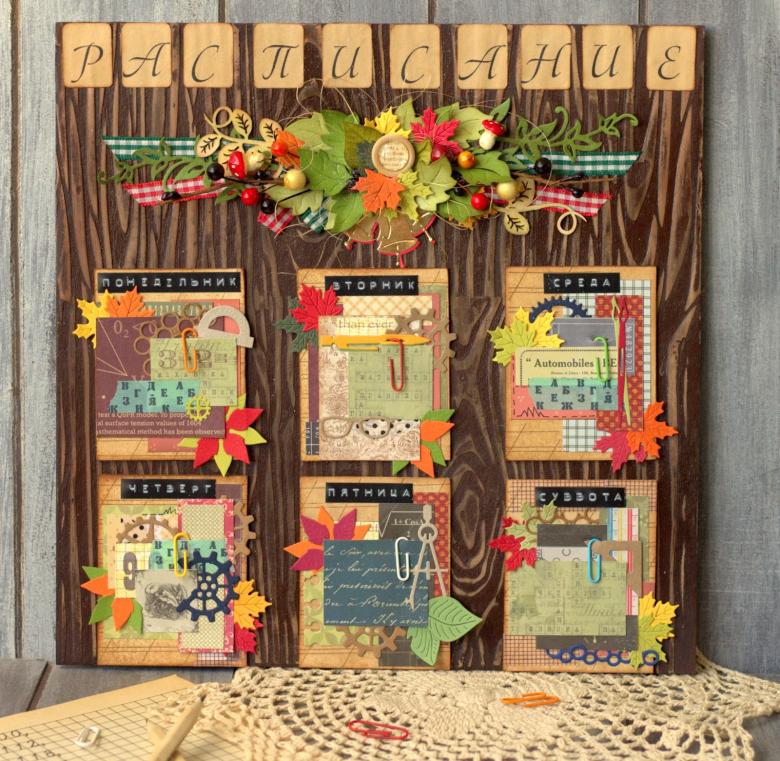
Poster with a schedule for a school child
A very creative and beautiful stand can be made with your child-schooler. Engaging in such crafts with your child, you will help to develop his creative thinking, help to strike a hand in such things, because they are always useful. Such a stand with a schedule can be presented to a classmate for the new year or his birthday. Material can be used at your discretion, but we will consider colored cardboard and old video discs.
We will need:
- Colored cardboard or paper
- Scissors
- Old DVDs
- Highlighters or felt-tip pens
- All-purpose glue
- Ruler
- Pencil
- Rope or string
Take 6 old discs and clean them from various dirt. Set them aside. Cut 6 circles out of cardboard slightly smaller than the discs, so that the shiny side of the discs serves as a border for the schedule circles. You can take different colors of cardboard, a different color for each day of the week.
Draw strips on each circle, as in the diary for the class schedule. Then use markers on top of each circle to write the name of the day of the week. The style of writing is up to you. Then write the current schedule on the marked out lines.
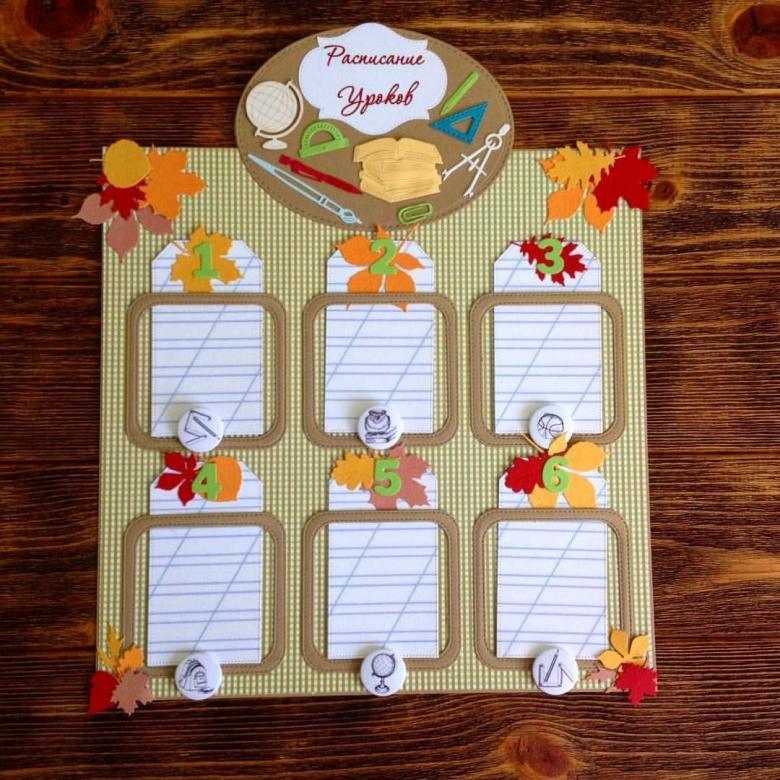
Glue each circle to the discs and glue these discs together with hot glue in the proper order.
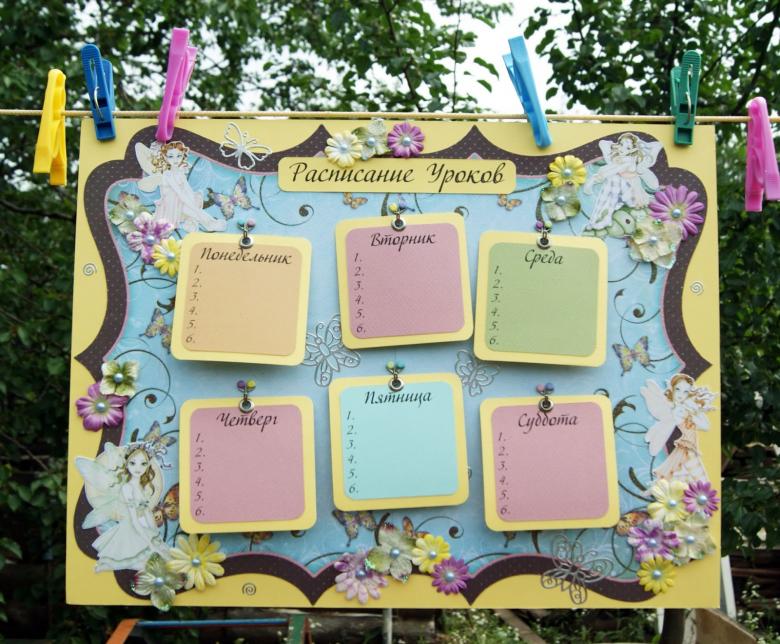
Attach a rope or string to the edges of the product on both sides and hang it on the wall. That's how simple and interesting the schedule stand turned out. How it looks, you can see in the photo.
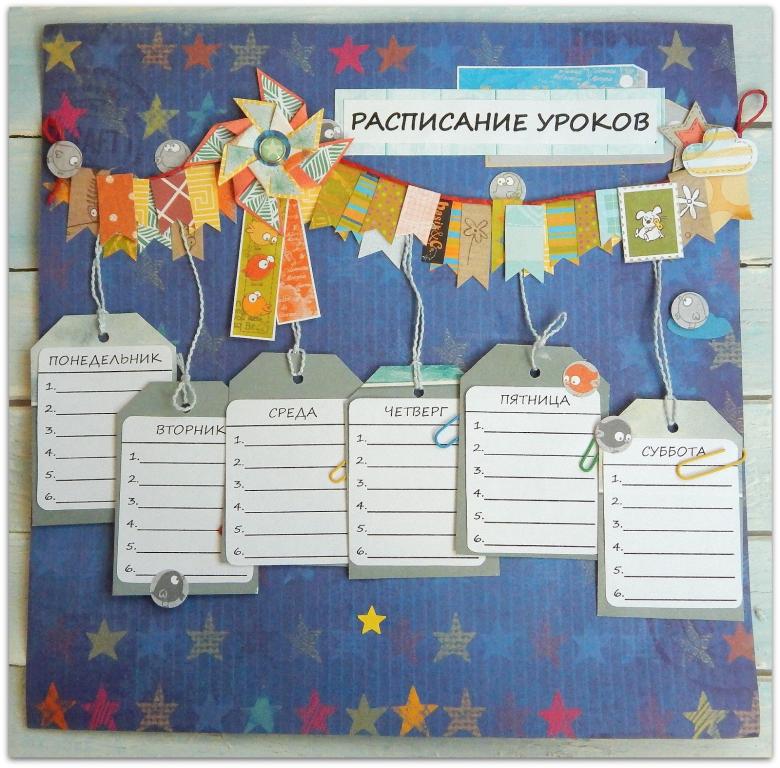
If you decide to make it for a gift, then do not fill the space for the schedule.
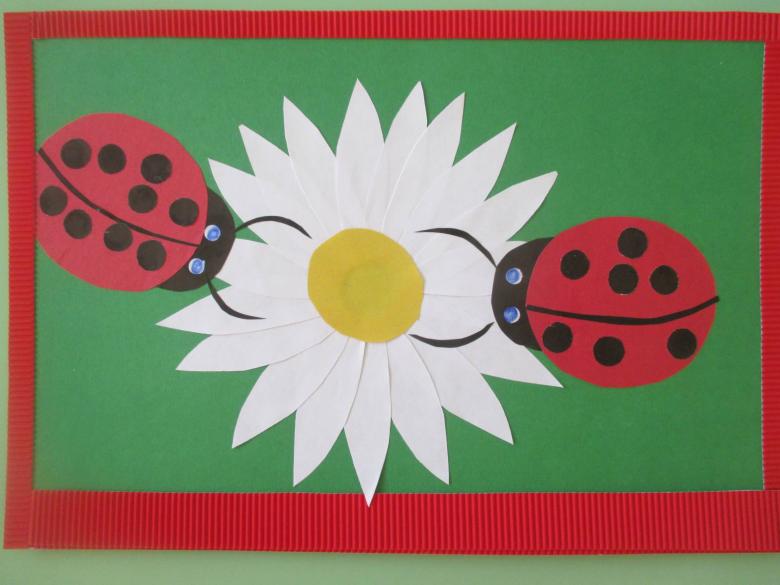
Applique "Ladybird"
You can make a simple and at the same time beautiful applique with your baby. If there are no ideas, you can see step-by-step master classes with photos or videos. We'll take the ladybug applique as an example.
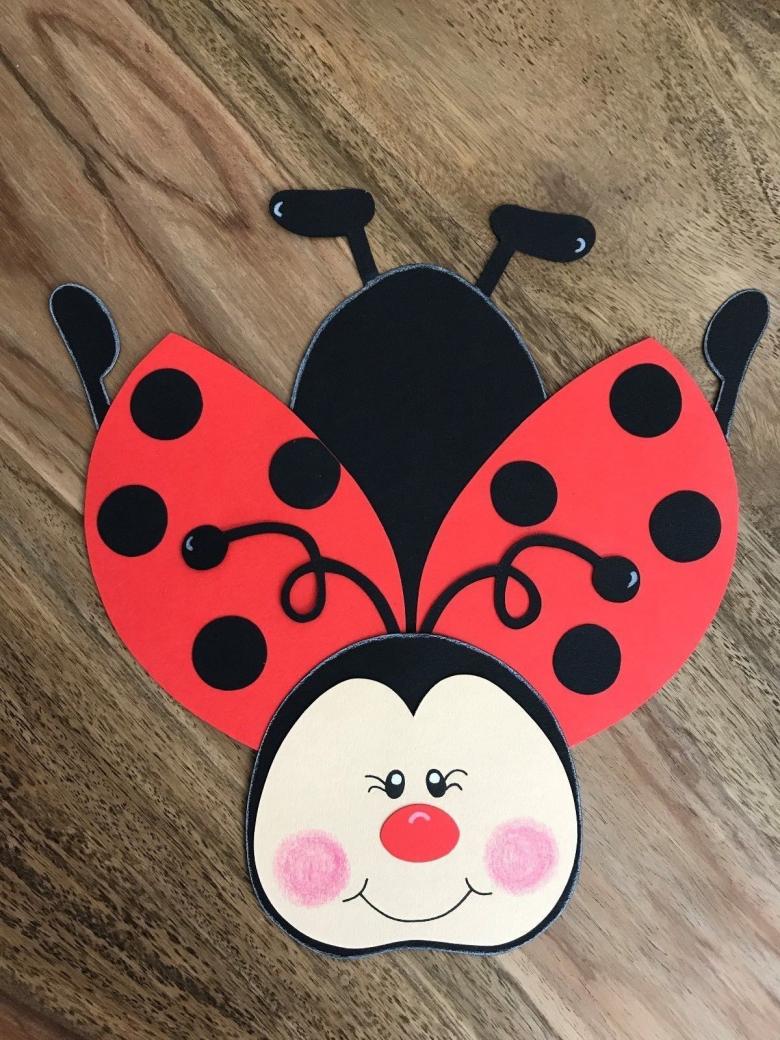
For the craft you need:
- Colored paper
- Scissors
- White sheet
- Glue
- Black marker
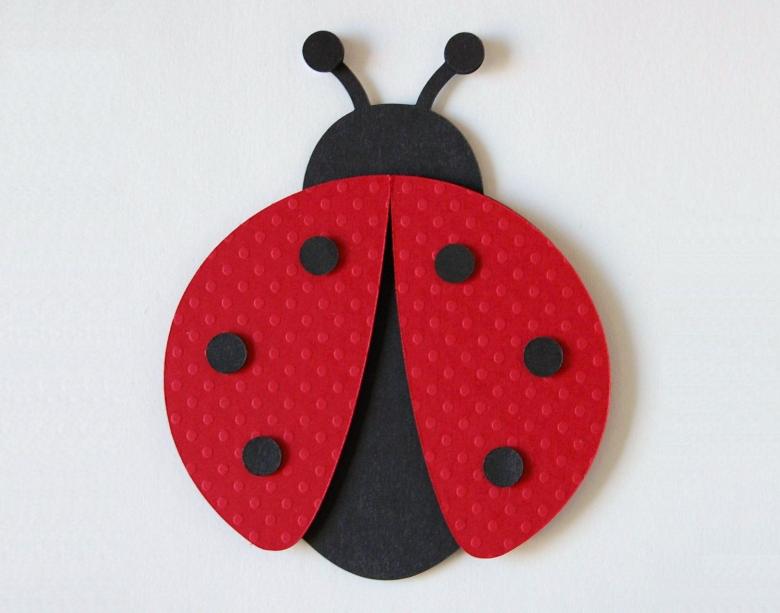
Making:
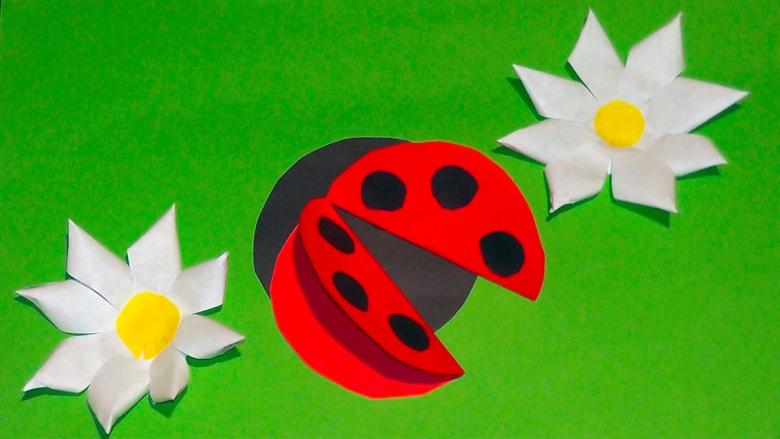
Cut out three identical circles of any size from red paper and fold each circle in half. Then cut out of black paper semicircle in size smaller than the red circles. This is the head of our ladybug. Also cut two thin strips of black paper. This will be the antennae for the future ladybug.
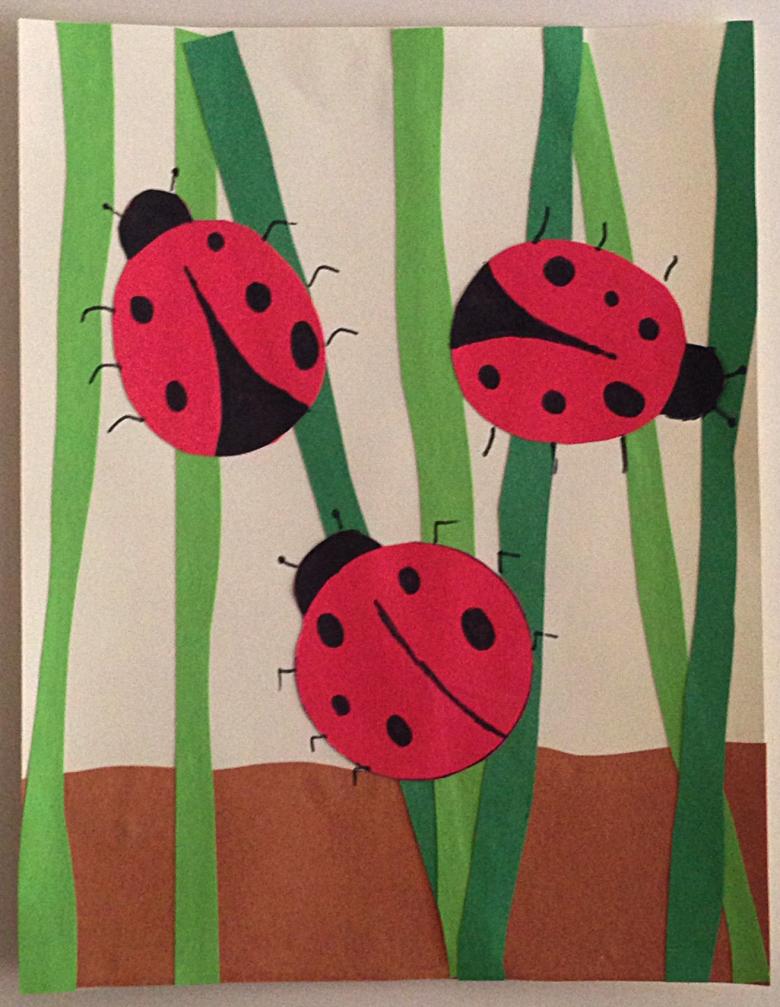
Now glue the head on a white sheet of any place. Glue the antennae to the head and draw a marker on the mustache round tips. Glue the red circles to the head with one half. And between the second nudged semicircles glue a folded side of the third semicircle. We get three-dimensional body.
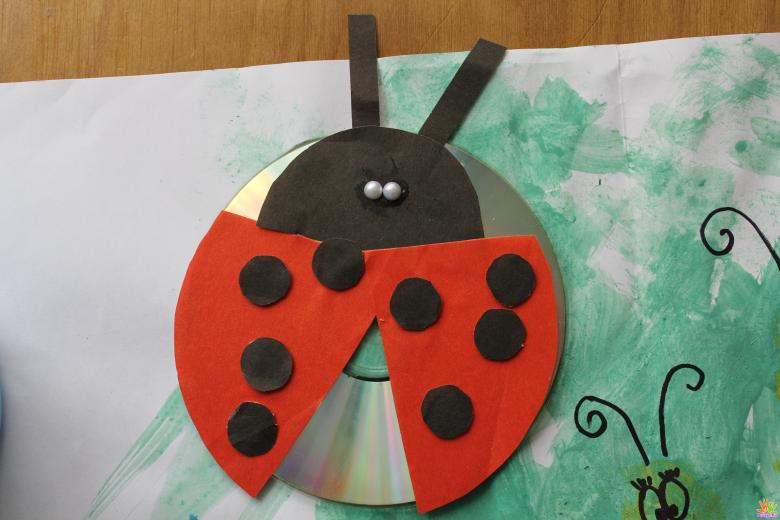
On the body marker draw black circles. Under the cow you can draw grass and a flower. Application is ready. Such a wonderful handicraft can do with children in kindergarten. This perfectly develops the motor skills of the hands and creative thinking of children.
Shark from paper and clothespins
An interesting craft out of clothespins and colored paper will be of interest to a child of 3-4 years. For this craft we need:
- Colored paper
- Glue
- clothespin
- Scissors
- A match .
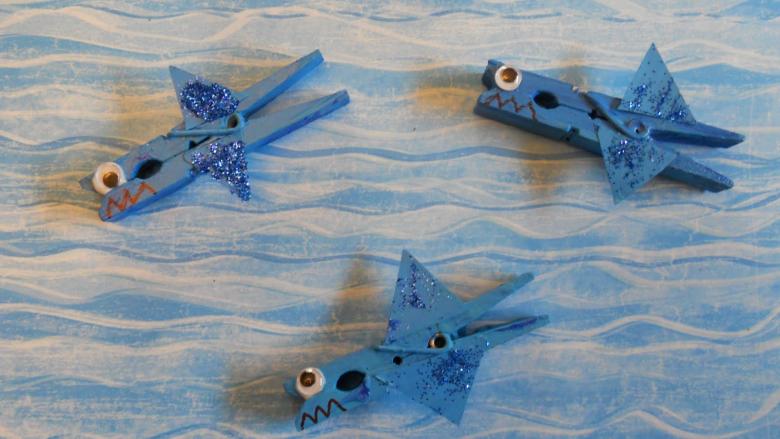
From colored paper, cut out two parts of the shark: the bottom and the top with the fin. The upper part should be made of blue paper and the bottom - from white paper. From the match break off a half and glue a small figure of a fish cut out of paper. Color can choose your own. Set aside the finished piece.
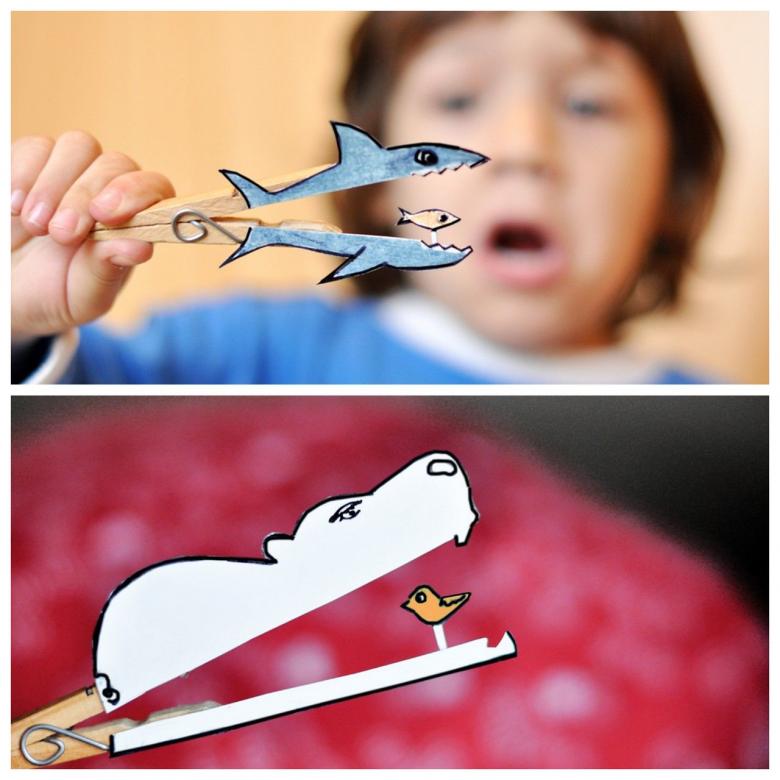
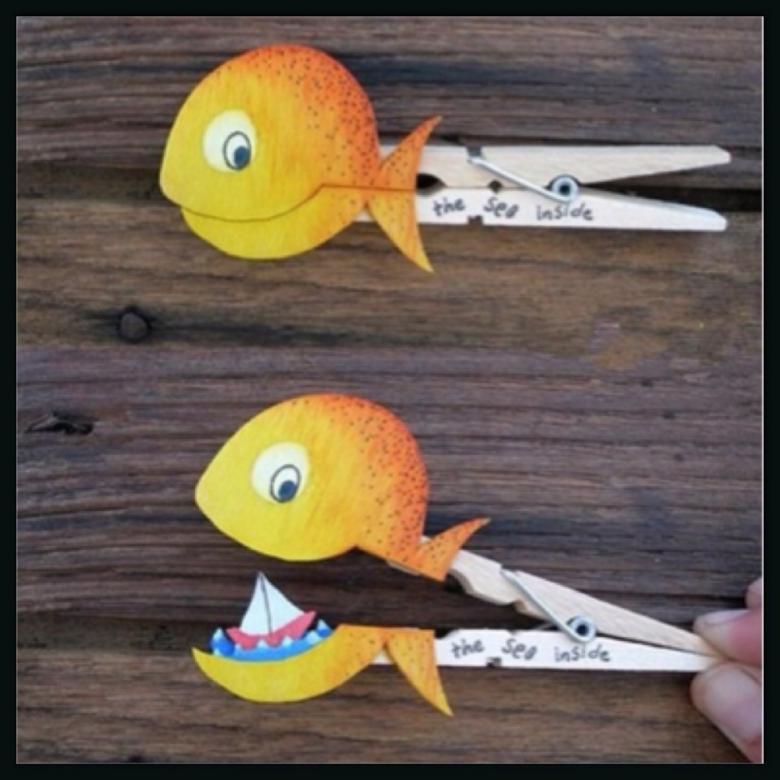
To one half of the clothespin glue the top of the shark's head and the other - the bottom. Then glue the back side of the match with the fish. Thus, when the shark will open his mouth with the clothespin, it will be visible in his mouth fishes.
The shark with the opening mouth is ready!
Handmade Tree
The child can be offered to make a tree out of hands cut out of paper. For such a craft we will need:
- Colored paper
- Scissors
- Glue
- The sleeve from the toilet paper
- Rectangular piece of cardboard
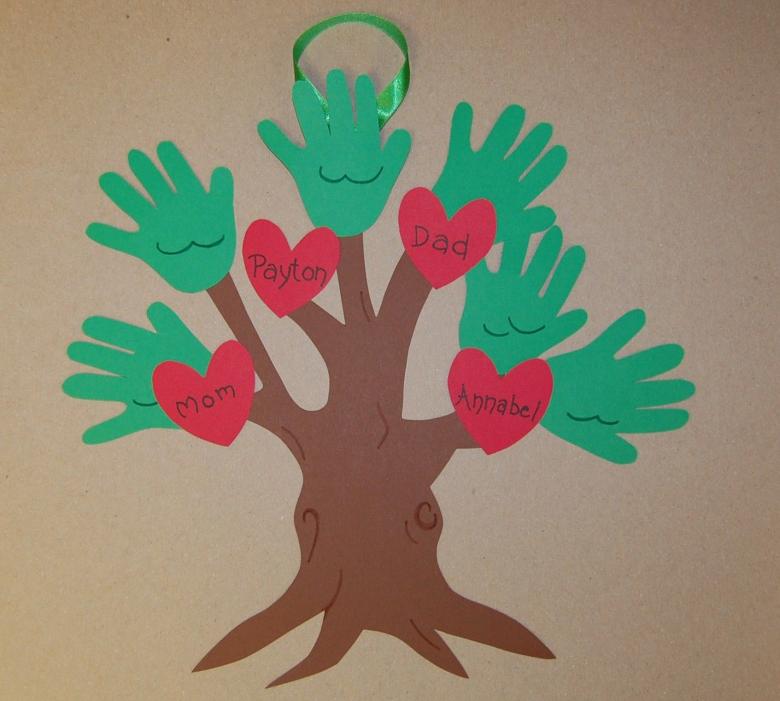
Draw hands with outstretched fingers on different pieces of colored paper. You can draw your baby's hands. Then cut out all the hands.
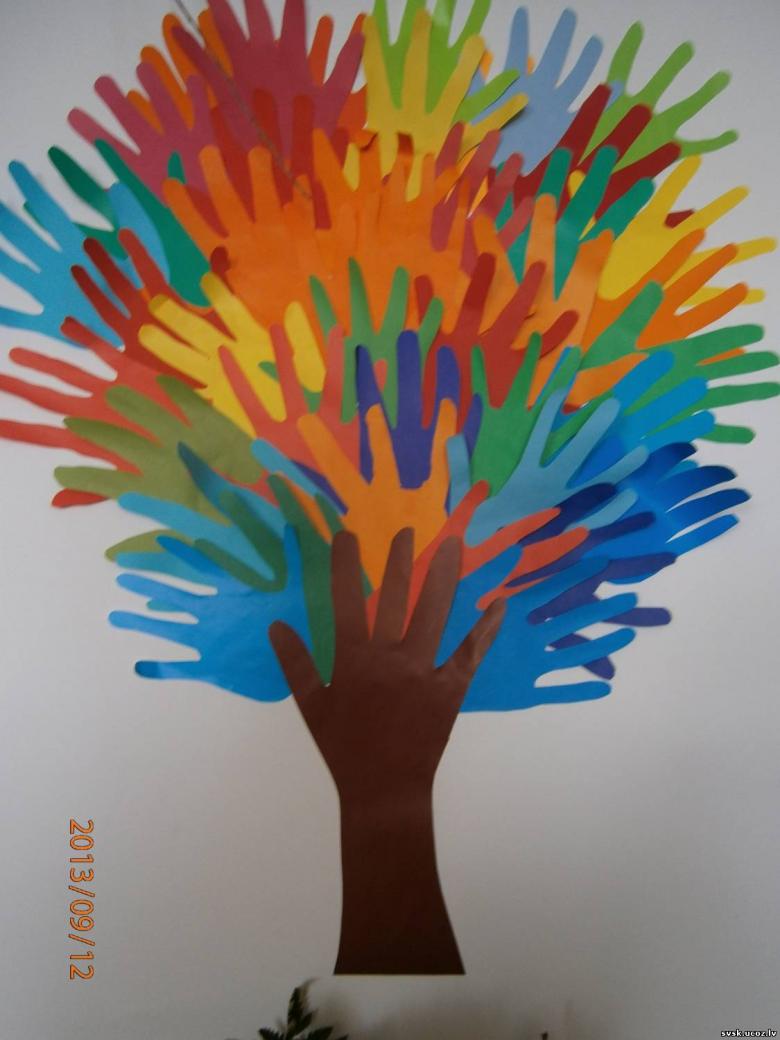
Cut a sleeve from toilet paper in a circle on one side and tear off the cut strips. Glue the sleeve vertically to a piece of cardboard with the notched strips facing down.
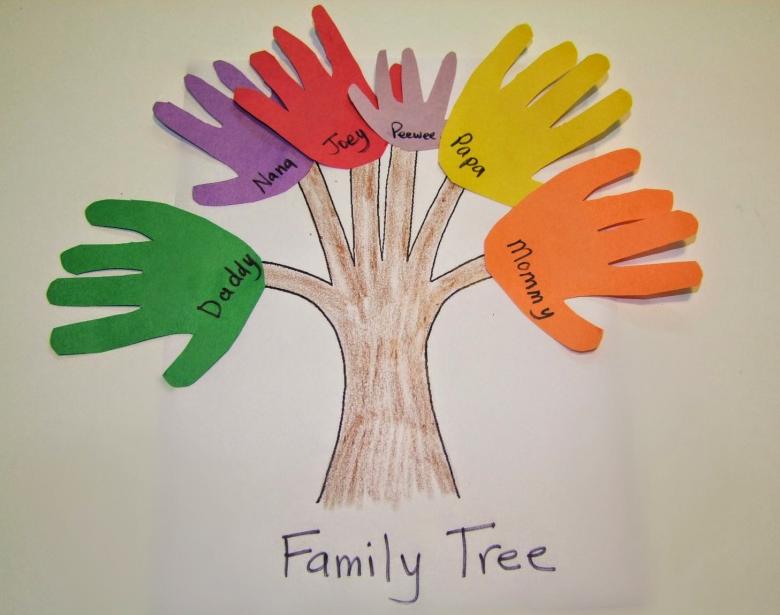
You can now glue all of the cut out arms to our tree. Glue the pieces around the circle of the sleeve.
The hand tree is ready!
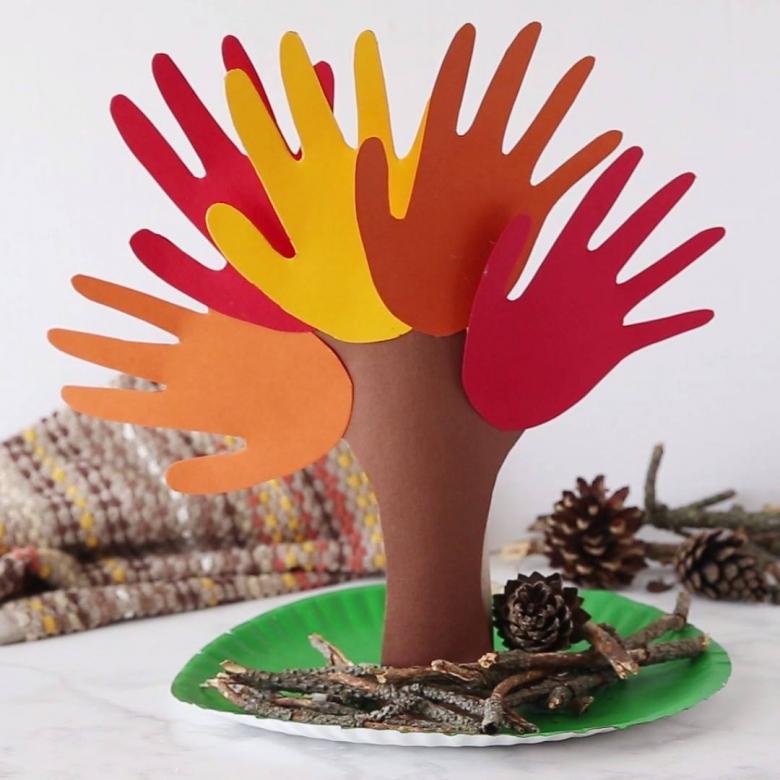
There are many different crafts that you can make with your baby. This will strengthen your relationship and help the development of your child.

