Applications of colored paper - a selection of interesting step by step master classes for beginners
Any creativity is very fond of children, but applique they love especially. After all, this is not just a fun game, but a special way to learn colors, shapes and create beauty with their own hands. Therefore, every parent must help your child master this art, and thus contribute to its development. And we will help you in this by offering to consider several ideas for applique with a child.
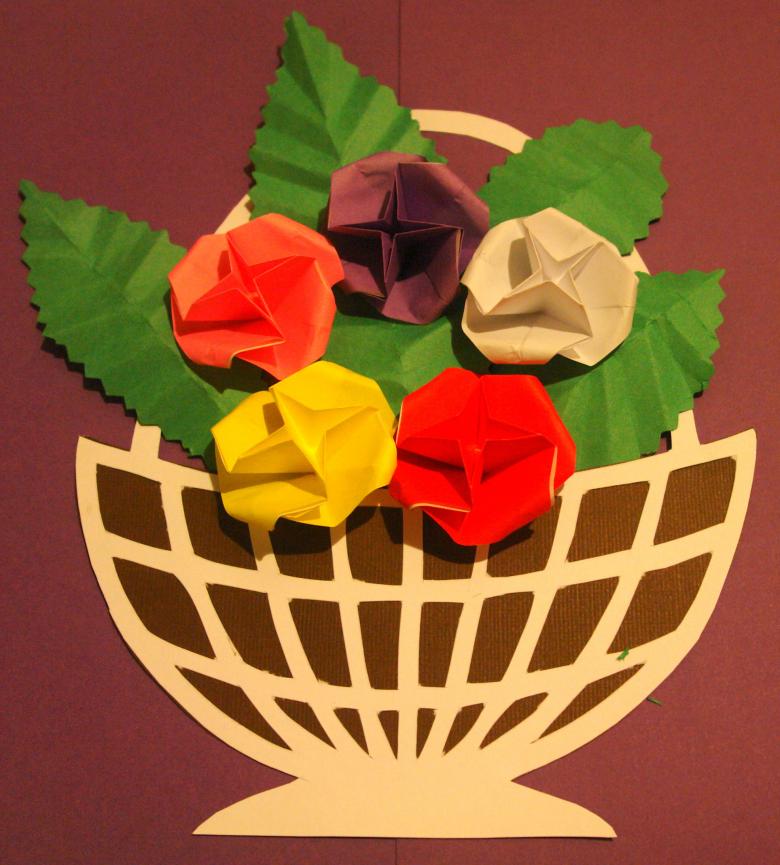
Basket of flowers
Create a story applique, not as difficult as it seems. With this task, with the help of parents, even the smallest kid can cope with it.
You will need:
- colored paper;
- stencil;
- cardboard;
- glue;
- pencil.
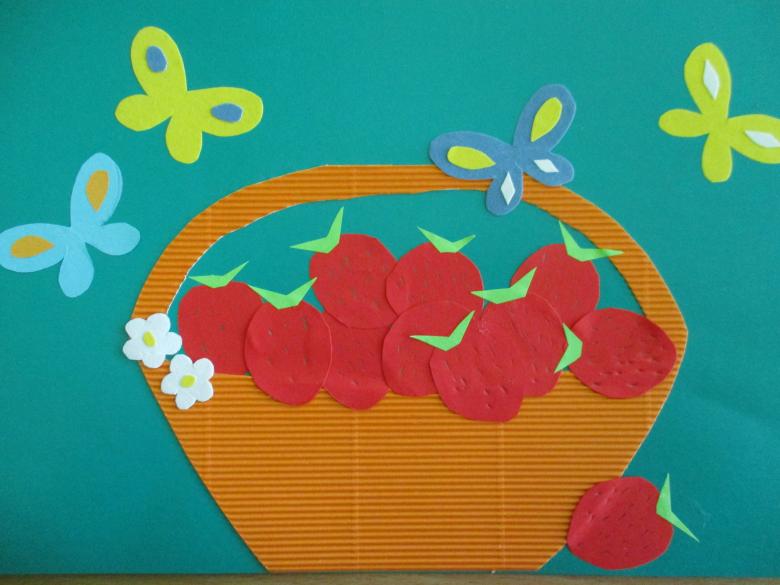
Process of making
- Cut out the basket from the paper, having previously drawn it on the back of the sheet.
- The finished basket is glued to the cardboard.
- From different colors of paper, cut out circles of different sizes. Some should be smaller and others larger.
- In the center of the circles we put a pencil and press the paper to it, wrapping it around it. This will make the flowers on the basket volumetric.
- Without removing the paper from the pencil, dip its end in glue and press it to the basket in the right place. Then do the same with a smaller circle and glue it in the center of the first circle.
- We do an unlimited number of flowers and put them in any place.

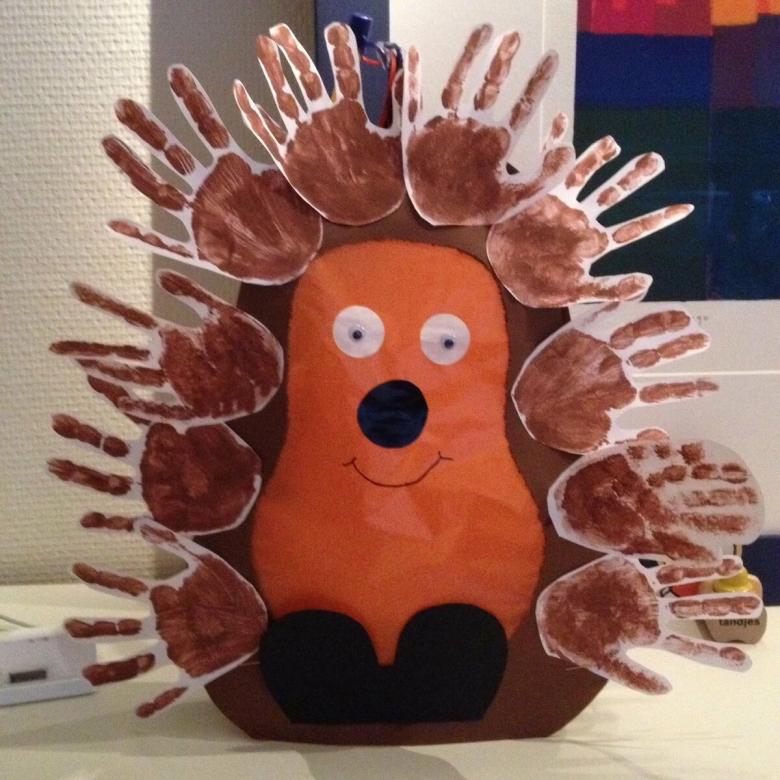
Making a hedgehog out of palms.
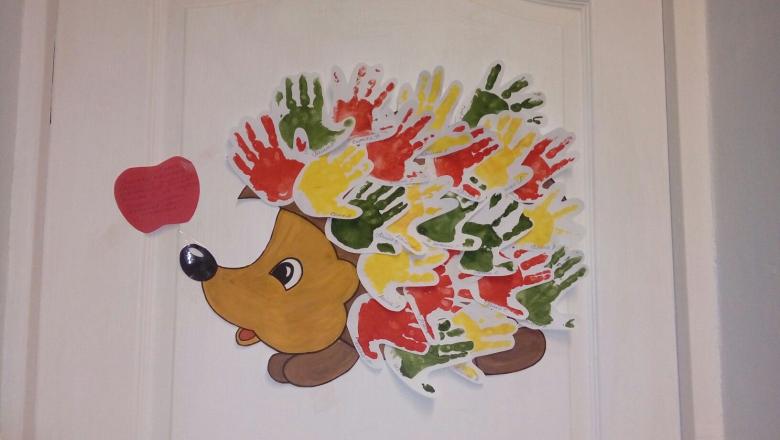
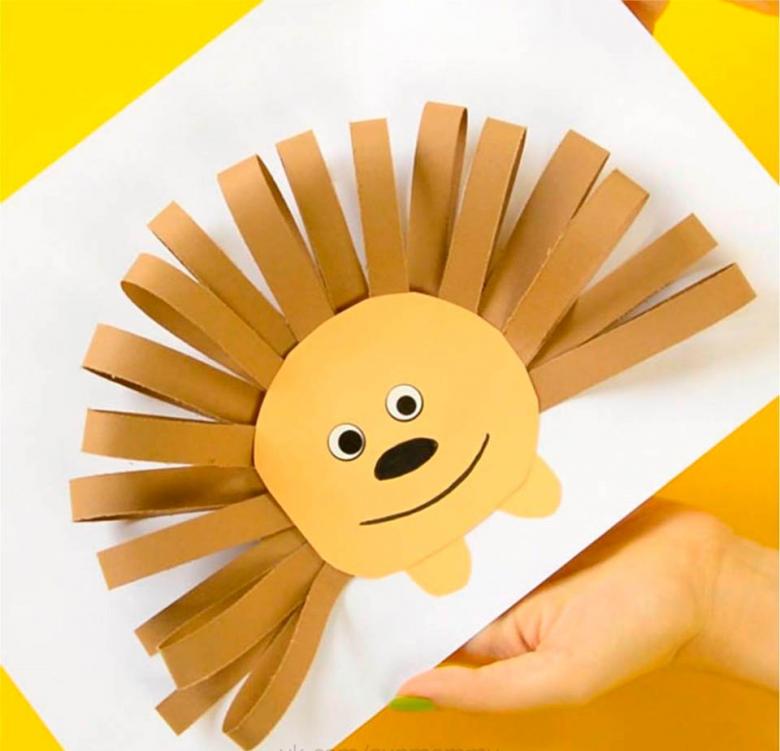
To make a hedgehog out of paper, you need to prepare. To do this, put your baby's palm on colored paper and trace it several times and then cut it out. Or take finger paints, paint your baby's palms with them and offer the baby, put a few prints on a white sheet in different directions and then cut out the resulting trace, which will become the needles for the hedgehog.
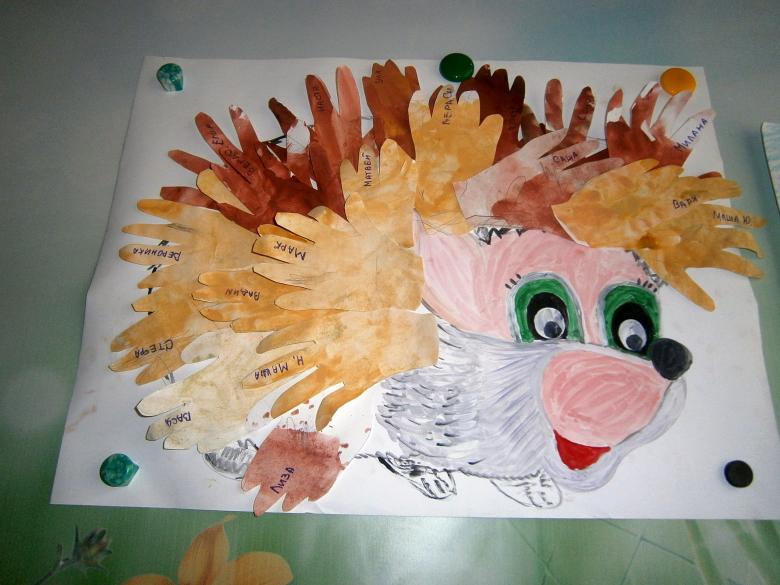
When everything is ready, we take a sheet of cardboard, glue, scissors and begin the creative process.
- Cut out a piece of paper like a boat and a small circle. Then glue the "boat" on cardboard and on one side, glue a circle as a spout. And then, above, place ready-made needles.
- Mouth and nose draw a pencil or cut out of red paper semicircle as the mouth and circles of white paper for eyes. For greater effect, do not forget about the pupils from the circles of black.
- To be more interesting, think of a story that happened to the hedgehog. For example, he comes back from the forest and carries apples and mushrooms on his back. Then we cut out what we came up with and place it on the hedgehog's needles.
- All created image, complete the hedgehog legs, cutting them out of paper of the same color as the needles.

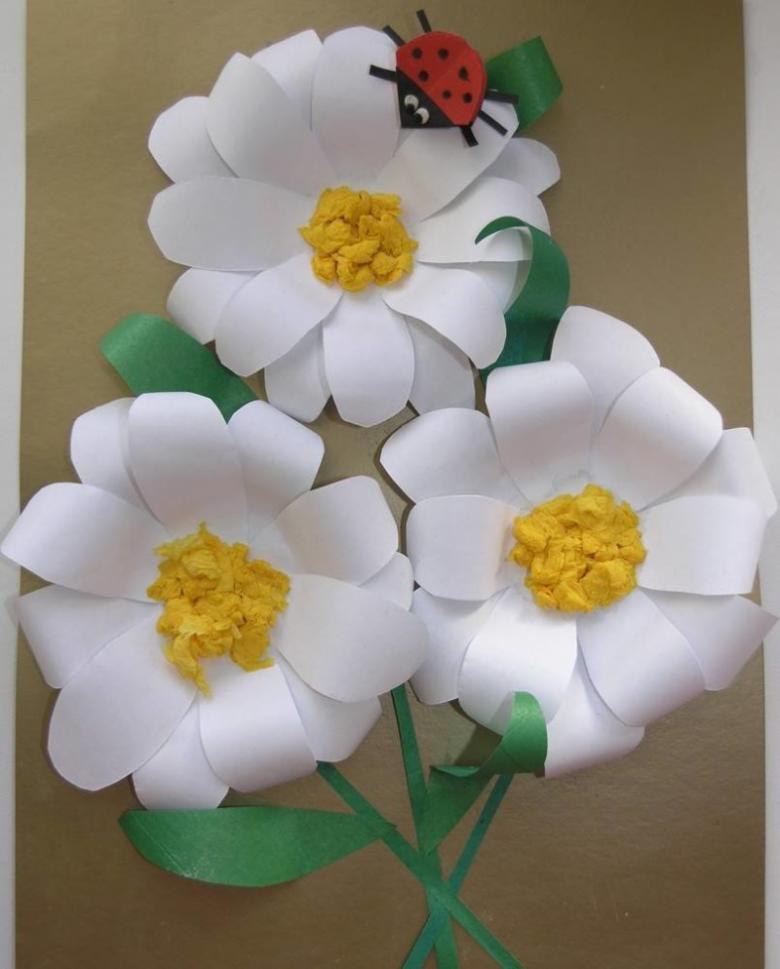
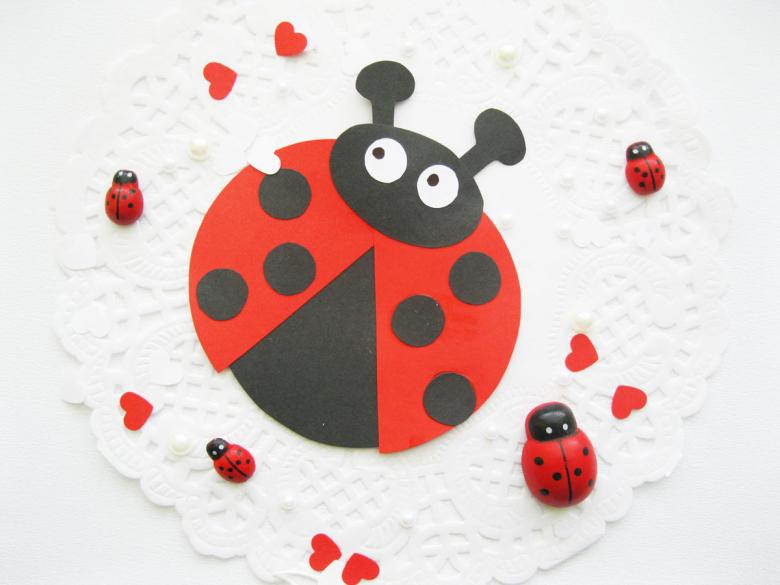
Ladybug
This applique is very simple to make, but despite this, it looks bright and beautiful.
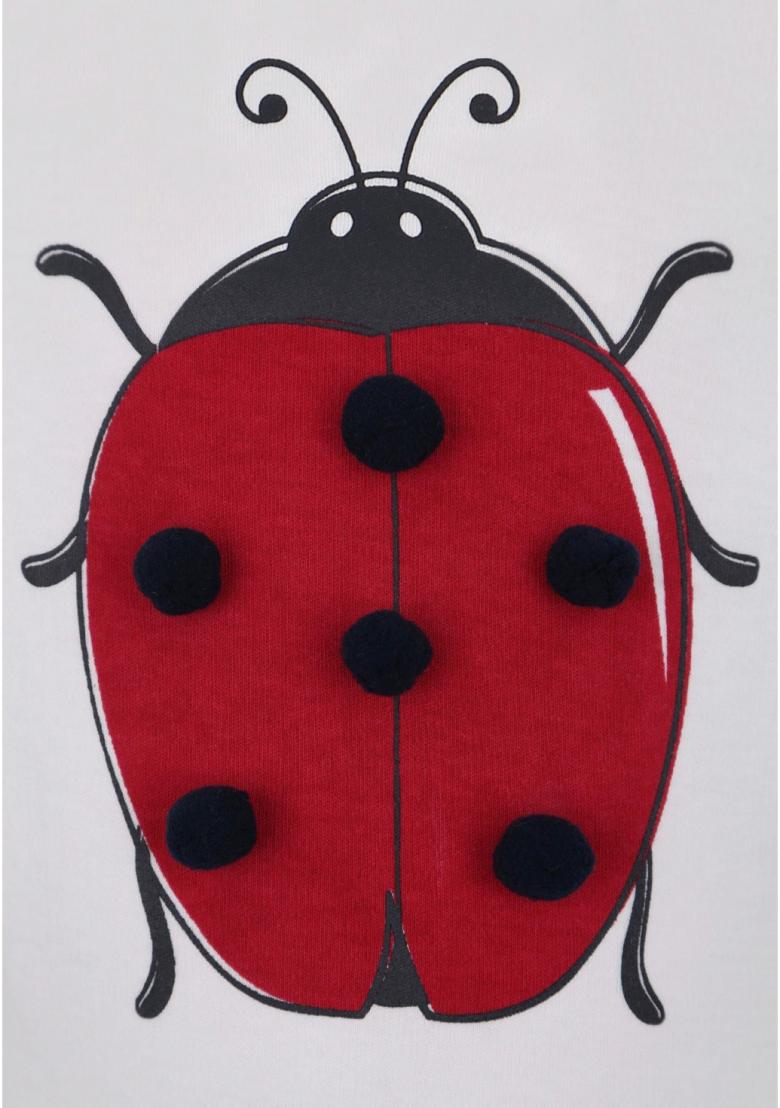
The process of implementation
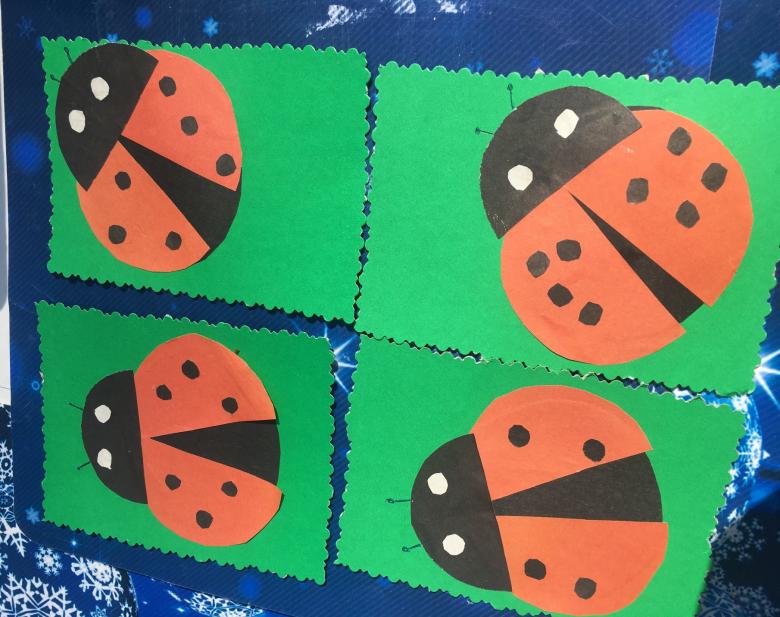
- Take red paper and cut out two circles. And with black paper we take two semicircles.
- Fold the circles in half and glue one to another on the fold line, and glue a black semicircle as the head of a ladybug.
- Cut out small black circles and glue them to the red circles that serve as the body.
- Eyes are made of white and black circles, where white larger size glue under the bottom, and small black circles on top.
- In conclusion, we make a mustache of paper or drawing them with pencils.
Lilacs .
This will be a scrappy applique giving the children a special pleasure.
- Take cardboard and color it or glue a sheet of colored paper on top. This will be the background of the applique.
- Draw a vase and cut it out, glue it on the cardboard at the bottom of the sheet serving as a background.
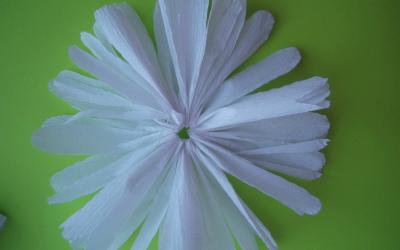
- Take corrugated paper, cut out of it thin strips and make them into stems.
- Take colored tissues, cut out the future form of the inflorescences and glue them over the stems.
- A few more napkins, cut into small sized pieces, tear them with your hands and crumple them.
- Then we apply glue to the ready form and glue each crumpled piece, placing them as close as possible one to one.
- From the same paper as the stems, cut out leaves and glue them.
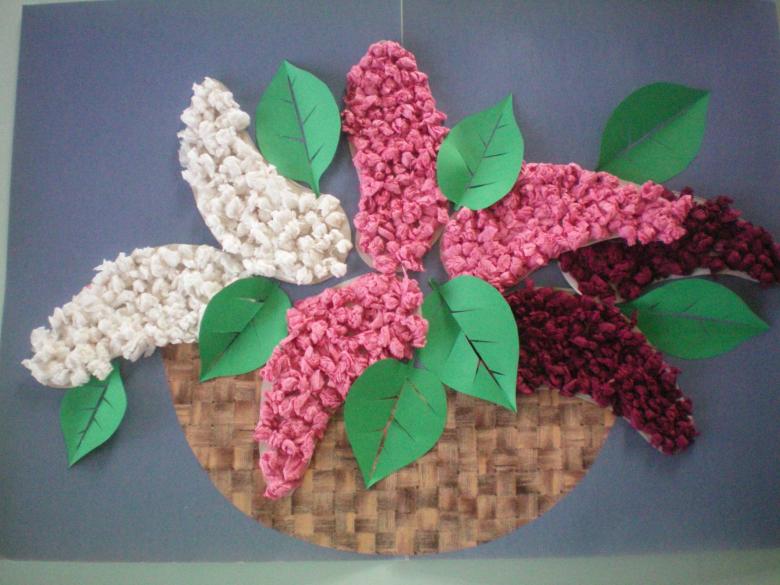
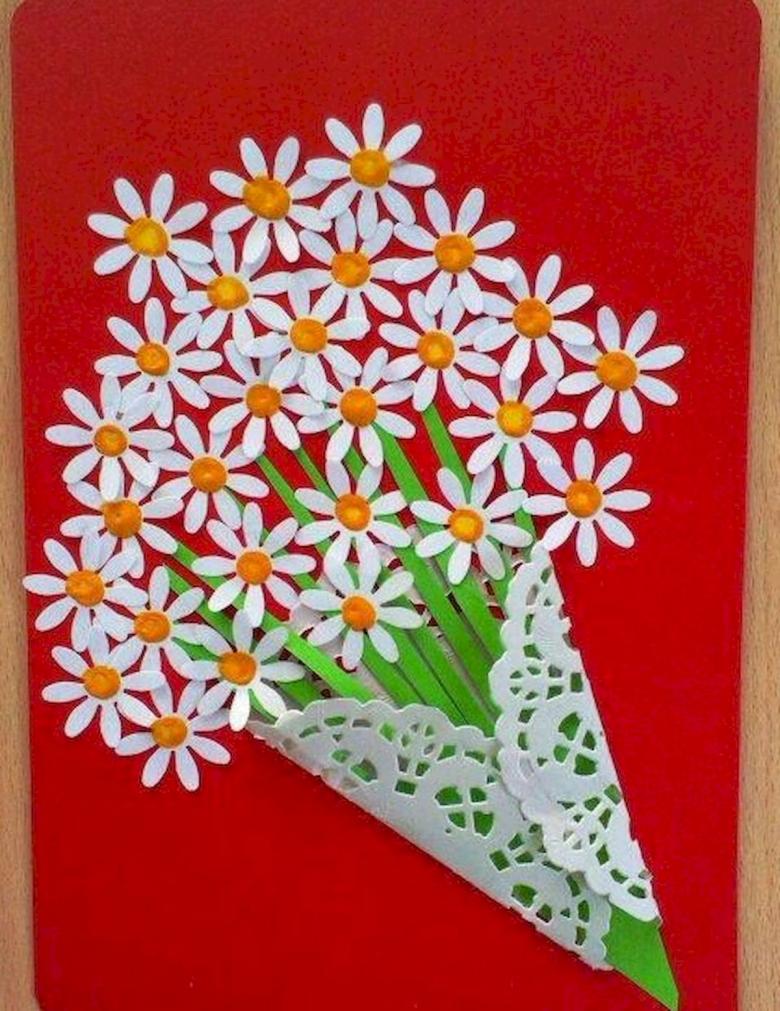
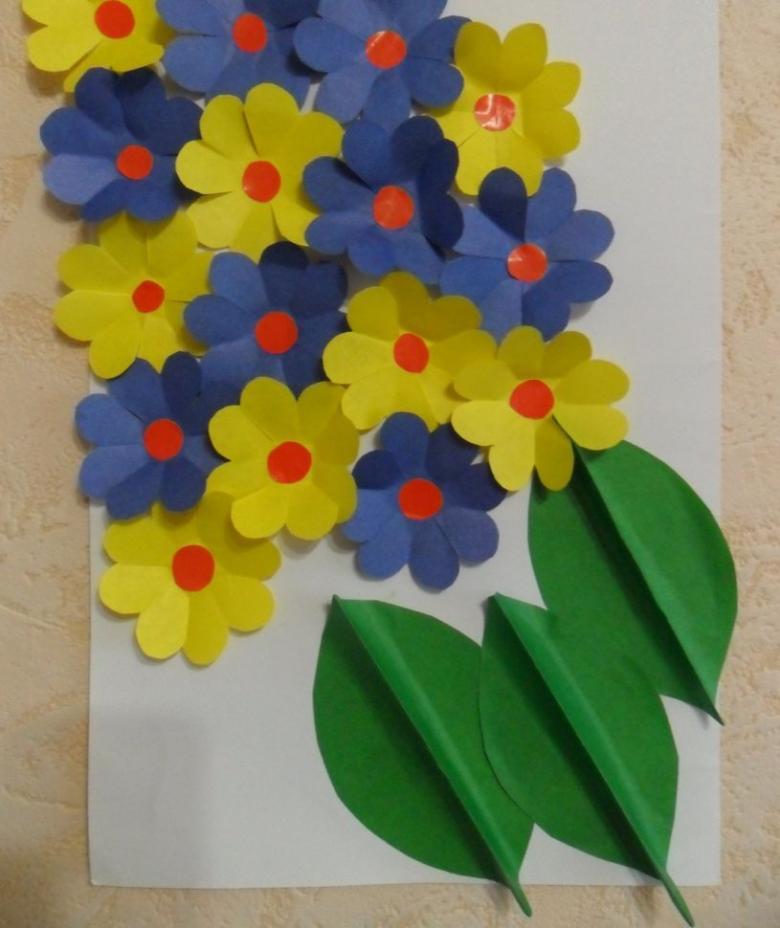
Bouquet of flowers
This is not a simple application, but a whole construction, which can be put on a shelf. To create a bouquet, of materials you will need glue, scissors, paper and a pencil, to create templates.
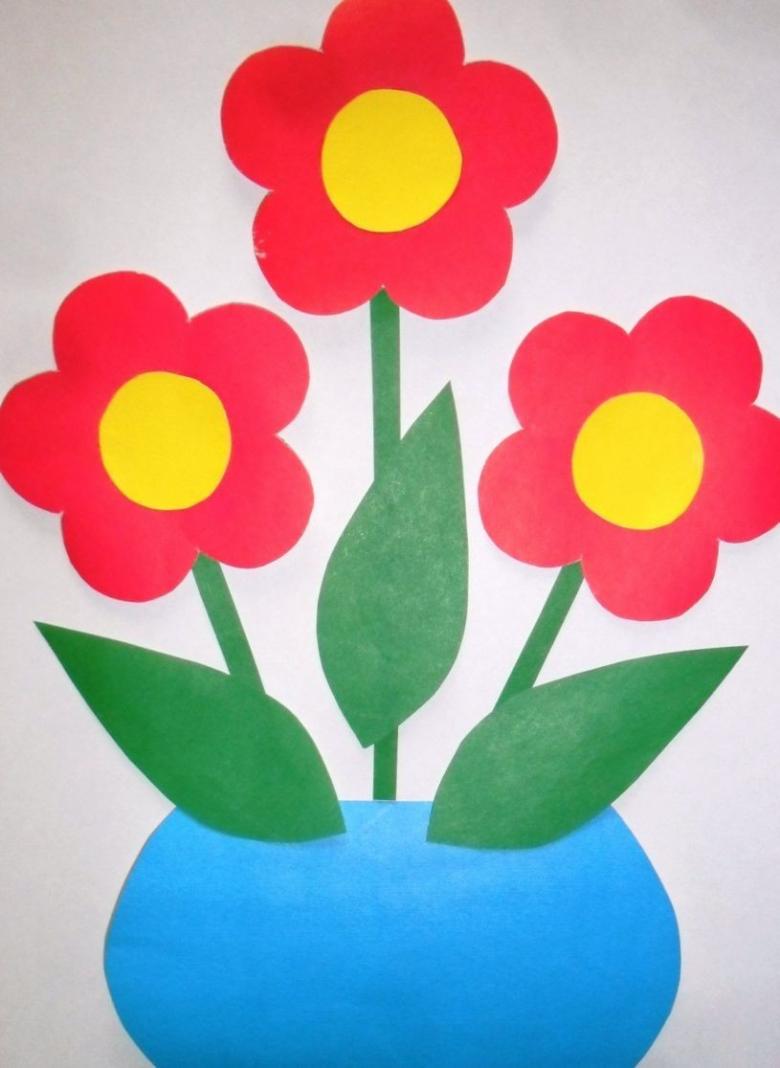
Step by step instructions
- Roll the green leaf in half and start making cuts, from the curve to the edges, 2 centimeters from the end of the leaf.
- Roll the sheet into a tube and glue the edges.
- Put the resulting structure and move the edges apart, this will be the leaves of the bouquet.
- Draw a pencil flowers and cut them out with scissors. Do not forget about the middle and make them in different colors.
- Glue the flowers on the edges of the leaves and done.

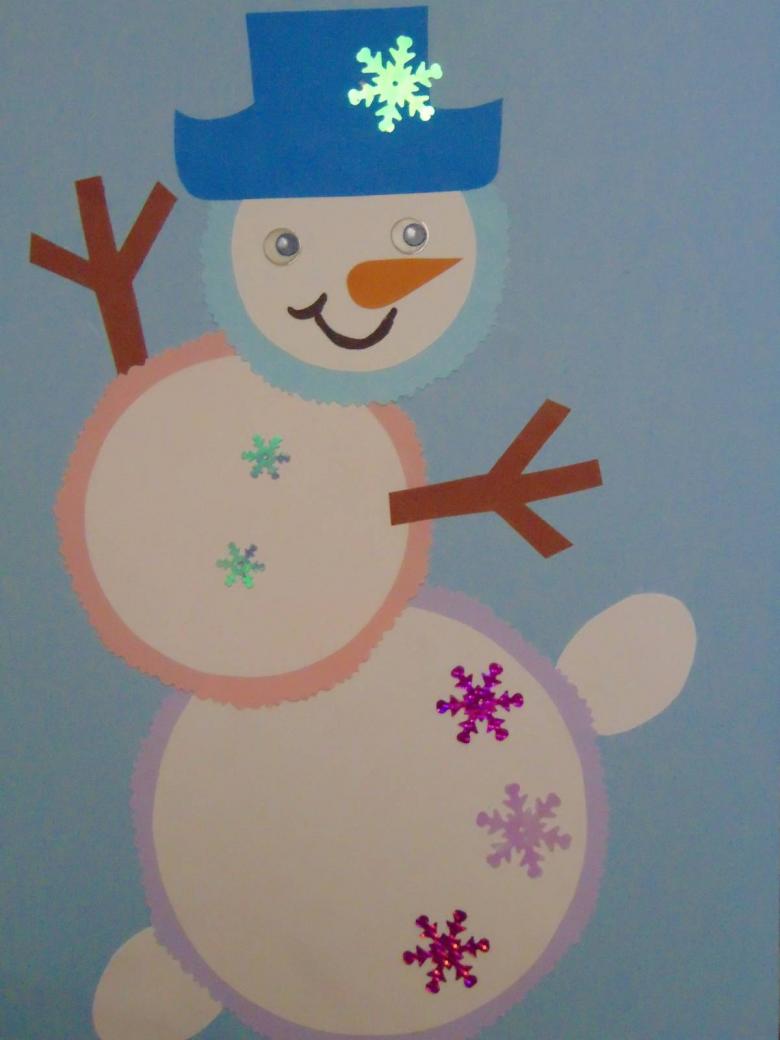
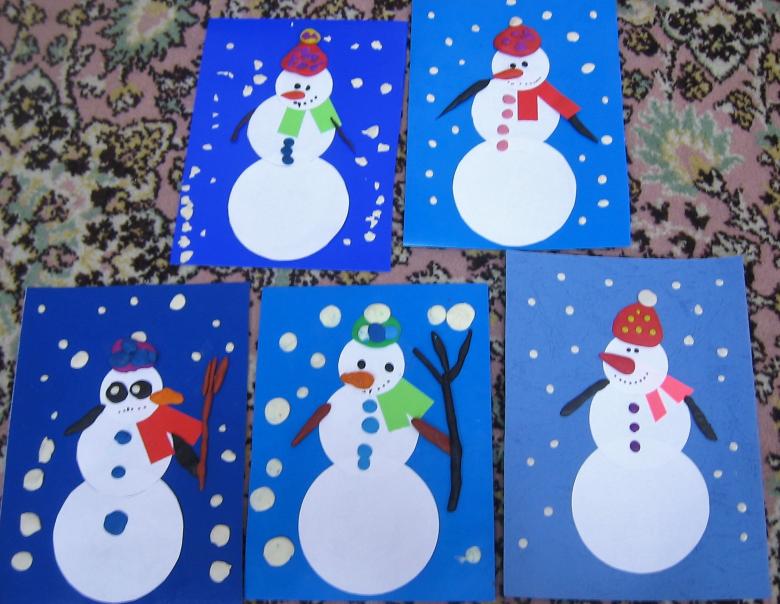
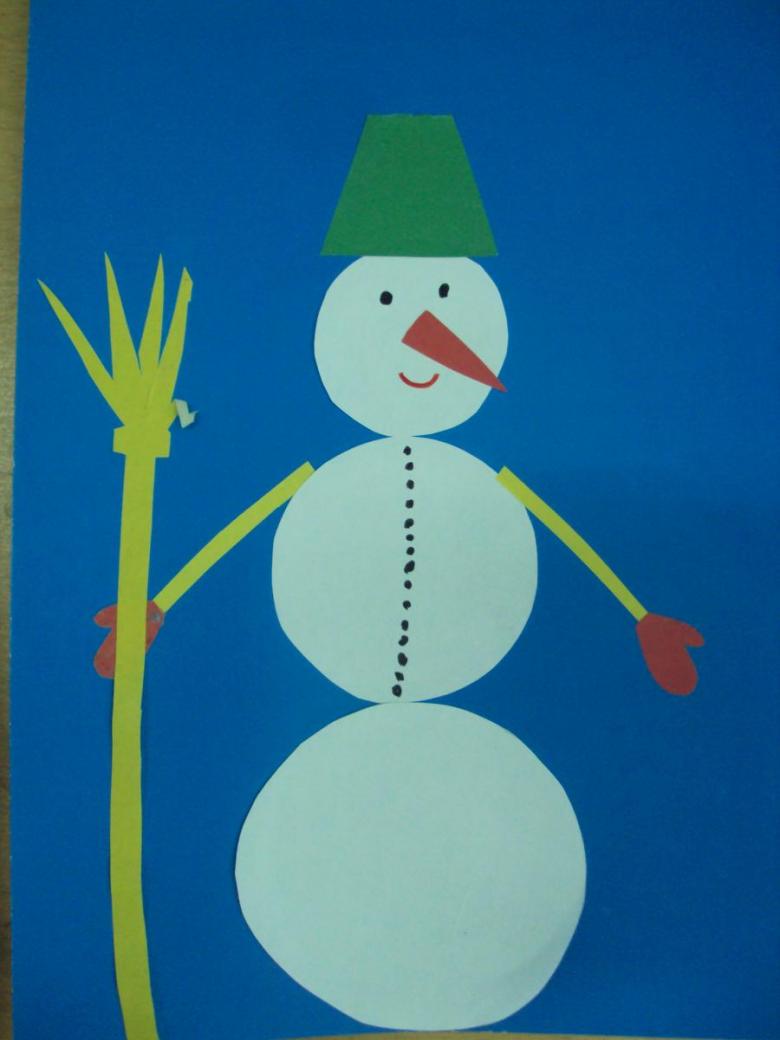
The Snowman .
Now, we propose you to make a cute toy on a Christmas tree of paper.
- Draw two circles on a white sheet of paper in the form of a figure of eight and cut out two such templates.
- Take a piece of string, fold it in half and smear one template with glue.
- Put the rope on it so that the bottom is separate parts and the top is a loop, and glue the second template on top.
- On the two strings at the bottom, put a bead and fix them with a knot.
- Draw 16 circles of the same size, the same diameter as the previous ones in the template.
- Fold them in half and glue 8 pieces between the halves.
- The resulting figure is glued to the bottom of the snowman. Do the same on the other side.
- Nose, eyes and mouth, drawing with pencils or make colored paper.
- Complete the image of a cap of paper and make a scarf of crochet thread. The snowman is ready.
Glade - detailed master class
In this applique there will be several compositions. Initially, its elements are created, and then, they are glued to the paper.
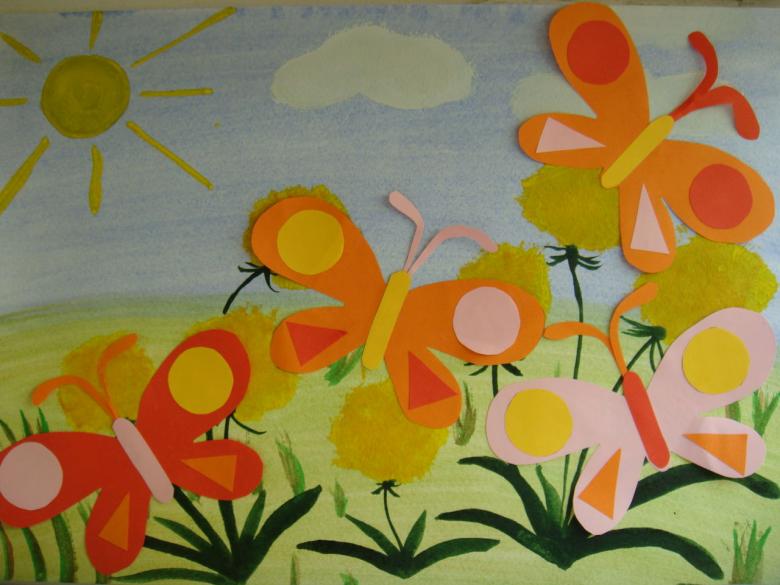
As the basis of the application, we take a sheet of blue cardboard and start making elements of the glade. Blue cardboard is the sky. The method of accordion make grass, the sun, a dragonfly, a butterfly and flowers.
- Grass. Strip of green width of 5 cm fold into the type of accordion and under an acute angle, we do a cut on one side.
- Flower.Strip width of 4-5 cm stacked as an accordion and connect the edges with glue. We obtain a volumetric flower. Stems are made from strips of green paper.
- Butterfly. Two squares (one smaller, one larger) of different colors, fold and round the edges with scissors. Connect them with a strip and spread the wings of a butterfly.
- The sun. In the upper corner of the glue yellow triangle. We take the strip and fold it, making one side of the cut at an acute angle. So we have rays.
- Dragonfly. We make two blanks. One - a figure eight of circles, the second - a drop. Glue them to the cardboard. Fold the square and connect the center of the strip, then straighten and we have the wings.
- All blanks glued to the cardboard base and get amazing meadow.

As you can see, there are many options for applications, and these are not all that can be done with a child. So, take the necessary materials, connect your imagination and do creative work together with the baby, developing a child and playing with him at the same time.

