How to make a model rocket - master classes of paper, origami and plastein
Young homeland defenders, on the eve of a wonderful holiday dedicated to men who are ready to defend their homeland will be able to show their creative skills by making all kinds of themed crafts.
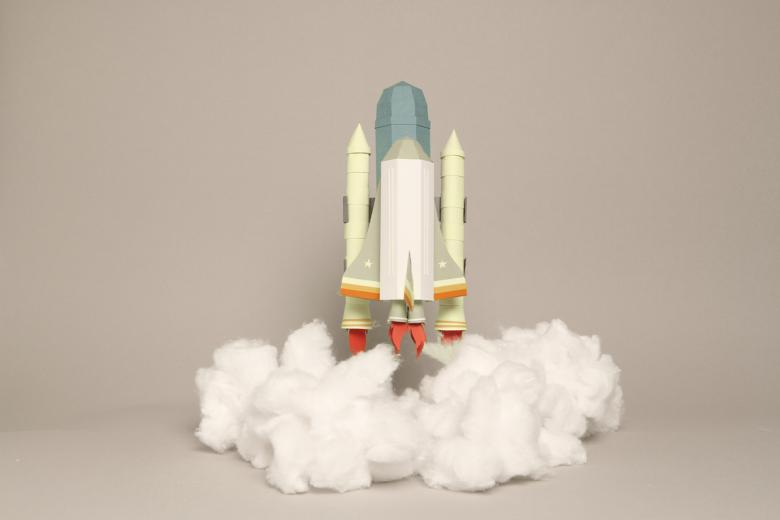
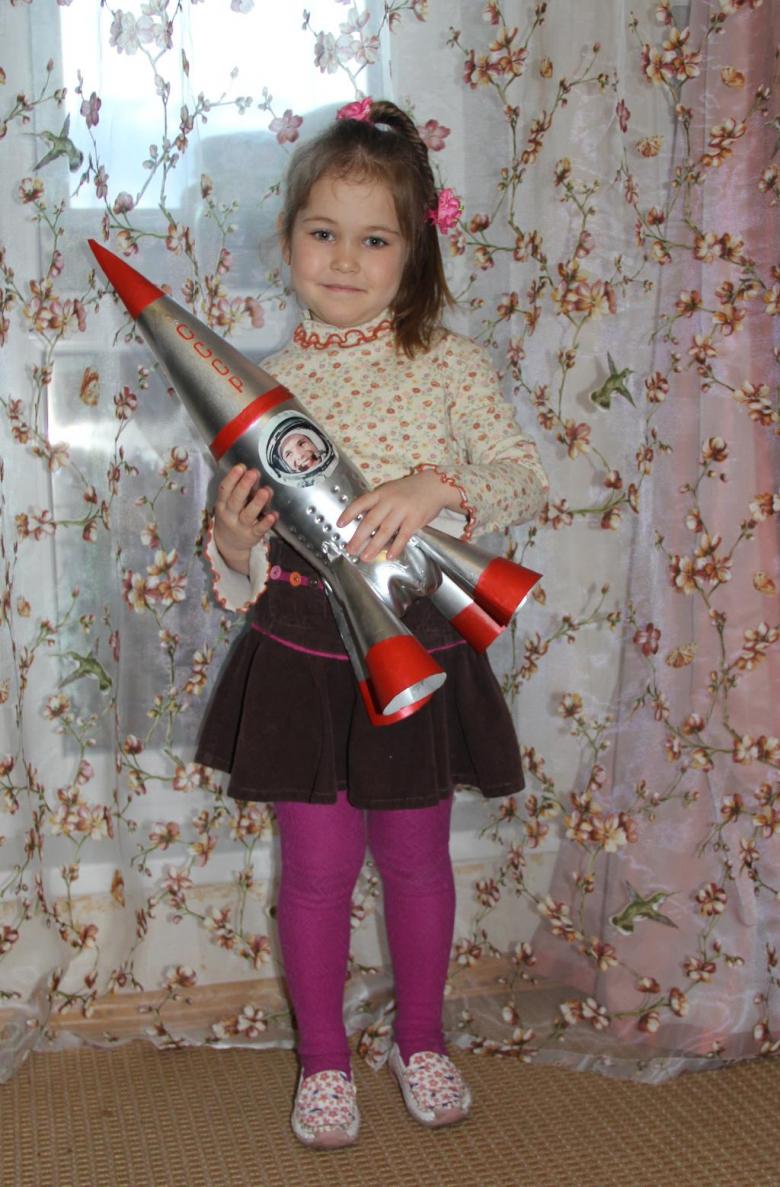
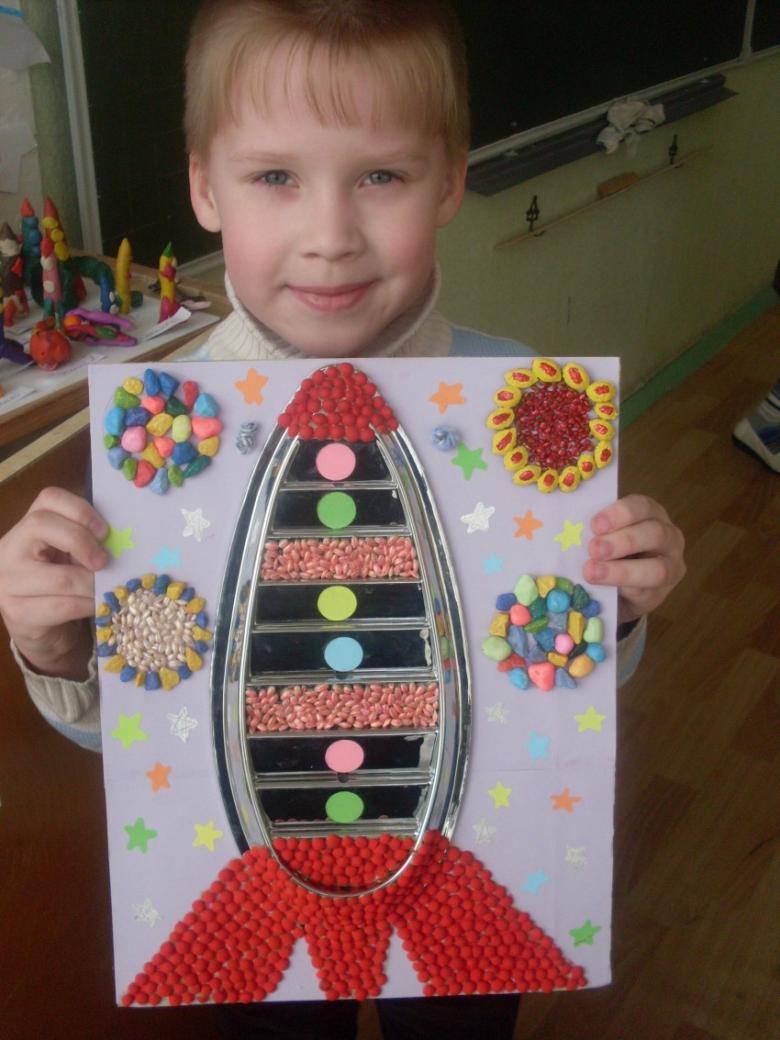
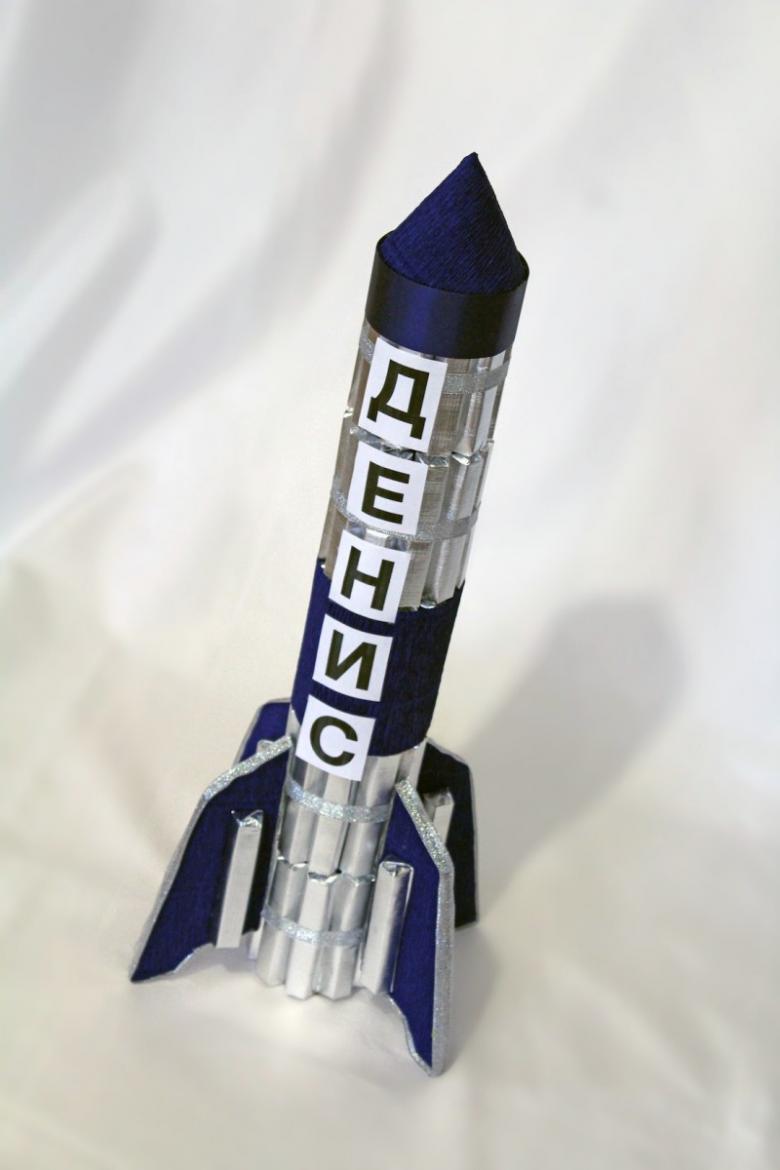
Rockets, and in general everything connected with space, for more than one generation are a good subject for the creativity of the youngest fans of science about the universe. Such crafts, prepared, for example, for the Day of Cosmonautics, can fuel a child's interest in the study of astronomy, and direct his energy in the right direction.
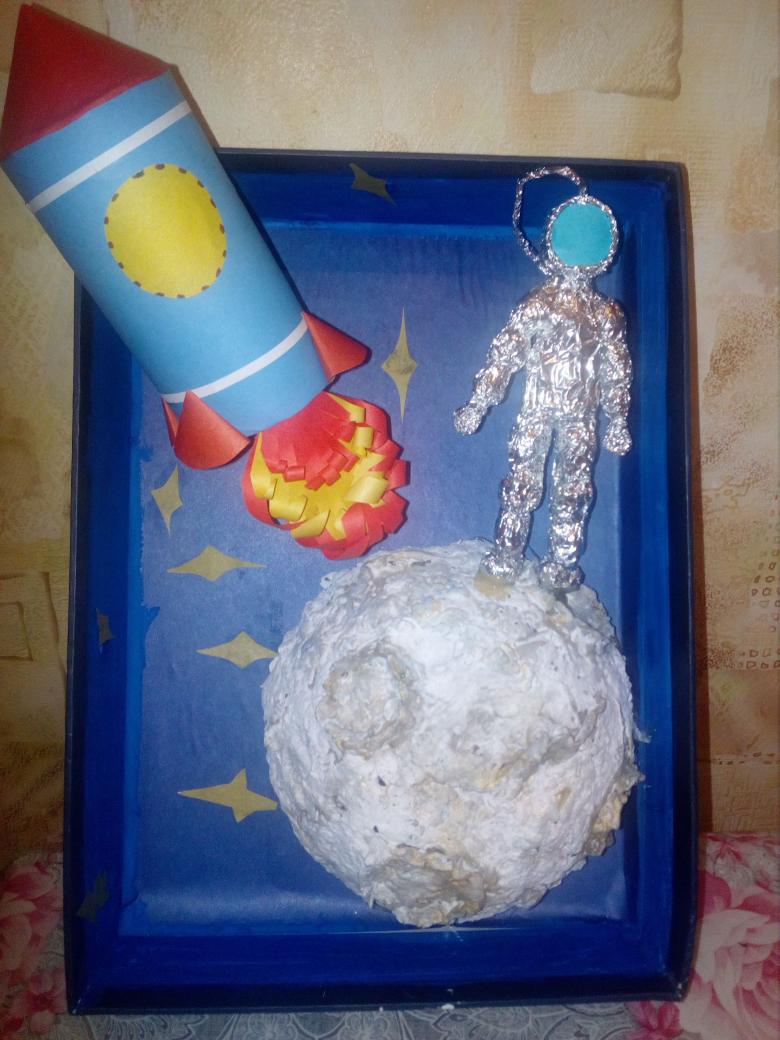
Various themed figurines, which you can make even with the youngest children, will be an excellent help in the all-round development of the child. After all, such an activity will have the most beneficial effect on the development of fine motor skills, and this will certainly increase the level of mental activity of the kid.
Making a space rocket of paper
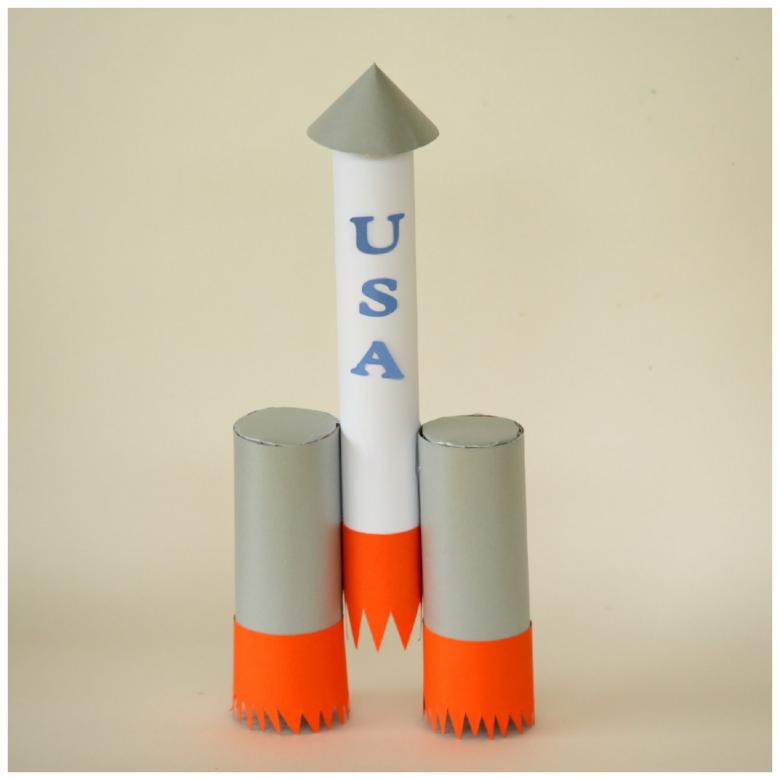
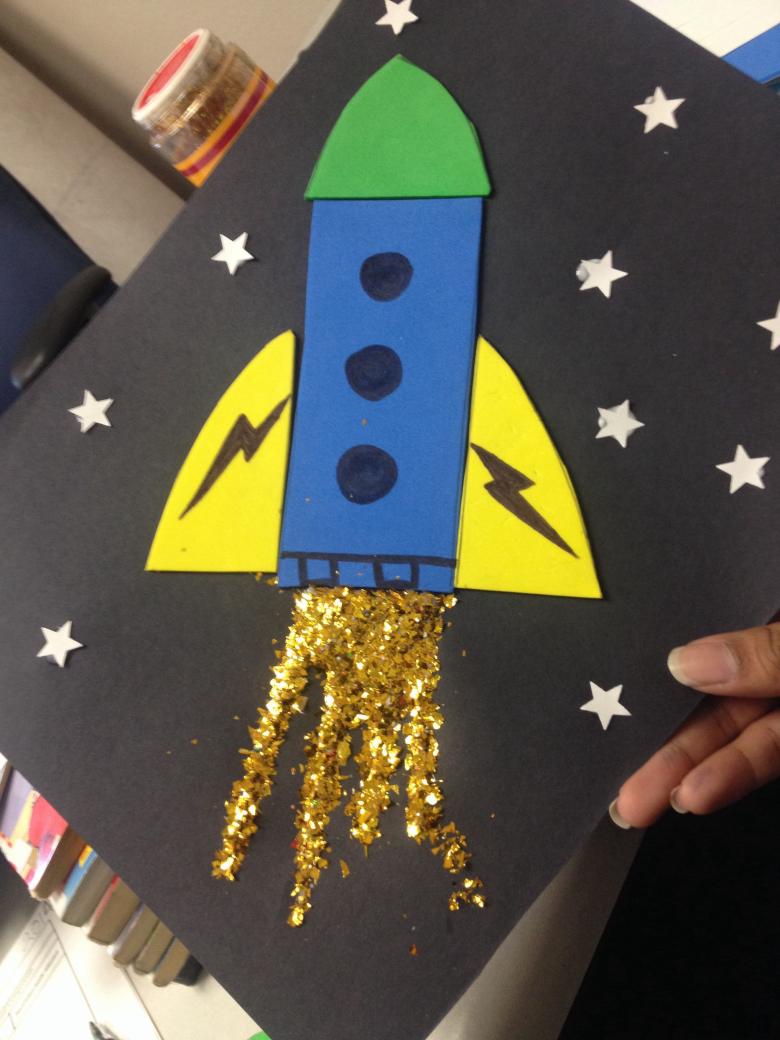
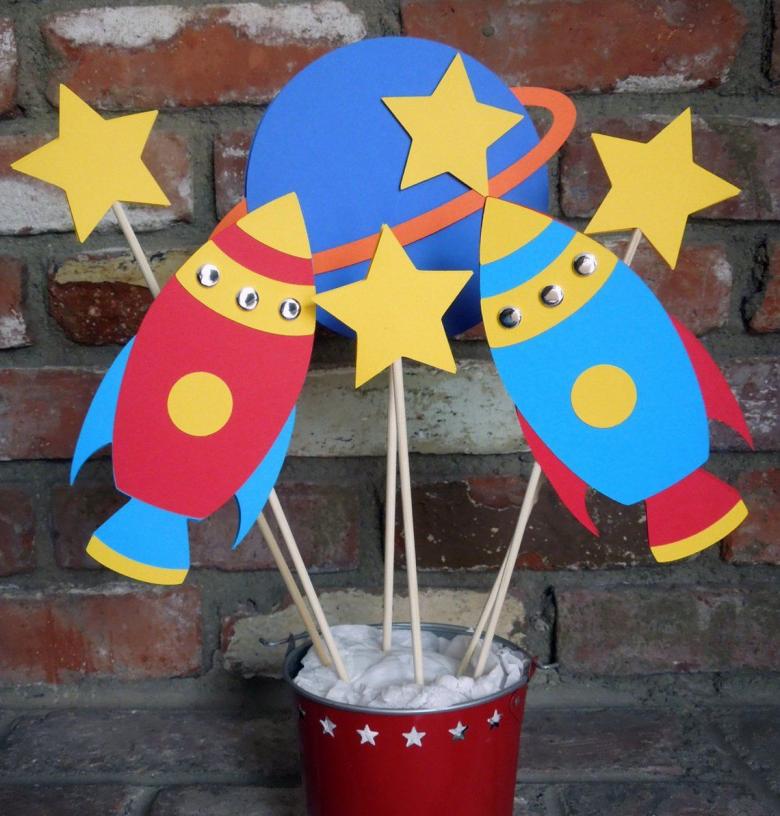
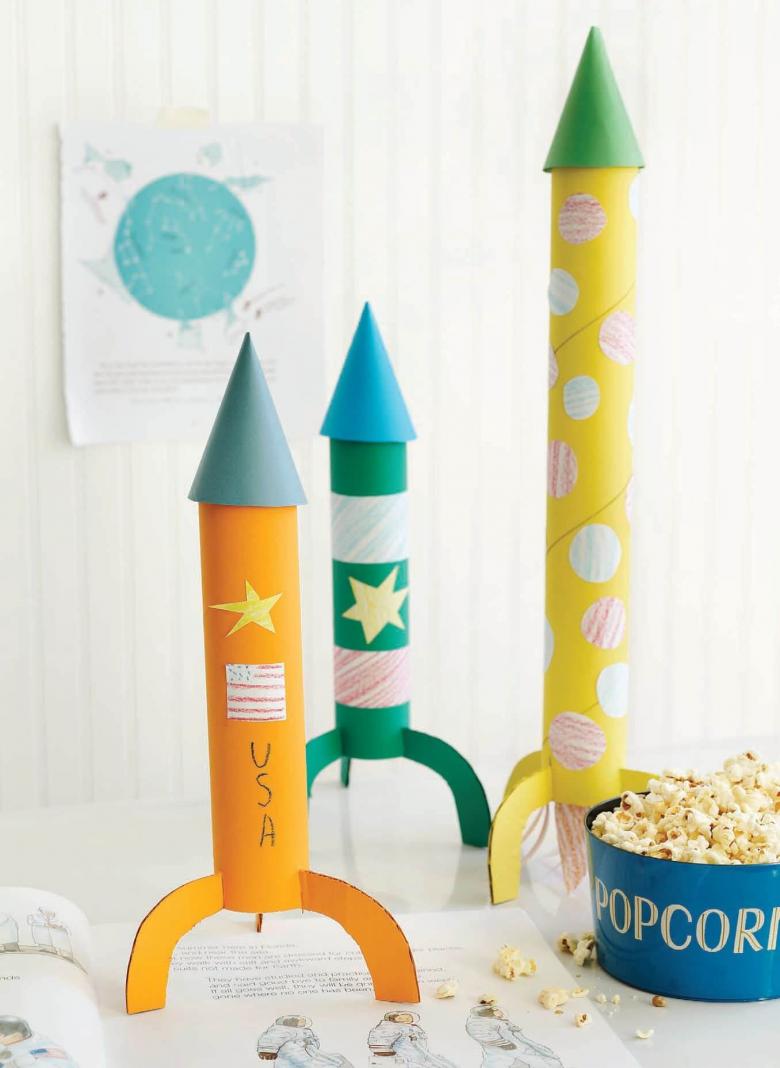
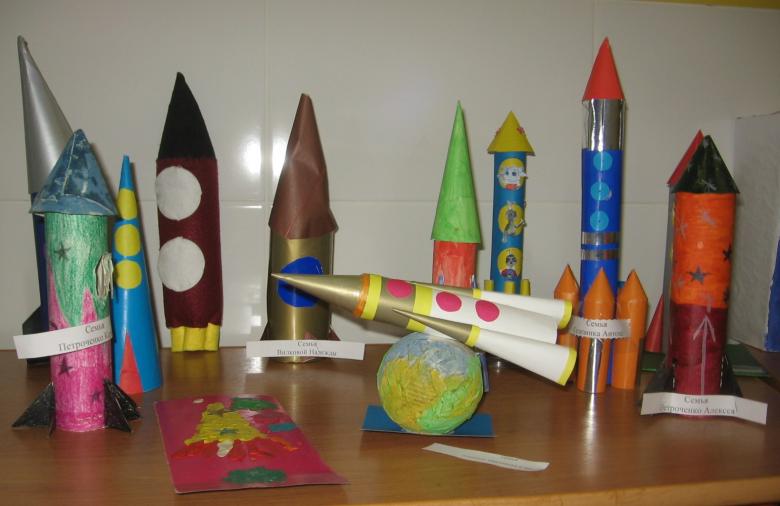
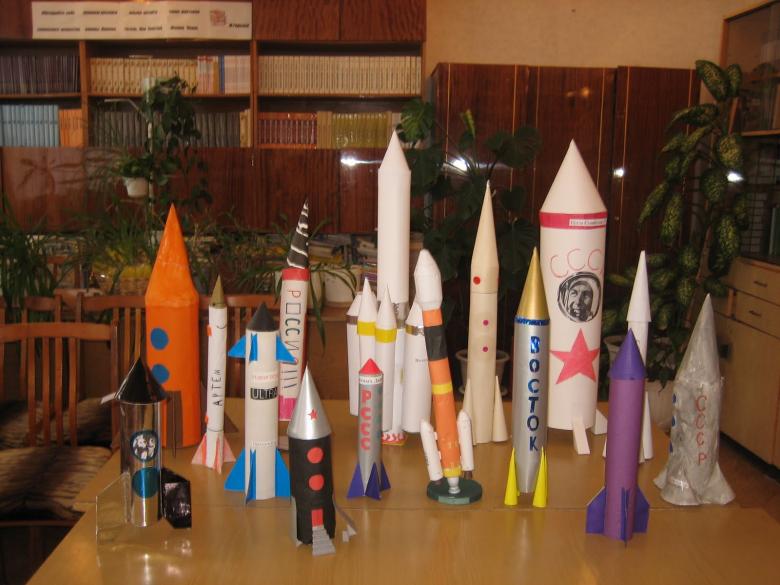
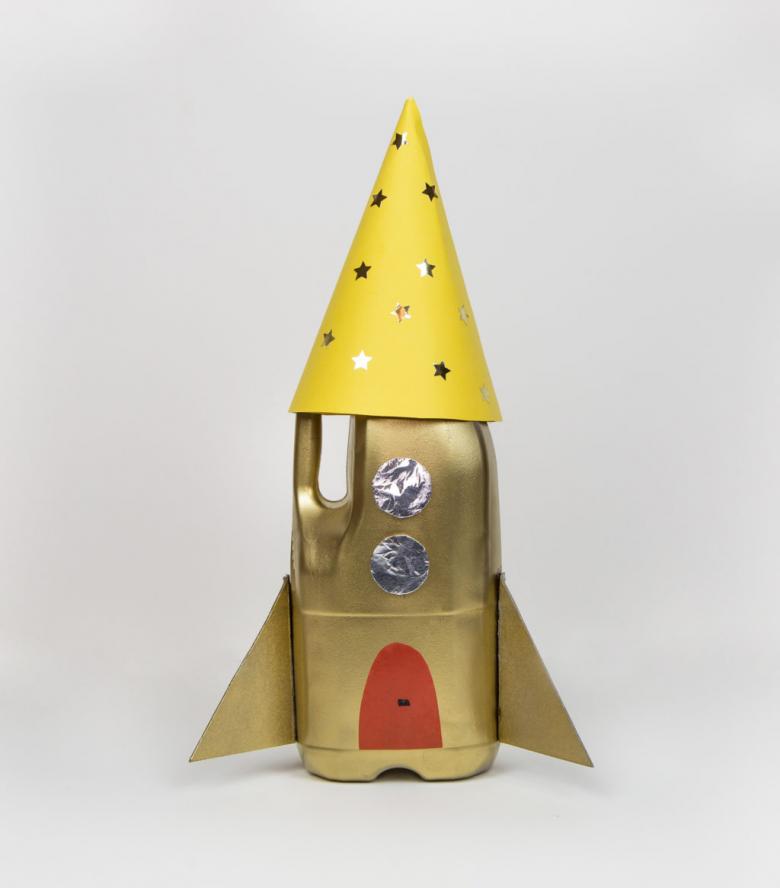
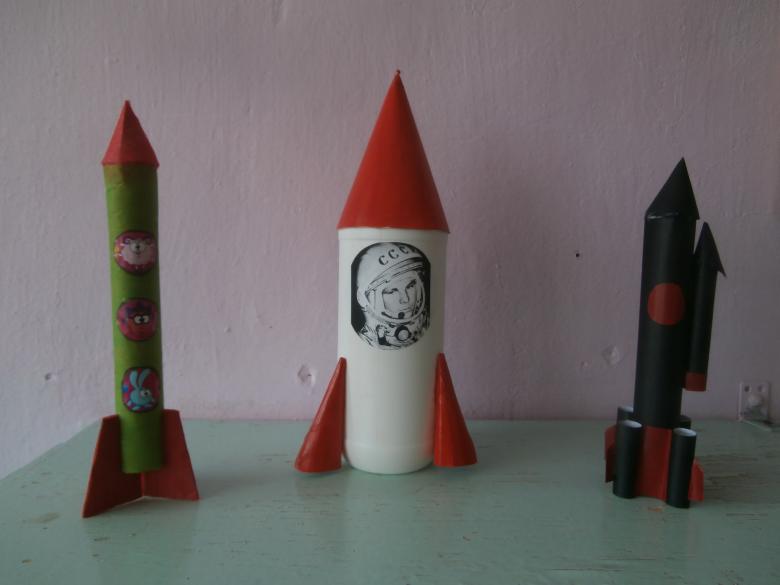
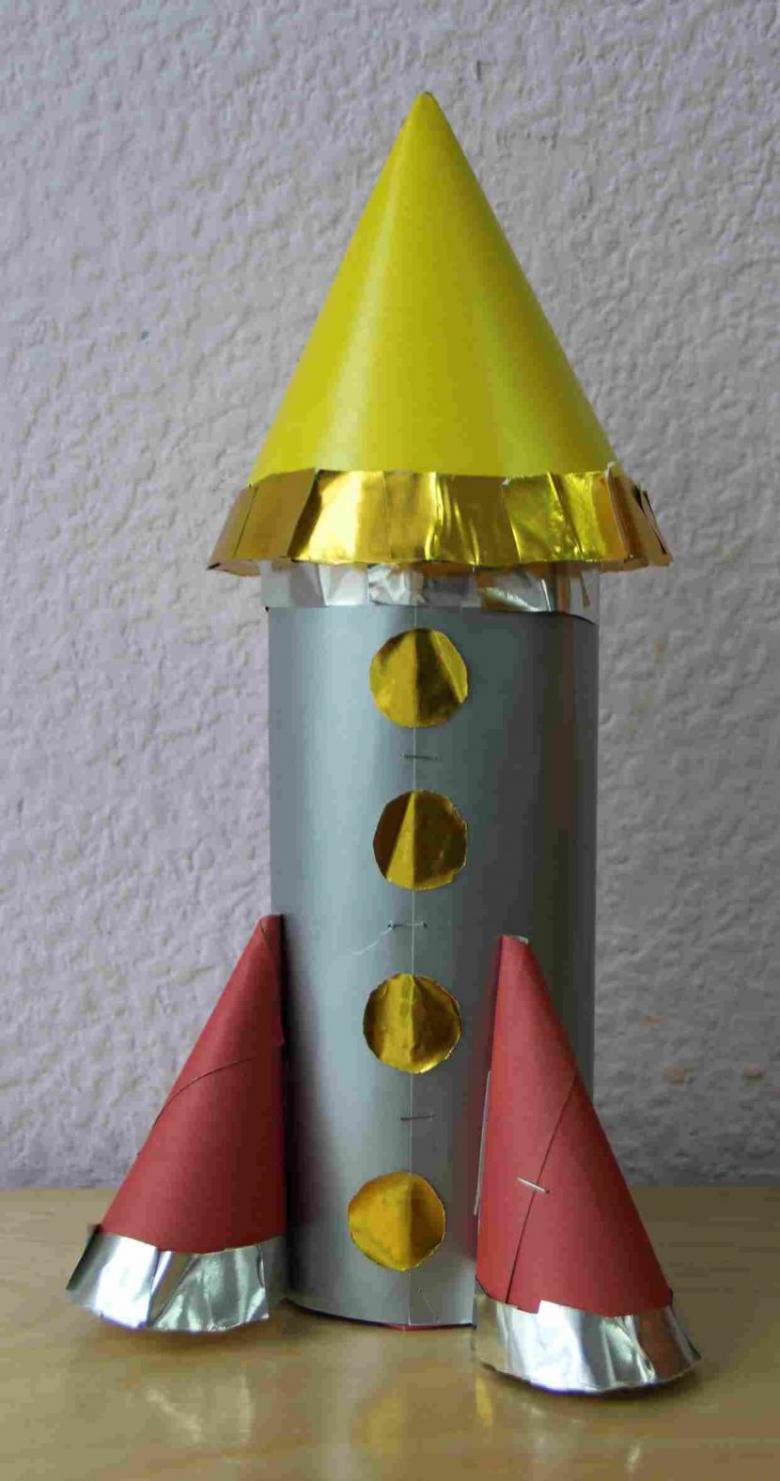
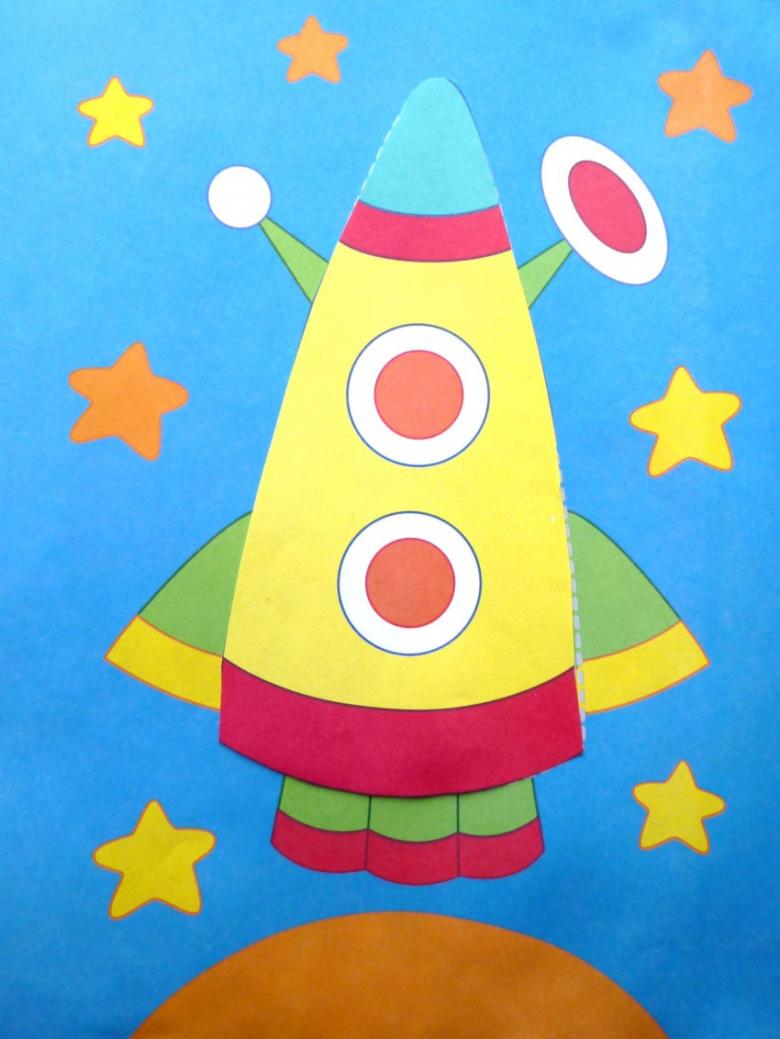
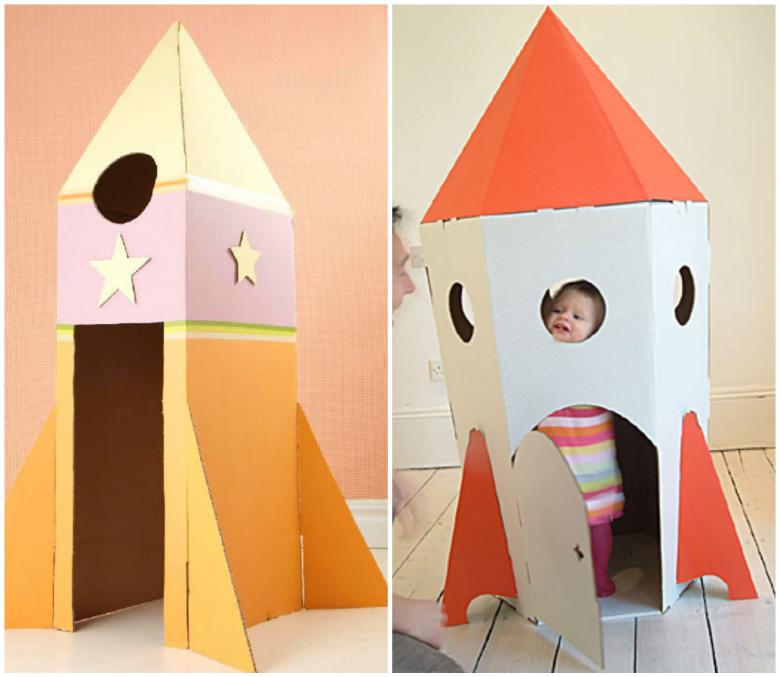
The simplest craft - a rocket made from paper, will be an excellent way to captivate children between the ages of five to seven years. Such a rocket the kid can give to someone from his loved ones, on a holiday, or use as a toy, getting a great joy.

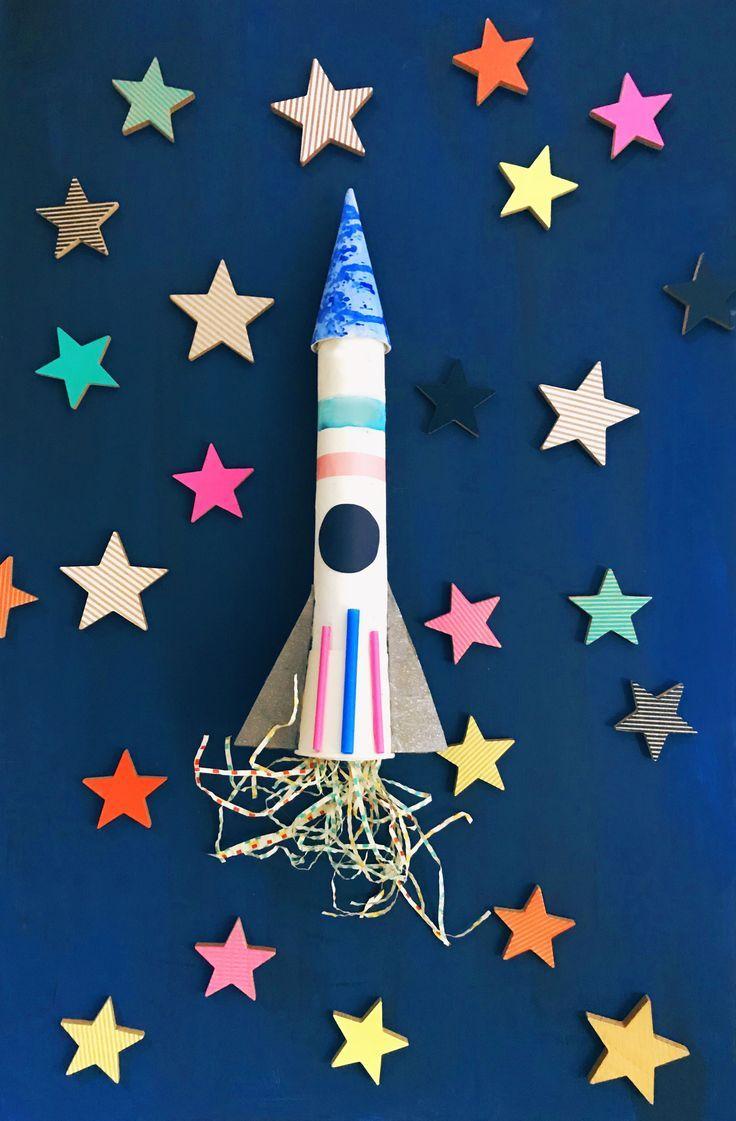
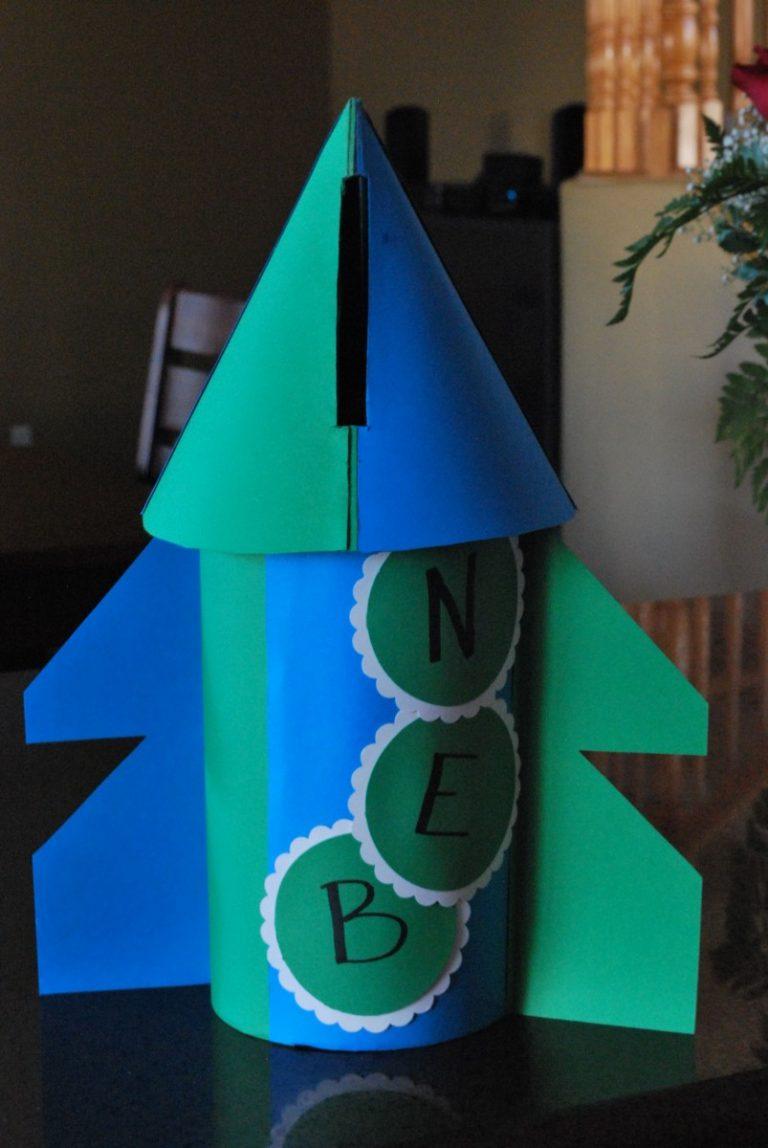
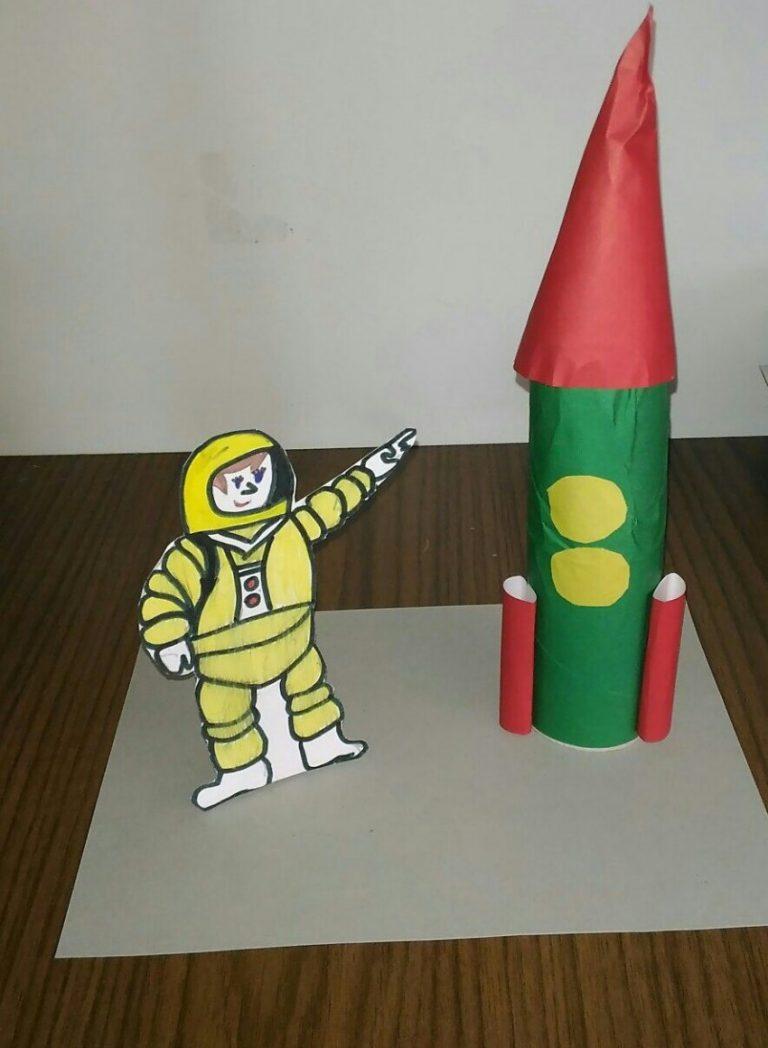
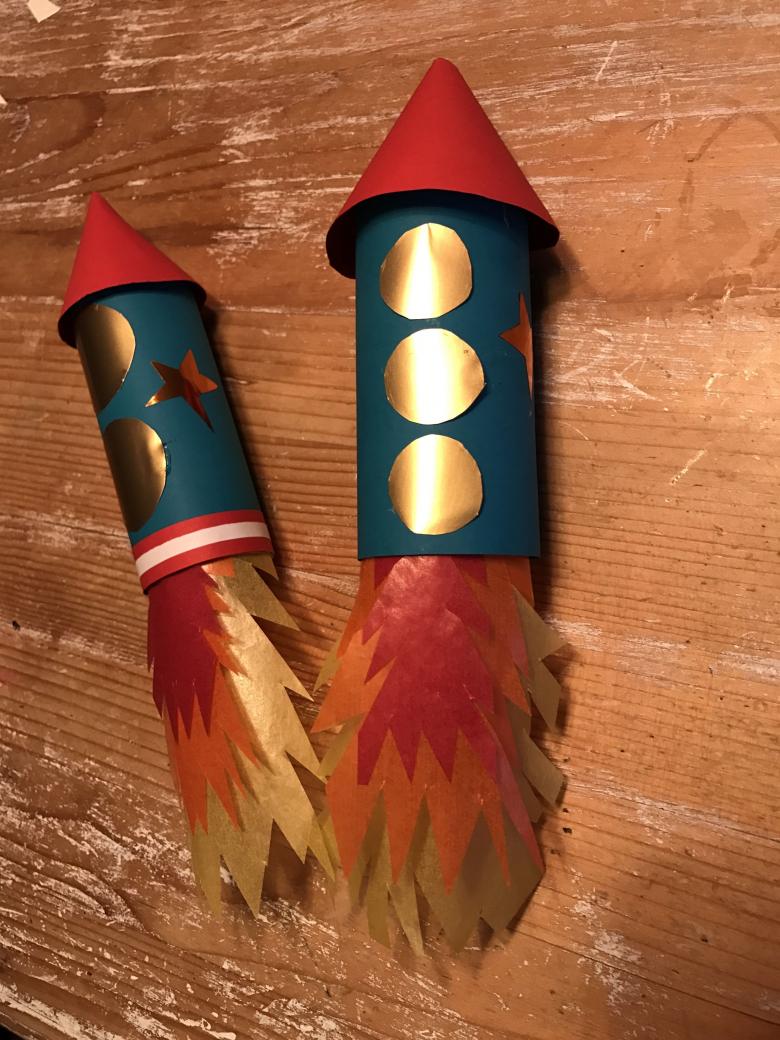
- To make a paper rocket, you need to double fold a piece of paper, the color of which is limited only by your imagination, and the imagination of the child. Next, using scissors, along the outlined line of the fold, the sheet is cut in half. One of the resulting parts should be rolled so as to form a cylinder.
- The sheet rolled into a cylinder, you need to fix with ordinary glue. The second half of the sheet of paper or cardboard will serve as the cone of the rocket. In the same way we roll it and glue it. The edges should be trimmed a little, so the handicraft will stand better.
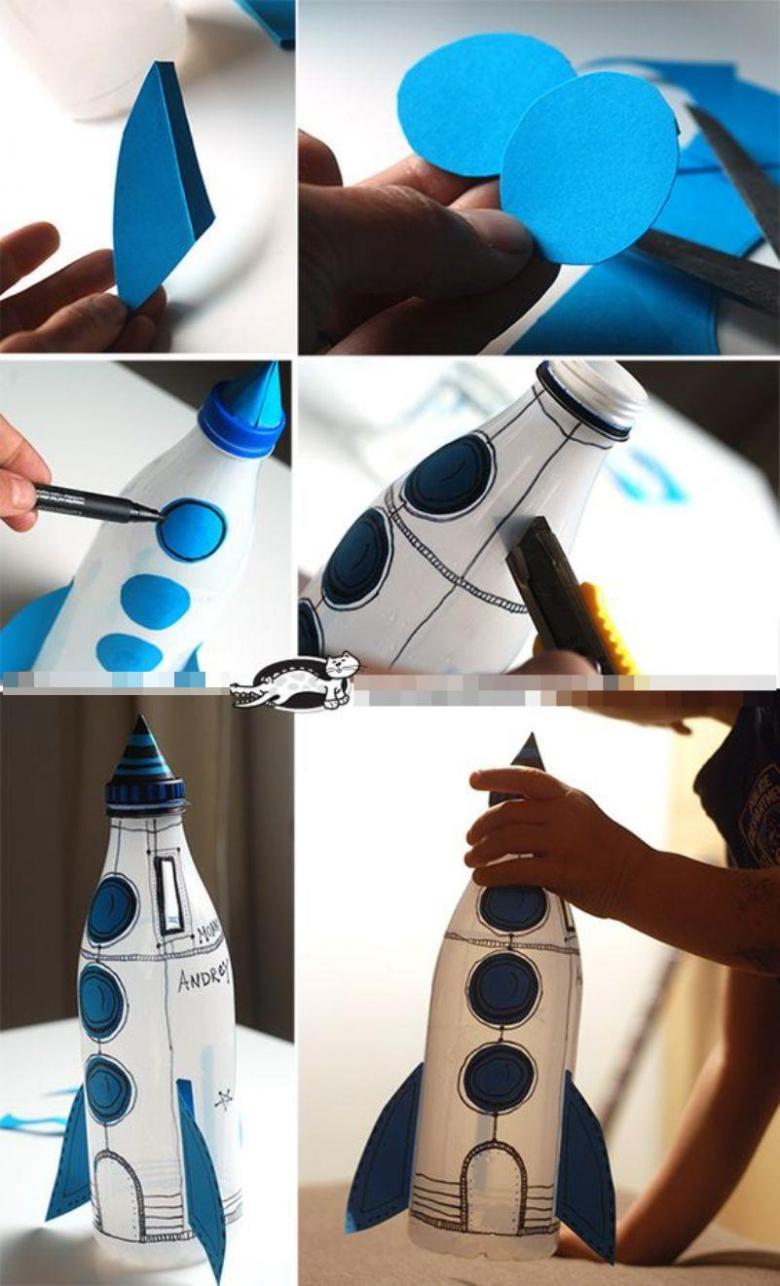
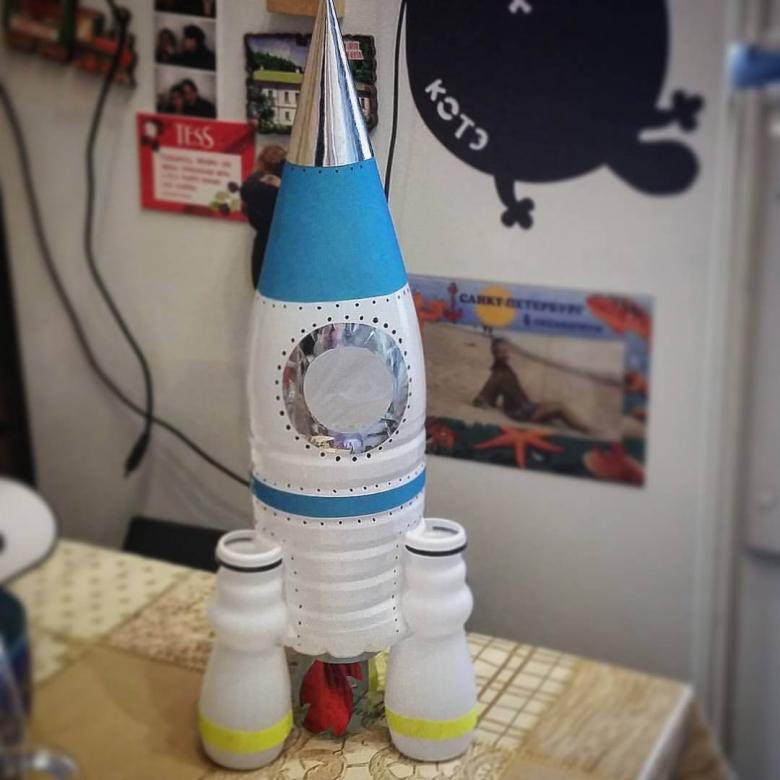
- Next, let's start making portholes. After all, as you know, no rocket can do without them! They can be made from three cut squares of plain white paper rolled into cylinders. On the paper it is necessary to draw a window for the rocket, cut it out and glue it to one rolled up cylinder.
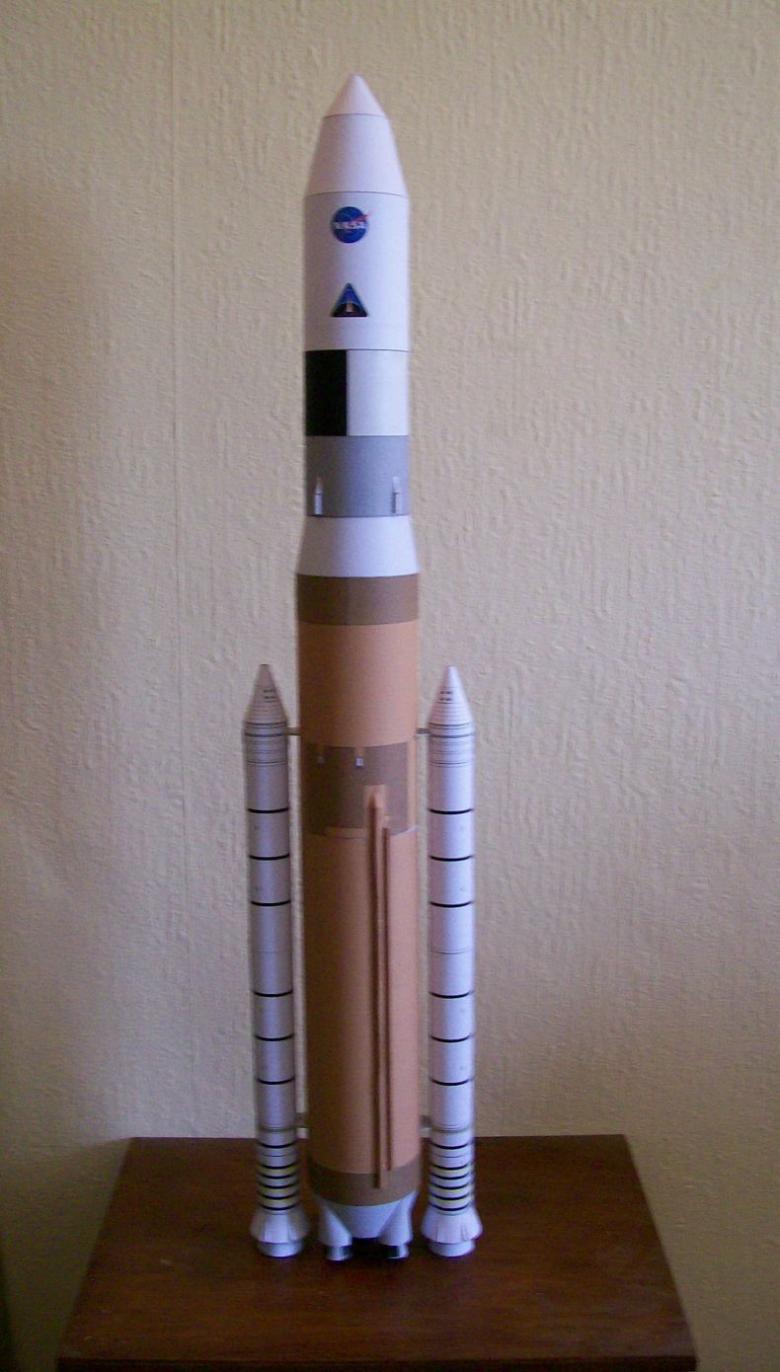
- Rocket assembly is to join all parts together. First connect the cone and the nose part, which can be fastened together with glue. Next, the tail part is formed. At the bottom of the large cylinder, you need to glue all three smaller cylinders. That's all, our rocket is ready to launch!
Making a rocket using origami art
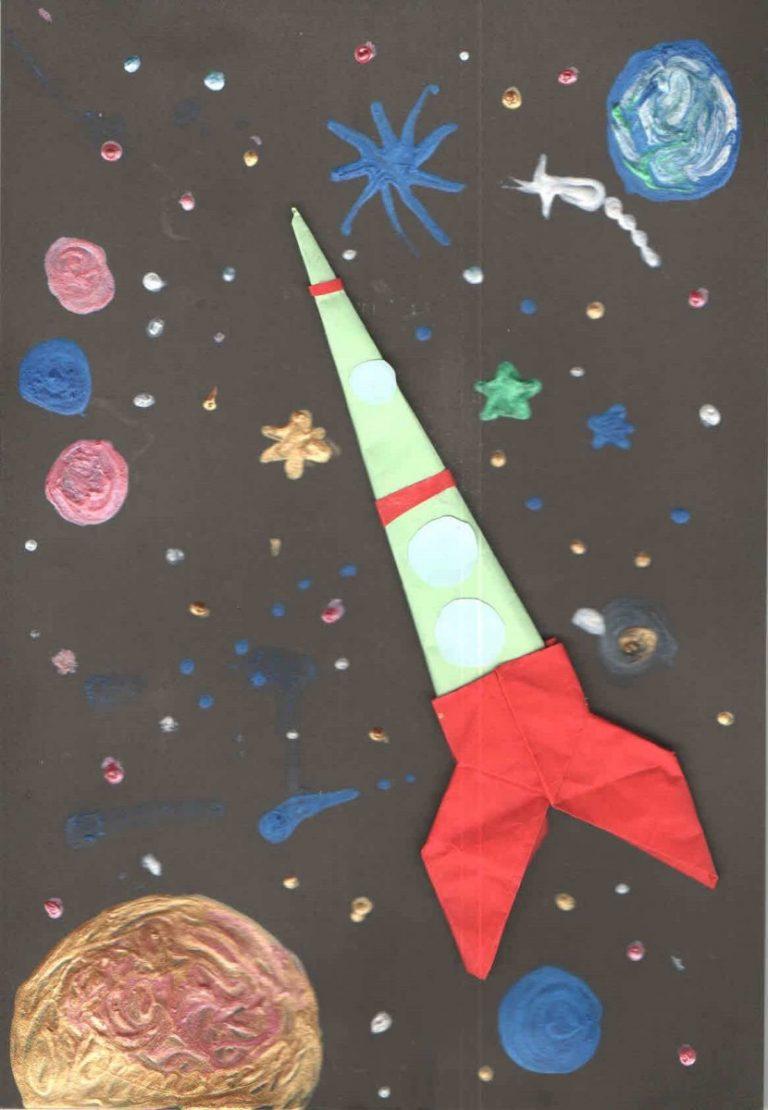
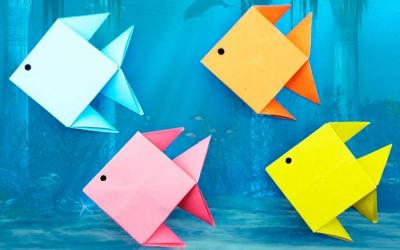
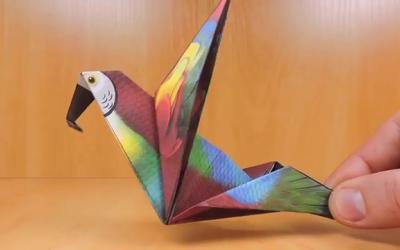
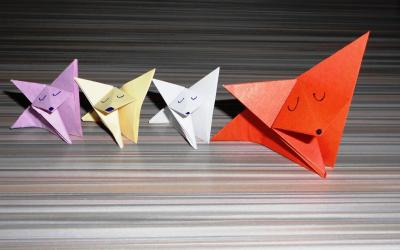
Create a ship for intergalactic travel, you can also use the Japanese art of origami. Making a model rocket in this way, enjoy not only children but also adults. Myself handicraft, make it in the technique of modular origami, will not provide difficulties in the manufacture of children at least twelve years of age.

The work plan will be as follows:
- First, you will need to prepare exactly ten squares, whose side length will also be equal to ten centimeters.
- Then, squares should be folded in a special way. First form them two rectangles, by bending on both sides. Then roll the resulting structure to a state of four squares. The resulting four corners are added to the center, and then the resulting figure should turn over and repeat the same steps.
- The corners of the figure again need to twist to the center point, but to do it now not with all the corners, but only with the top pair. After reproducing these steps, the bottom layer of the resulting figure slightly sticking out forward.
- The resulting handicrafts are the original name of "stars in the squares. Next, it will be necessary to connect all the parts together, simply inserting modules into each other. Bind the construction, using regular reliable glue. The first necessary to glue the bottom row, which will consist of four figures. Next, the resulting structure is glued three more modules, and then attached all the rest of the body.
- To give the resulting rocket a proper look, it will be necessary to make a nose piece for it. This can be done by using an ordinary sheet of paper of any color, which simply need to be rolled up into a cone, and fastened to the resulting structure. If you want to add stability to the rocket and decorate it even more, you can also make paper legs.

Making a model rocket with plasticine
Modelling clay is a great material which develops creativity in a child and also affects in the best way the progress in improving fine motor skills of hands and fingers of a kid. Naturally, the idea of creating a rocket out of plasticine can be a good pastime for the youngest kindergarten students.
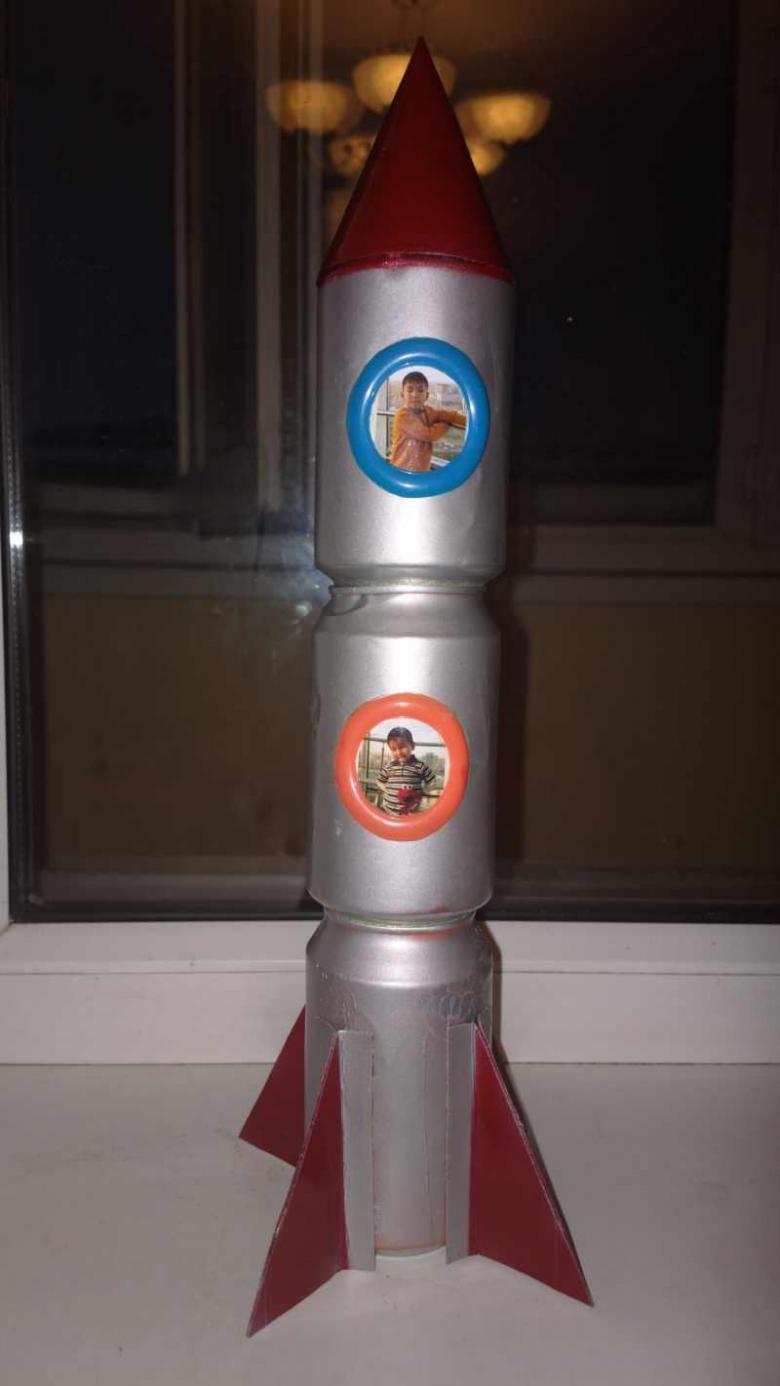
- Explaining to a child how to make a rocket out of plasticine is quite simple. It is necessary for your kid to choose a piece of plasticine which he thinks will be suitable for making a rocket. The selected block should be made in an oval shape, which can be easily given to the plasticine by simply rolling it with the palm of your hand on a hard surface used for modeling.
- Next, the resulting cone is fixed on the surface, and it is given an additional shape, which will make the future rocket somewhat pointed closer to the end. The end of the plasticine oval, which is set on the board, should be slightly flattened, to give more stability to the craft.
- From a piece of clay of a different color, the child will need to make a porthole for the rocket. They can be made in the form of small balls, which are very easy to roll to the desired round shape.
- After attaching the portholes to the main part of the intergalactic ship, which should be located in one row, you will also need to make legs for the rocket. They can be made from a piece of plasticine of another color by simply rolling it into a uniform sausage, and dividing it into three equal pieces. By attaching the legs to the bottom of the spaceship, the child can enjoy the work done and have a lot of fun playing with the rocket.
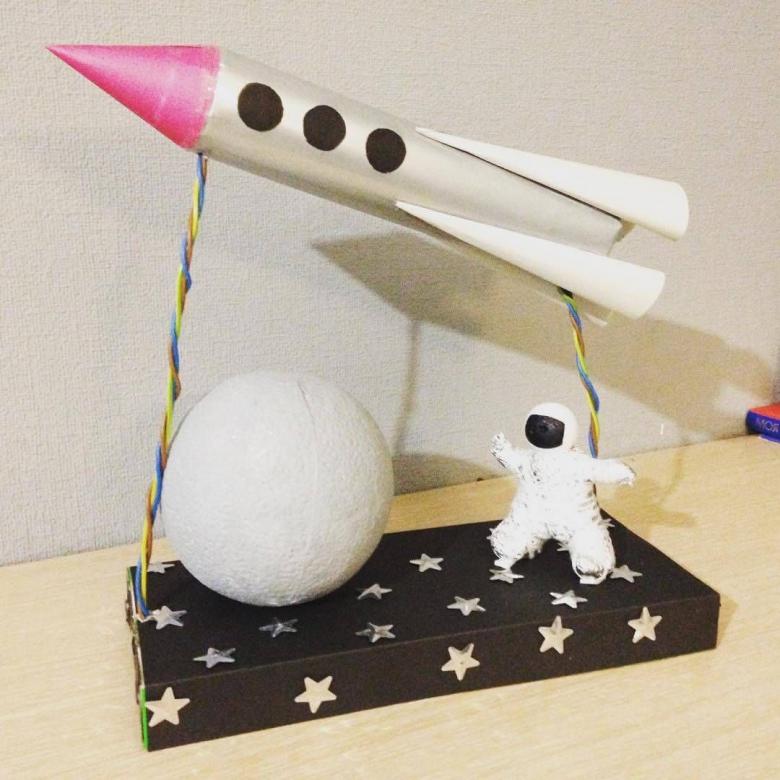
Making a model rocket, from paper, clay, or any other material is a very exciting activity for children of all ages. In the future, a small child who was previously engaged in the creation of such figures, can show considerable interest in aircraft modeling. It is useful to develop the creative skills of kids in childhood, because the developed imagination and good creative abilities will be a good help for him in a sometimes difficult adult life.

