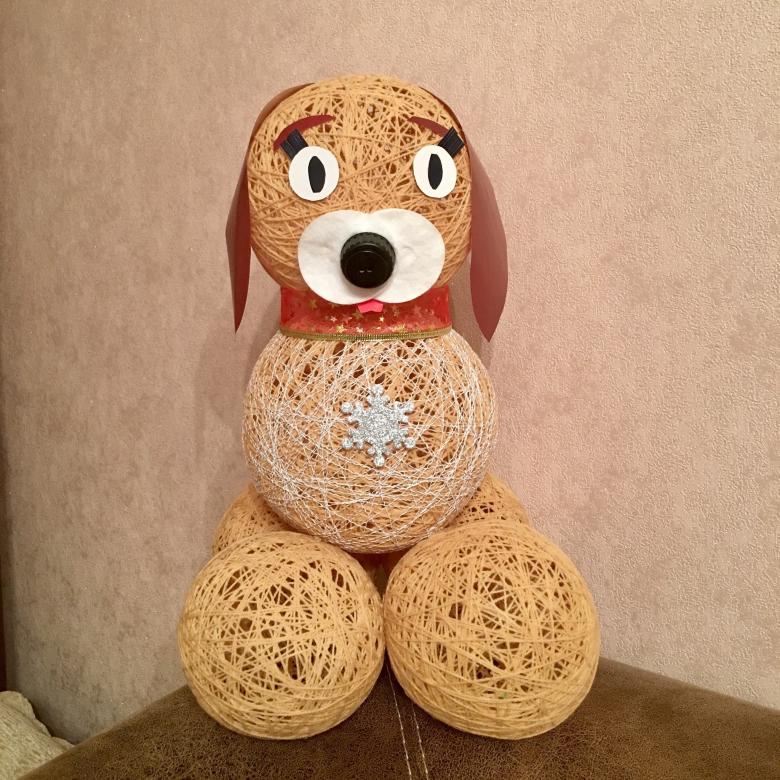
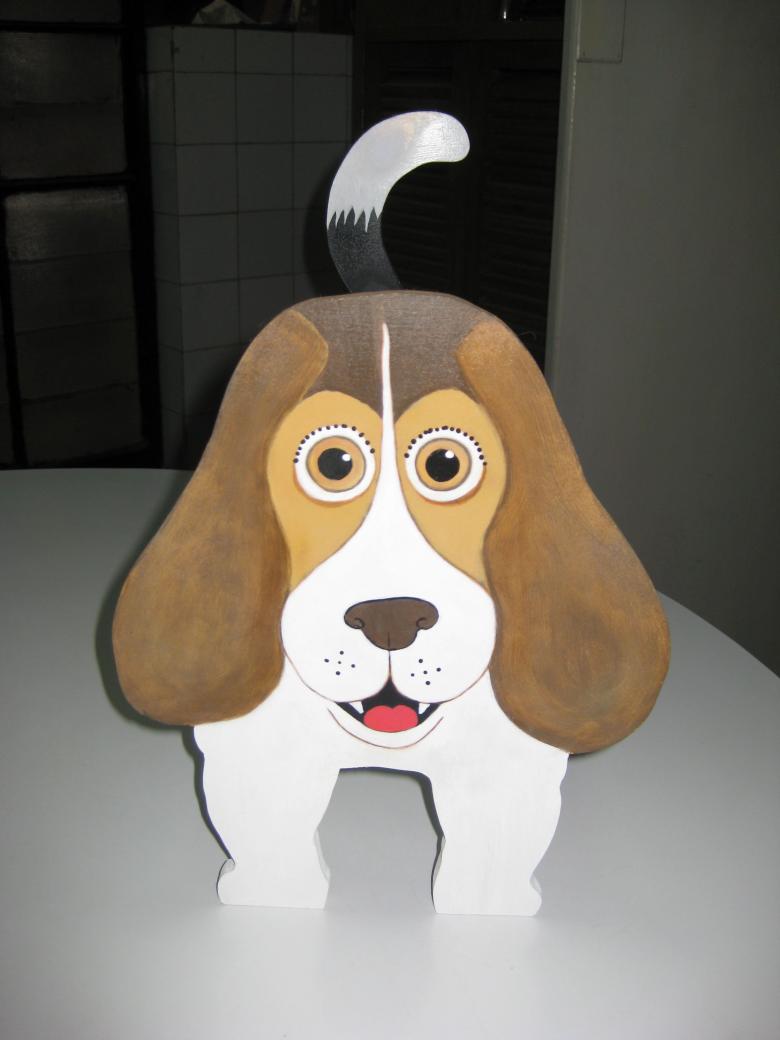
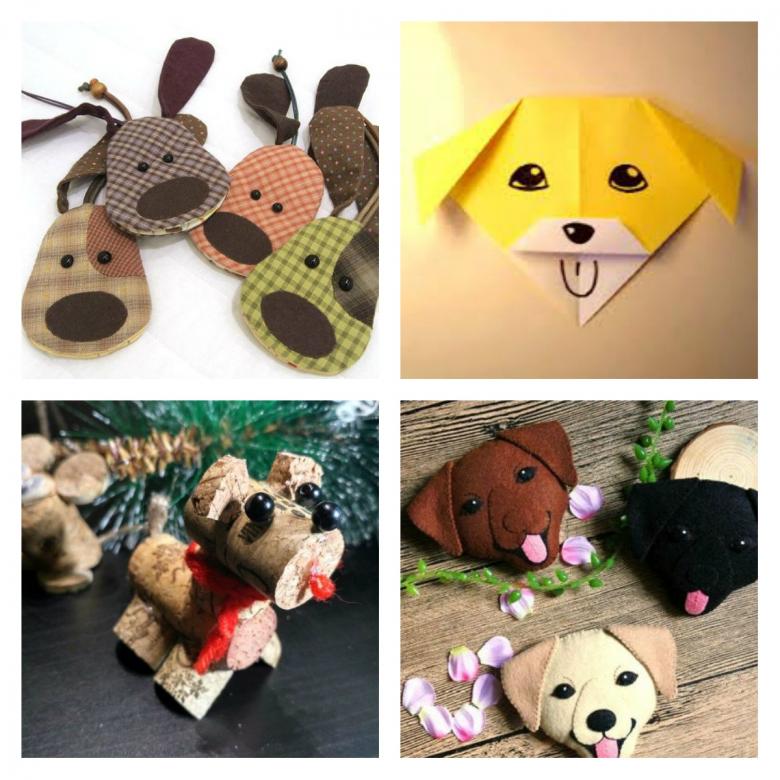
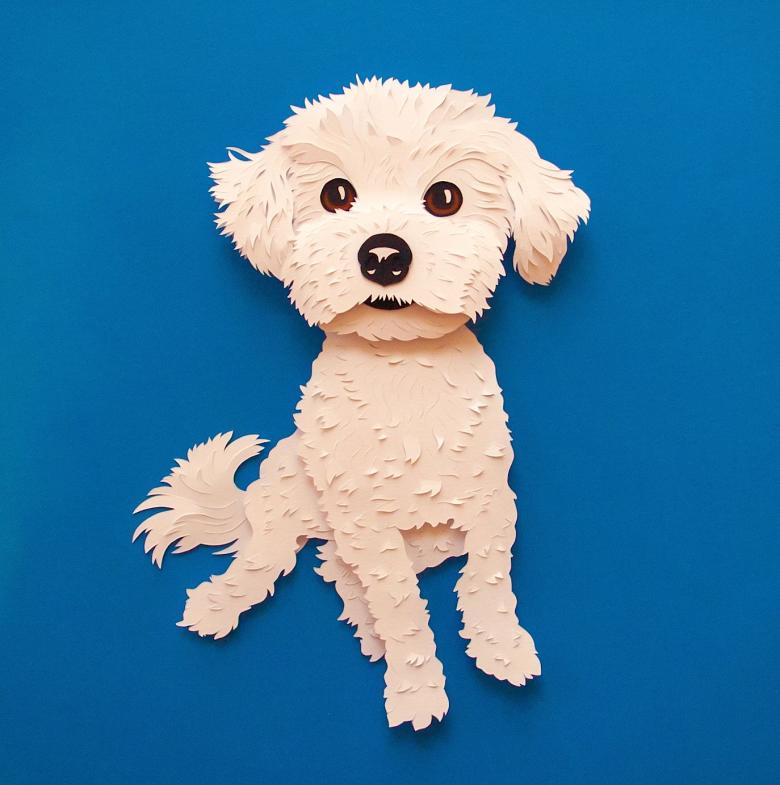
How to make a dog craft out of cones, bottles, fabric, paper and socks - master classes, photo examples, tips
Children love dogs and often ask for a puppy. But not every parent is ready to agree to this idea. Doggie, made with their own hands, can be a good substitute for a pet. We bring to your attention several schemes, according to which you can, together with your child, make a cute toy.

You can use different materials:
- cones;
- plasticine;
- plastic bottles;
- cloth;
- paper;;
- socks;
- clay.
And this is not the whole list. Even a branch accidentally found in the woods can become a doggie.
Dog from cones: New Year
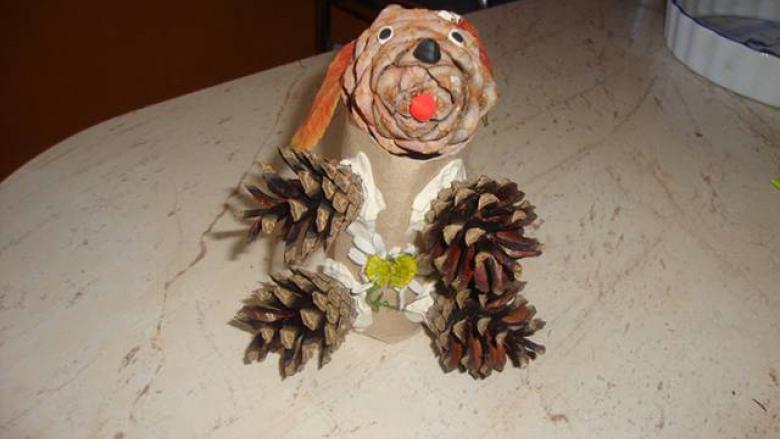
Easy option crafts. The main material is lying underfoot, and the work process is so simple that a child can easily cope with it. The result is a great gift for the New Year.
To work you will need:
- cones (different, 9 pieces);
- plasticine;
- glue;
- beads (eyes and nose are made of them).
Dog out of cones step by step:
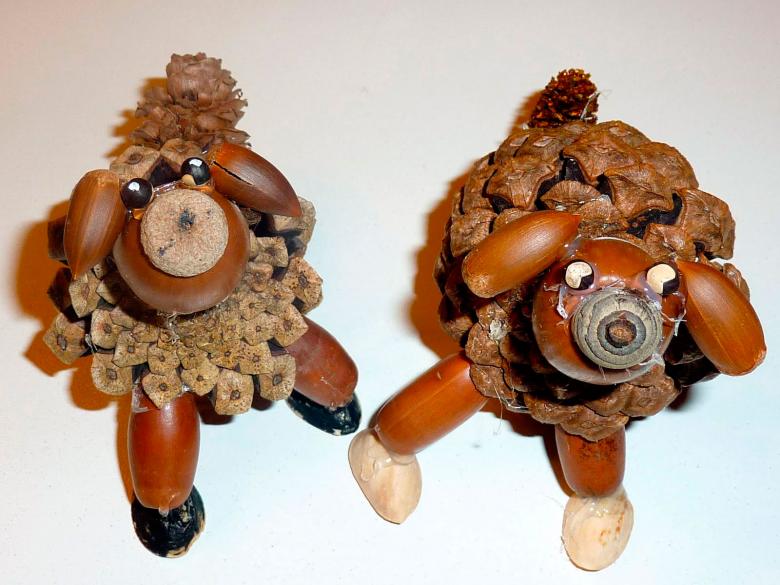
- Take two cones: a long spruce cone - for the body - and a smaller, pine cone, of which we will make the head. They must be stapled together. Use glue or plasticine. Choose one that does not differ in color from the cones - the joint should not be conspicuous.
- Attach to the body five cones: four small ones as paws and one at the back - it will be the tail.
- Glued to the head two cones - the ears. Make sure that their size was significantly less than the size of the cone-head.
- Let's make a muzzle. There is room for imagination here. You can use beads, but they can easily be replaced by buttons or just pieces of plasticine.
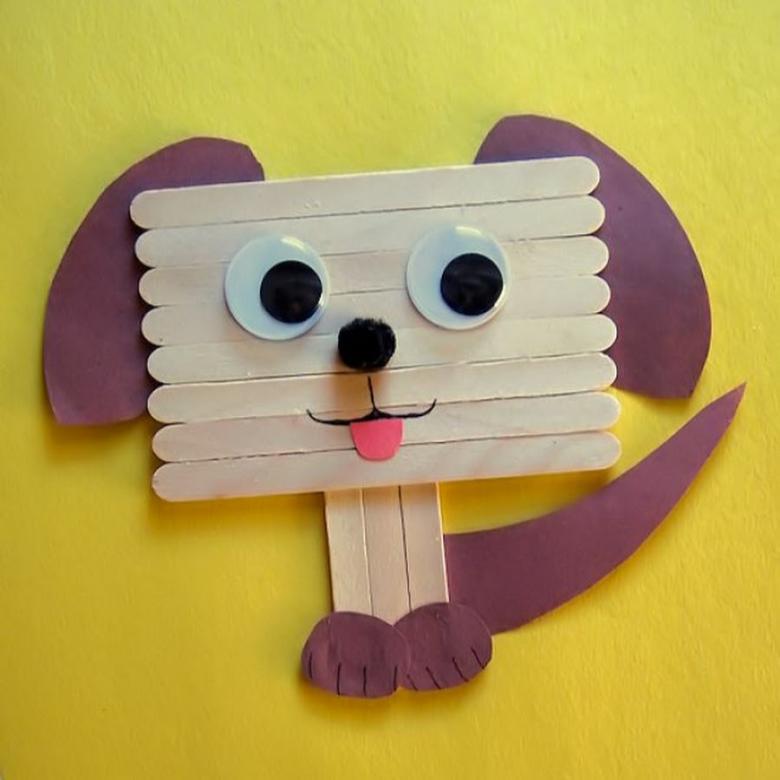
New Year's Eve doggie is ready. Wrap a piece of tinsel around its neck - emphasize the holiday mood.
If desired, coat the craft with lacquer. The dog will look better and will be more durable.
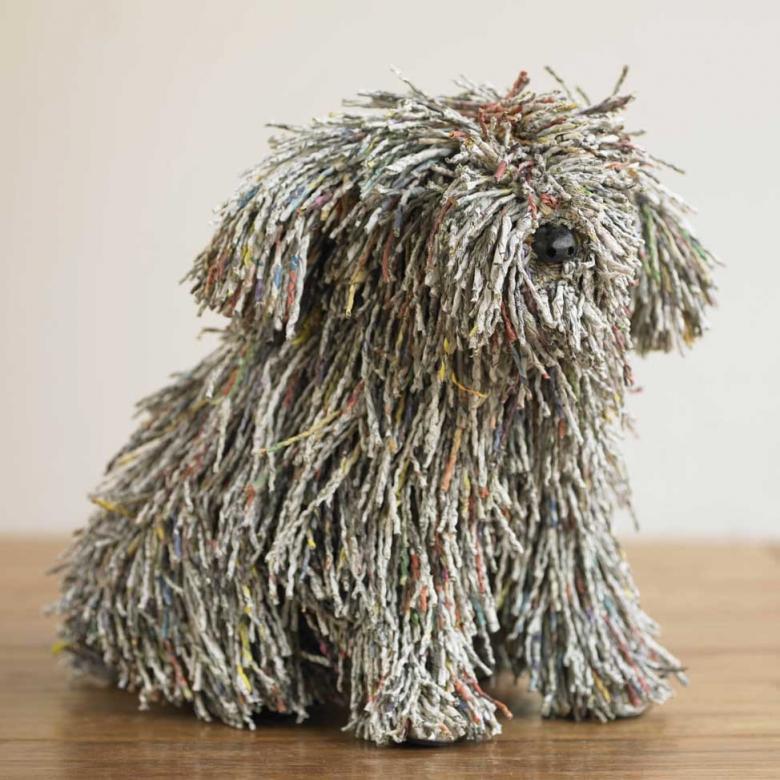
The dog out of bottles: the defender of the house
Such a handicraft will be suitable as a decoration for the country house. On the Internet there are several options for making a dog from empty plastic bottles with photos, we will consider two. Both of them are not difficult, children with such tasks quite cope, but the second is more labor-intensive.
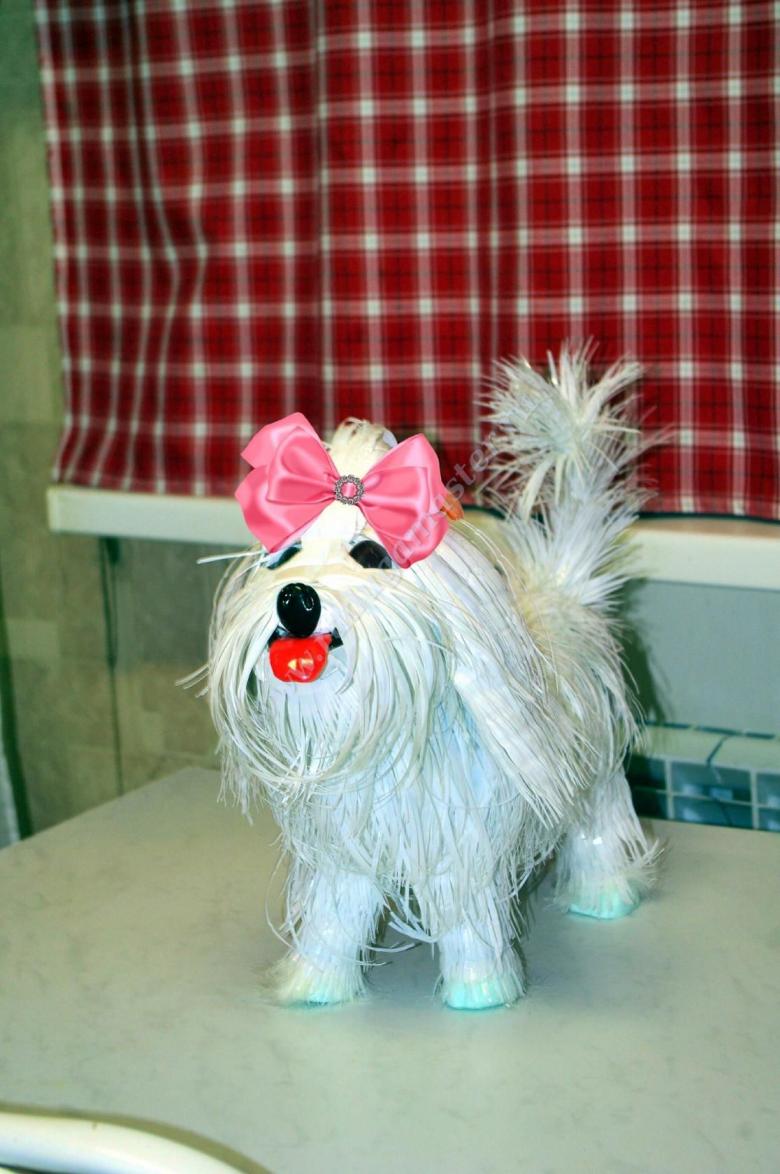
Simple variant
You need to take:
- 1,5 l. plastic bottle;
- paints;
- cardboard;
- glue.
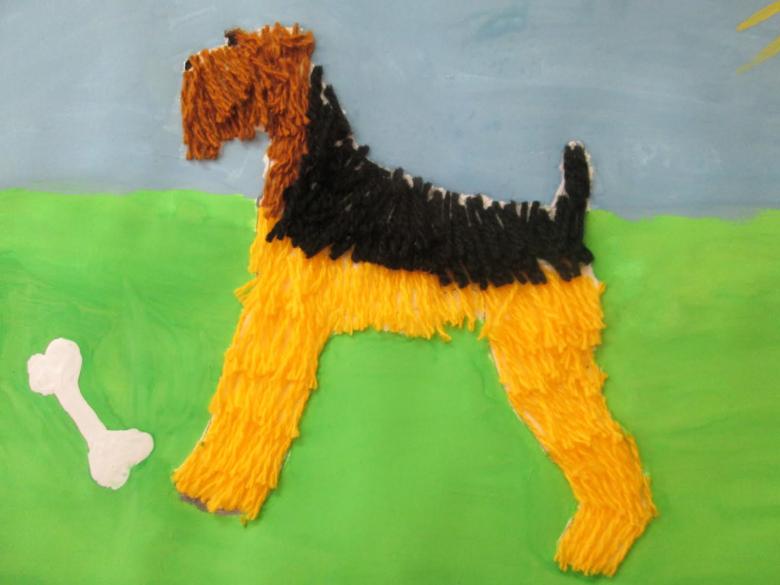
Creativity is required when making a handicraft. We will tell you the general principles step by step:
- A plastic bottle will become the torso of the dachshund. Paint it the color you like.
- Cut out the paws from cardboard and use glue to attach them to the sides of the bottle.
- The cork replaces the nose. It should be painted black or red.
- Cut ears out of cardboard, paint the same color as you used for the nose, make slits in the bottle and insert the blanks there. Secure with glue. There are other options for making ears. For example, they can be sewn. Cut out two oval pieces of fabric and sew them together from the inside. You can leave them this way - then the ears will be flat, or you can stuff synthetic material inside - and the ears will be three-dimensional. They are also fixed with glue.
- The last step - the tail. As with the ears, it can be made of cardboard or fabric.

Please note: if you plan to install the doggie in the country, it will need to protect it from the rain. Otherwise, the paint will leak, and the fabric will fade and can even begin to rot.

A more complicated variant
Unlike the previous model, several bottles are used here. One large bottle for the body and five small ones for the head and legs. Attach the small bottles to the large bottle with glue, and make the details (ears, eyes, tail) from cardboard. The nose of the dog is the cork of one of the small bottles. For the head the bottle can be used not as a whole - cut off only the part with the neck.
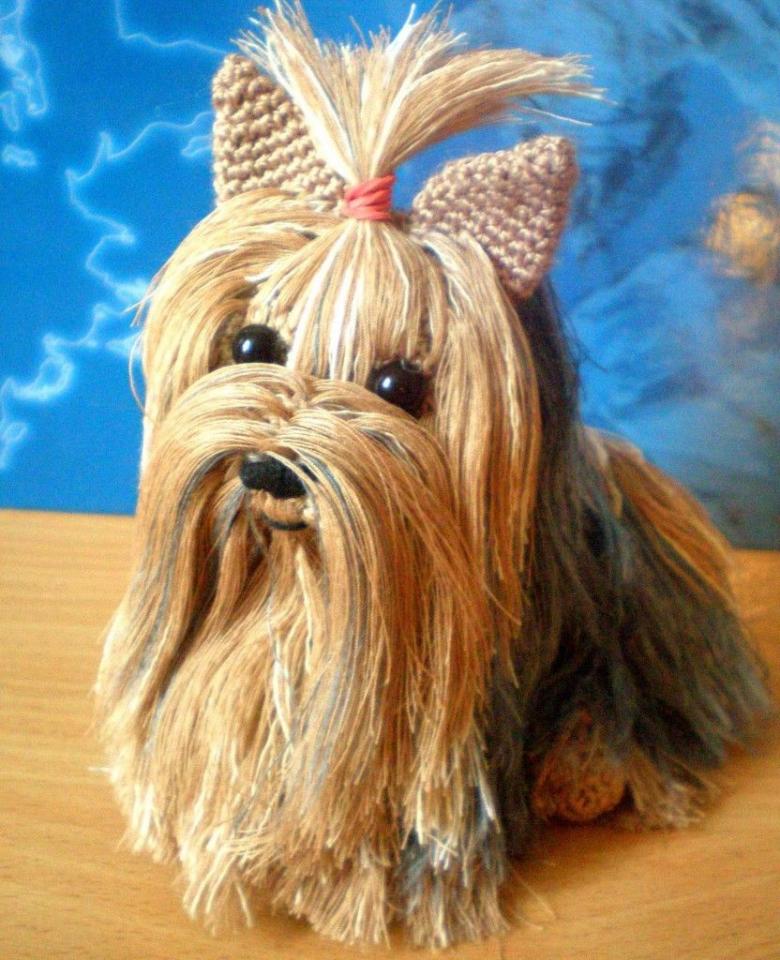
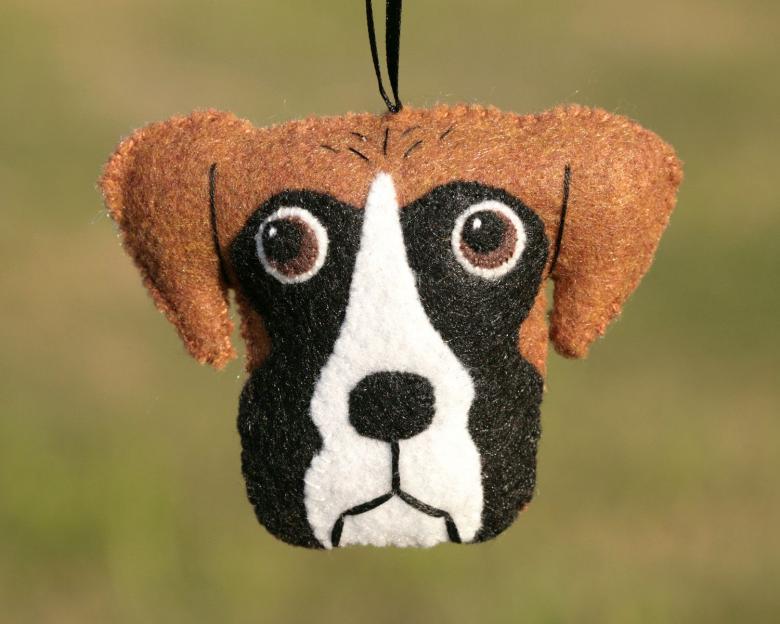
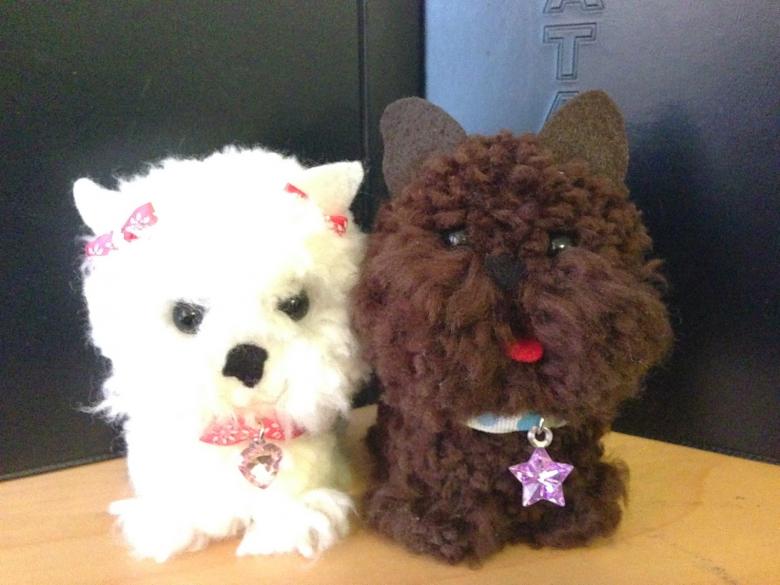
Dog made of fabric: decorative
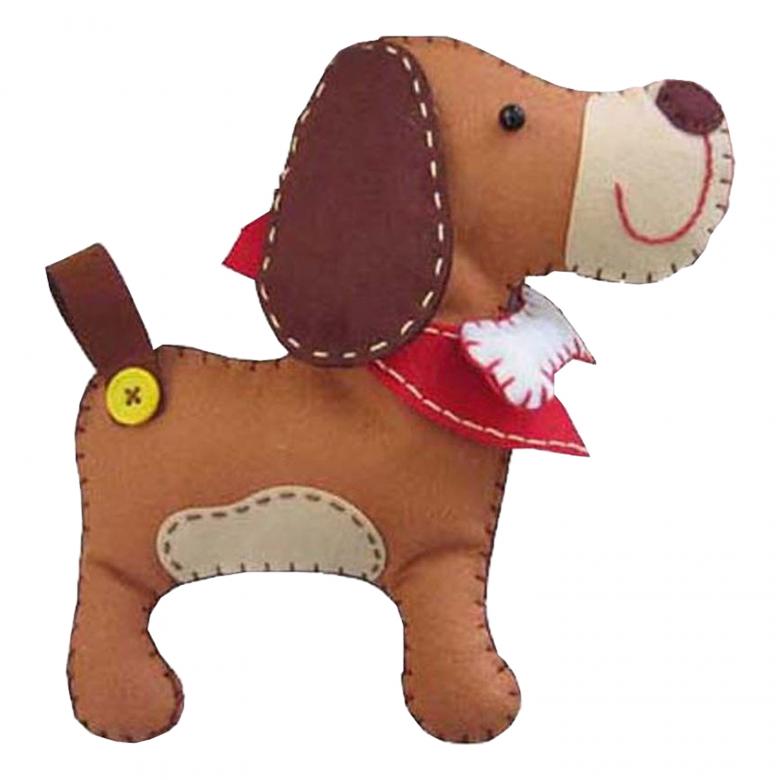
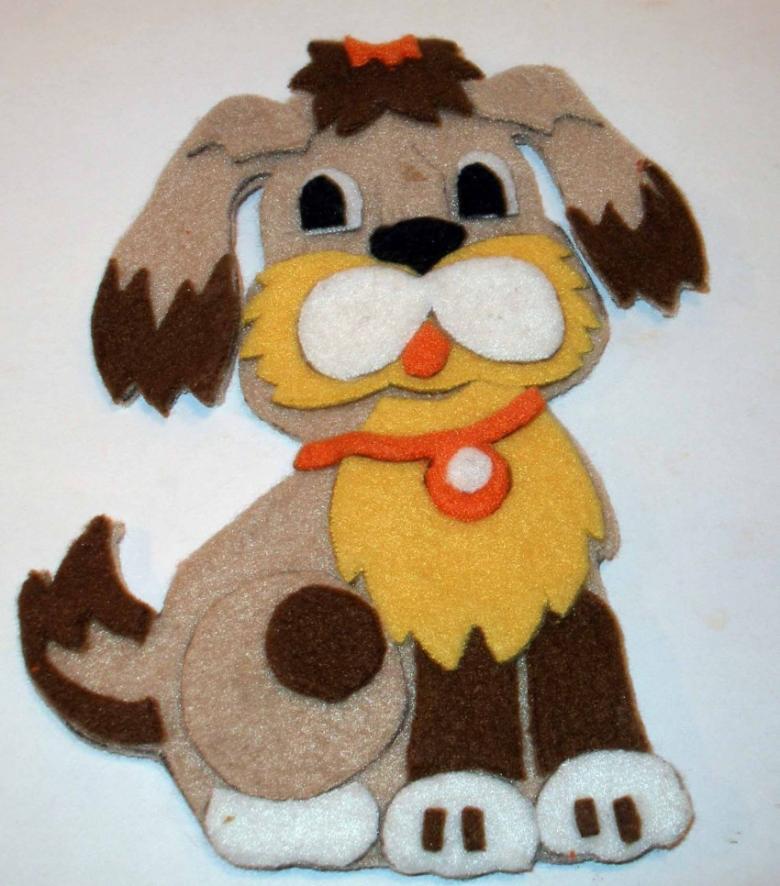
The peculiarity of this handicraft is that it is made of two halves and the stitches with which they are fastened, play a decorative role. Their neat and beautiful execution will have to pay a lot of attention. Here you need the help of a master - mom, teacher or teacher, if the handicraft will be performed in the classroom or in kindergarten.
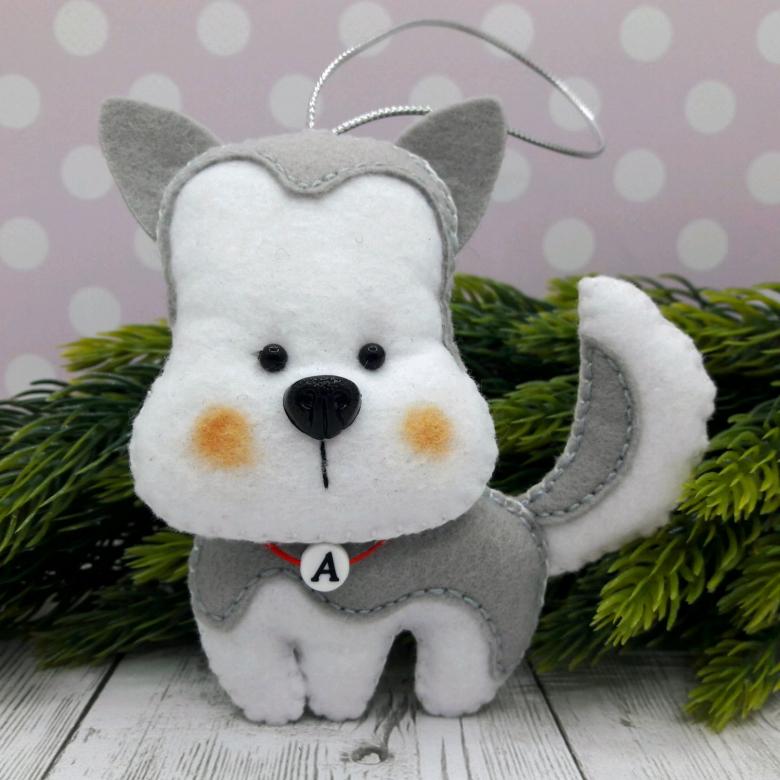
Need:
- fabric. Best suited for felt;
- needles;
- threads (play with the color, they can make a contrast with the shade of fabric - it will be interesting);
- cardboard;
- buttons.

Important: the whole dog will be made of two halves. They are stitched on the edges right from the outside. You can first stitch on the machine, leaving small allowances, and then make decorative stitches over them. Another option: to do without a machine and stitch the halves of the doggie pattern by hand at once. But in this case, the stitches must be put more often, because they will serve not only for decoration.
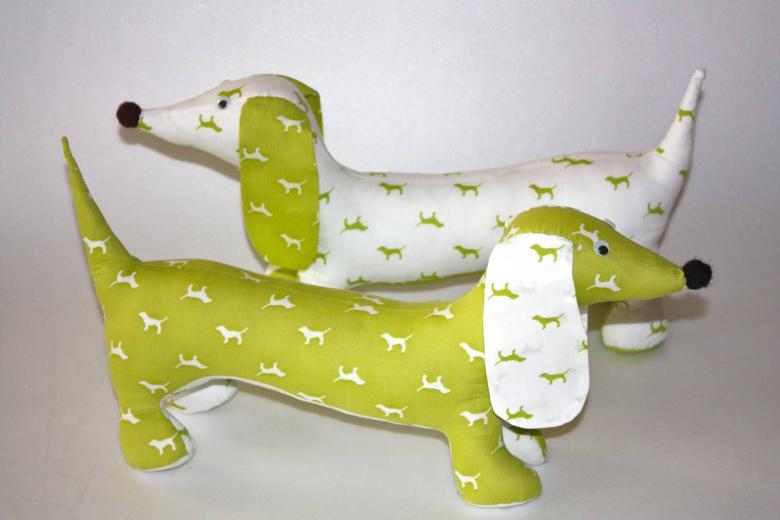
Algorithm:
- Draw separate patterns for the body, head, paws, ears and tail of the doggie.
- Connect them to each other, as described above - manually or with a machine.
- Stuffing blanks with synthetic fibers or absorbent cotton.
- Sew them together.
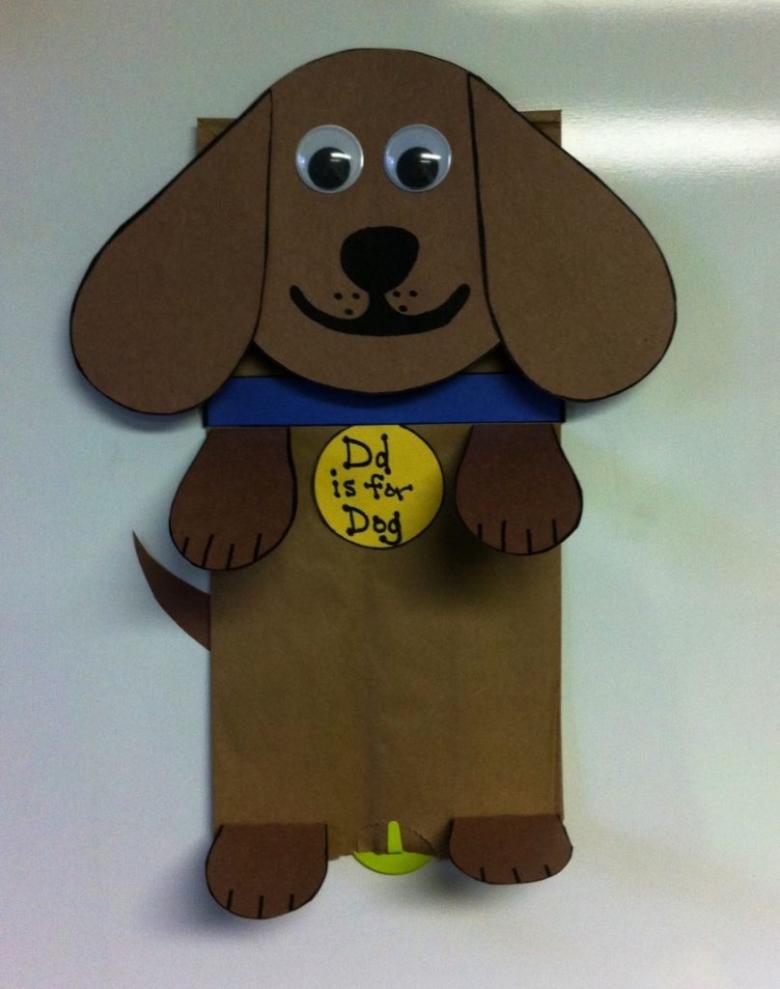
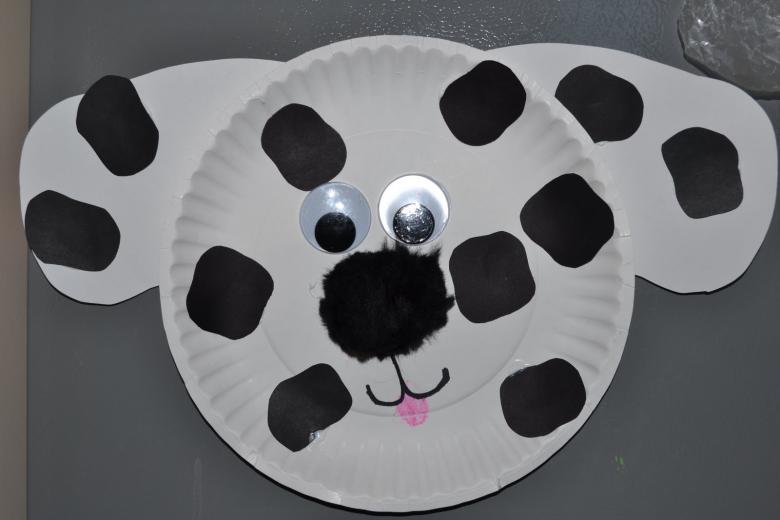
- You decorate the face with cardboard and buttons. On the neck you can put a collar. A separate part is a tongue. Make it out of red fabric, sew or glue it on.
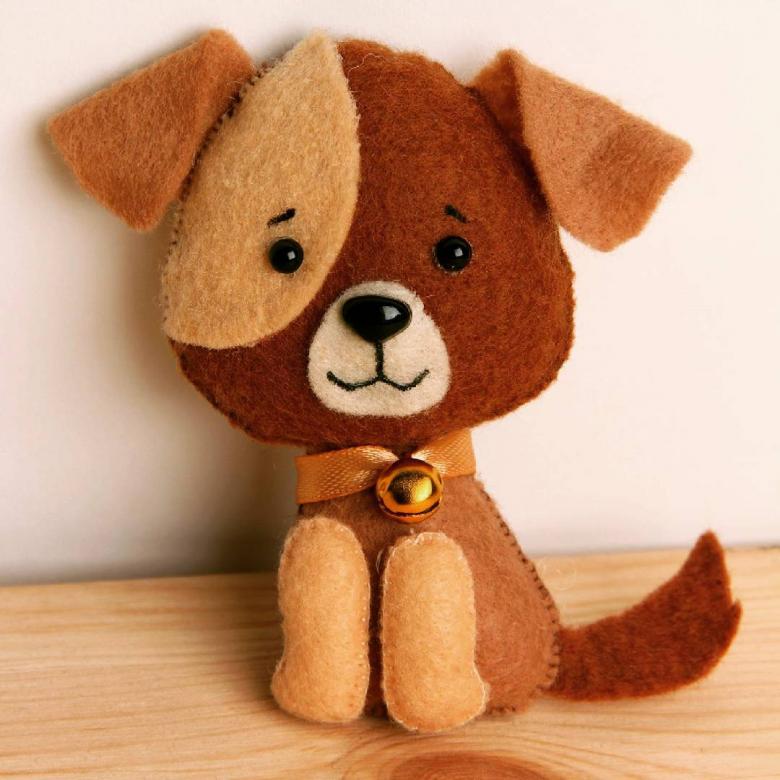
As an option, the doggie can be made very small and used as a trinket. You have a great gift - a symbol of loyalty and devotion. It is important not to forget in this case, sew in the top of the head a chain with a ring.
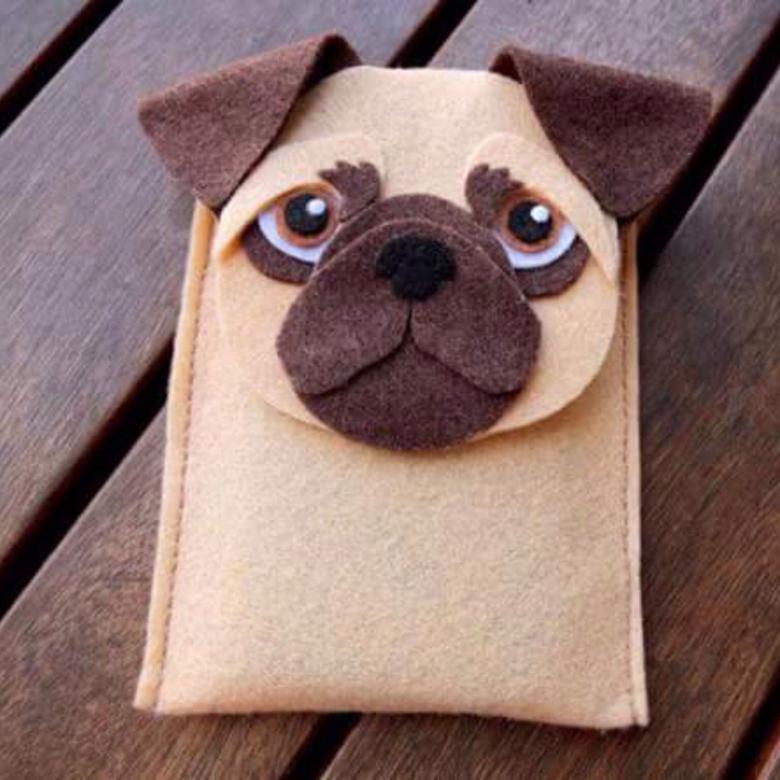
Another option is to make a medium-sized doggie and fill it with grits. Such crafts are not only cute, but also useful. Stretching them in your hands, you massage your fingers and palms.
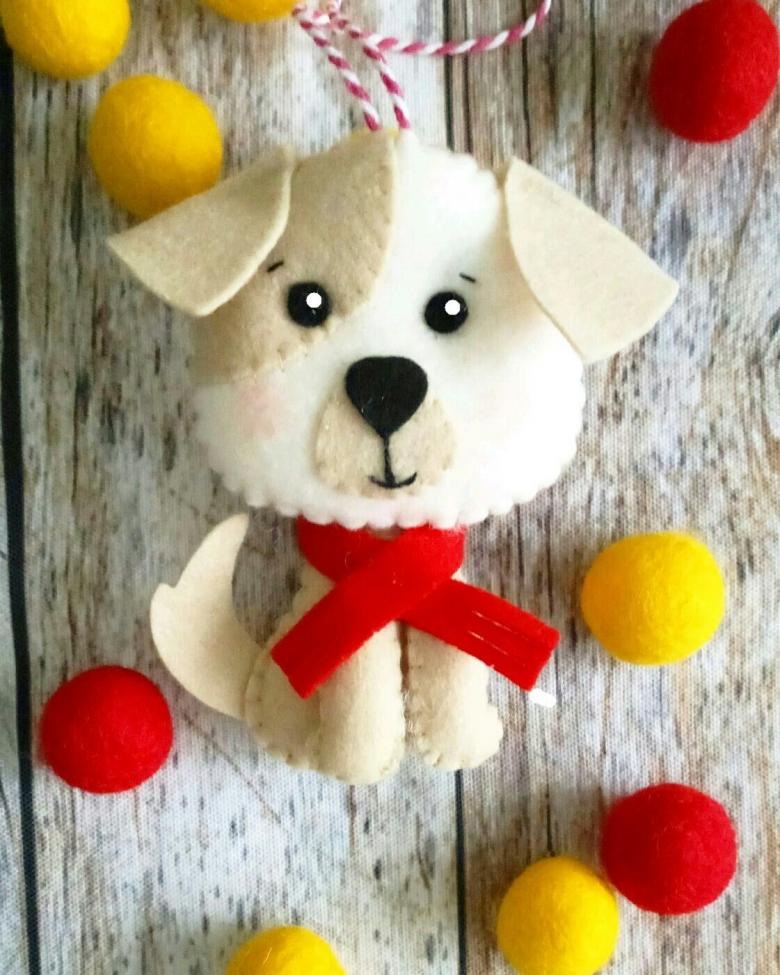
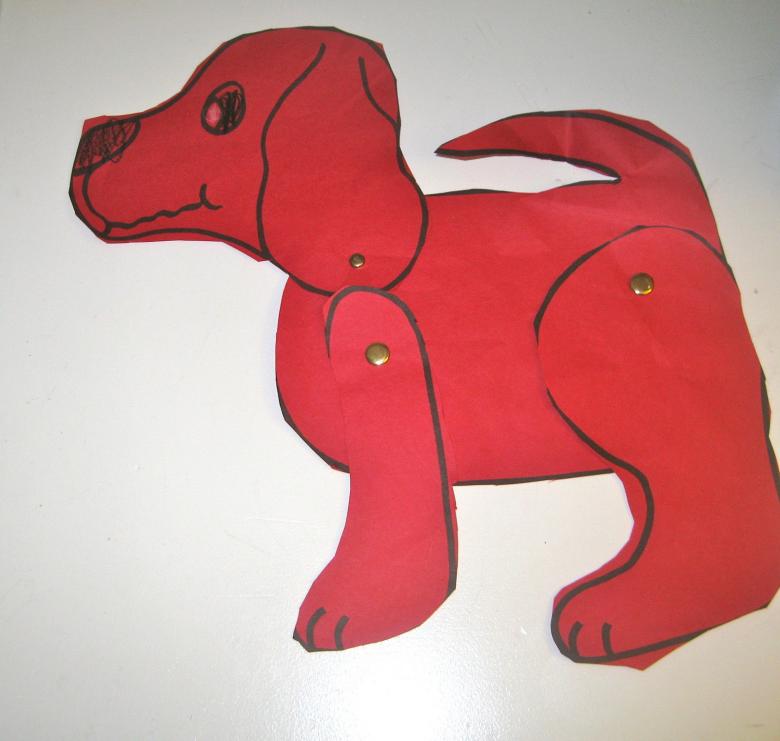
A dog made of paper: the easiest way
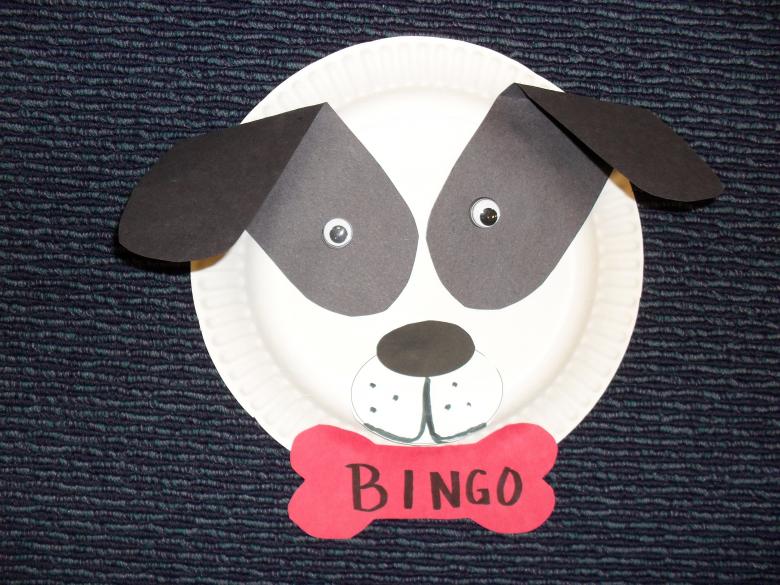
Technique of origami is very difficult, skill in it is built up over the years. But you can go another way and fold the paper is not the whole dog, but only the muzzle. It's quite simple, but also useful - it is good to develop fine motor skills.
We won't need anything but paper and felt-tip pens.
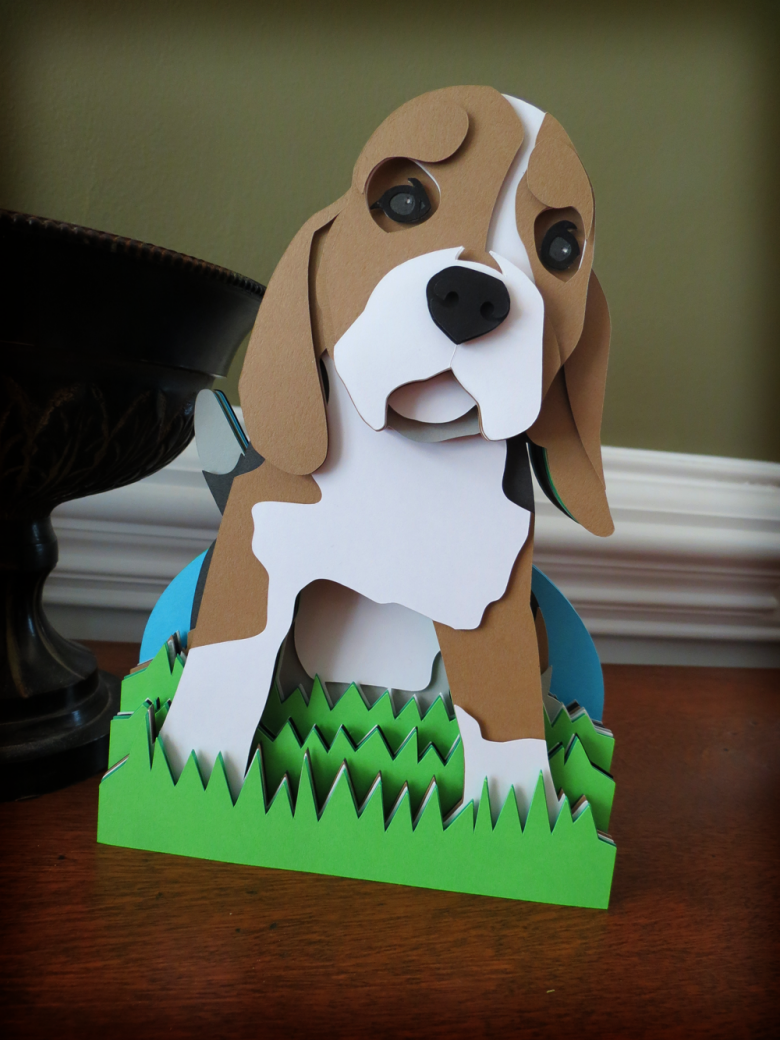
Algorithm:
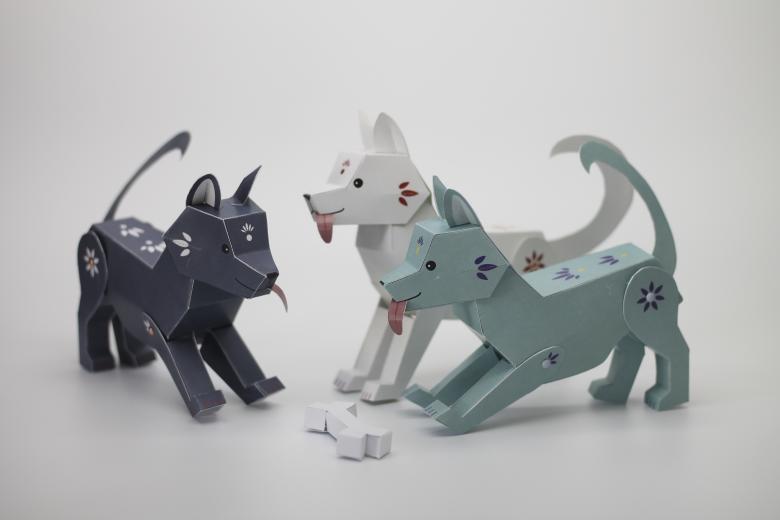
- A sheet of square paper is folded diagonally.
- The resulting triangle is folded in half again, and then unbent.
- Corners of the bend down - there are ears.
- Free corner of the triangle bend up and draw the very edge of the nose.
- Dorisovyvaem eyes - and done.
If you use a sheet of colored paper, the craft will be more fun.

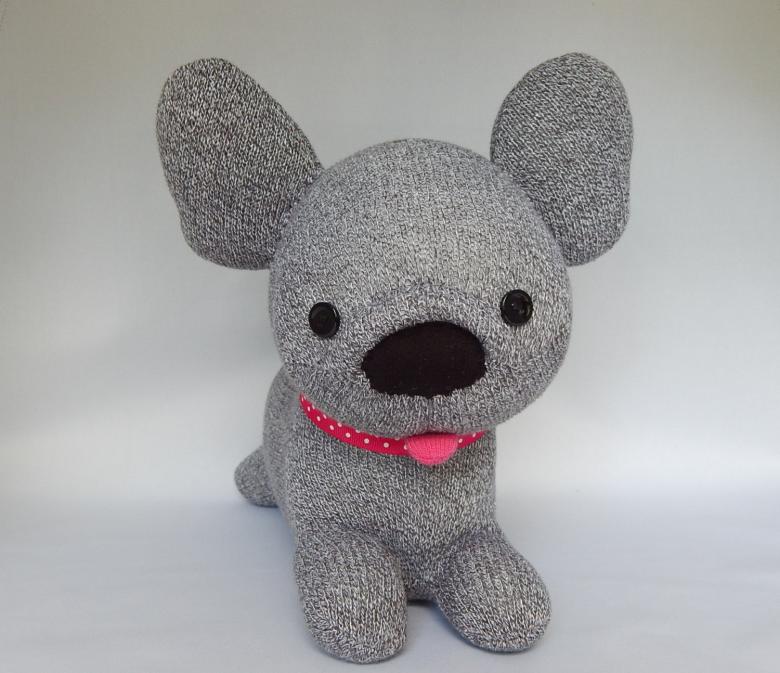
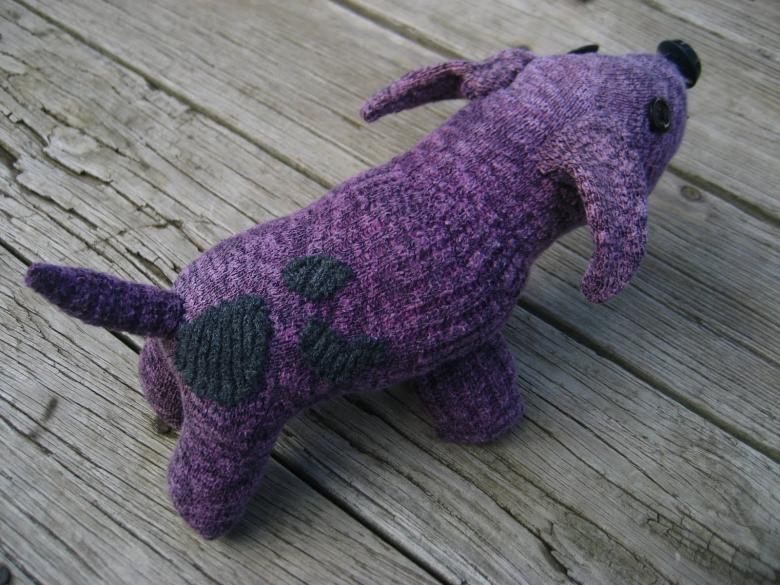
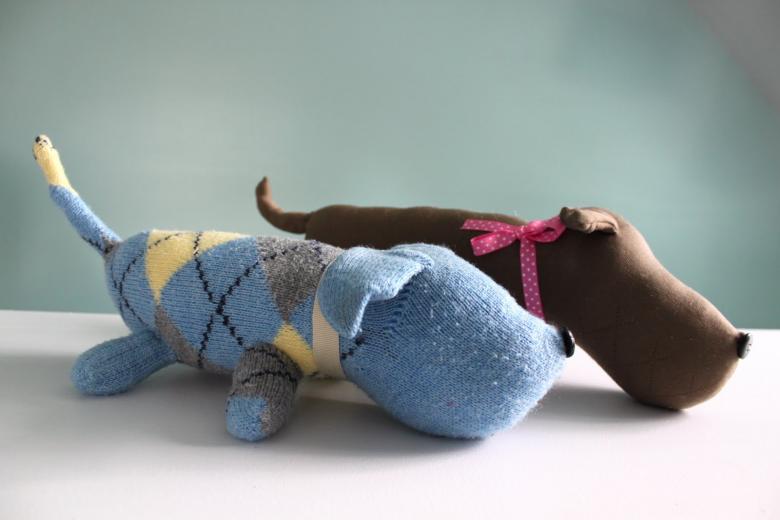
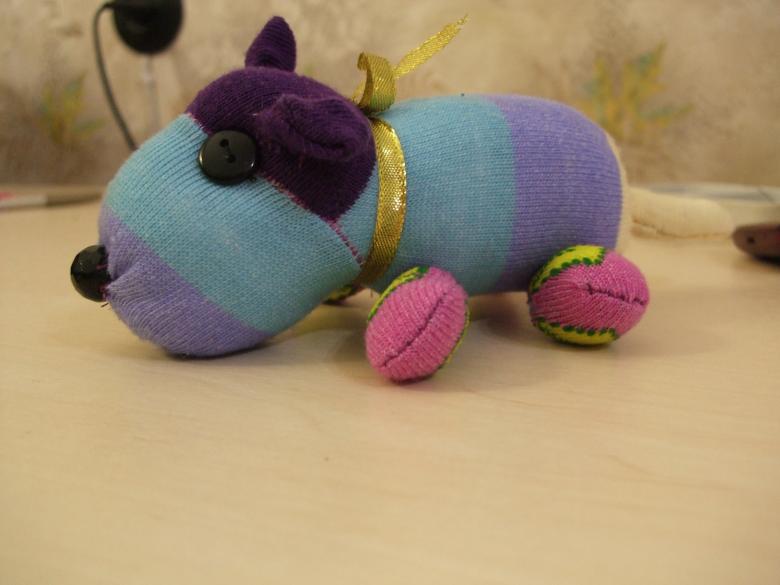
Dog out of socks: difficult, but beautiful
Creating a dog is a time-consuming process. The work is affordable for a child, but you will have to do a lot of it. Adult help and support will not hurt.
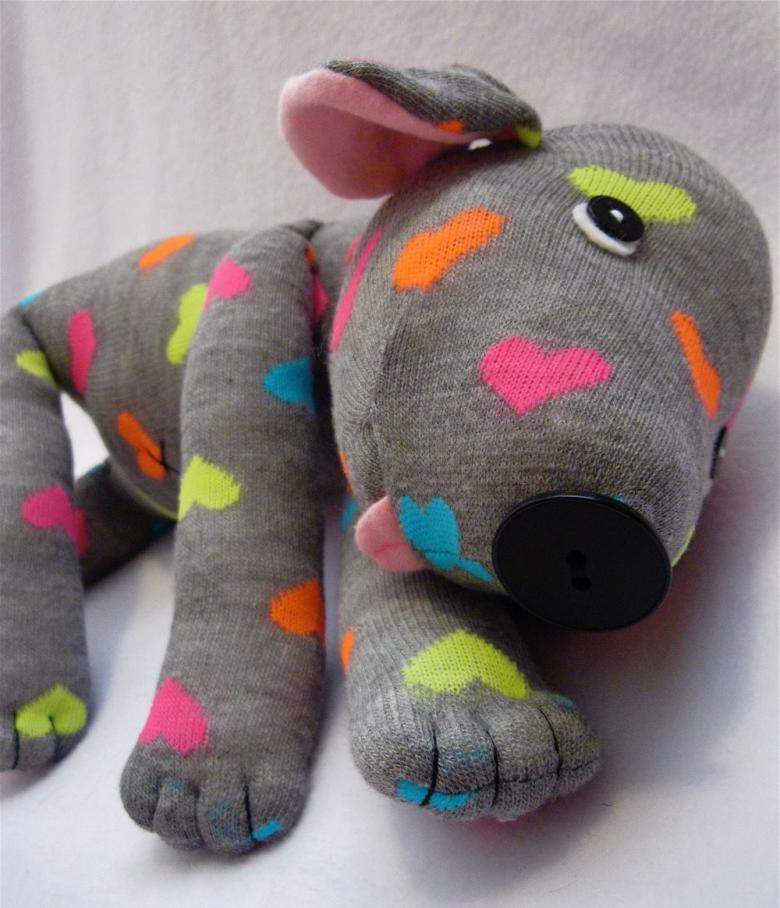
Prepare:
- A pair of socks or socks;
- Buttons (they will be used for a spout and eyes. You can use different materials - beads or beads;)
- padding (or other stuffing material: pieces of fabric, absorbent cotton, napkins);
- scissors,
- needles;
- ribbon or lace.
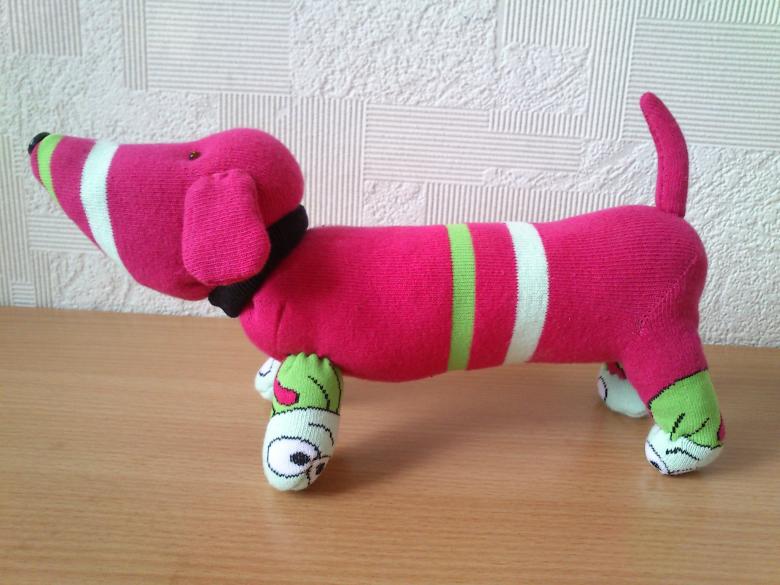
It is better to take new socks - they are brighter. And think in advance what kind of pattern will be on the muzzle of your dog.
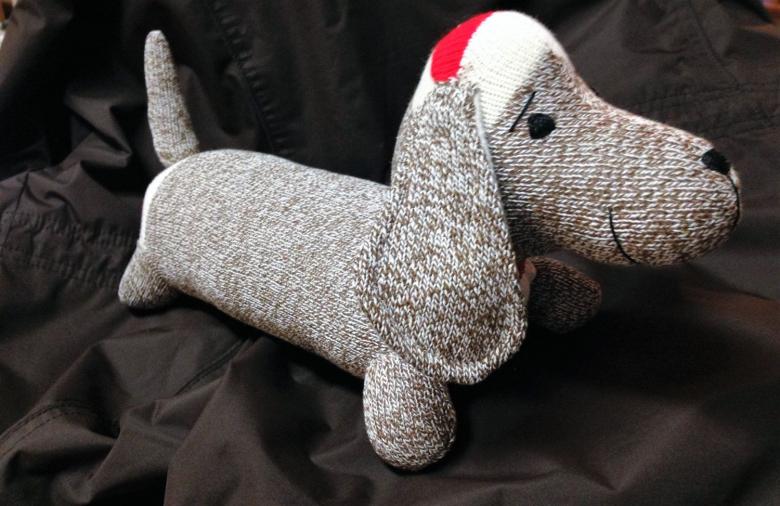
Doggie out of socks in 12 steps:
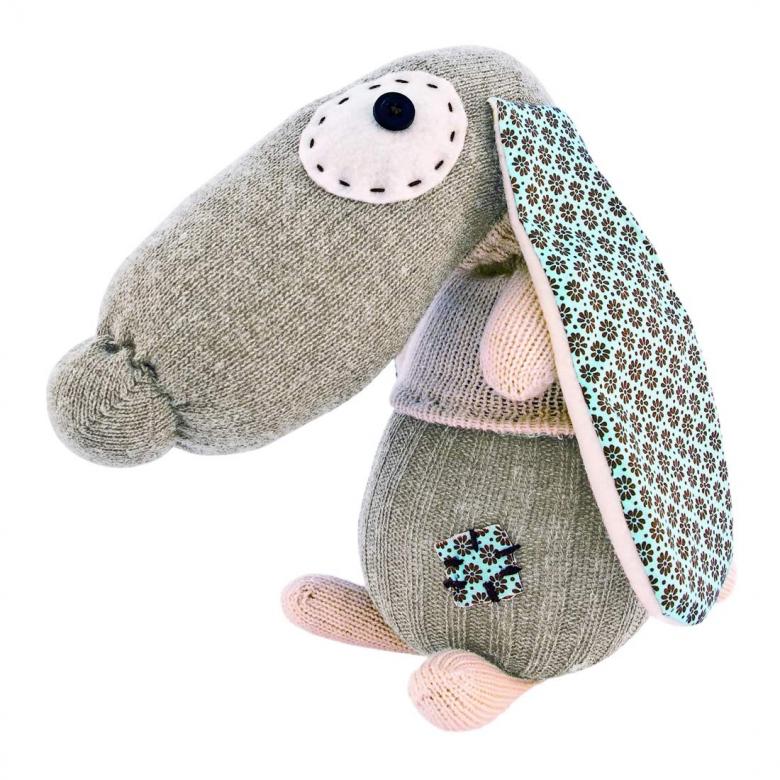
- The sock is turned out, the rubber band is cut from it. You can estimate how much to cut - the less fabric will be left, the shorter the paws will be.
- Turn the sock heel up. From the neck to the heel, cut the fabric to make a blank for the two hollow tubes. This is the future legs. At the heel should leave a hole for the filler.
- Sew paws, turn out a blank and stuff it. Keep in mind: the stuffing depends on whether you will be able to wash the toy later. Do not wet absorbent cotton or tissues.
- Sew up the hole and tack the paws with thread so that they are perpendicular to the body.
- On the back side of the neck sock also bend and tack - formed the neck.
- Take the second sock, cut off a piece on both sides - for the tail, front paws and ears.
- You are left with a part of a sock with a heel. It should be put on the previous sock and sew.
- Stuff the second sock and sew, forming a muzzle.
- Remaining details. We cut the sock into two halves and sew, making ears. Put filler - they will stand, or leave them hanging empty. Sew the ears to the head.
- From the neck of the second sock, form the paws and tail and sew them in place.
- Form a muzzle. Sew buttons instead of eyes. Use black thread - you will get pupils. Glue cardboard nose.
- Tie a ribbon around his neck.
Dog out of socks ready. If you use a sock instead of a child's sock, you get a dachshund.
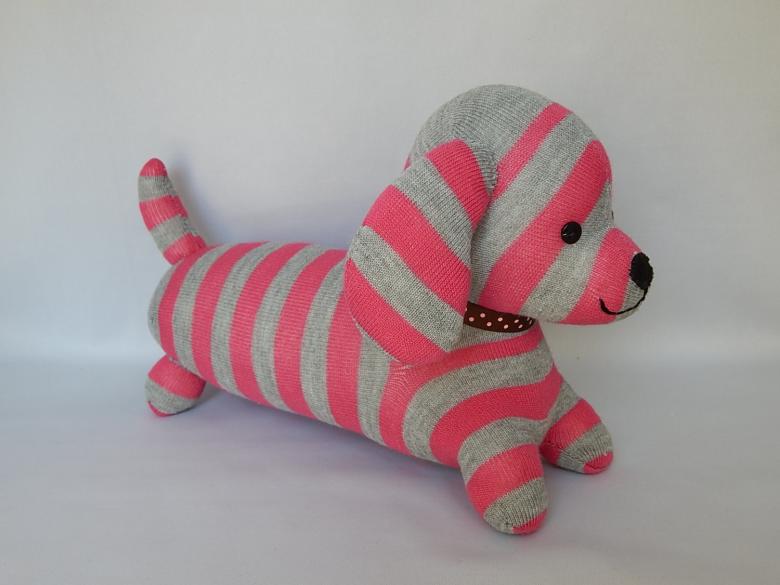
There are a lot of schemes to help you make a doggie. The main thing is to approach the process with imagination and not be afraid to make mistakes. Even if you don't succeed the first time, you will definitely learn later.

