Handmade airplane crafts - how to make them from paper, cardboard and plastic bottles
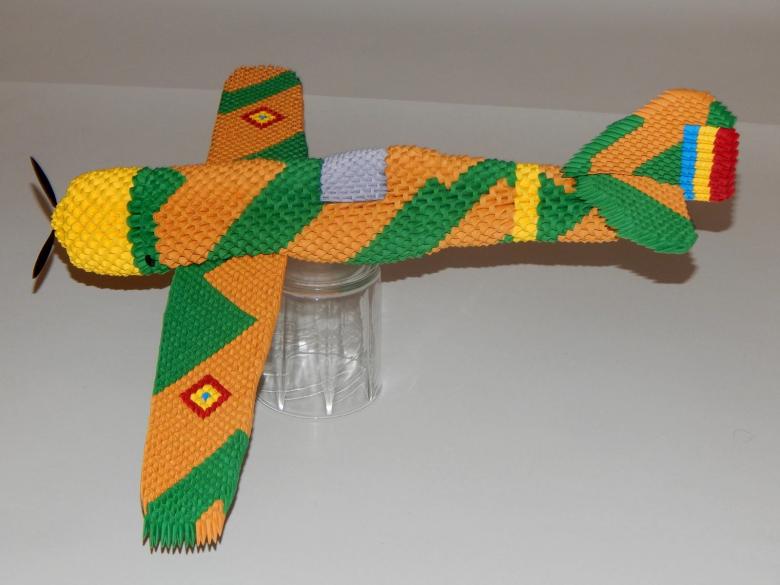
More recently, crafts "airplane" were a very common toy: they could probably do all the children of the Soviet Union. True, very few people knew that not just rolls up the airplane from paper, and uses the Japanese technique of origami.
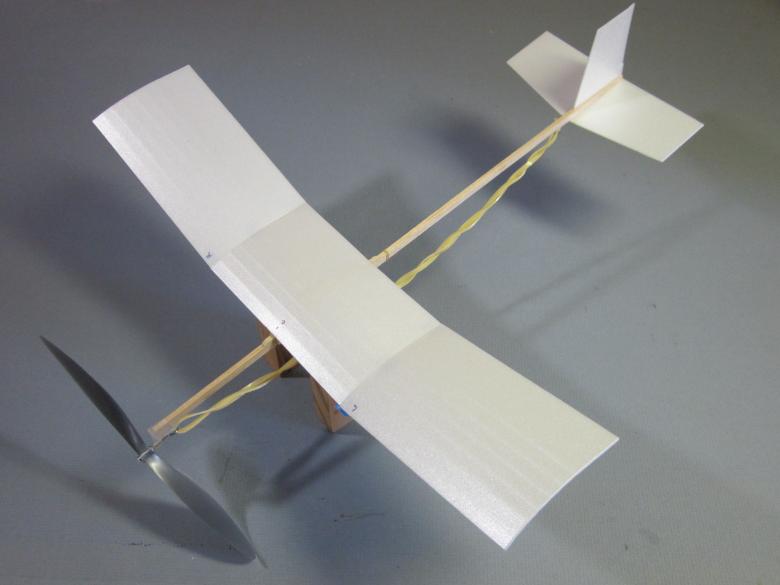
Today, making flying cars from paper has risen to a new level. On the Internet you can find dozens of different schemes for folding an airplane from a sheet of paper. And they all turn out different: some fly far, others - high, others - long, others - in circles.
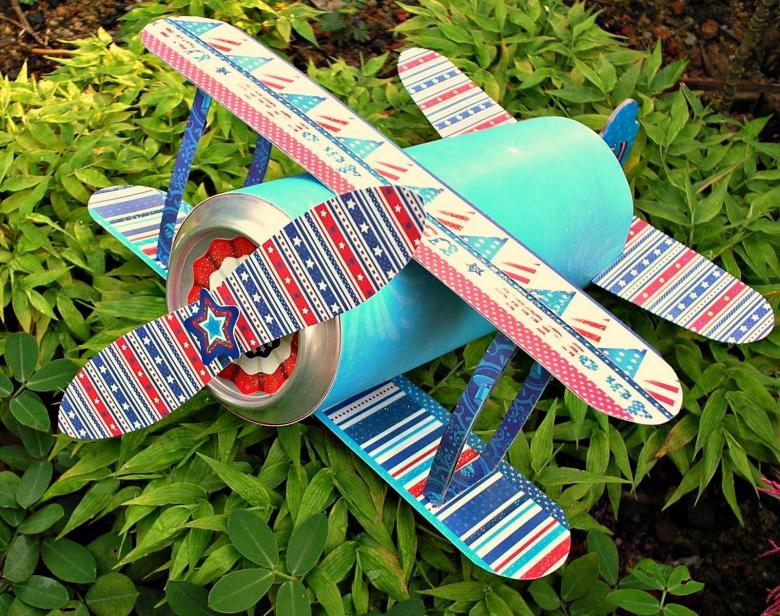
You can use other materials:
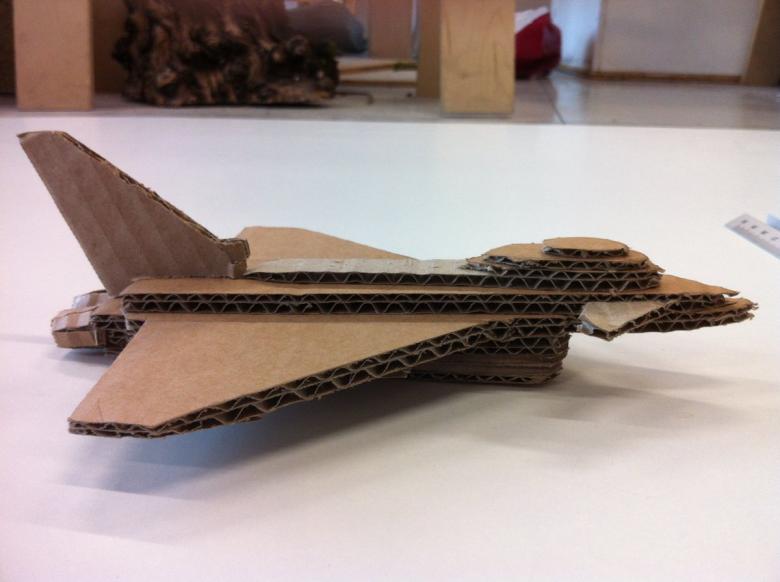
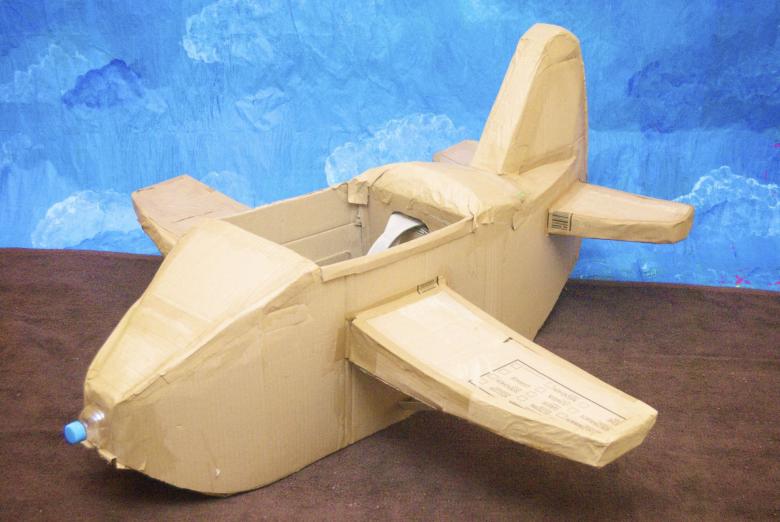
- cardboard;
- Plastic bottles;
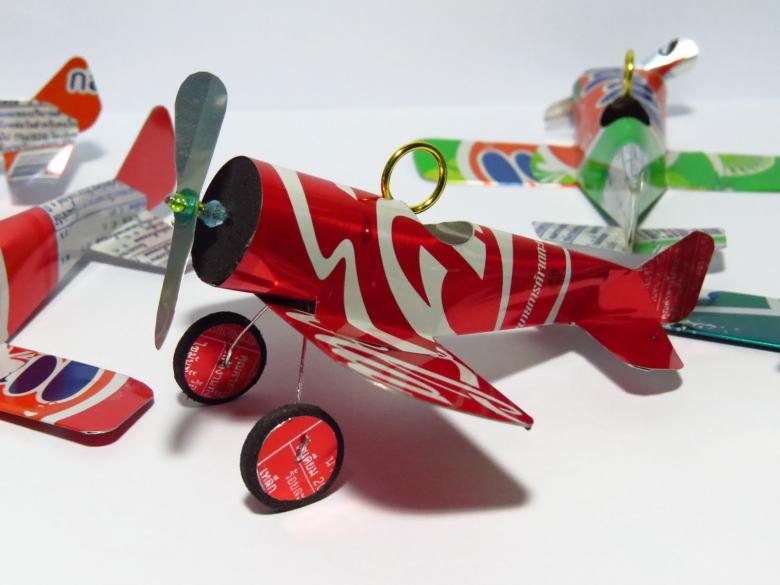
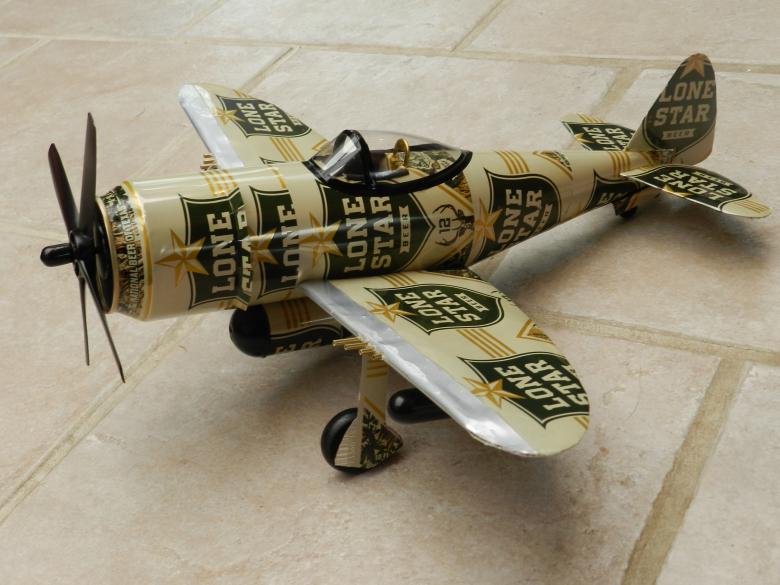
- Soda cans;
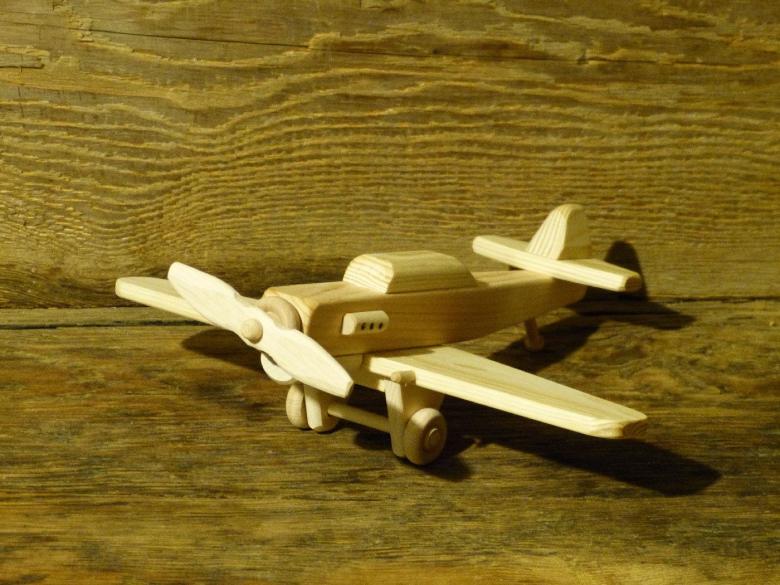
- garbage and household items, etc.
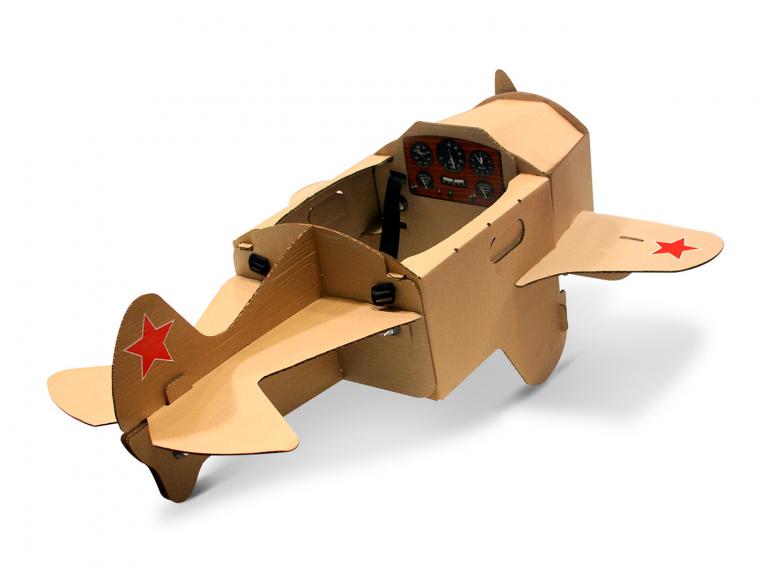
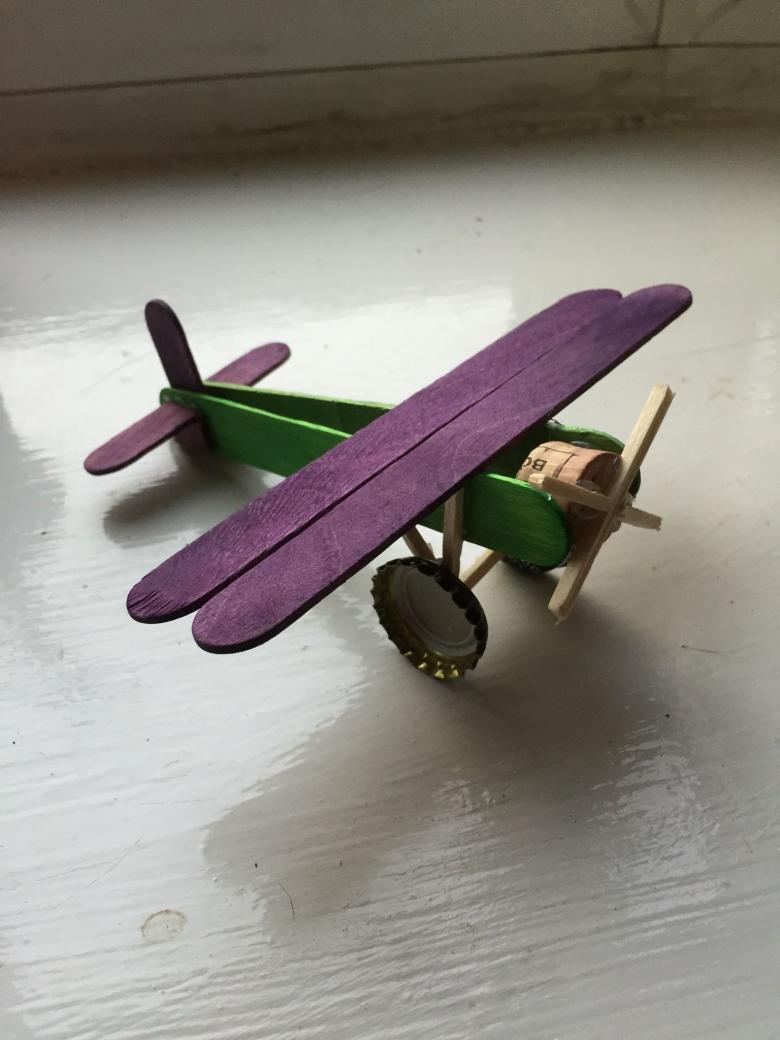
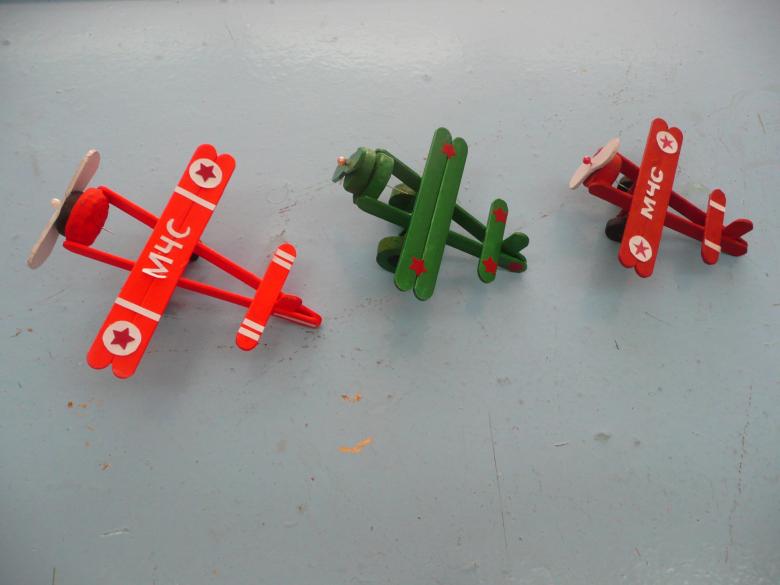
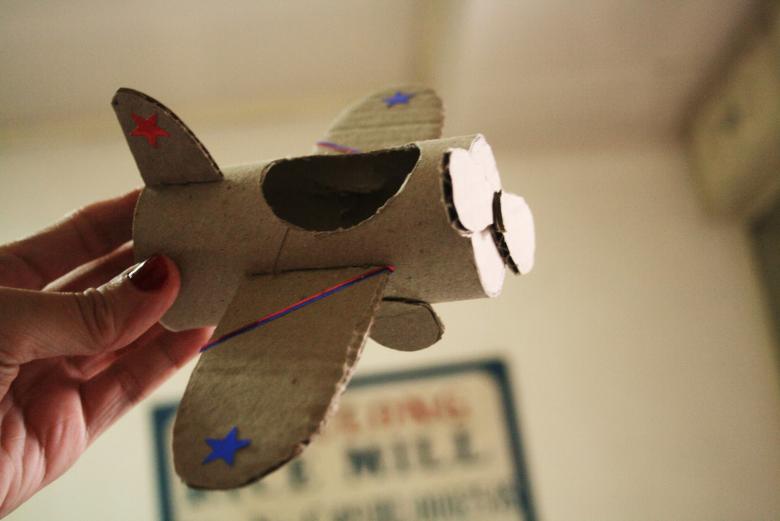
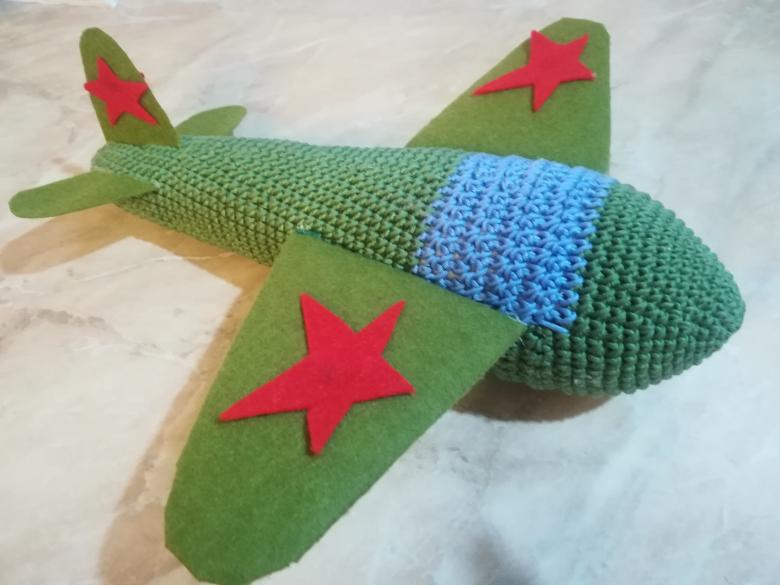
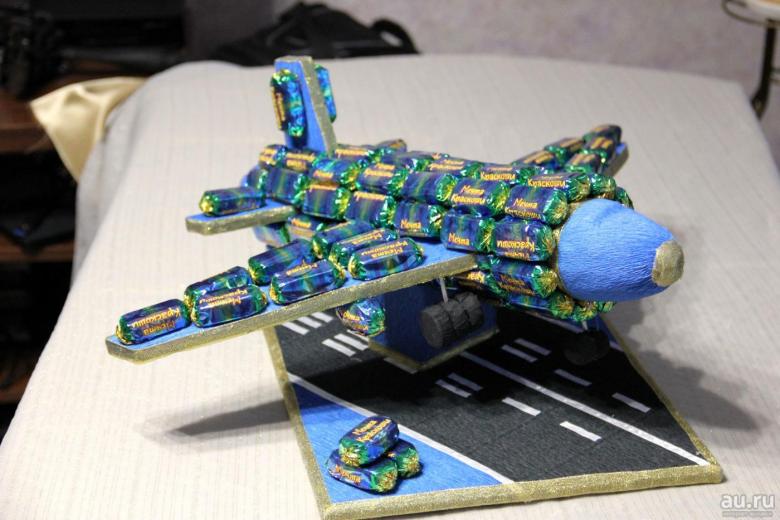
Unlike paper airplanes, they will not fly, but they look nice and make great gifts. We offer several master classes for making airplanes. Choose which one you like best.
Airplane from paper
For the craft you need a little: a piece of paper and a steady hand. Sometimes even a ruler.

Pay attention! A sheet of paper from which you will make an airplane, should be perfectly flat and smooth. Any roughness and defects sharply reduce the flight qualities of the creation.
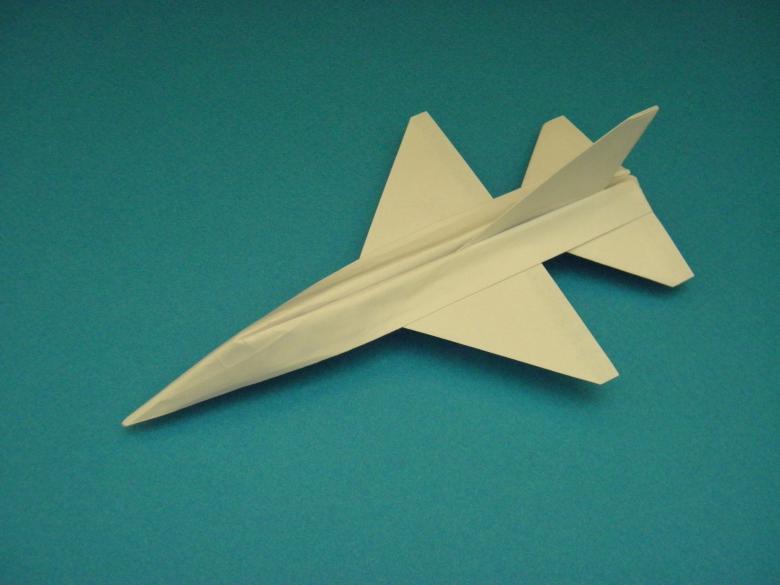
A simple scheme of a paper airplane
It does not require anything other than paper. Leaf should be rectangular: from school notebook or office paper for the printer. Let's fly!
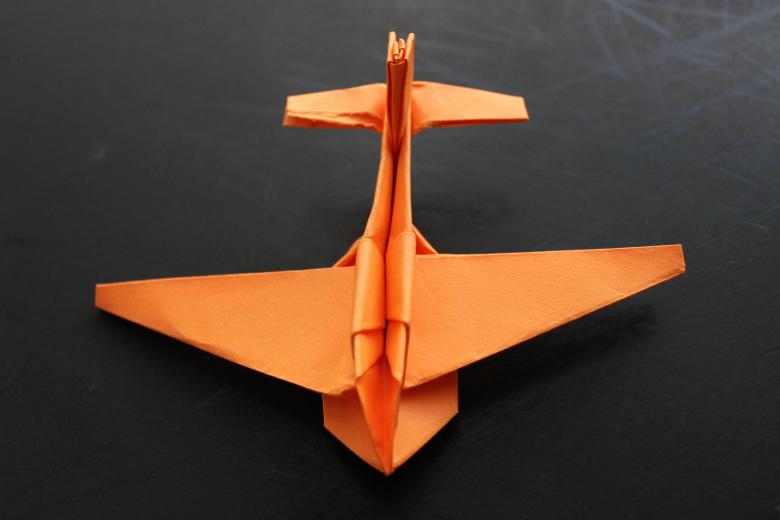
- Fold the sheet in half lengthwise.
- Bend the corners on both sides. They should take up about one-third of the sheet and make a tight "envelope" with each other.
- Bend the resulting "envelope" all the way down. There is still space between his "nose" and the edge of the paper.
- Take the two upper corners of the design and bend inward. They fit together tightly, from under them you can see the "nose" of the "envelope".
- Bend the "nose" up.
- Fold the resulting billet in half outward. "Nose" thus bent in half.
- Bend on each side of the "wing.
That's all, our simple airplane can be launched.
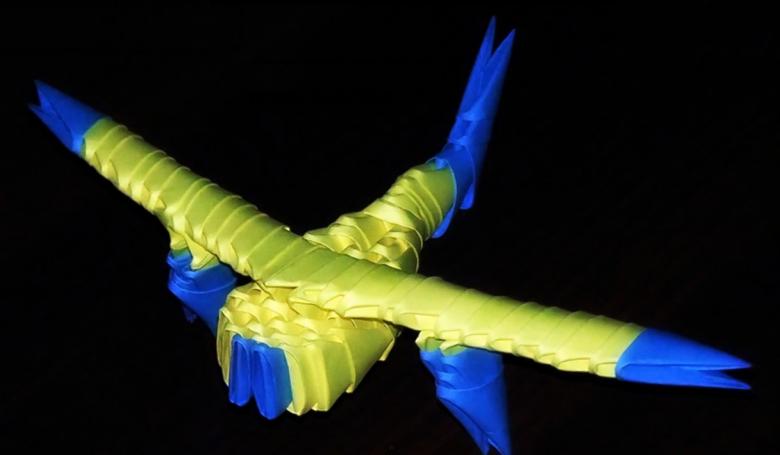
If you want to improve the flight characteristics, you can iron the folds not only with your hand, but also with a ruler - this will make them sharp and clear.

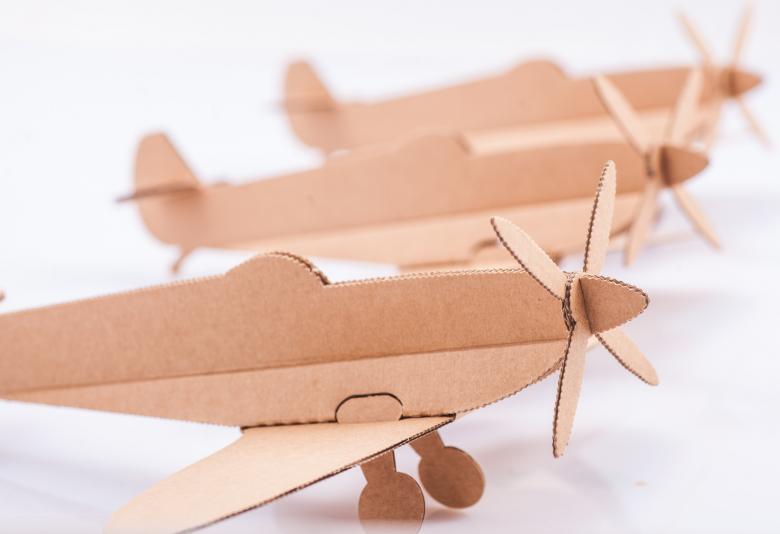
Cardboard airplane
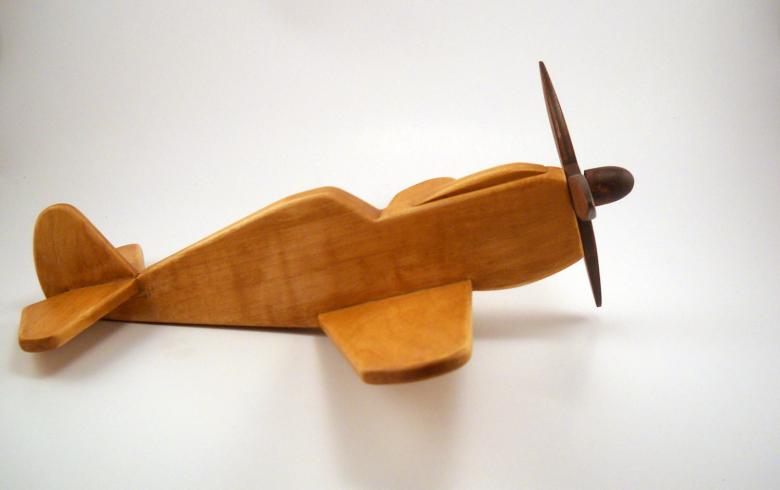
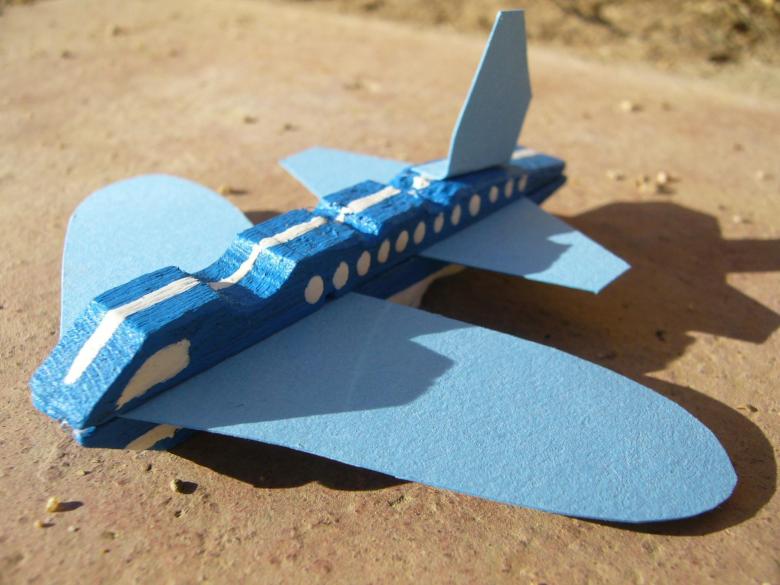
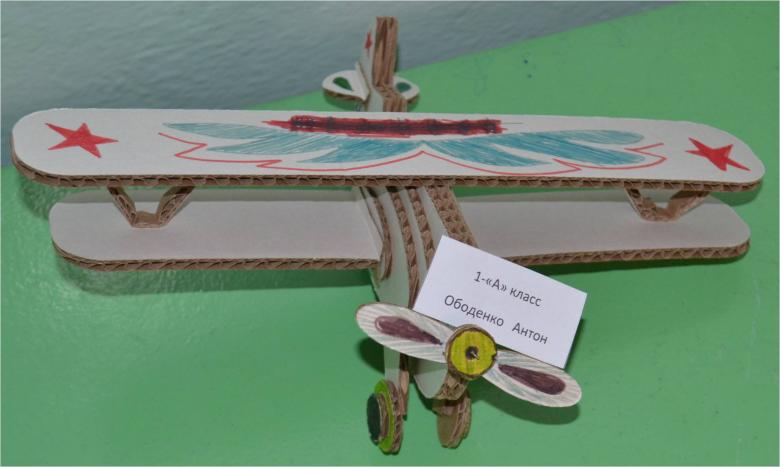
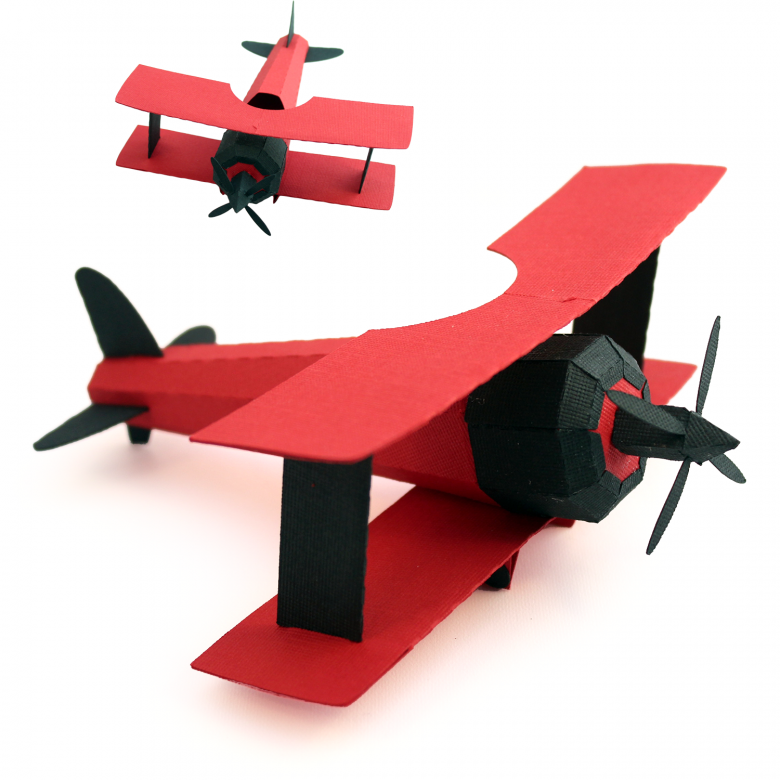
Moving on to another type of craft, nonfunctional, but aesthetically pleasing. In other words, these planes will not fly, but they are quite worthy as an interesting gift for a loved one.
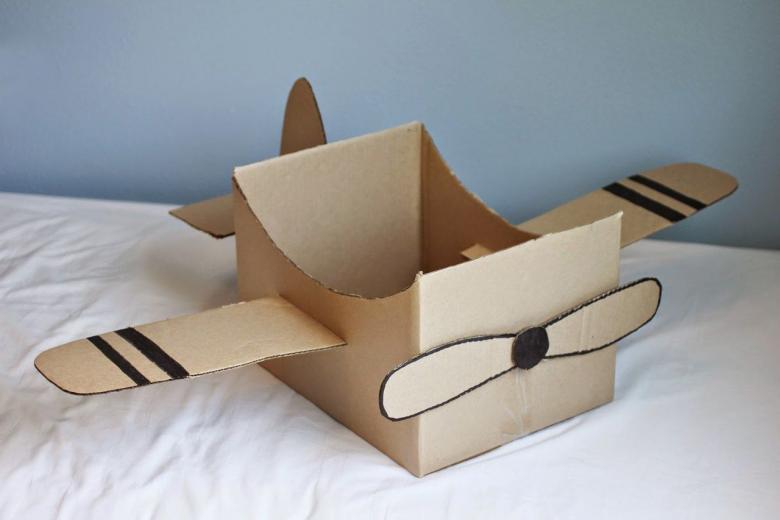
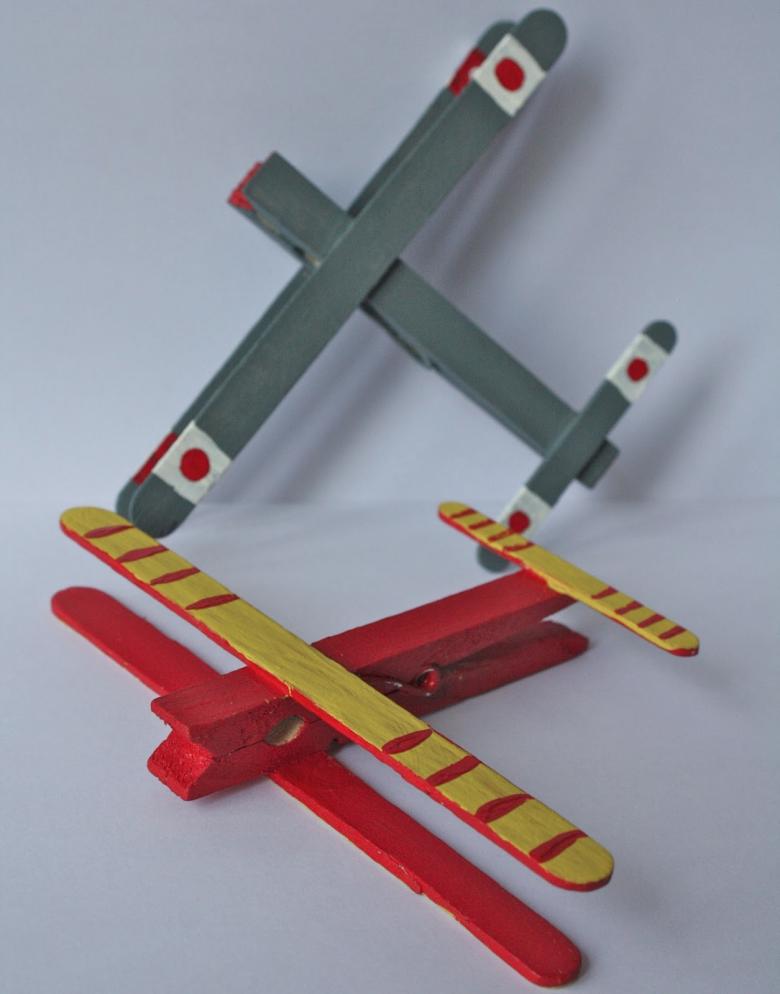
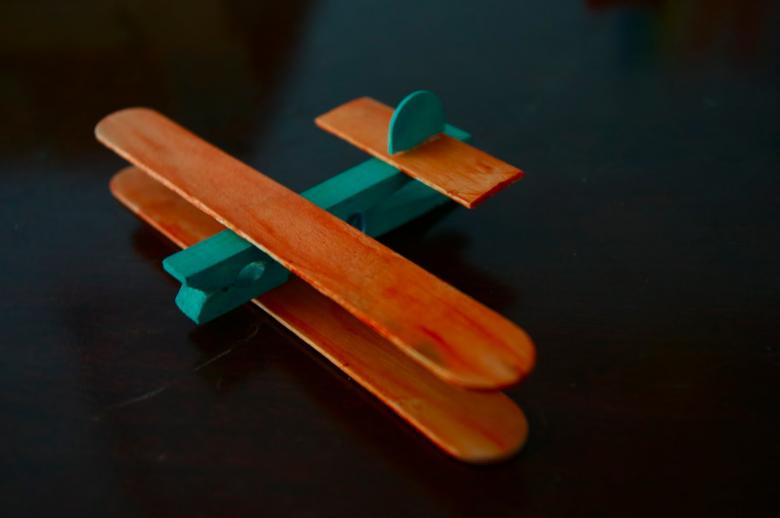
And now we are going to look at just such a craft - an airplane from handicrafts.
Airplane in six steps
Prepare:
- glue;
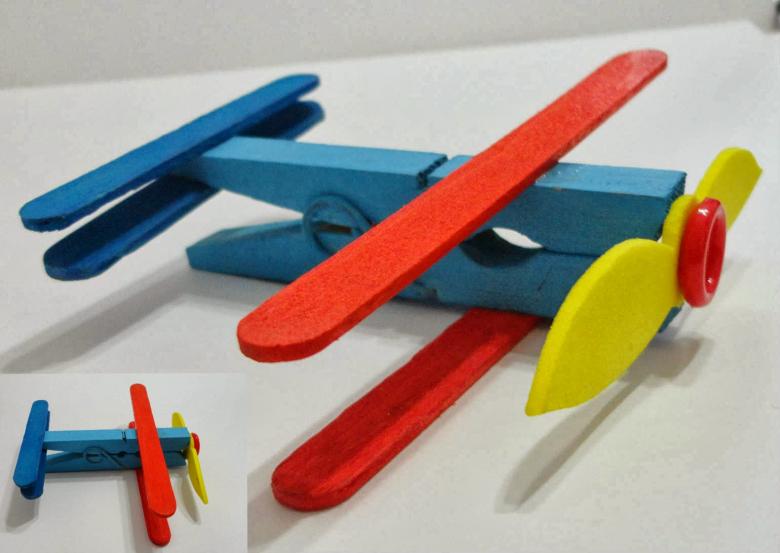
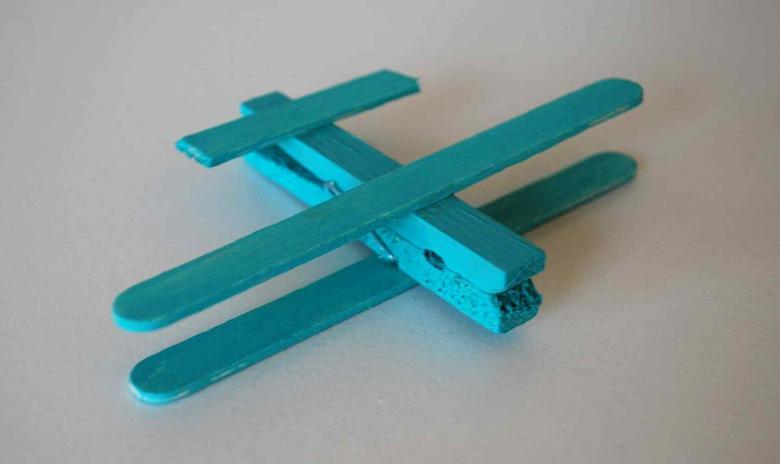
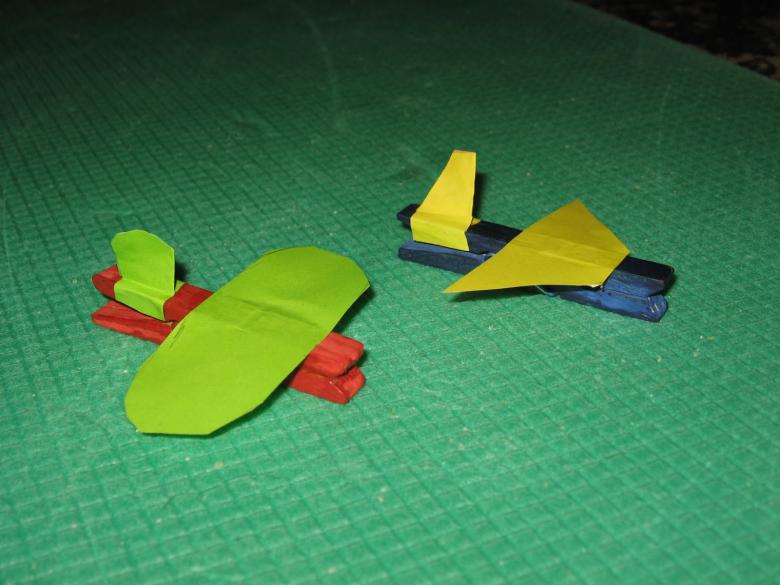
- wooden clothespin;
- popsicle stick;
- cotton stick;
- A piece of colored cardboard;
- scissors.

Making:
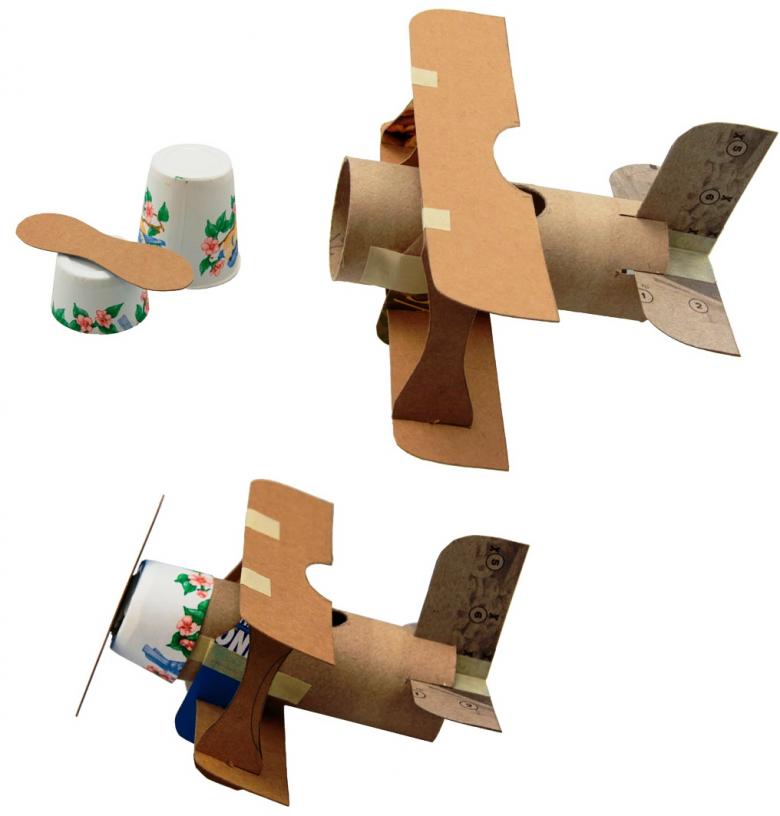
- Clamp the popsicle stick with a clothespin.
- From a piece of cardboard cut out a propeller with four blades.
- Cut a piece of absorbent cotton and put the blades on it.
- Glue it to the front of the clothespin.
- Cut out and bend the blank for the tail.
- Glue it to the back of the clothespin.
All right, the plane is ready. It is so easy to make, even a kindergarten student can cope with it.
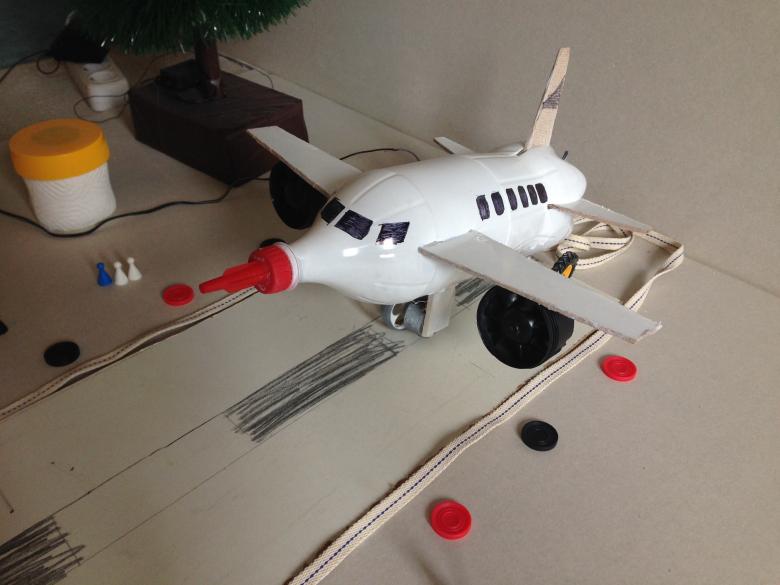
Airplane from a plastic bottle
This handicraft is good because in addition to fun, it can be useful. Try making a small airplane piggy bank.
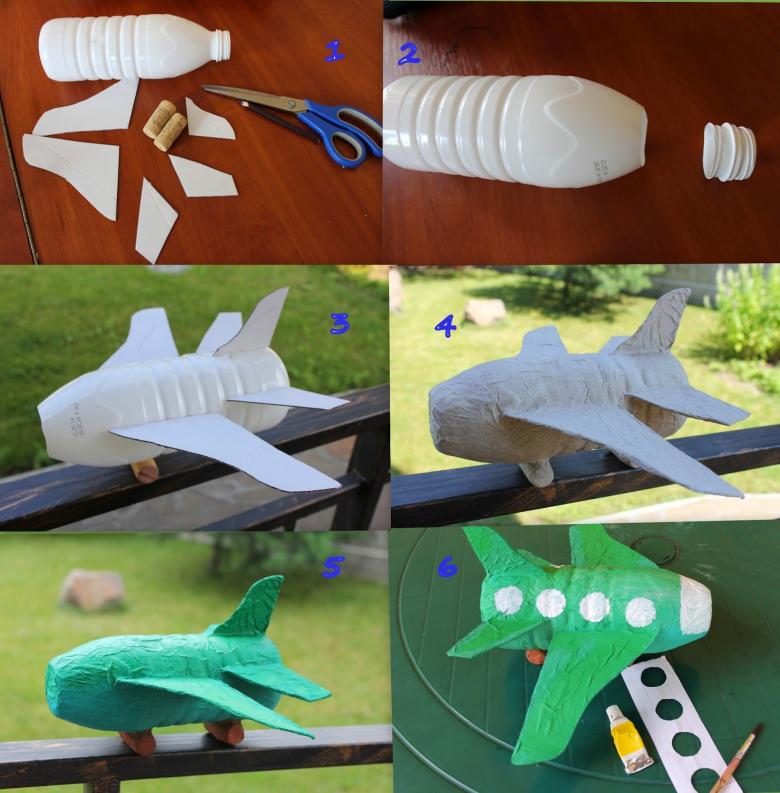
Airplane piggy bank in 10 steps
Take:
- A half-liter plastic bottle;
- colored paper;
- double sided tape;
- a simple pencil;
- scissors;
- ruler.

Algorithm:
- Since the future plane is a piggy bank, we start with a hole for coins. On the side of the bottle, cut a slit in the form of a rectangle 2 by 0.5 cm.
- On white paper draw two silhouettes of the body of the plane with a tail. Each of them should look like a Latin L. Carefully cut out blanks.
- Glue them to the bottle so that they have embraced it in a circle. Glue the tails. Keep in mind that the neck of the bottle will be the nose of the plane.
- Once again, cut a hole for the coins - now you have it glued to the paper.
- Now make the motors (they will also act as coasters). Draw on colored paper rectangles 10 by 3 cm, cut out, roll up into rolls, glue to the bottom of the bottle.
- Draw and cut out the wings. Use colored paper for all parts. Only the body of the airplane will remain white. Glue them over the "engines".
- Move on to the propeller. Remove the cork from the bottle and circle it. Draw a bigger circle and paddles on it. There can be as two, three or four of them.
- Cut out the blank on the outer and inner edge, put it on the neck and screw the cork.
- Make the portholes. Cut out several circles and glue them to the fuselage. The main thing is to have an even number of them, the same on both sides.
- And the final detail. From colored paper cut two small elongated rectangles and glue them to the sides of the tail.

Instead of plastic bottles in all the crafts you can use metal beverage cans.
But note: the cuts in them children, even if they are already in school, are unlikely to be able to do themselves. You will definitely need adult help here.
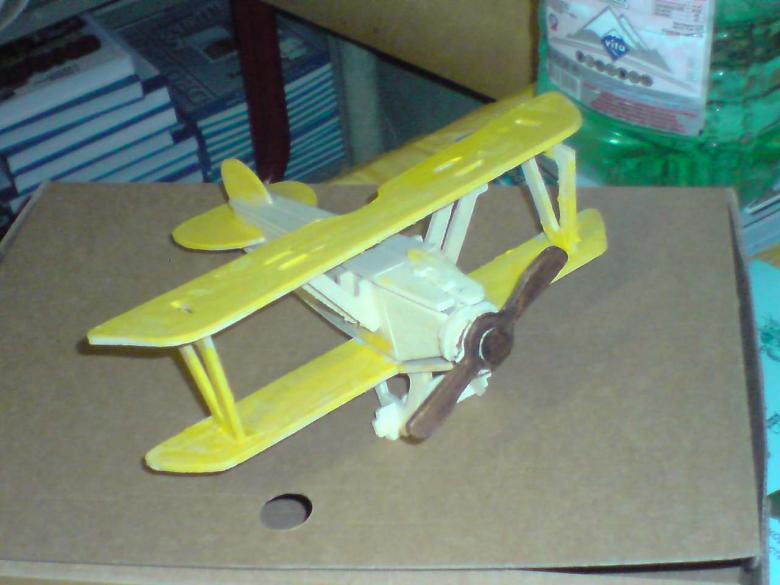
A variation without the use of glue
It is possible to make such a toy without gluing the fuselage and without using glue at all. We need only scissors, a bottle and cardboard.
- Cut out two large rectangles for the wings, three smaller ones for the tail and separately for the propeller.
- Put on the propeller as in the previous version and press the cork.
- For the wings, make two slits in the sides and insert them there.
- For the tail, make three slits in the back of the bottle: one at the top, two on the sides. Insert the blanks.
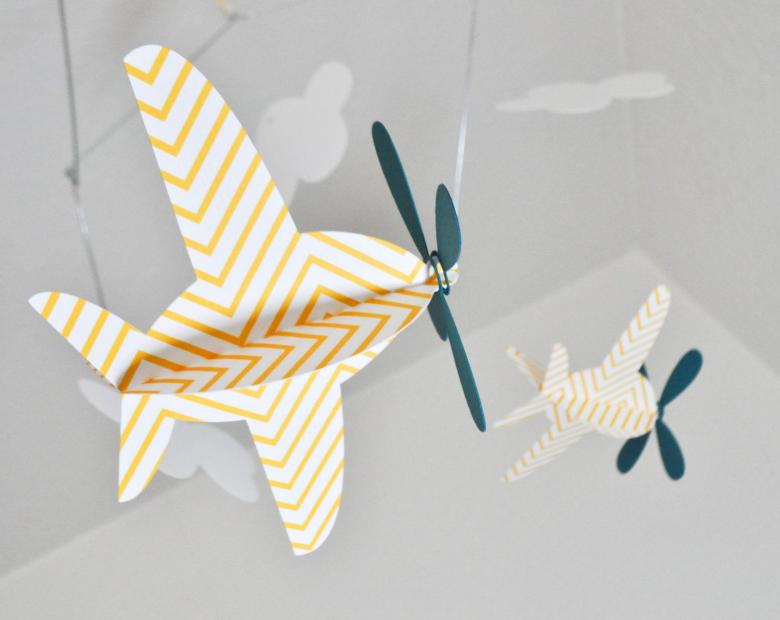
The plane is ready. It can also be used as a piggy bank, if you make a slot at the top. And since it is transparent, it will be visible whether there is already a lot of money.
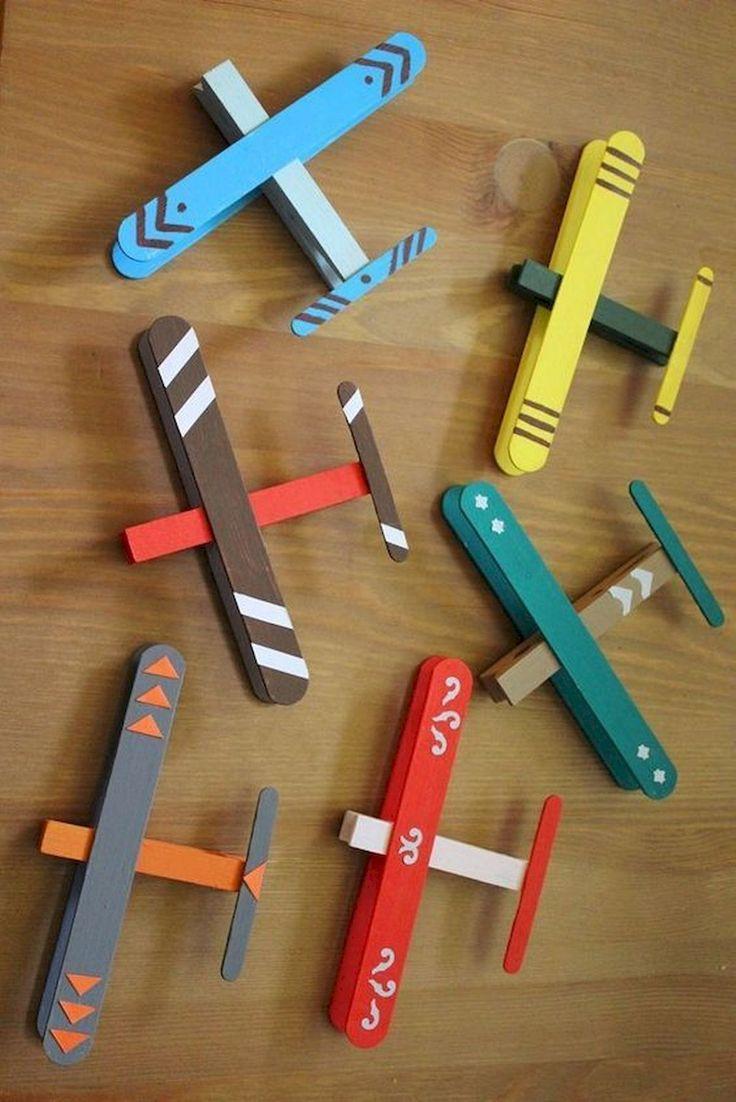
Airplane with landing gear in nine steps
Our previous models didn't have wheels: they were either on the "engines" or right on the belly. If you want your plane to be closer to the real thing, read what to make the landing gear for it from.
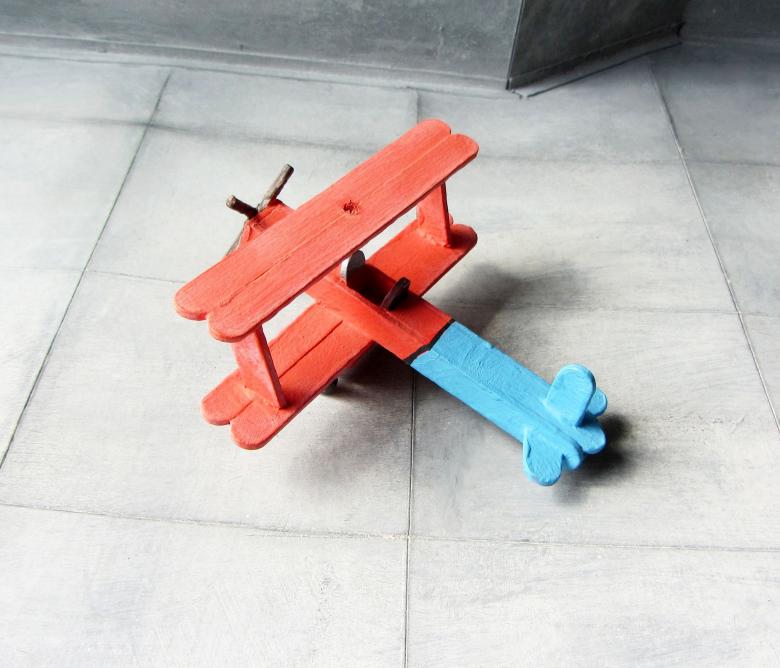
Prepare:
- A liter plastic bottle (0.6 can be used);
- three lids;
- cocktail straw;
- cardboard;
- newspaper;
- glue;
- brush;
- gouache;
- glue gun.
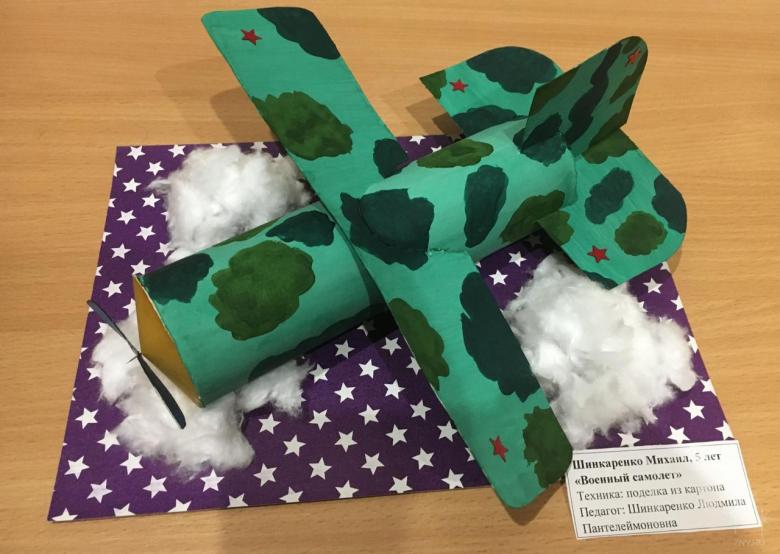
Algorithm:
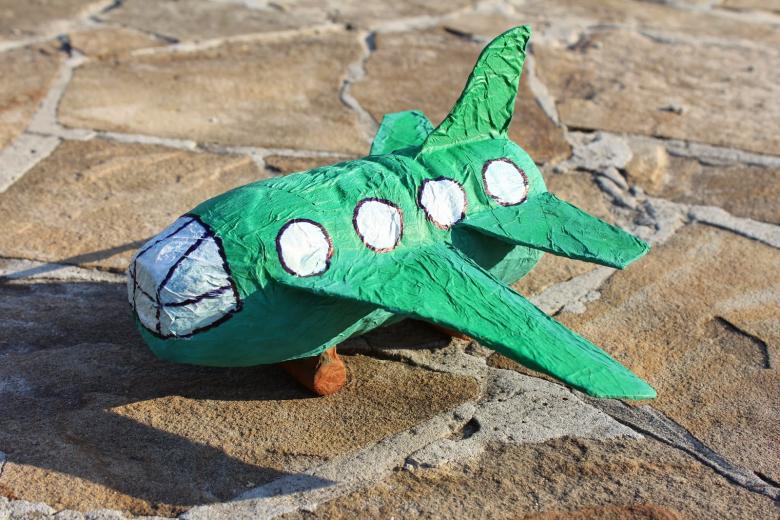
- Cover the bottle with a thick layer of newsprint. Let it dry.
- Next you need to cut out cardboard tail, wings and propeller. Also cover them with newspaper. Note: for the wings we need two large greatly elongated ovals.
- Moving on to the landing gear. Take the caps and tubing. Shorten the tube to the required length and with a glue gun at both ends attach caps to it.
- Glue the tail to the neck of the bottle.
- Attach the wings not in the middle, but a little closer to the tail of the plane, one at the top perpendicular to the fuselage, the other at the bottom.
- Glue another cap in the center of the bottom of the bottle, with the propeller to it.
- Glue landing gear to bottom wing.
- Between the wings on the right and left glue cocktail straws crosswise.
- All you have to do is paint the plane and it's ready.
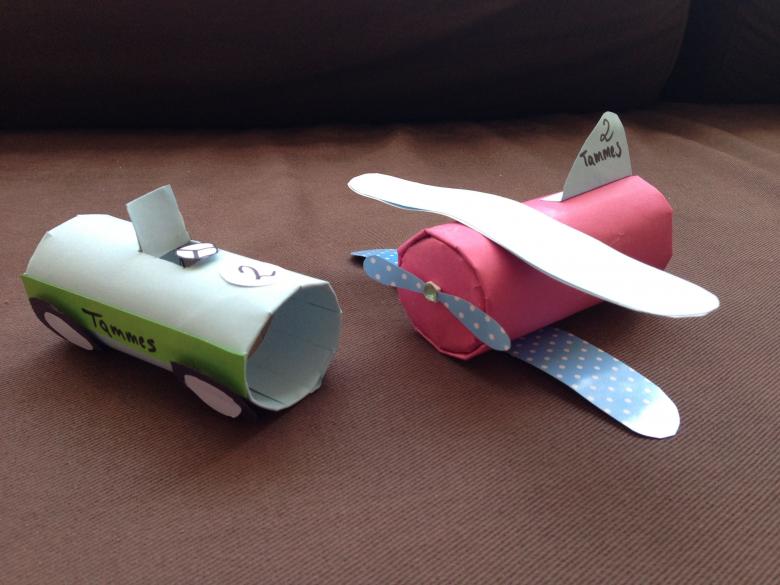
There are many ideas for making an airplane, but we told you about the basic techniques that can be used. Now you can guess how to make an airplane out of a toilet paper sleeve or a matchbox. The main thing is to have more imagination, and numerous pictures from the Internet will help you. Have a nice flight!

