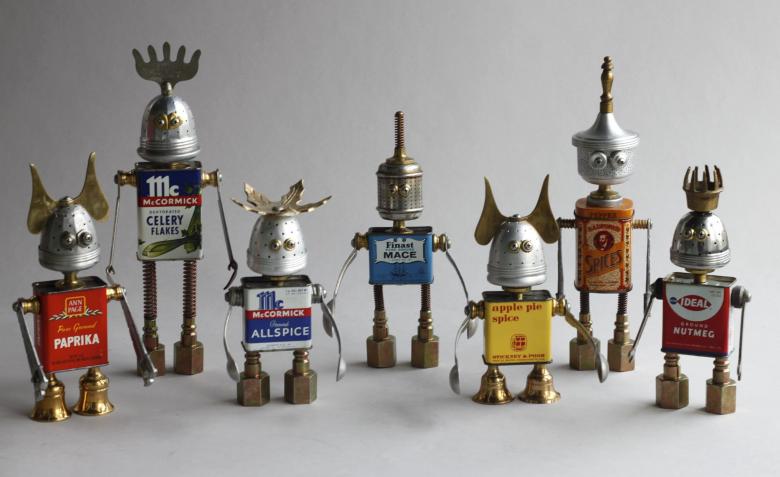
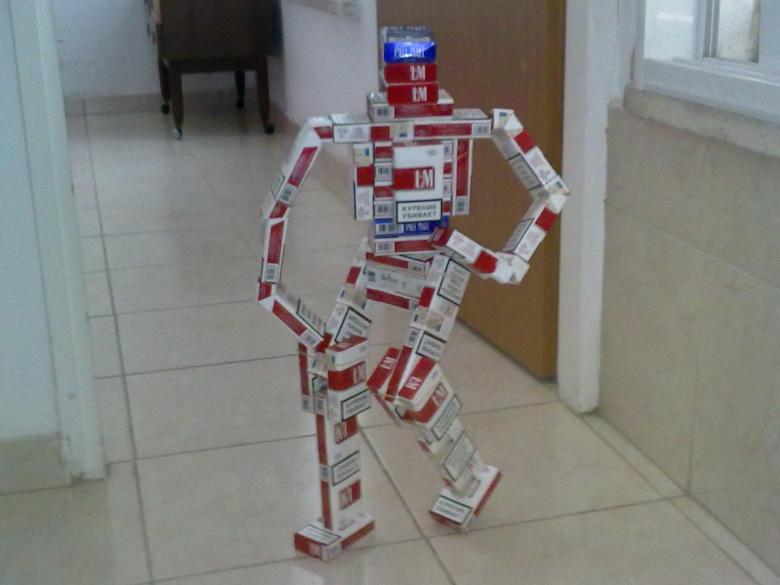
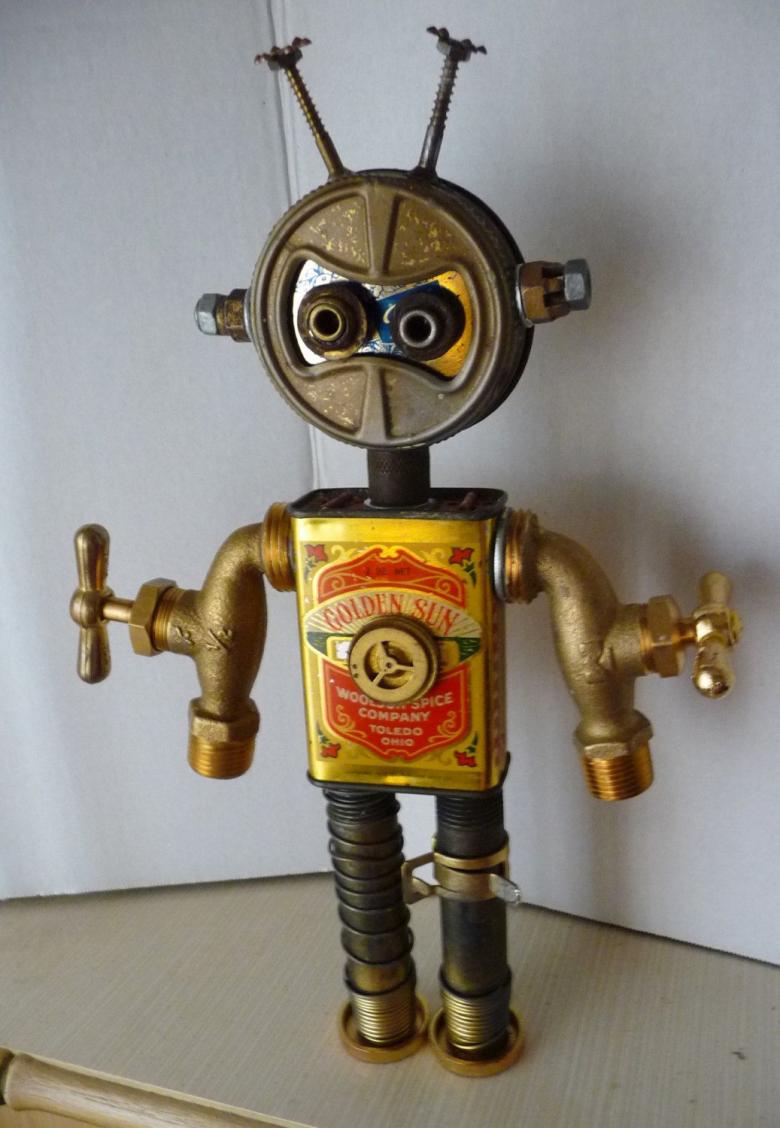
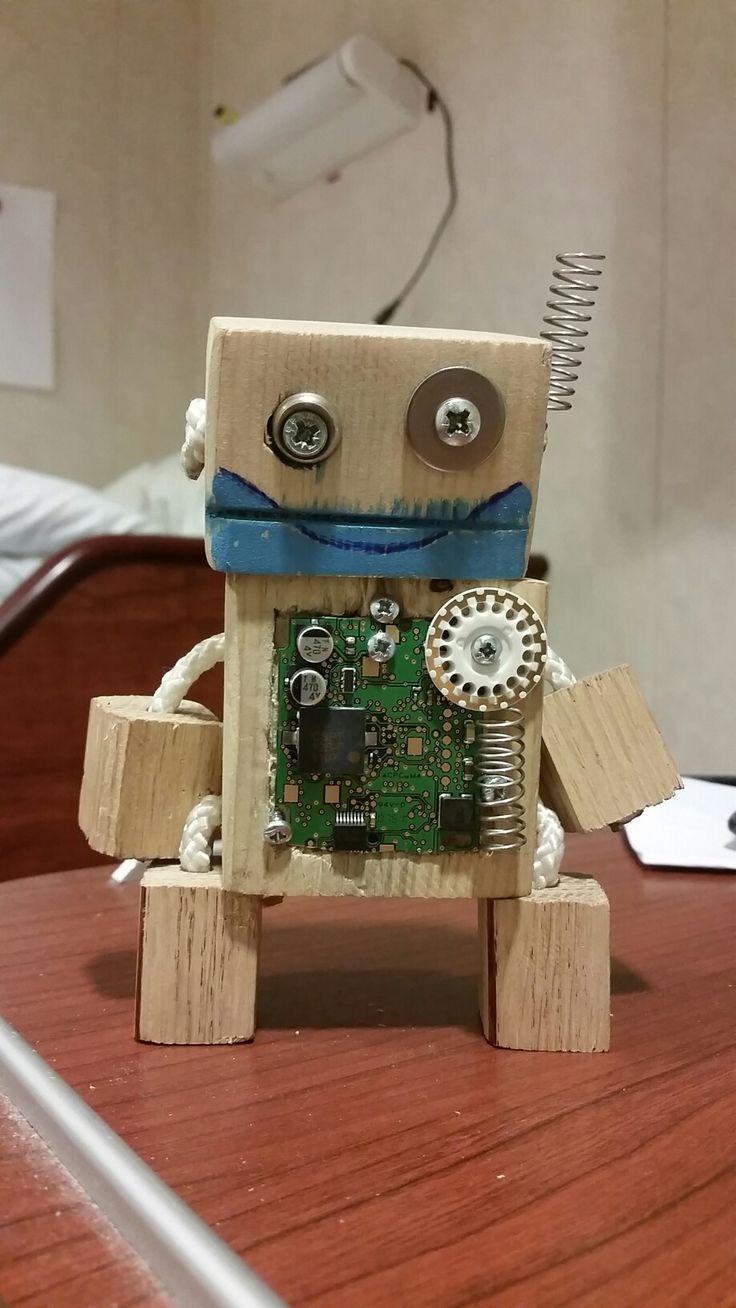
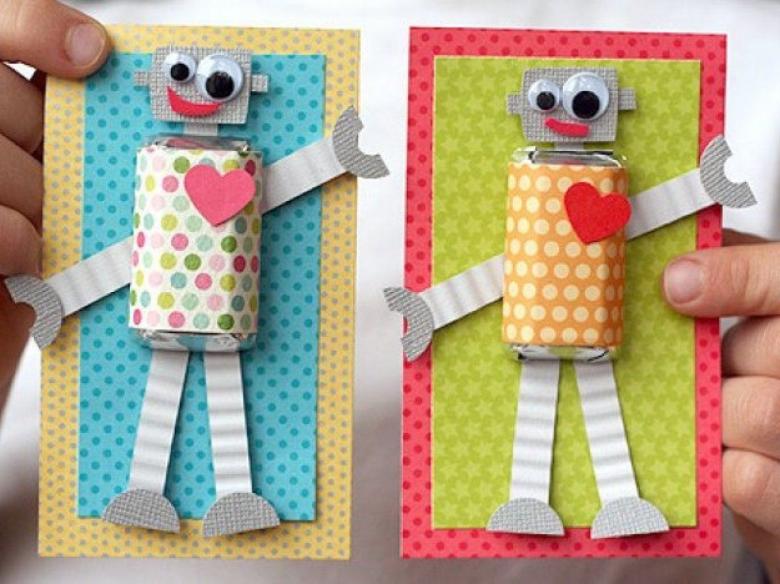
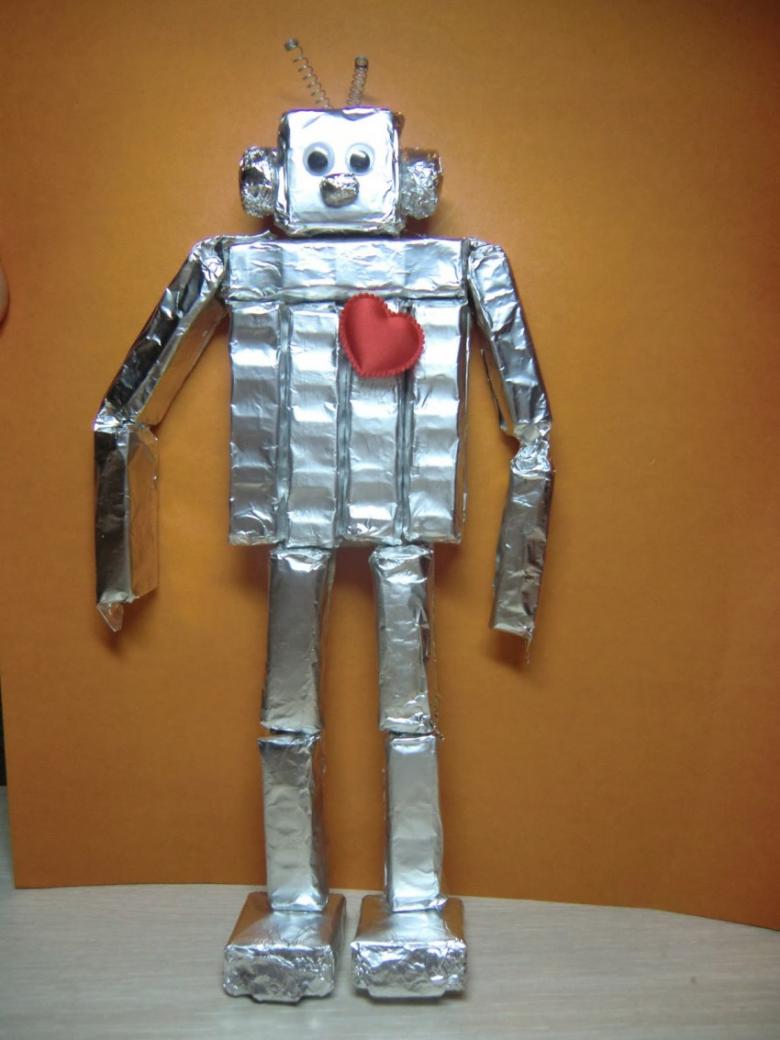
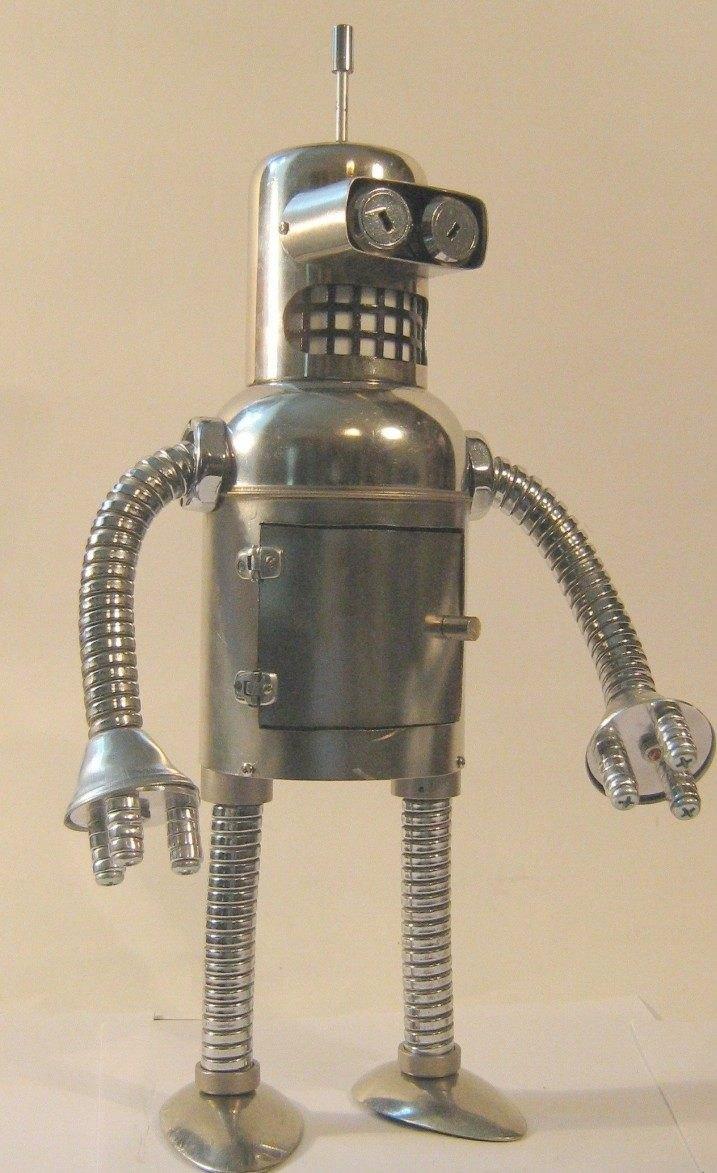
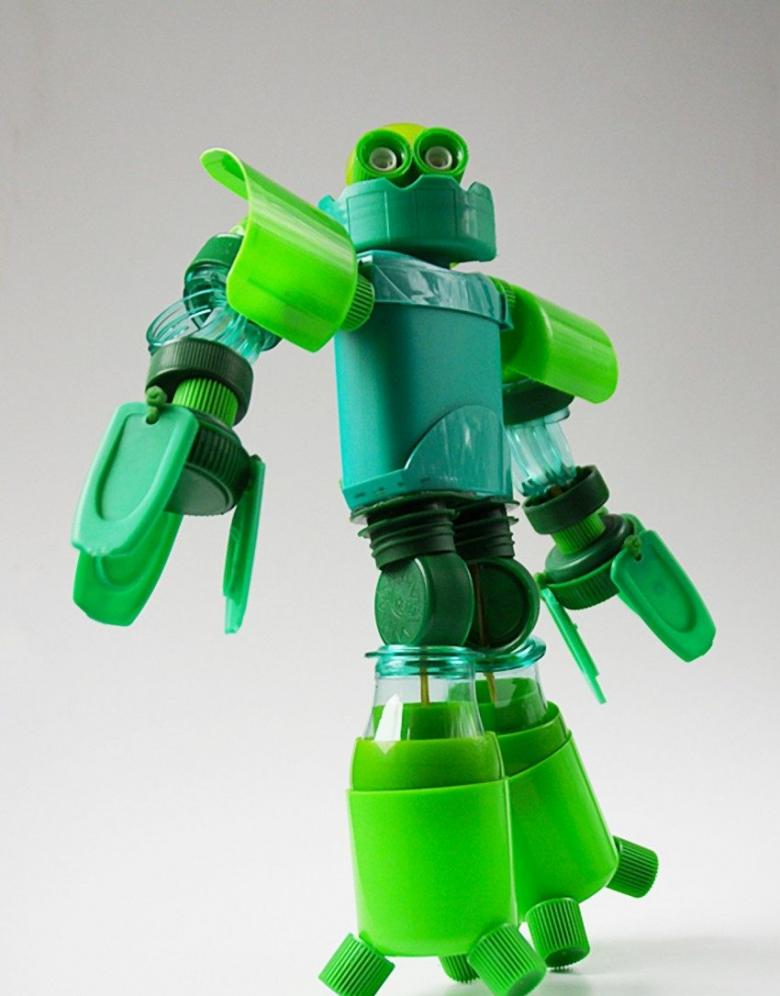
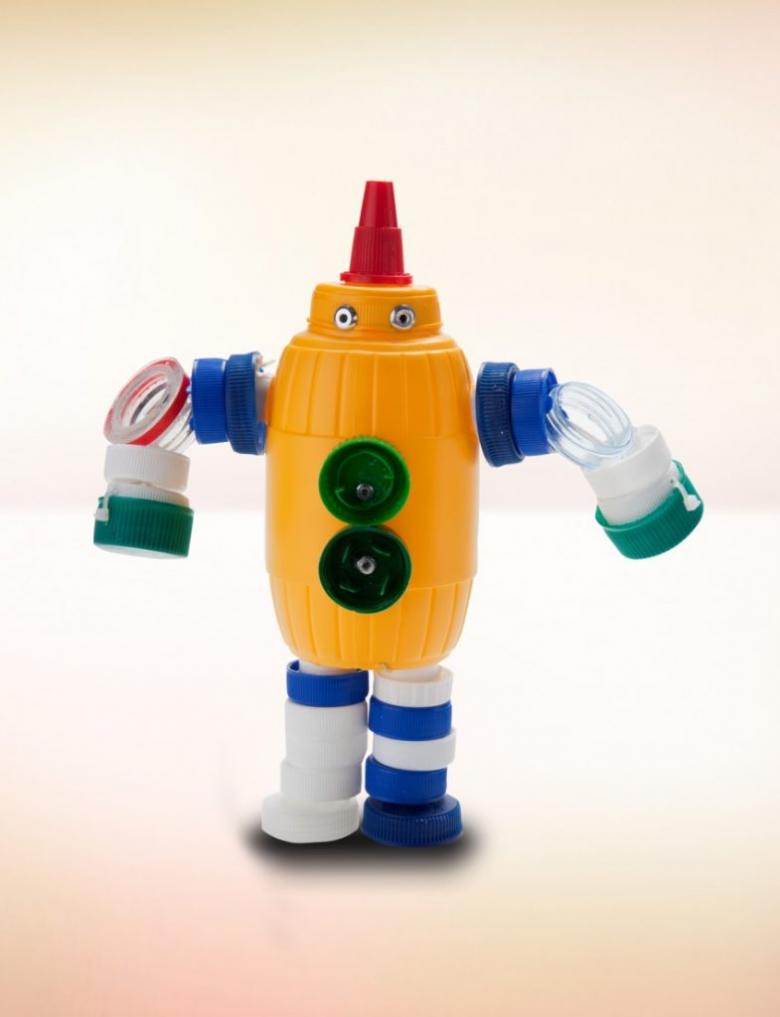
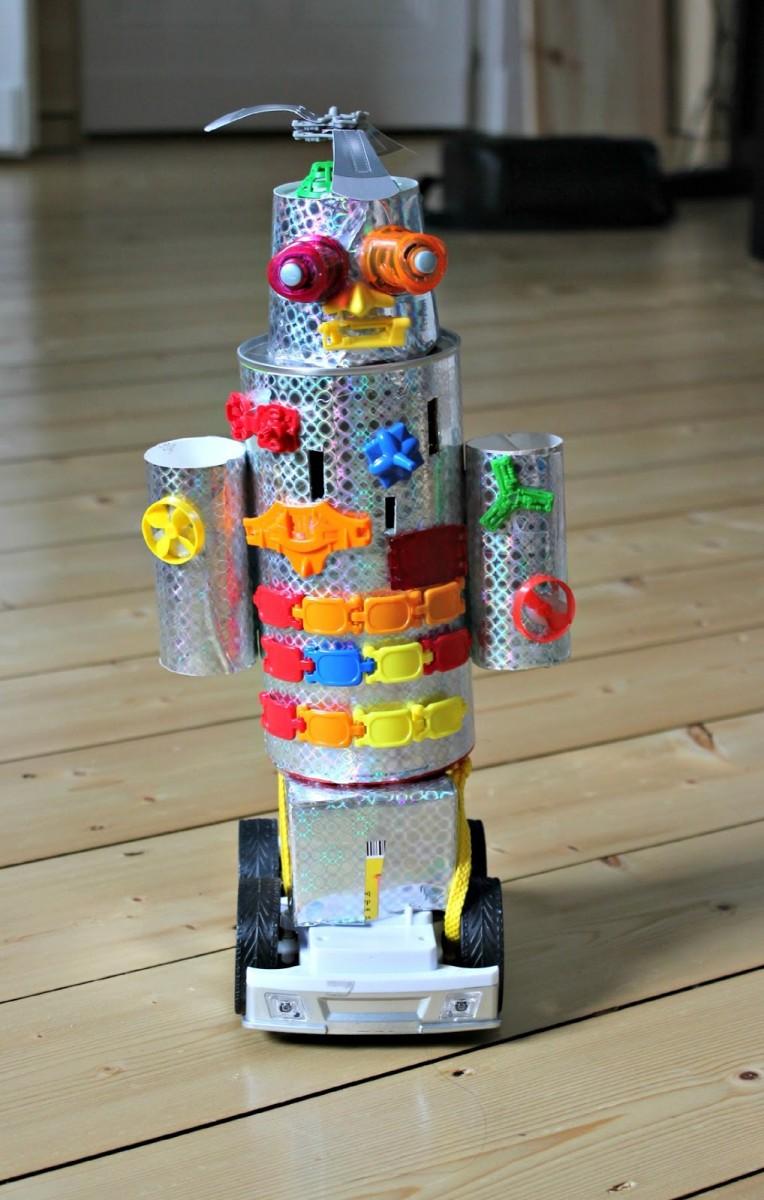
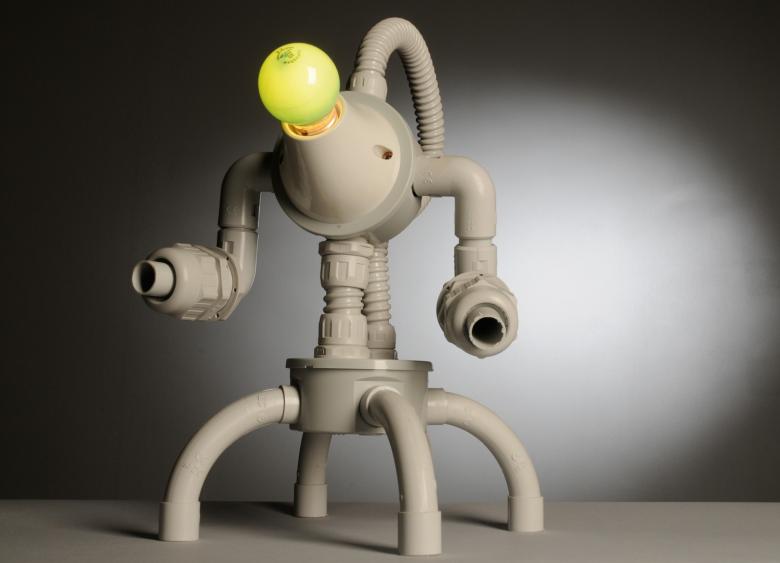
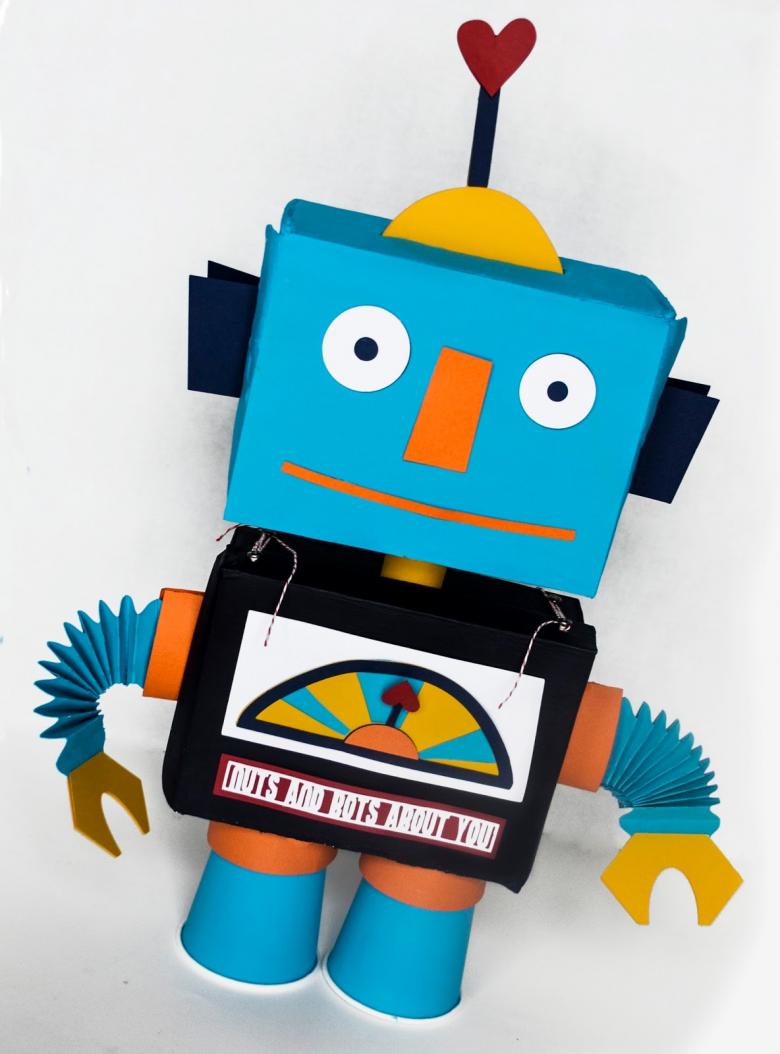
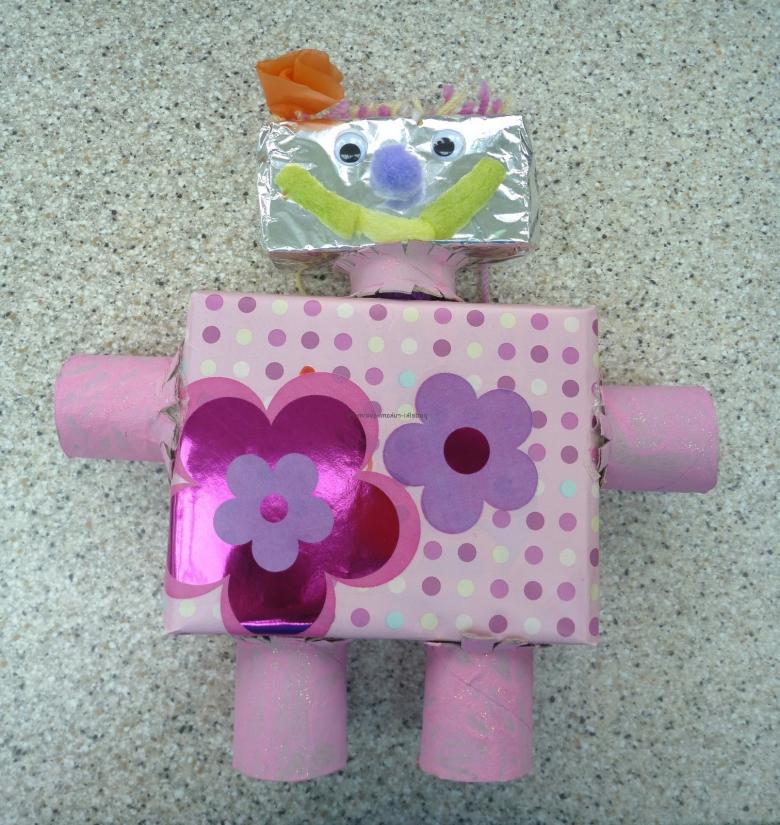
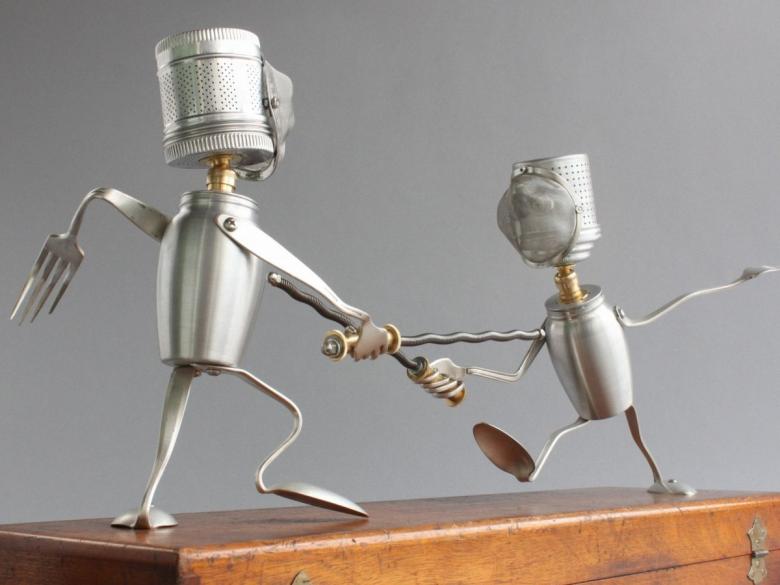
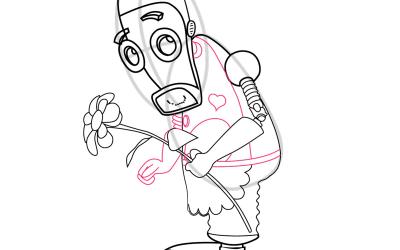
Handmade robot with improvised materials - interesting master classes with examples of photos and ideas
Boys are difficult to captivate creativity. They will never agree to cut flowers from paper and make applications out of them. But if this craft - a robot, then here you sonishku not pull away from the table, because he is so enthusiastic about the work that he will offer different new options.
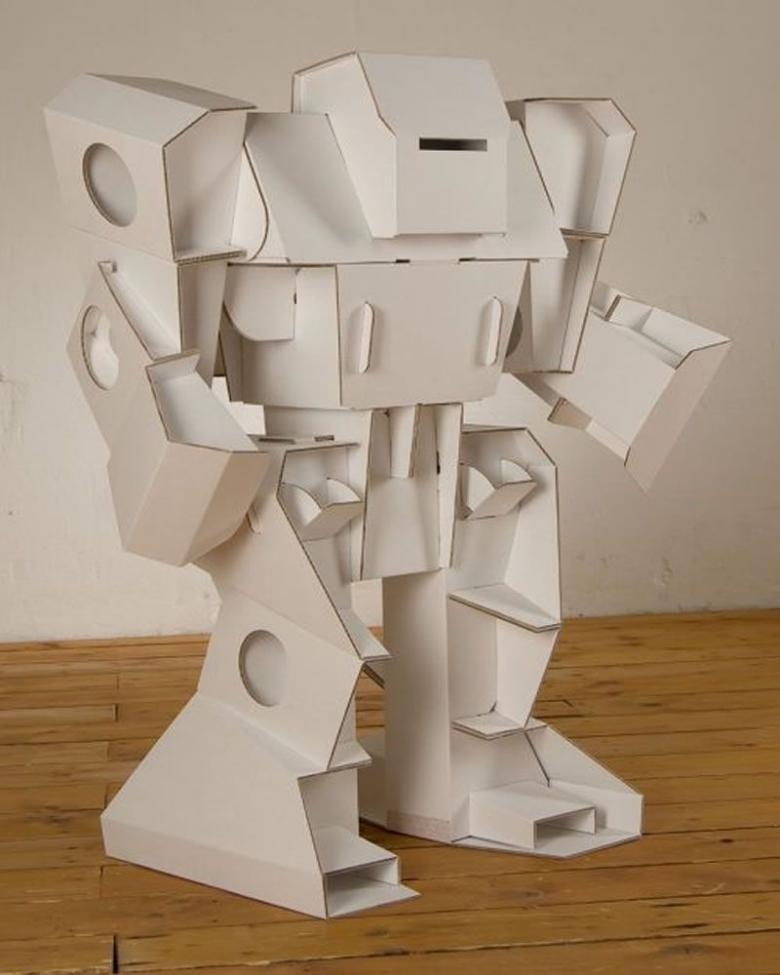
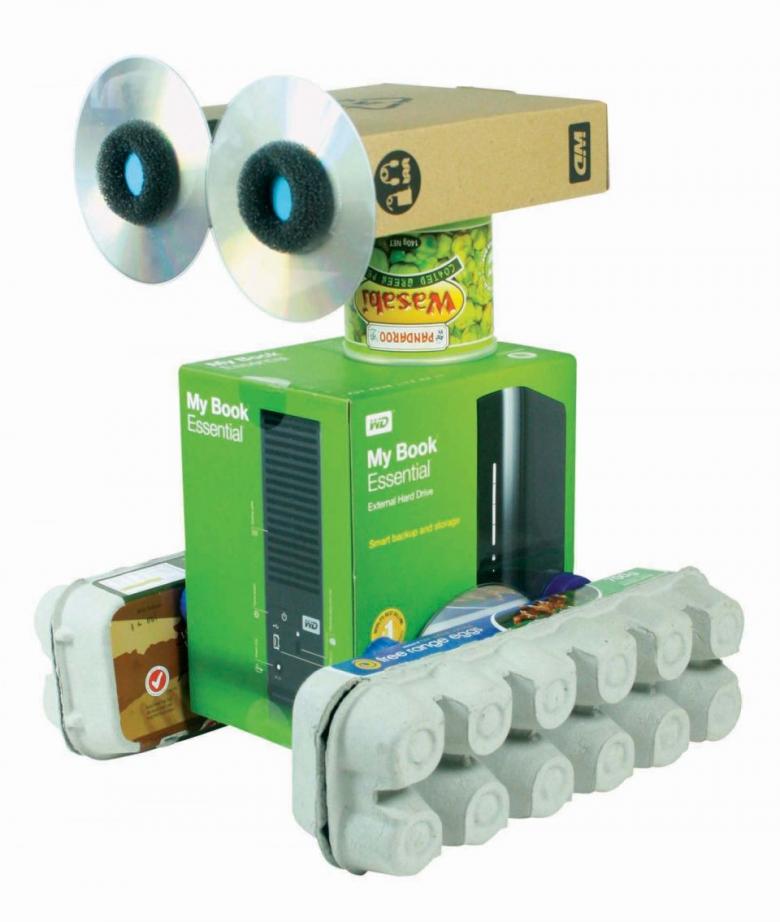
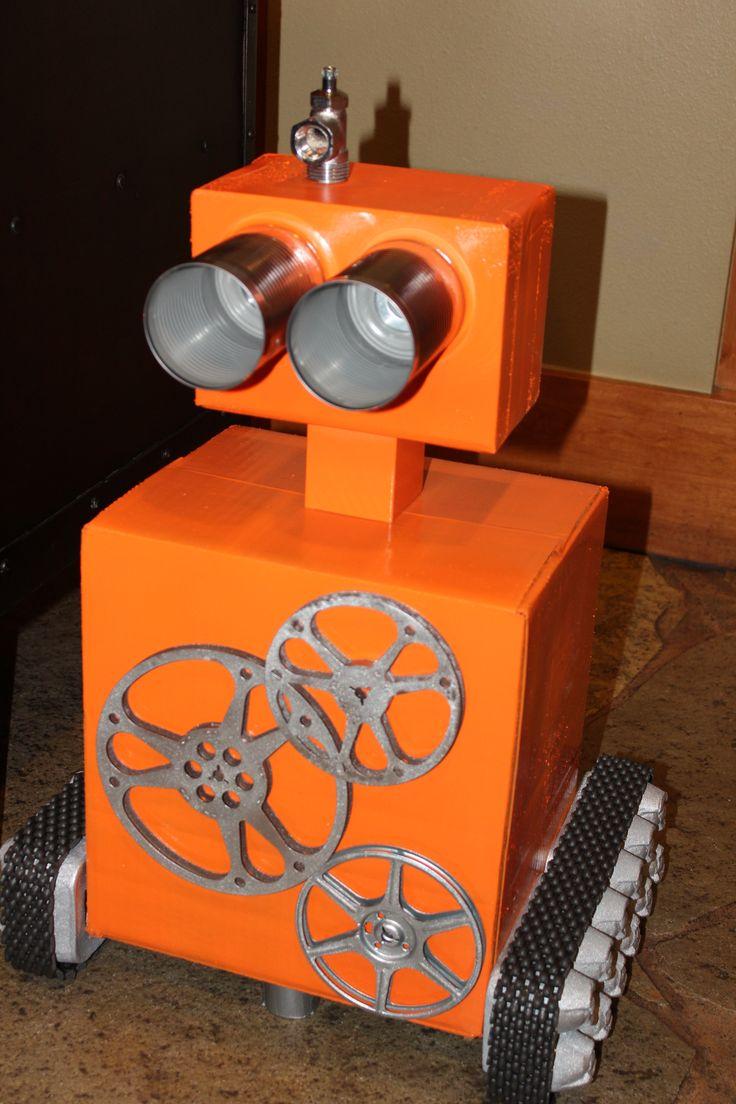
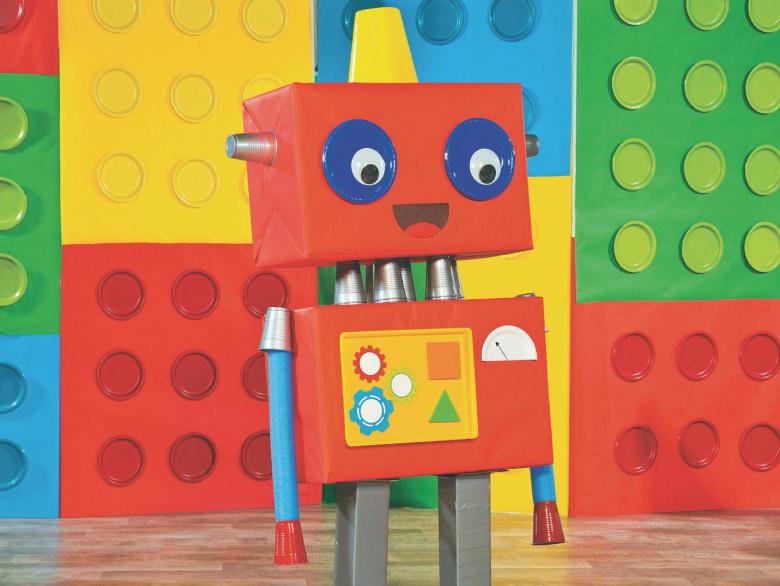
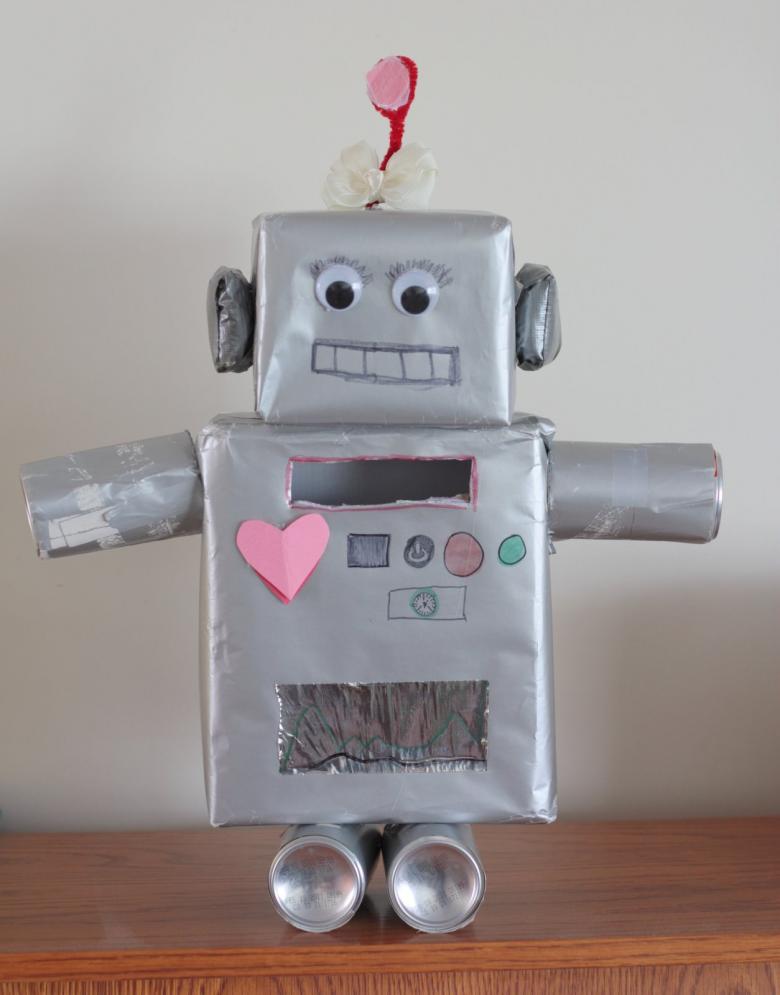
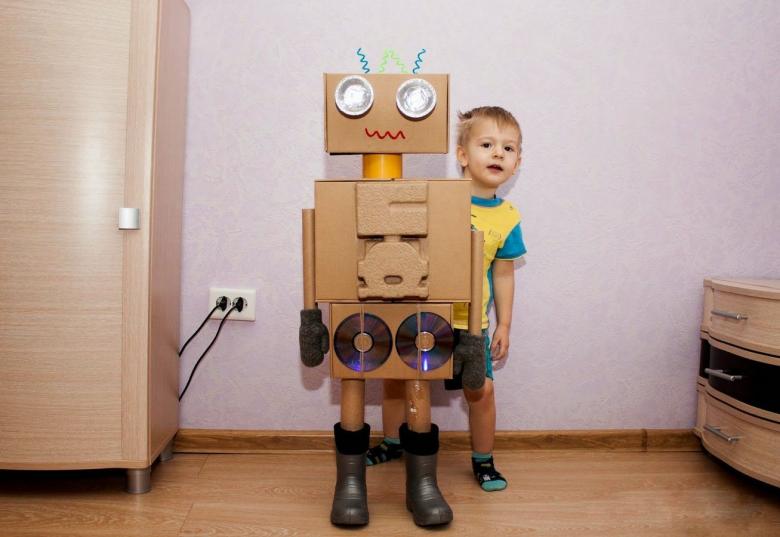
The robot from cardboard boxes
If you do not throw away the cardboard boxes, and collect them in sufficient quantity, you can give your child the idea to make a wonderful robot with their own hands. For the work prepare the following materials:
- three cardboard boxes of different sizes;
- shaped packaging from some kind of spare parts;
- two round forms for cupcakes made of foil;
- chenille wire;
- two cardboard rolls of food foil;
- two bases from a Christmas cracker;
- two rolls of duct tape;
- Two CDs.
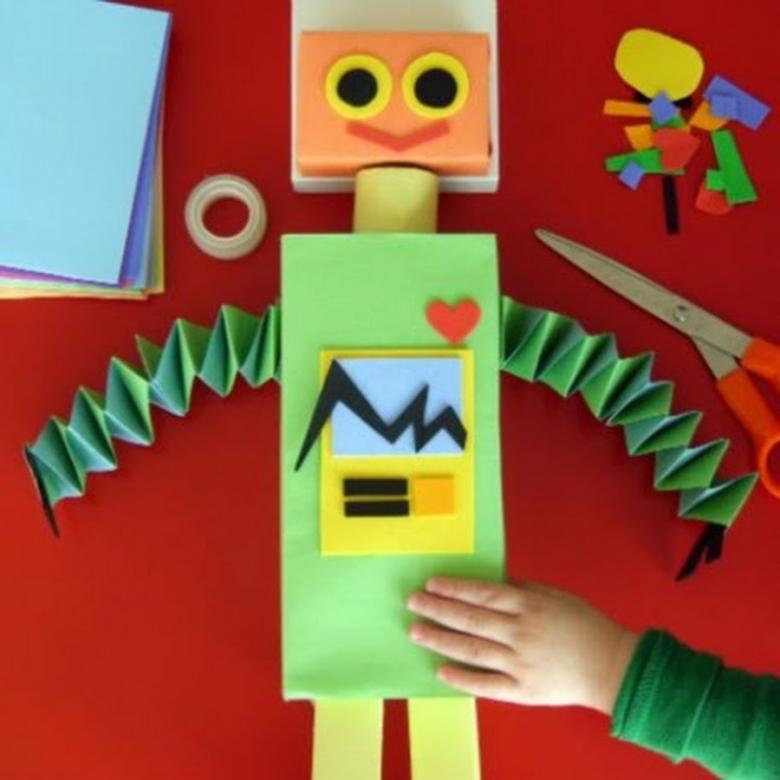
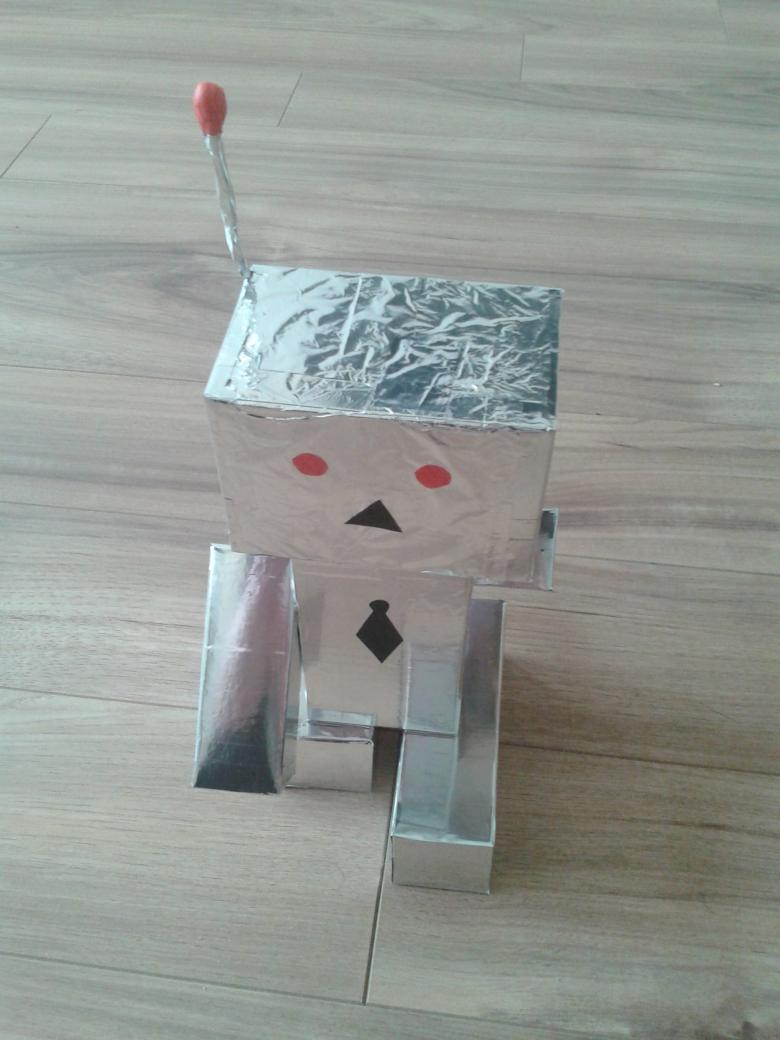
Let's begin assembling the new product. First of all, the boxes should be turned inside out, to get away from the eyes of the various inscriptions. You can not turn out, but then have to cover the boxes with colored paper or foil. The smallest box - the head - is connected to the largest - the torso with a piece of tape - the neck. You can use glue, or you can work with double-sided tape.
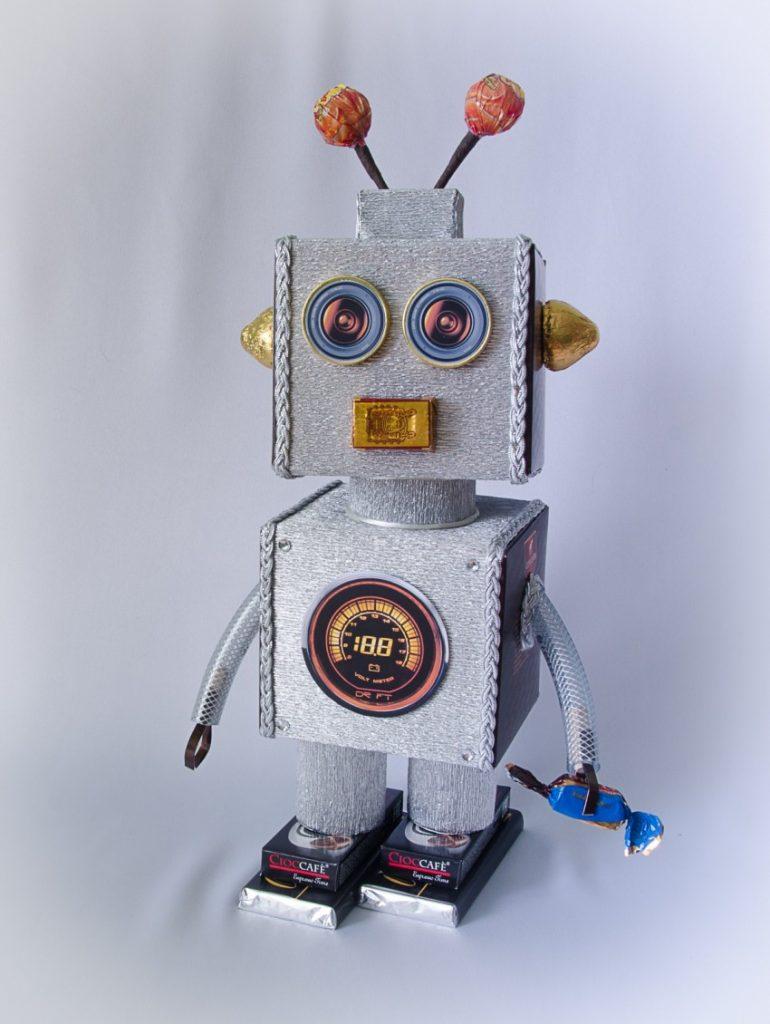
Now we add pants to the robot - glue a medium-sized box to the torso.
Tie the arms - rolls of food foil - and the legs - the bases of Christmas crackers - with ropes. In the middle of the chest we glue a shaped package for volume, and decorate the pants with two discs.
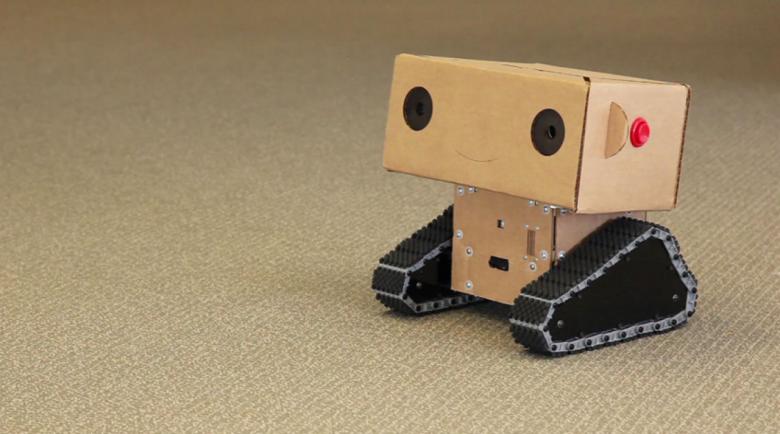
On the front side of the head we cut two circles and stick them into the holes in the cupcake molds - these are our eyes. The mouth and the signal antennas on the top are made from twisted wire.
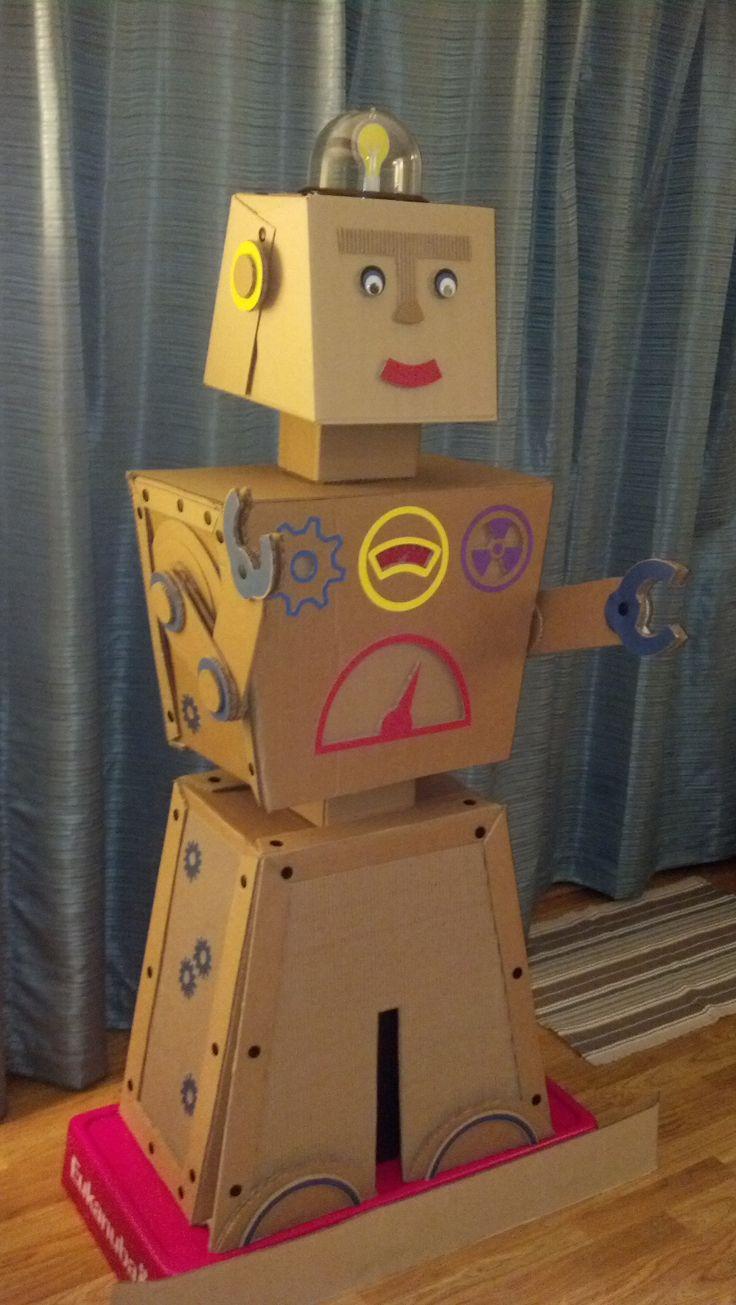
Cut the remaining scotch tape in half and glue it to the sides of the head - these are the ears of our toy.
The design will not be very stable, so you can put the robot in children's shoes or boots.
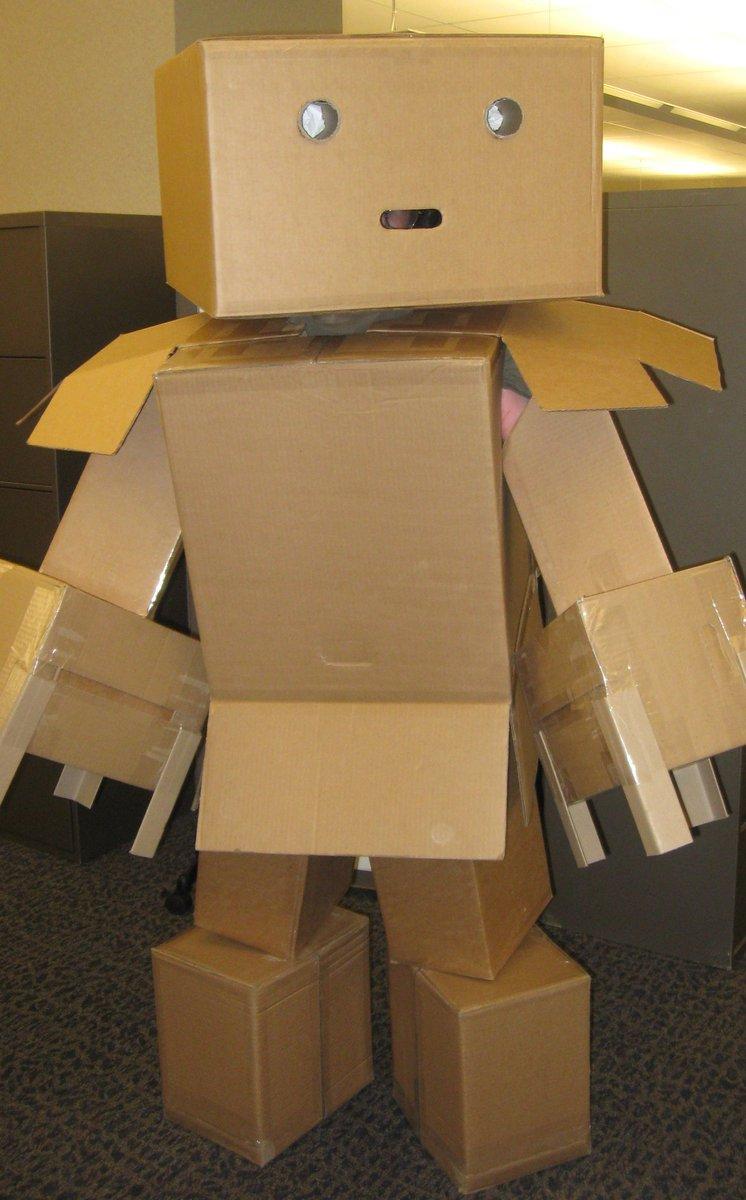
If the kid wants to, he can decorate his new friend with applique and even take to the next day in kindergarten to show off his peers.
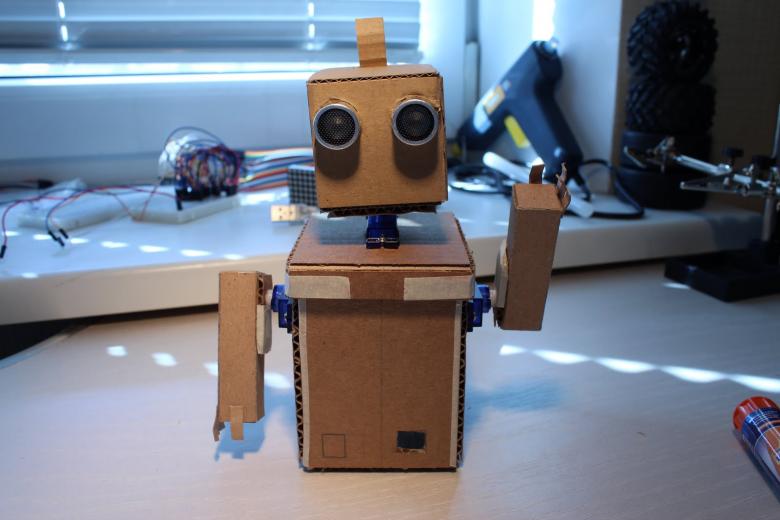
New Year costume
If you have a big box, they can make a masquerade costume for a child. In this case, a box-head immediately glued to the box-torso. Cut a square hole in the head so that the baby can look through it.
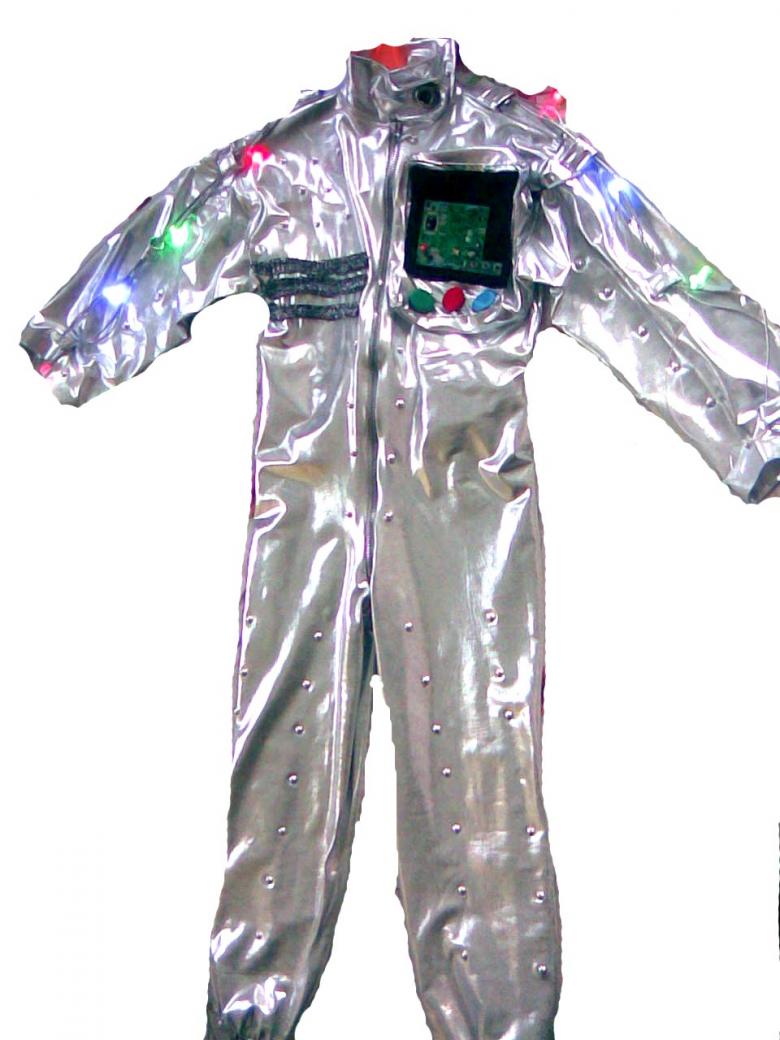
Inside, make a slot for the son's head. And make the robot arms and legs from flexible ventilation pipes, choosing the right diameter.

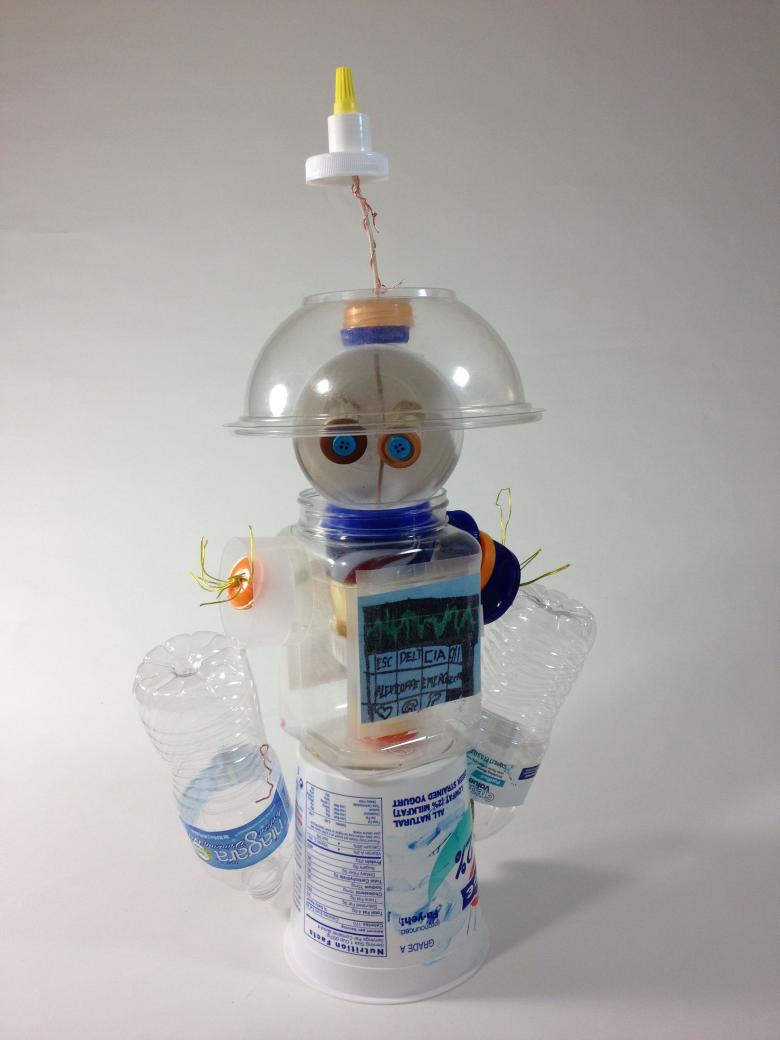
The robot from plastic bottles
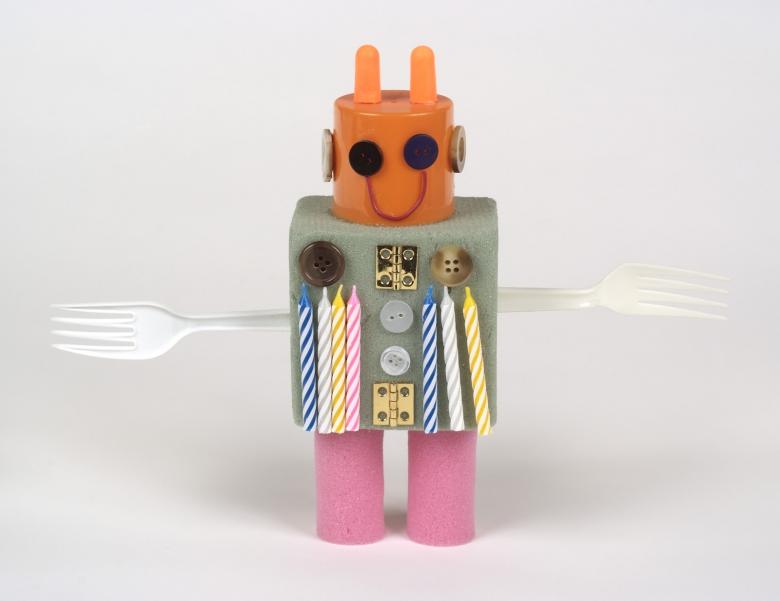
You can also make a robot from the simplest material - plastic bottles. For the craft prepare:
- opaque cola bottle;
- a toy bucket from a set of children's utensils;
- two forks;
- three lids from plastic bottles;
- Two wheels from a toy car, connected to the chassis.
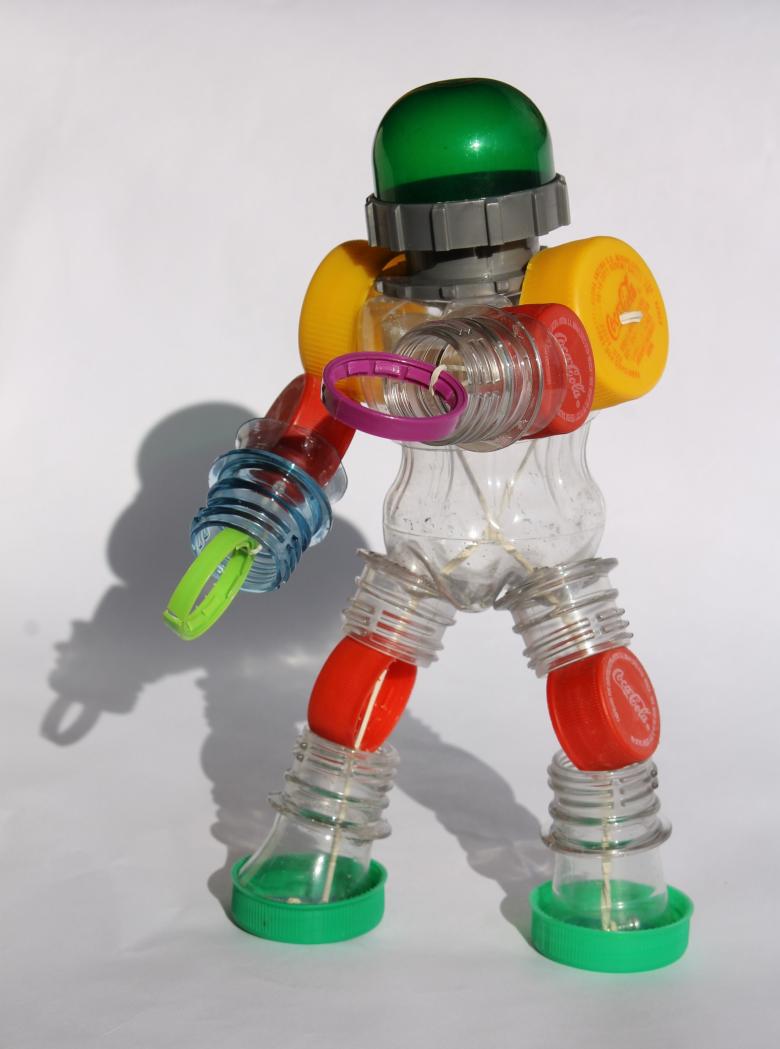
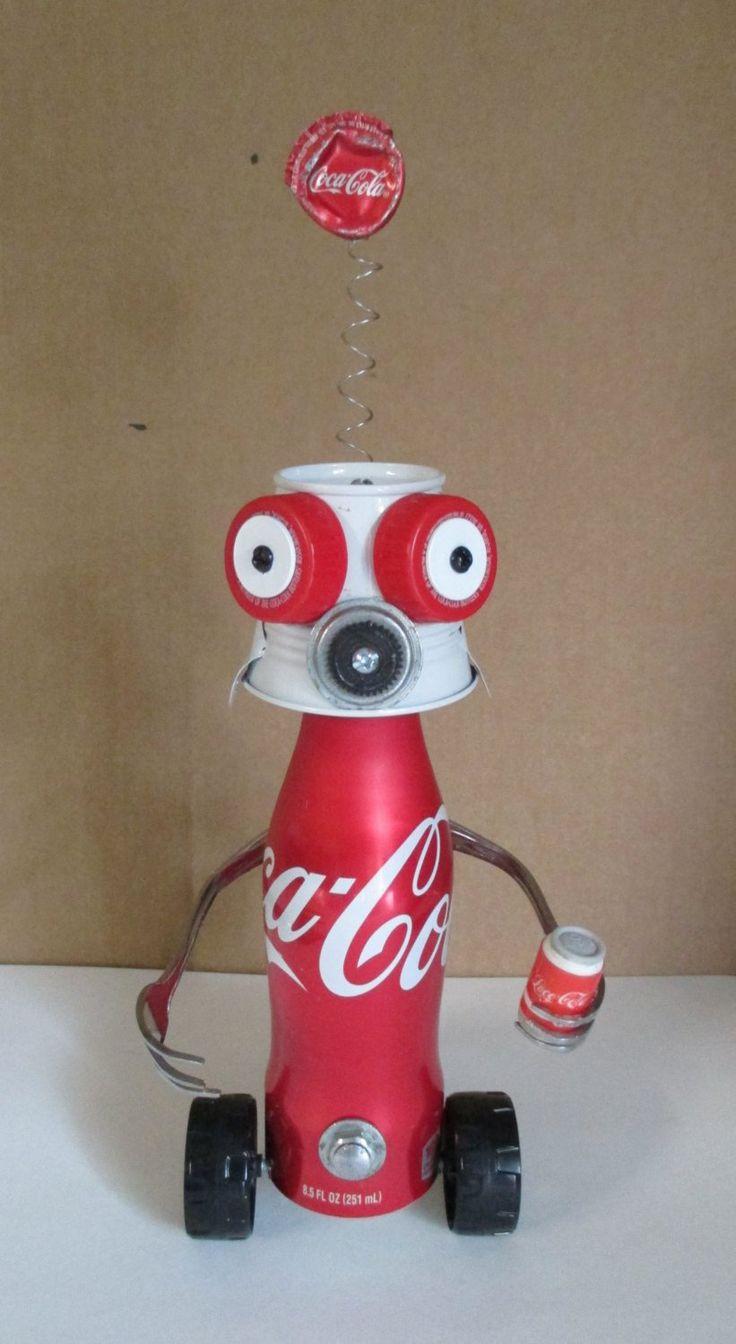
At the bottom of the sides of the bottle make two holes through which to pass the chassis and screw the wheels. We bend two forks, which are arms, and attach them to the torso at the back with bolts. On the head we put a bucket, to which we attach two bigger tops - for the eyes, and a smaller one in the middle - for the mouth. Decorate the robot, as your imagination dictates.
From bottles and duct tape
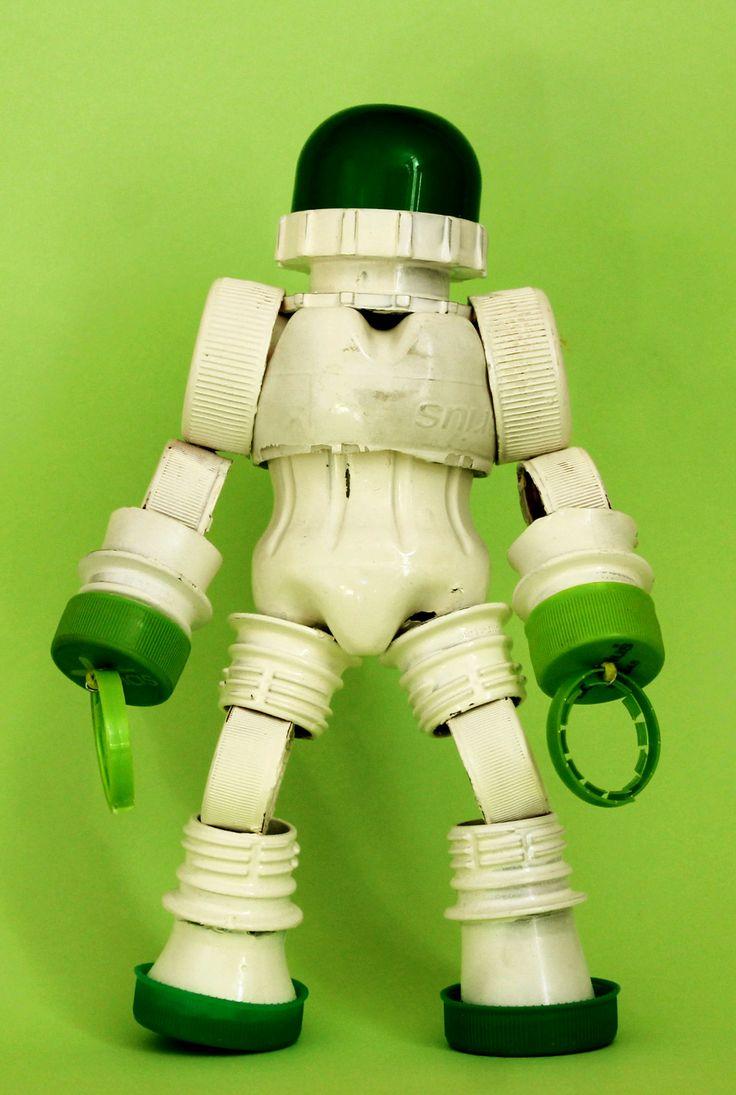
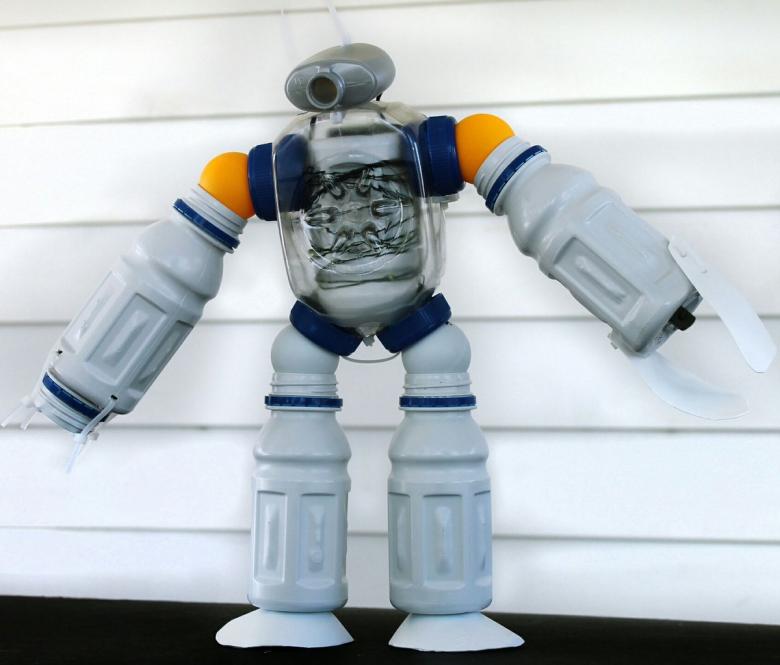
If the previous design seemed too complicated for you to make, you can do with an easier method. Tape three 1.5 liter plastic bottles together without removing the corks - this is the body of the robot. To each extreme bottle cork to cork tape one more of the same bottle - you get the legs.
Cut the next bottle in half and tape the half without the cork to the middle bottle - that is the head. Decorate the head with two corks - the eyes.

Hands can be made from half-liter bottles, cutting them in segments and connecting them to each other.
From two more bottles cut out palms and attach them to the hands. Your handiwork is ready!
Robot from the caps
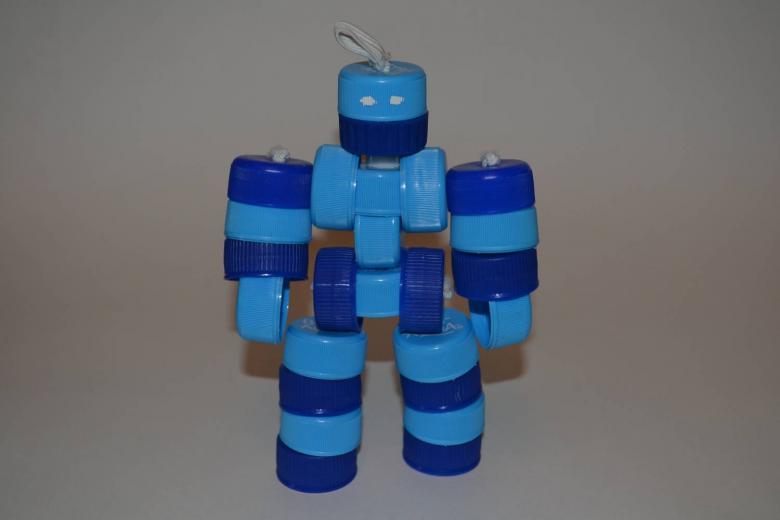
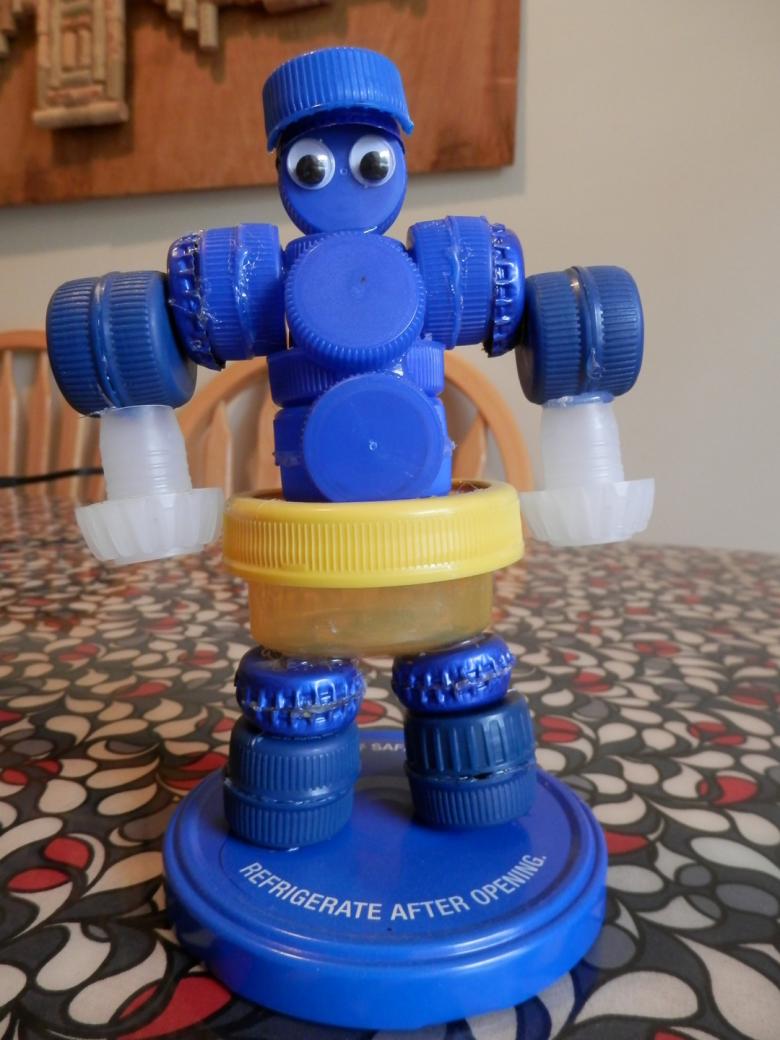
A rather interesting robot will turn out of plastic lids. Thanks to the rubber band that fastens all the elements, its arms and legs will move. Here is a detailed master class for making a transformer out of 22 lids:
- For each leg, you will need 4 lids. In the first two we make a hole with a hot awl in the middle, in the third - in the bottom, but closer to the edge, and in the fourth we make two holes at once - in the center and on the side.
- Insert a needle into the rubber band on one side, and tighten a tight knot on the other side.
- Thread through the two lids with the center hole, then comes the lid with the center shifted and the lid with a hole in the side. Tie a rubber band to the knot.
- Following the same scheme to assemble the second leg.
- To make the hand we make a hole in the center of the three lids, and in the fourth - the side.
- First pull the needle with a rubber band in a cap with a side hole, then in turn - with the central hole. Tighten the rubber band on the knot.
- For the head we need one cap and one cap from a tube of toothpaste. For the body - five caps. Two of them have holes in the center, the other two have two symmetrical holes on each side, and the fifth one has three holes in the center and on each side.
- Pull the head cap, the toothpaste cap, and the three-hole cap together with a rubber band. Followed by a cap with two holes and a cap with one hole. The remaining two caps - shoulders - we put a rubber band in the side holes on the body.
- At the end of the cap arms make one side hole. Let the rubber band through it, then through the shoulder and cap with three holes. Next - the second cap of the shoulder and the outermost cap of the second hand.
- We pass the rubber band through the side hole in the leg, then it goes through the side holes of the lower torso cap, through the side hole in the second leg and ties off.
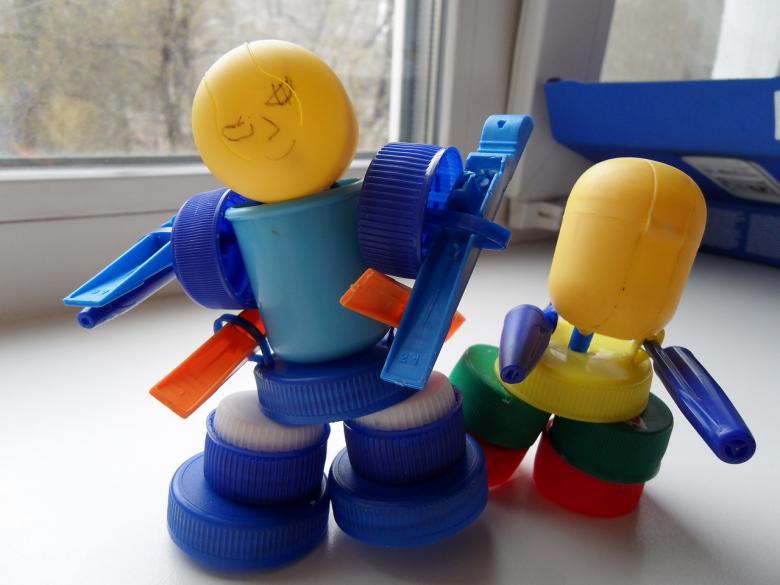
In principle, our robot-transformer is ready. It only remains to add his eyes. You can make holes in the lid-head, applique or attach them with plasticine. The robot will need a grenade launcher. The cap of a ballpoint pen will work well for this. It can be attached to the arm, placed behind the back or placed on the shoulder.
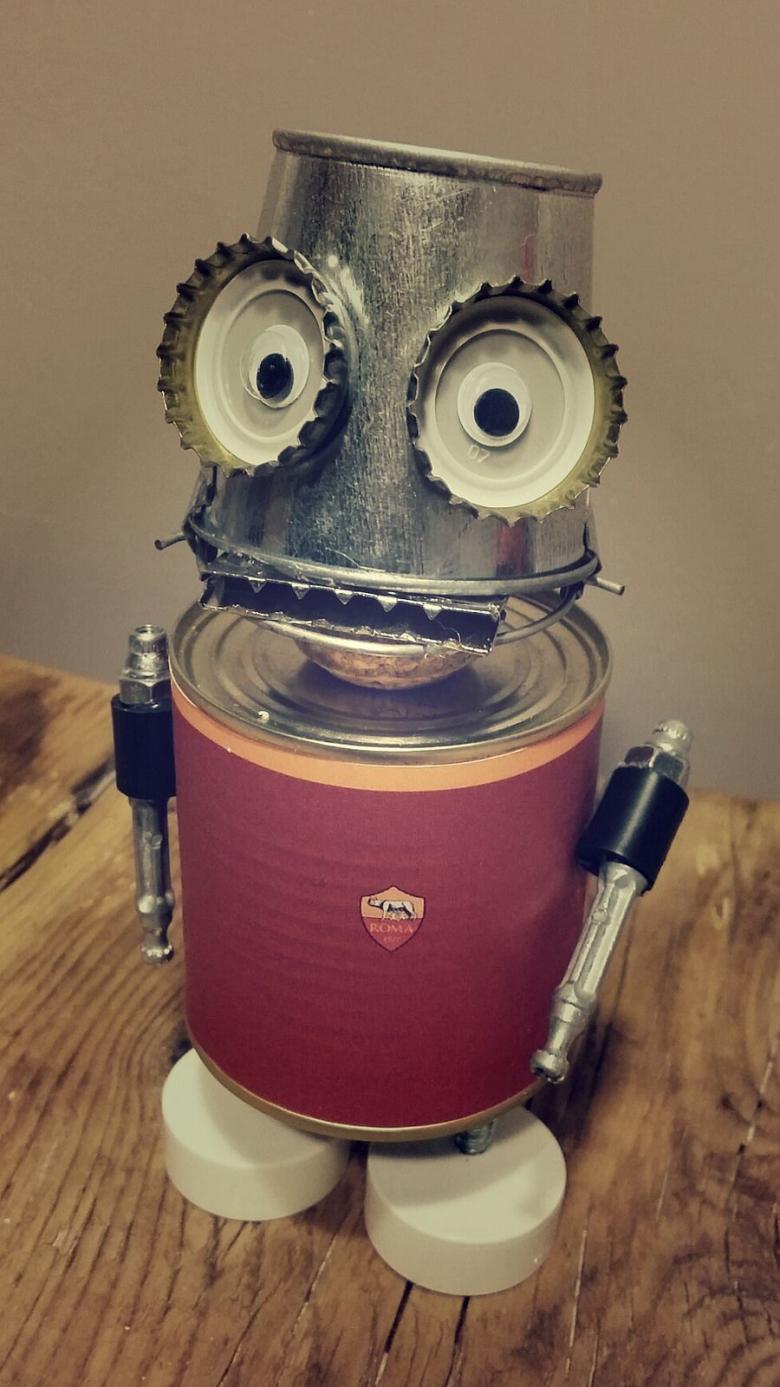
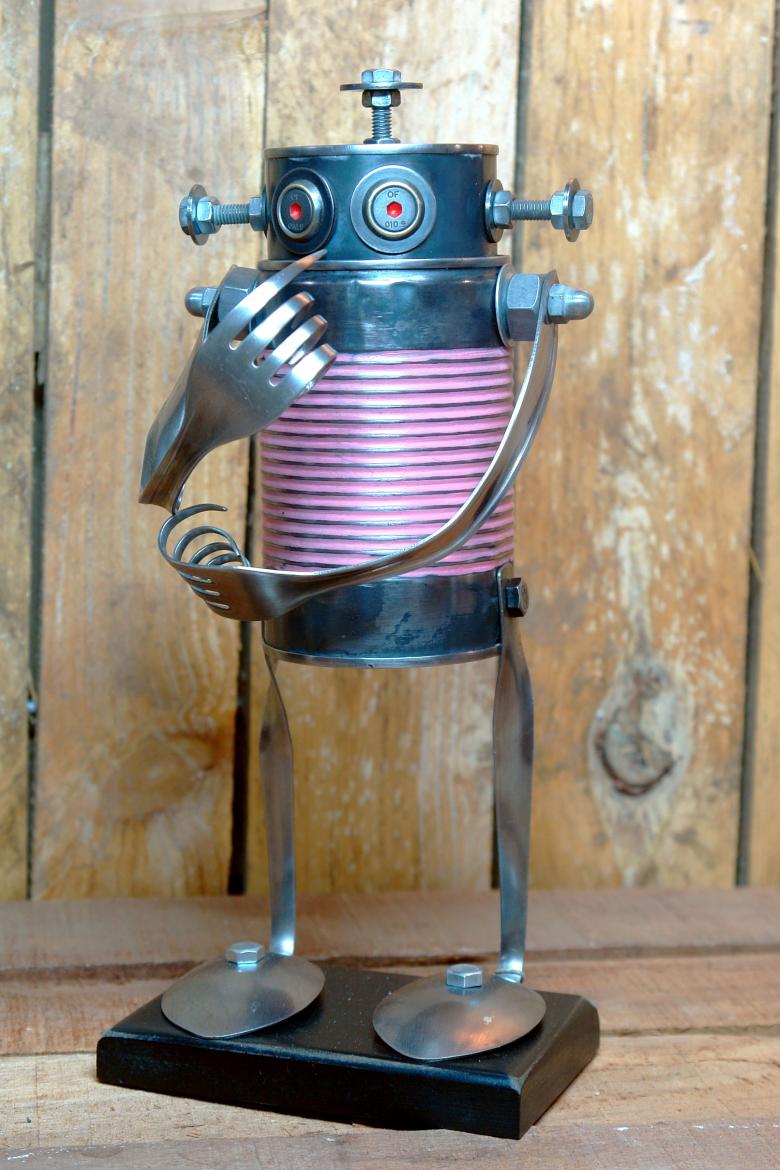
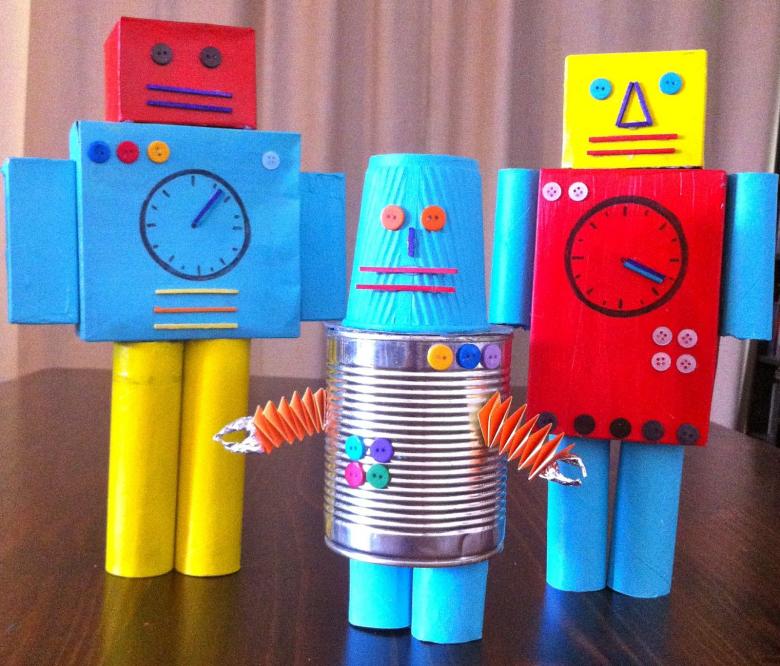
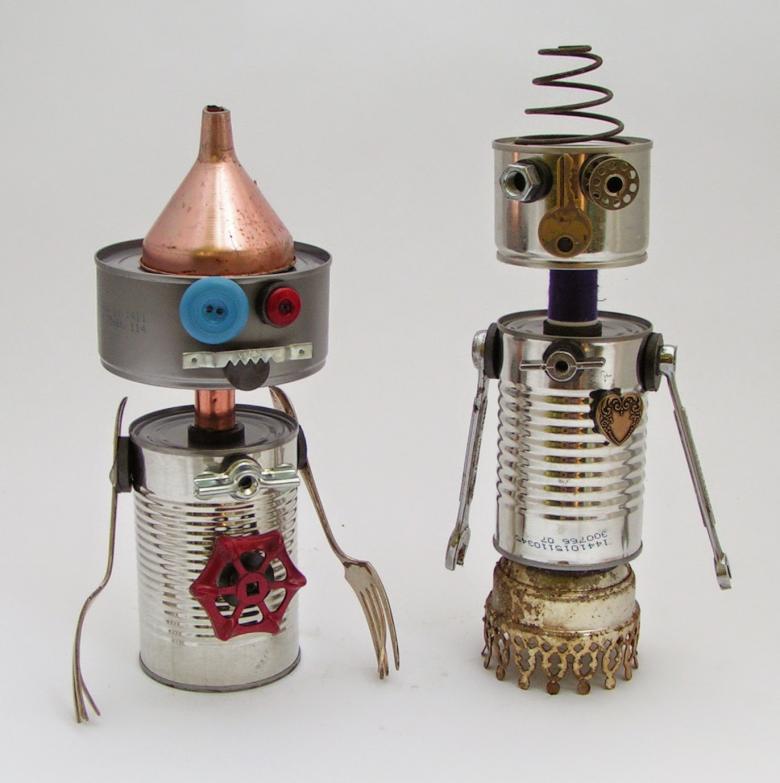
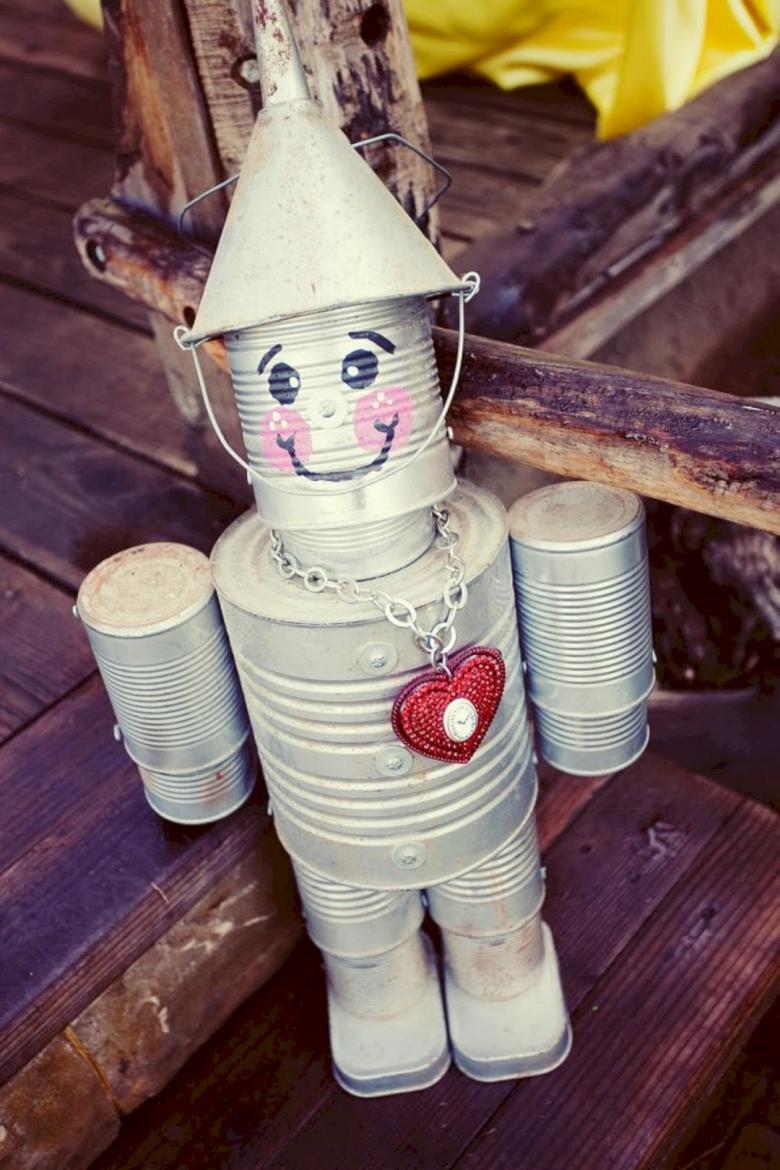
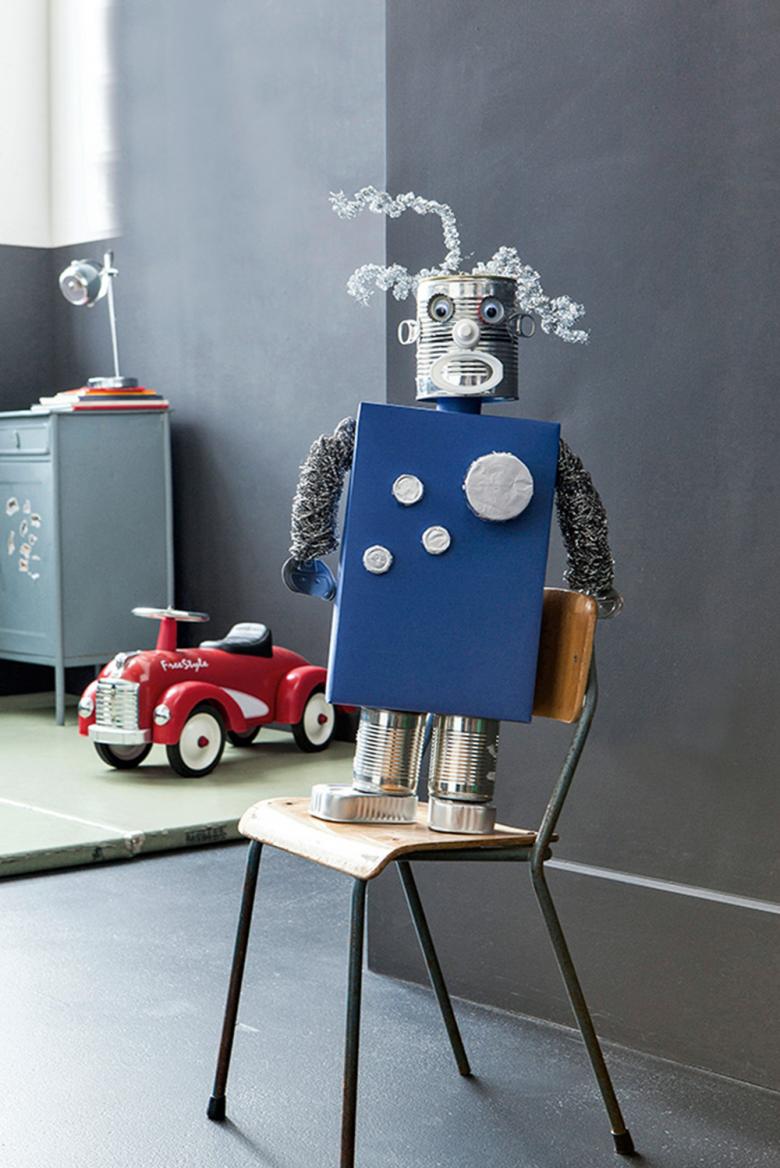
A robot from tin cans
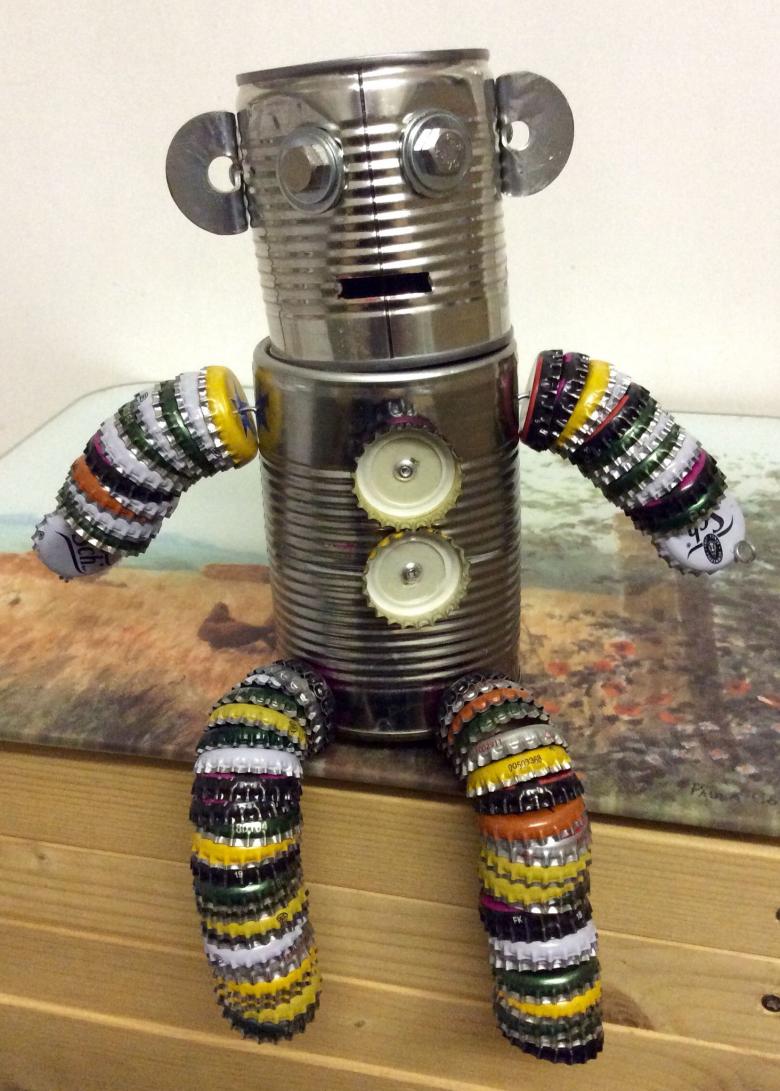
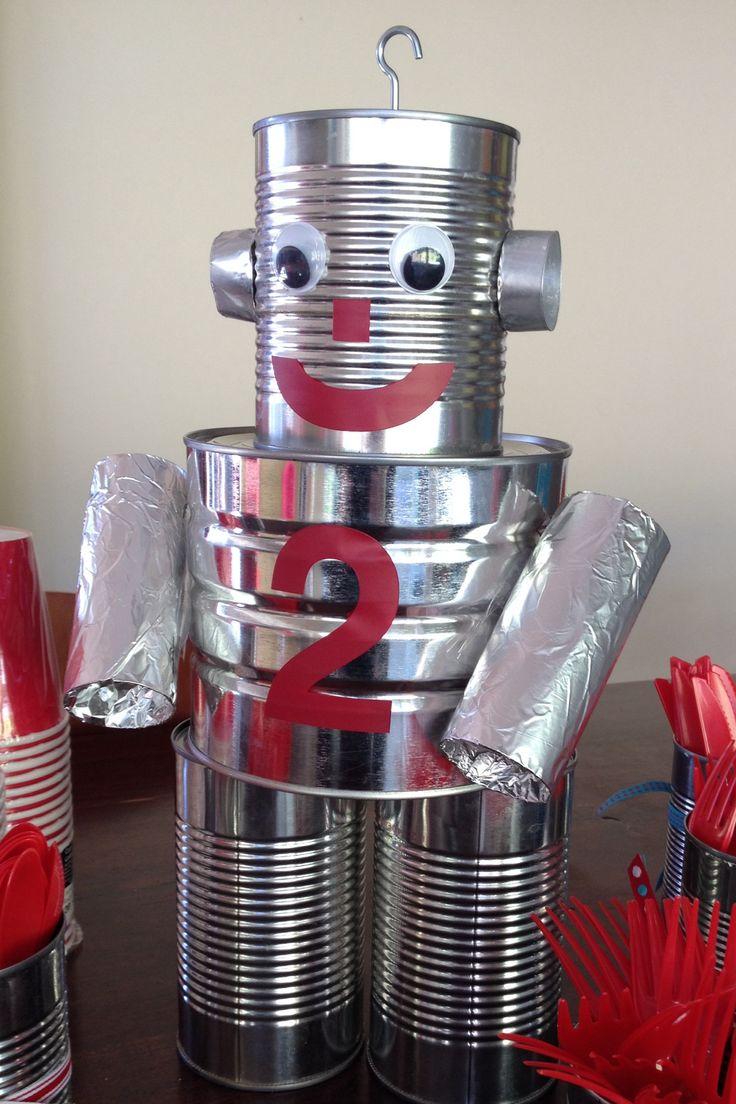
A beautiful robot is made of tin cans. It is necessary to insert one can into another. Make arms and legs out of metal caps used to close half-liter glass bottles of drinks. Drill a hole in the center of each lid and fix the ends with wire. Screw two of the same lids on the front of the robot body.
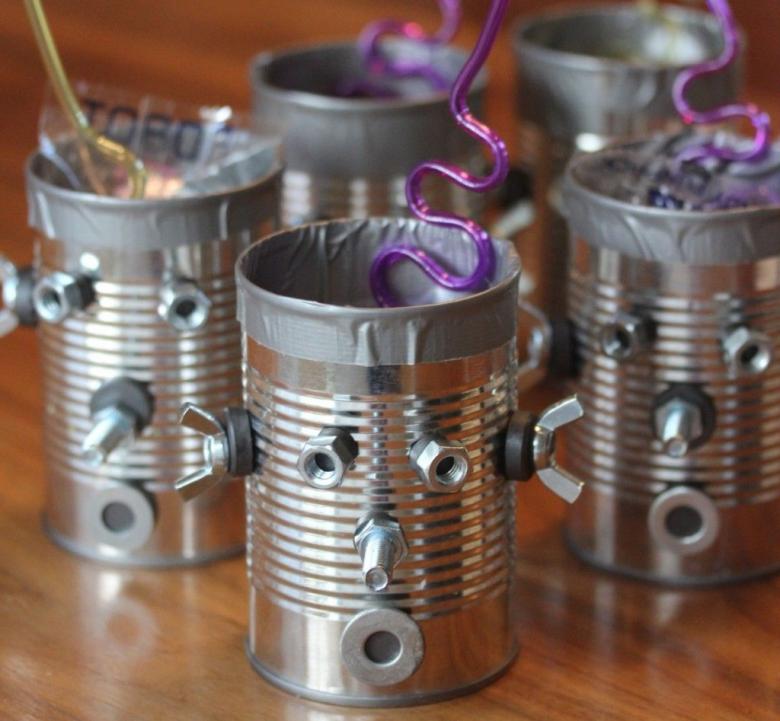
On the top can cut out a hole - the mouth and screw two bolts - the eyes. You can also make ears from foil circles and fasten them on the sides so that they stick out in different directions.
Do not forget to take a photo of your work step by step and put it on your page in the social network. Let visitors envy your skills, and maybe even adopt an unusual experience.

