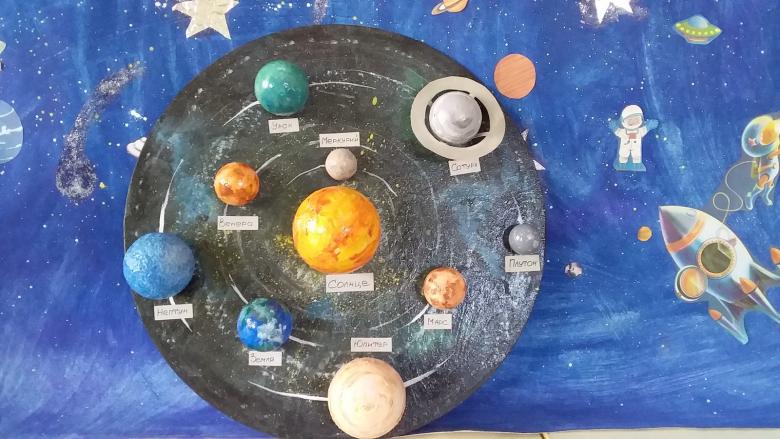
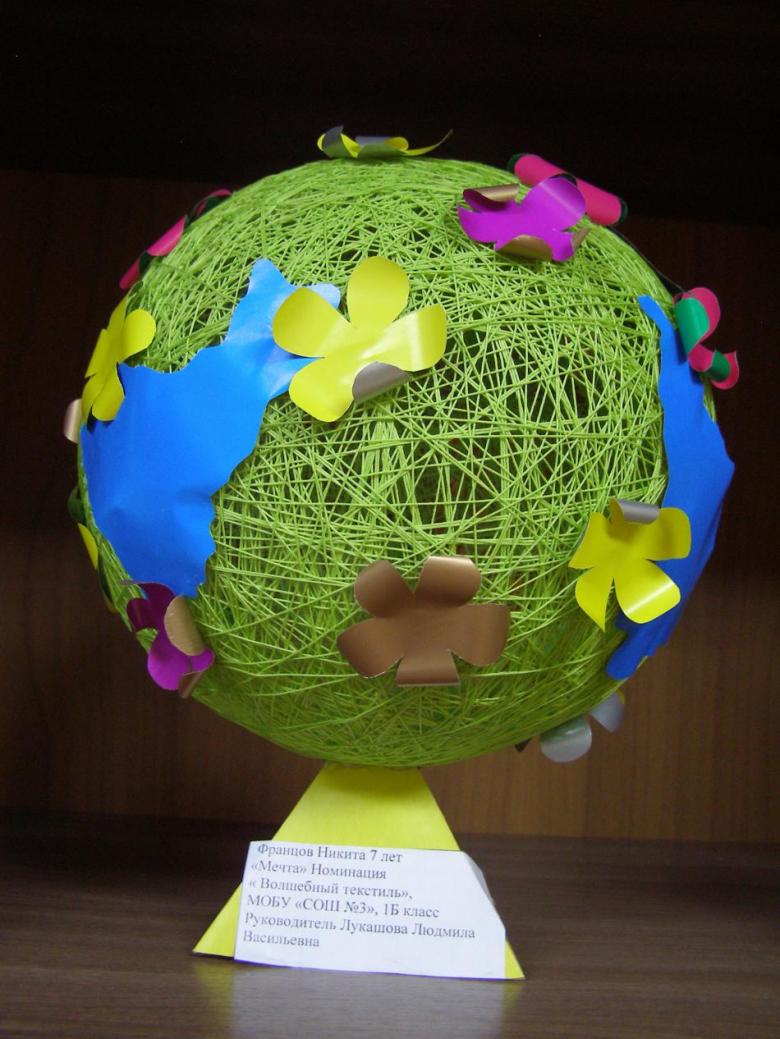
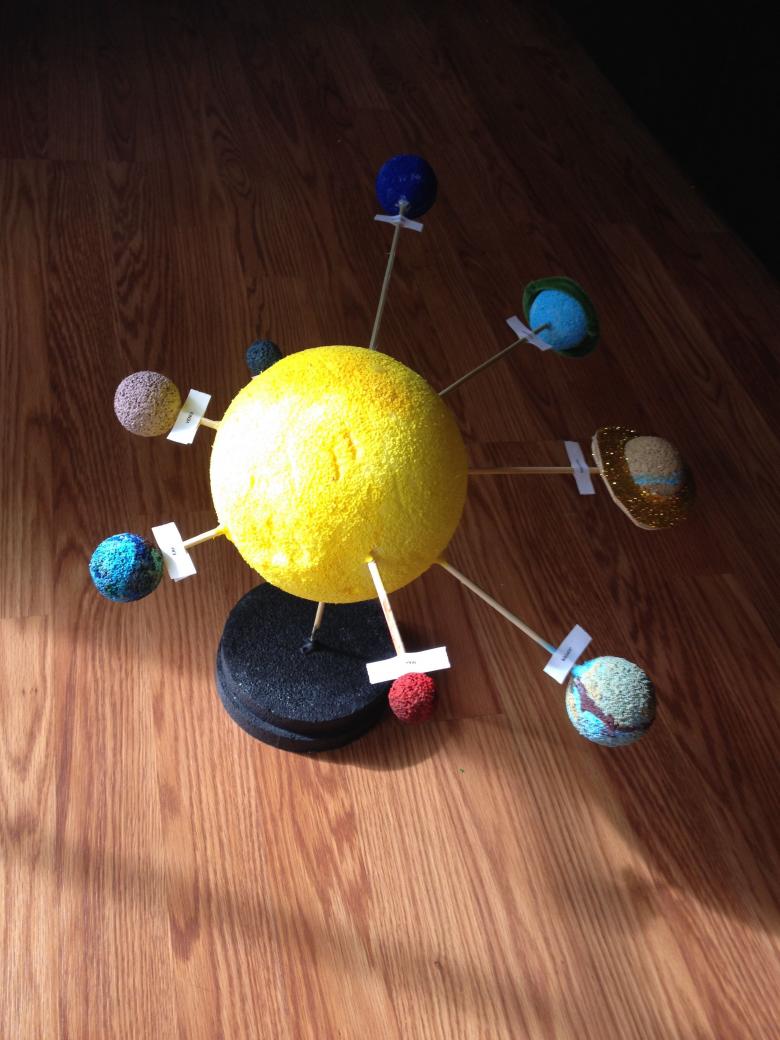
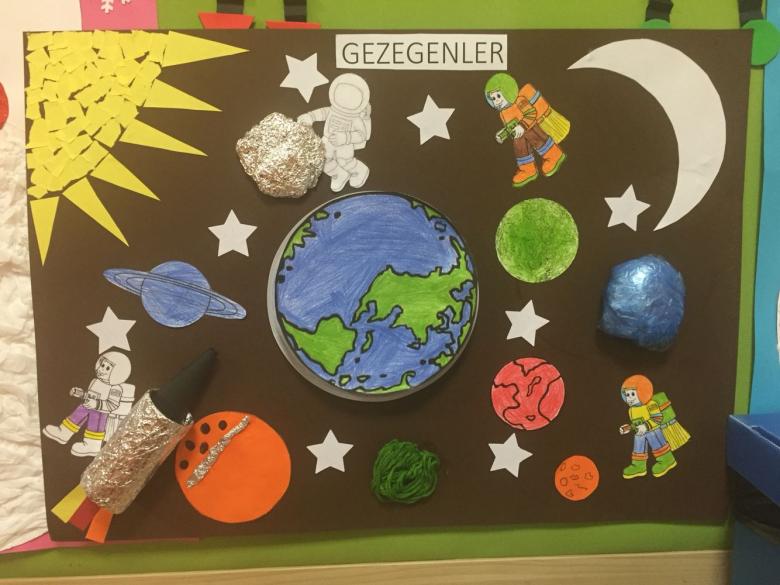
Planet craft - workshops on making planets of the solar system
Why do we make crafts? Often it is a way of joint activities with our children, and sometimes we just like to make new and bright pictures. But even more often, we find ourselves needing to create crafts for certain holidays.
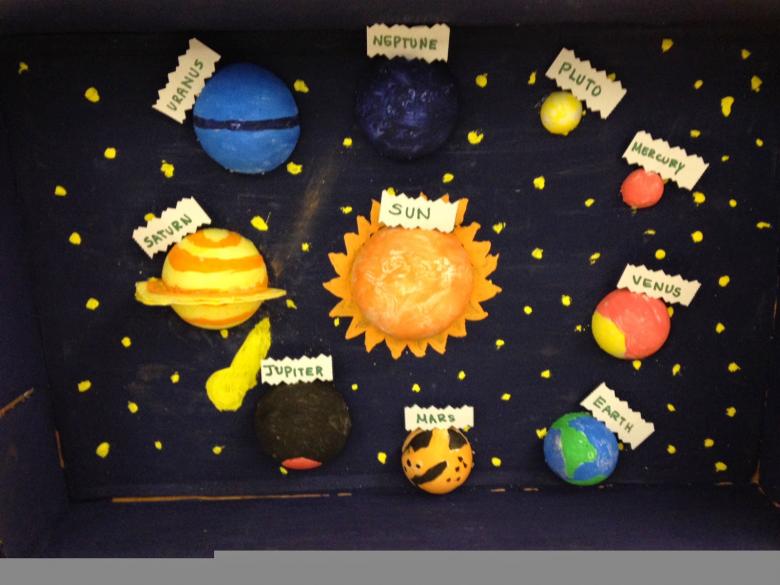
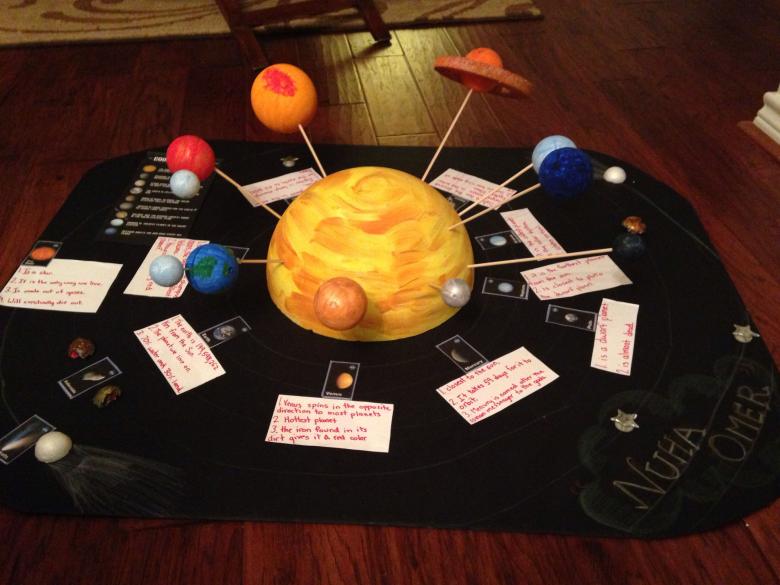
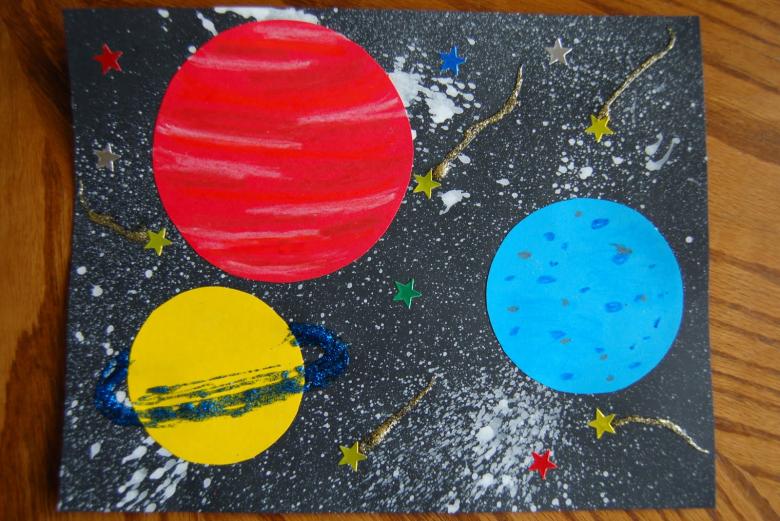
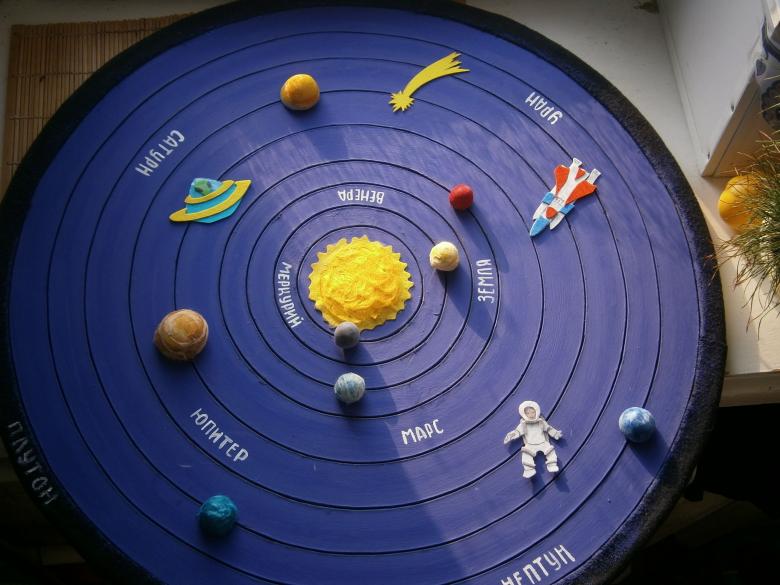
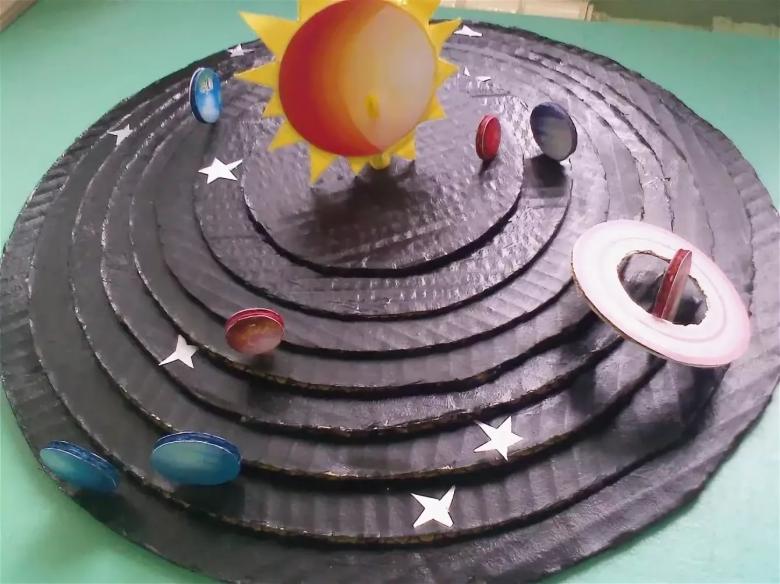
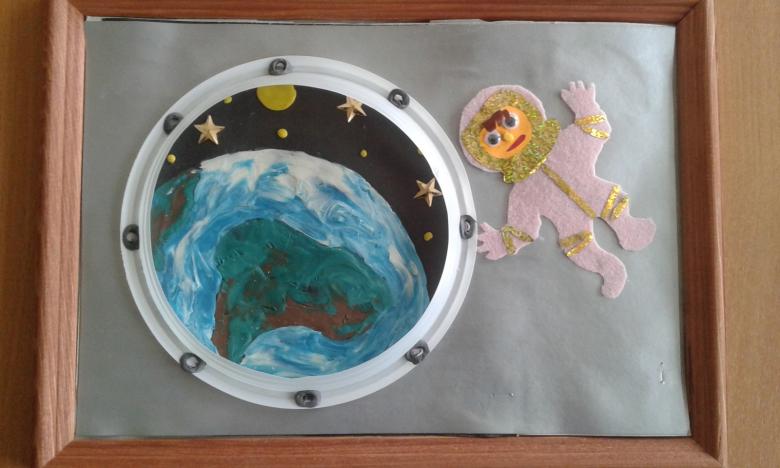
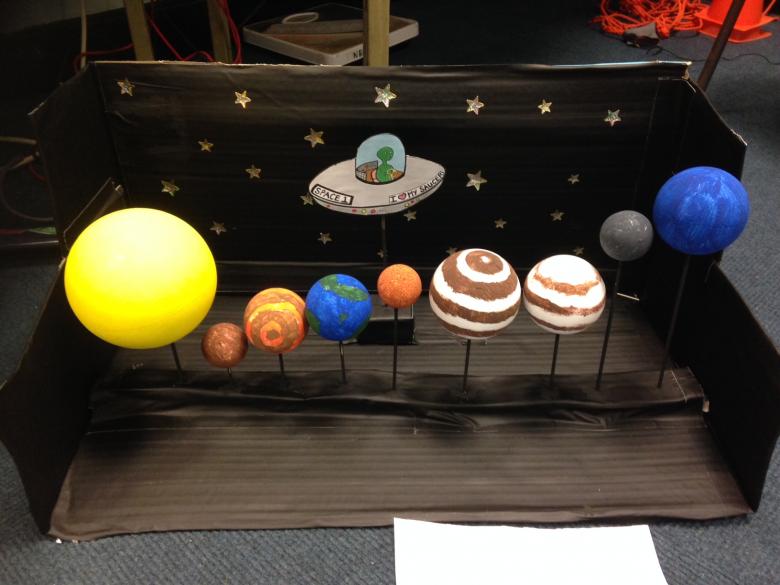
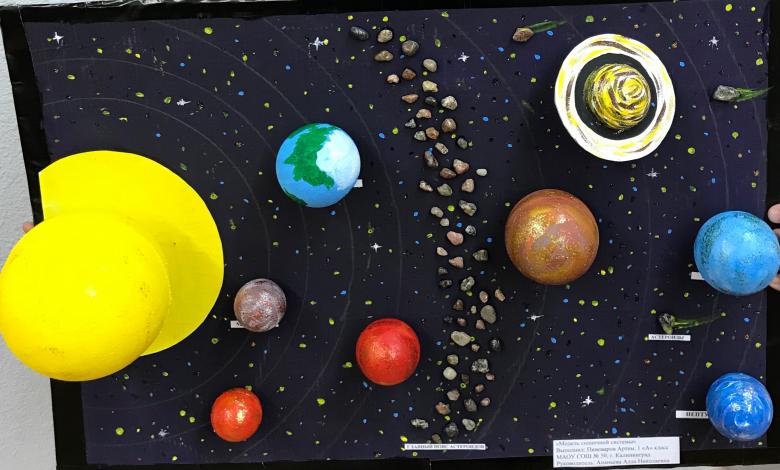
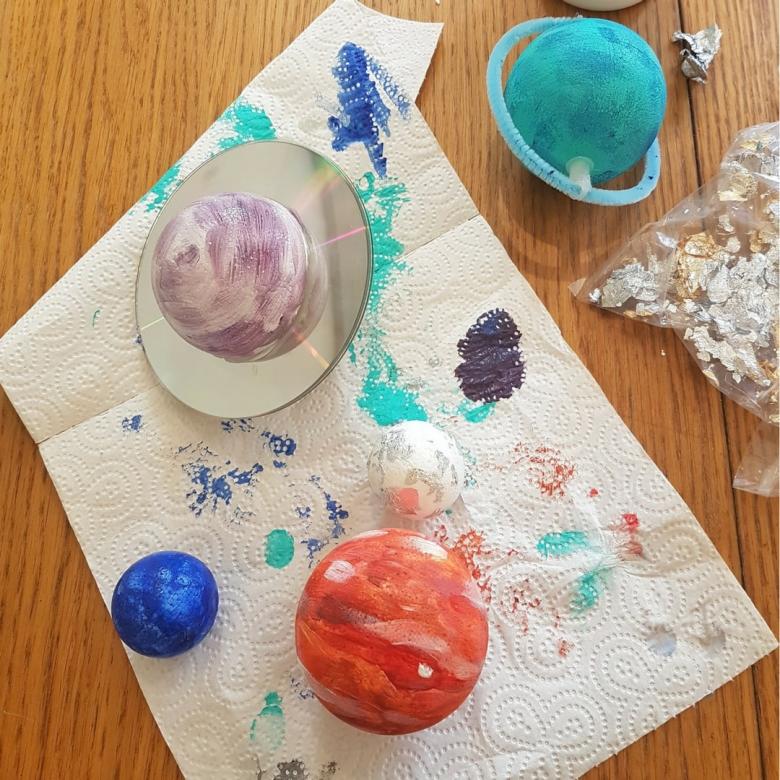
On April 12, Cosmonautics Day, all schools and kindergartens hold craft shows where children demonstrate their abilities and understanding of Russian culture. Today we will learn a series of fun ways to create a planet-shaped craft and learn how to engage their imagination and creativity.
What materials we will prepare for work
So, to start the work we need:
- As always, a prepared workspace.
- Several round balls of different sizes.
- Brushes and paints.
- Illustrated paper and old newspapers.
- Glue.
- Flour and water to make glue.
- Bases for applique (cardboard, sheets of thin plywood, foam bases).
- String and wire to make the suspension of our products.
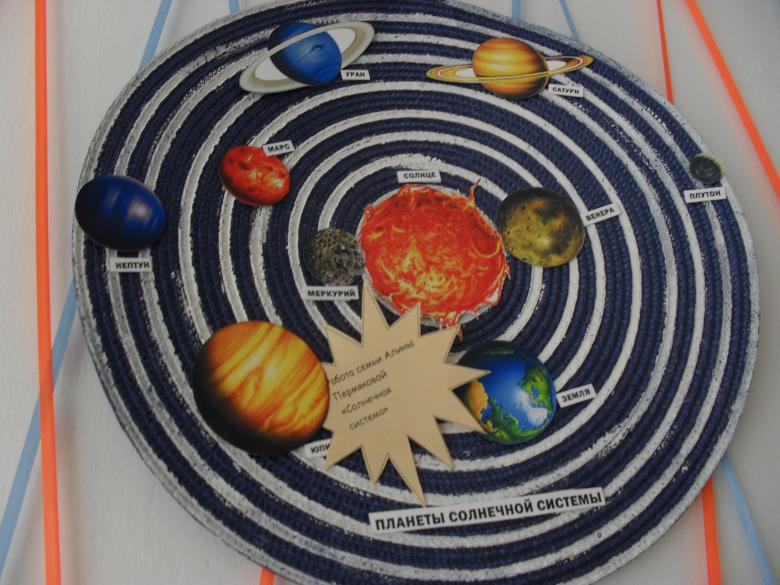
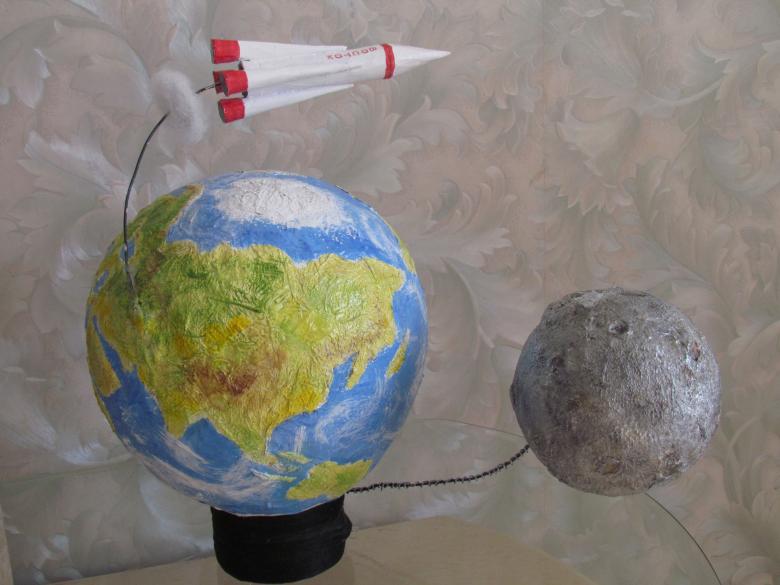
Create the Moon using papier-mâché technology
The original French method of creating magnificent copies of objects, which quickly found its place in the system of Russian crafts and education.
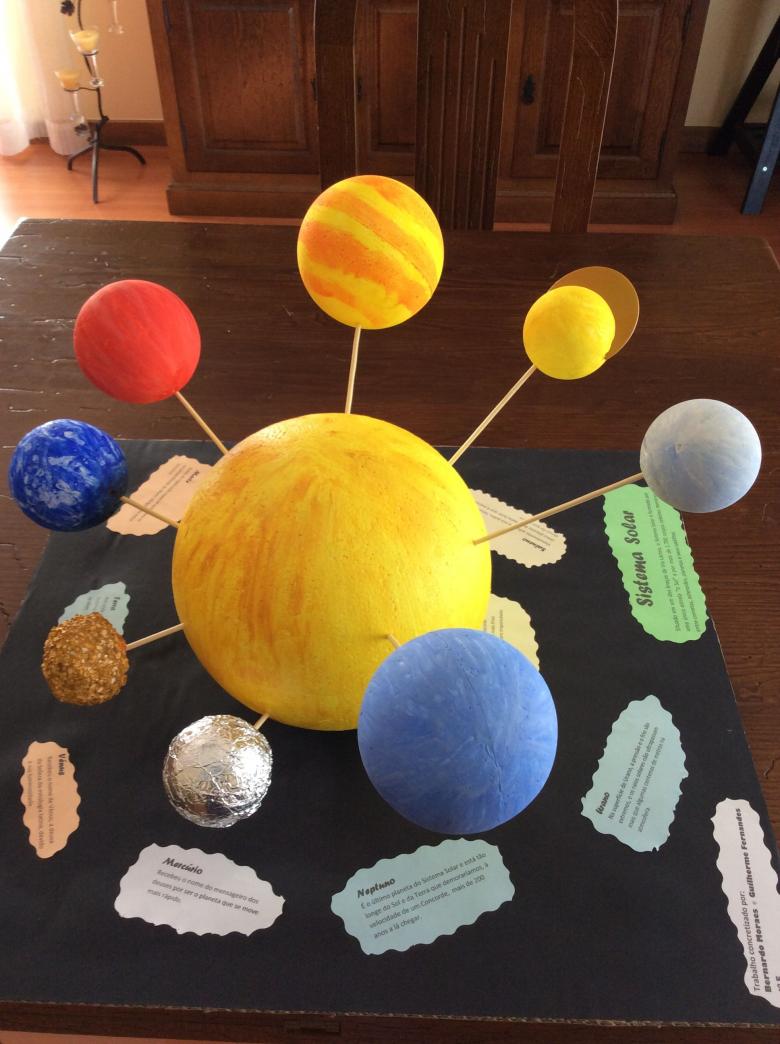
We will need:
- An inflatable balloon.
- Old newspapers.
- Ready-made paste or flour and water to create it.
- Sheets of gray colored paper.
- Brushes and paints.
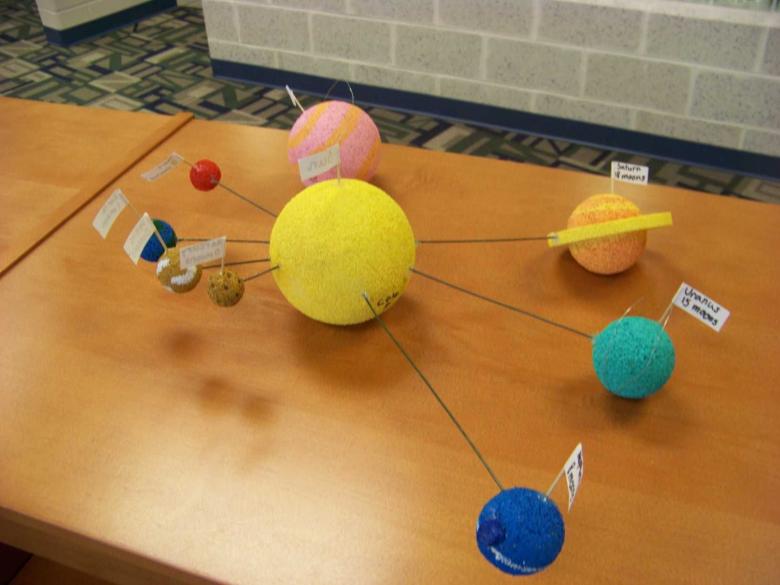
Step by step instructions for the work:
- Prepare gluester: mix flour and water.
- Tear newspaper into small pieces: we need a lot of material.
- Dip each piece of newspaper in the paste, and then layer by layer around the base ball.
- Leave our product to dry. Natural drying will take longer, so you can use an oven (use low temperatures).
- Paint our moon in gray. Do not try to make the surface of the planet flat, irregularities and roughness will create a good visual effect.
- With a thin needle we pierce the inner base, and through the hole made, remove the remains of the balloon.
- It remains to arrange the craters. Cut gray colored paper into small squares. Now roll up each square, forming a funnel. The tips of the funnel dabbing glue and gently glue them to the surface of the moon.
- Once again send the handicraft to dry.
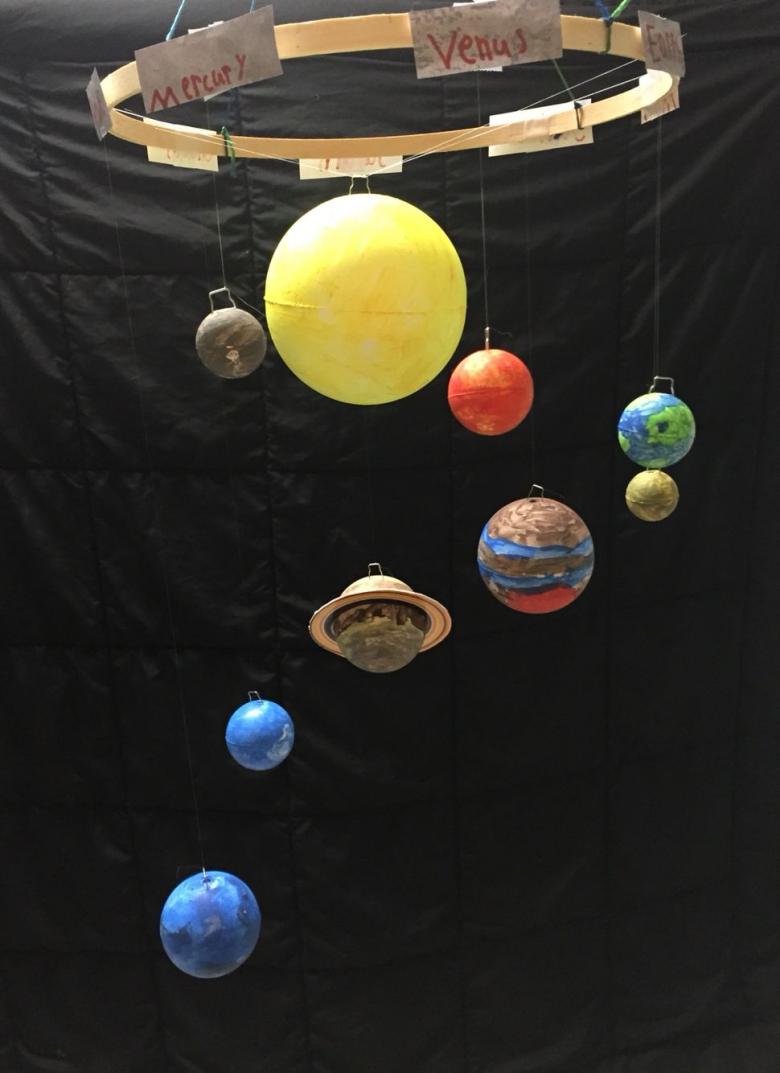
- If you want to make a hanging model, make a small loop of wire and insert it at the top of the planet. A thread can be threaded through the loop and the craft can be suspended.
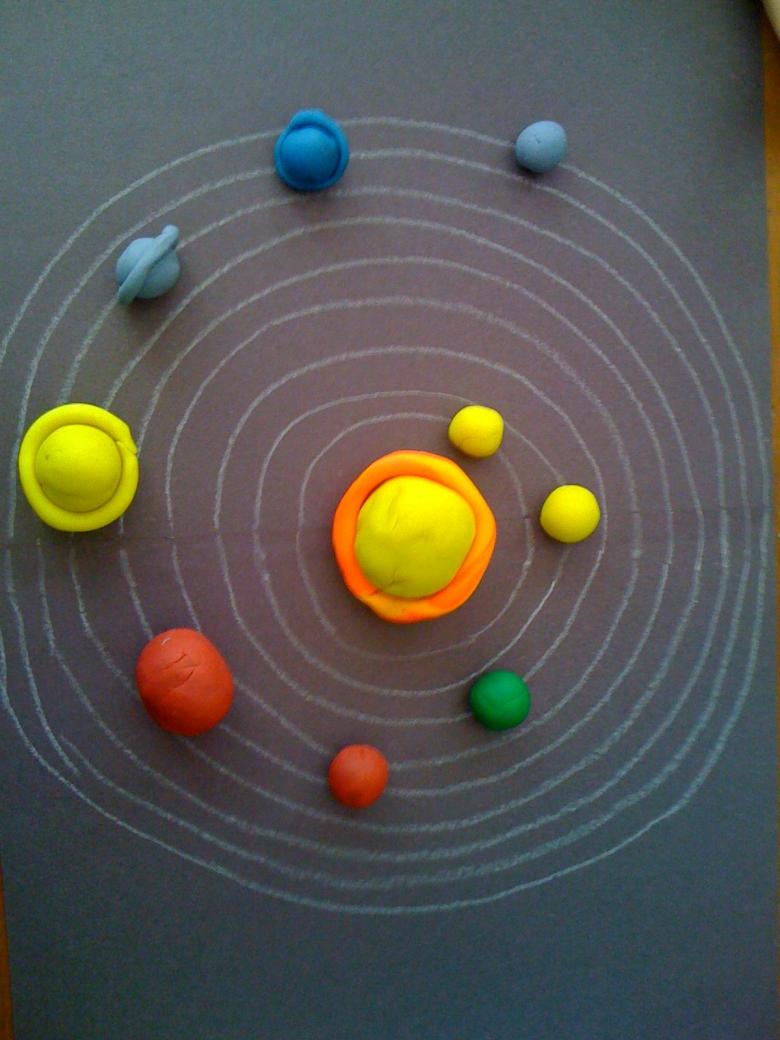
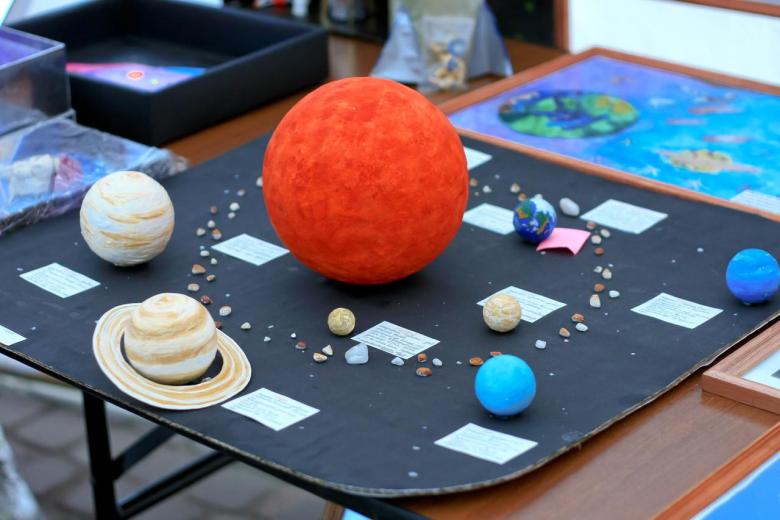
Earth and Saturn in papier-mâché technology
As you guessed, the moon is not the only model that can be made with papier mache. The materials for work are the same as in the first case. Let's see what has changed in the step-by-step scheme:
- We prepare two bases of balls, covered with pieces of newspaper. We send them to dry.
- We puncture the balls and remove the remnants of rubber.
- Coat the Saturn model with yellow paint and dab some orange in places (this makes our planet look much more realistic).
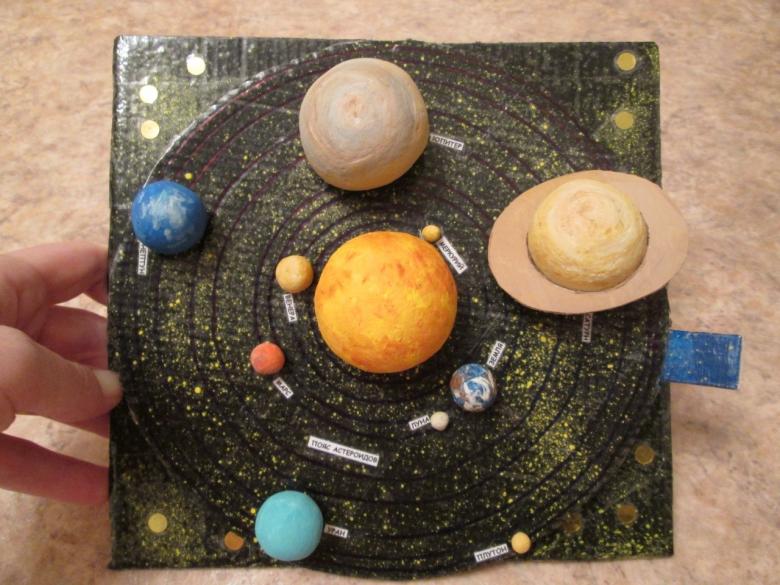
- Prepare the asteroid belt: measure the circumference of the creation with a tape of centimeters. In the center of the cardboard sheet with a compass, draw a circle of desired diameter. The second circle is formed 5 cm further away.
- Cut out our asteroid belt and put it on the handicraft.
- For the second planet, we need a globe or an unfolded model (download it from the Internet). Then act as your imagination and artistic ability allows you.
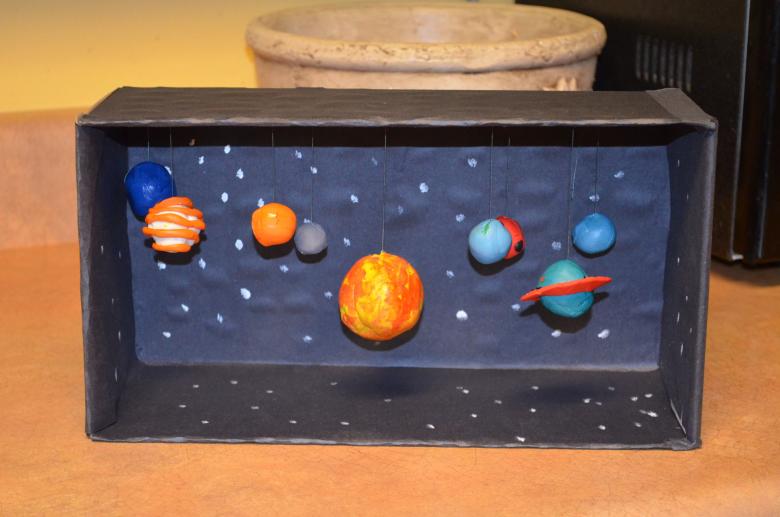
The Earth and Saturn crafts are ready. You can hang them at home, at your kid's bedside, or you can, with equal success, present the models at a school exhibition.
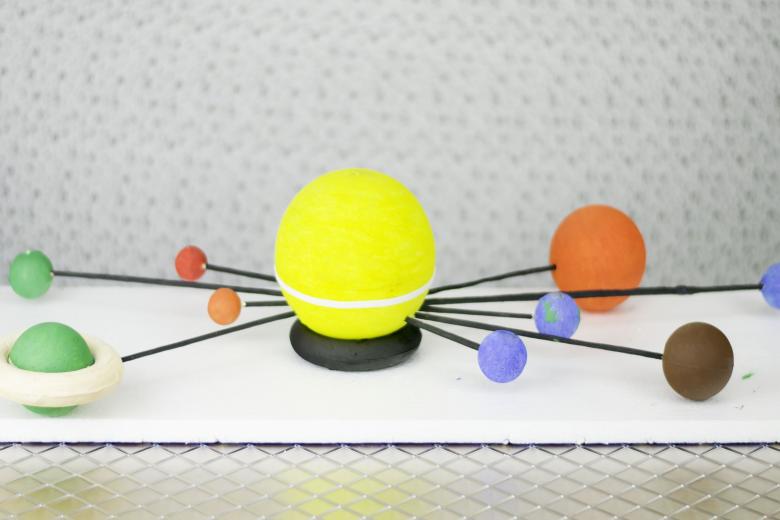
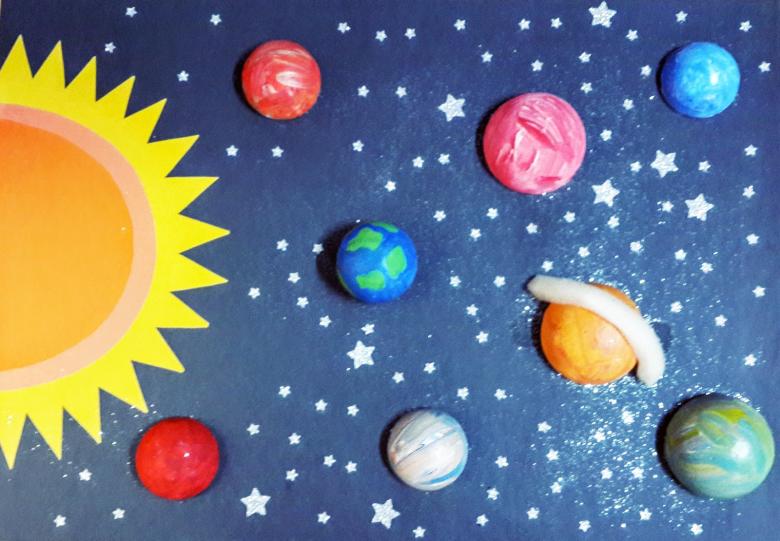
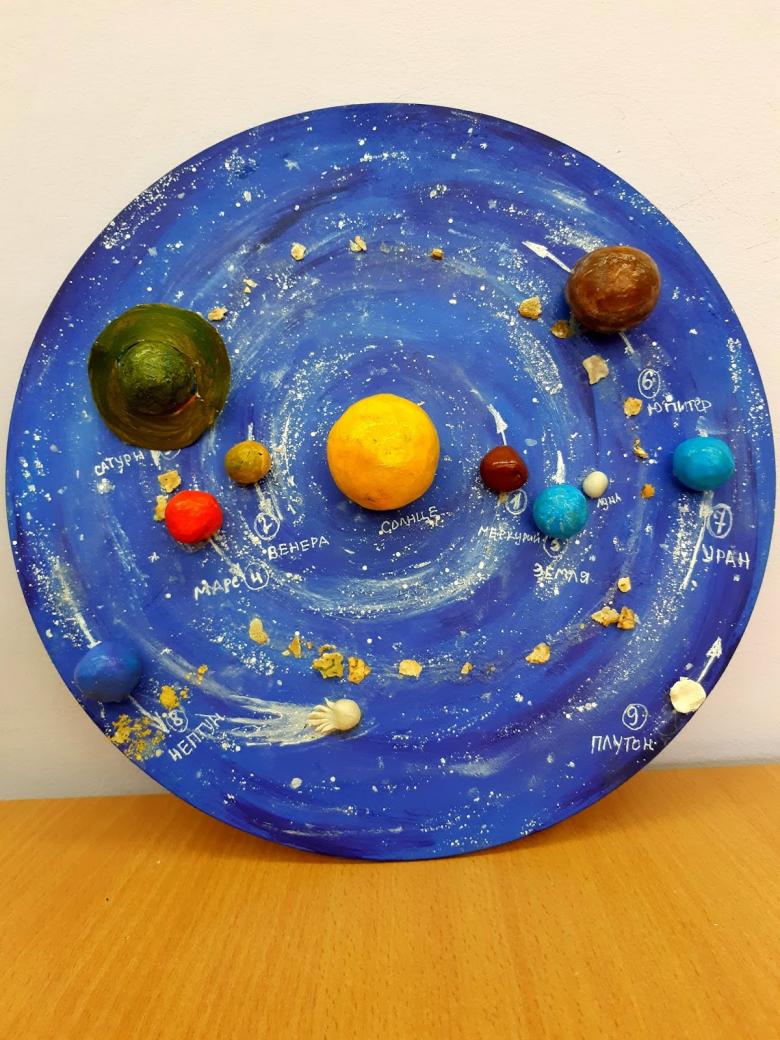
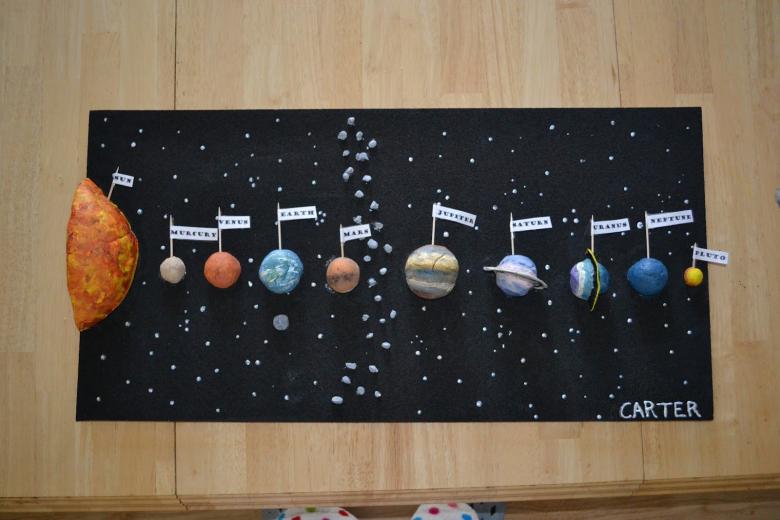
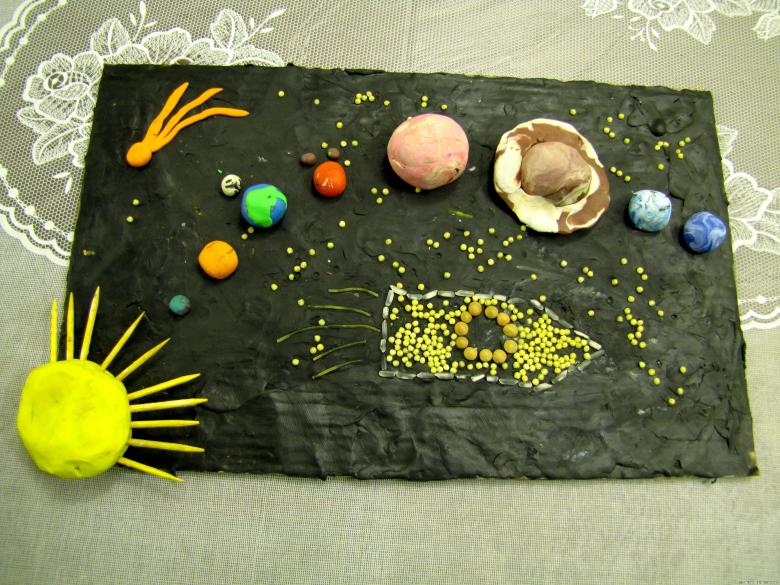
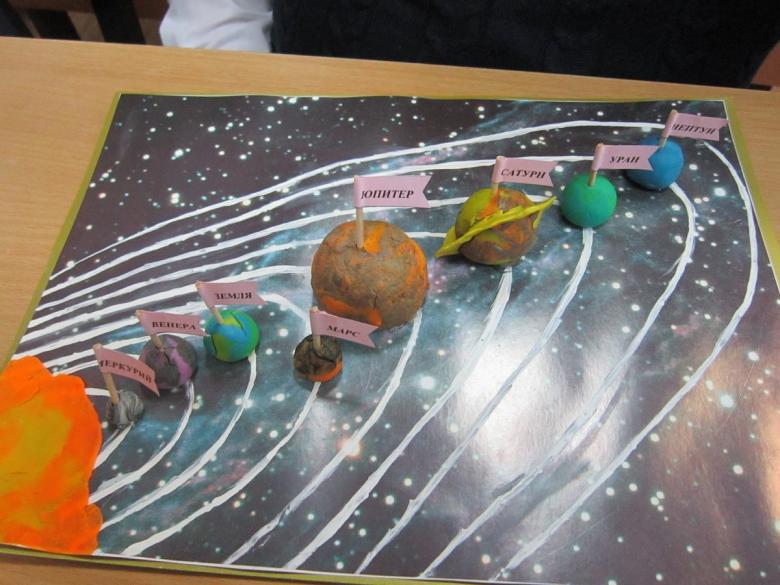
Applique "Planets" with plasticine
This method is ideal for those who plan to create crafts with the baby for kindergarten. The process of molding itself develops fine motor skills of the fingers, and imagination expands the inner world of the child.
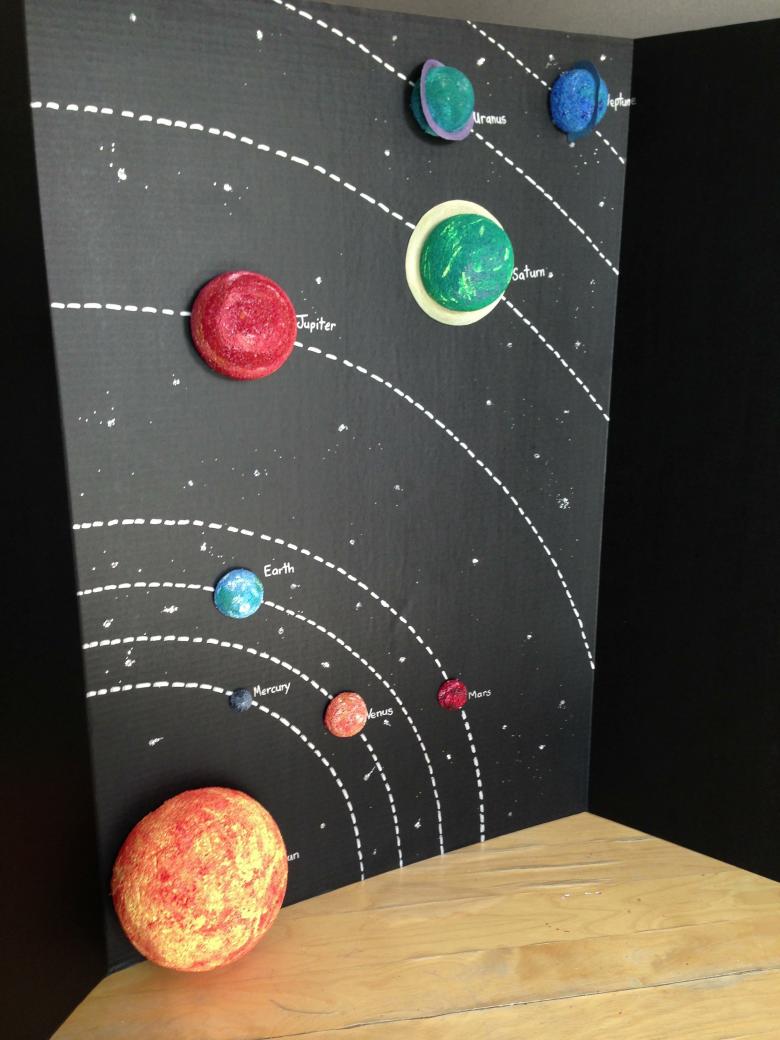
To work we will need:
- Plasticine.
- Board for working with the material.
- Base for the application (you can use any base, but it is best to take a normal plastic plate).
- Paints and a brush.
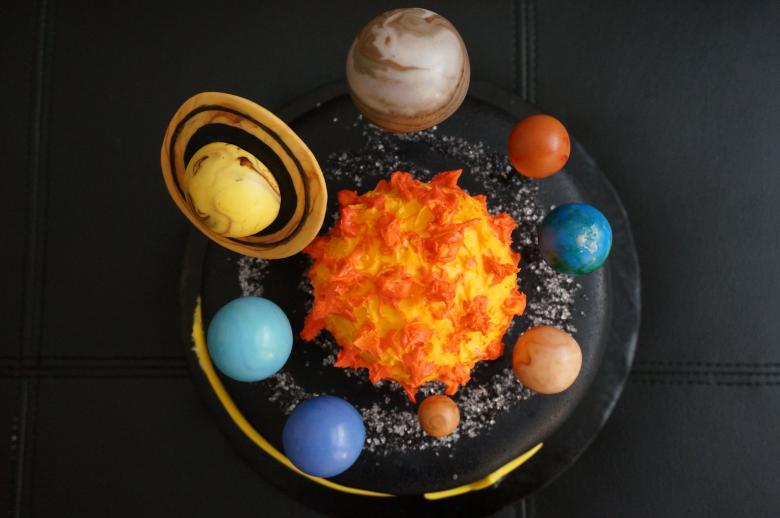
A step-by-step diagram-instruction for the work:
- Let's prepare the base for the location of our star objects. Take a plastic plate and paint it blue. You can use any color your imagination allows.
- Along the periphery of the plate, place stars, dots-planets, and asteroids made of plasticine.
- Proceed to make the central planets. Here it is not necessary to mold the Earth or Saturn or Mars. If you want to make exactly these models, find ready-made photos of planets on the Internet, and make balls of planets.
- If you don't care which galaxy you represent on the applique, feel free to experiment.
- Here's one example: roll a ball of green plasticine. From the blue pieces make small dots - they will serve us as craters on the planet. Place the "craters" on the model of the celestial body, and the model itself is lowered onto the base for applique.

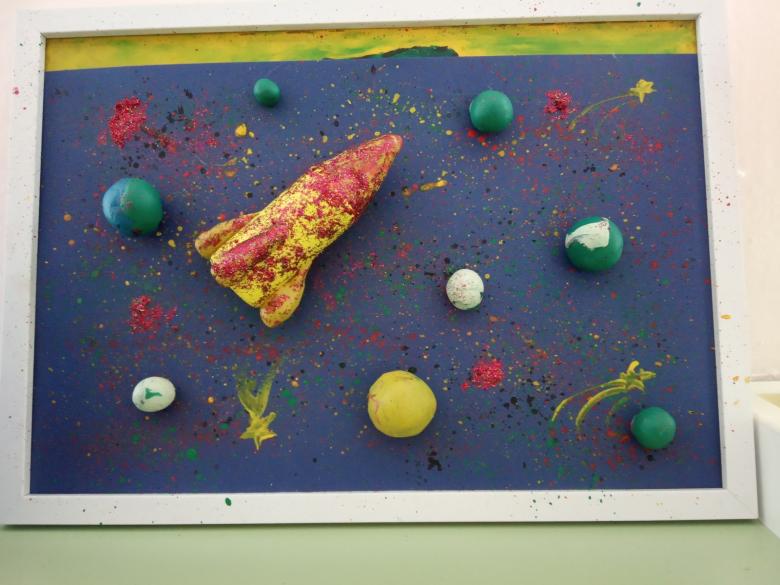
For visual effect, mold the model of the spacecraft and add its model between the planets.
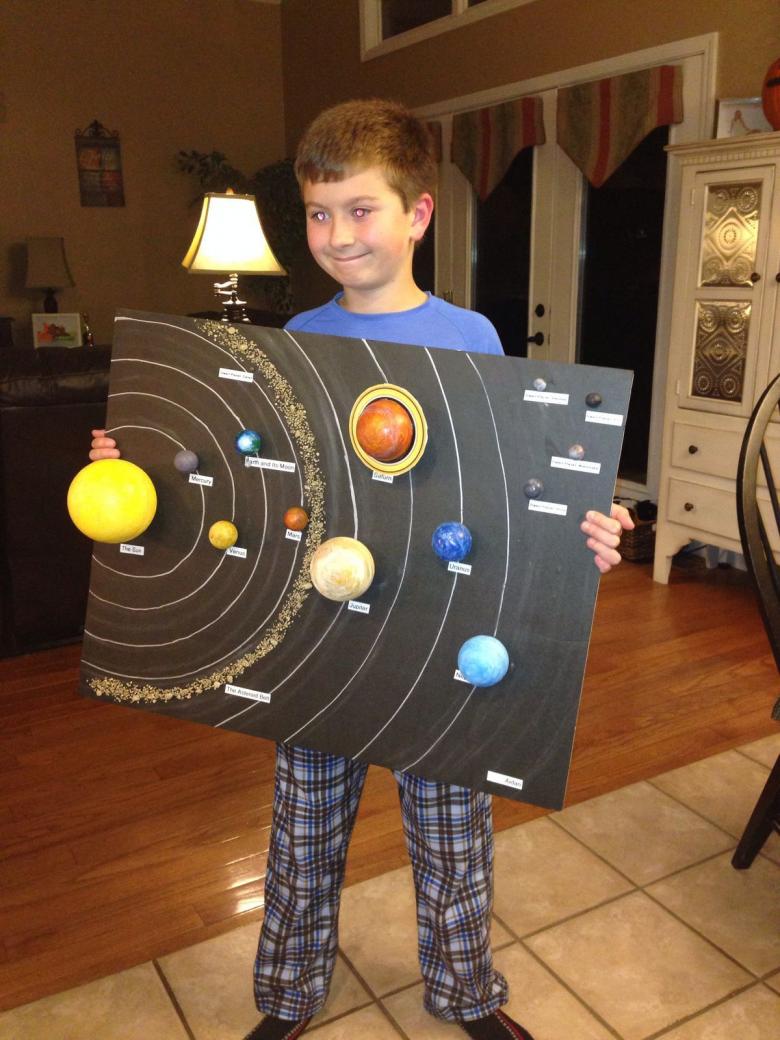
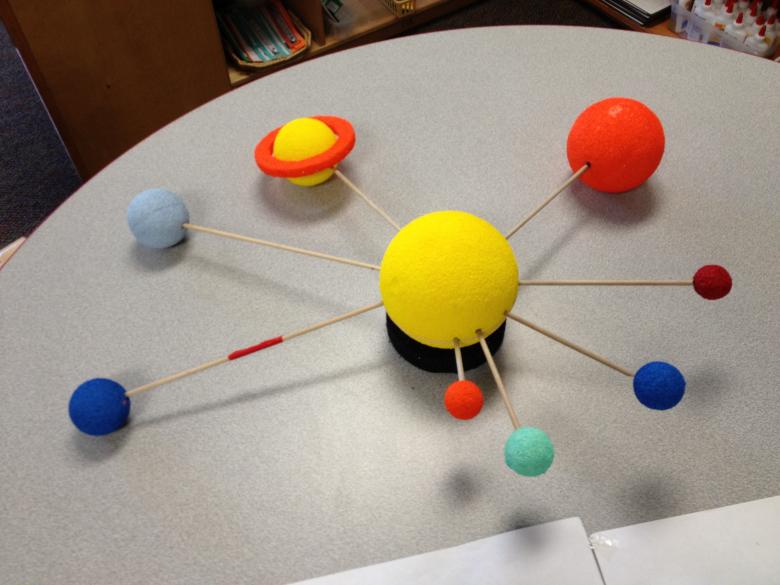
The solar system in felting technique
Felting wool is a new for masters, but already gaining popularity, a way to create original crafts.

To work we will need:
- Wool.
- Styrofoam.
- Needles for felting.
- Old kapron tights.
- Liquid soap and water.
- Paper towels.
- Wire and pliers.
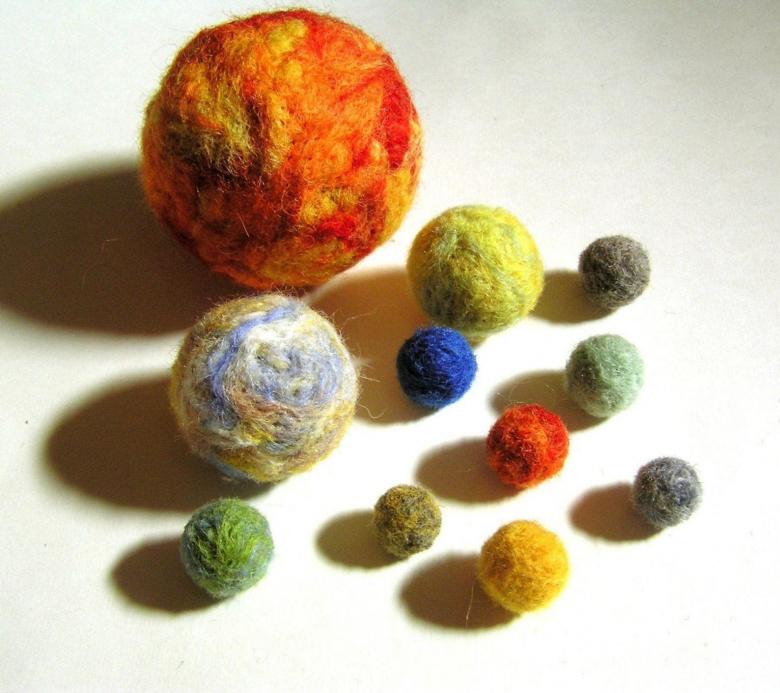
Today we are going to create Mars. Step by step instructions for the master:
- From Styrofoam cut out a small ball.
- Prepare red wool, add flecks of material in white.
- With red threads we wrap our ball-base. Now we need to wet the workpiece with hot water.
- Drop 3-5 ml of liquid soap on the workpiece, and start adding wool to the future planet.
- Then gently roll the ball between the palms of your hands.
- Now we dip the blank in cold water.
- If necessary, repeat the procedure several times (focusing on the friability of the material).
- Remove excess moisture with a towel.
Our Mars is ready!
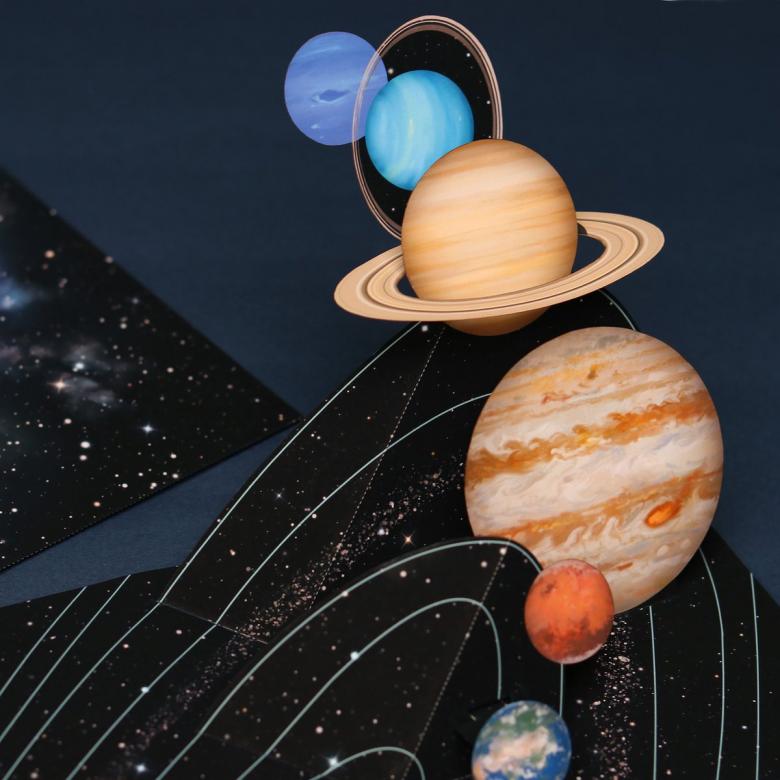
Pillow-planets as interior decorations
When you want to make a craft not for the school exhibition, but just for yourself, it is worth arming yourself with thread and needles. Soft and comfortable cushions will decorate your couch, as well as serve as a cozy interior detail in your home.
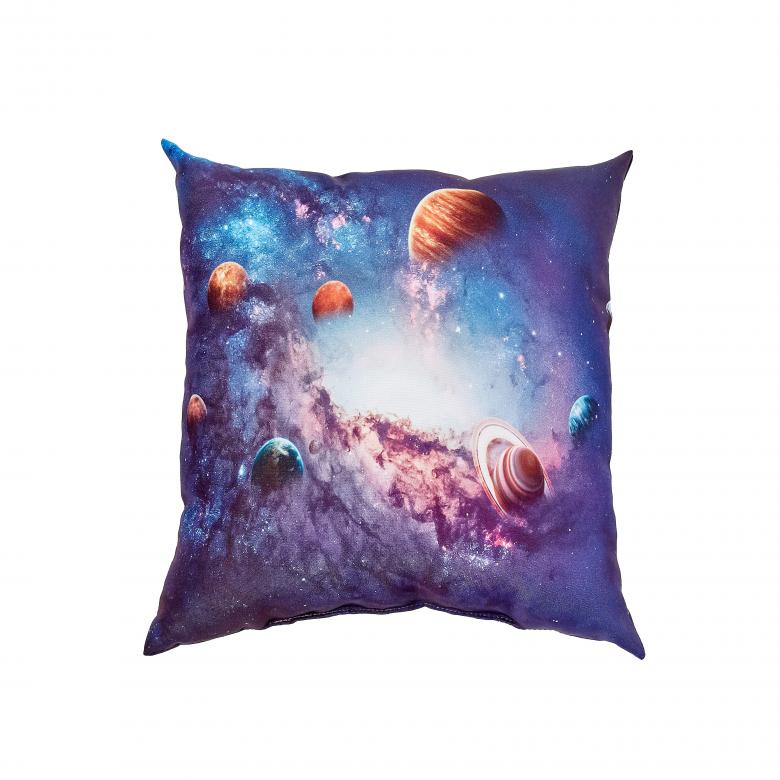
For the work we will need:
- Planet templates.
- Any fabric you prefer to work with.
- Thread and needles.
- Filling fabric.
Step by step instructions:
- According to the prepared template make a blank cloth.
- Folding blanks inside out, overcast the edges. Leave a "window" for the filler.
- Sew through the seams.
- Turn the product through a "window", stuff the stuffing inside.
- Sew the "window.
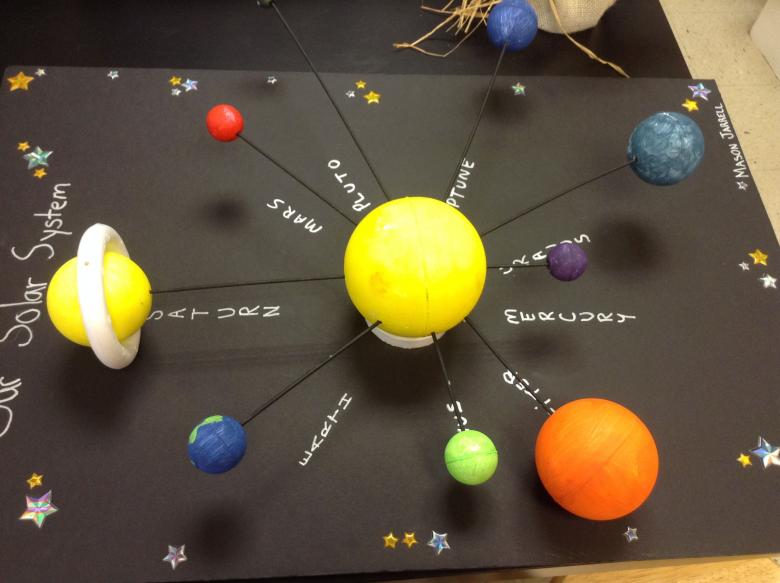
In fabric stores today you can find a wide range of colorful fabrics: from dark blue monochrome to saturated with stars. Choose the fabric you like.
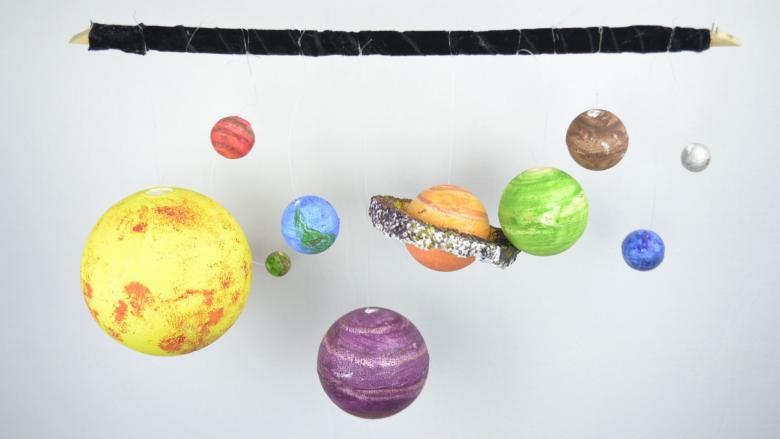
We have looked at only a small part of the ways to create homemade planets. What are the advantages of these techniques? Creating colorful models will help your child show curiosity and thinking as they work. Choose a way that works for you and start making new planets!

