How to make a handmade chick - interesting and simple master classes with photo examples
It is always a pleasure to receive a gift from the hands of a child, made by themselves. And it does not matter on what holiday. Of course, an adult must teach your child how to handle tools. And if he does not know how, you can always read how to do it. Below we will share the secrets of how to make a craft "Chicken" from various materials.
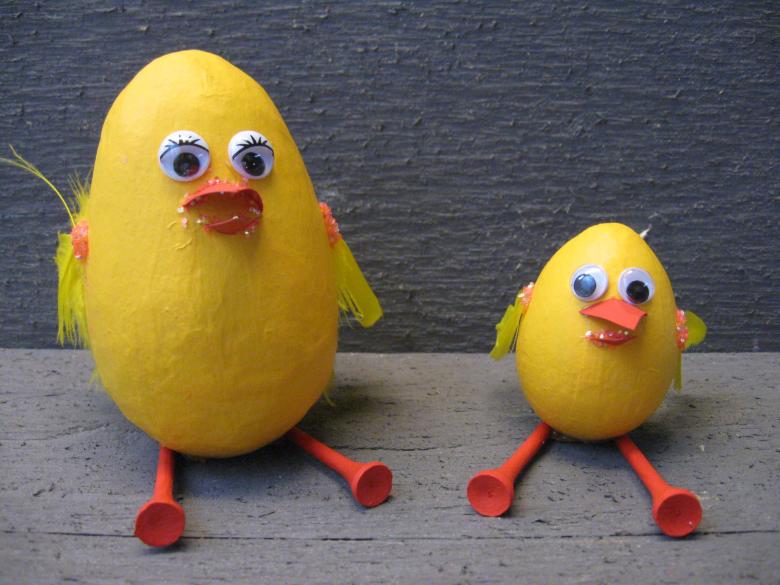
Eggshell craft
The question: "What came before: a chicken or an egg" in this form of creativity is not necessary. Definitely for the manufacture of souvenirs need to take the egg and then turn it into a chicken. Below are a few master classes on how to create them.
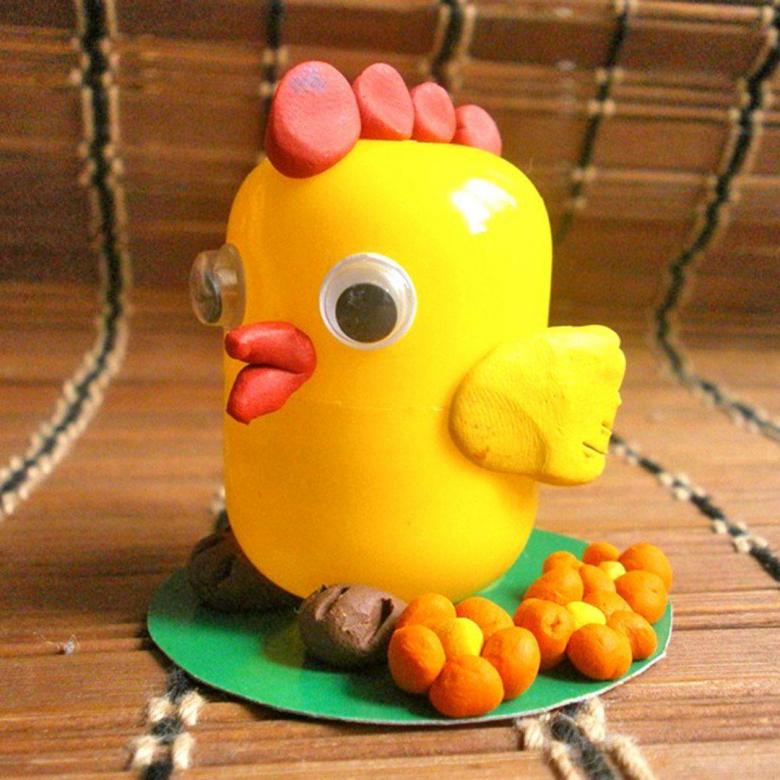
What is needed:
- Egg shells (whole),
- Paint or corrugated yellow colored paper or not thick rope,
- Possibly string for knitting,
- toy eyes,
- red thick paper or thin colored cardboard for the beak and scallop,
- yellow colored paper for wings,
- scissors,
- PVA glue,
- plasticine,
- a stick or a stand,
- needle,
- plate.
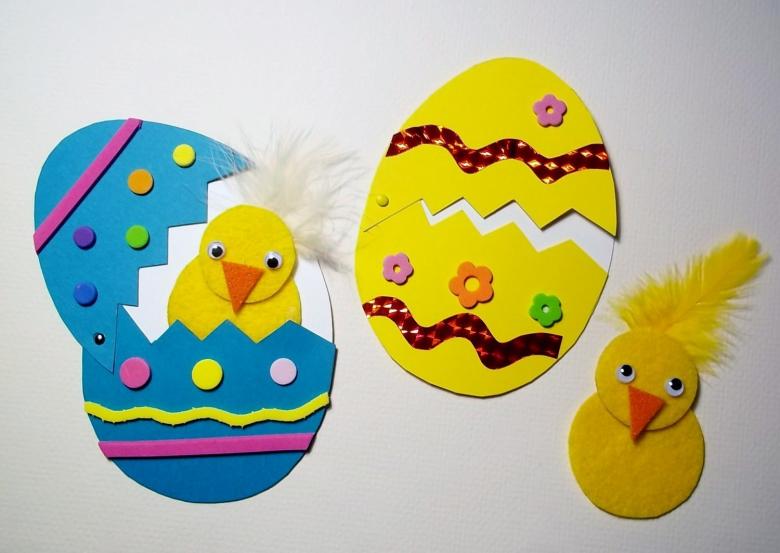
Work algorithm:
- Take out a raw egg.
- Make holes with a needle or clove from the bottom and top.
- Blow egg white and egg yolk through the holes onto a plate; you can use them for cooking.
- Rinse the shells well under water.
- Dry them.
The next step depends on what material you have prepared to make the chicken.
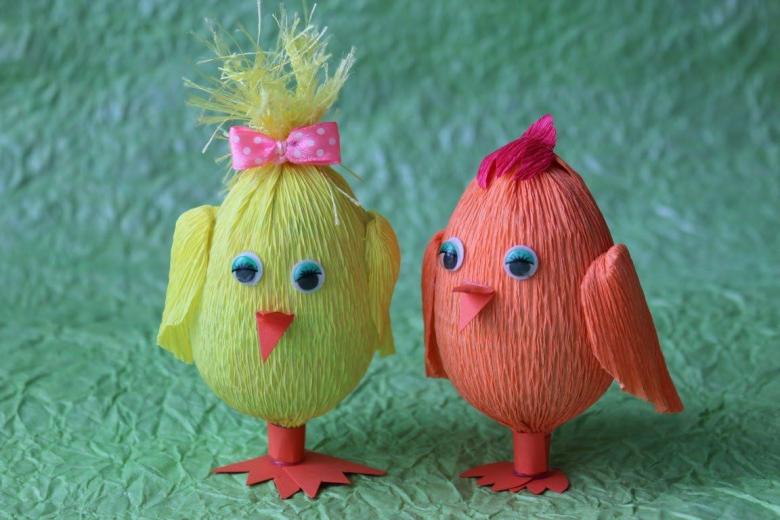
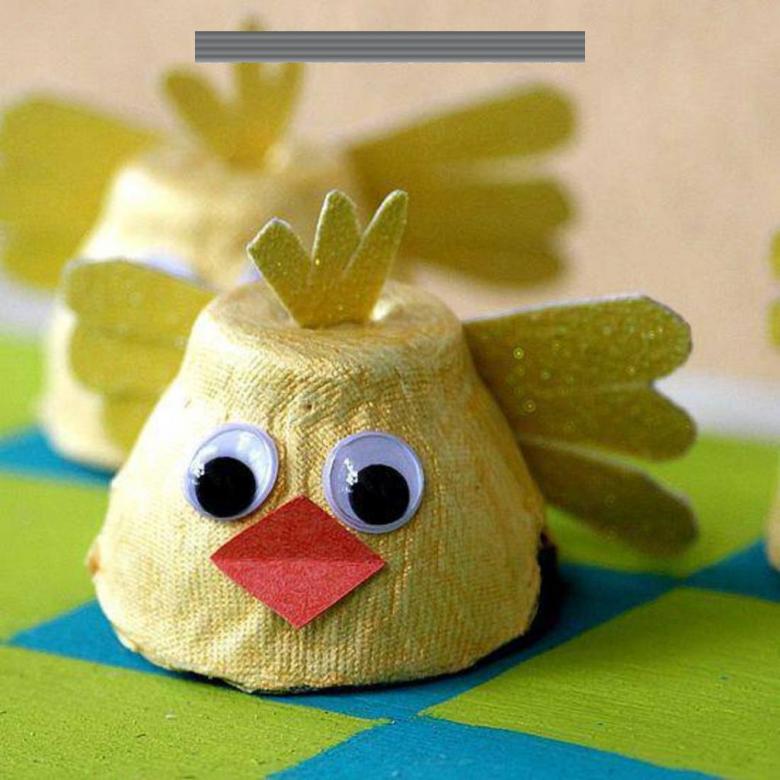
Painted chicken.
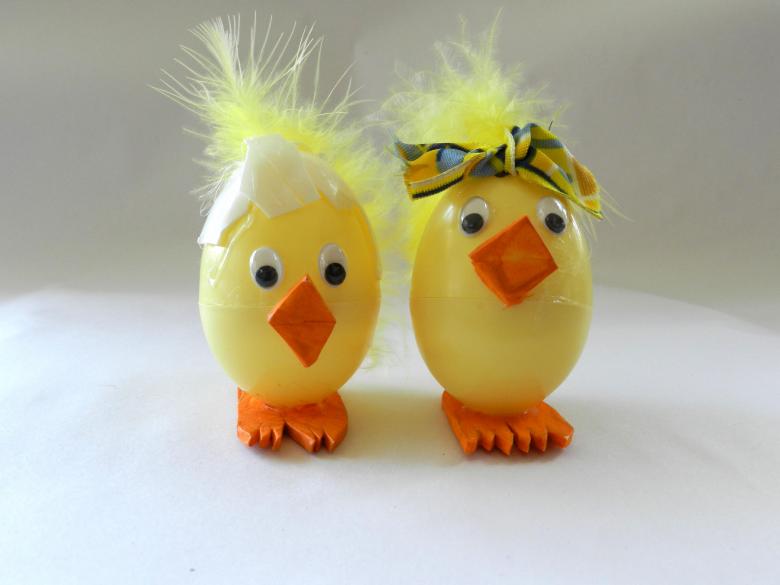
If the simplest method is chosen, you need to take egg-colored gouache and paint the shell.
Instead of gouache, you can use Easter kits.
Chicken Wrapped
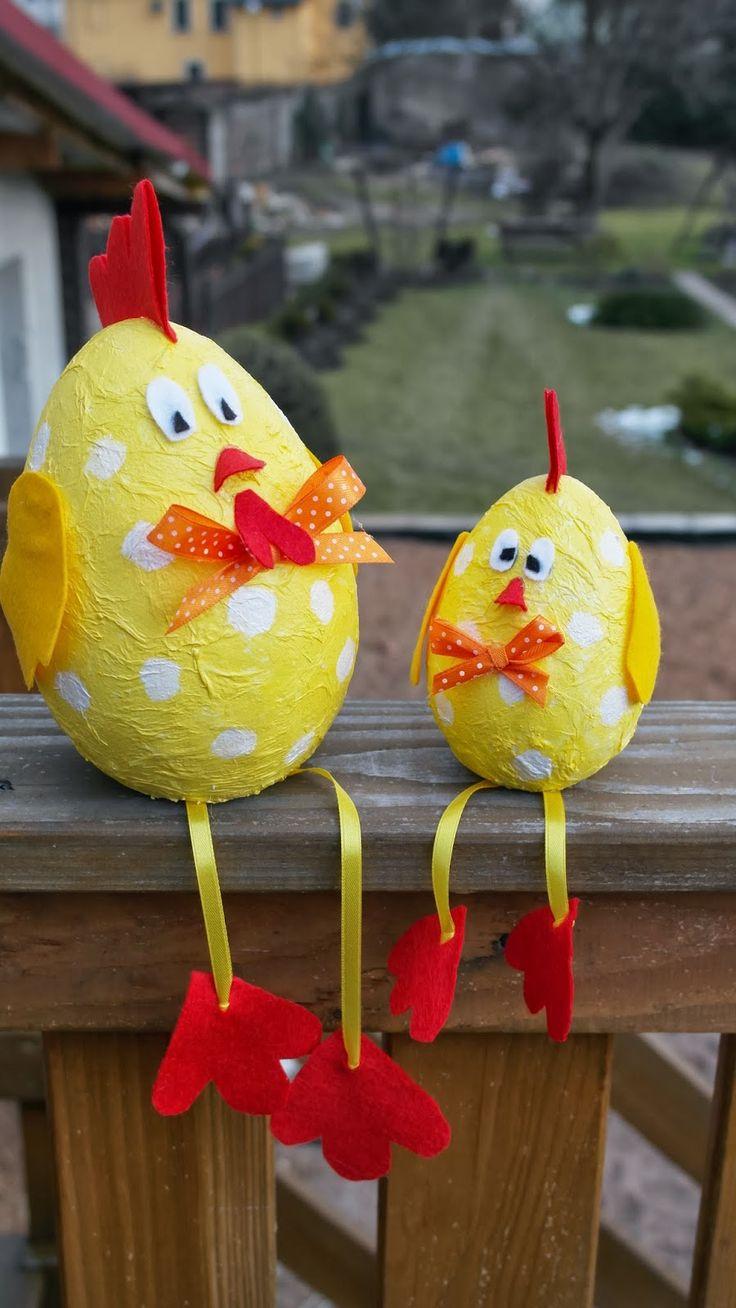
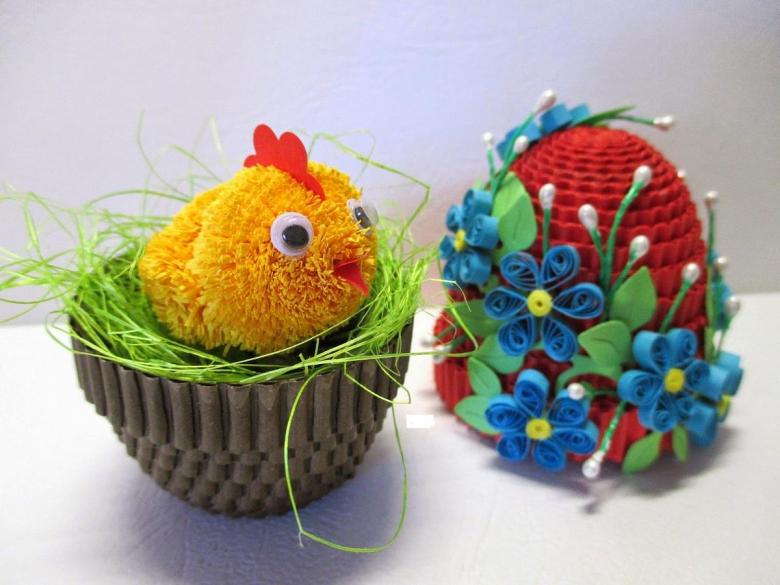
The shell can be wrapped with yellow corrugated paper, glued with PVA glue or yellow soft foil for crafts.
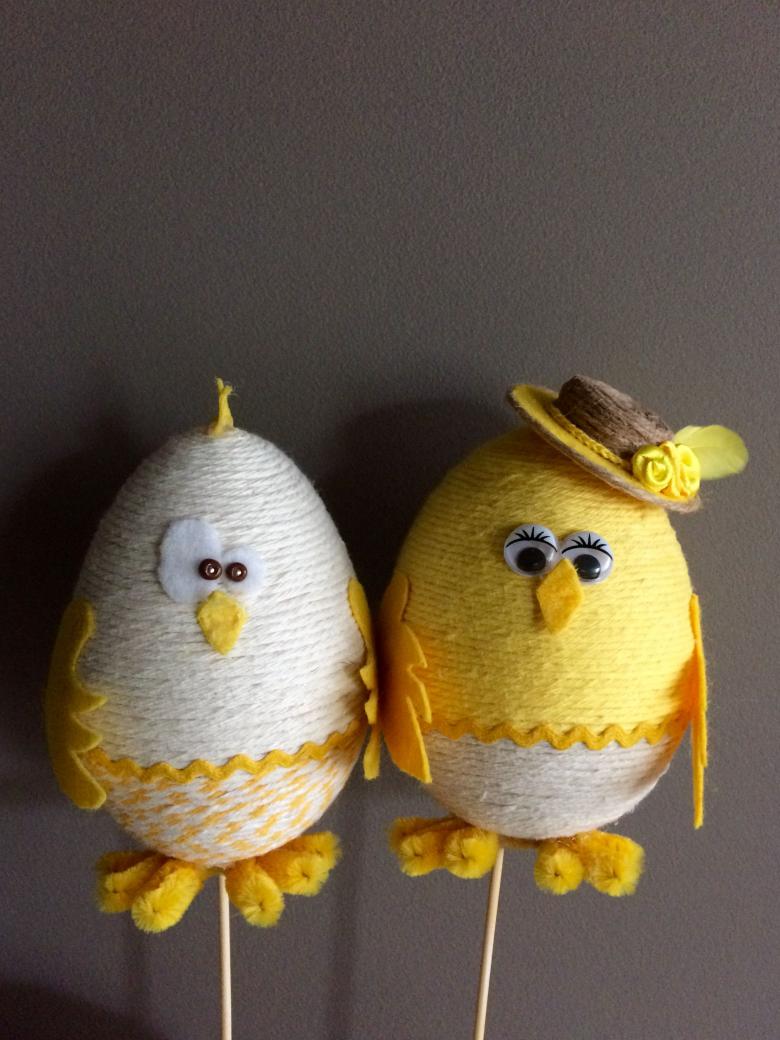
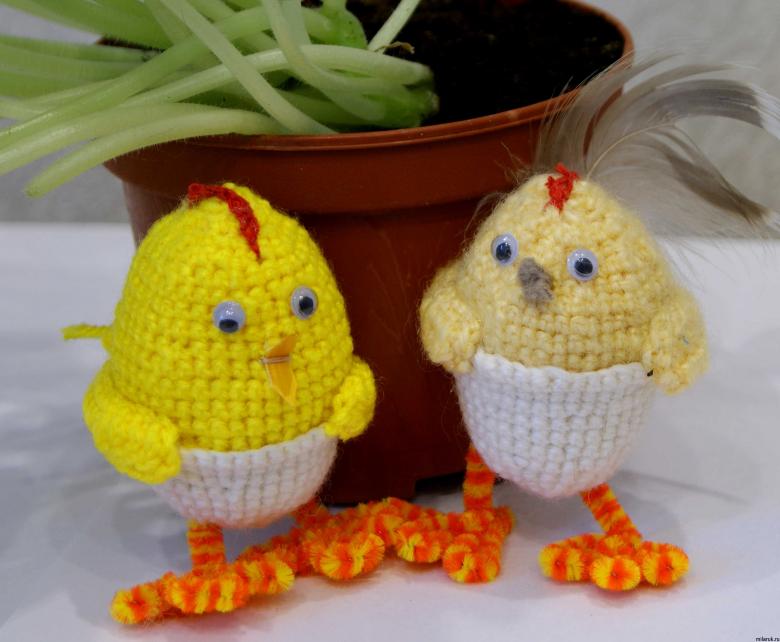
Threaded chicken
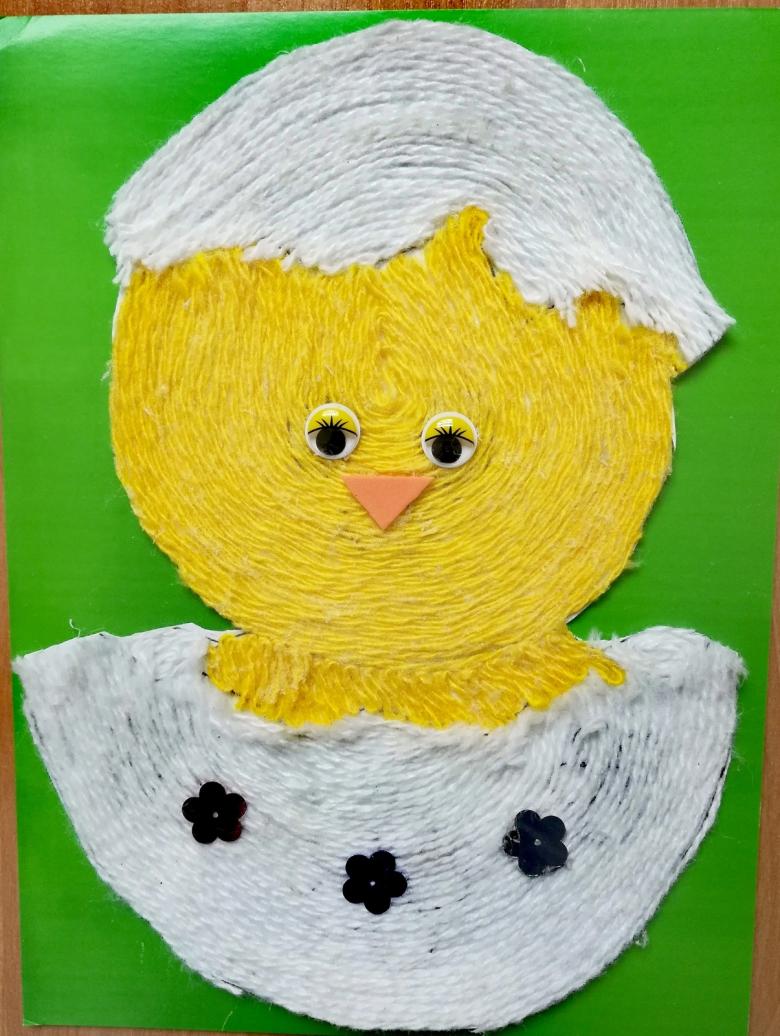
The next idea is also with a shell. It takes thin twine or crochet thread. The shell is smeared with glue. The string is fixed over the top hole with the same glue or a small piece of plasticine. It is then wrapped around the shell in a spiral. Each layer under the other, close to it.
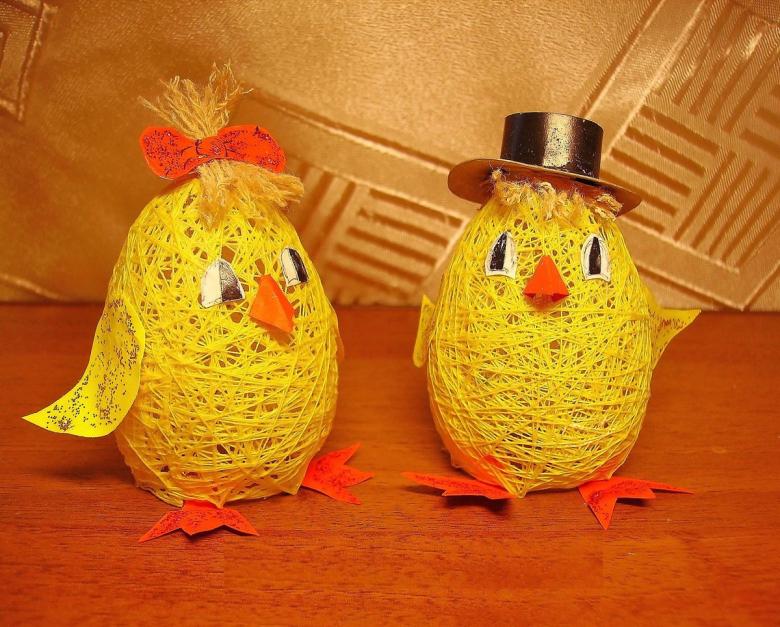
Reaching the end, the rope is cut and the lower end is fastened just like the upper end.
While the chick dries, other preparatory work must be done to create it.
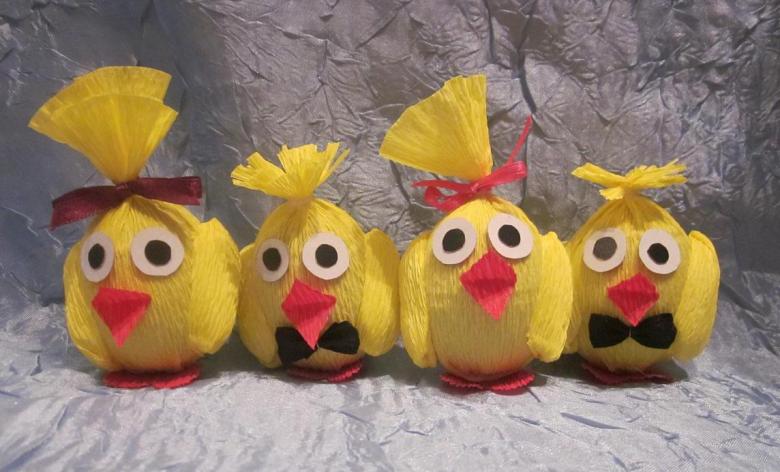
Wings, a beak and a small scallop are cut out of thick colored paper or thin cardboard. If there are feathers, the wings and crest can be made with them.

All parts are glued to the shell, there glued eyes. If not bought eyes for toys, you can draw dots or circles with a black marker, as well as make from paper.
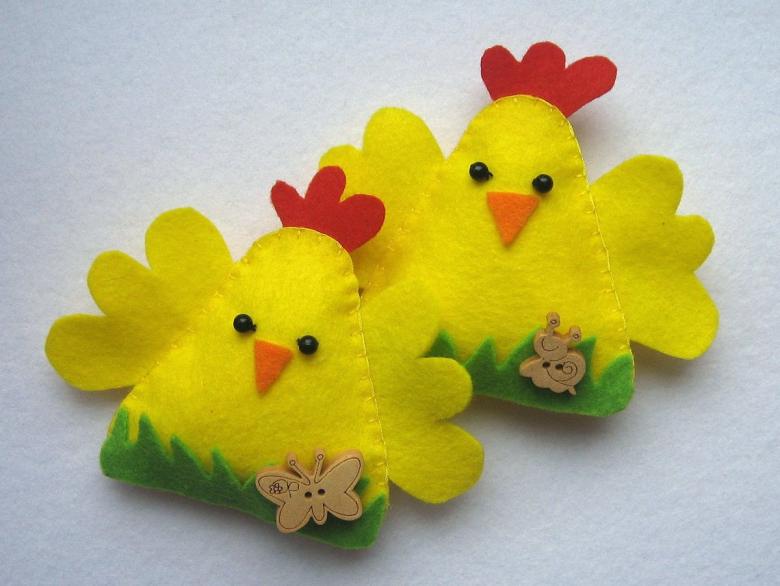
If the chick needs to be hung, make a loop of thread, attaching it to a comb. And, if you want to carry it around, it is easier to attach a stick, such as a cocktail straw or sushi stick, to the bottom of the plasticine.
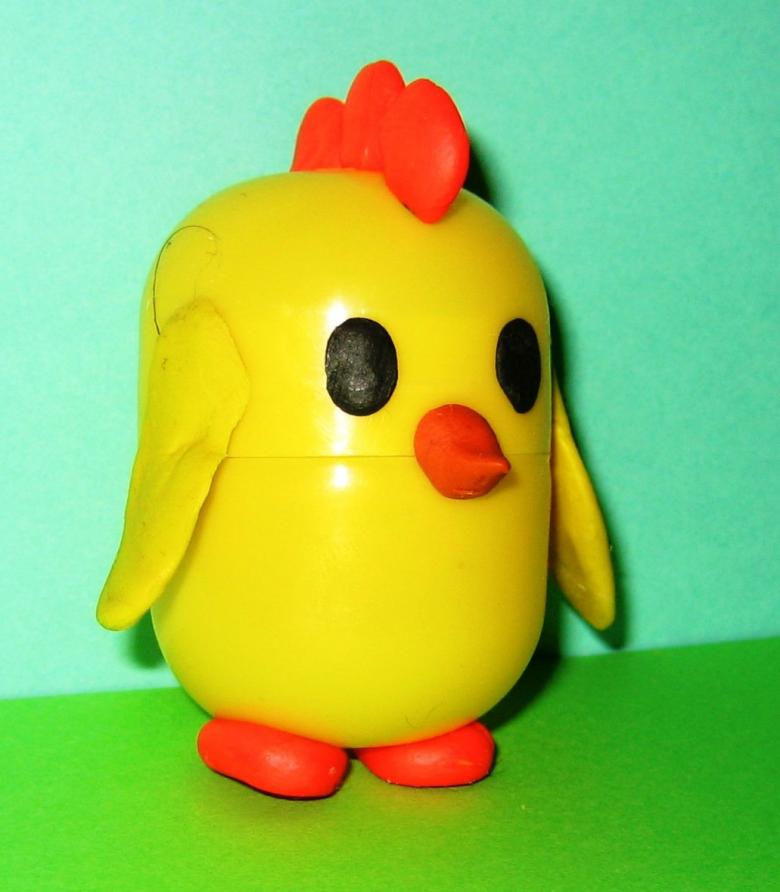
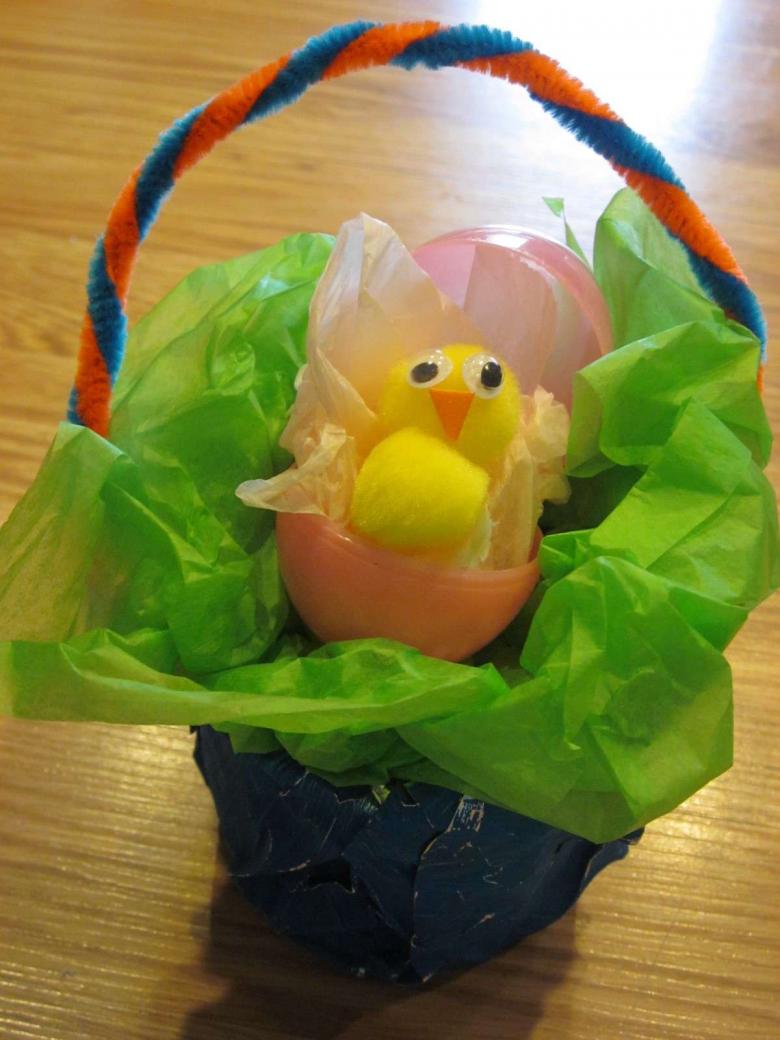
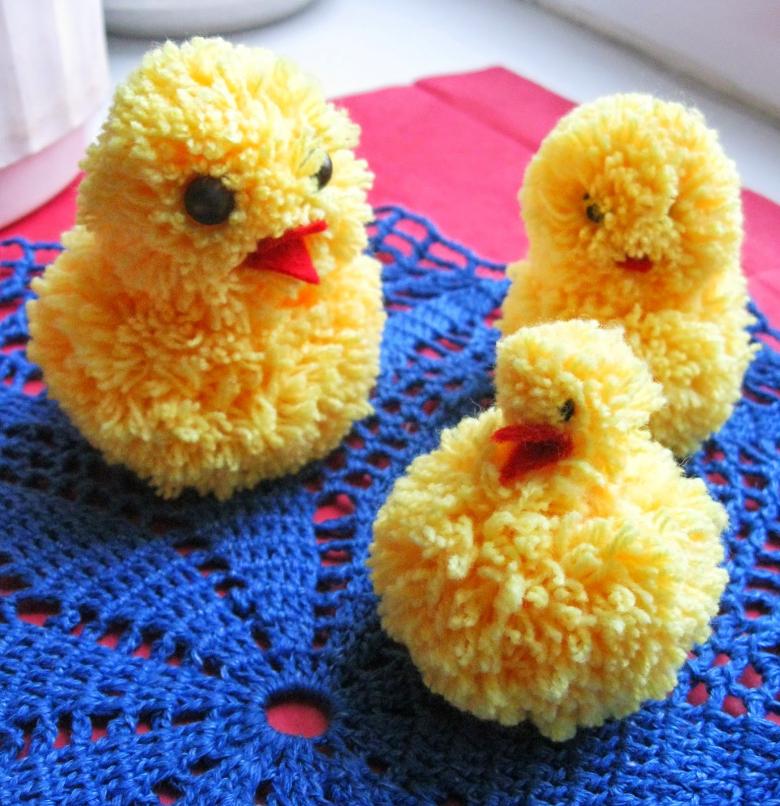
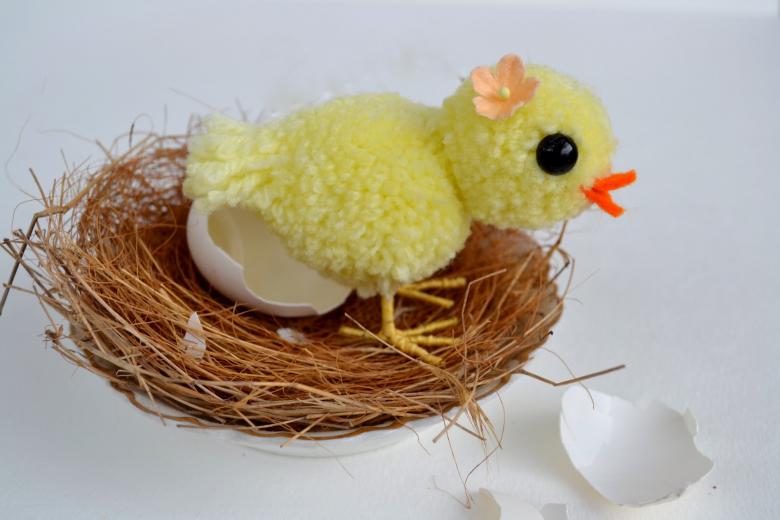
Pom-pom chicken.
Again, totally different variations on the "little bird" theme. And a beautiful variation comes out of balloons.
All have the same beginning, you have to create pom-poms if they are not store-bought.
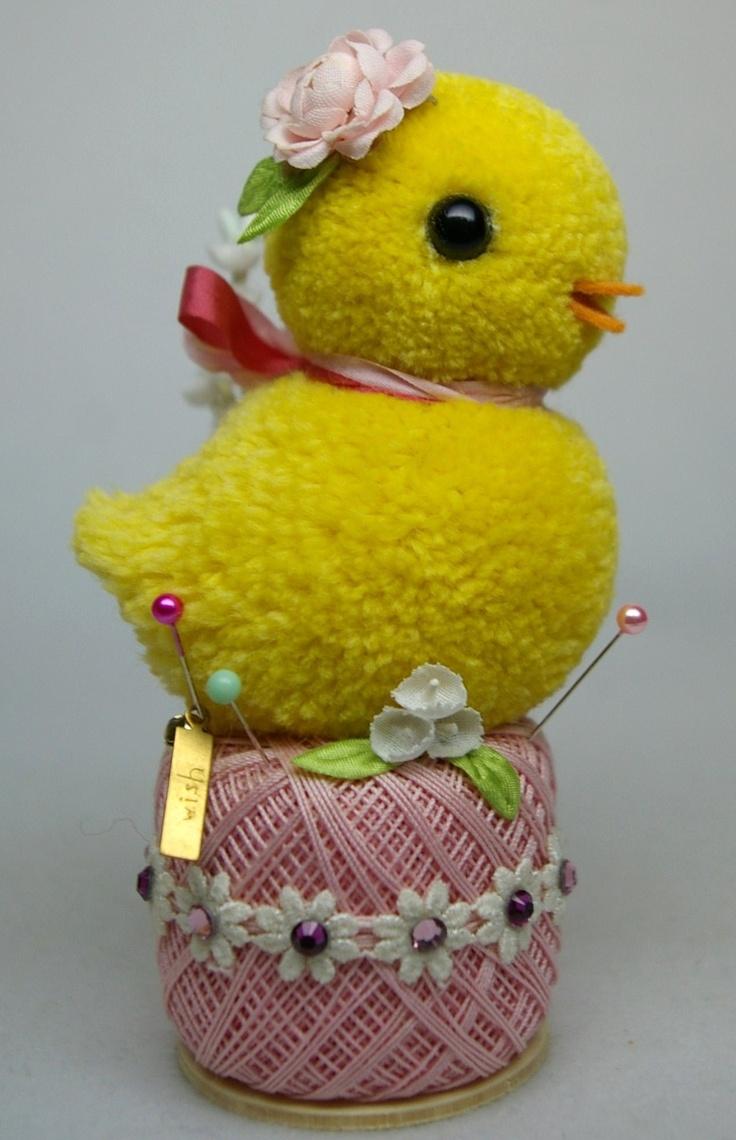
What is needed:
- Yarn in the color of autumn leaves.
- Cardboard.
- Scissors.
- Eyes.
- felt or paper for beak and scallop.
- Half a boiled egg shell or sisal for bouquets.
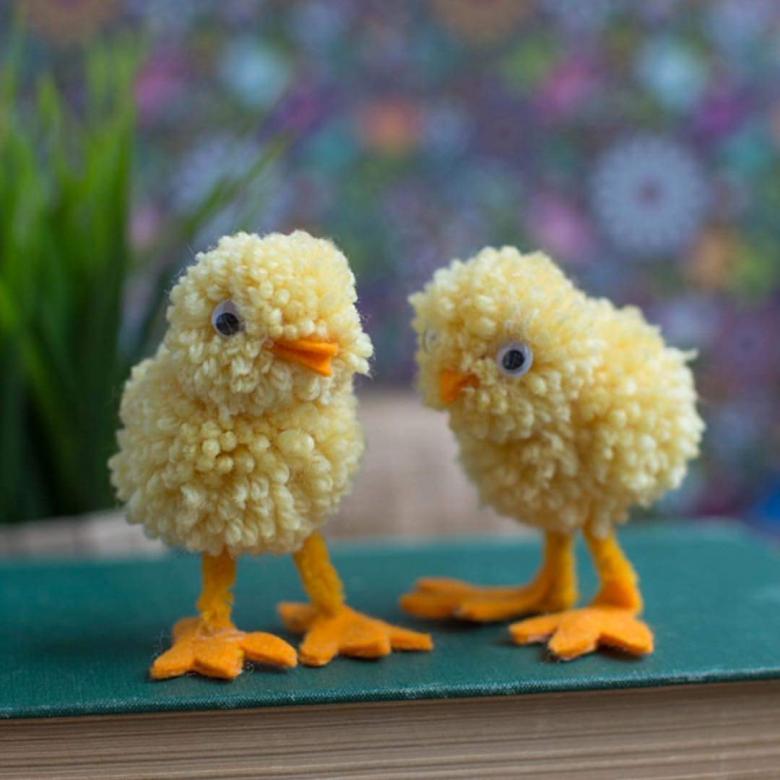
Sitting chick made of two pom-poms
To create the pom-poms, complete the following steps in the work:
- Cut 4 circles from cardboard, 2 5 cm in diameter, 2 3 cm each.
- Inside each one, cut a circle with a diameter of 1.5 cm.
- Cut the circles in one place, so that it was easier to pass the thread inside through them.
- Wind the knitting thread around the circles, passing it through the inner ring. Do this many times so that the hole in the middle actually closes.
- Cut the threads in the circle between the rings without taking them off.
- Insert a piece of thread into the cut, wrap it around the resulting bundle of fibers and tie with a knot.
- Remove the cardboard circles.
- Spread the threads to form a round ball.
- Repeat to create a smaller pompon.

The resulting balls should be sewn together or glued with universal glue. The smaller one will be the head, the larger one the body of the chick.
It remains only to glue eyes, a beak, a comb.
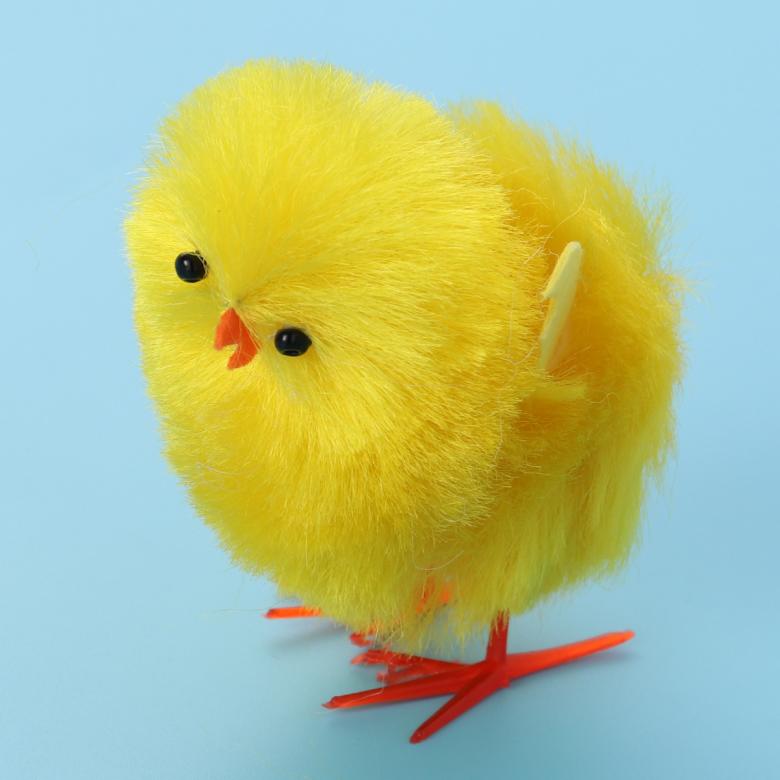
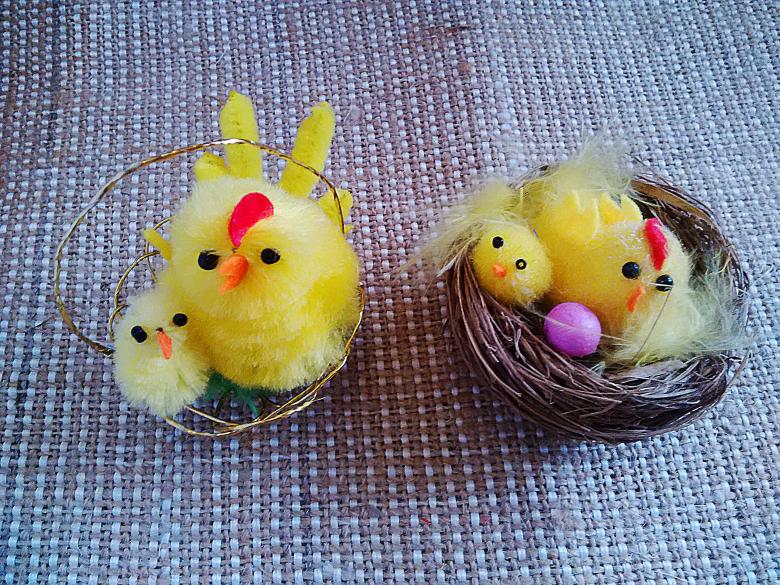
To form a nest for a bird, in which he sits, take half of the shell. Or make a nest of sisal or other materials.
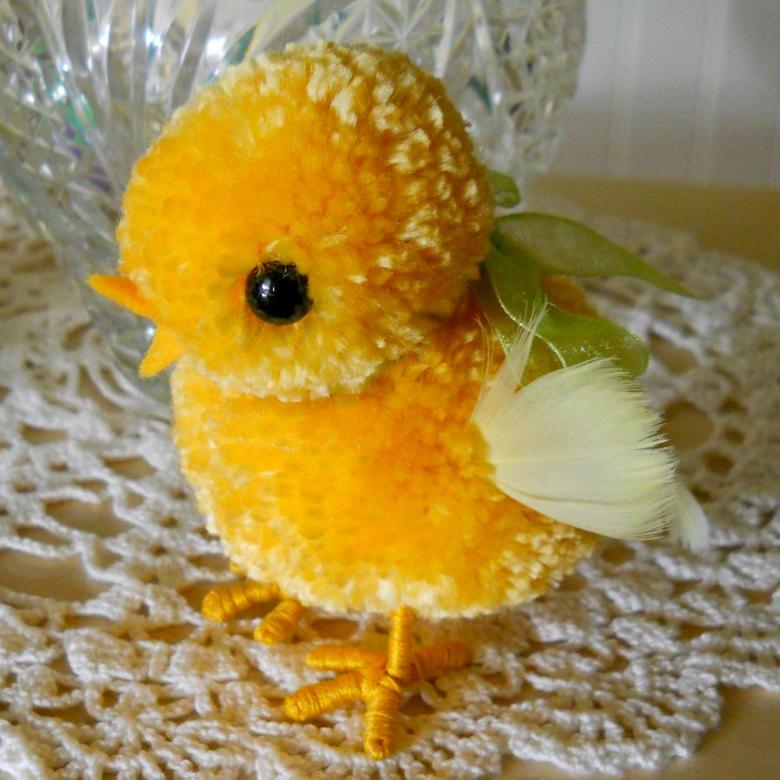
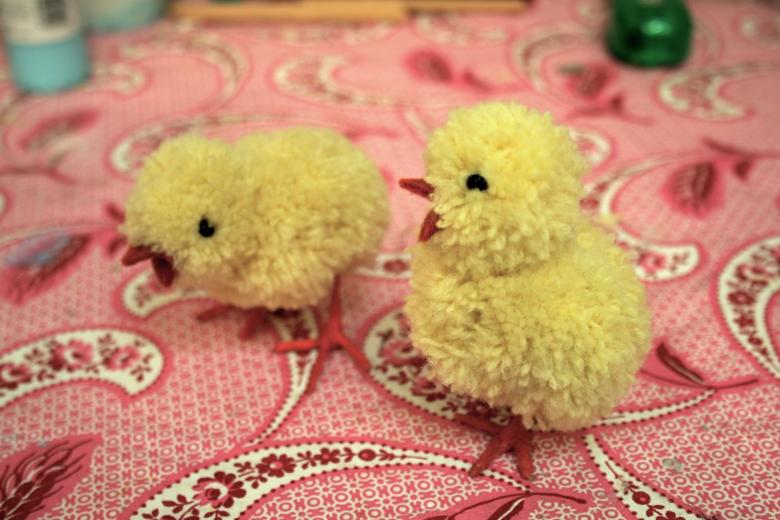
Chick from a single pom-pom
A new chick is made from a single ball.
Making the pom-poms is similar to the previous one, but you need one big ball, about 8 cm. Such a circle looks like an egg, and so the process of making a souvenir is the same as with the shell. On the pompon glued parts relating to the head, as well as make a cockerel red legs.

Marionette Chicken .
The following project is very unusual and interesting. In order to make the puppet, it is necessary to collect a few more materials: 2 sushi sticks or similar, a skein of twine or fishing line, red clothesline, about 15 cm, red knitting threads, from which make 2 small pompons, 1 cm in diameter for the paws.
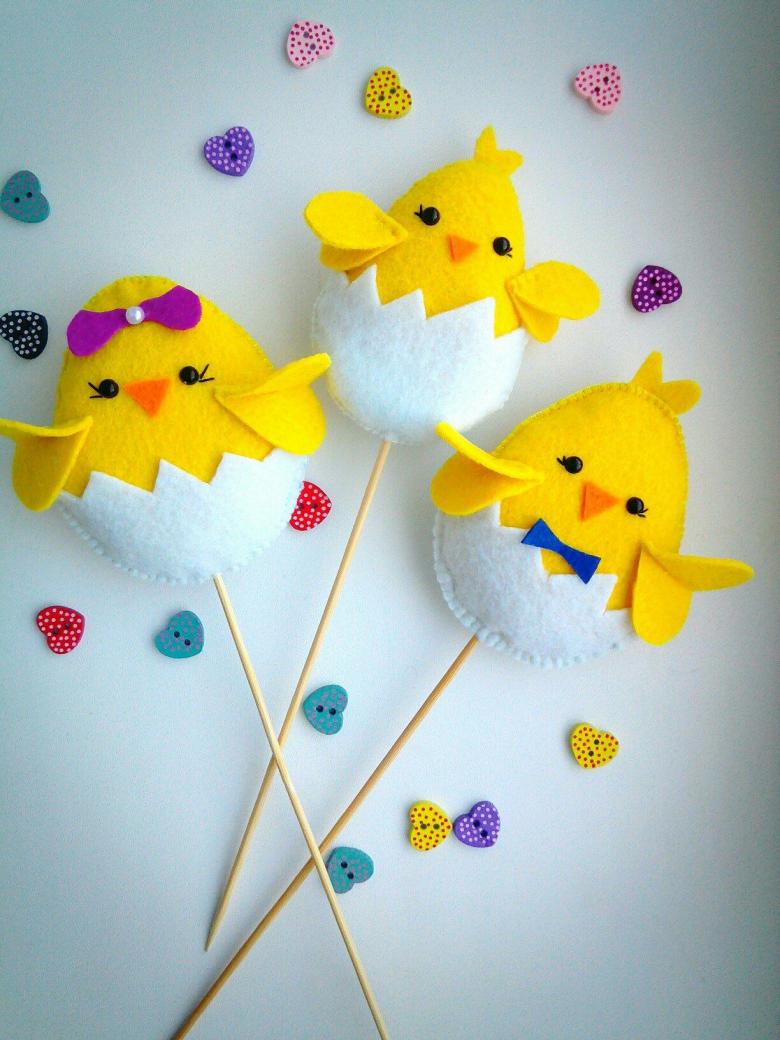
After obtaining two pompoms of different sizes, as described above, proceed to create a puppet.
- Create 2 more red pompons, a radius of half a centimeter.
- Take two sticks, put them crosswise and at the intersection are wrapped with string to connect them to each other.
- Take 2 balls and 5 cm of red rope, make a neck out of them.
- Pull the pompom apart to get to the center, apply glue and glue one end of the twine to the large pompom, one to the small one.
- The remaining 10 cm of red cord is folded in half. This will be paws.
- The center of the rope glued to the body to the ends glued red balls.
- Allow it to dry. While collecting the head.
- Raise a chicken, his paws should be side by side, not one by one. On this basis, determine the direction in which to look beak.
- On a smaller yellow ball glue the eyes, beak, crest, the side of the body of the wings made of colored cardboard or feathers.
- To each pom-pom attach glue string or line, about 50-70 cm in length. With this, the puppet will be attached to a wooden cross.
- Cross connected to the doll as follows: on one stick at its ends are tied head and torso, the other legs. The main thing is not to mix up the legs, so that the puppet does not look in the opposite direction.
- For further correction, you can not glue the ropes to the sticks, but tie on a bow, as the rope glued to the head should be shorter than all the others, and longer to the legs.

When the puppet is ready and dry, you can start playing with it, holding it by the cross and moving it around the table or floor to create an imitation of the movement of a bird.

We showed only 6 ways to create chicks together with children, but there are many of them, photos with them published by kindergarten teachers and school teachers.
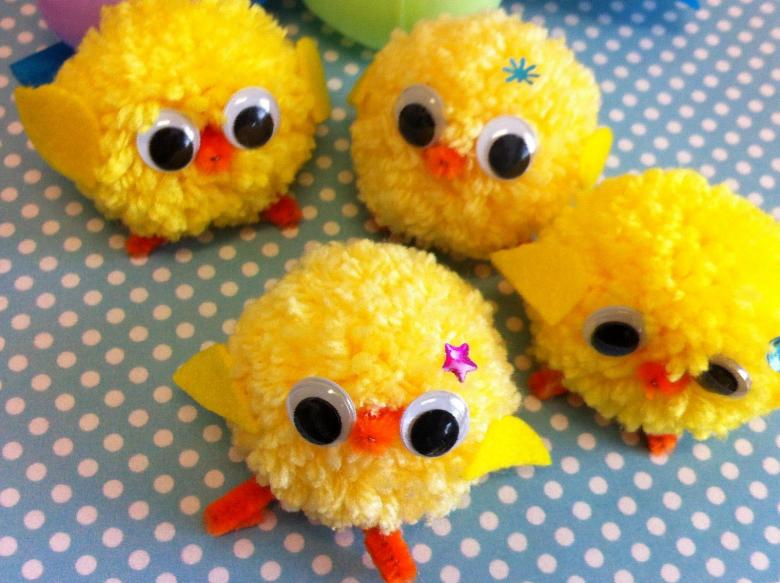
The main thing is that you create together with your child and prepare surprises for your relatives for the holidays.

