Cereal crafts with their own hands - interesting master classes for beginners (61 photos)
Cereal crafts are some of the most accessible and well-known types of applications. They are loved for their simplicity and accessibility of materials. Well, the groats can be found in the stash of any housewife. Of great importance is also the simplicity of applique, for this you do not need to have golden hands, with this task is quite able to cope and a child.
Handicraft "Palm"
The simplest idea of cereal crafts is the palm tree. If the child is engaged in such creativity for the first time, it is the responsibility of the parent or teacher to supervise his actions.
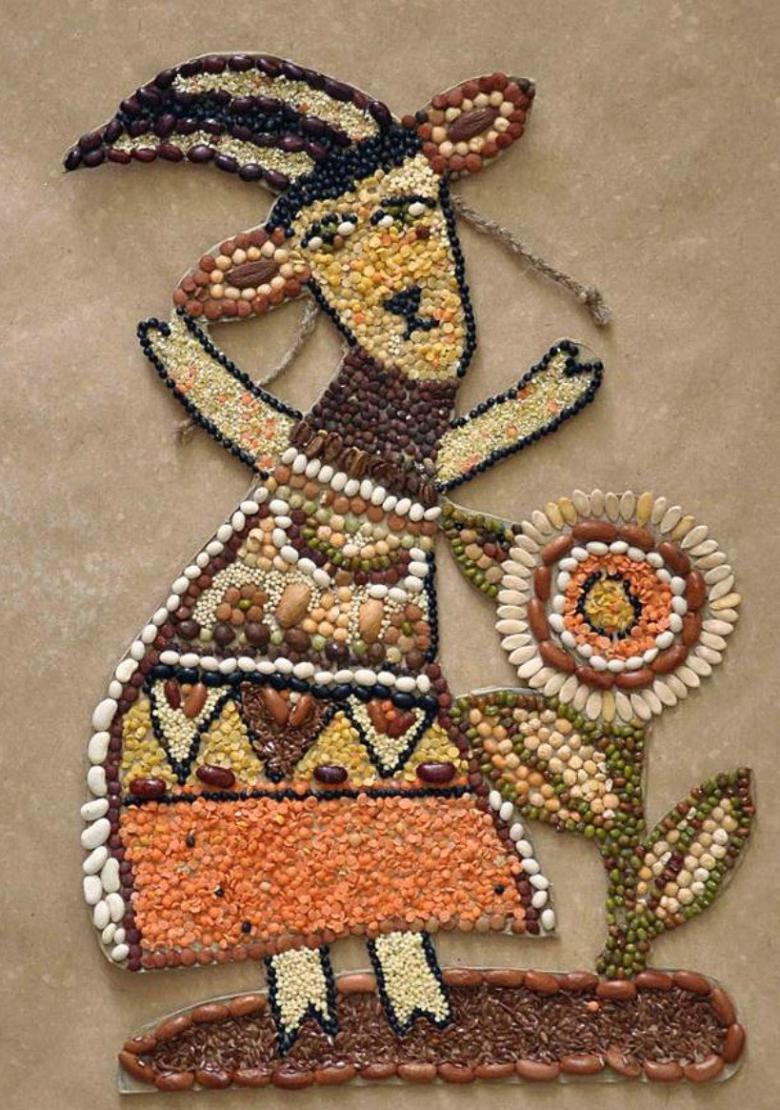
The craft will require:
- a bowl;
- a rod from a fountain pen;
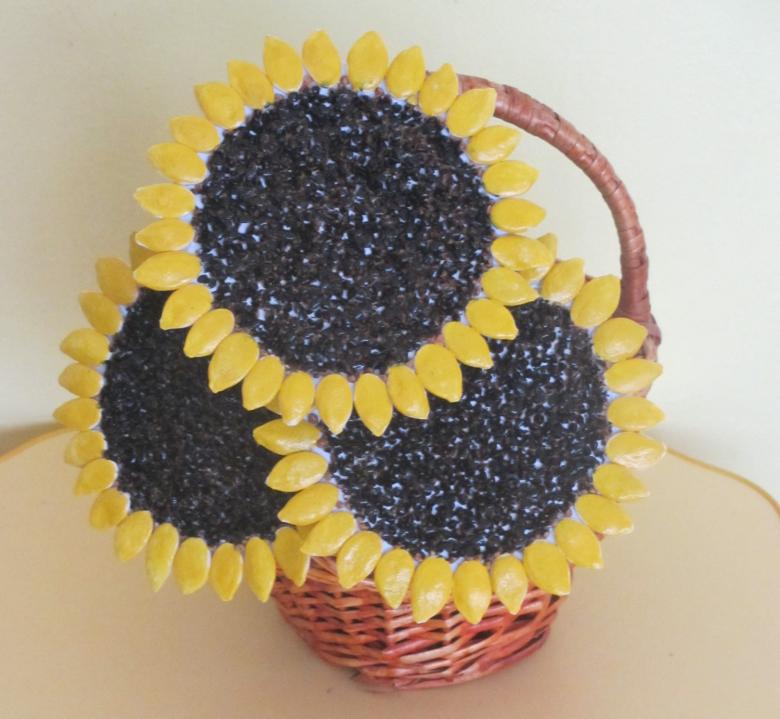
- pumpkin seed;
- plasticine.
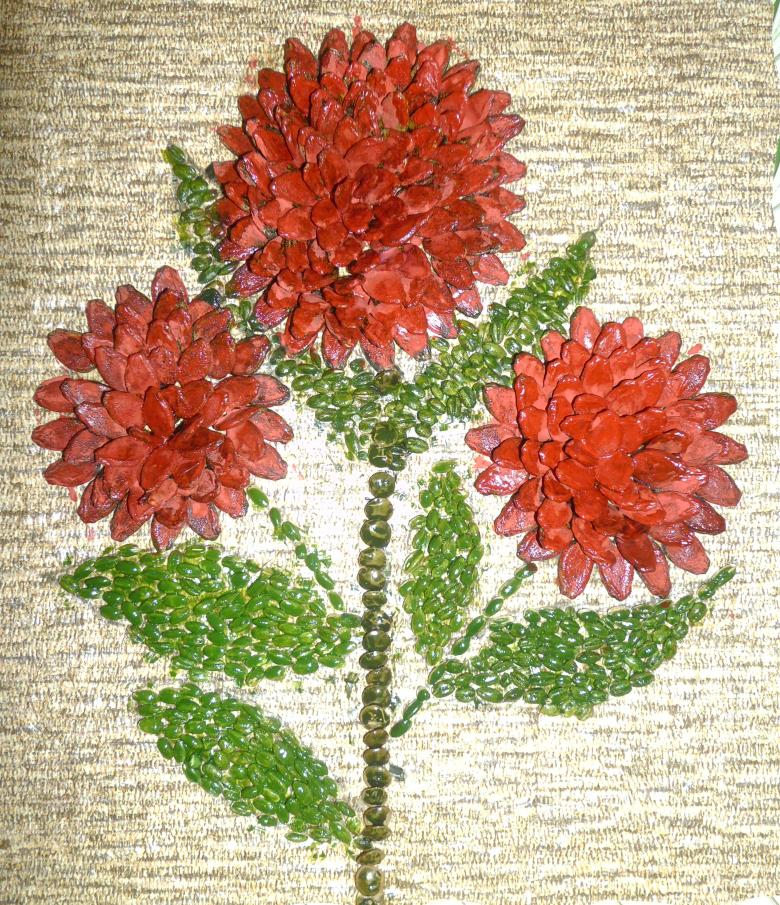
To make a palm tree, first distribute green plasticine in a bowl. Roll a ball of plasticine and fix it in the center of the bowl. Insert a rod in it, it will be an improvised trunk. Now you need to roll a sausage from plasticine of brown color. Wrap it around the whole rod. Now it's time for pumpkin seeds. It is necessary, starting from the bottom of the tree, insert the pumpkin seeds. It turns out a very nice Christmas tree.
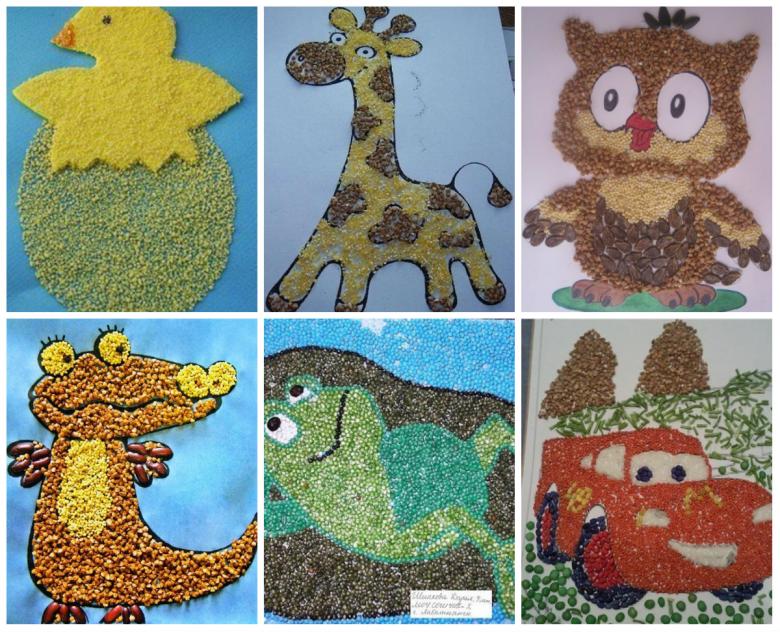
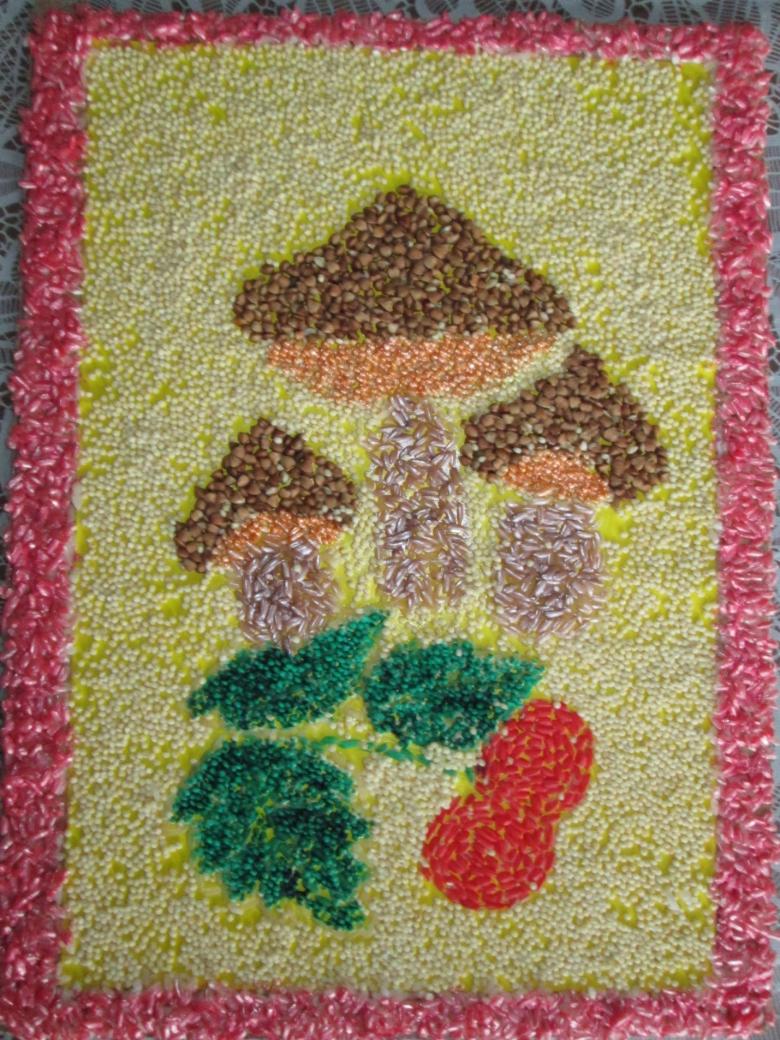
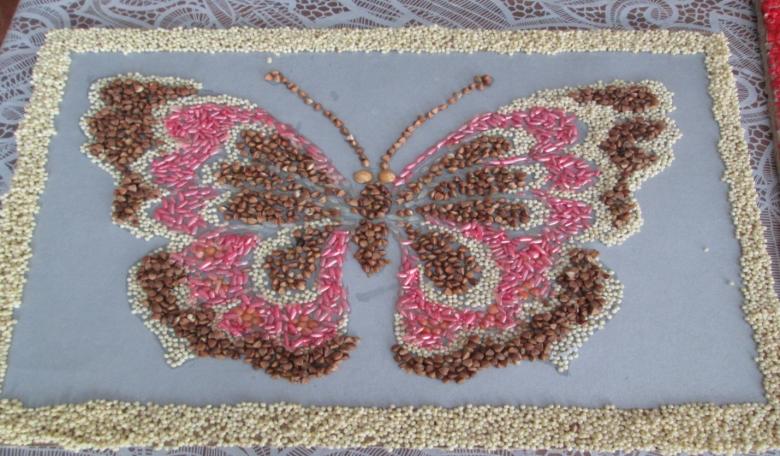
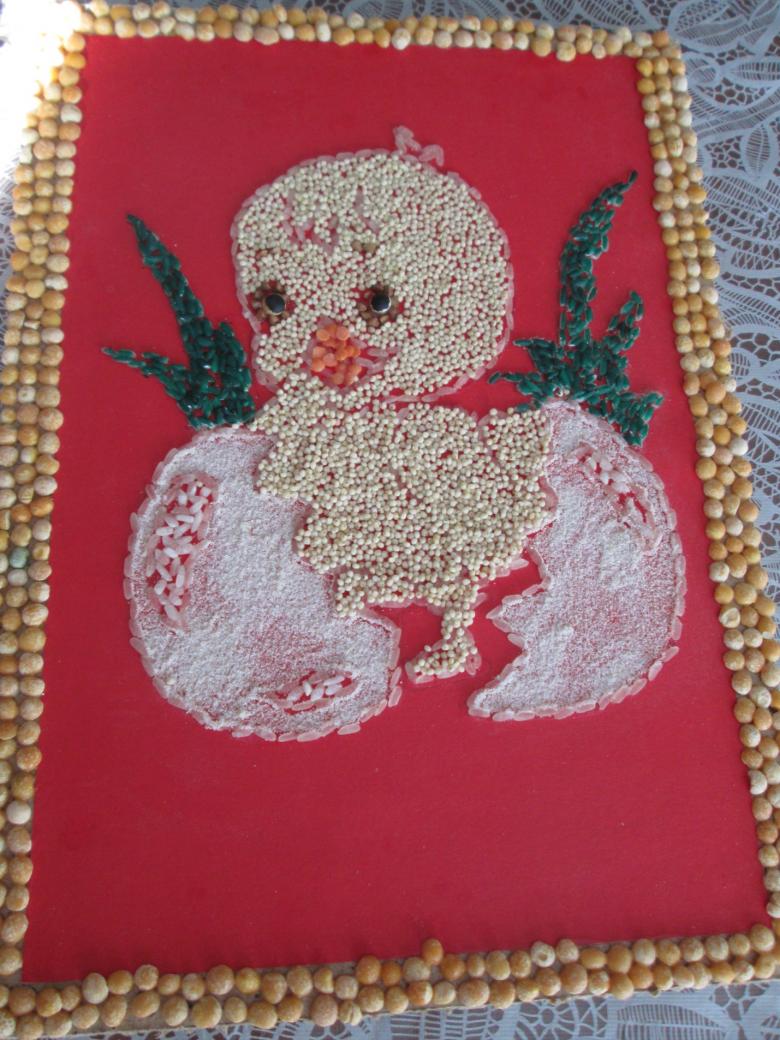
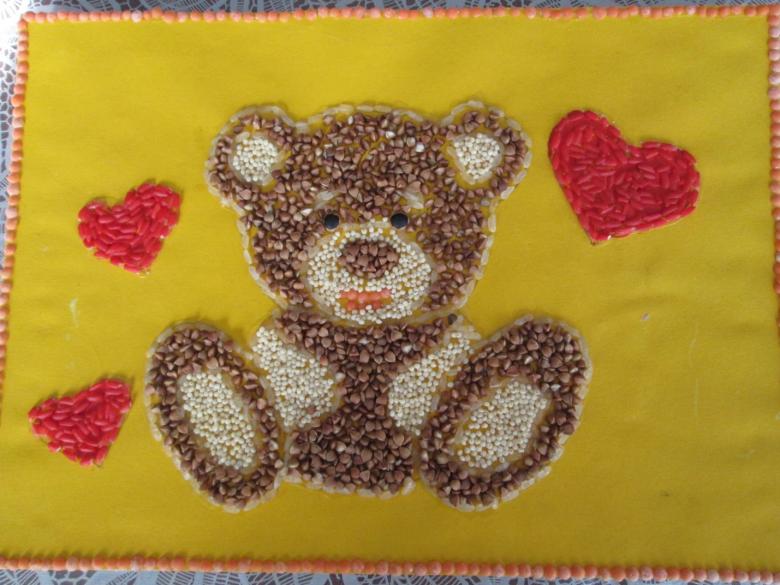
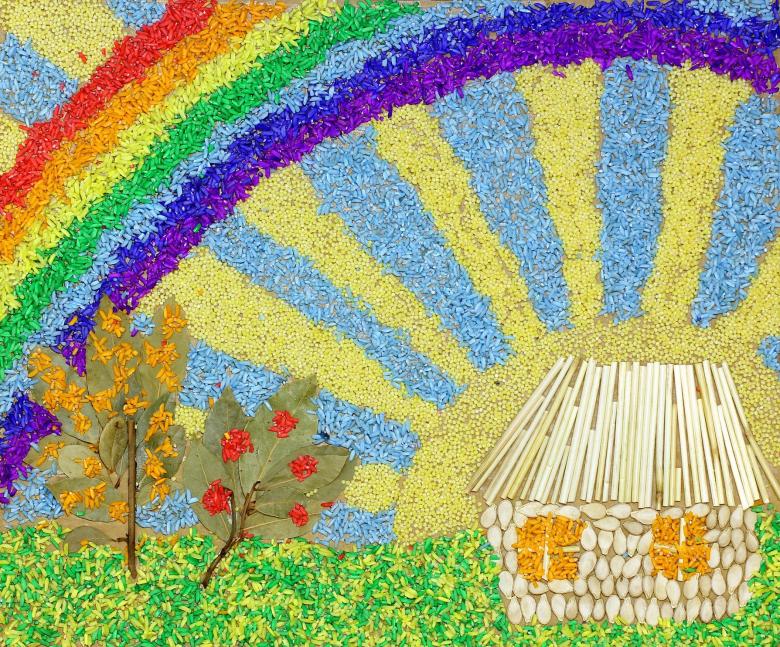
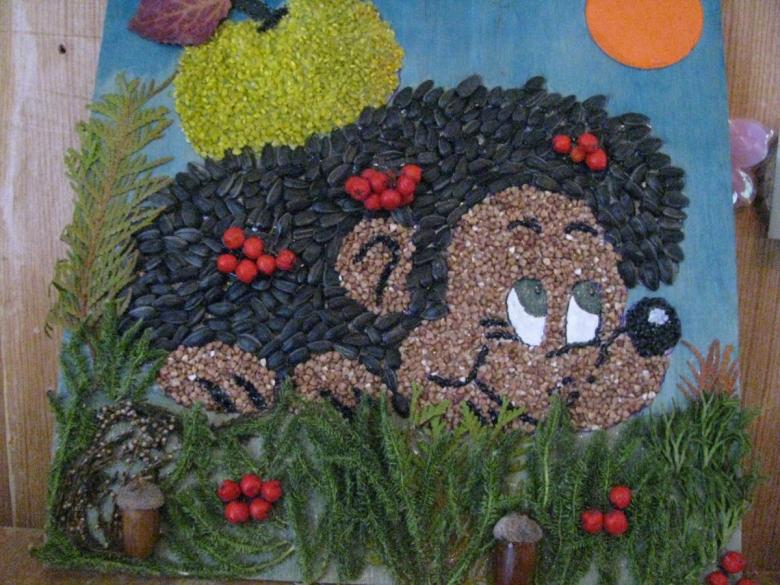
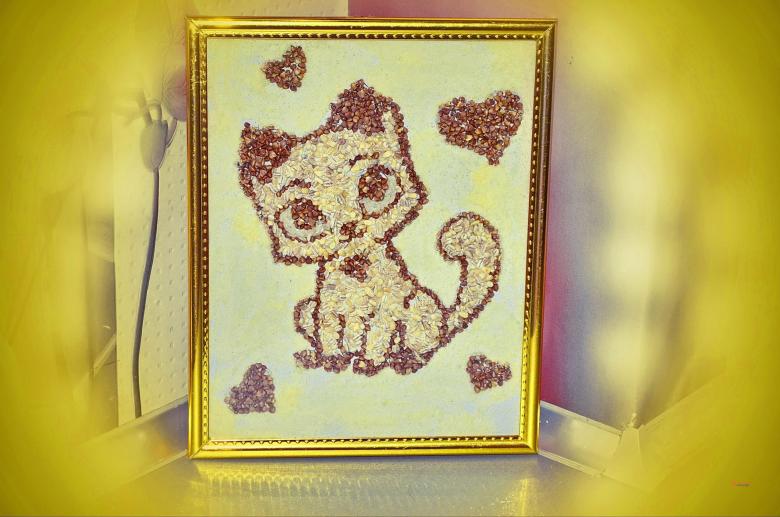
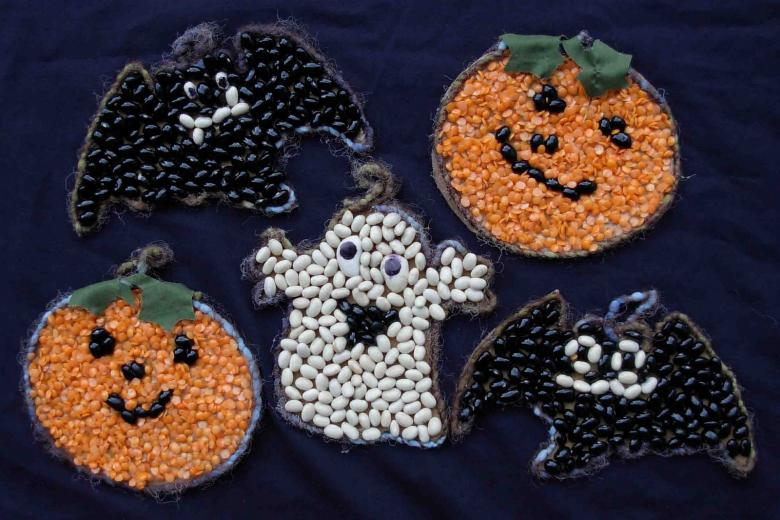
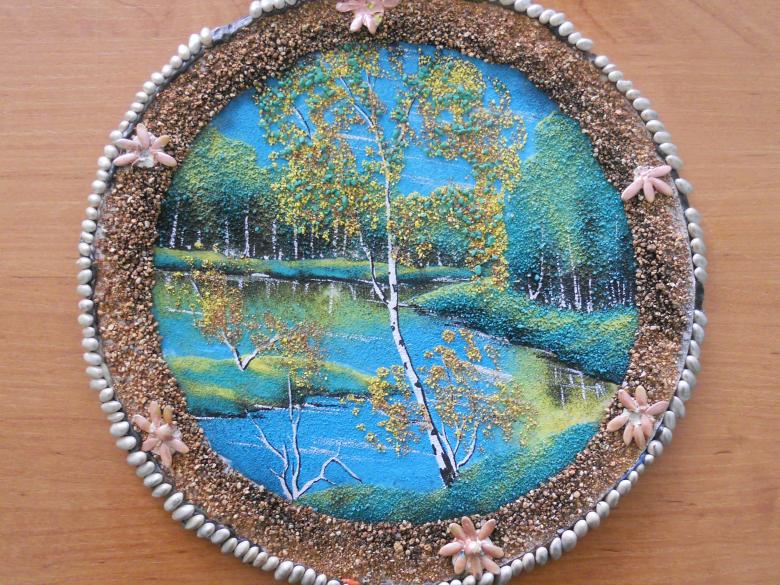
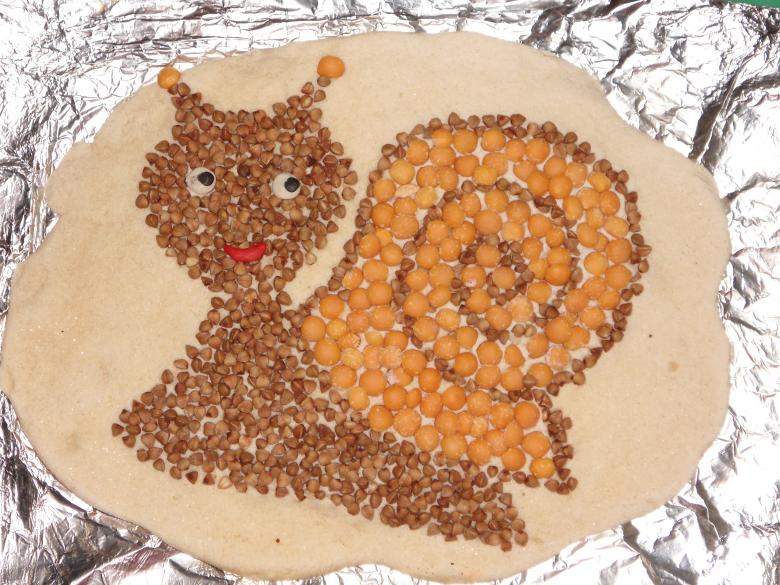
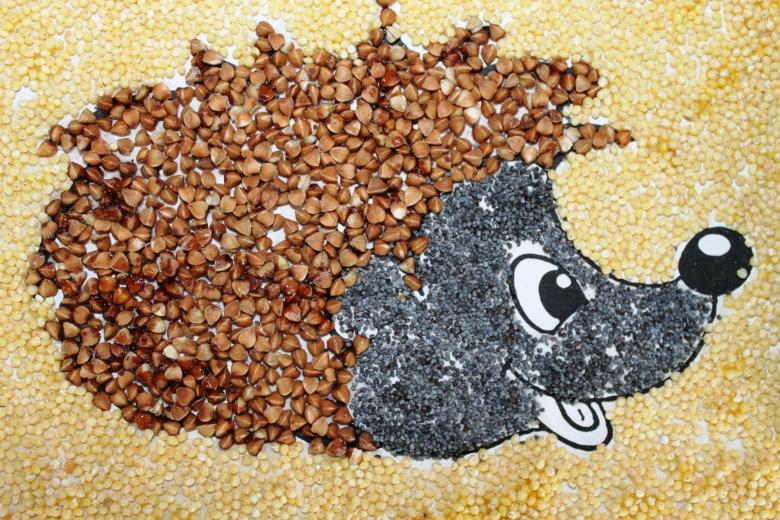
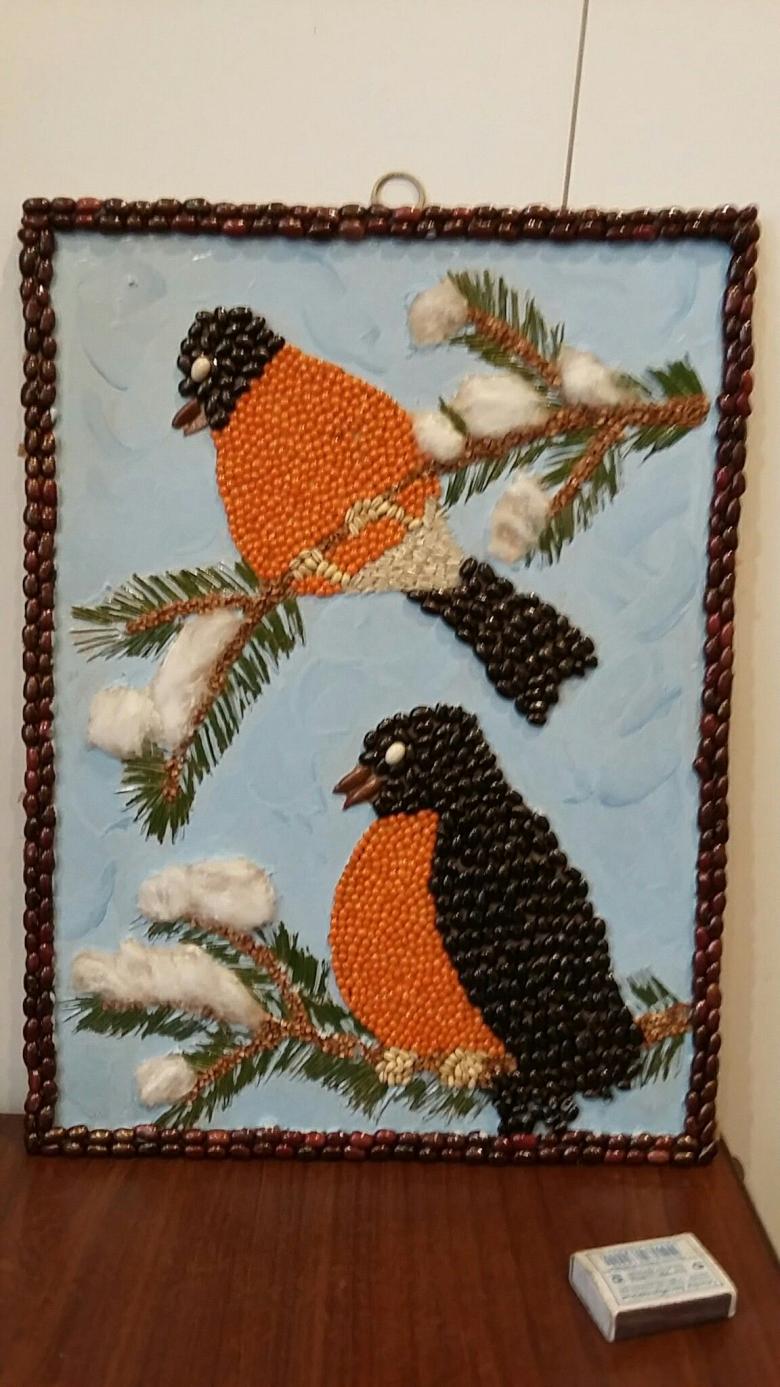
Panels based on groats
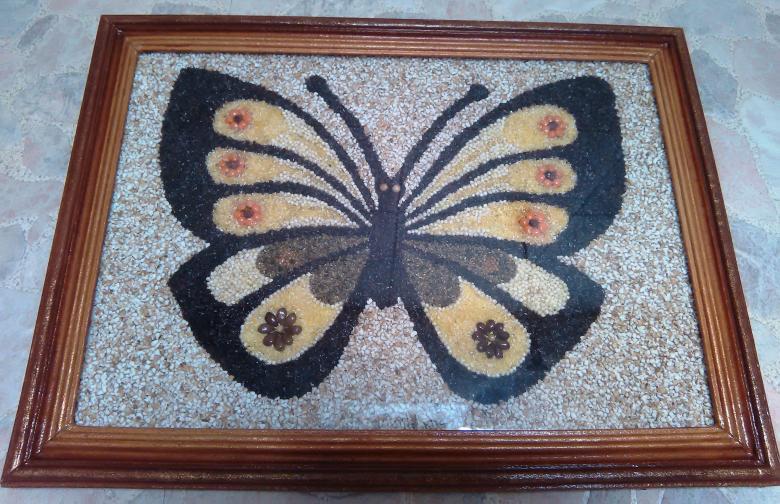
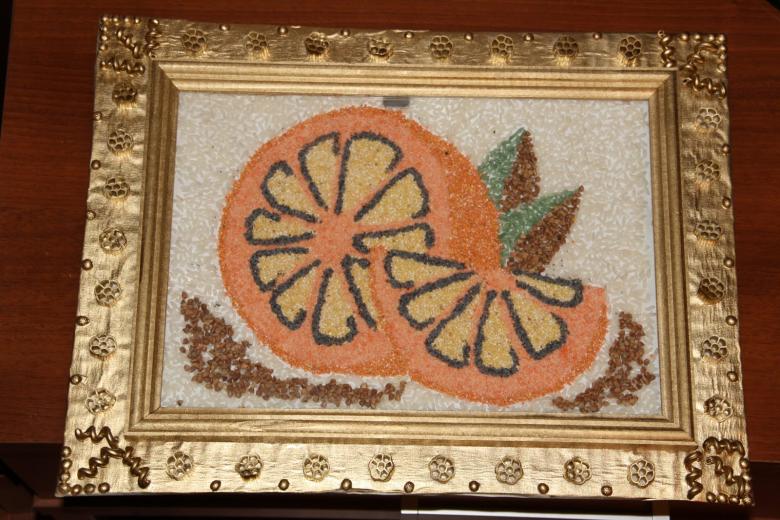
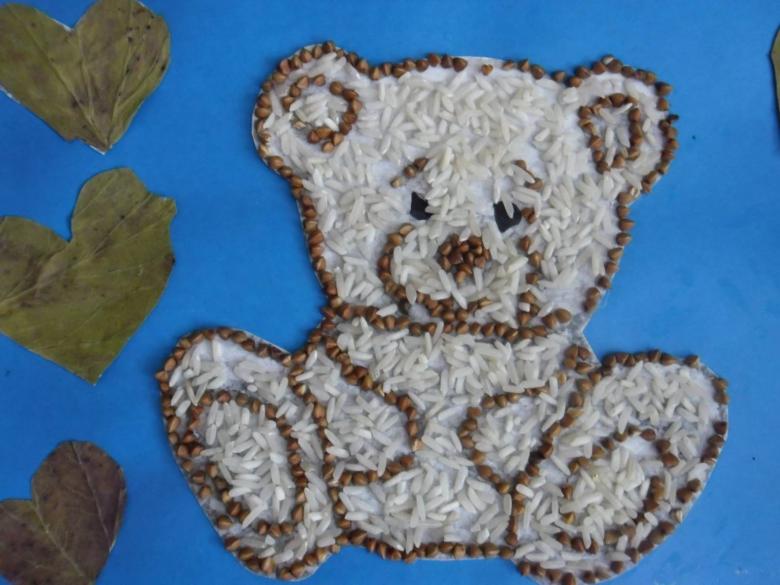
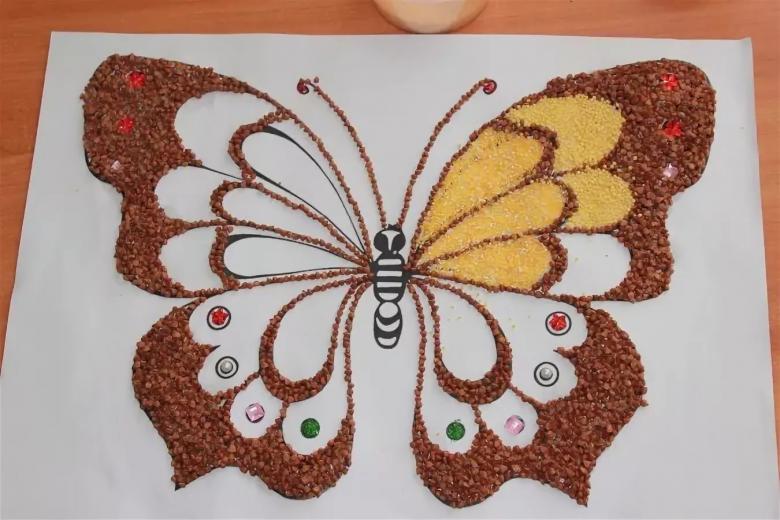
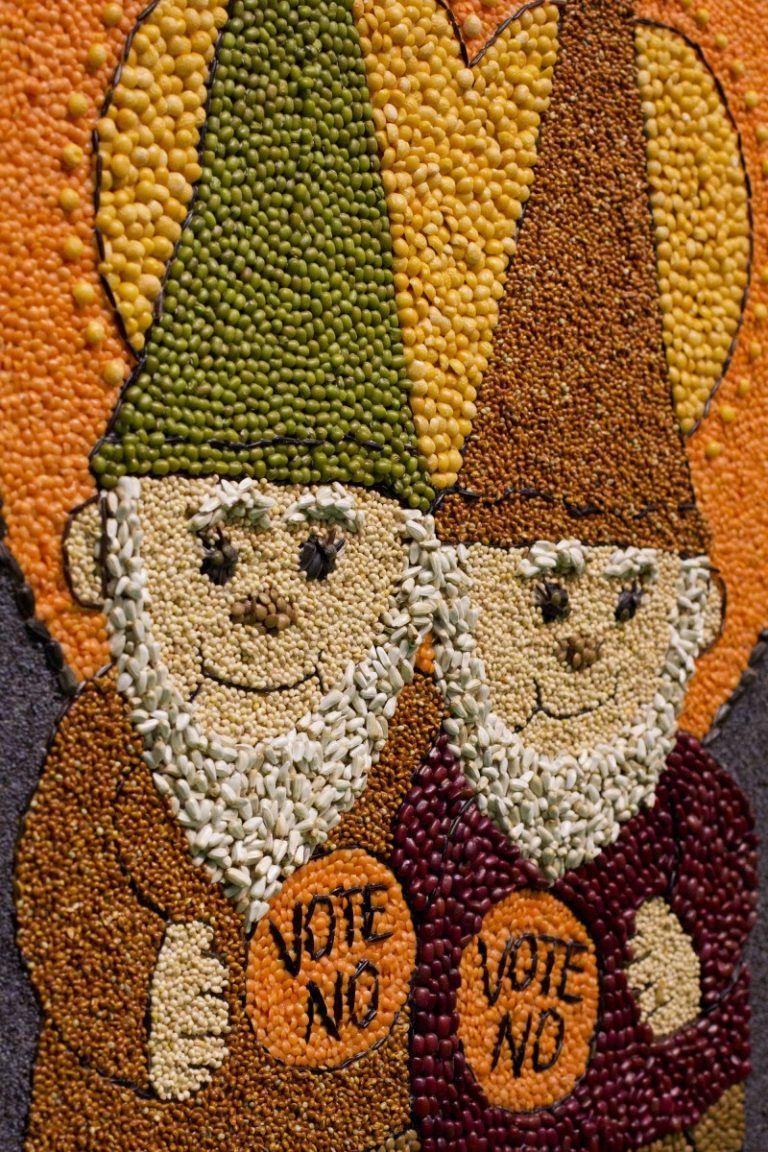
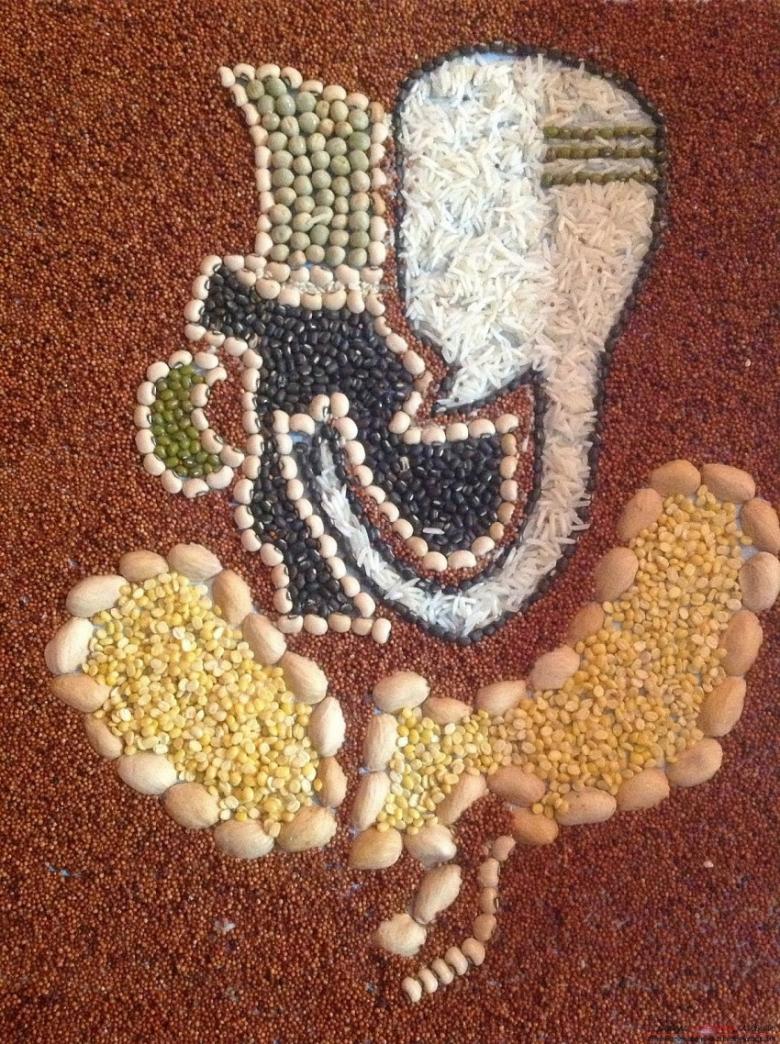
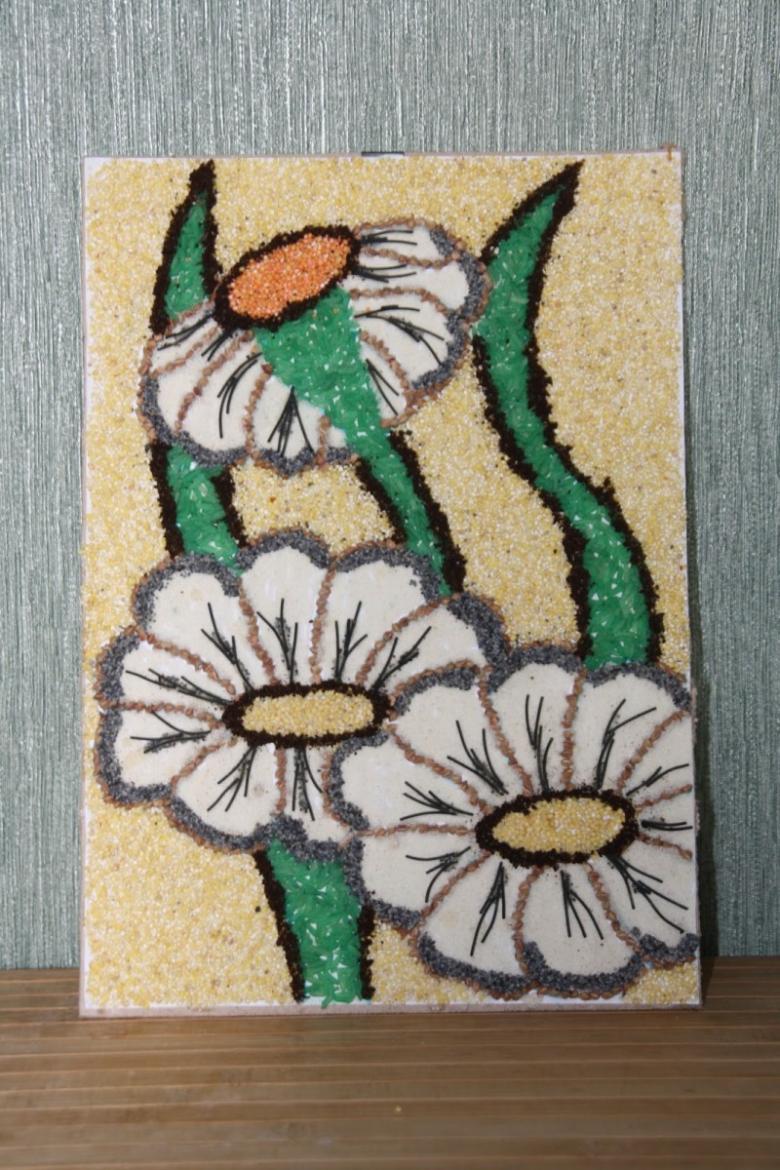
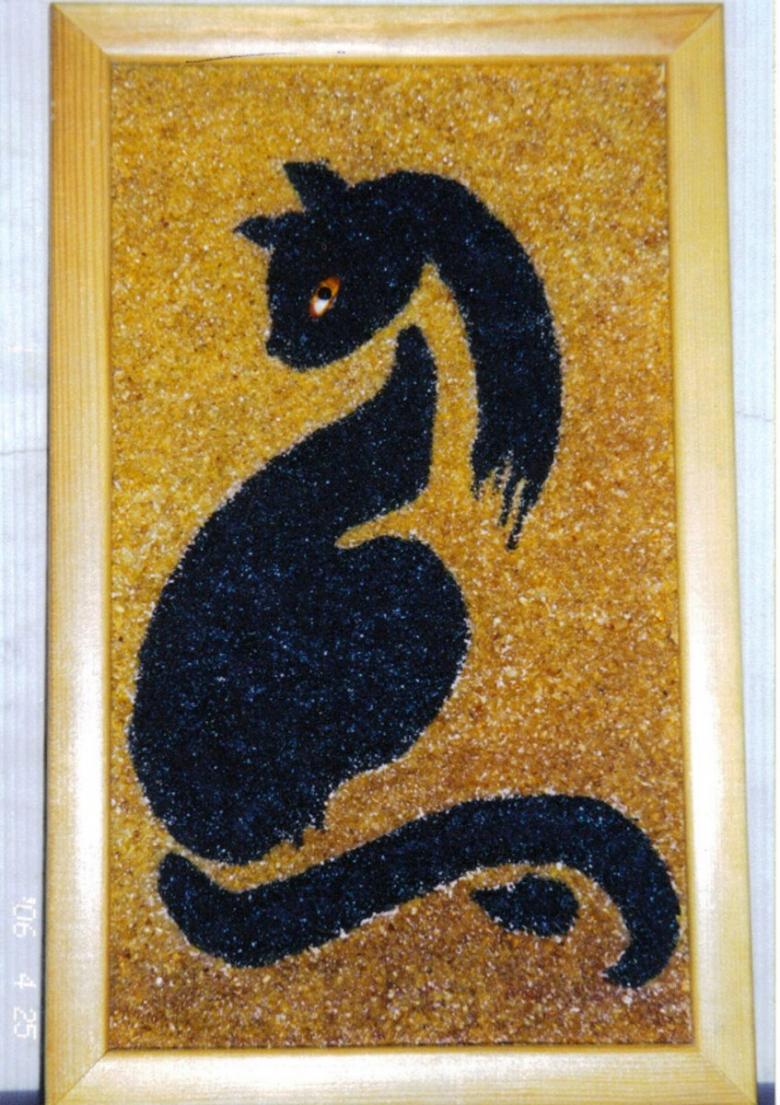
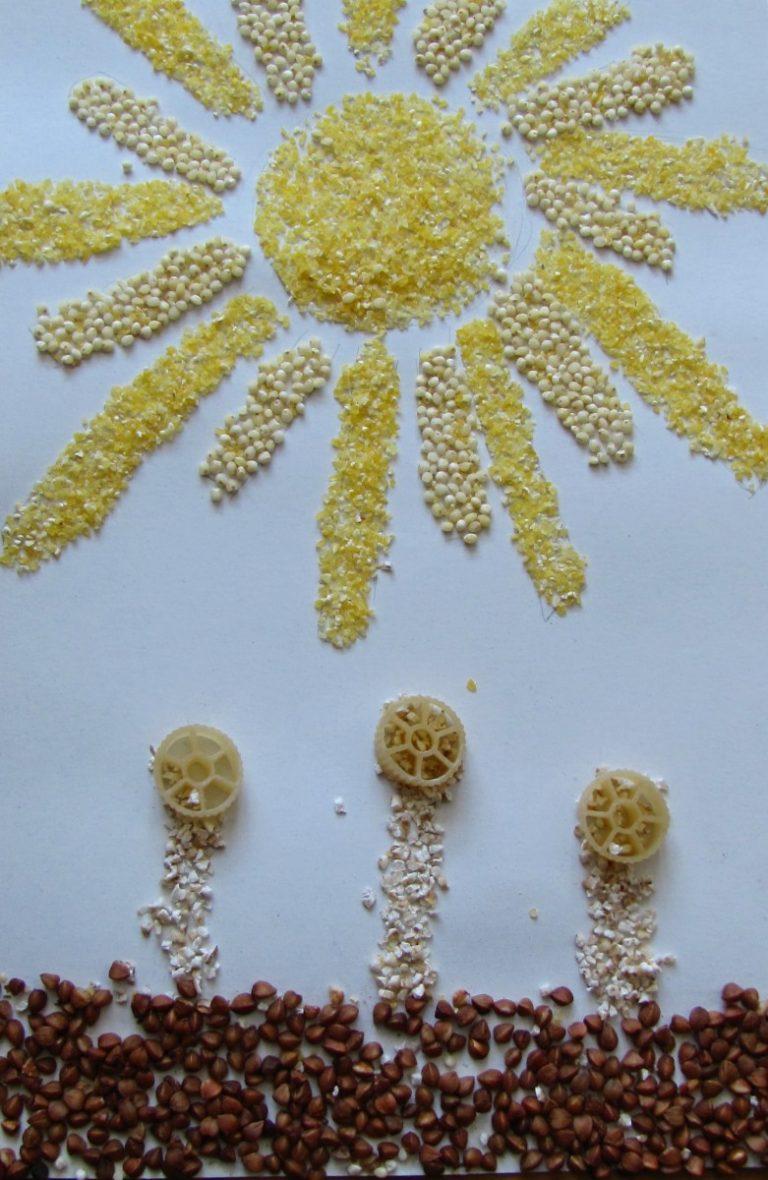
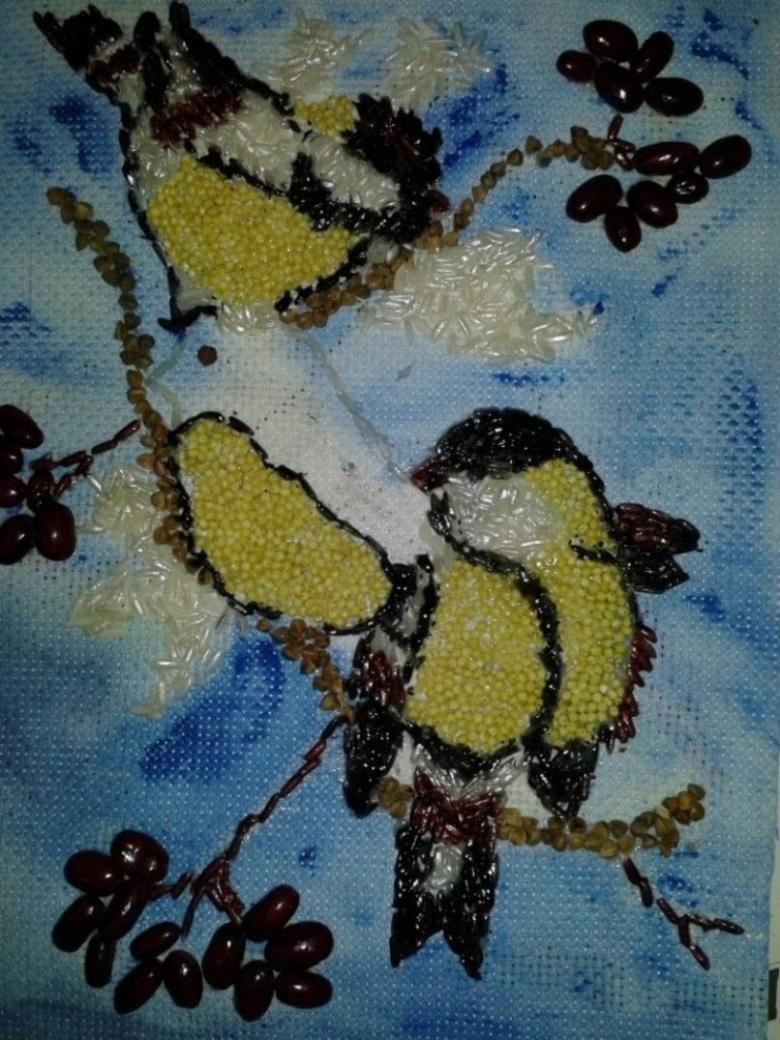
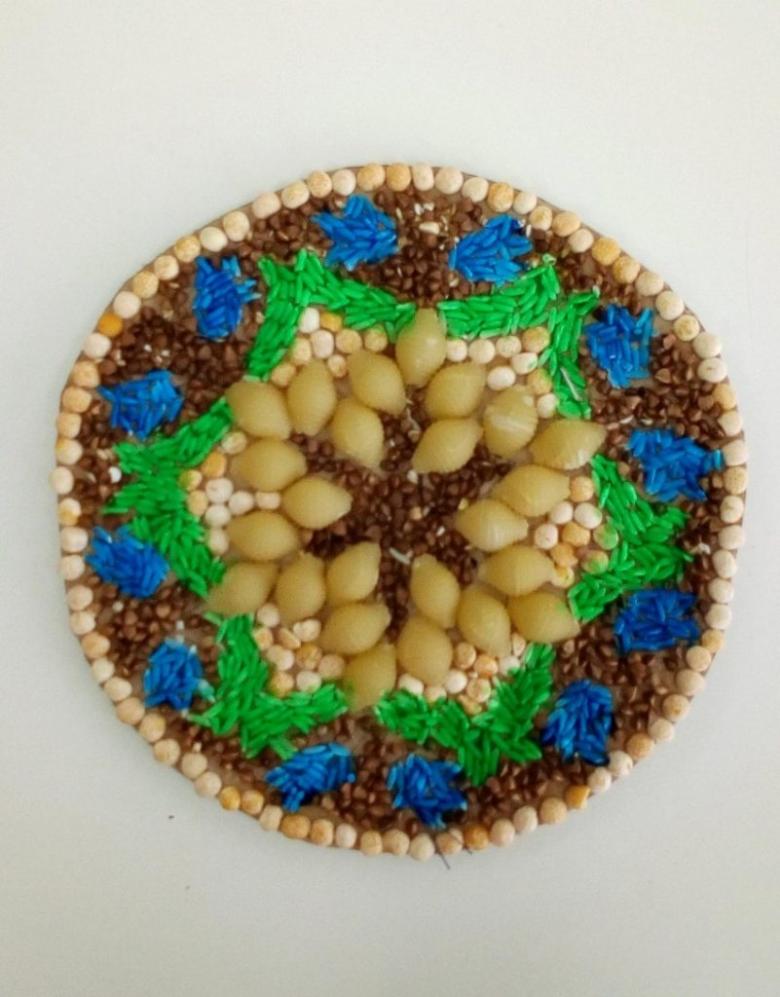
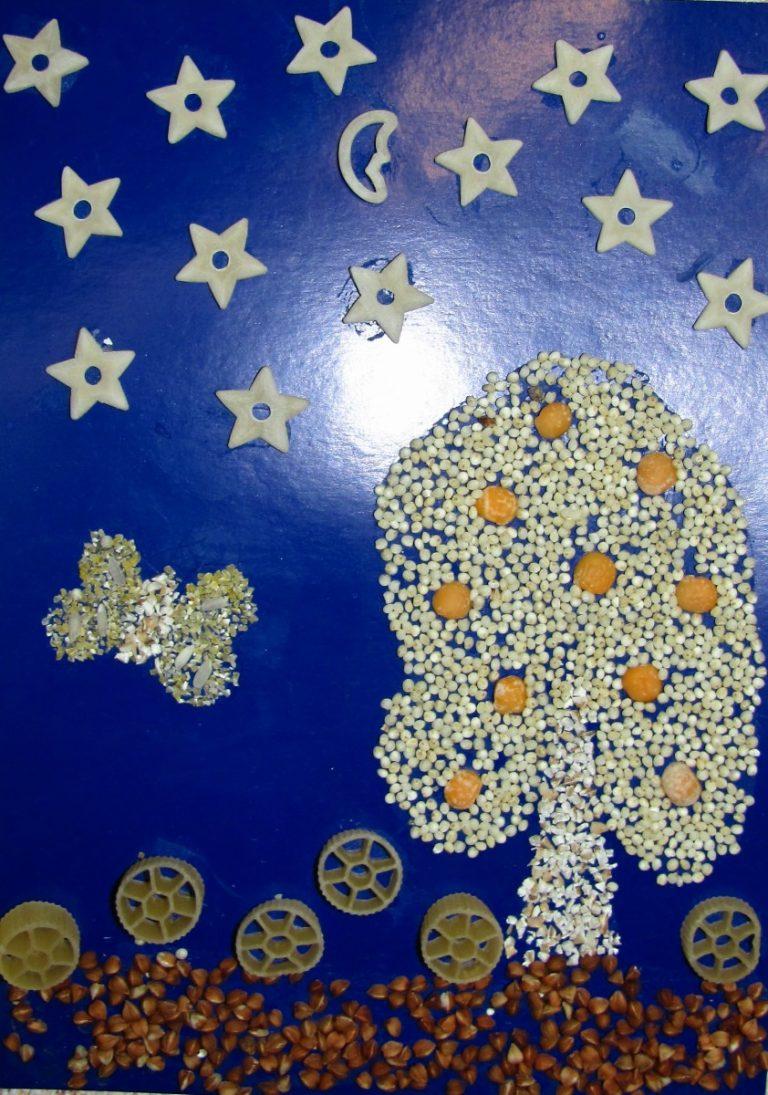
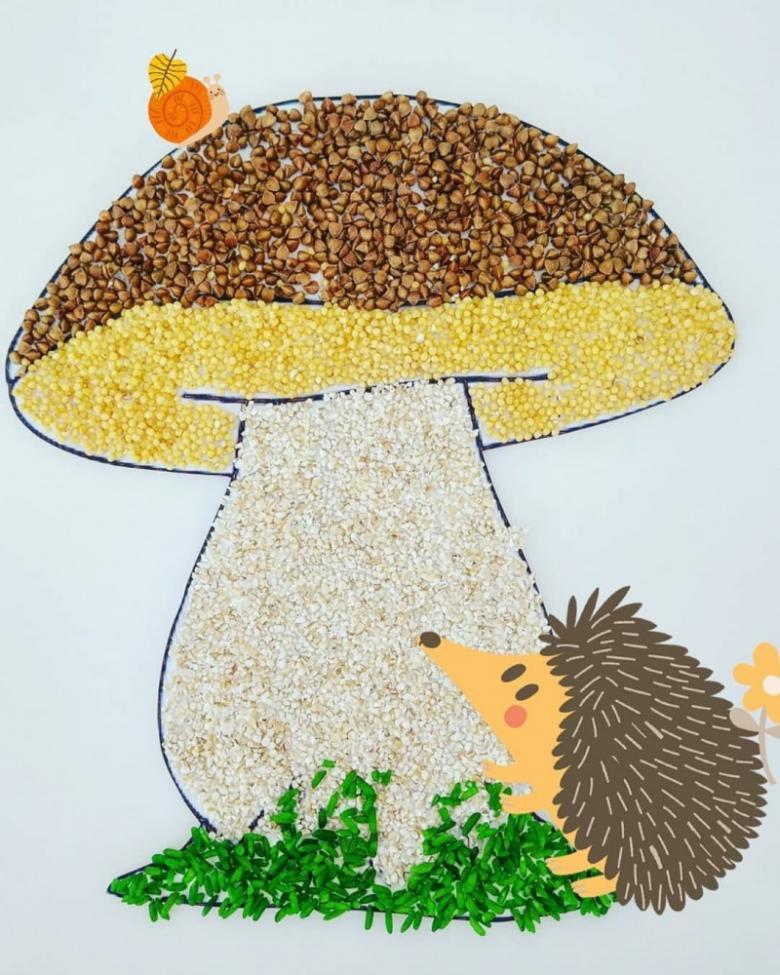
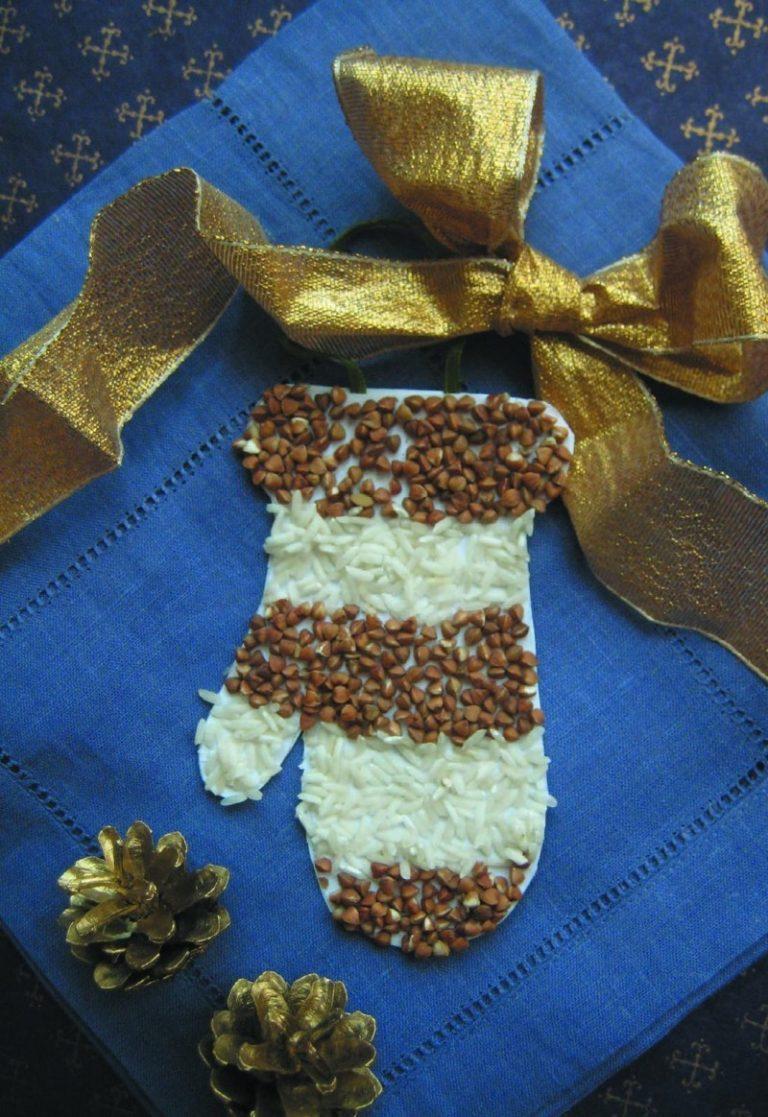
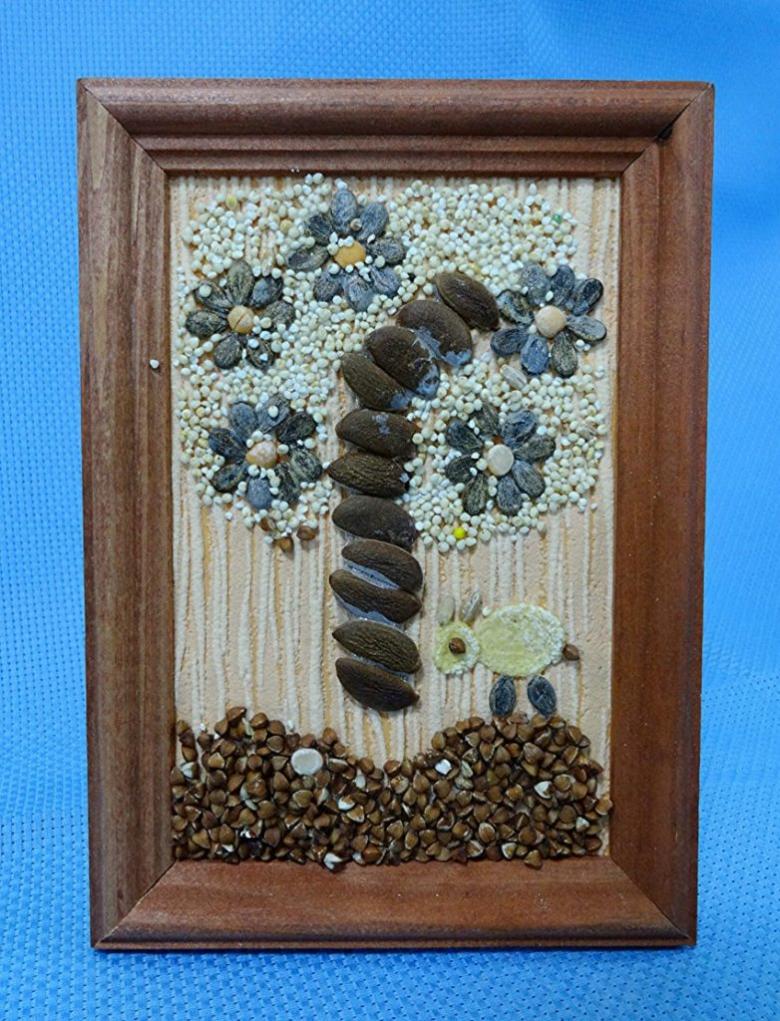
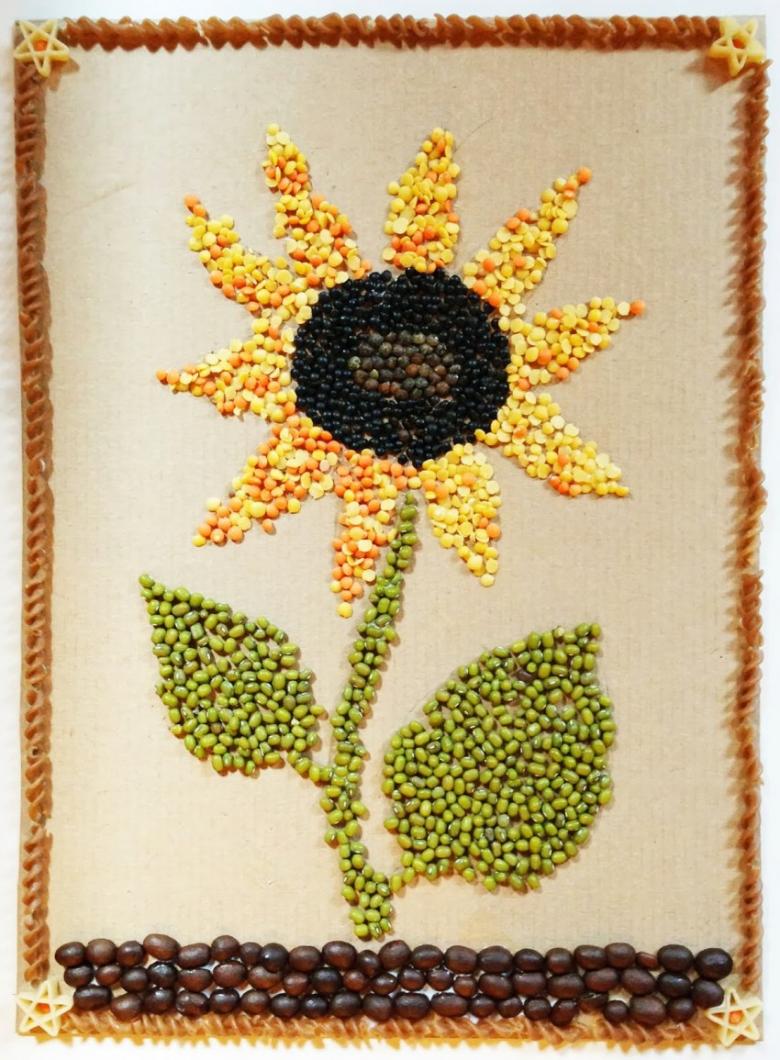
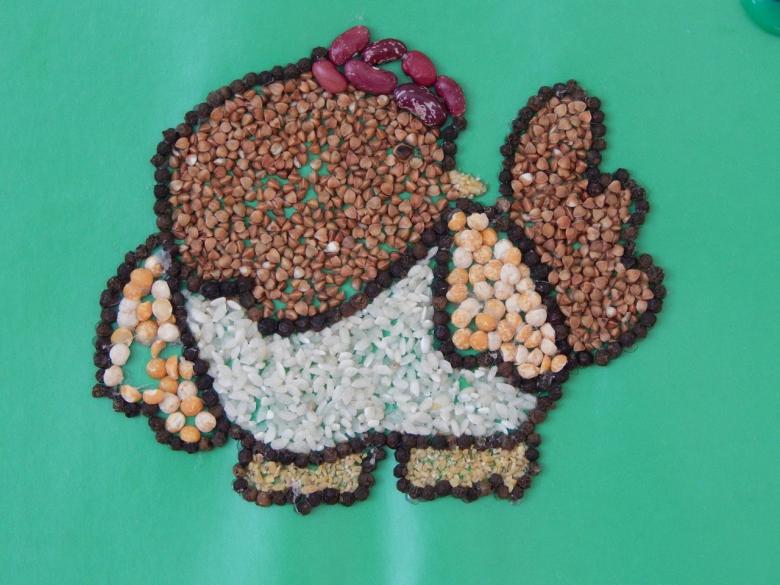
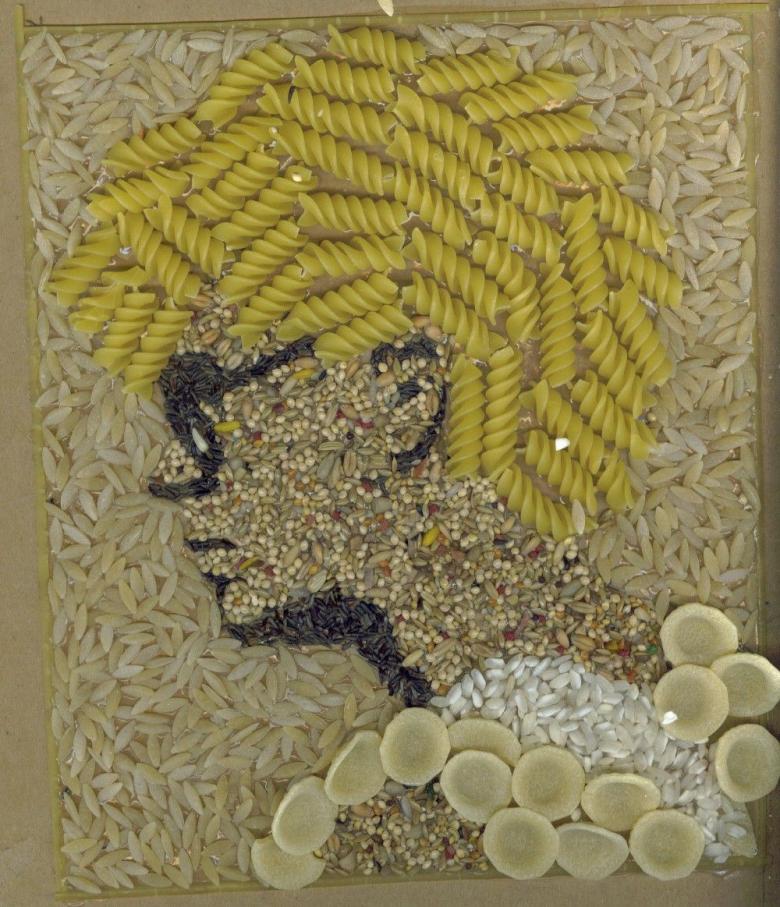
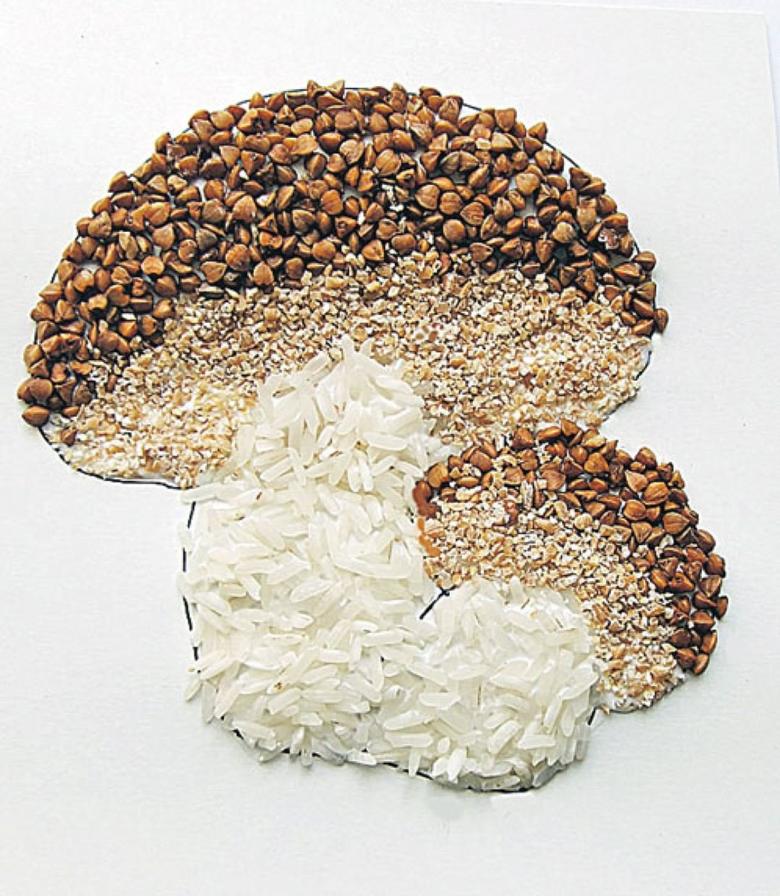
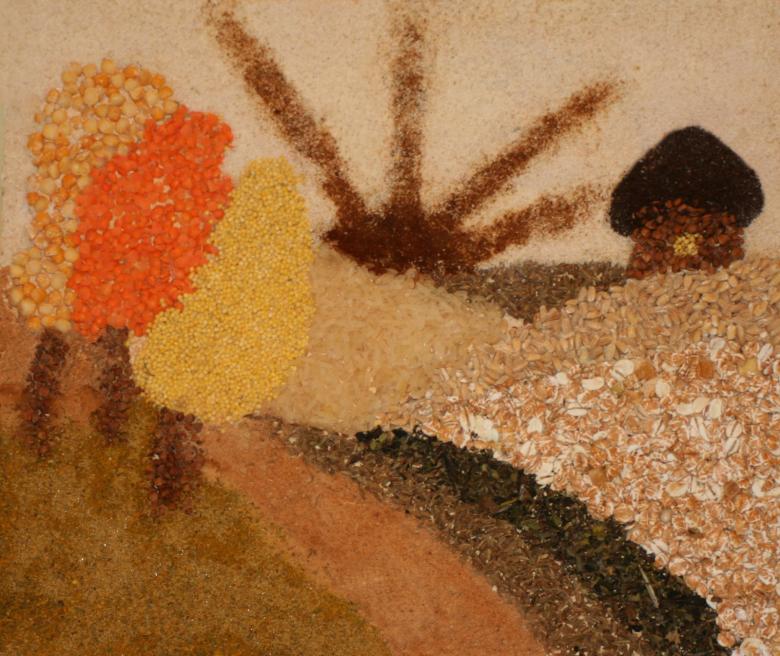
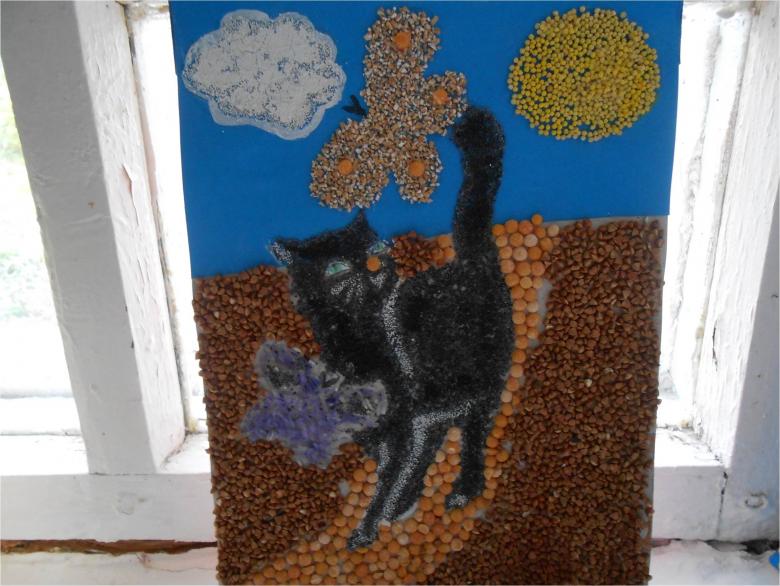
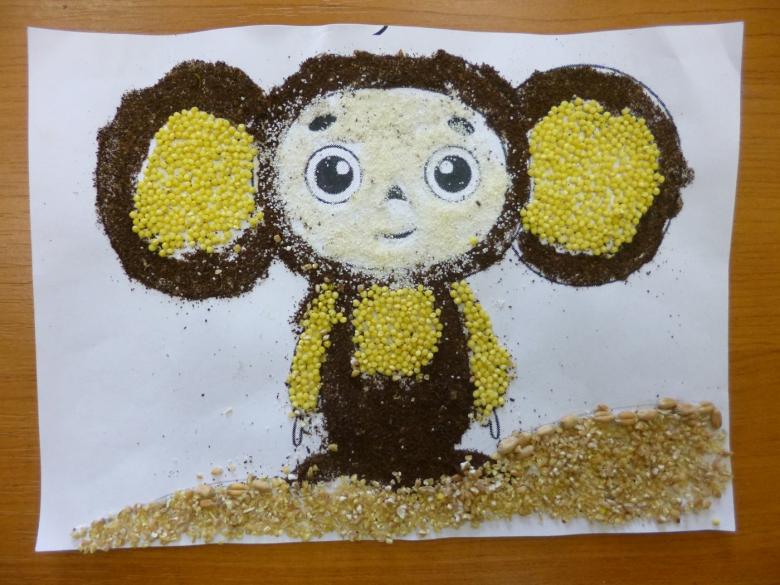
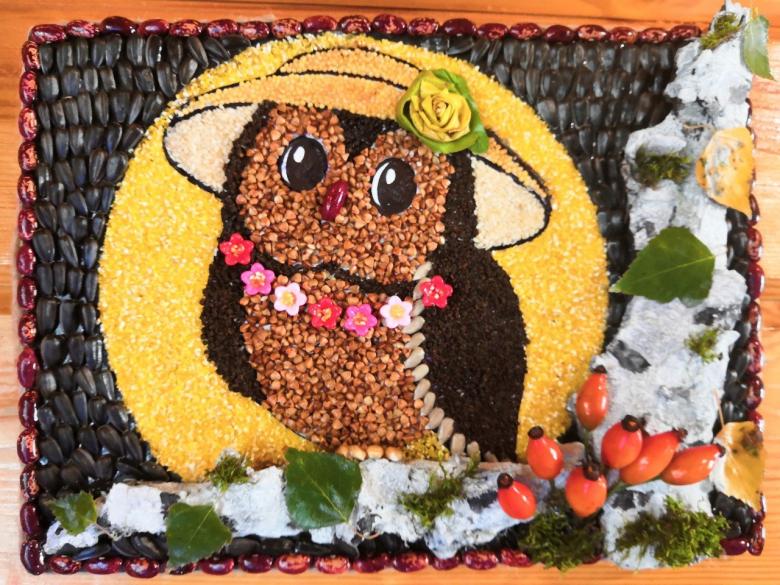
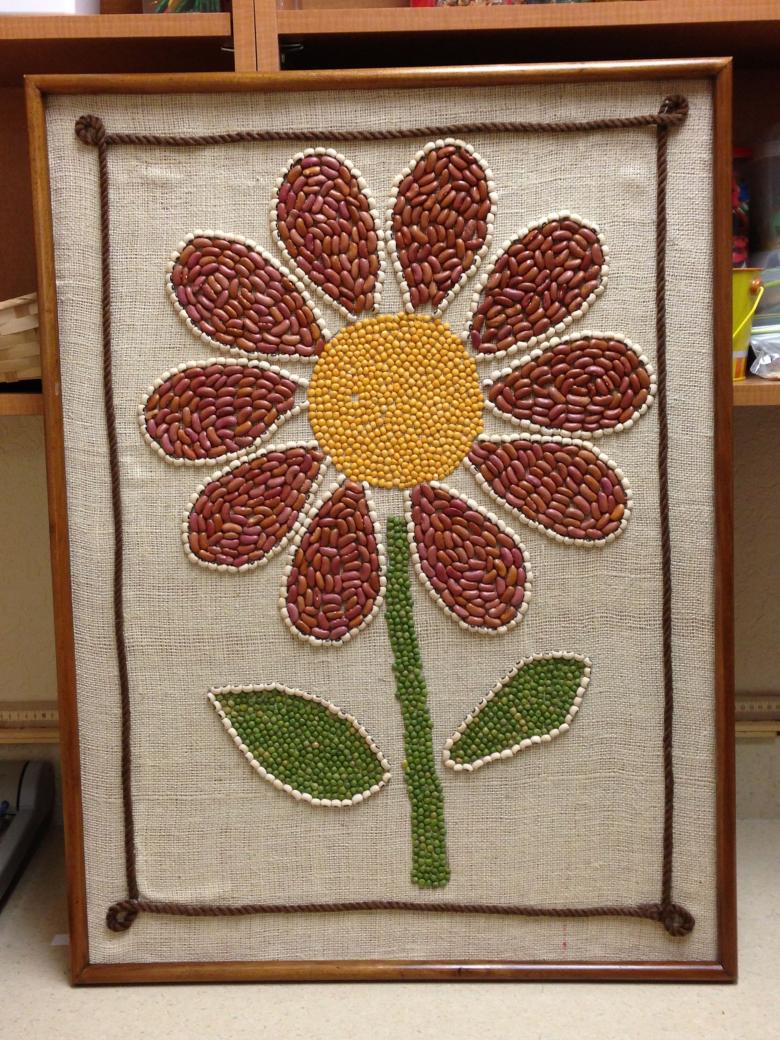
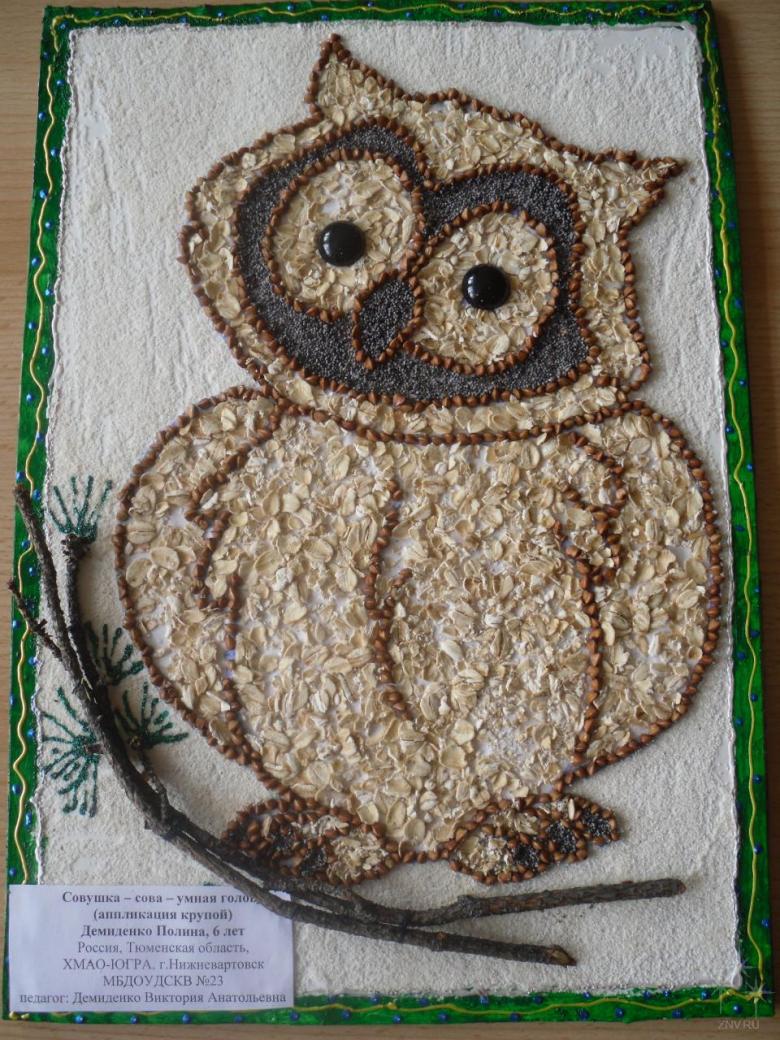
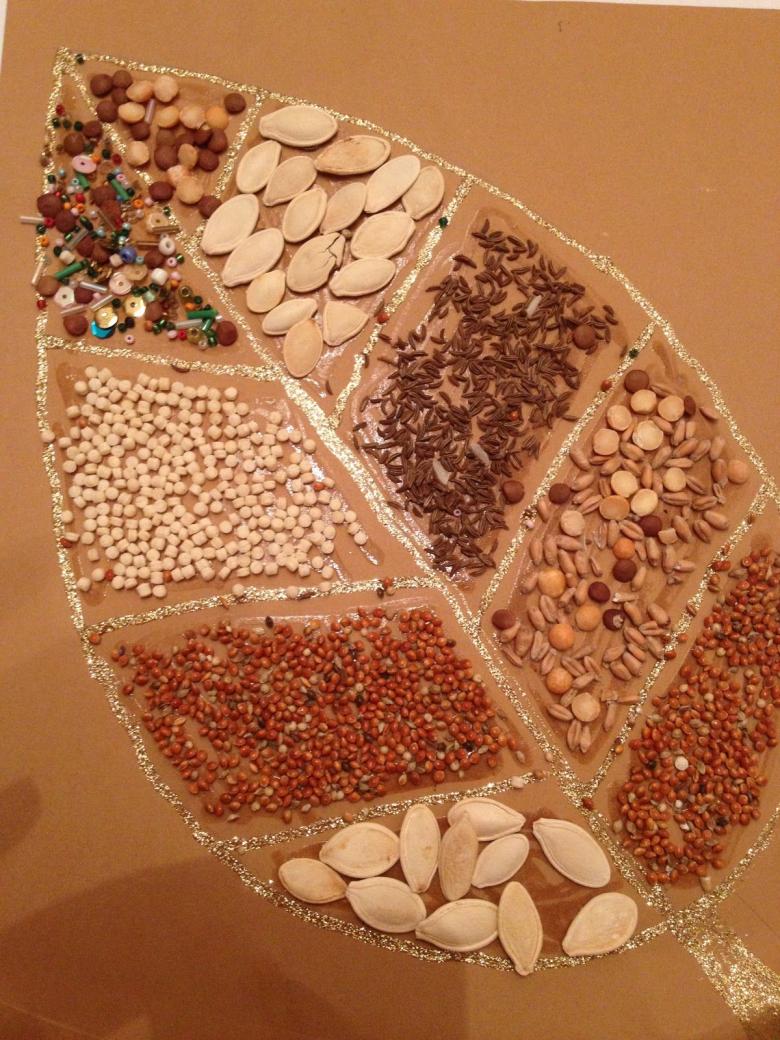
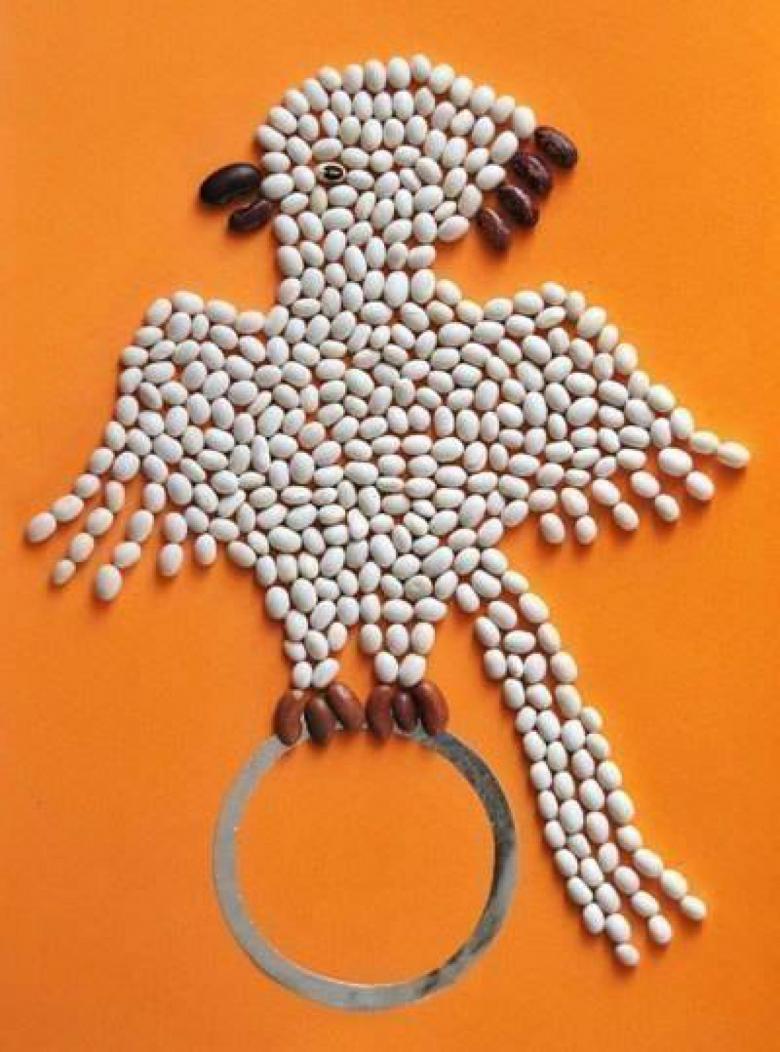
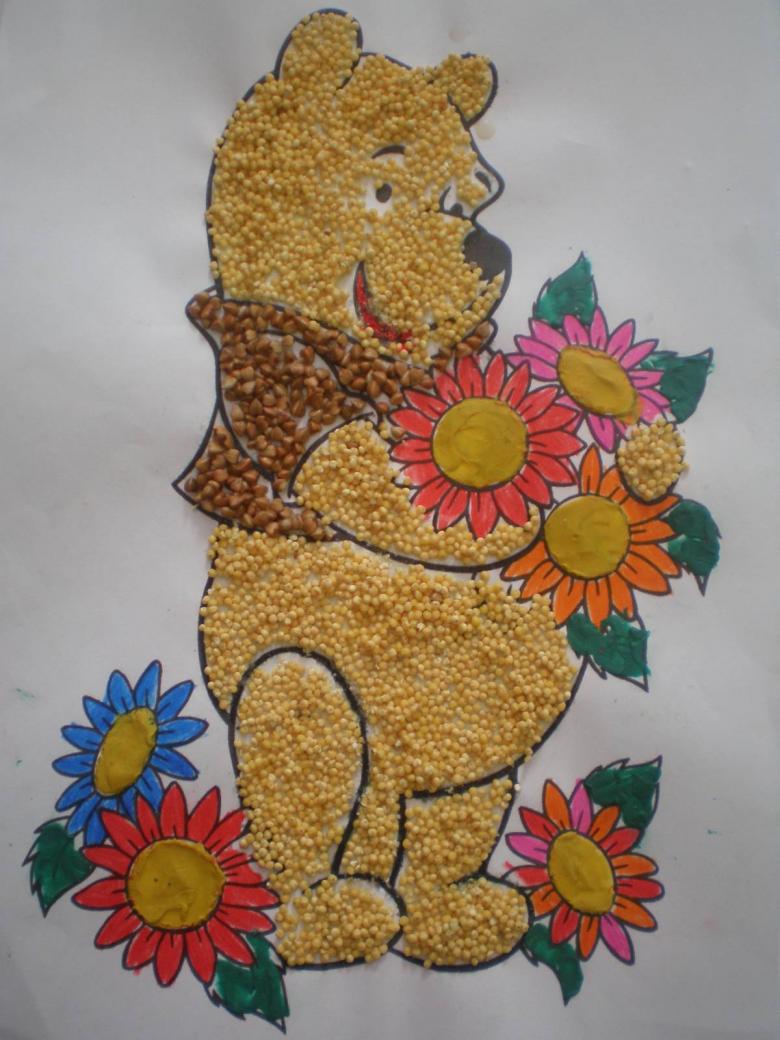
One of the most interesting and simple topics for children's crafts out of cereals is the so-called paintings out of cereals. If the child is doing such crafts for the first time, it is better if everything is done under the supervision of adults. For crafts it is necessary to acquire:
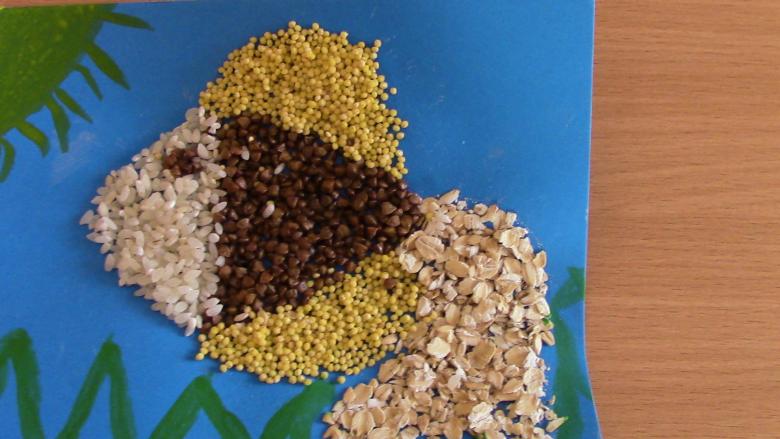
- cereals of different colors (pasta, seeds, beans, or peas);
- glue;
- thick cardboard;
- paints.
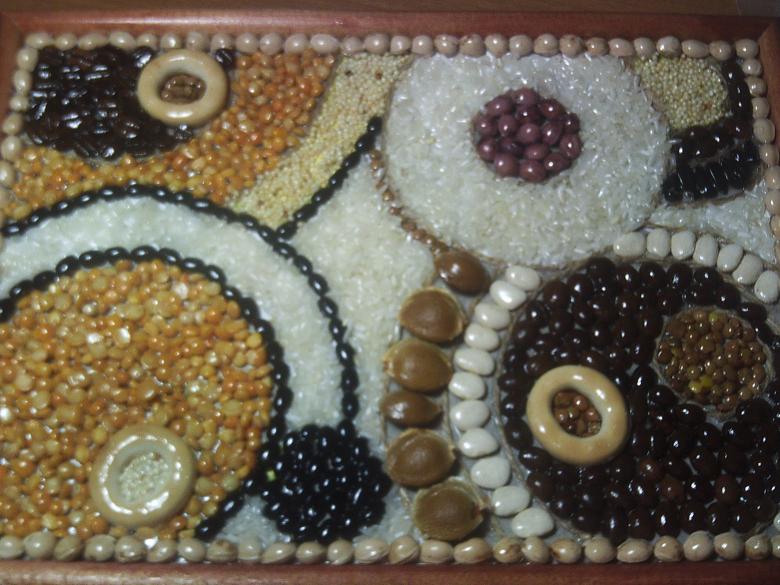
Description of the master class:
- Cardboard, which is the basis for the picture, paint in the desired color.
- Draw a rough sketch of the future picture on the cardboard.
- All the basis covered with a thin layer of PVA glue. And each of the planes of the picture should be filled with the necessary kind of grits.
- If you have to do such a picture for the first time, you can refer to the step-by-step photos, which can easily be found on the Internet.

Topiary of peas
Another one of the best options for crafts from cereals is a topiary from improvised means.
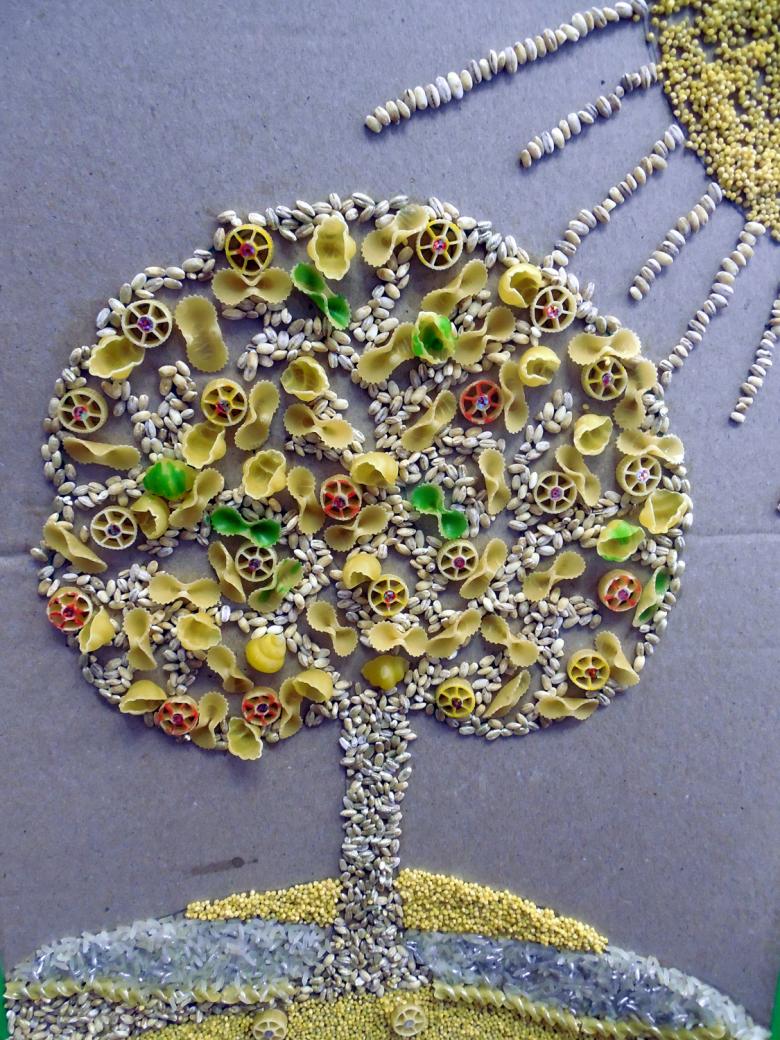
For a topiary made of peas, you need to purchase:
- 1 pack of green peas;
- Styrofoam;
- Dry moss (1 pack);
- 1 pot;
- glue;
- paint;;
- foam for fixing.
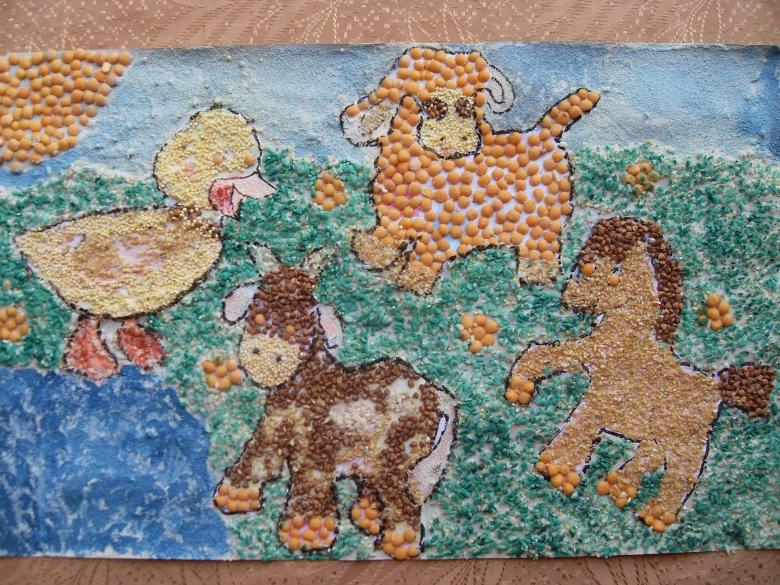
To start, you need to give the ball of foam and the pot the color that is needed. The best color is green. So, the pot and the ball of Styrofoam need to be painted green and let dry. After that, cut a small hole in the ball, from which an imaginary trunk will stick out.
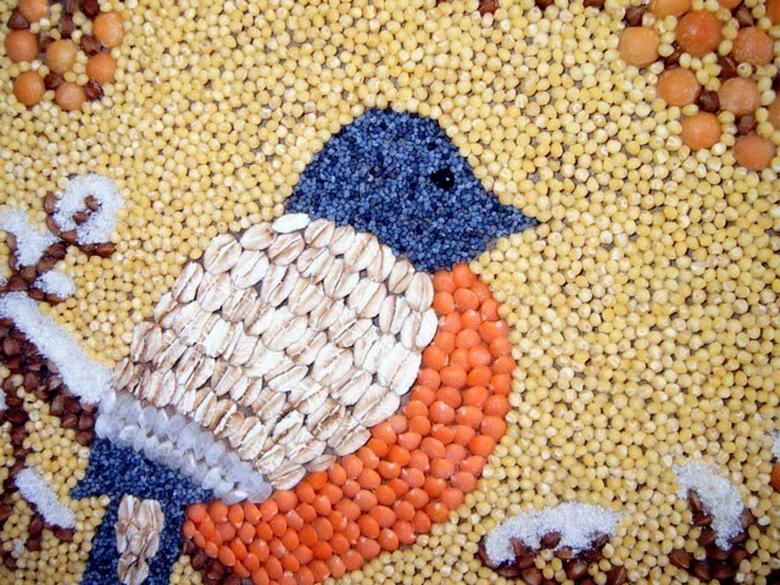
To fix the crown, you need to make a small hole in the ball and insert the trunk there. Now put the whole resulting construction in a pot, and fix everything with foam, check that everything holds well. It is best to decorate the improvised soil with dry moss. This will give the craft an even more naturalistic look.
When everything has dried, you can proceed with decorating the ball with peas. To do this, gently dab the ball with glue and fix the peas on it. Do not spare the groats, peas should cover the ball tightly and there should be no gaps visible.
The "Topiary" craft is one of the best ideas for family entertainment. You can gather close friends, children, each of them to do one of the stages. And then put all the efforts together and finish the craft together. This is a great way to develop children's motor skills, and the result will delight everyone around them for a long time to come.
Decorating Easter eggs
Before the holy holiday it is quite possible to do with children decorating Easter eggs. In addition to the traditional coloring of eggs in scarlet, you can wrap them with grits, which you can find on the shelves of any housewife.
These can be macaroni, beans, or peas. You just need to coat the boiled eggs with a brush with glue, glue the selected groats and leave to dry. To fix it, apply another layer of glue on top. The next morning you can already present such unusual Easter eggs as a gift.
Christmas decorations from cereals
To make a Christmas wreath from peas, you need to buy:
- 1 packet of green peas;
- glue;
- 2 branches of straw;
- A tray or a bowl;
- Twine.

From straw branches it is necessary to construct a frame of a wreath and to cover it with green paint. Pour peas in a tray or in a bowl, so it is easier to remove them from there. Cover the surface of the wreath gradually with a layer of glue, and place the peas on it. After the whole handicraft has dried, you need to tie the wreath with a rope to the door. The wreath can be decorated with satin ribbons or Christmas toys.
Napkin holders
This will require:
- Toilet paper sleeves;
- paint;
- seeds;
- grits;
- knife;
- PVA glue.
It is necessary to cut the existing sleeves into three equal parts, cut not lengthwise, but across. Apply a layer of paint on the cut sleeves and let dry. When the paint has thoroughly dried, you need to smear a layer of glue on the bushings and roll in the groats, previously removed from the packs and scattered in containers.
For full confidence that the crafts will hold their shape, and the grits will not crumble, it is recommended to cover the finished product with a layer of glue and let the craft dry. Such napkin rings will fit perfectly into a festively set table.

A table made of groats
For a table of groats you will need:
- Various-caliber grits;
- ruler;
- one pencil;
- sheet of plywood;
- wood glue;
- one picture frame;
- one chair;
- four screws;
- paint;
- glue;
Take the picture frame out of the panel. From the chipboard, cut a sheet the same size as the frame itself. Glue the two components together. Place the frame on the chair and insert the four screws. Tape and prime the table. Allow to dry.
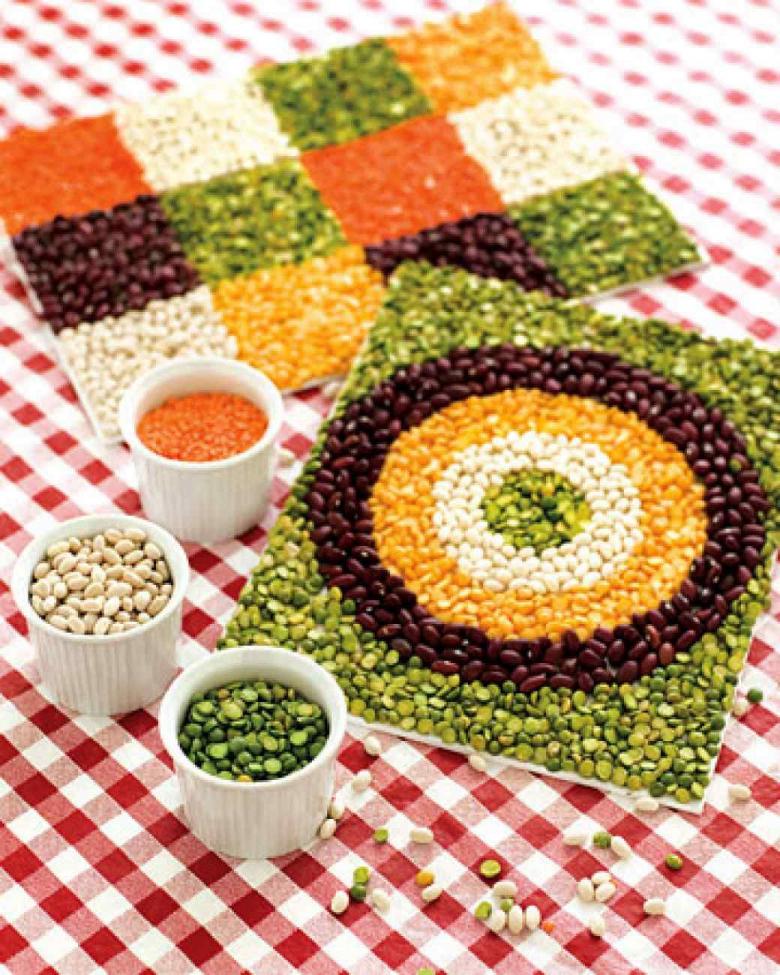
Mark out the areas where the cereal will be placed. Densely spread glue on each area and sprinkle cereal on top, pressing everything down with your hand. Repeat with each of the sections. Put a layer of PVA glue on top of the work to fasten it. Let it dry. Pour resin over everything and leave to dry. After drying, reapply a layer of resin.
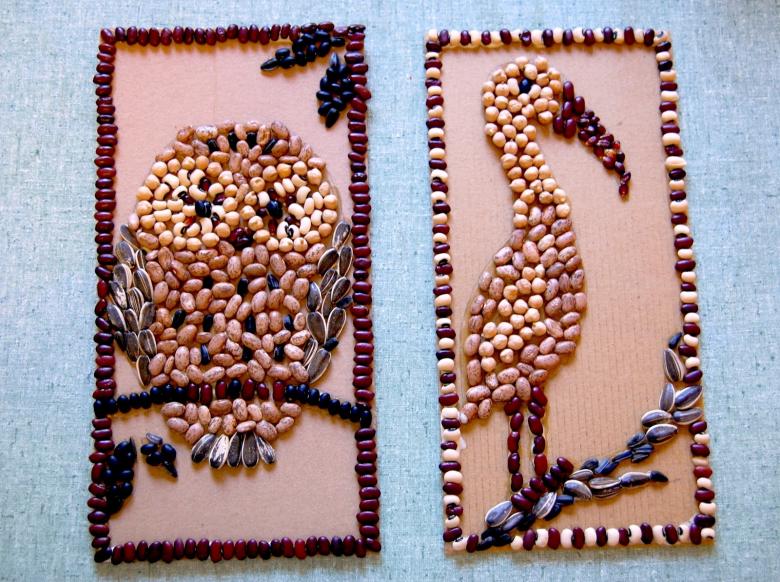
There are a huge number of variations of creamed crafts. You can make a panel, a topiary, decorate photo frames with grits, or even make a table. But you can be sure that such crafts will be within the power even the youngest children, will help develop their motor skills, and the result will be a long time to please the eye.

