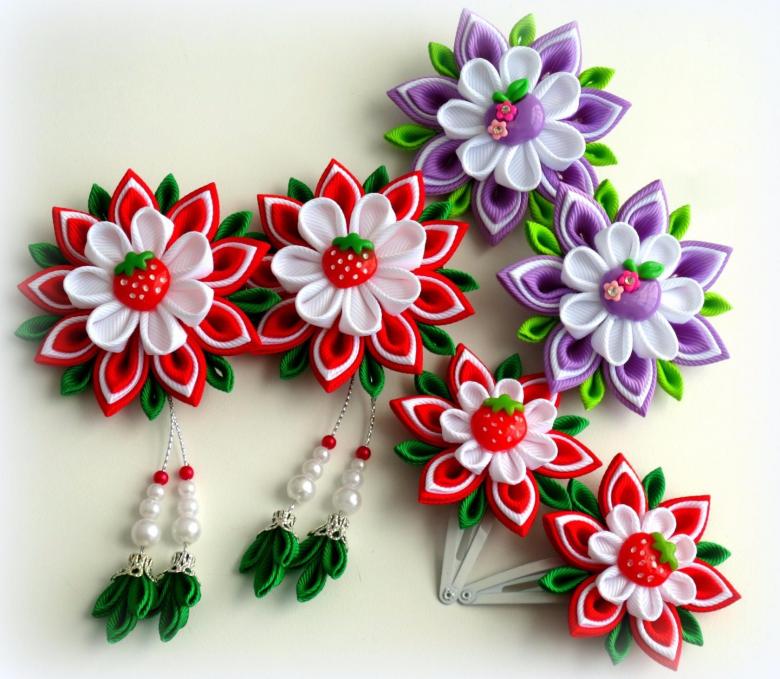
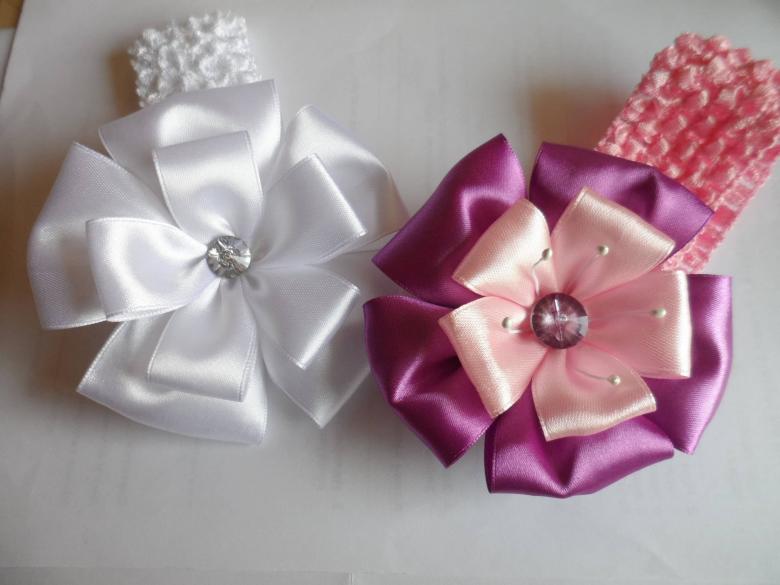
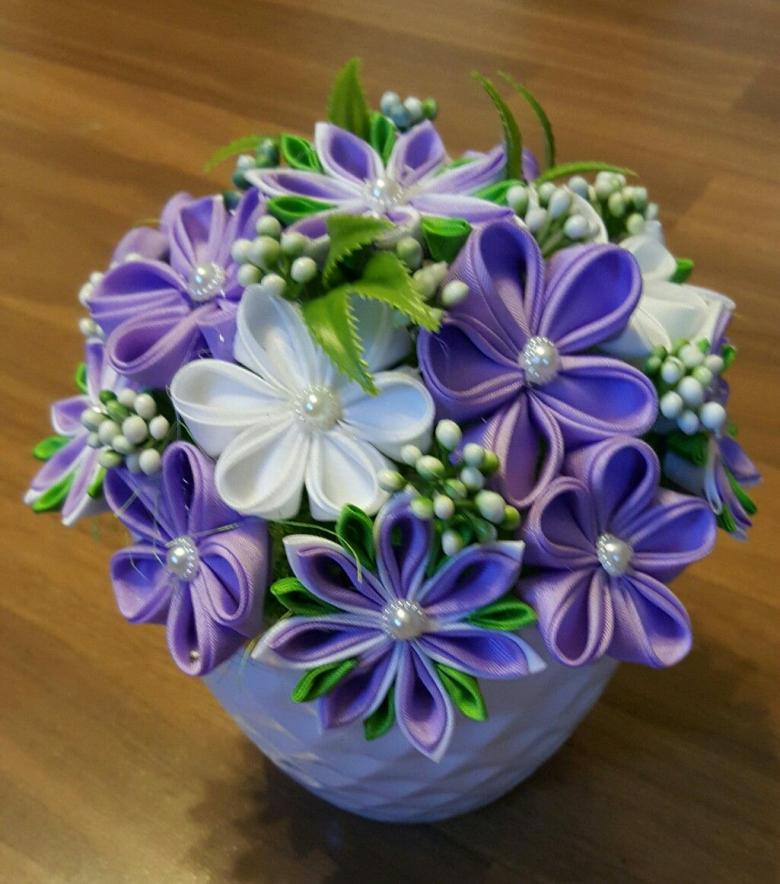
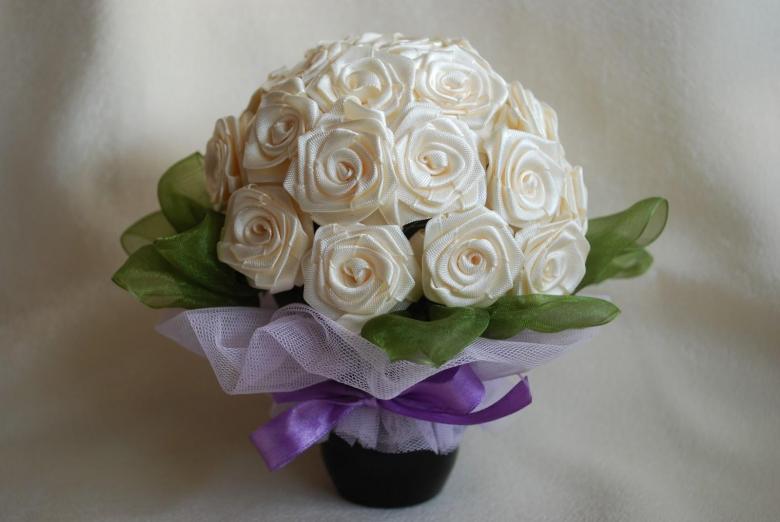
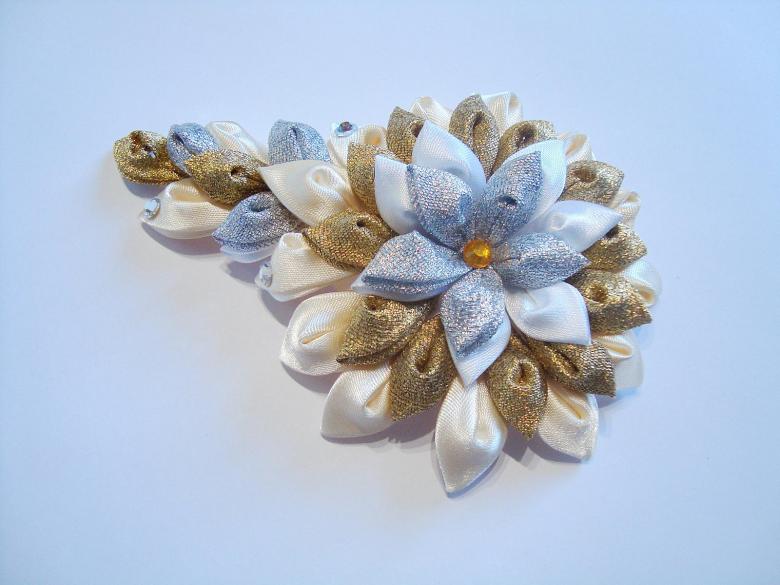
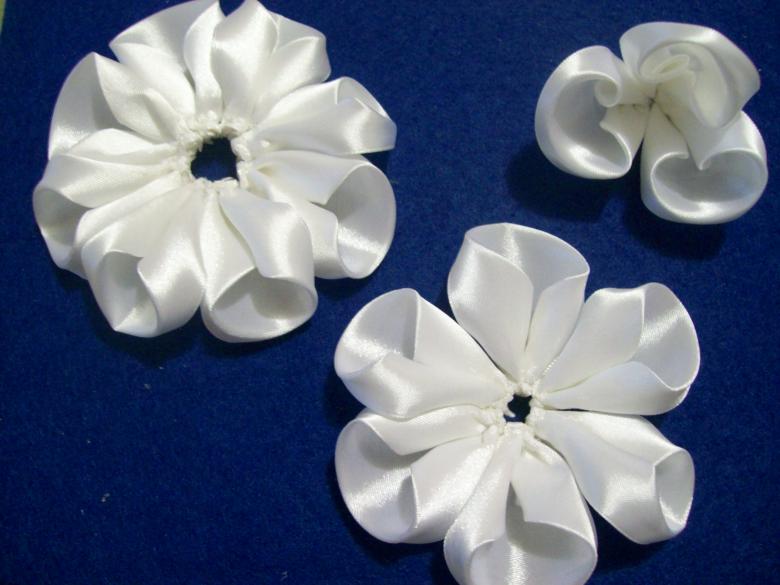
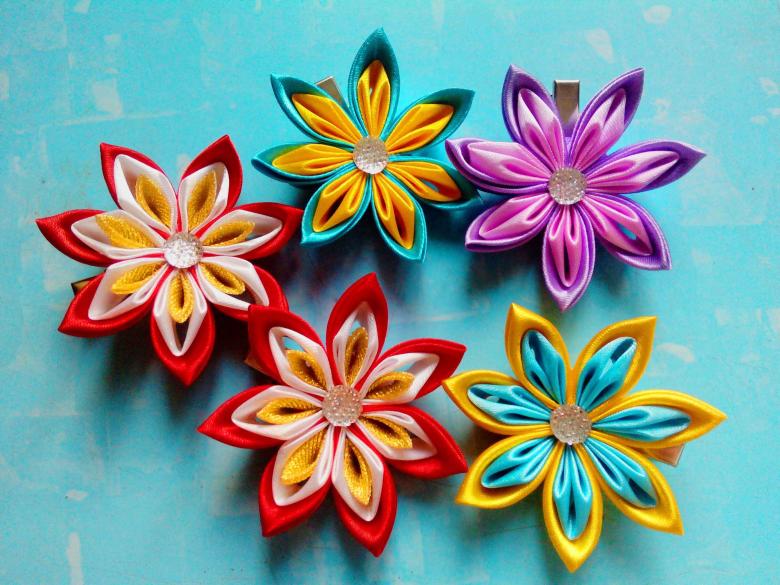
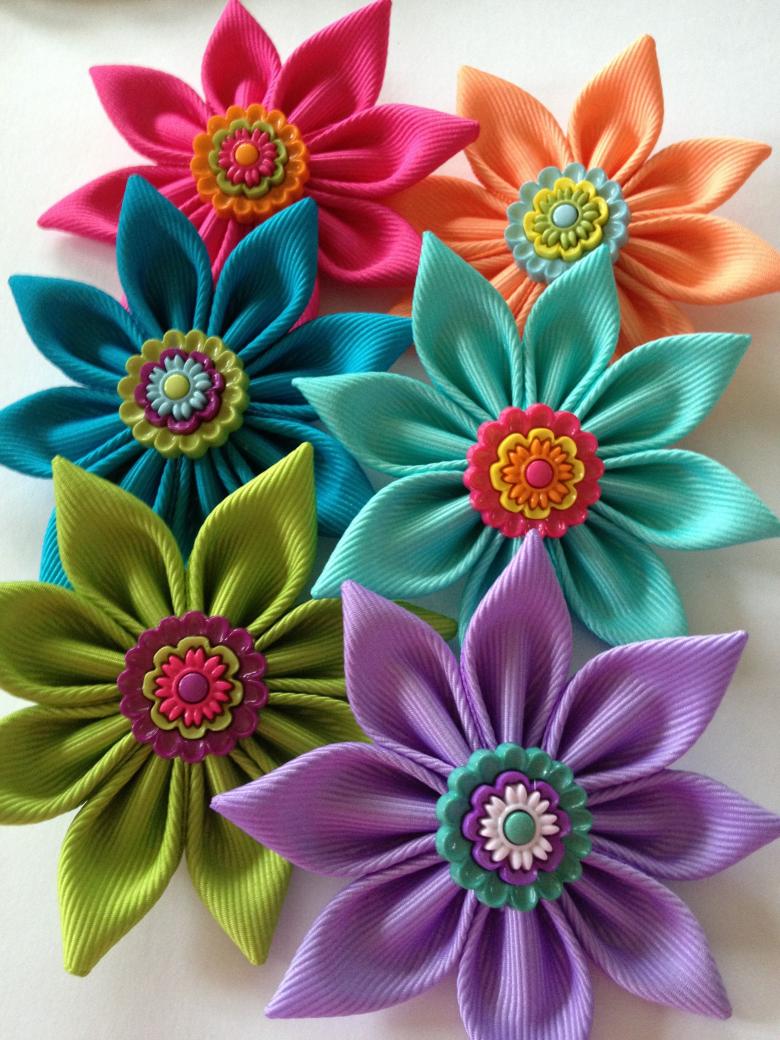
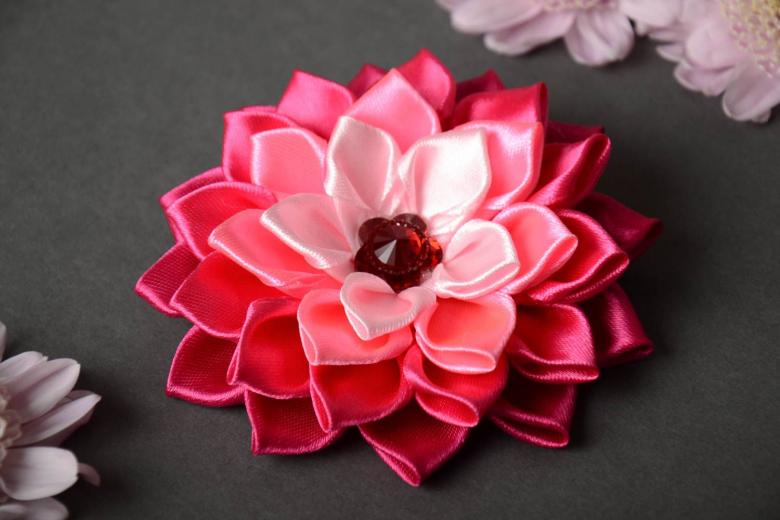
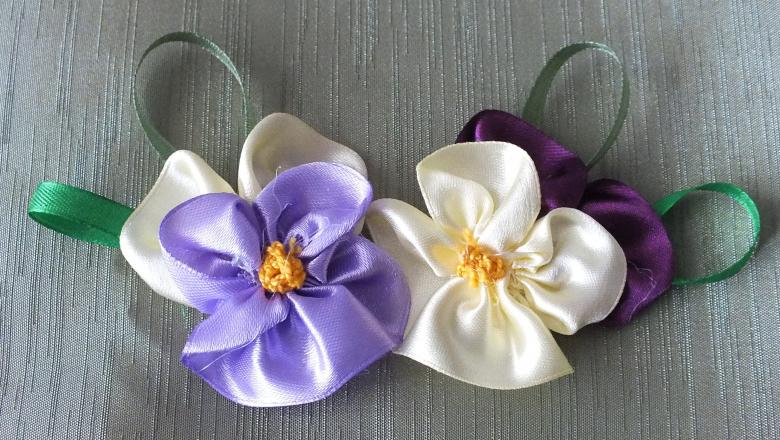
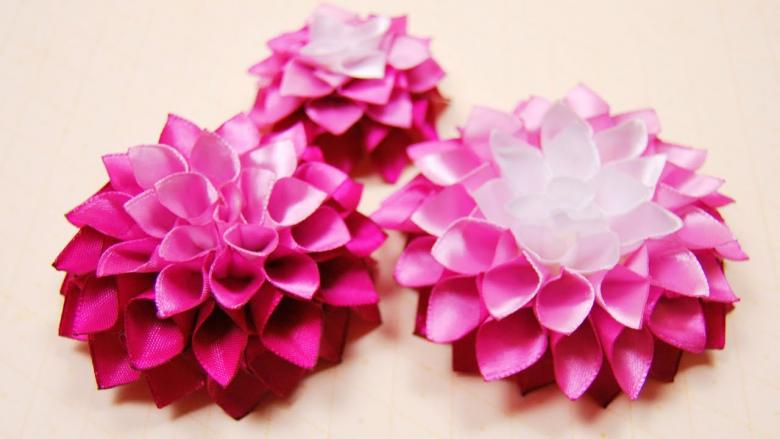
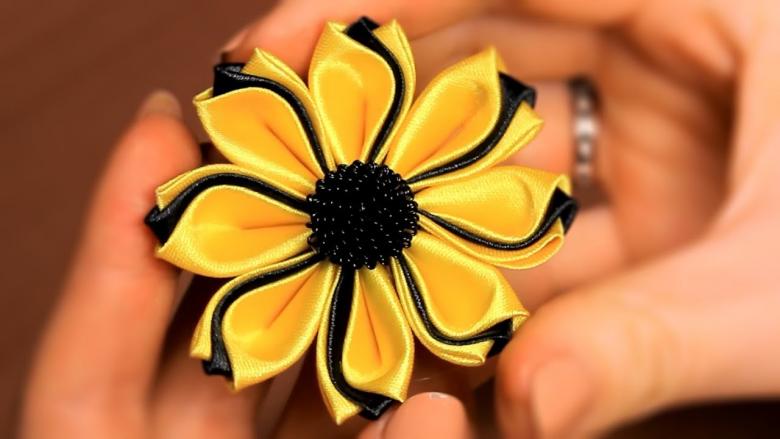
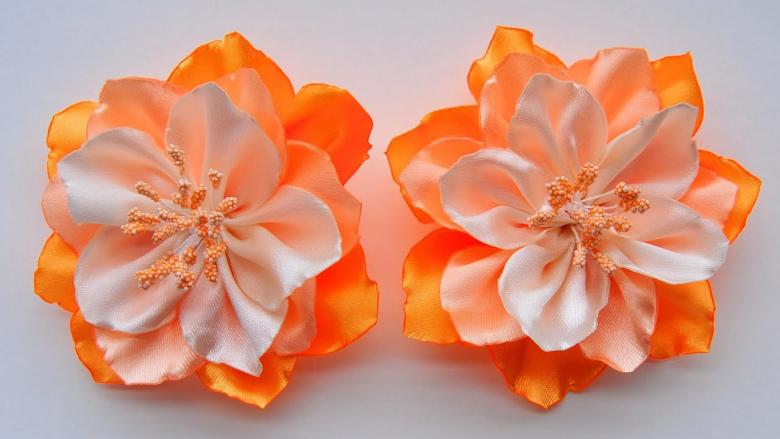
Flowers from satin ribbons with their own hands - simple step by step master classes for beginners
The formation of original floral patterns is a real art, which can be learned by absolutely anyone. For novice masters, there is a large selection of master classes on laying decorative flowers and patterns from multicolored ribbons.
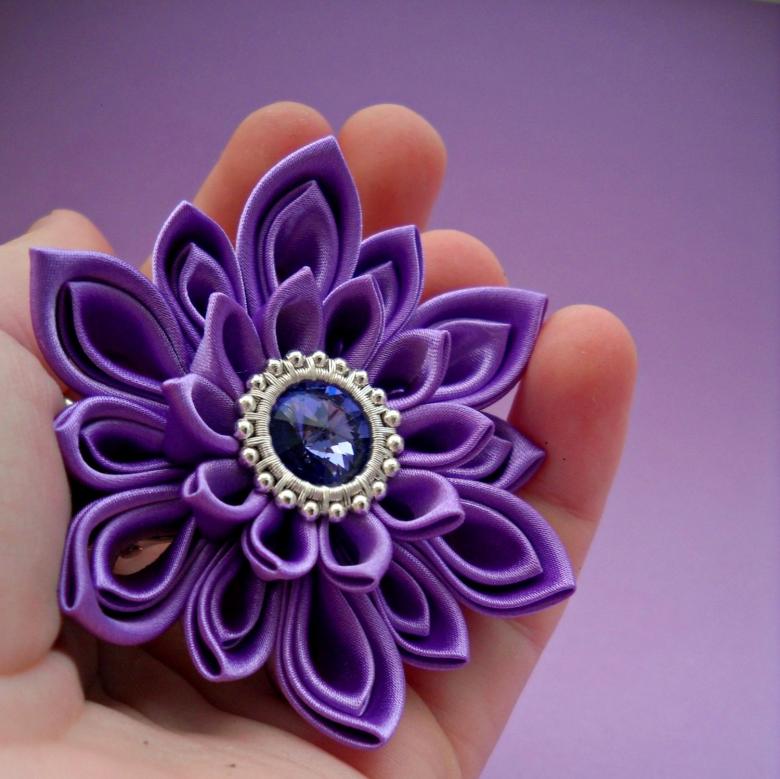
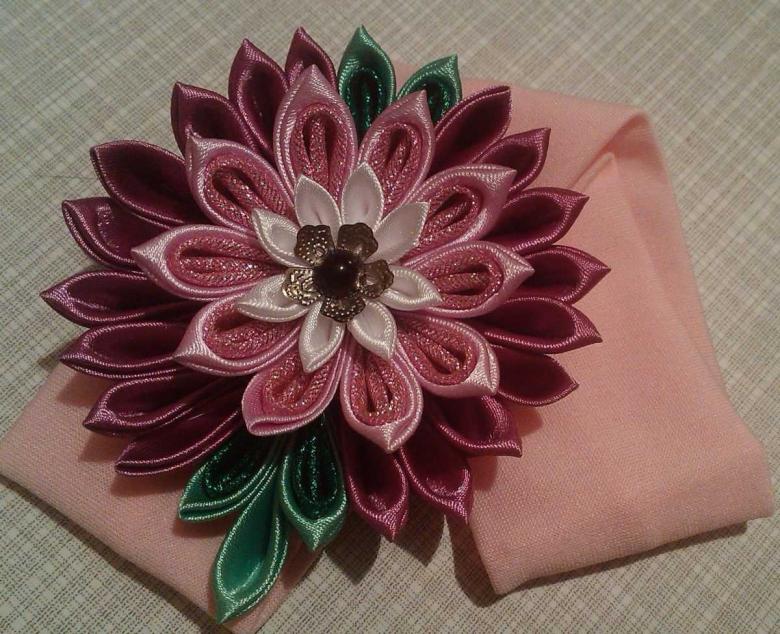
Features of the technique of Kanzashi
The real art is figurative weaving from ribbons, which has become widespread among craftsmen and needlewomen. Currently, several basic techniques are used to create original handicrafts:
- Making flowers from kapron ribbons.
- Creating flowers from satin ribbons.
- The art of forming various shapes from silk squares.
- Decorative design of miniature figures from twisted paper of special quality.
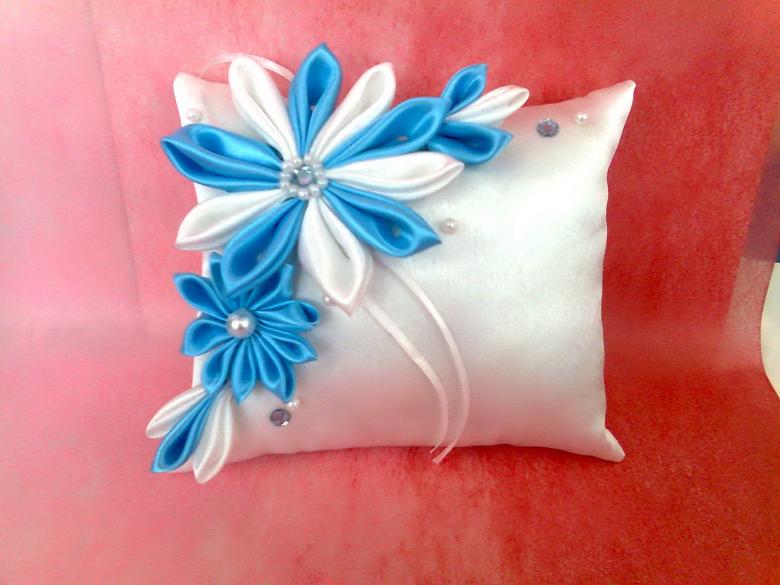
The Japanese technique quickly enough gained popularity due to the beautiful patterns and ease of finishing.
Necessary materials for work
Despite the abundance of directions and author's techniques, materials and sets of tools are used approximately the same:
- Satin ribbons of various shades. To create flowers, you should take ribbons wide enough so that you can form beautiful petals and inflorescence.
- Scissors, thread, needles.
- Glue, glue sticks.
- A few tweezers.
- Elements of decoration (beads, fishing line, sequins).
- A table lamp with a bright enough light.
And, of course, stock up on detailed schemes for work.
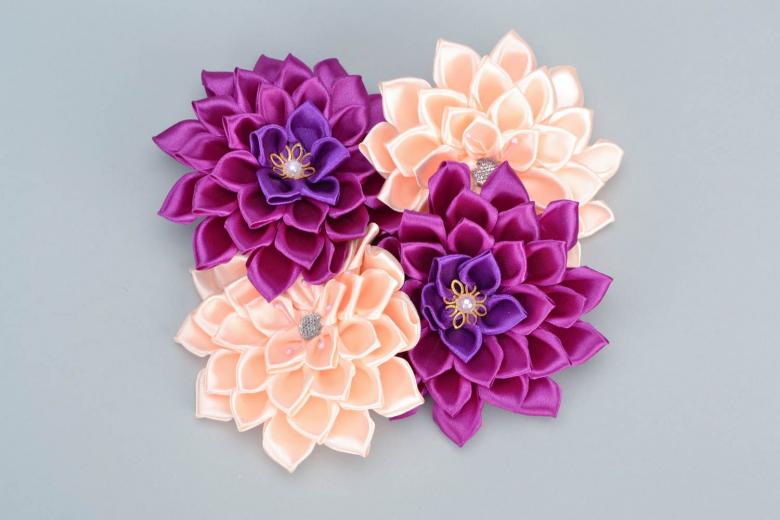
Master classes on creating flowers from ribbons
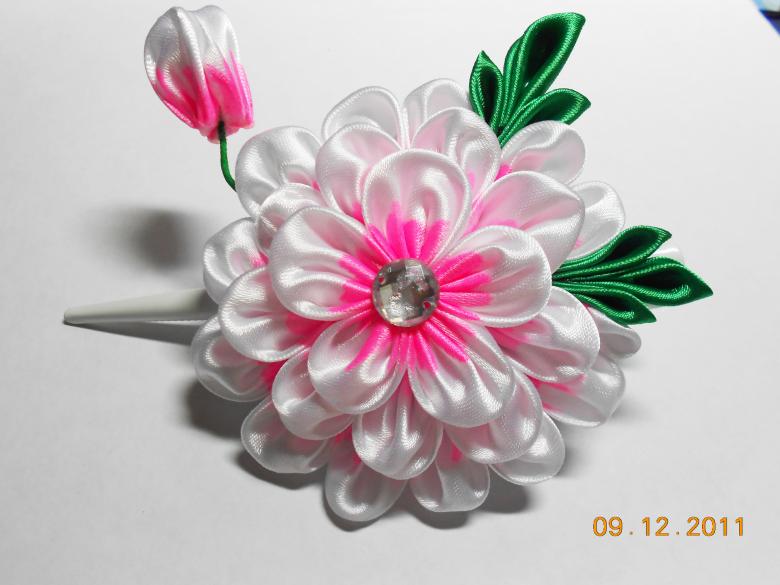
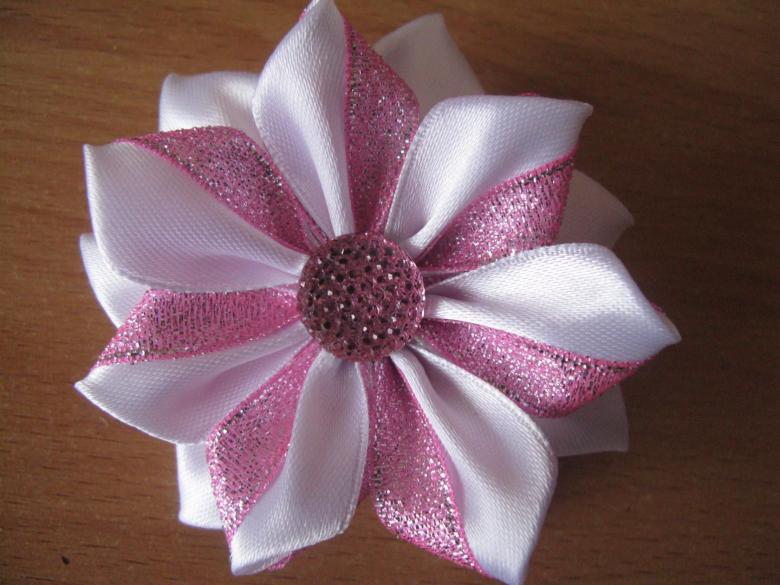
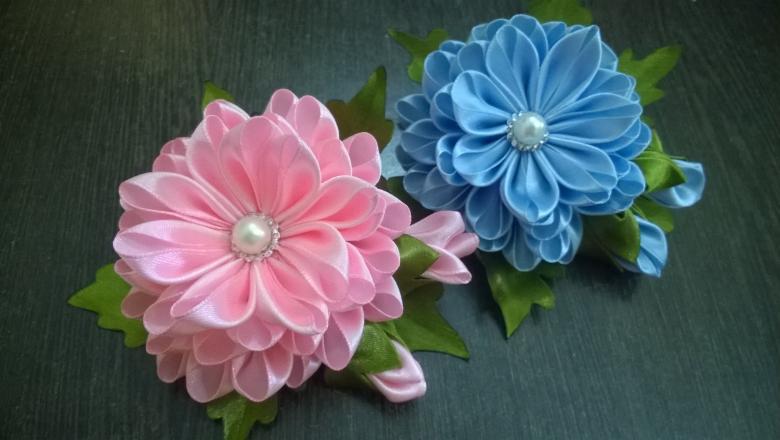
This master class is dedicated to the most famous of the techniques of Kanzashi art - work with satin ribbons. Today we will consider step-by-step instructions for making the following types of shaped flowers:
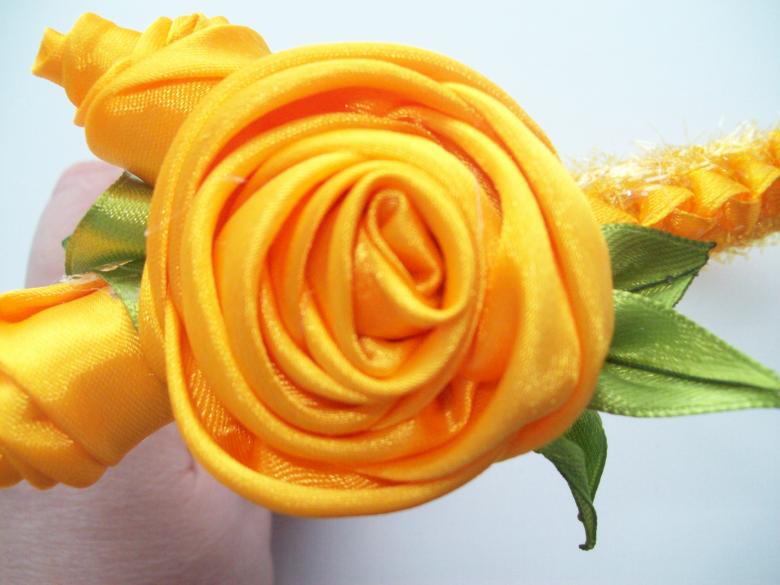
- Original roses.
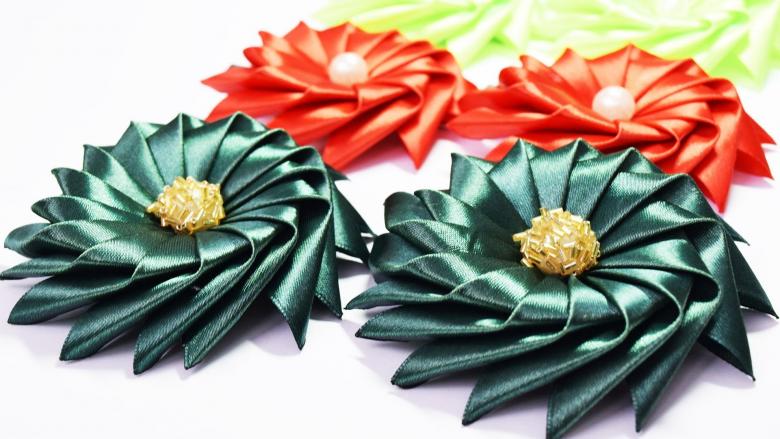
- Sharp-pointed asters.
- Lush hibiscuses.
- Rich bluebells.
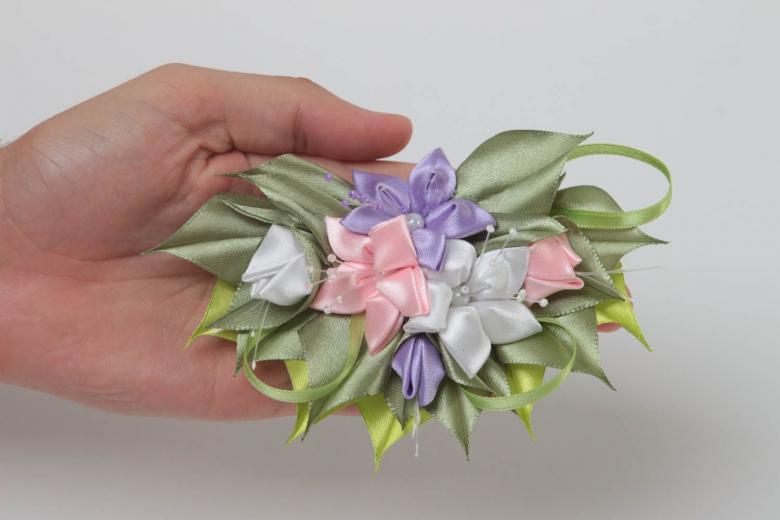
For each type of handicraft, we will consider a step-by-step master class indicating the peculiarities of making one or another model.
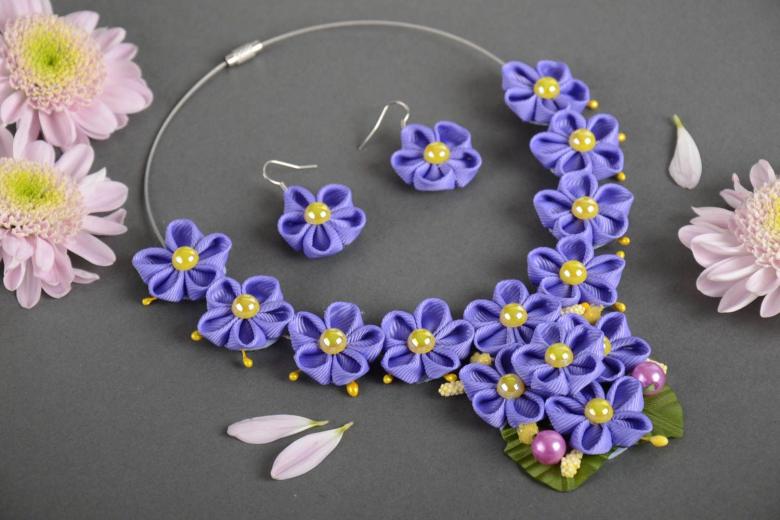
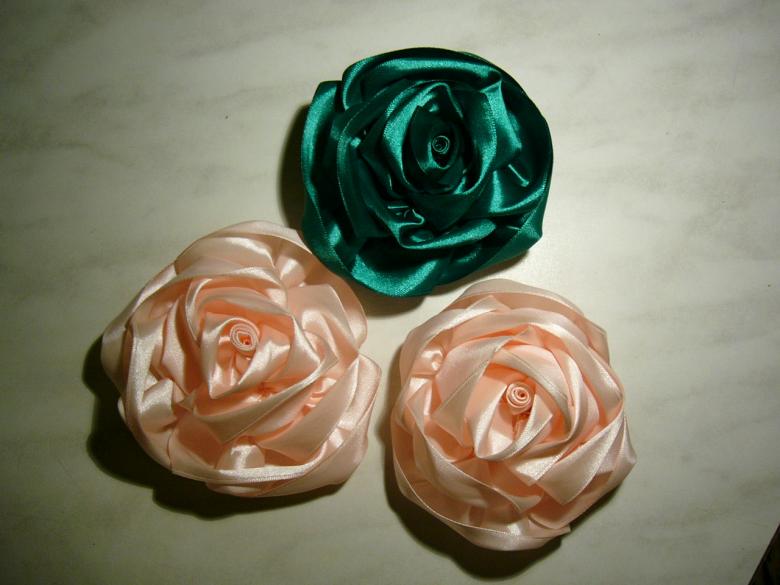
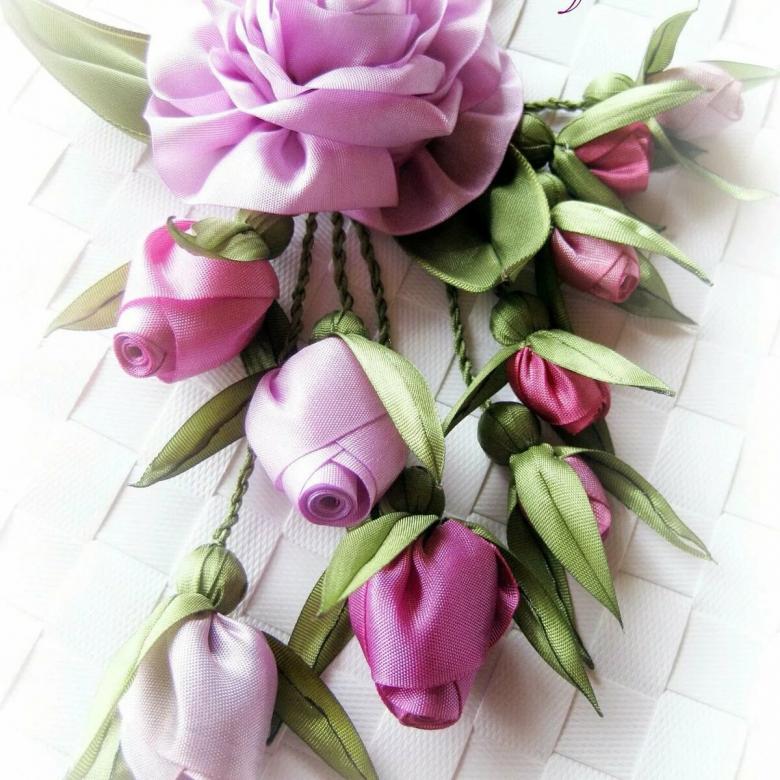
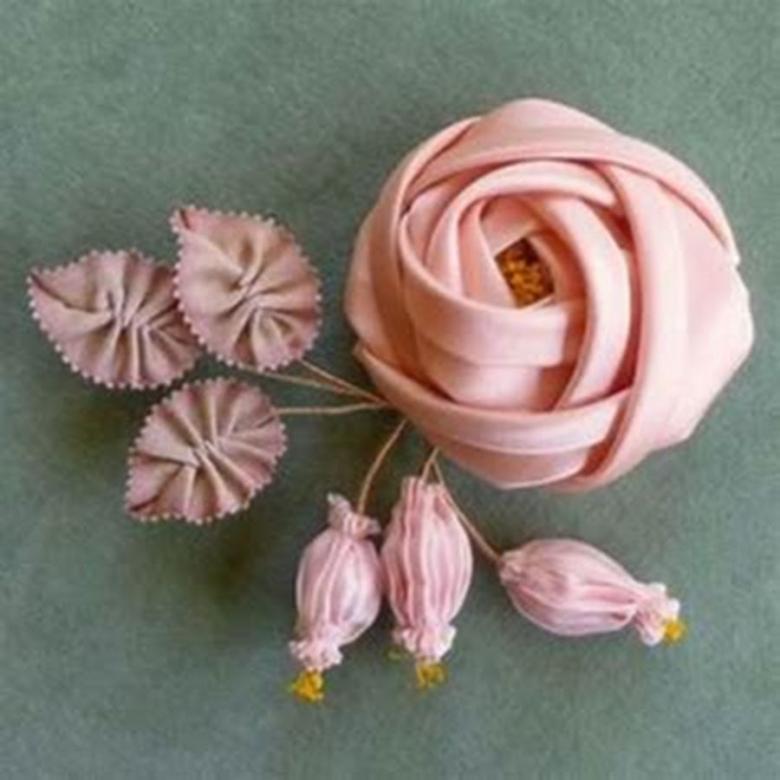
Original roses from ribbons
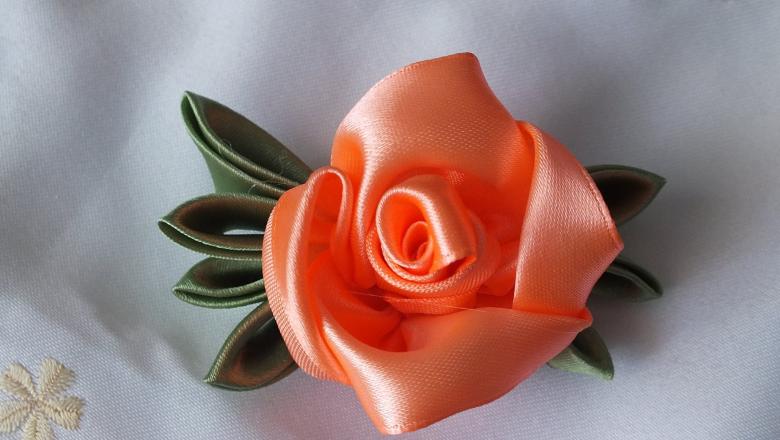
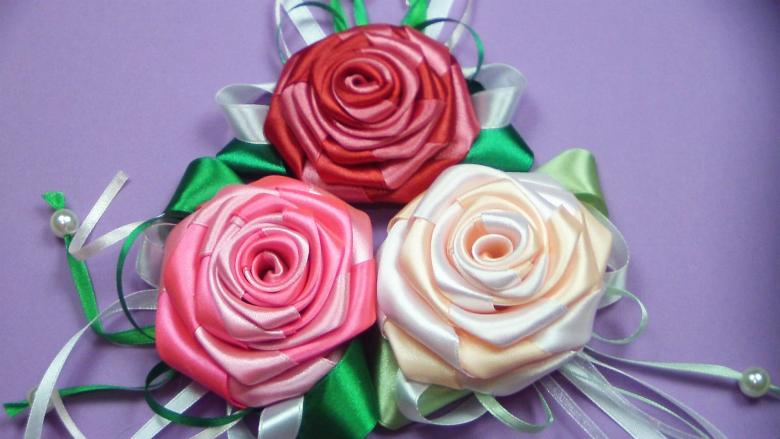
Before starting the work, it is worth choosing the color scheme of your bouquet: the original amber buds will be perfectly combined with the classic red inflorescences. To work, you will need to prepare the following materials:
- Ribbons of the appropriate color, kapron ribbons of a light green or light blue shade for the border of the inflorescence.
- Glue, thread, needles.
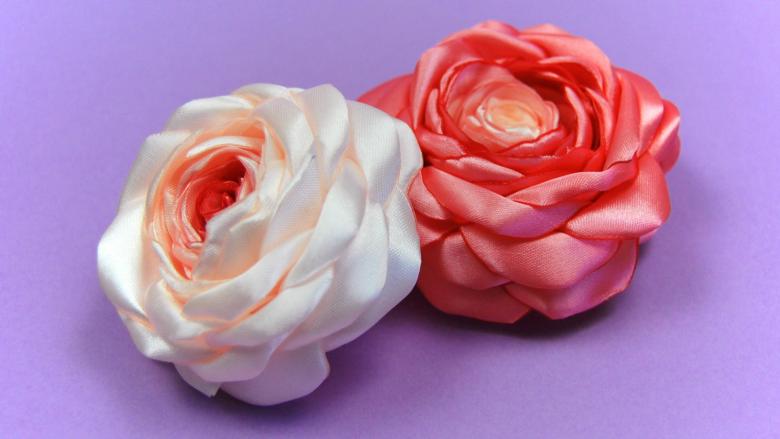
Next, we will consider the detailed instructions for creating a bouquet of roses using the technique of kanzashi:
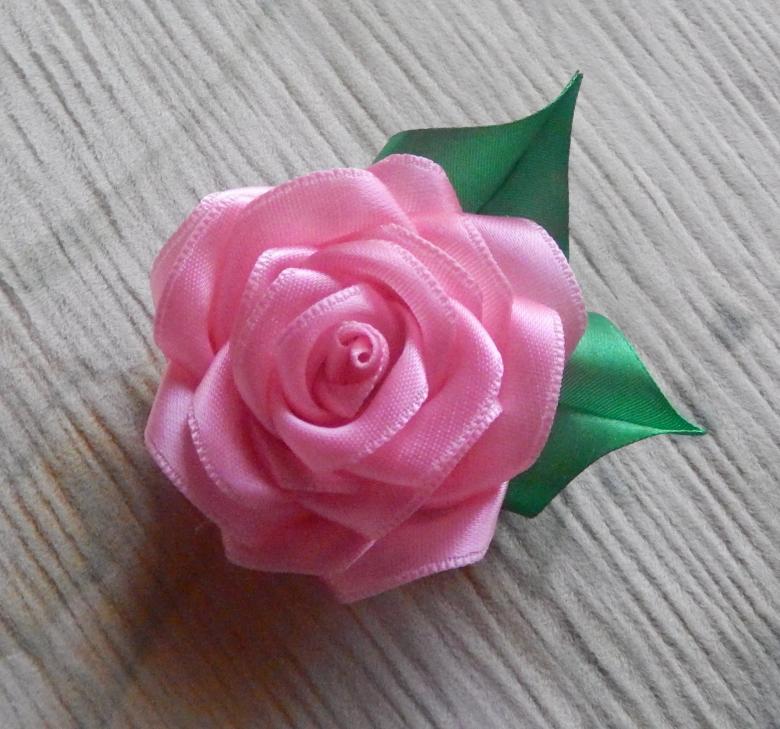
- Let's take one amber-colored ribbon. Spread it out on the wide surface of the table.
- Next, according to the scheme (download the instructional video if you find it hard to navigate) we roll up the ribbon in triangular fragments.
- At each stage, the ribbon is laced with thread to the finished triangle, and the thread is slightly pulled up to form the original wavy edges.
- When working, you should use tweezers to fold the fragments more neatly.
- At the end of the work we got a long flagellum with wavy edges.
- Now you need to carefully roll up the workpiece, carefully gluing the side joints with a glue gun.
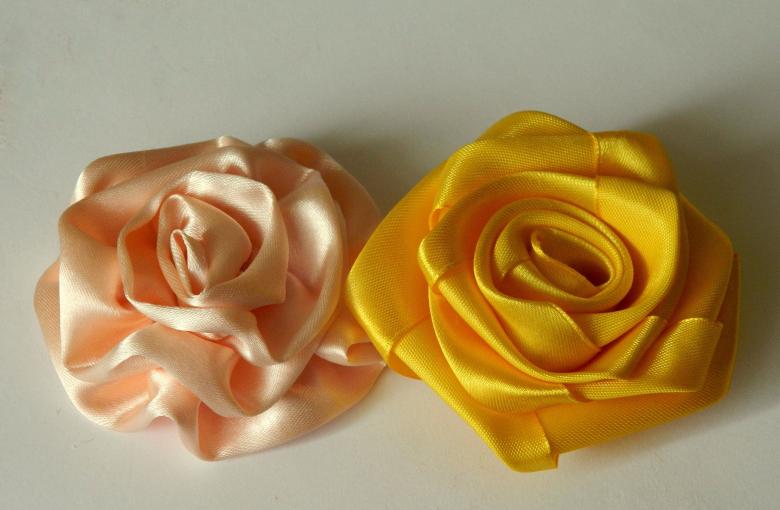
In the same way, we form the rest of the yellow and red roses. Now let's proceed to making the rim of the inflorescence from kapron:
- Let's prepare several rectangular pieces from kapron.
- Each piece should be rolled so that a decorative loop is formed at one end, and the opposite edges are on top of each other.
- The edges can be glued with a gun or stitched with threads to hold them in place.
- Sew two or three petals to the bottom edge of each bud.
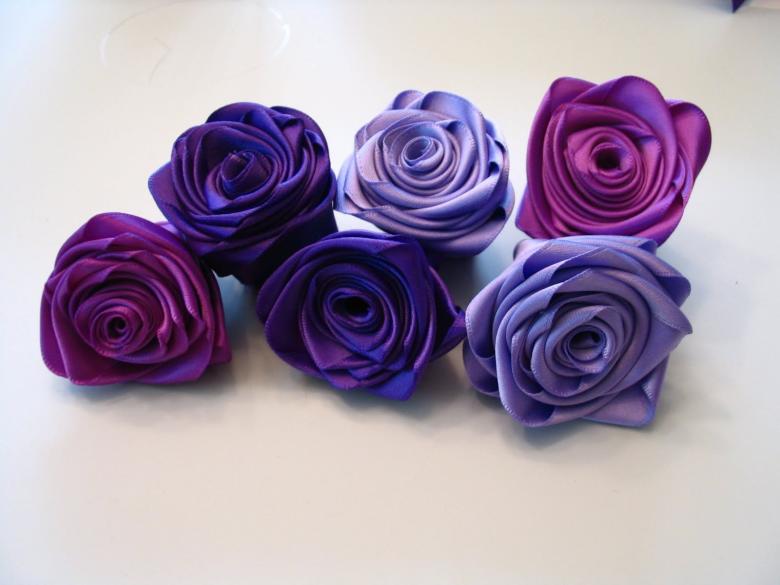
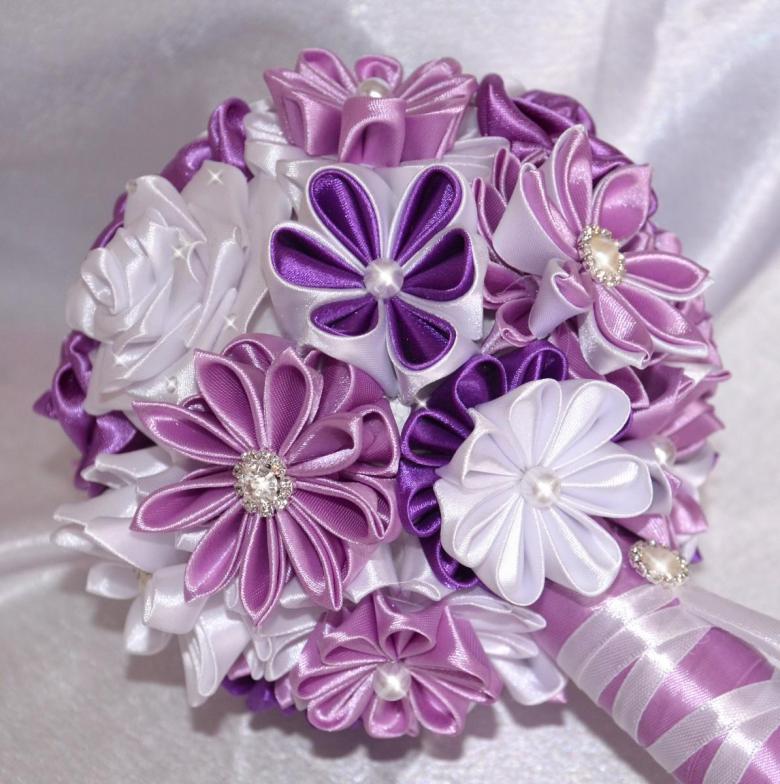
From the elements of pink buds you can put together an original bouquet in corrugated paper or a decorative basket.
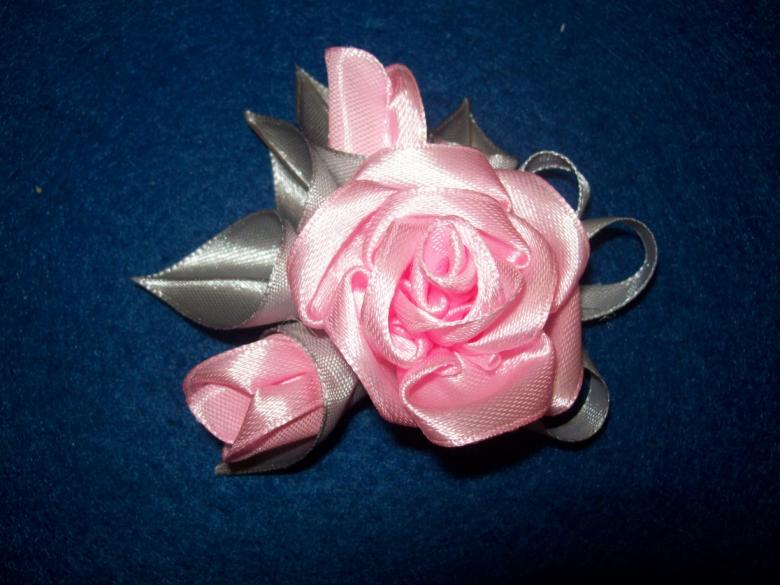
Sharp-pointed asters from satin ribbons
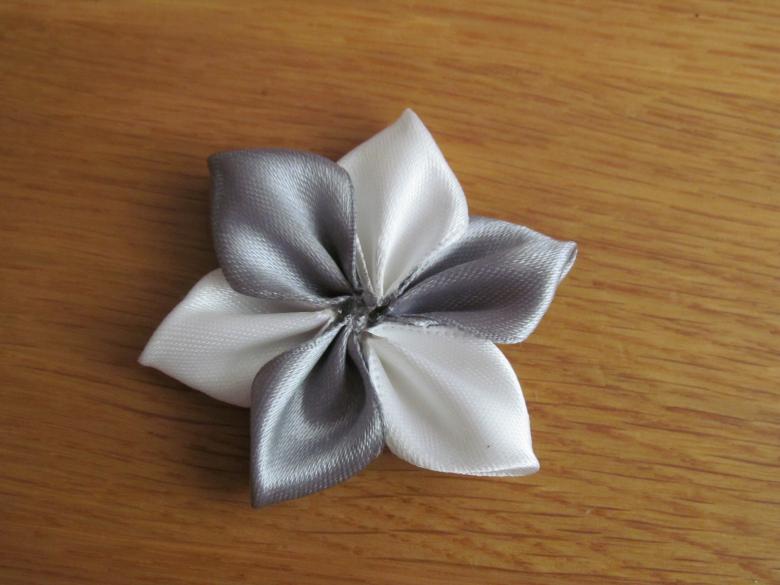
This work is characterized by its accessibility and simplicity, which is especially relevant for beginners. Take the same materials, with the only difference - the color shade may be different.

Step by step instructions for needleworkers:
- Prepare several satin ribbons, spread them on the table.
- Sew each piece with a sewing machine or by hand (but it is much harder) with a zigzag stitch. The seam should be continuous and the ends of the thread should be long enough.
- After forming the seam, pull the thread, and the ribbon will fold into the original bud with pointed edges.
You can adjust the volume of the bud: if you want a larger flower, just take a longer ribbon.
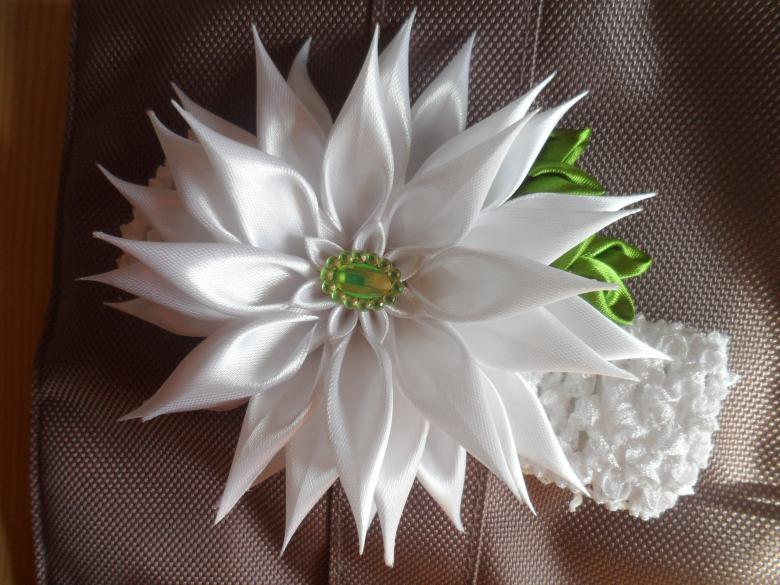
Shape lush hibiscuses
Here we need to make the necessary materials:
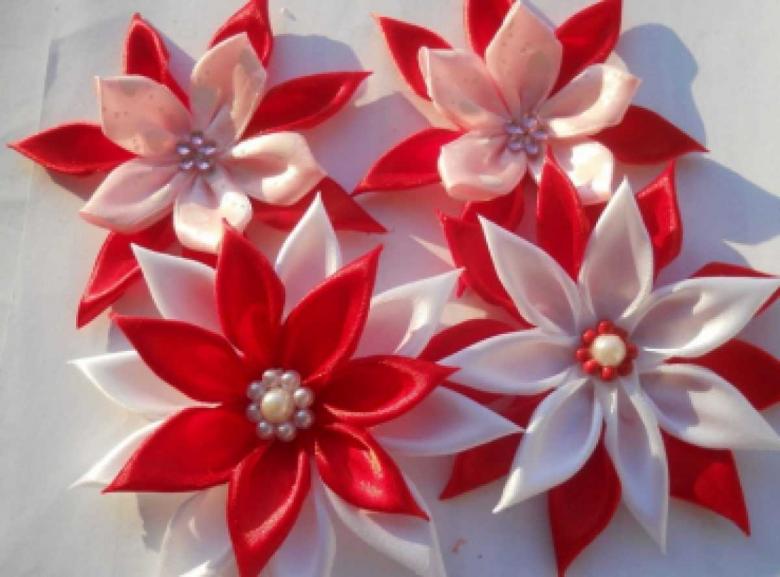
- Satin ribbons of two shades: green for the border and white (or red) for the petals.
- Floral wire.
- Glue.
- The decor elements.

Then work according to the following instructions:
- For the petals, cut white or red ribbon into rectangles of your desired size.
- Give each piece a more rounded shape.
- Using hot wax, form crimped petals.
- From the green ribbons (you can use decorated kapron ribbon) according to a classic scheme make the border of the sepal. Prepare three or four elements (the scheme above) and sew them in the center.
- On the finished bed of the inflorescence, lay the corrugated blanks: glue each element and form them into a lush flower.
The bouquet, as mentioned earlier, can be wrapped in illustrated or corrugated paper.
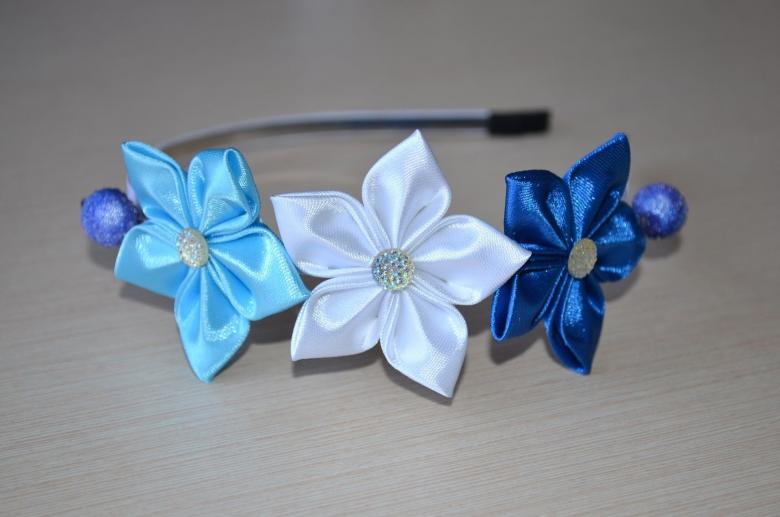
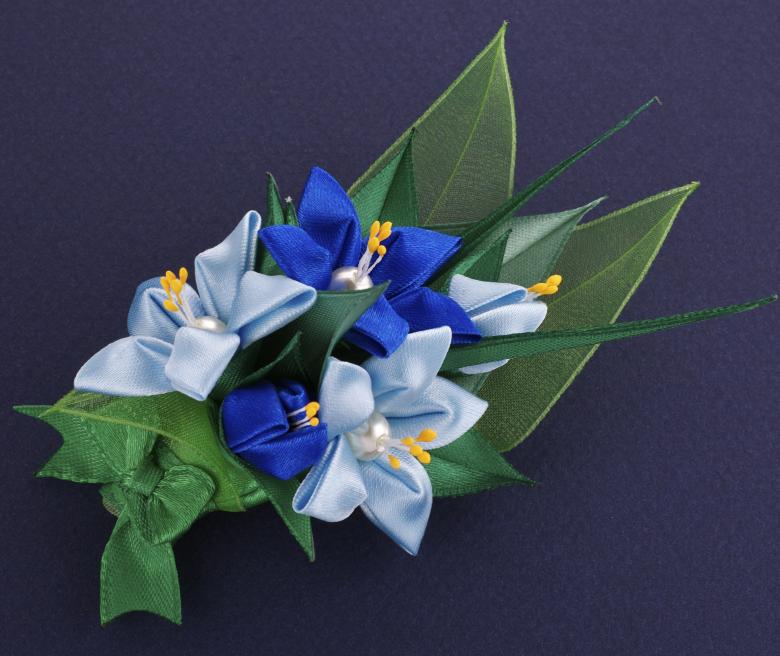
Rich bells from decorative ribbons
A bouquet of amazingly rich bells will please any birthday boy or decorate the stylish interior of your home. To work we will need:
- Several bright blue satin ribbons.
- Scissors, glue, thread and needles.
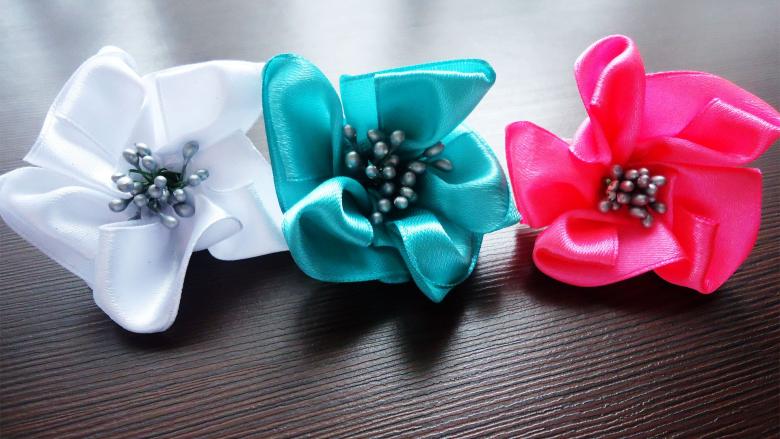
- To form the stamens and pistils, take twisted paper for kansashi or use ready-made decorative elements.
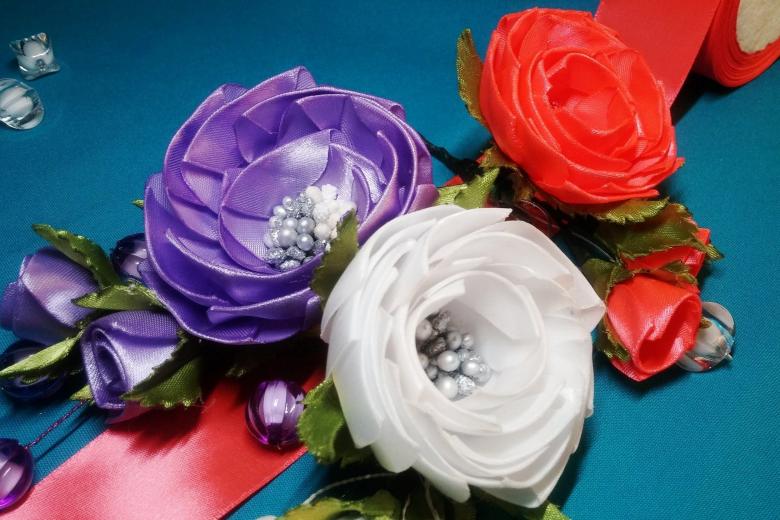
White auxiliary elements will emphasize the rich shade of blue bells. Consider a step-by-step master class on creating the bouquet:
- From the ribbons of blue color, let's prepare several blanks of rectangular shape. Each piece must have a sufficient width.
- Roll elements into cones along the long axis of the workpiece, glue or hem the edges.
- Each petal can be slightly crimped, using hot wax or thread tie.
- The bud is assembled sequentially, forming it from several pieces.
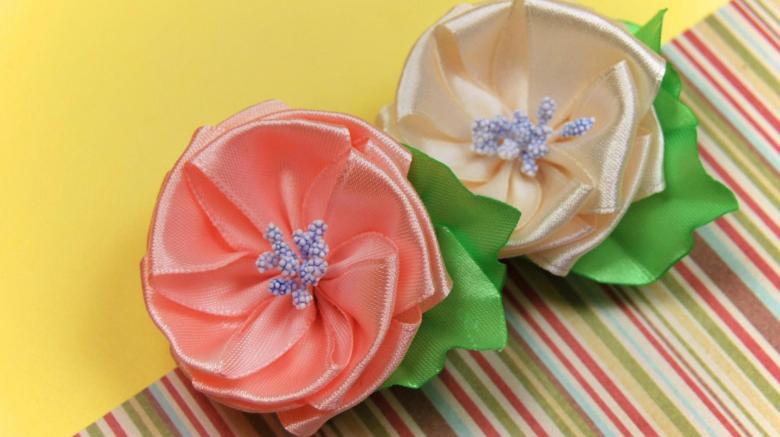
- In the center of the bud put stamens of twisted paper or floral wire with glued beads on top.
The opulence of the bud can also be adjusted by changing the number of leaves in the assembly.
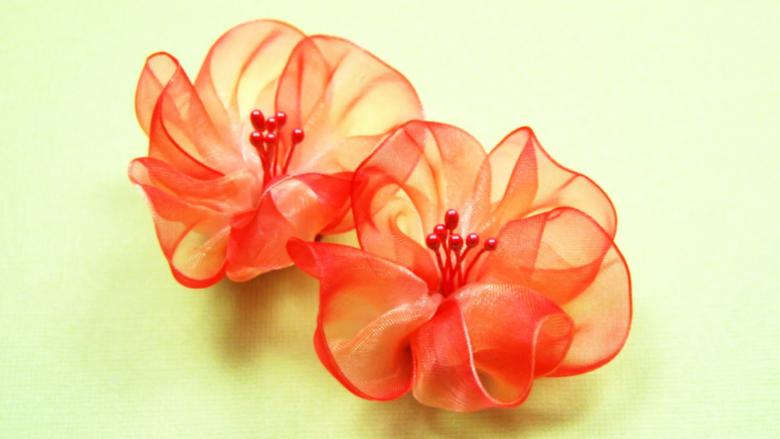
Application of decorative flowers
Original bouquets as a gift for anniversaries - not the only practical application of ribbon crafts. You can easily use any of the following options:
- A beautiful card with miniature flower buds.
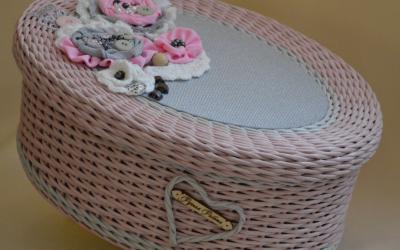
- Decorative box with decoration with figures from ribbons.
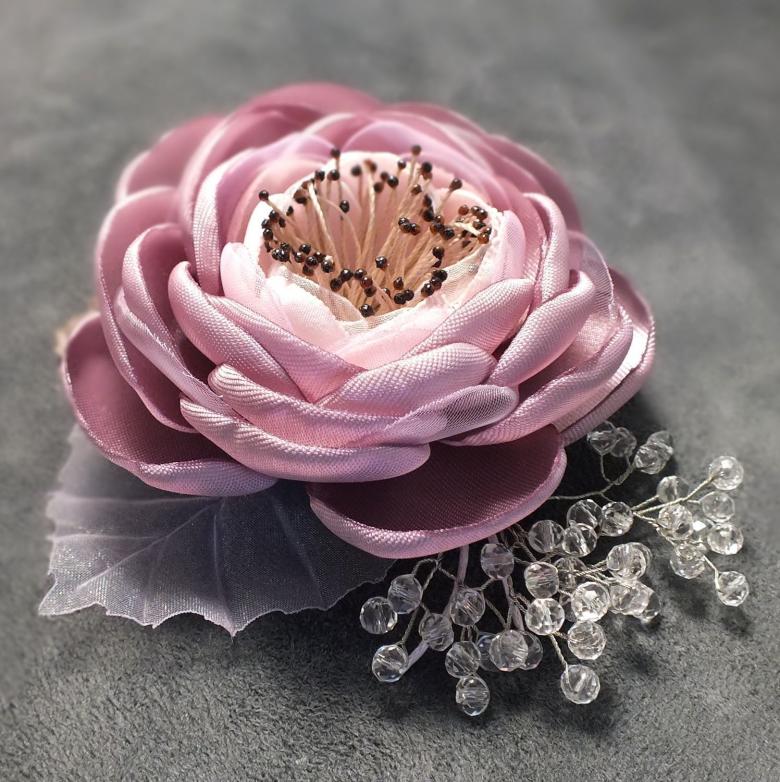
- Dense floral pieces for jewelry.
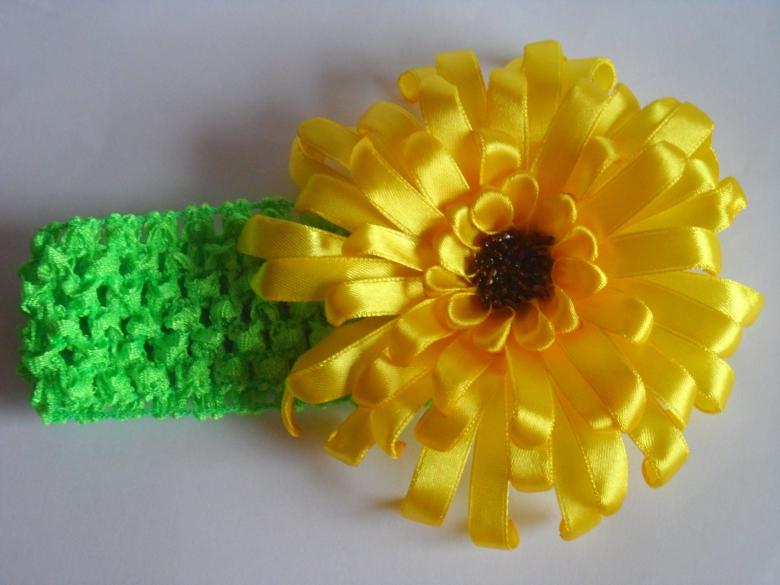
You can also use original daisies or rich sunflowers as a variety of applications.
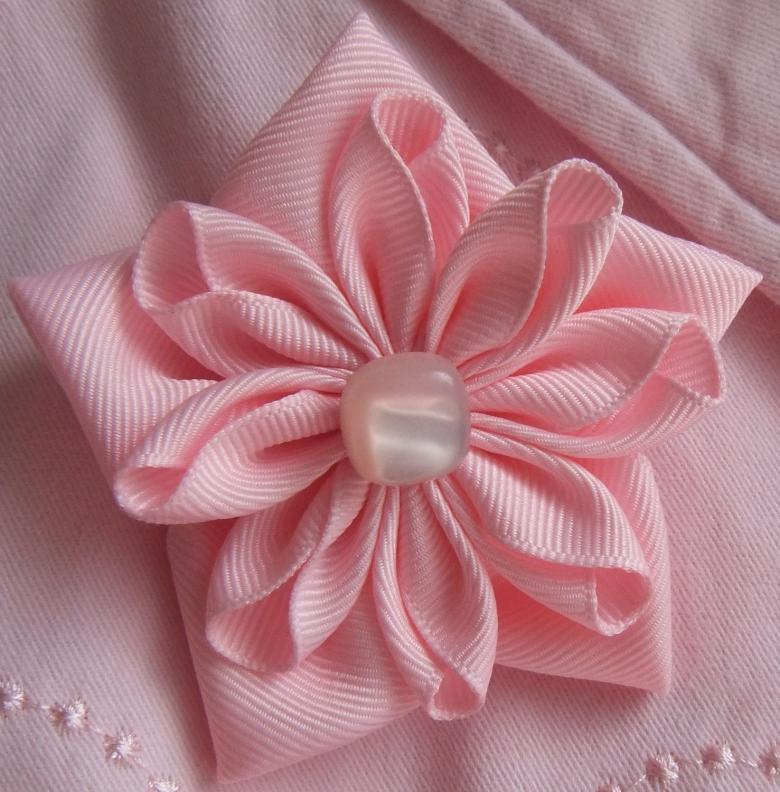
The art of forming flowers from ribbons - satin, kapron, any felt - is original, but not difficult at all. The classic techniques can be mastered even by a beginner, just apply a little imagination and creativity. And detailed instructions and master classes with video tutorials will help in practical work.

