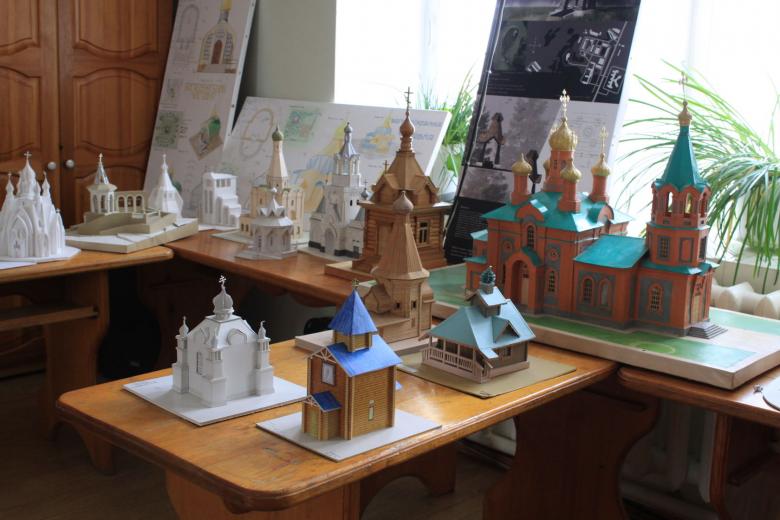
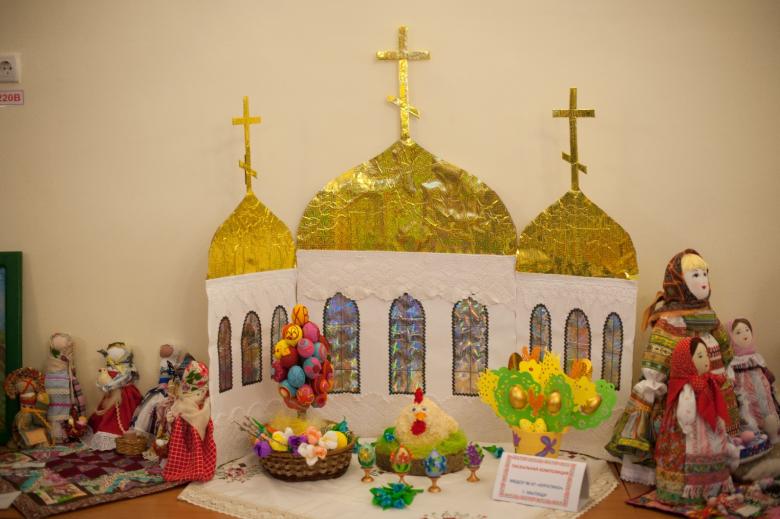
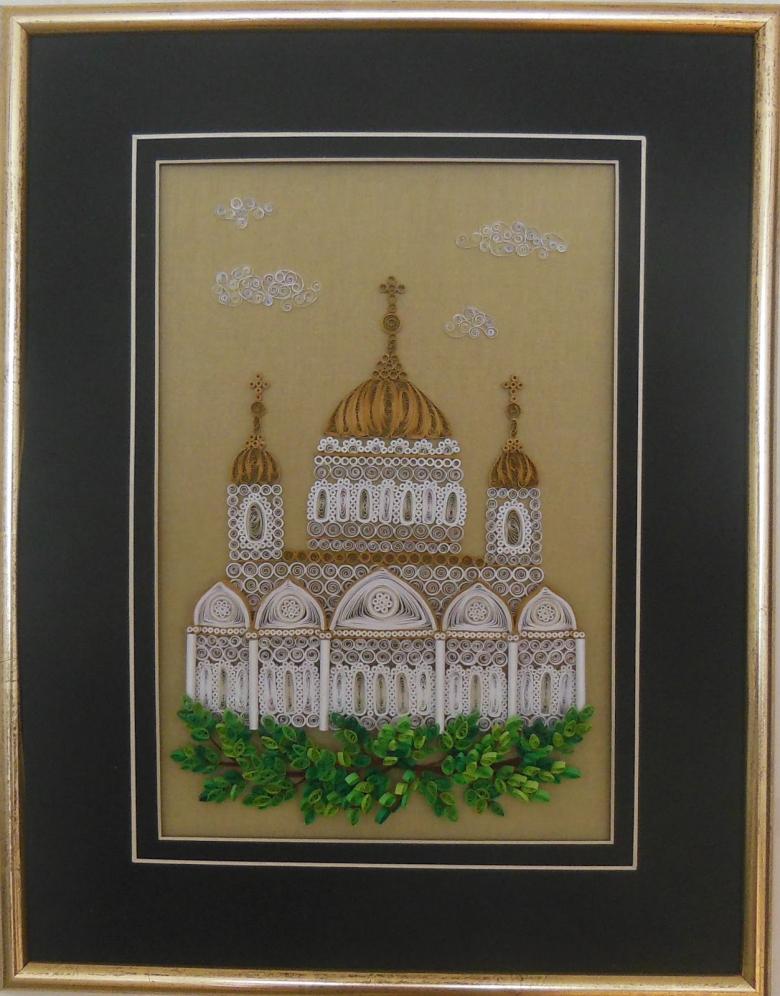
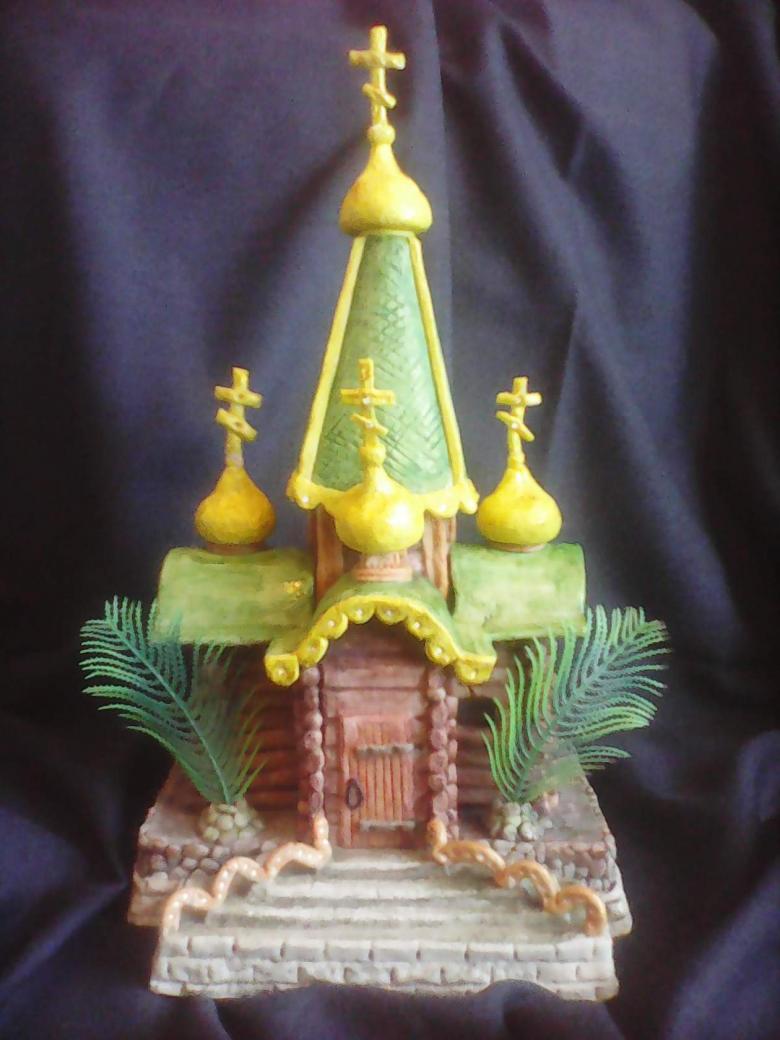
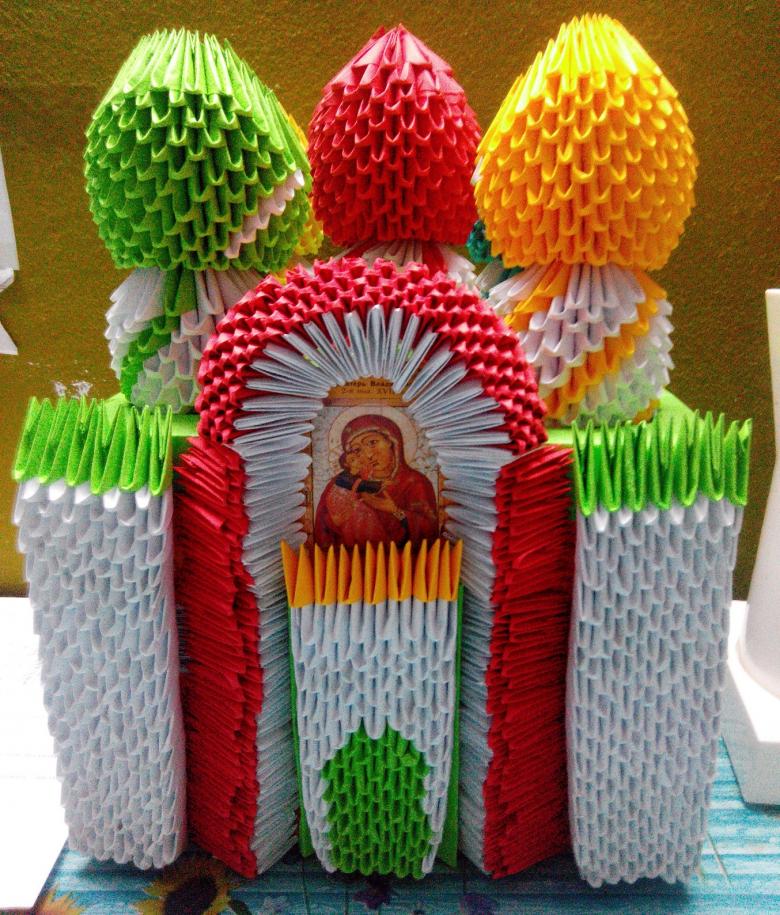
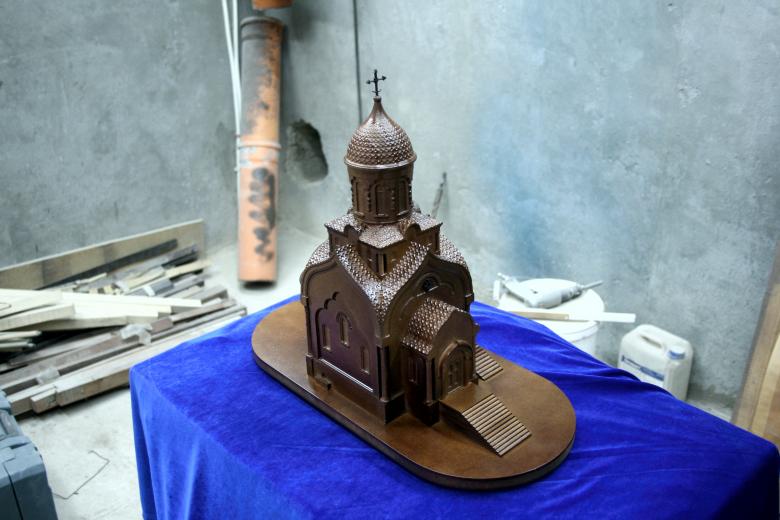
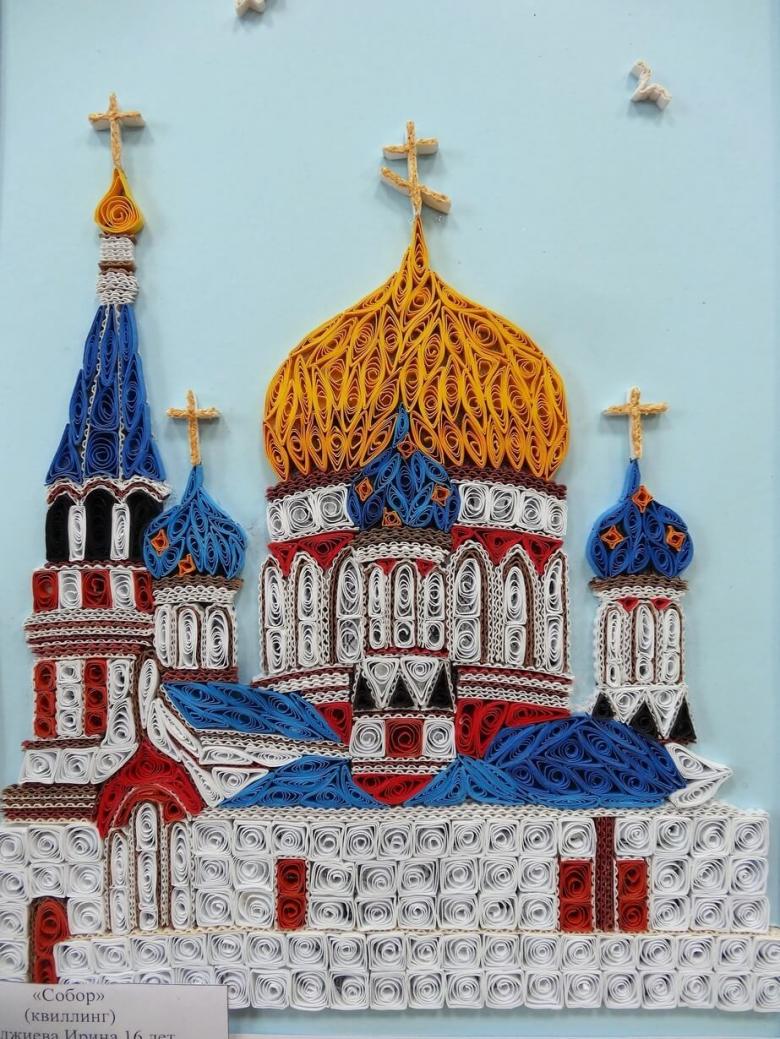
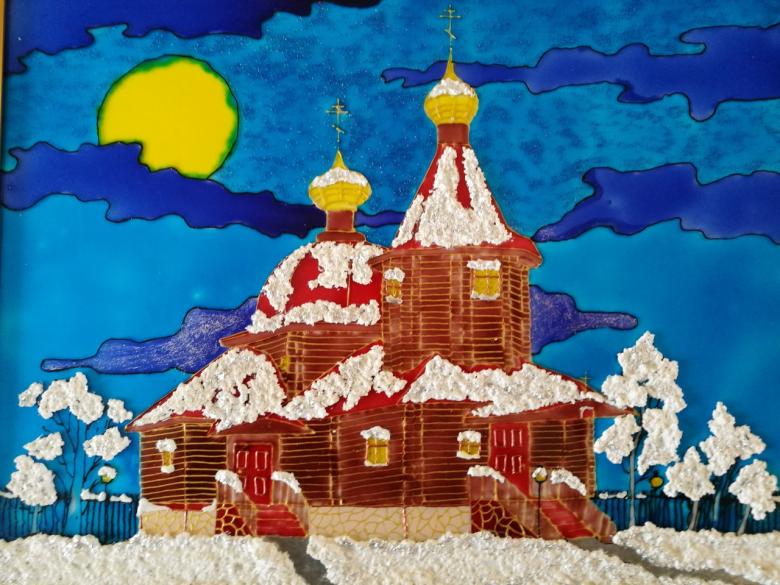
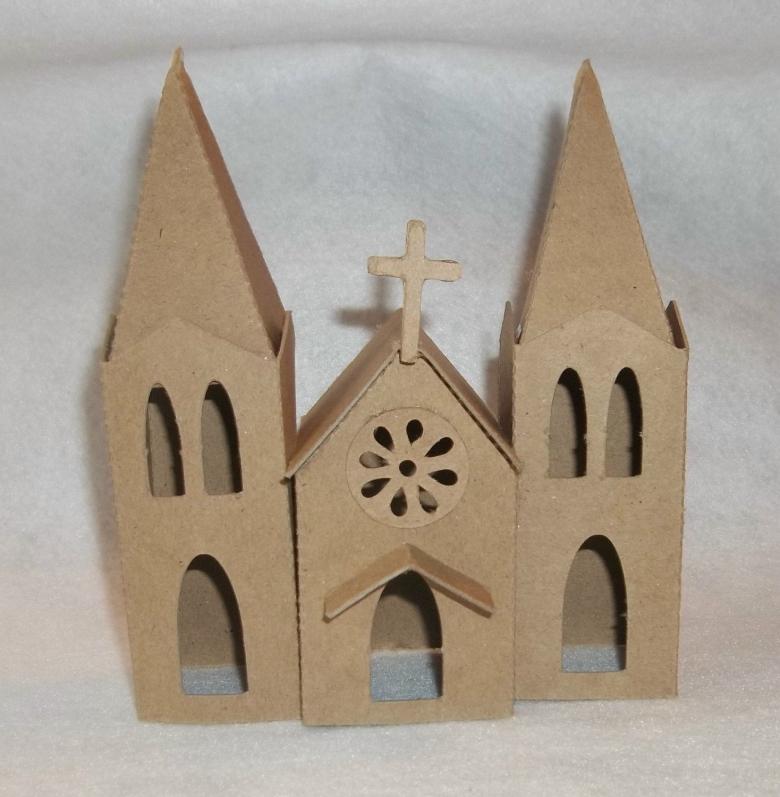
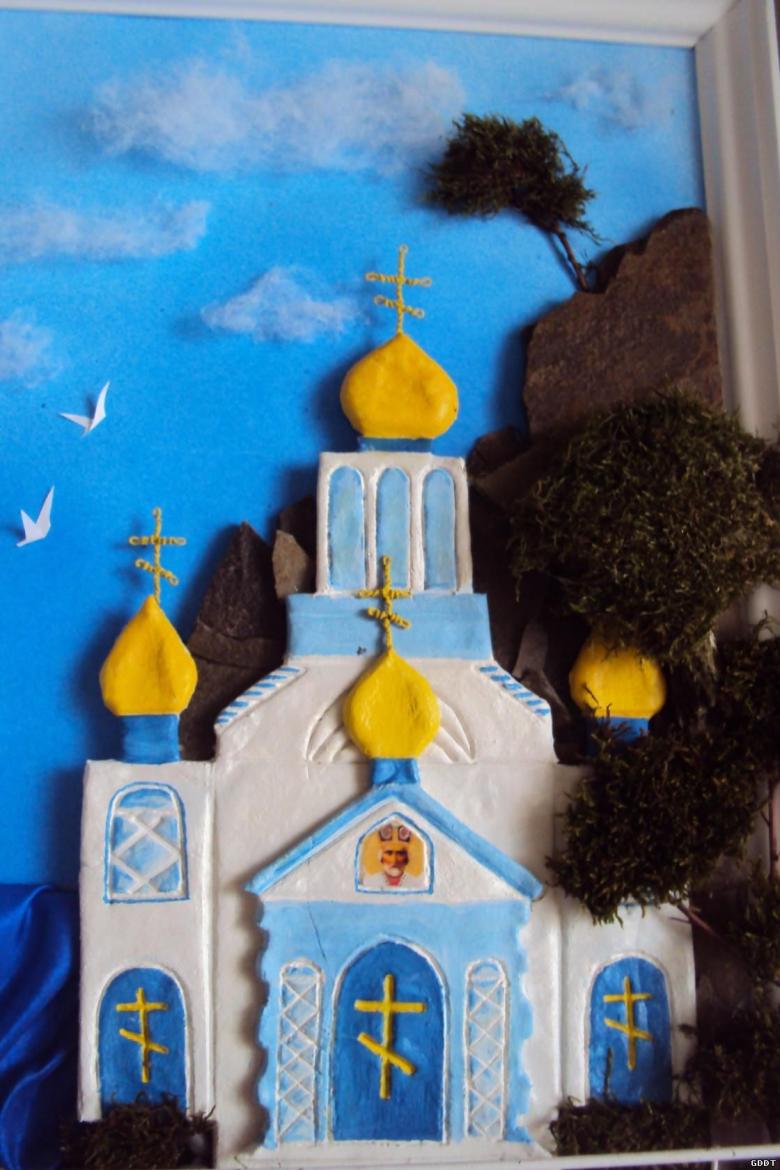
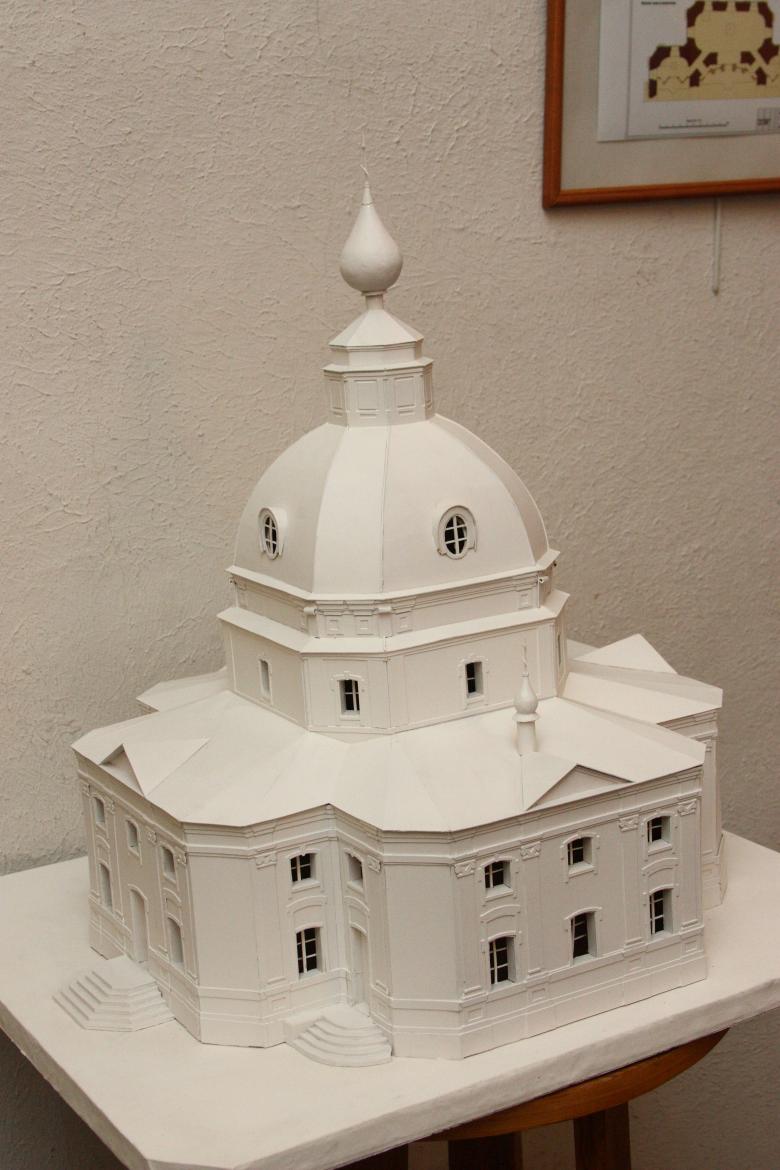
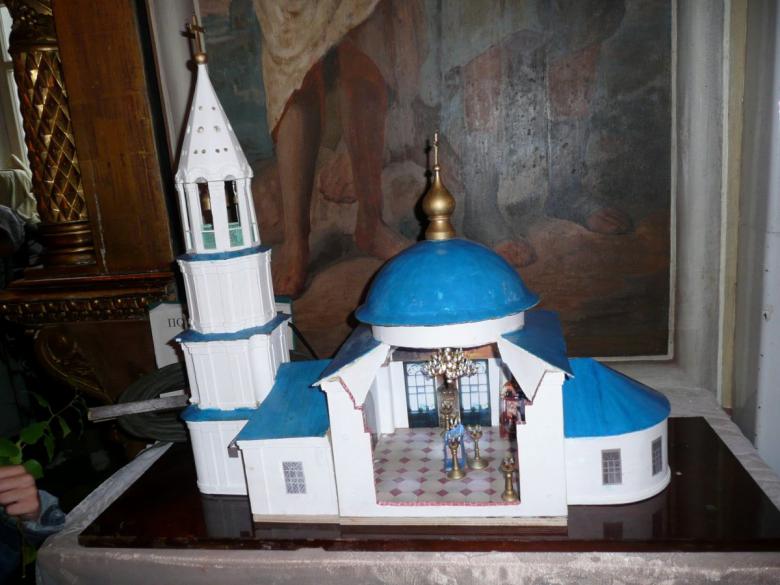
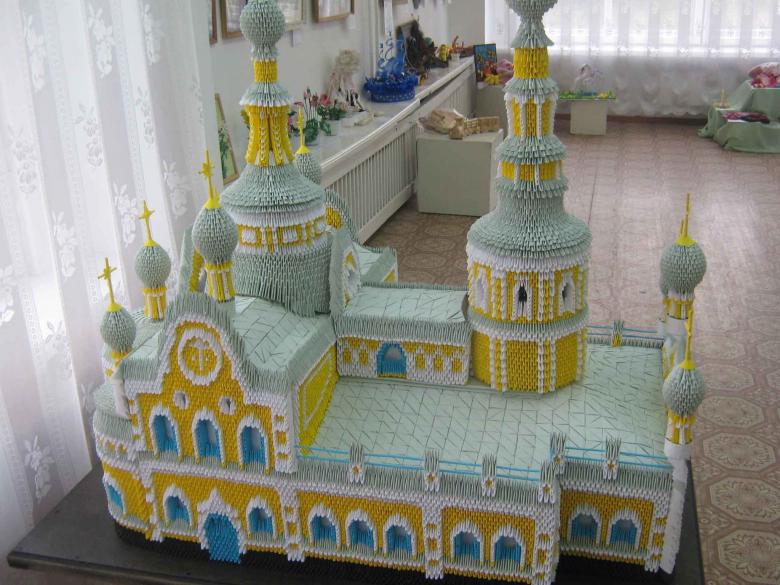
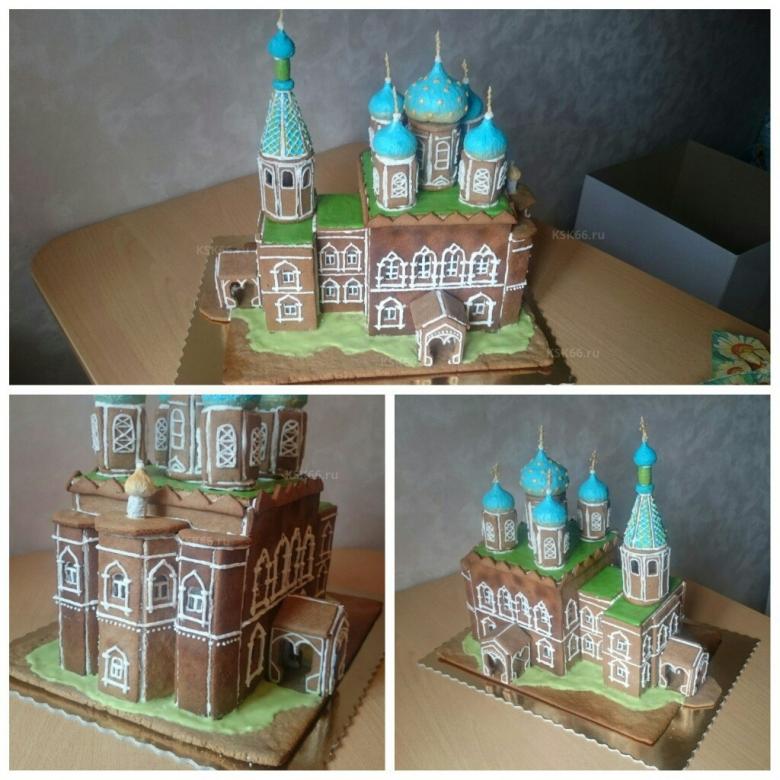
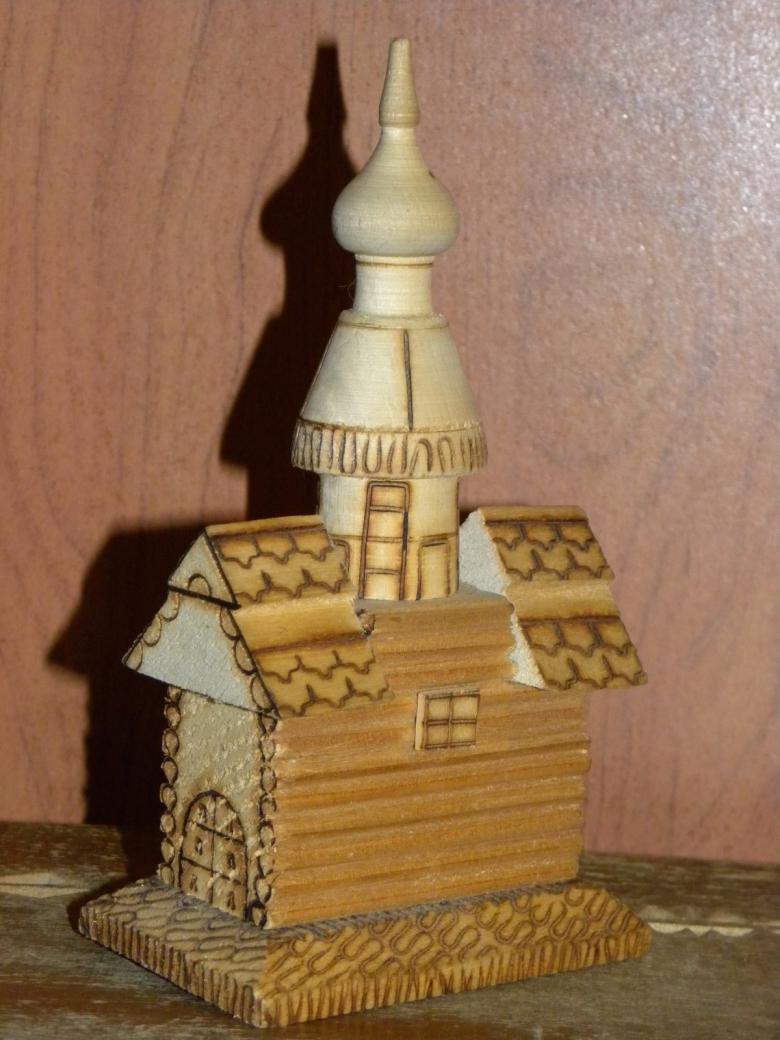
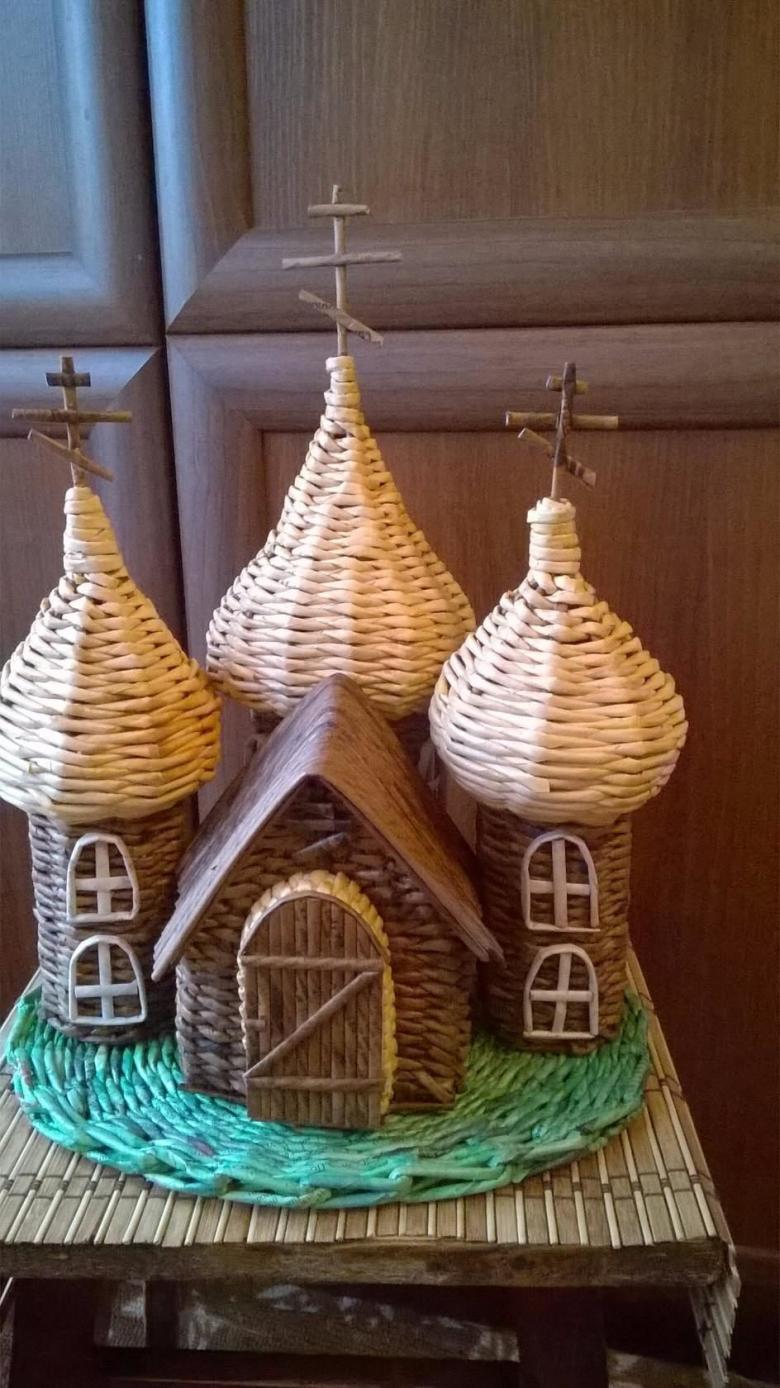
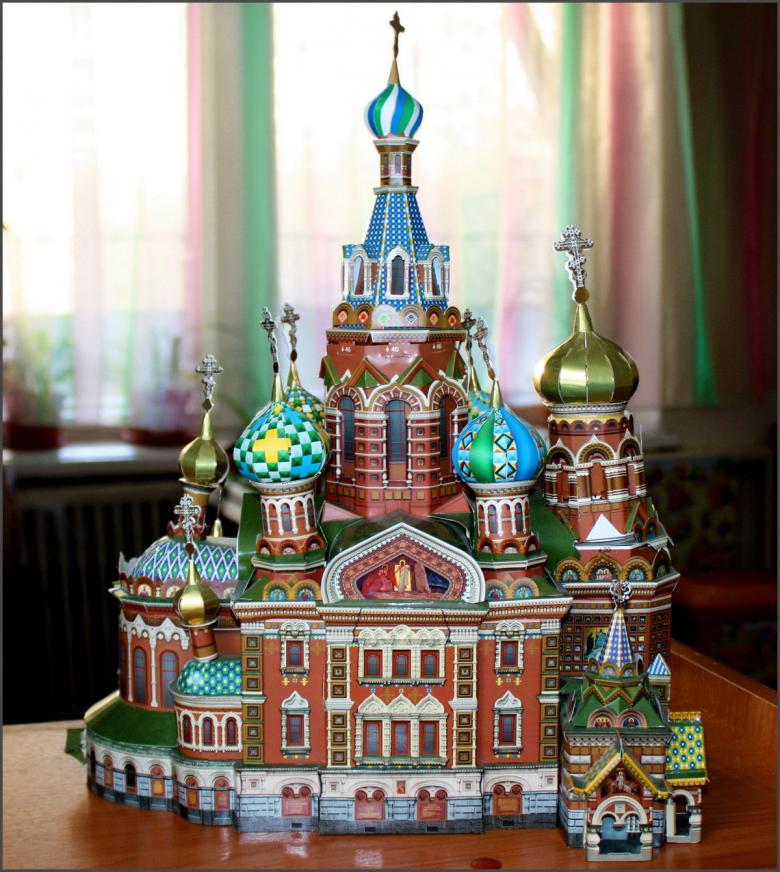
Handicraft church of plastic bottles, matches, as a picture - step by step master classes
Church is a complicated craft. And the thing is not only that it may not work at the first time, but also in its special inner meaning. So do not take her if you do not feel emotionally inclined, and the more so do not give such a task the whole class at school or the group in kindergarten. And when you decide to make it - stock up on patience: it will not be easy, but the result will be excellent and for years will serve as a table decoration, as well as a good gift for Christmas or Easter.
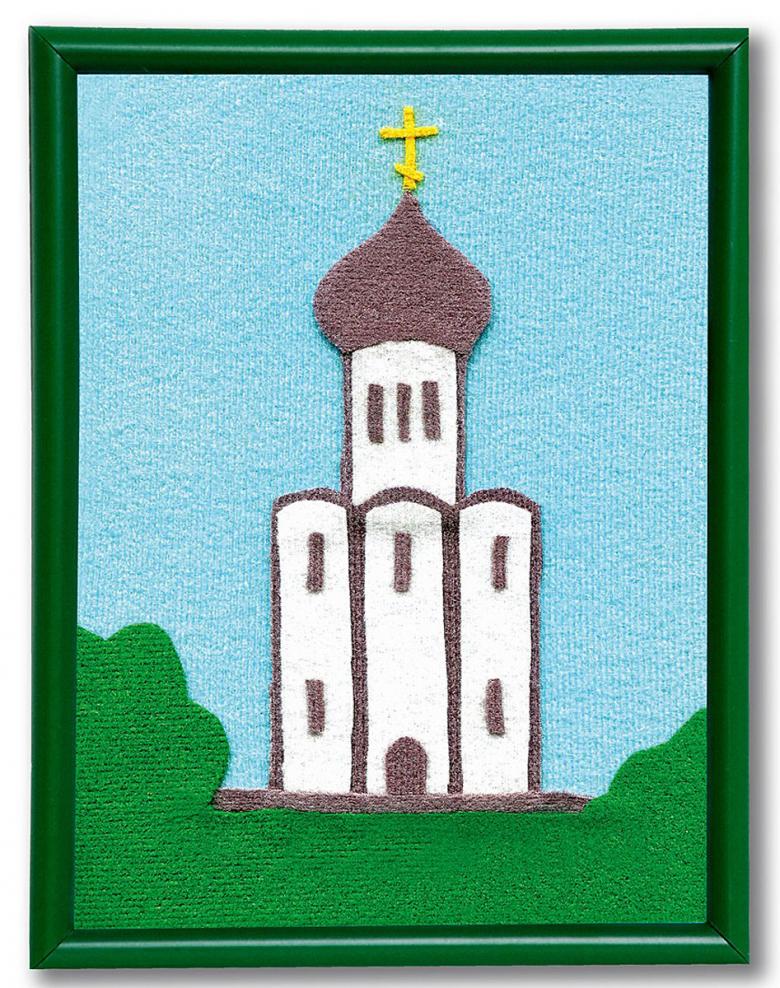
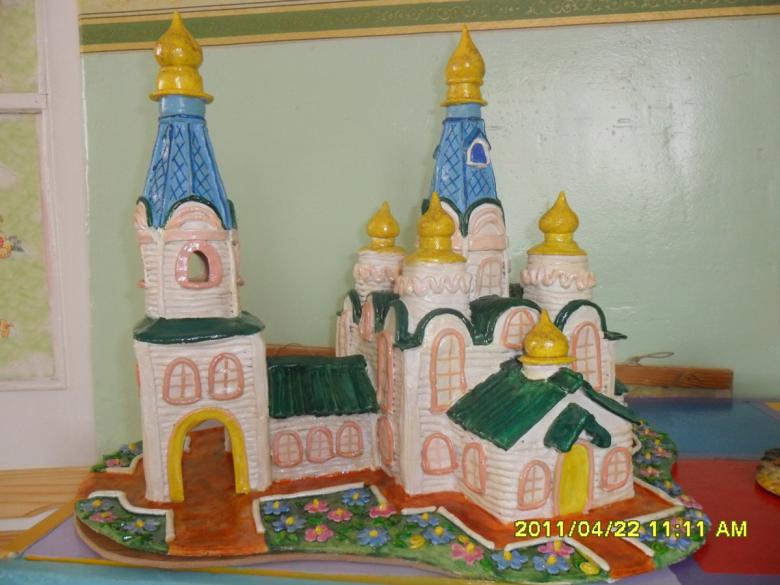
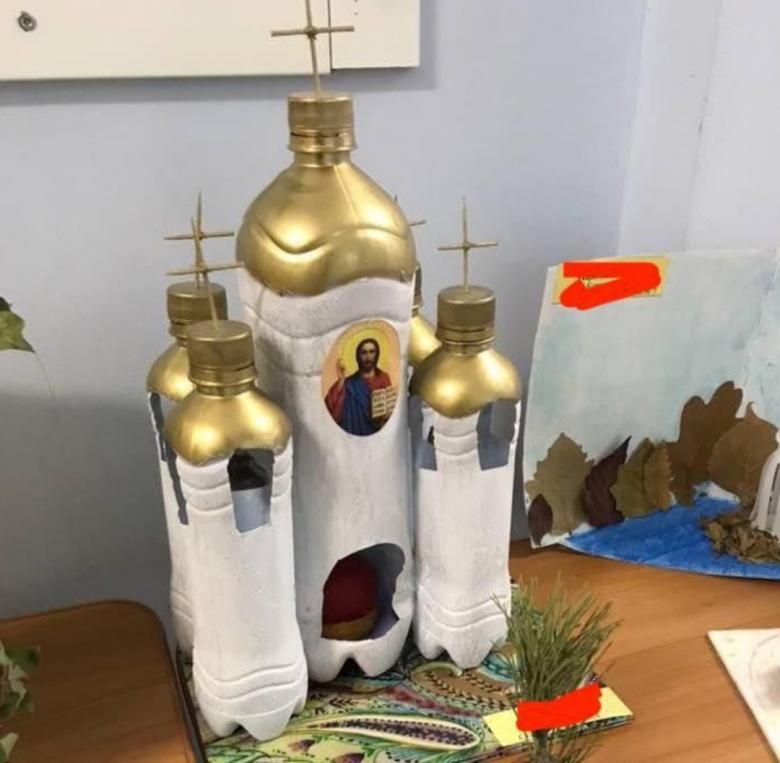
A church from a plastic bottle
This is a medium difficulty craft. The likelihood that something will not work is small, but you have to invest a lot of work.
Preparing
Prepare materials and tools in advance:
- A plastic bottle with a domed top, from mineral water;
- The lid from a shoe box;
- Rope, long enough;
- A piece of colored wire;
- lace and braid for decoration;
- colored plasticine (you can play with the shades depending on the color scheme of the project. Use blue + white, red + green, red + gold, other combinations are also possible, just don't use black);
- cardboard;
- scissors;
- knife;
- a piece of absorbent cotton;
- white paint;
- PVA glue;
- brush;
- double-sided tape.
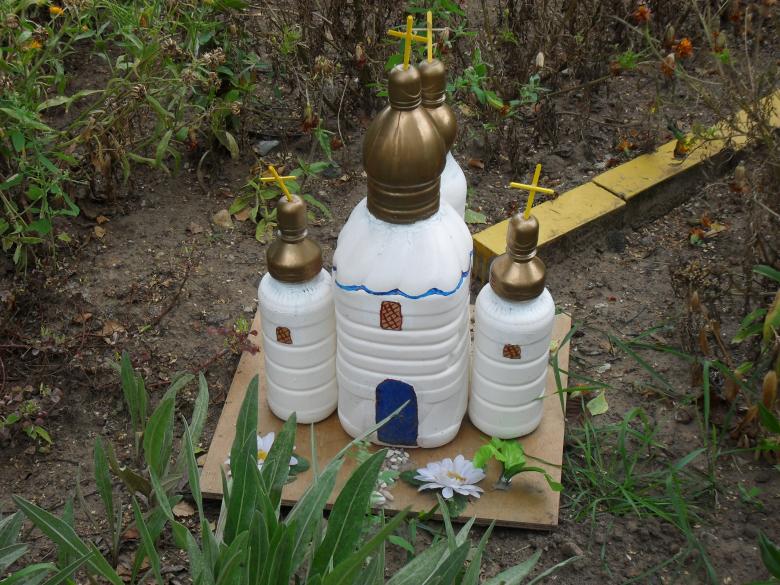
Algorithm: Church in 14 Steps
- We start with the base of the building. Take a brush and paint the lid of the box white. Leave it to dry.
- Proceed to the boards for the future fence - we will install it around the church. First, we recommend that you cut out a stencil with a pointed top edge - it looks more realistic, and then use it to draw and cut a sufficient number of planks.
- Glue the boards to the base.
- Begin to make the church itself. Cut off the bottom of the bottle - about one quarter.
- Now you have to cut the neck. This is not an easy task - the plastic here is thick. A tip to make the process easier: heat the knife before you cut.
- Preparing to install the future building. We measure 2 cm from the bottom edge, draw a line in this place in a circle and cut the plastic between the edge of the bottle and the line into even narrow strips. Bend them outward "flower". The design is more stable.
- We make the dome of the temple of plasticine.
- Now we need a cross. Take a long piece of wire and make a narrow high loop in the middle. This is the top of the cross. Step down along the wire about 1.5 cm and make two shorter loops to the sides - we have the sides. Choose decorative wire to match the color of your church or gilded wire. If you don't have decorative wire, wrap foil around regular wire.
- Cut off the excess from the bottom of the cross and stick it into the dome.
- Glue the bottle around the circle with double sided tape. Gently wrap the rope around the top so that it sticks. The entire church should be covered - from the foot to the dome.
- Glue decorations: a strip of lace on top, from the same - the door and three windows, two to the right and left of the entrance, one - on the back of the building.
- Decorate the dome. Take plasticine in the basic colors of the craft. Roll balls of it, turn them into tortillas and glue them to the surface of the dome. Start at the bottom, glue slightly overlapping horizontally. As you move to the top of the dome, the tortillas become smaller and smaller in diameter.
- Install the church. Glue double-sided tape to the bottom of the "flower" on the bottle. Place the structure on the base and press down.
- Now all that's left is the decoration of the area. The landscape can be summer or winter. For summer, use green paint and cut out and install trees. For winter, make snowdrifts out of absorbent cotton and glue them on.
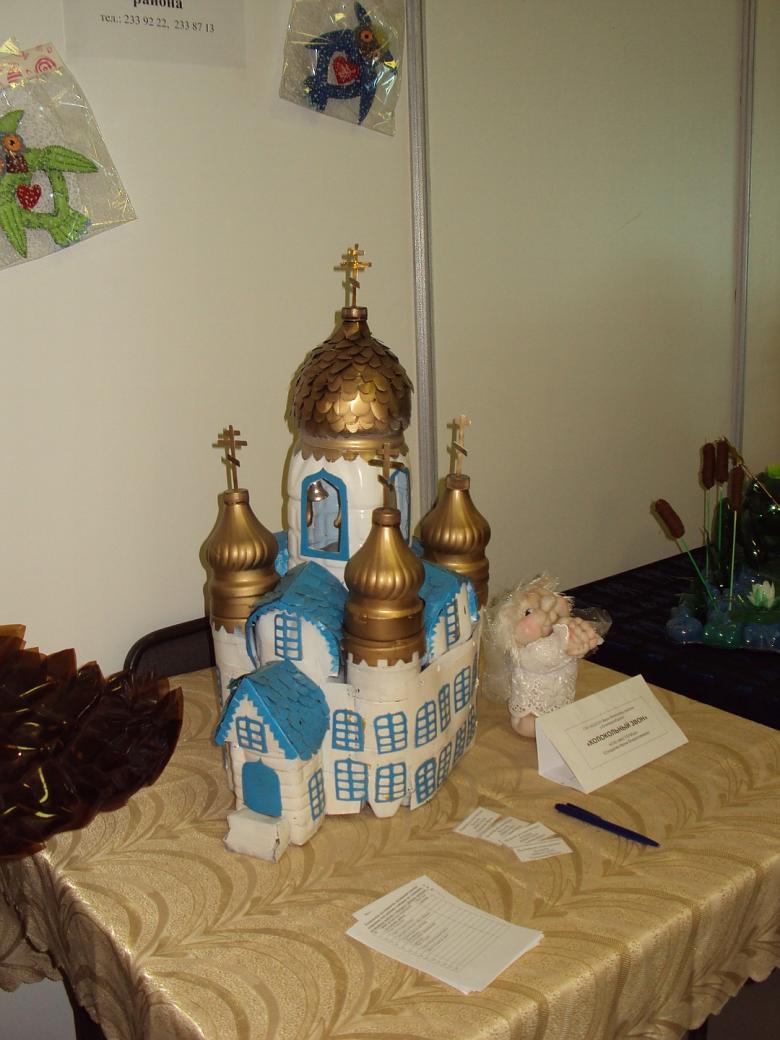
Your handicraft is ready. This graceful little church will be a great decoration for the Sunday school interior or a holiday gift, such as the New Year (of course, in the winter version).
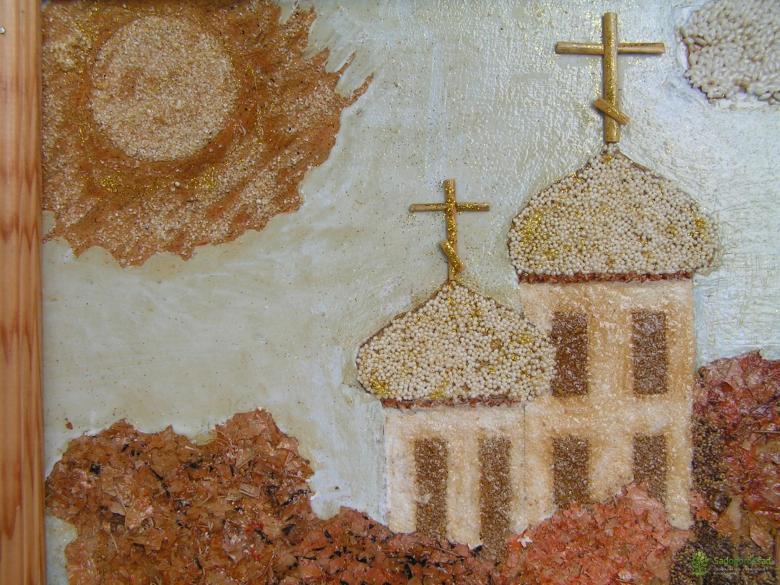
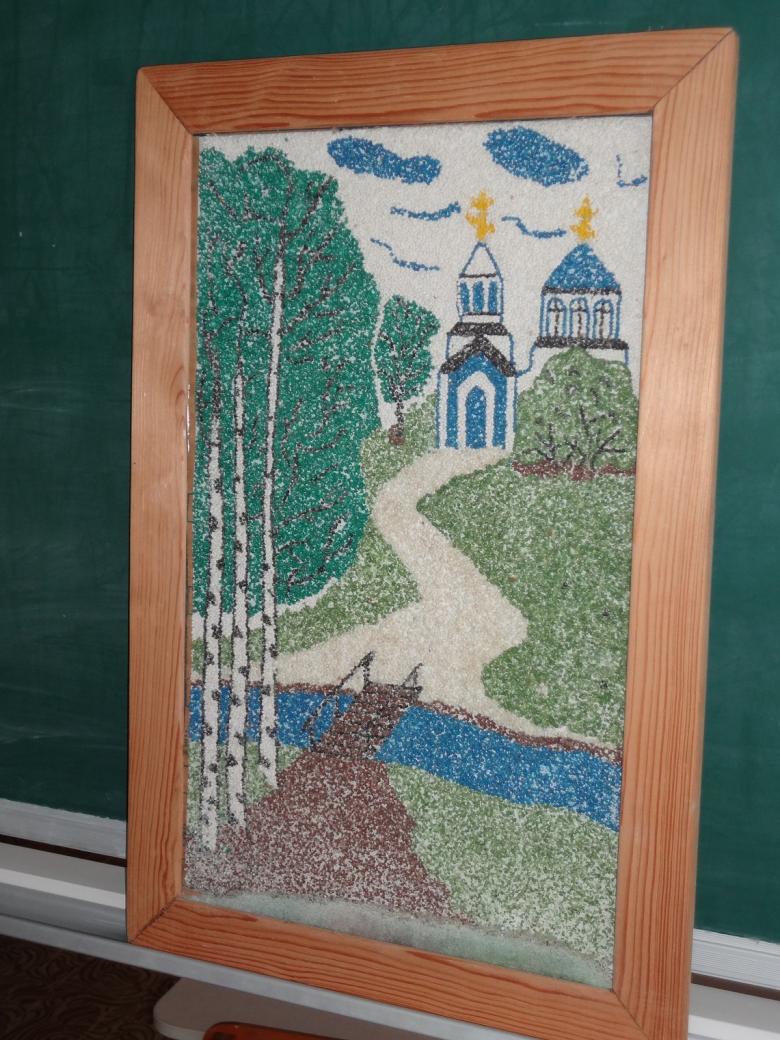
Handicraft picture .
This version of the craft is easier than the previous one, here you will not need any tools, only materials and skilled hands.
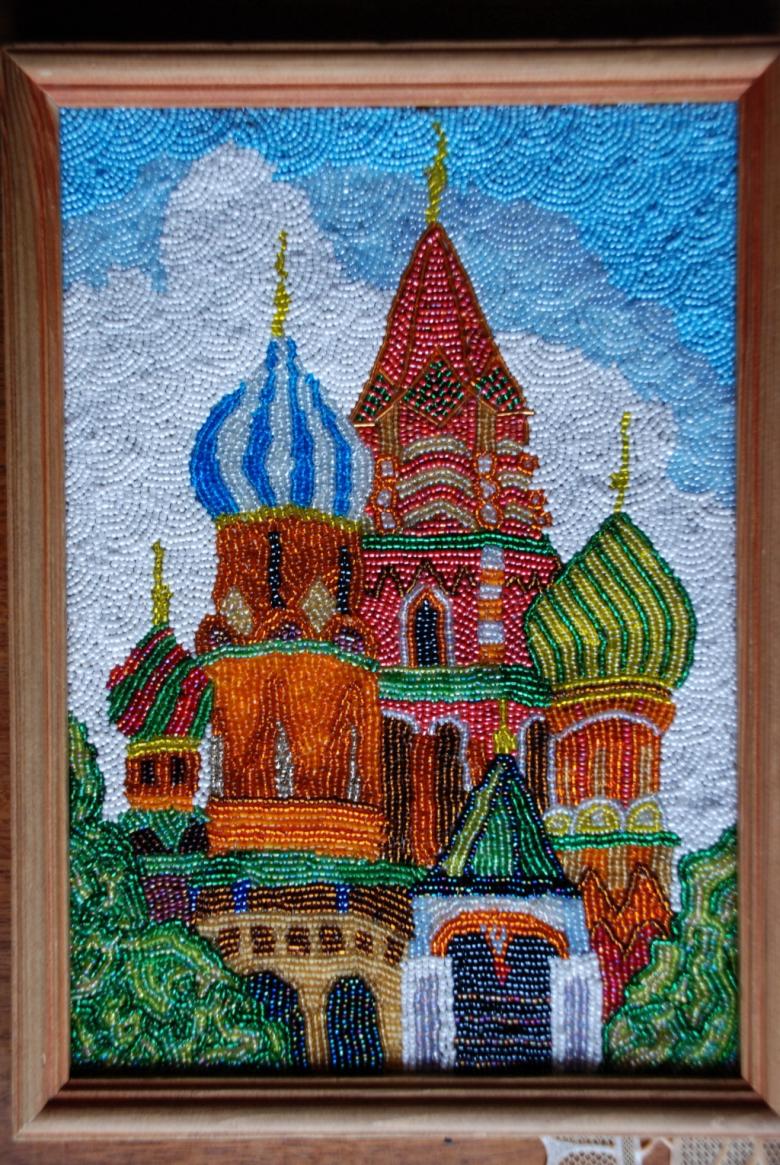
Preparing
Prepare in advance:
- A3 paper;
- Cereals (millet, rice, peas, barley, buckwheat);
- glue;
- gouache;
- a few beads;
- gold paint;
- varnish;
- plasticine.

Instructions for making a picture in 7 steps
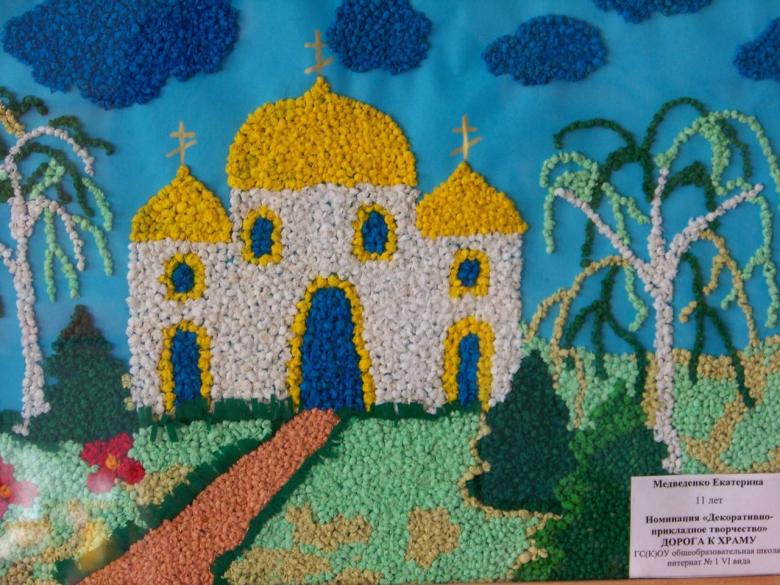
- We take a sheet of paper and draw a church. You can take a photo of the Cathedral of Christ the Savior and redraw from it.
- The area where the sky is planned is covered with glue and immediately covered with millet. Allow time to dry.
- In the same way, with glue and groats, we decorate the details of the picture: we fill the windows with barley and peas, draw the outlines of the walls and doorways with buckwheat, the clouds will be made of rice.
- Take gouache and paint the sky blue, the windows yellow. The rice on the clouds can be covered with white paint.
- Fill the walls with rice and paint it white.
- On the dome we glue beads and paint gold. When it dries, varnish it to make it shine.
- Mold flowers from plasticine, make their stems from green threads. Fill the empty space on the sheet with flowers.
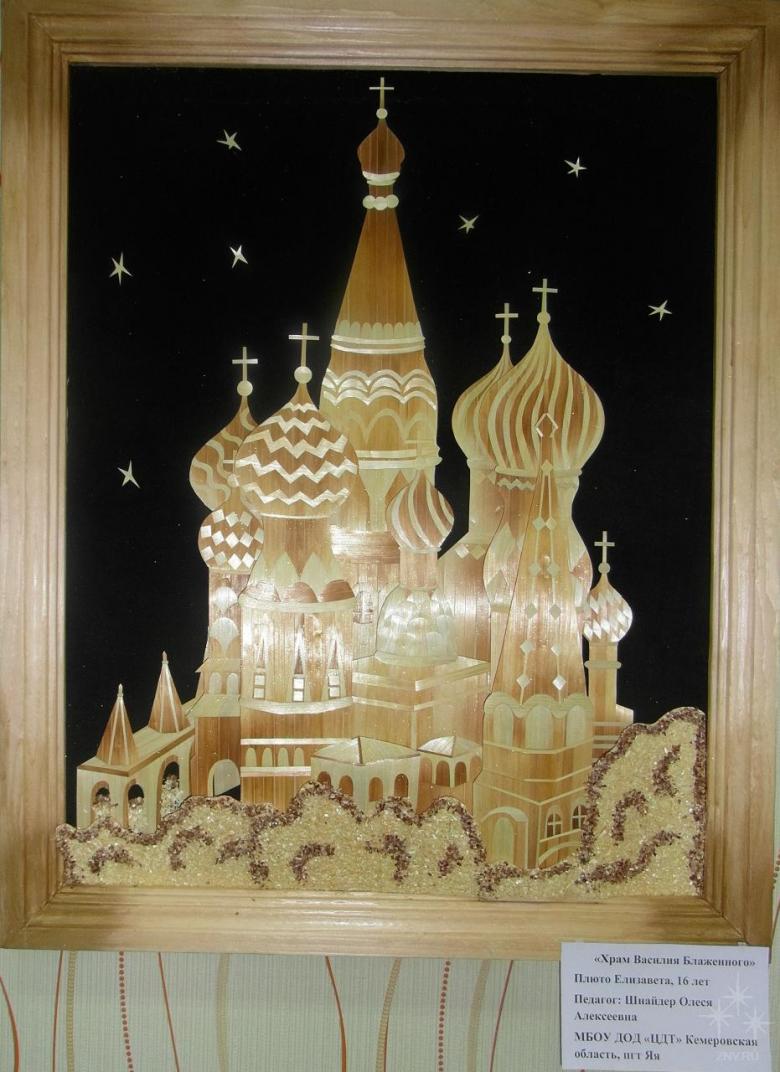
Our handicraft is ready. The color solution suggested here is not a dogma, you are free to choose your own.
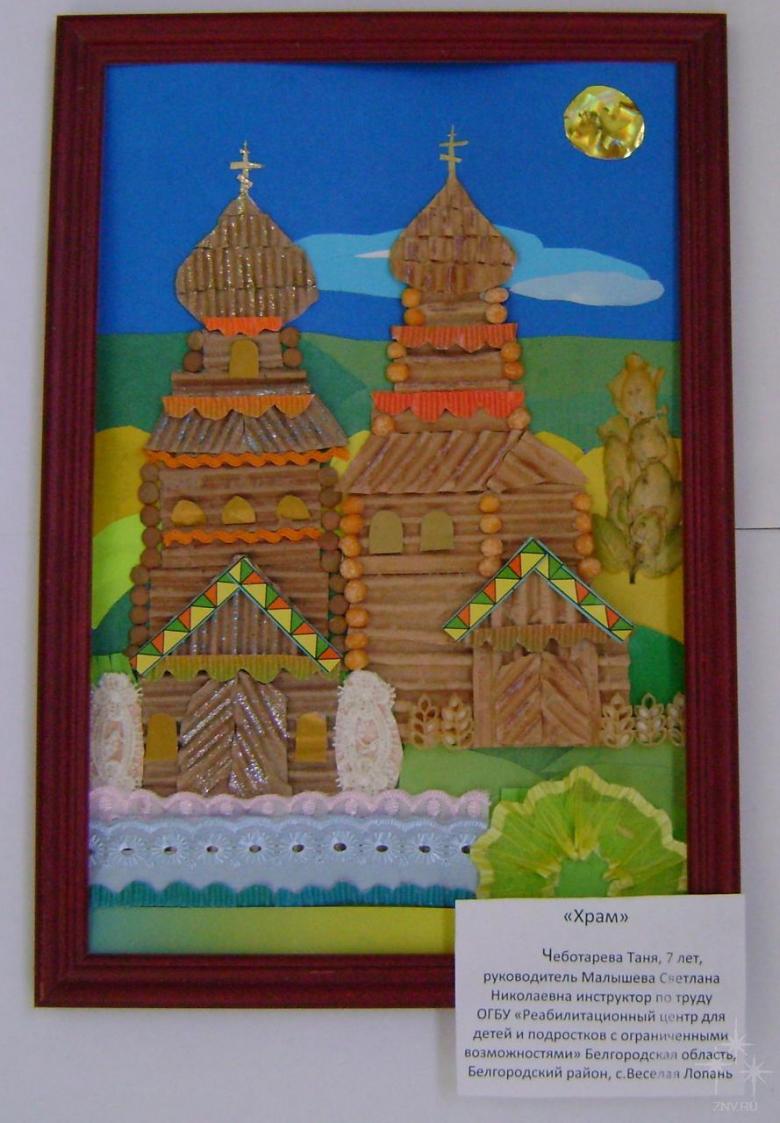
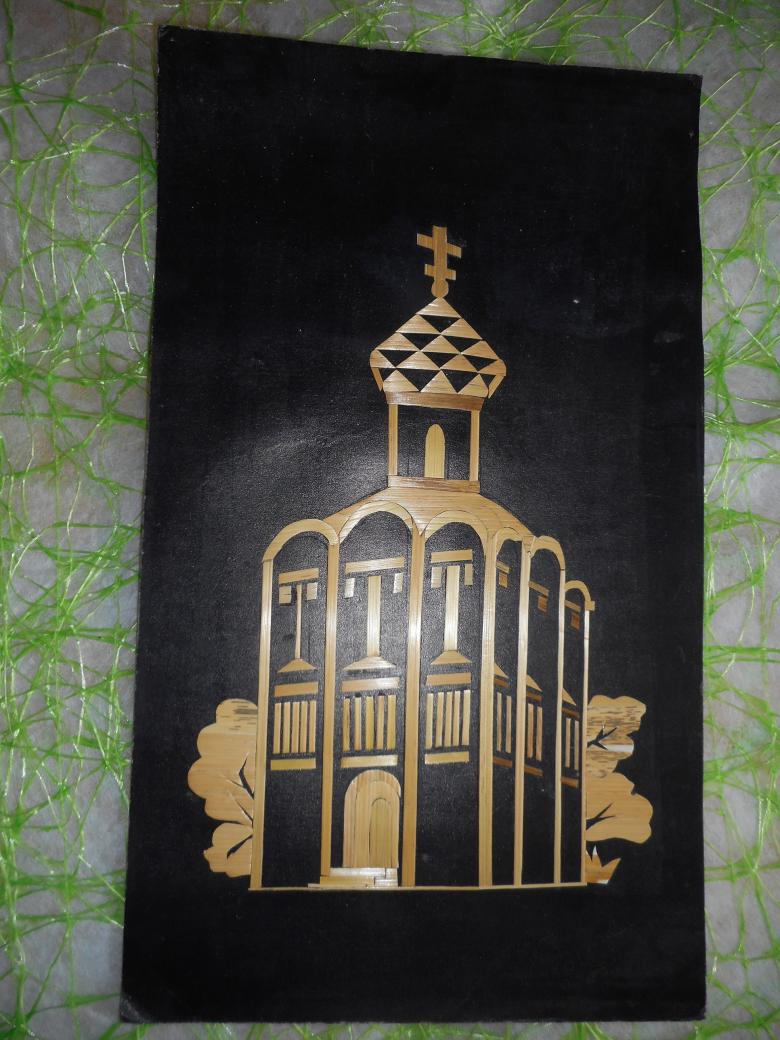
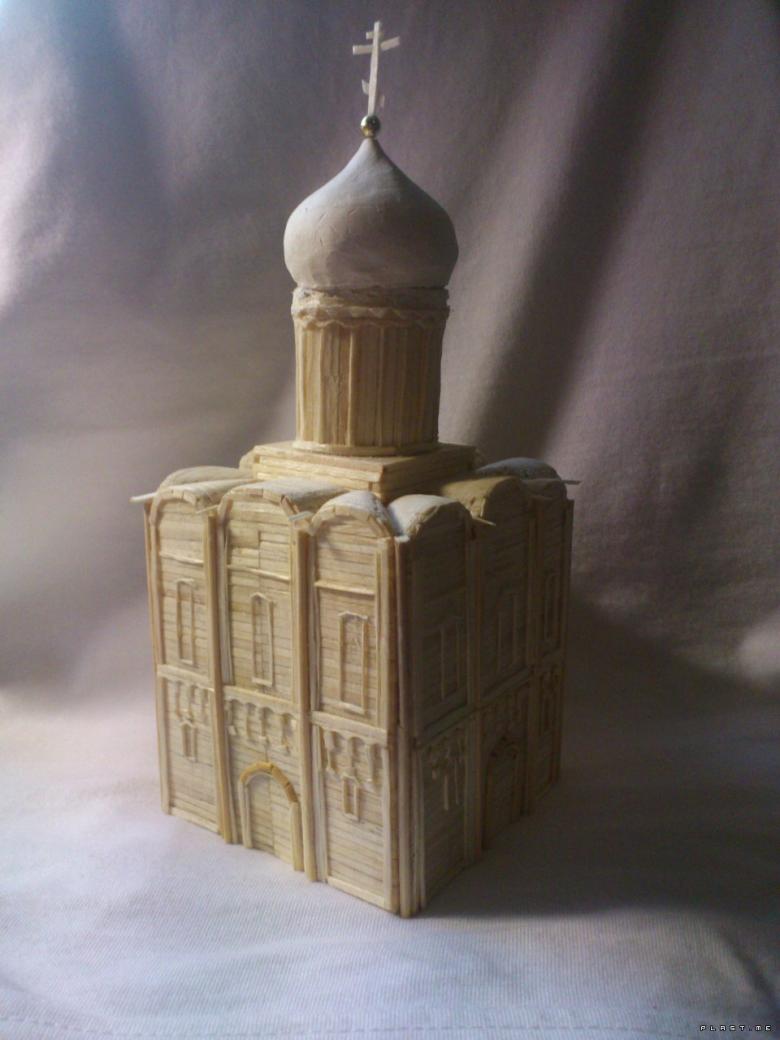
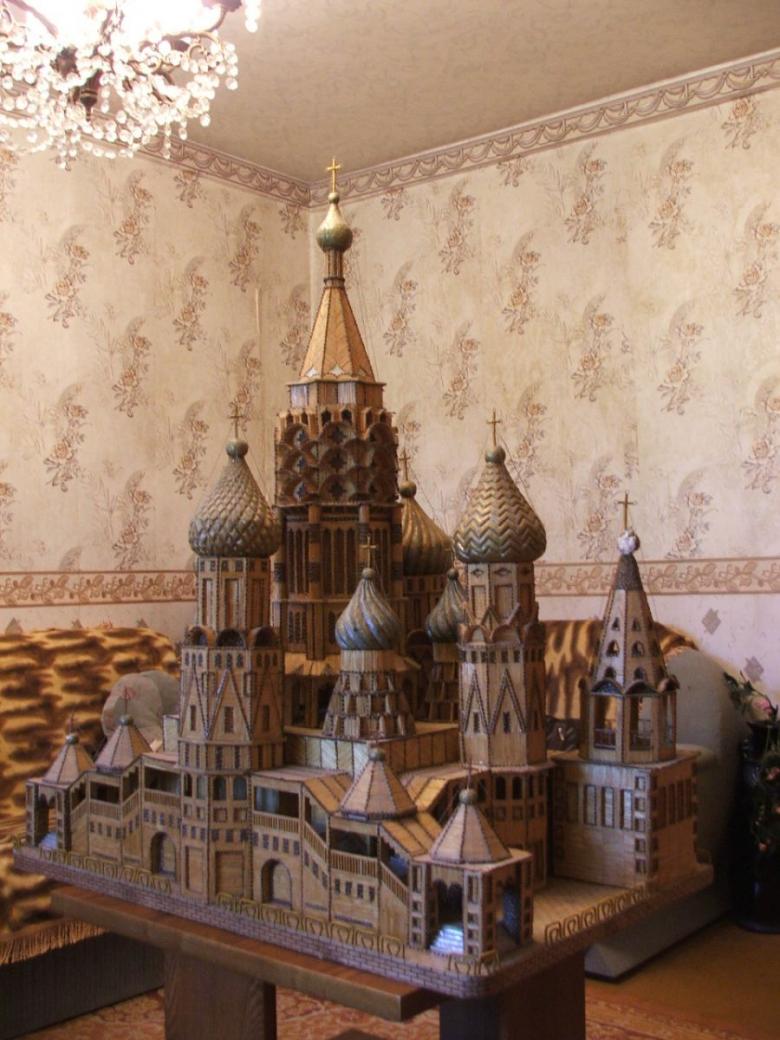
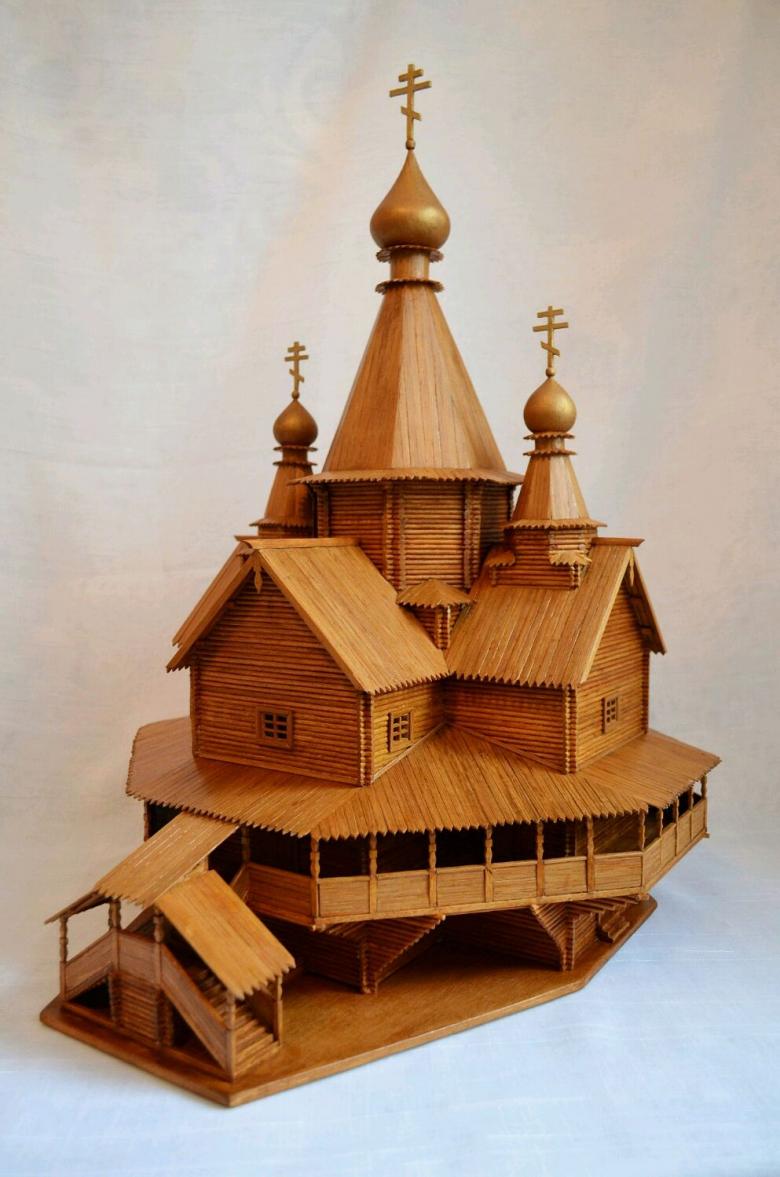
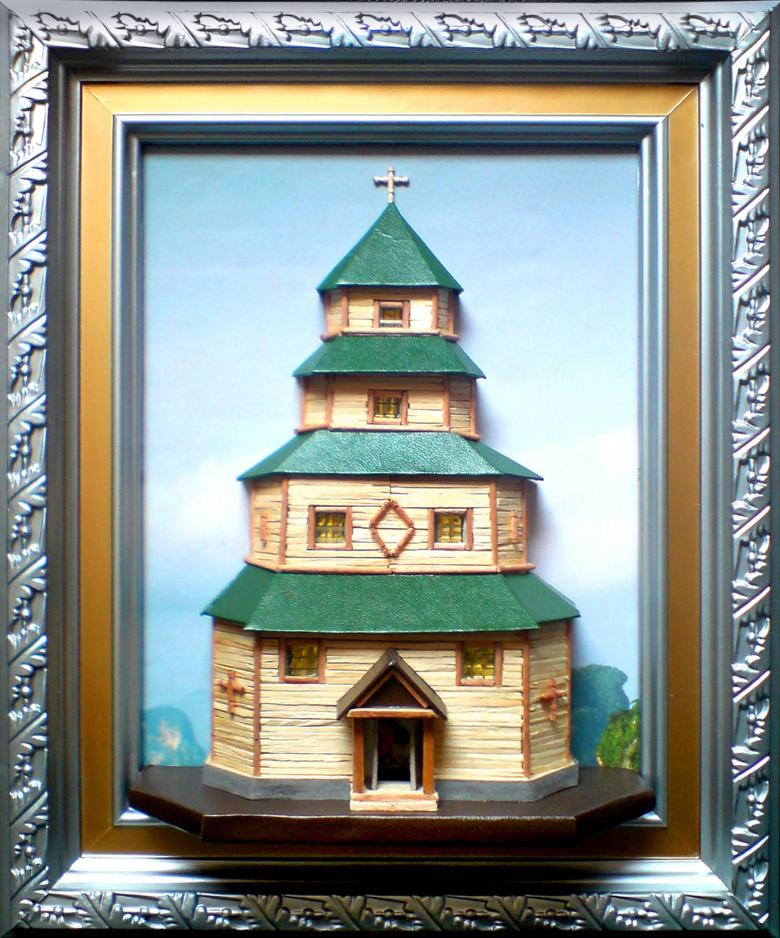
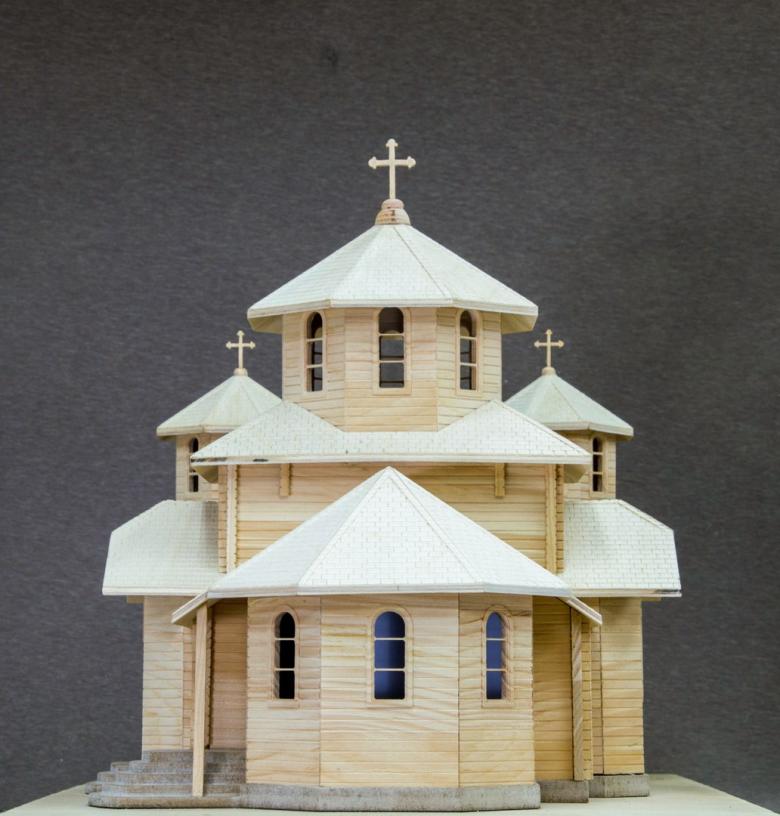
Wooden church
This option is not suitable for young children and novice craftsmen. Even experienced craftsmen do not get it right the first time. But when the handicraft is completed safely, it turns out to be a real work of art.
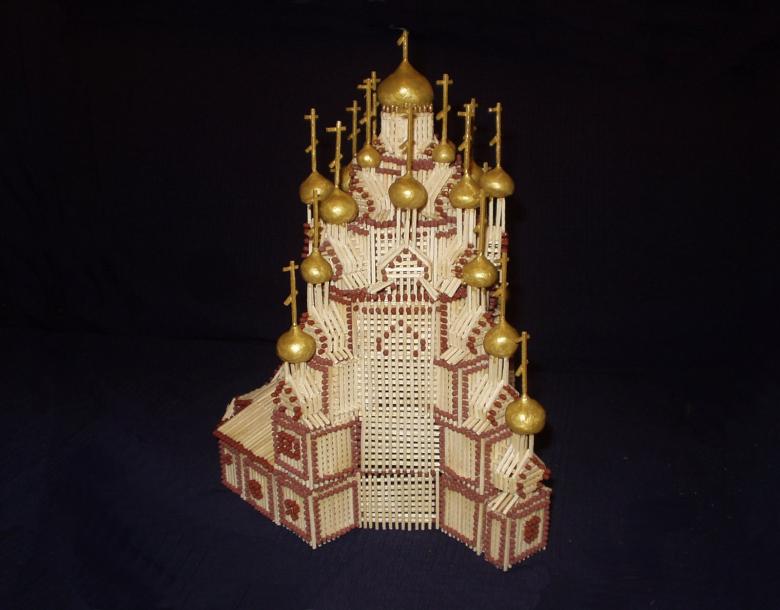
Preparing
We will not need a lot of materials:
- wooden skewers. The desired diameter is 3 mm, the material is only birch, never bamboo;
- ice cream sticks or the ones used to stir coffee;
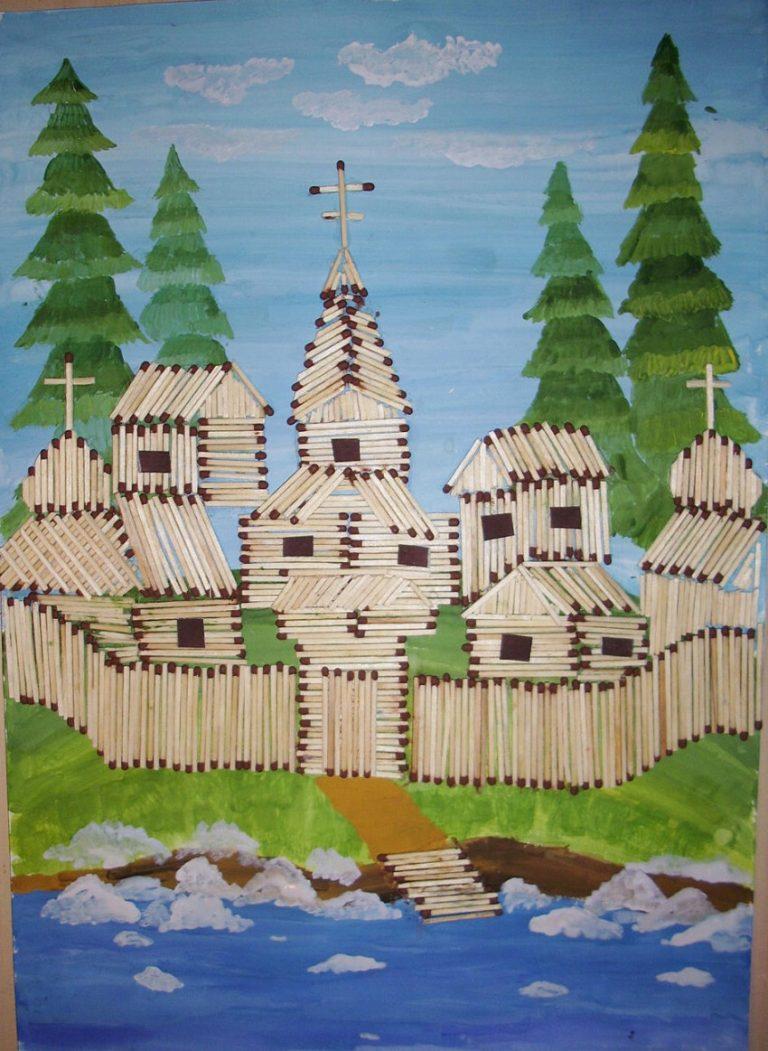
- matches;
- toothpicks;
- bamboo tissues. Take the ones with the flattest sticks;
- moss.
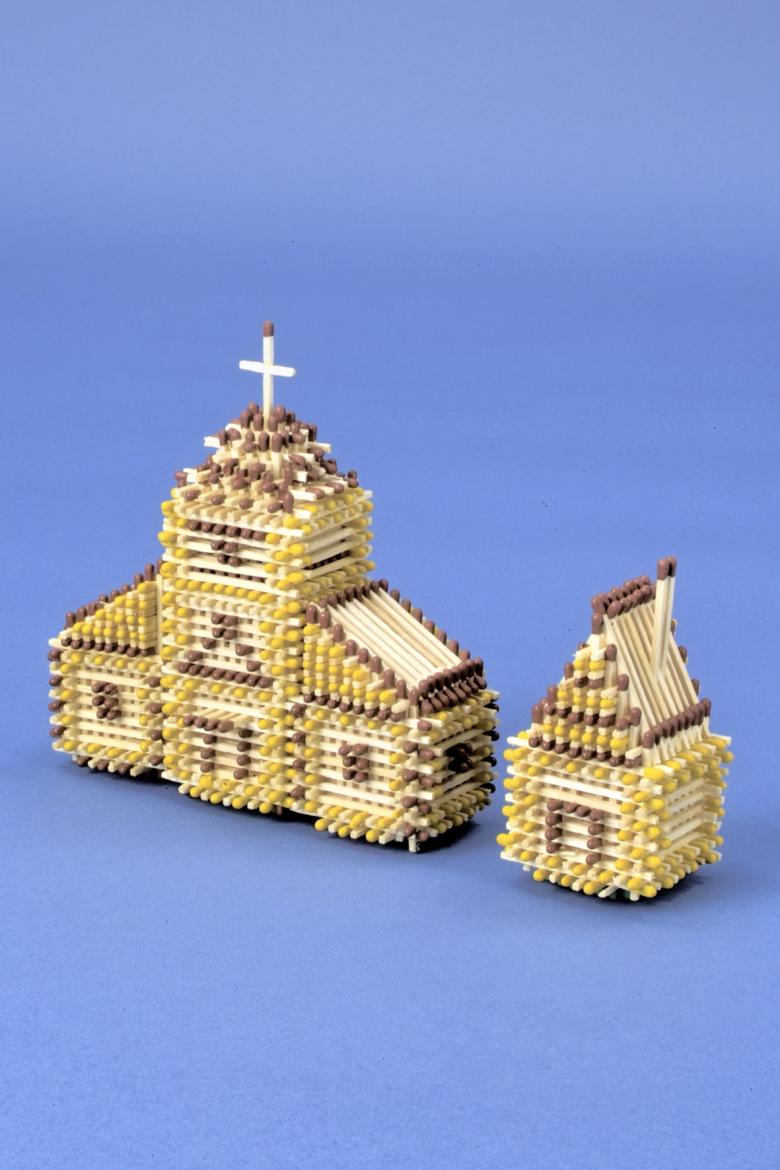
When making a church out of wood, like in no other case, good tools are important. The tools you will need are:
- A sharp knife (a construction knife, with the ability to replace the blades);
- modified PVA glue;
- nail file.
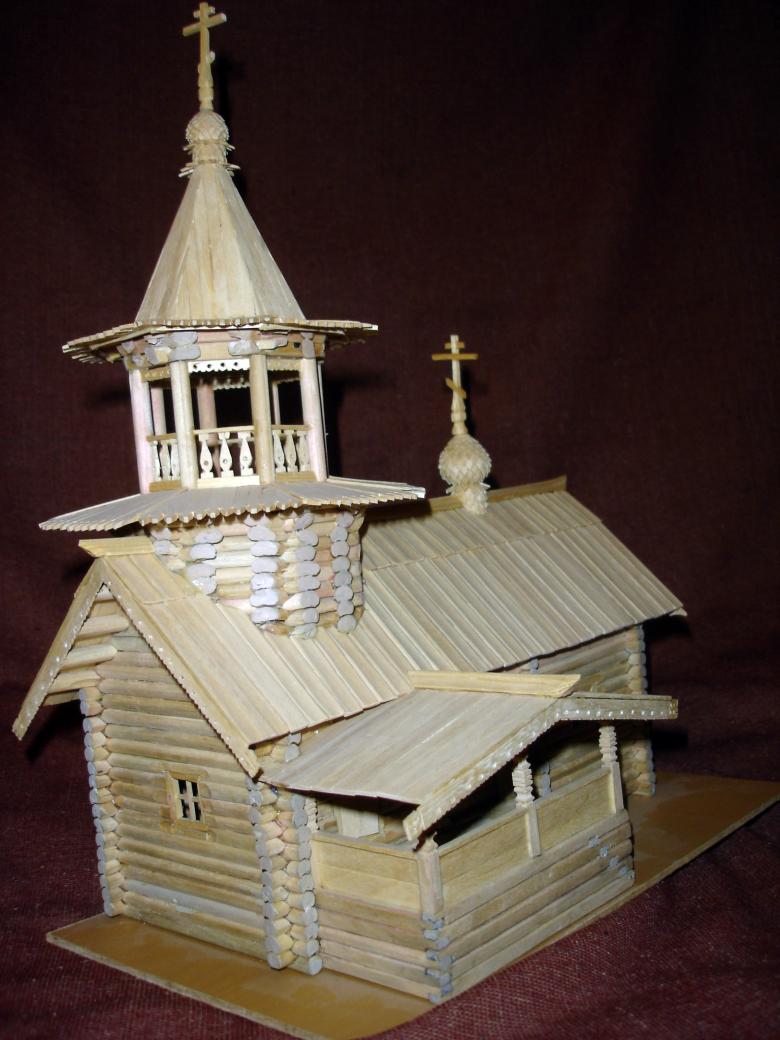
In addition, you will need a photo of the source, preferably more than one and from different angles. On it you will calculate in advance the scale of the building in height, length and width.
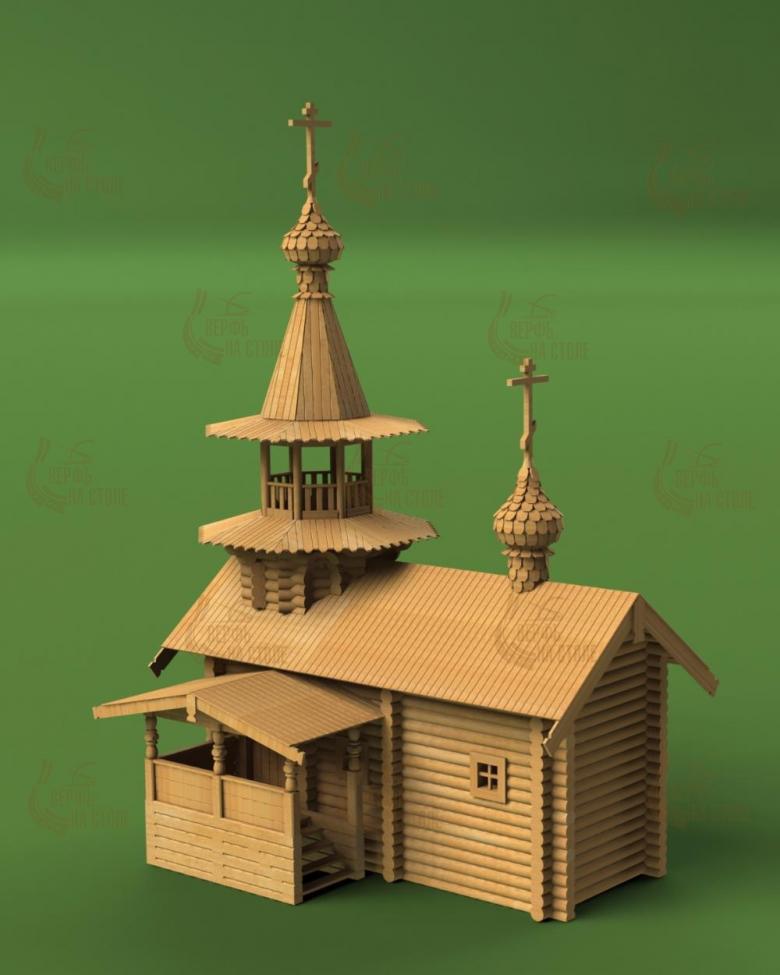
Step by step algorithm:
- Unpack the skewers and review them. You should immediately remove the crooked, ugly, etc. It will take about a third of the package to throw away. If you do buy bamboo skewers, prepare to throw out more than half.
- Unweave the bamboo skewers and clean the sticks of glue and thread residue.
- In half of the "logs" are made notches at a distance of about a centimeter from each edge. They are placed "well", so that the notch is at the edge of the perpendicular "log".
- Between the first and second log, lay the floor of the elements of the former bamboo napkin.
- Lay out the walls all the way to the top, gluing each layer. Work out the irregularities with an emery board.
- Form the top: place the planks from the napkin "house". Put logs between them, glue everything together.
- Secure planks on the roof.
- It is better to have a dome ready. You can make it yourself only on a lathe.
- Frame the windows around the edges with the same elements of napkins, matches or toothpicks, three in a row.
- Along the crest of the roof, lay two long narrow strips of wood to cover the joint.
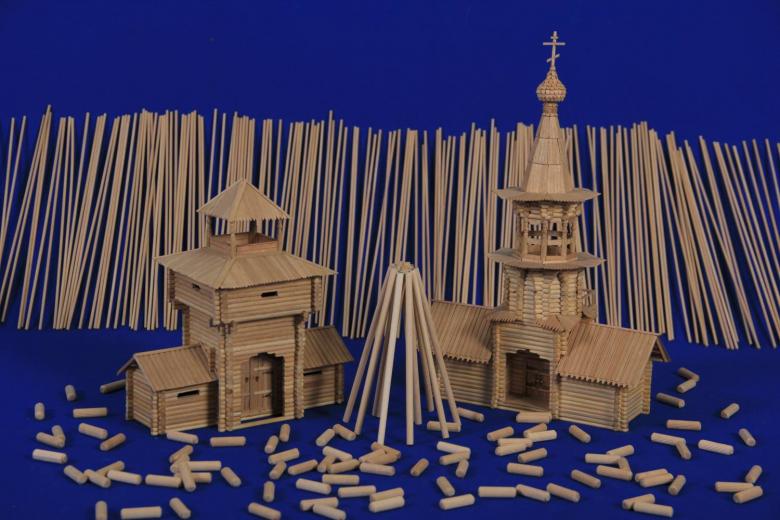
Your church is now complete. Making it is an extremely time consuming process that doesn't always go smoothly. Many things don't work right the first time and have to be redone. So, before you start such a craft, have patience.
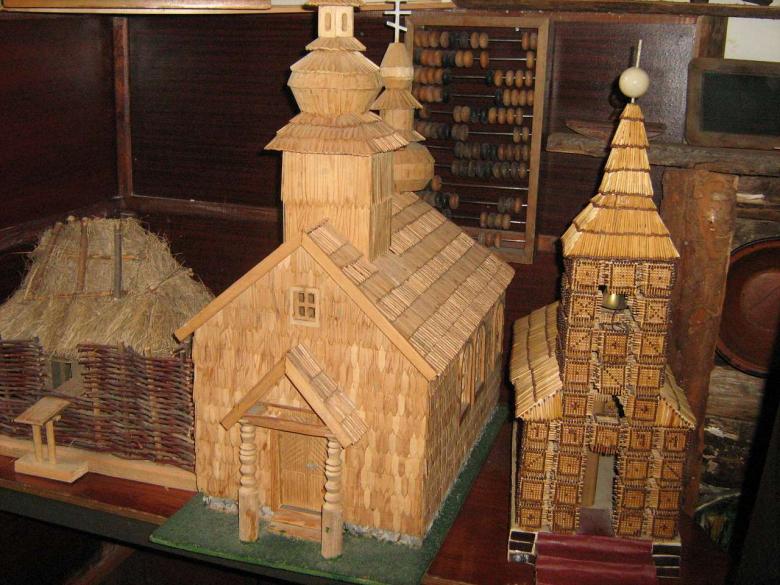
If you want, you could paint the skewers with stain before starting the craft - it is more beautiful and durable.
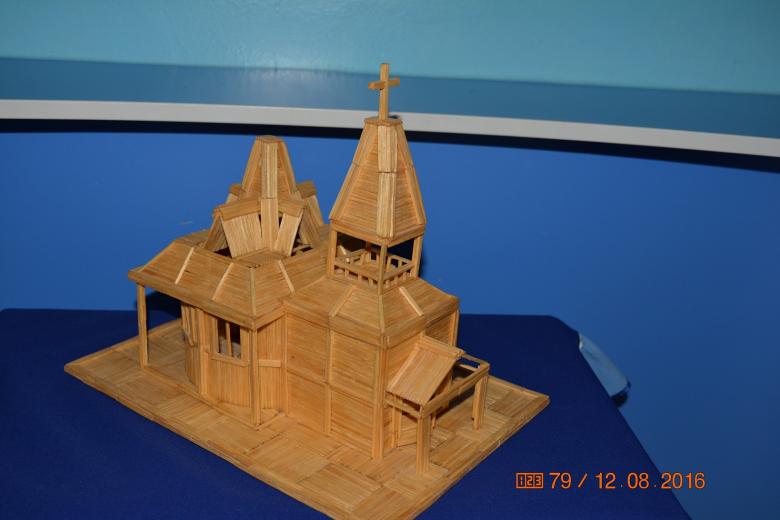
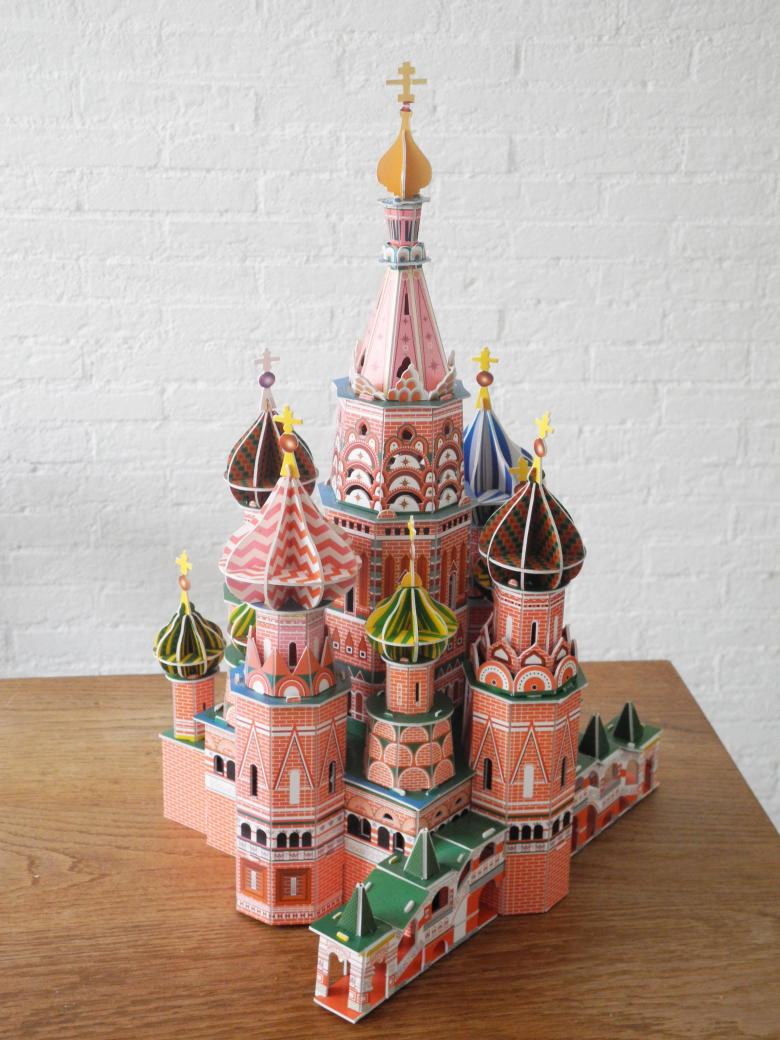
All churches with their own hands is better to do, based on photos of layouts on the Internet. So before you start, be sure to see what result you should get, and strive for it.


