How to make a handmade cat craft - a selection of interesting master classes and photo ideas
Small and large, fluffy and bald - cats are any children and adults. Suggest that the child make a cat with his own hands, and he will be happy to do the craft. Work on such a craft for even small children.
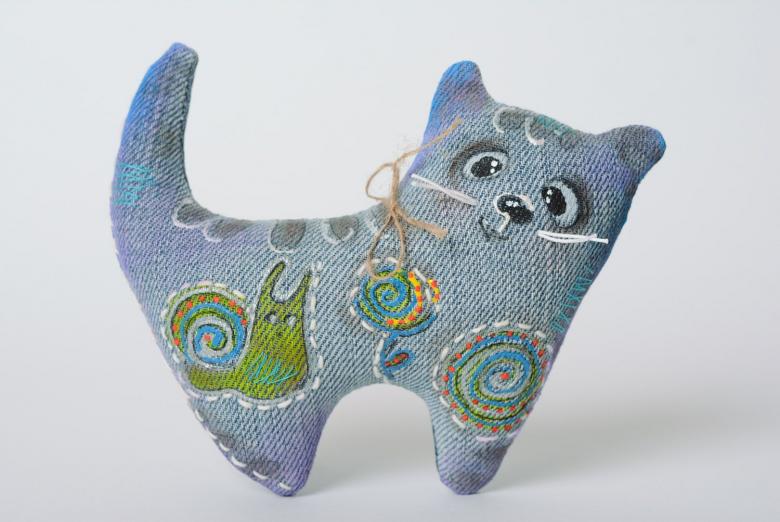
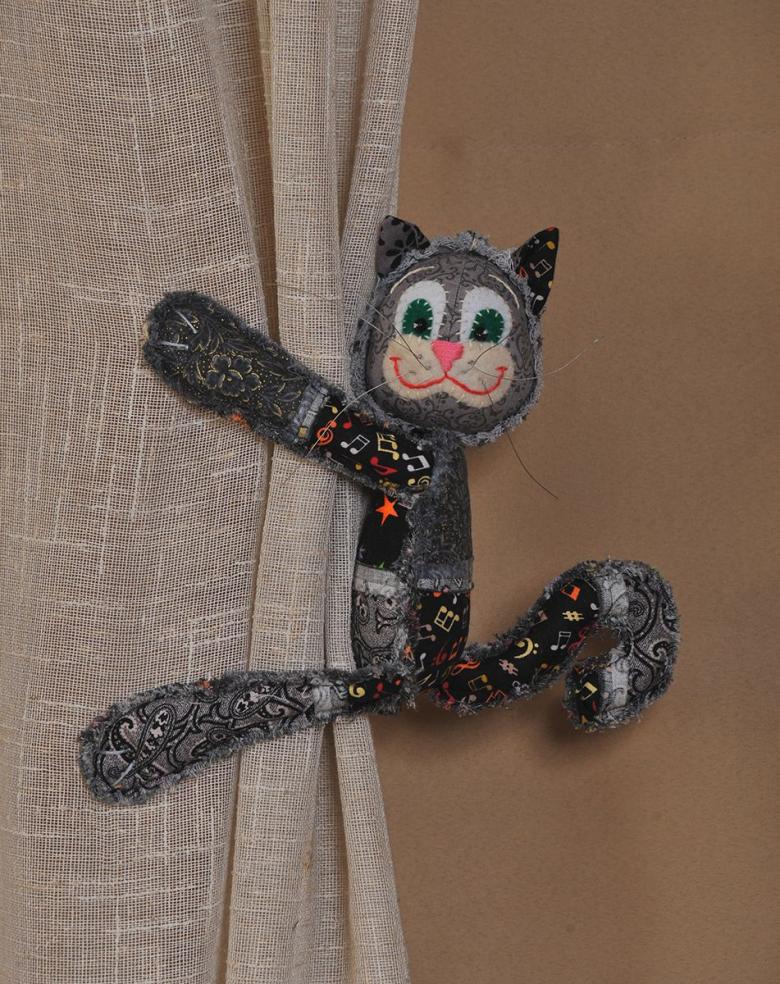
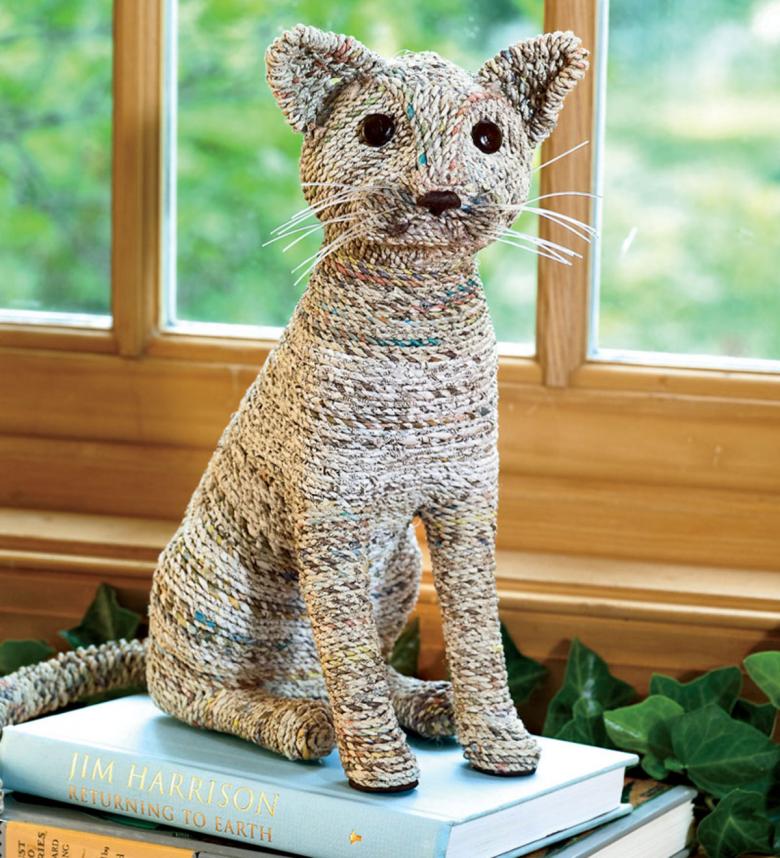
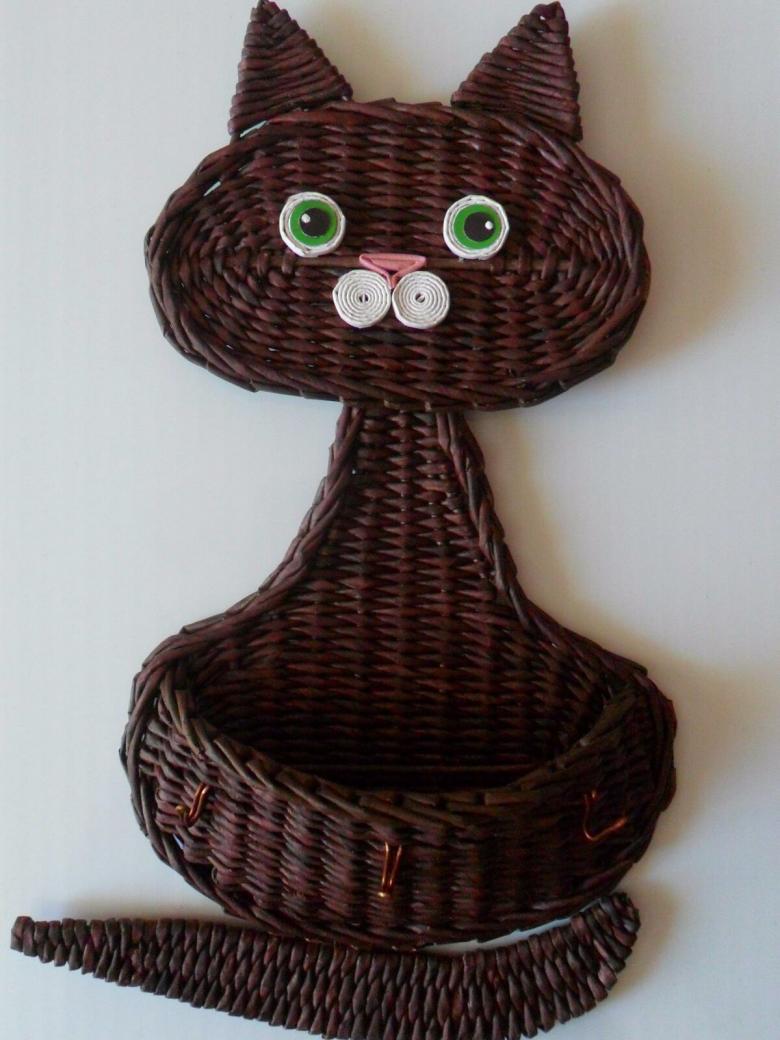
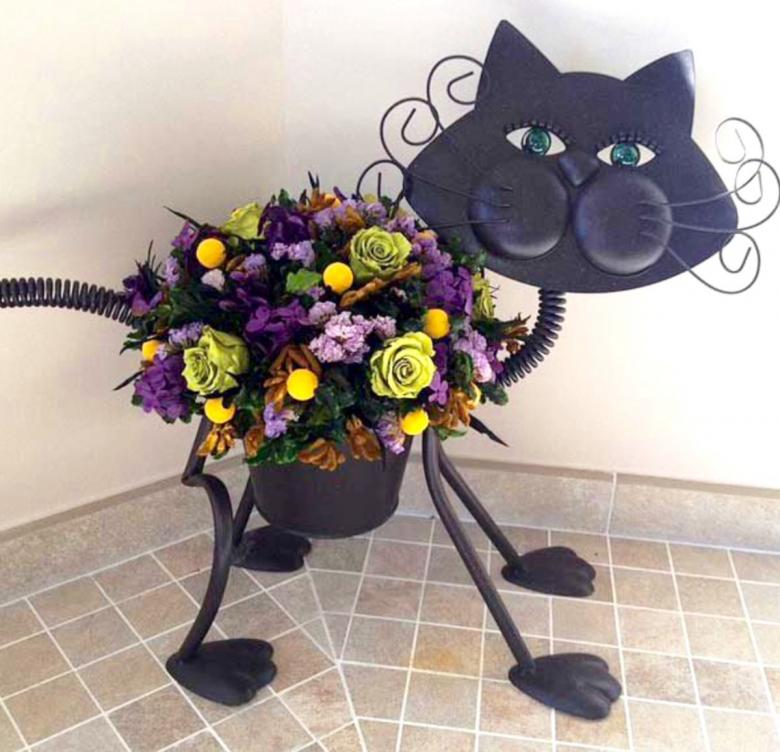
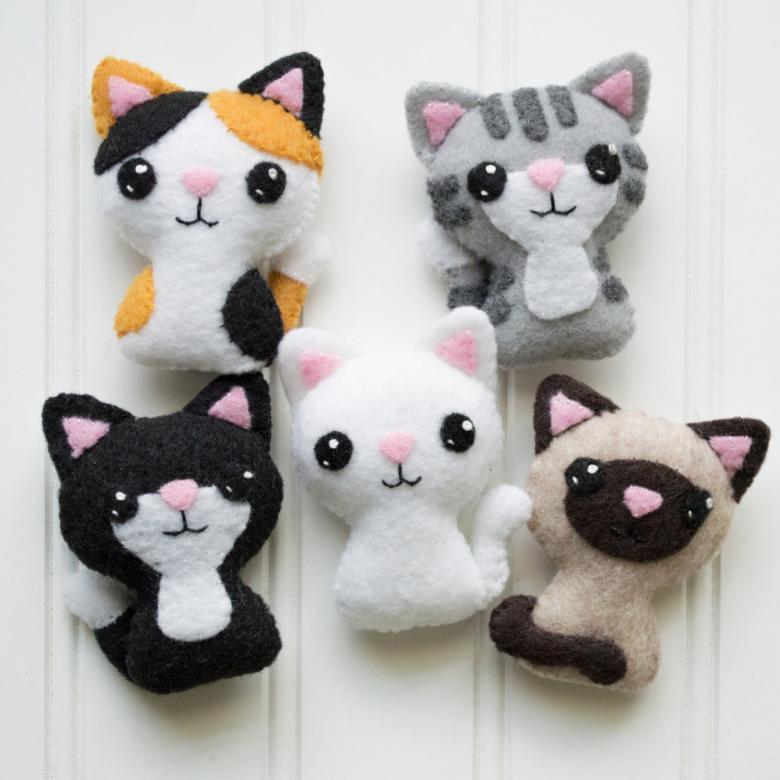
Cats are knit, sewn, modeled and drawn. Original handicrafts are made from a throw-away material or children's socks. You can make a huge figure of a cat out of concrete mortar, and it will decorate the garden. Or you can make a miniature kitten-mykish, which will be a pleasure to hold and crumple in your hands.
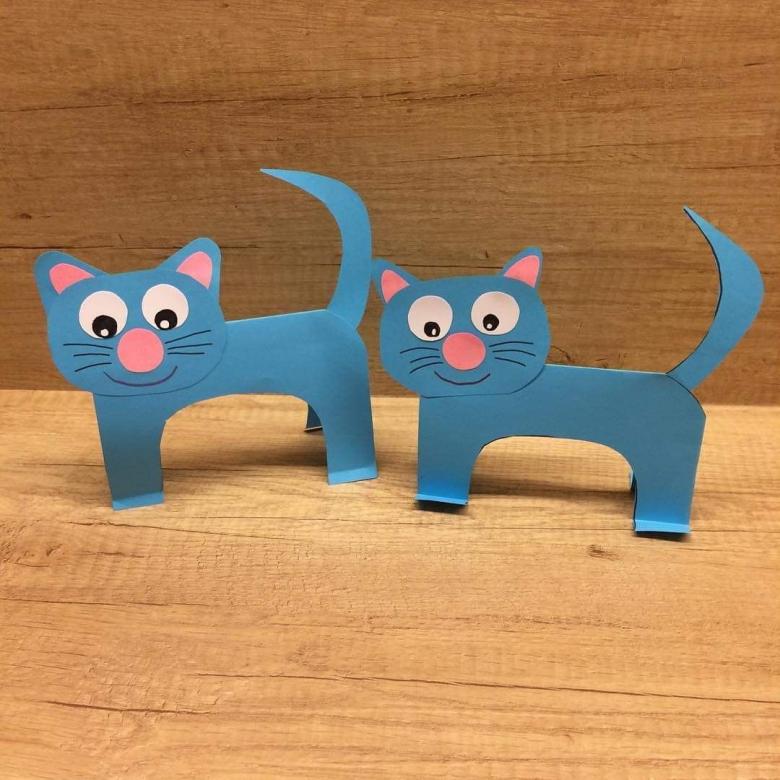
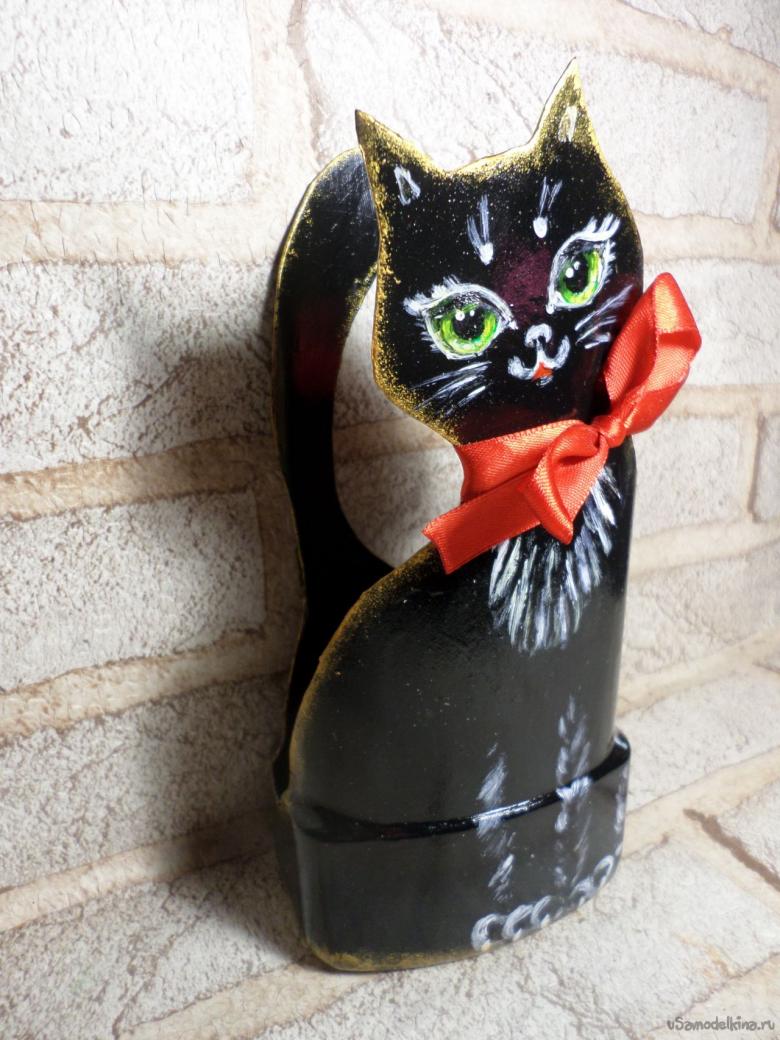
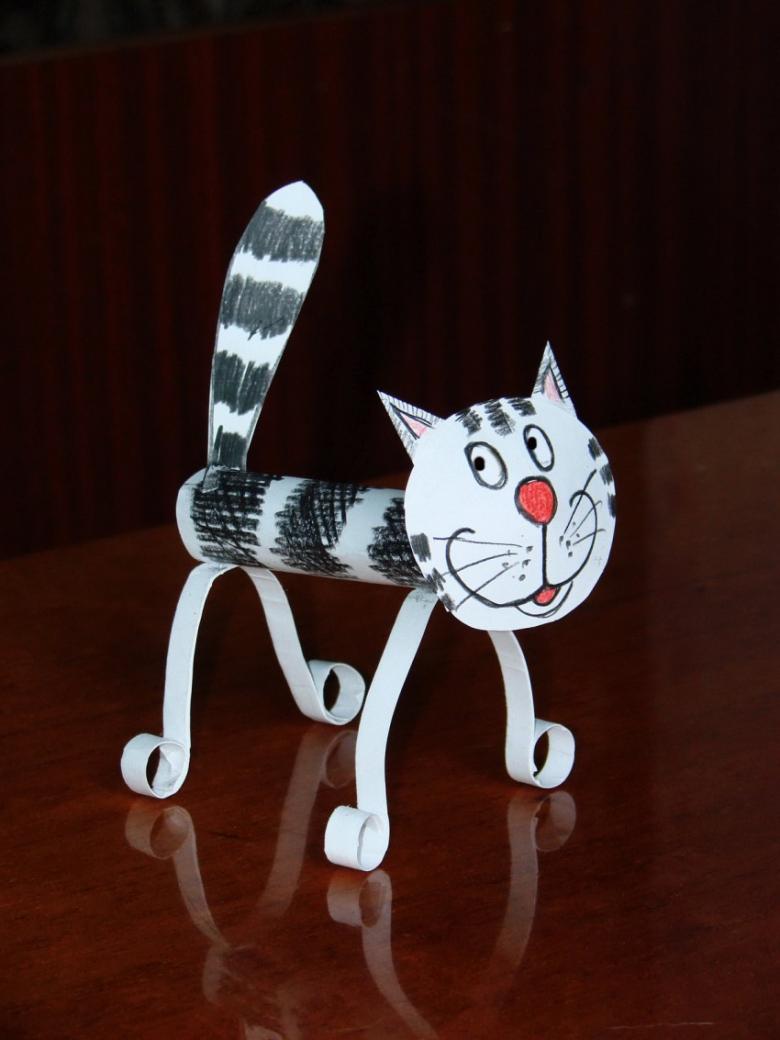
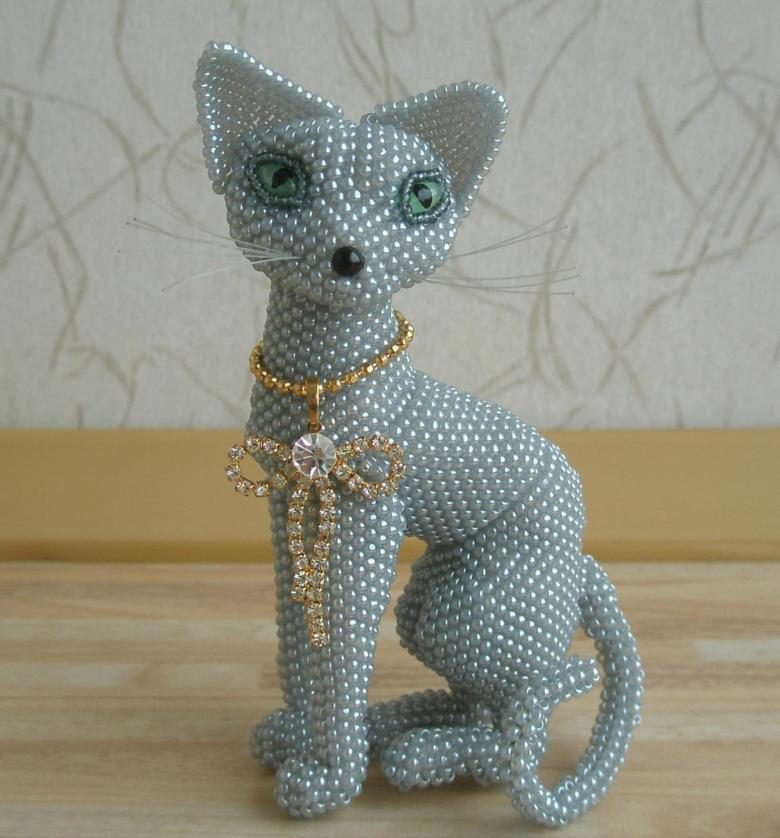
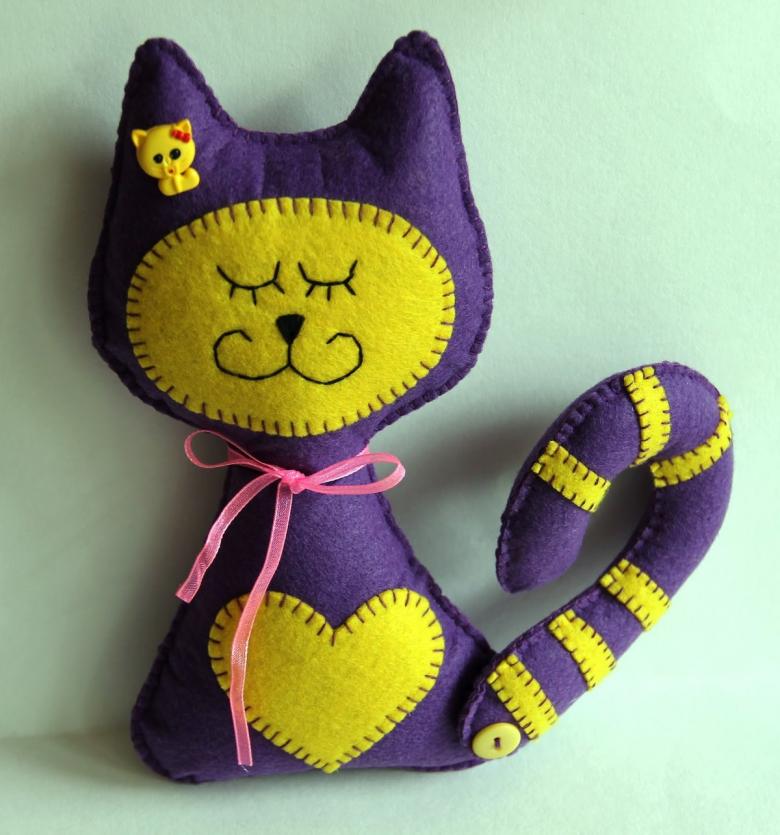
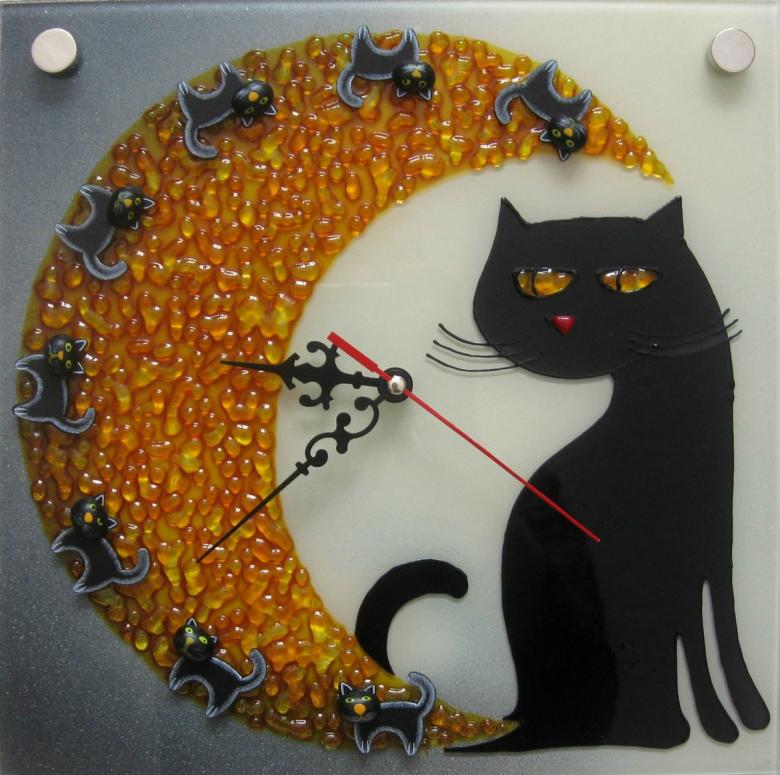
A craft in the form of a cat can decorate the kitchen or children's room, become a favorite toy and a good gift.
Soft squishy cats
Anti stress toys are very popular. With them you can not only play, but also decorate phone cases or notepads. Making such a craft will bring pleasure to both adults and children.
- Need a mold for the figures of a cat. You can make it yourself.Take a piece of plasticine and form a thick cake. Then squeeze out the rounded head at the top with a stecker with a round end. Then squeeze out an oval tummy at the bottom. Tummy do a little wider and deeper, to make the kitty came out plump.
- Next squeeze out the triangular ears on his head, under draw the legs. We do from the head handles rounded shape. On the head extrude a muzzle with a lower lip and spout. Then with a toothpick to press out the eyes stripes.
- Take sunflower oil, pour it into a bowl. Add silicone sealant. Stir thoroughly. We work with gloves on. The better the silicone is mixed with the oil, the softer the toy will be after curing. Without oil, the silicone will remain stiff and hard.
- Fill the mold with the resulting mass and smooth the surface, so there are no gaps.
- To make a colored cat, acrylic paint is added to the silicone, in the desired color, and mixed. We leave it to harden for 8-12 hours.
- Then we take out the kitty. It is easy to remove from the mold. Because of the oil, the figure is very greasy, so you need to bake it in talcum powder to dry it. Instead of talcum powder, you can use starch.
- With scissors, cut off all unnecessary edges, to get an even and beautiful kitty.
- We paint the figure. Silicone is painted only with silicone. We mix acrylic paint with sealant. We need black, white and pink. We paint ears, eyes, muzzle. You can paint a little spot on the tummy or tail. We leave the silicone to harden for a couple of hours.
The anti-stress squishy toy is ready!
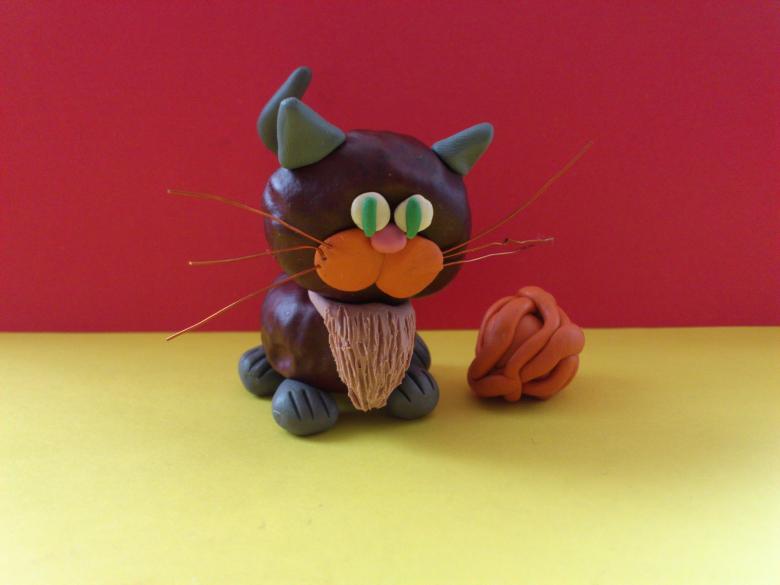
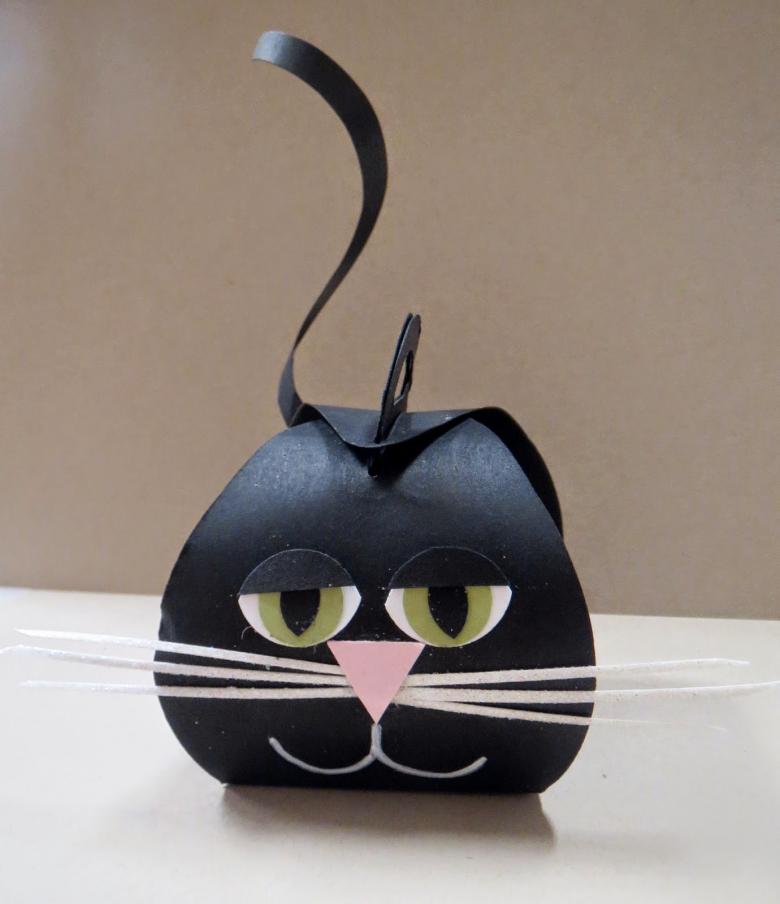
Black cat paper craft
Need
- a sheet of black thin cardboard;
- paper plate;
- glue;
- brush;
- scissors.
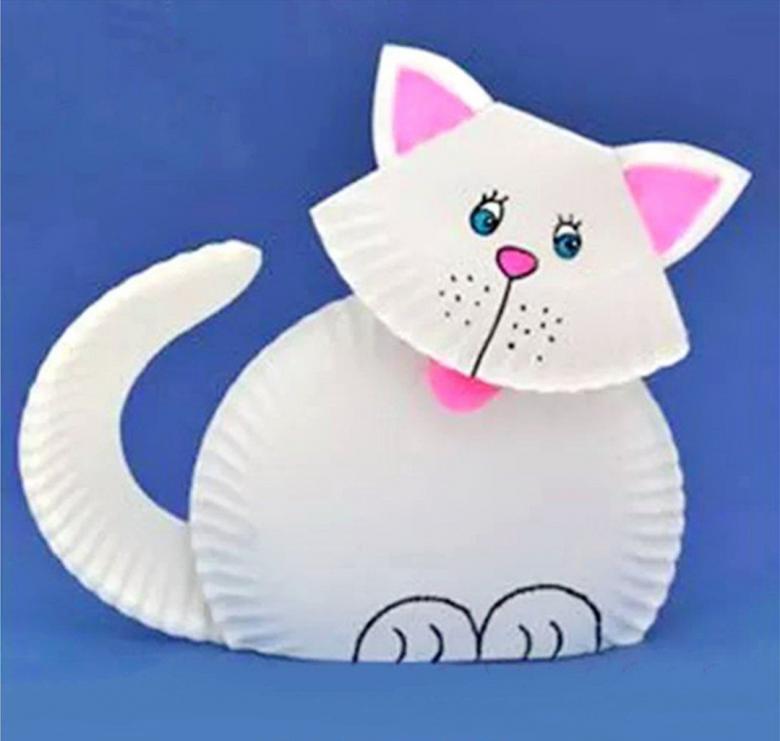
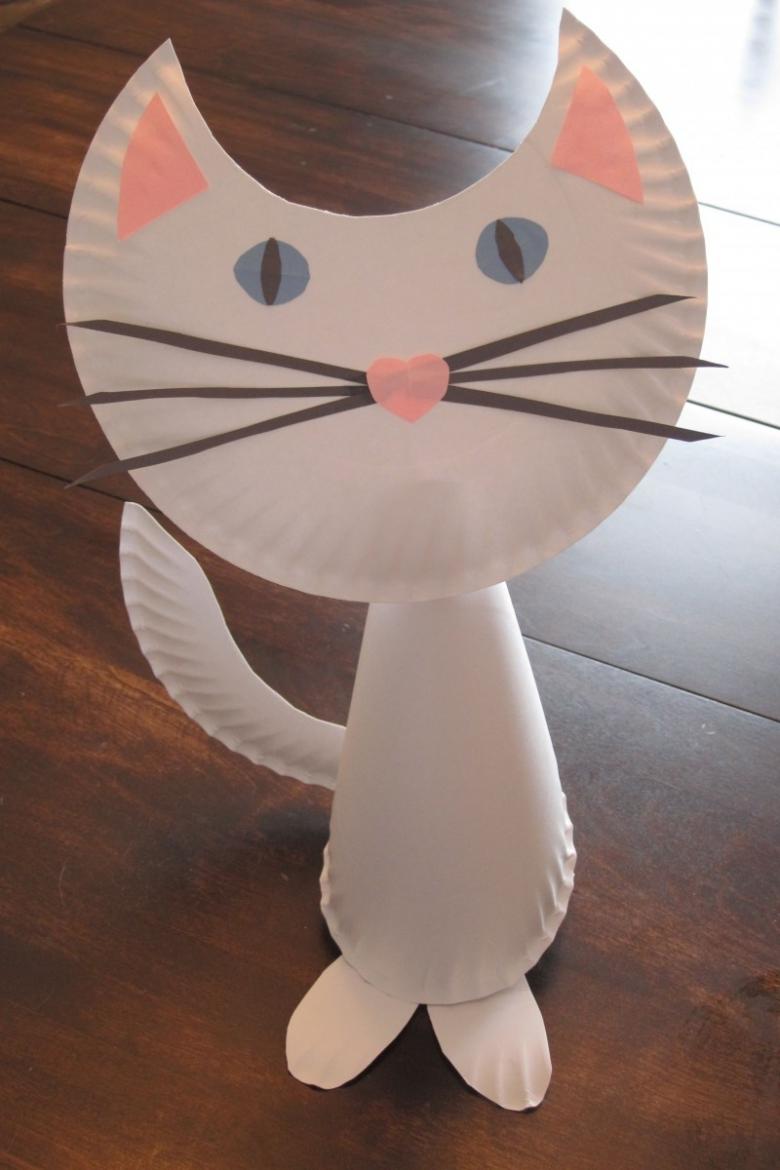
From the plate, cut out a segment so that the paws of the cat and the curved back appear. The part is painted with black paint.
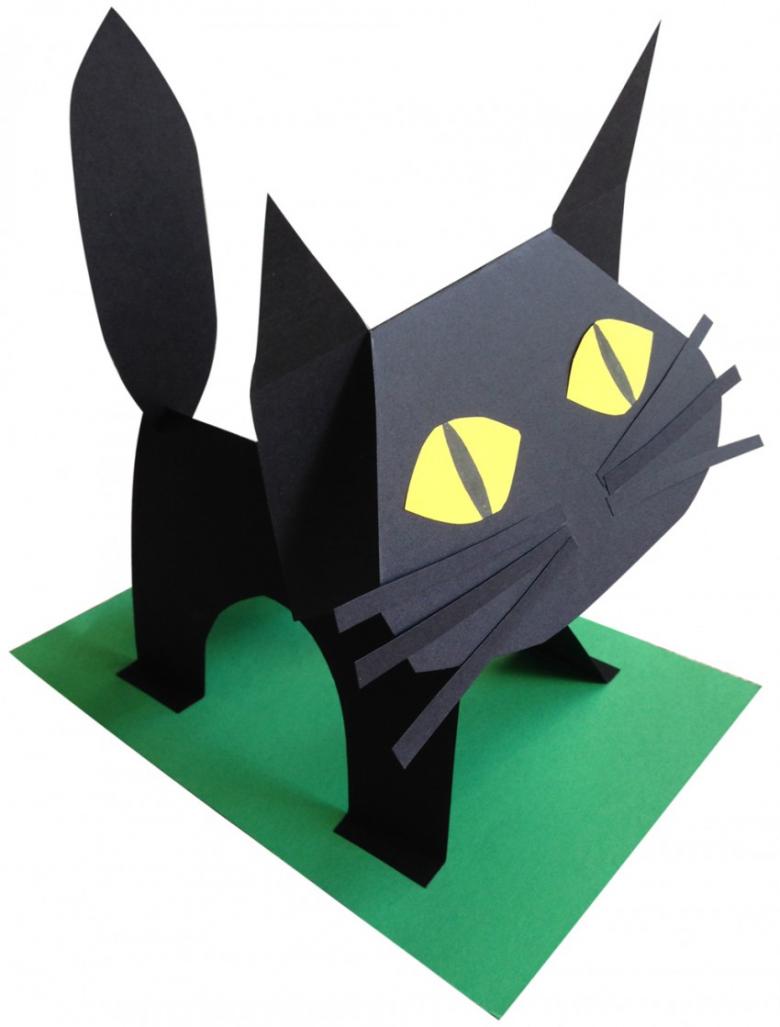
From cardboard cut out a round head, ears and tail of the cat. Glue the eyes to the head. They can be drawn and cut out or buy ready-made. Then glue ears and tail. Place glue choose as desired. You can make a frightened cat if the tail is fixed vertically, and between the ears leave a small space.

Make a mustache out of paper strips. Glue it to the head and top attach a small round nose of paper. Instead of paper you can use a bead or a soft pink pompom.
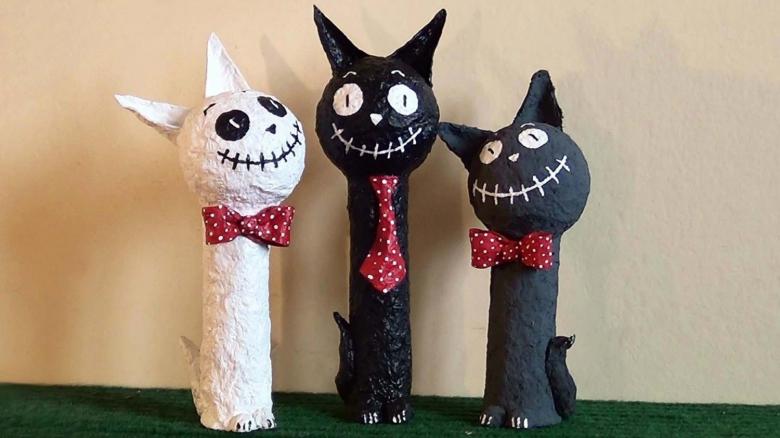
Glue the head to the torso. On the back side of the body attach loop of thread, thin wire or braid. Now you can hang it on the wall.
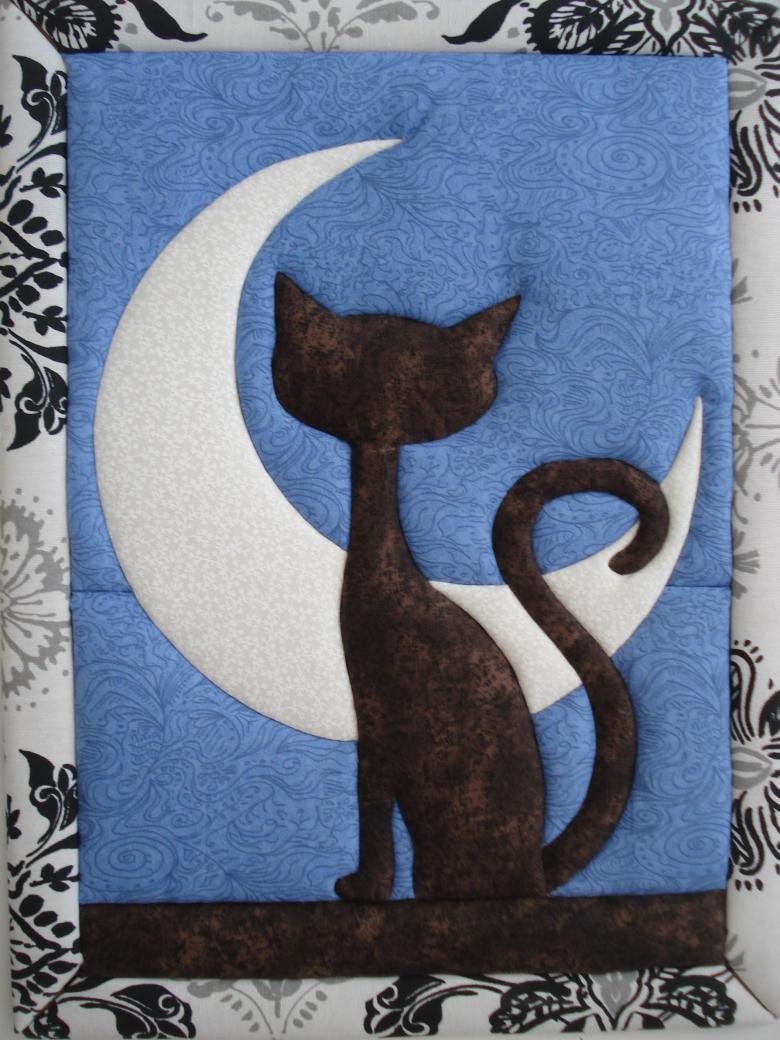
Decorative cat
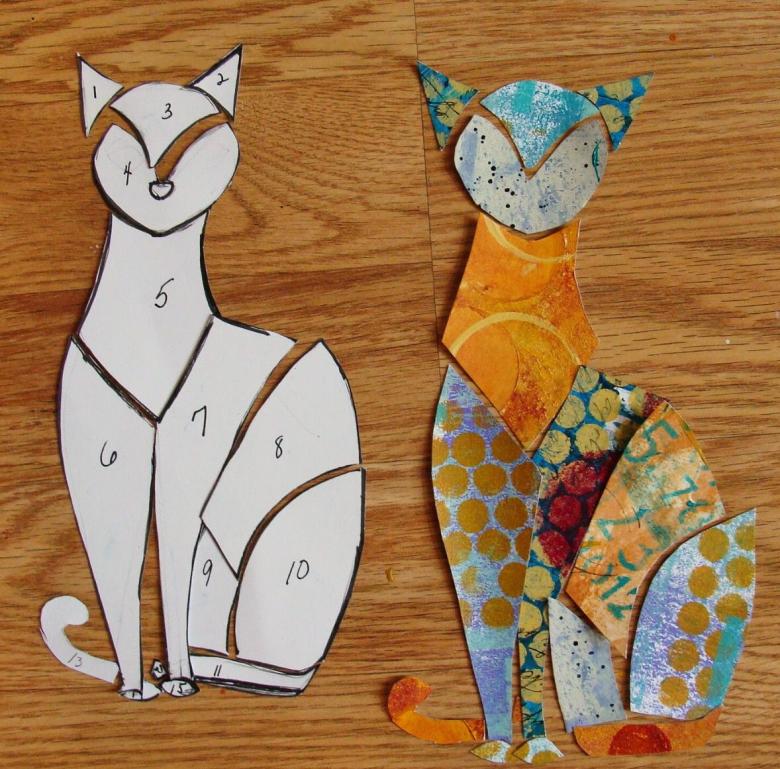
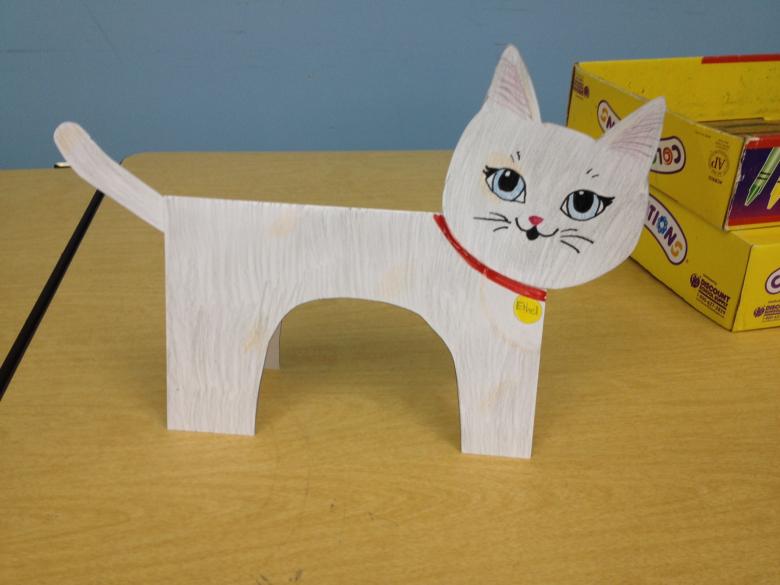
A simple handicraft, which you can do even with the baby. To make it, you need a template of a cat figure. The most suitable figures are those of a sitting or lying cat. The main thing is that there should be a lot of space between the contours. The template can be found on the Internet or draw yourself.
- First, we trace the template on paper. We cut it out. We take thick cardboard, the usual boxes that are used for moving will do. It is necessary to cut 2 figures from cardboard according to the template.
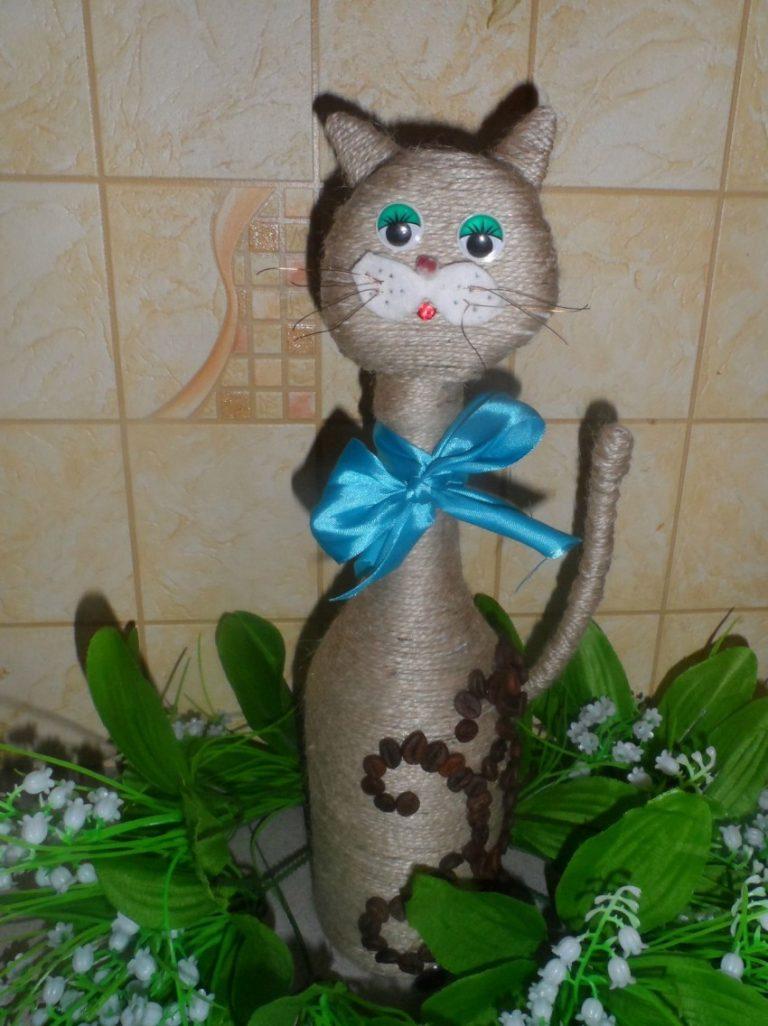
- Determine where the front side will be, dye the cardboard blanks in the color of the intended decor. For decoration, you can use beans, white or colored beans, small pasta, beads, buttons. If you glue coffee beans, you get eco-friendly, natural air freshener with a pleasant aroma.
- Using PVA glue, lay the decorative elements on all the free space. The elements are laid out in any order. You can make up any patterns: spirals, lines, triangles.
- Repeat steps with the second template. Then glue the two blanks facing outward.
- The joint is closed with jute or linen twine in a few rows. It is better to glue it with a glue gun.
- For the stand take 2 rectangles of cardboard, painted to match the color of the craft, glued together. The cuts close the same twine.
- Glue the finished figure to the stand. For stability, carefully determine the attachment point.
- Additionally decorate the cat bow of ribbon or braid, which is tied on the neck.
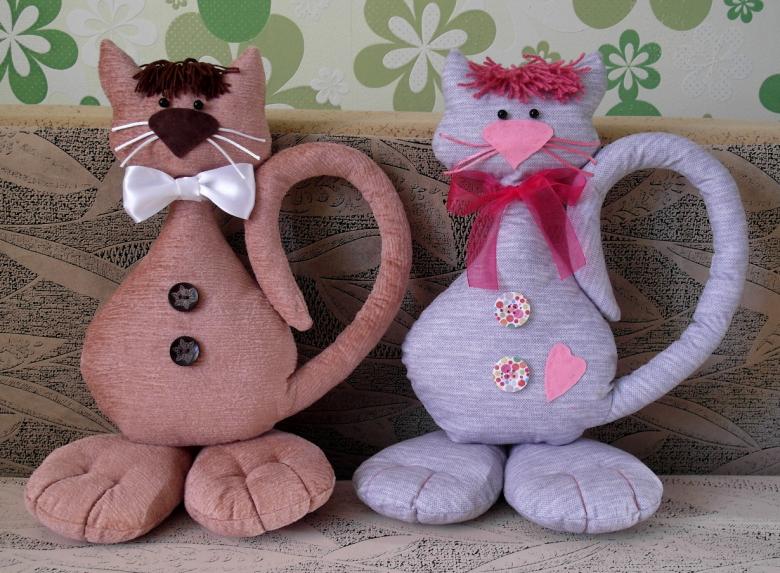
Bookmark origami cat step by step
In order to make an unusual bookmark, you will need a sheet of paper with the size of 21 by 10.5 cm for a large bookmark or a sheet of 18 by 9 cm for a small bookmark. You can use either colored or white paper.

It is better to use special origami paper. It is sold in office supply stores, but even with plain paper you can make an interesting craft.
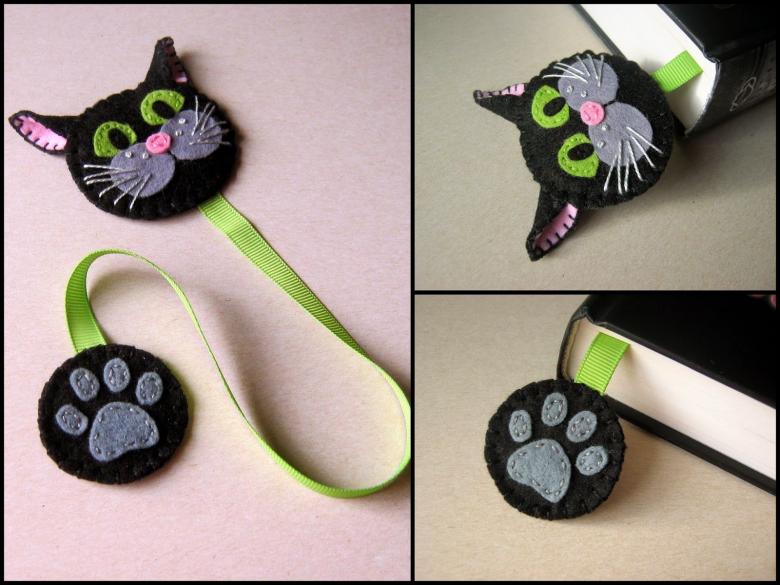
Take a sheet of paper with a wide side horizontally. If the paper is colored on one side, the white side should be in front of you.
- Fold the sheet in half.
- Unfold the sheet and fold the edges of the top and bottom to the center fold.
- Turn the sheet vertically, the narrow side - the top.
- Fold the top left and right corners to the center line.
- Bend the corner down. Should be a triangle.
- Unfold the sheet without straightening the folds.
- The upper part of the sheet with a triangular folds fold horizontally.
- Pull the corner up and fold a narrow strip. Repeat steps with the other side.
- Fold 1 peak to the right corner. Repeat on the other side.
- Fold the corners of the folds in the opposite direction.
- Open the side and wrap the corners inside.
- Fold the bottom corners. The beginning of the fold in the middle of a narrow strip, fix the fold with his finger. Fold to the reverse side.
- Open the side. We press our fingers on the corners and fold them inward. If you want, you can glue the loose sides.
Draw a cat's face, add pictures of food, toys or ball. Followed by paws. Done!
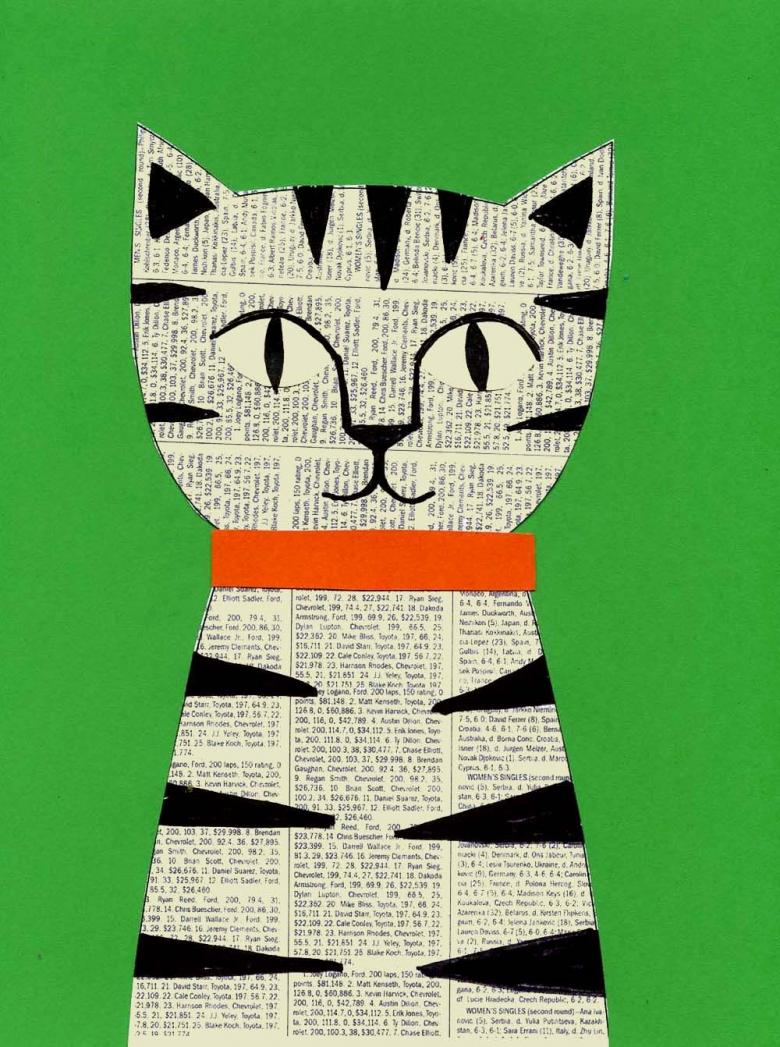
Fluffy kitty
Materials required: colored paper, white cardboard, PVA glue and ordinary absorbent cotton.
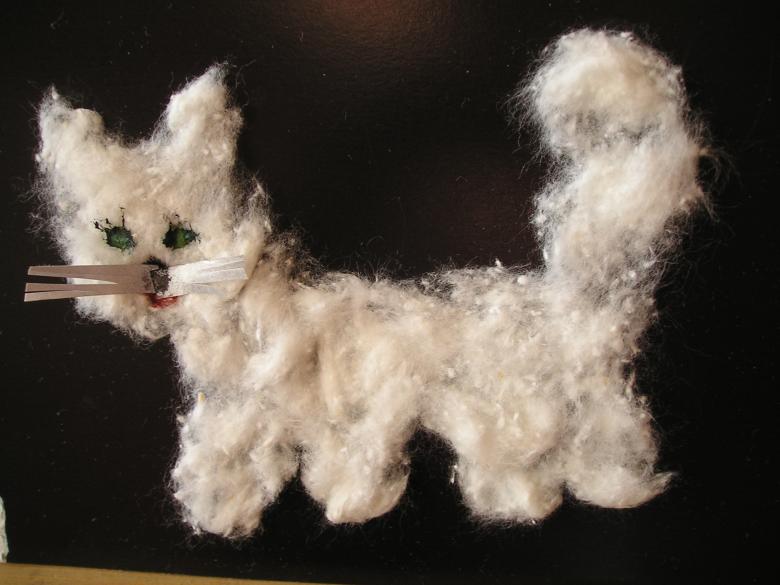
On the colored sheet draw the outlines of the kitty. You can print it out on a printer or draw it by hand. It is not necessary to draw a classic cat, your craft can look like a cartoon character or a children's book. Cut out the outline and glue the figure on a white sheet of cardboard.
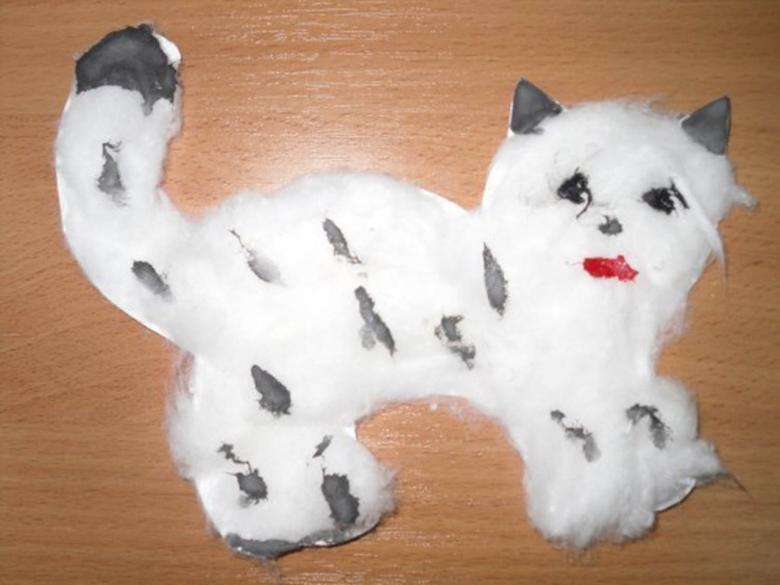
Now we will make a fluffy coat. Smear the silhouette of the cat with glue, leaving 1 cm from the edge. Tear off pieces of cotton and glue, creating volume. At the end, decorate the muzzle: glue the eyes and the nose.
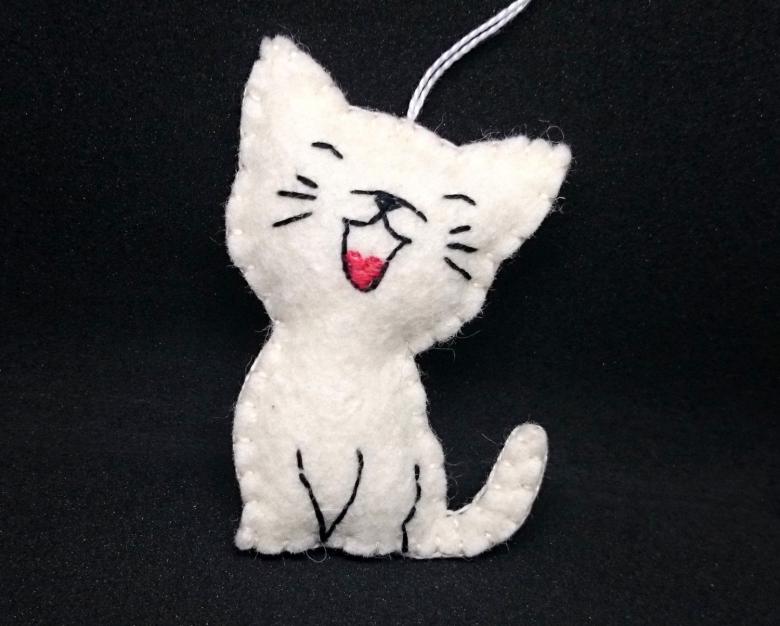
To make a beautiful cat handicraft, you do not need expensive materials or special skills. Time spent making it will not be lost in vain and give a lot of pleasure.

