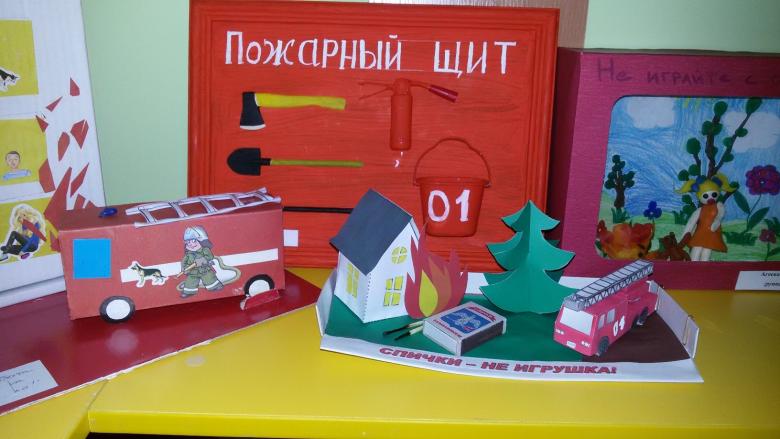
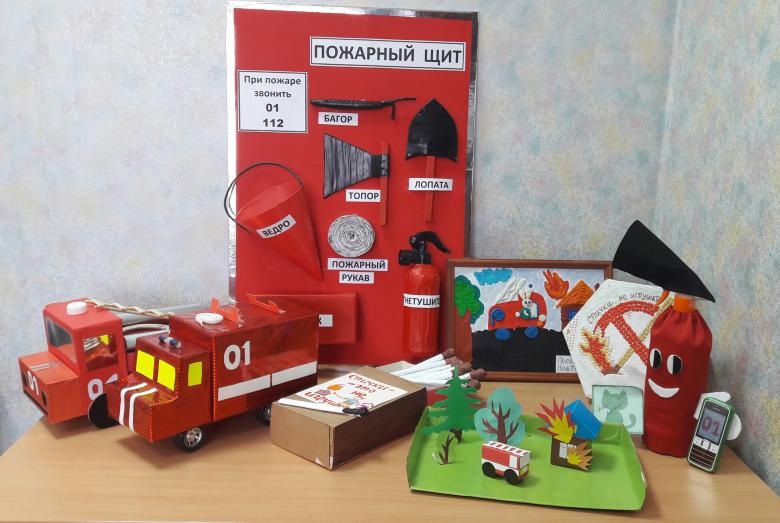
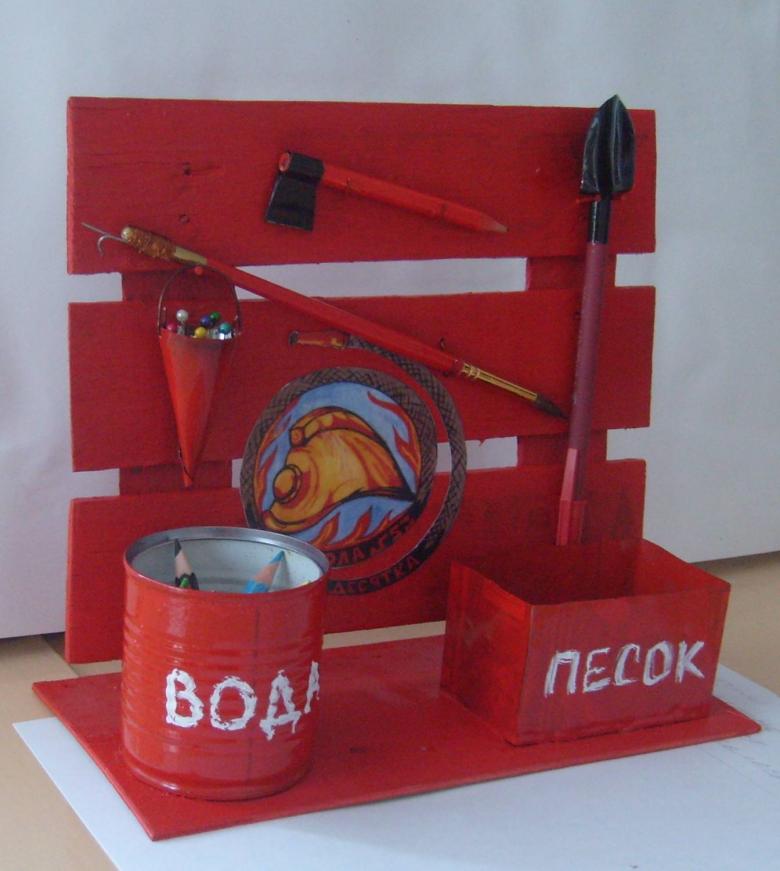
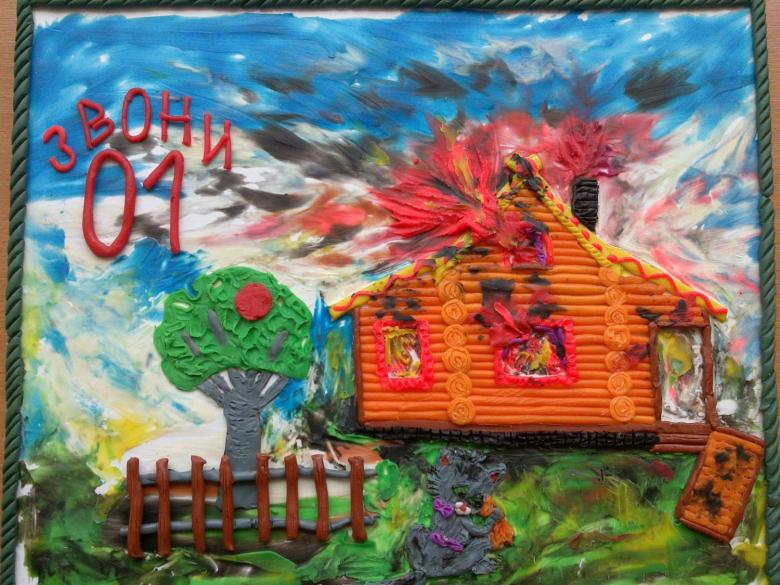
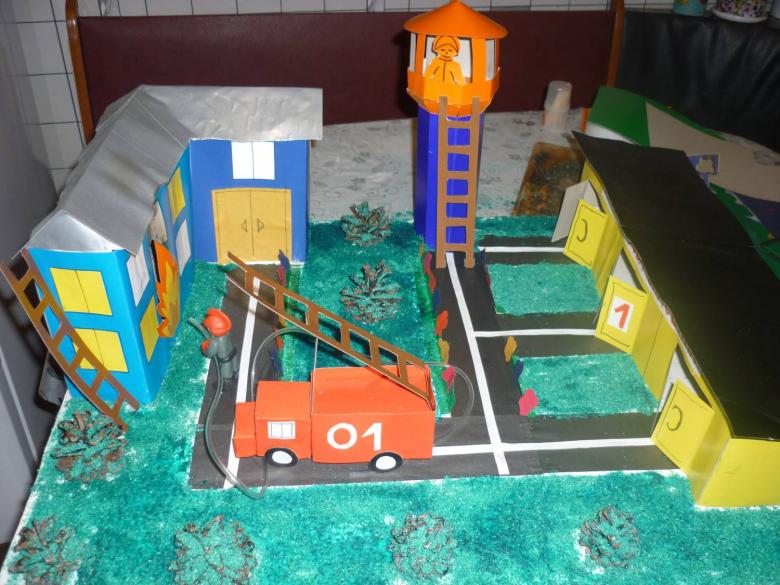
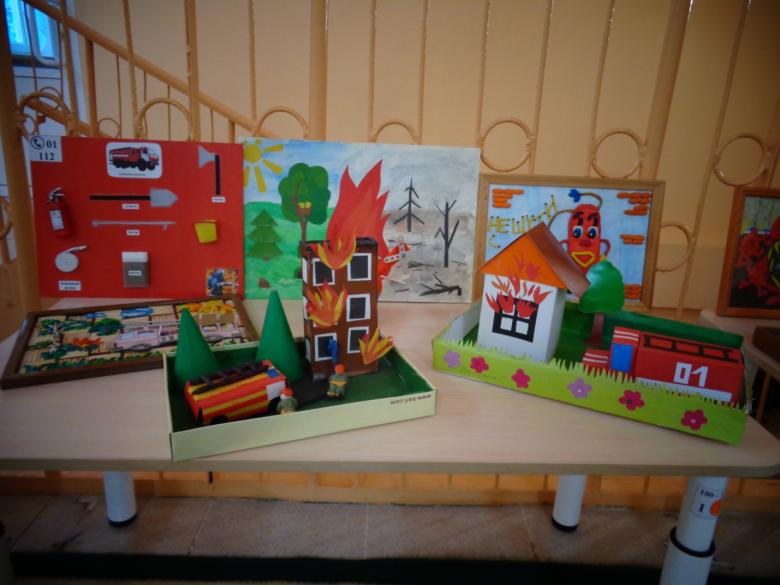
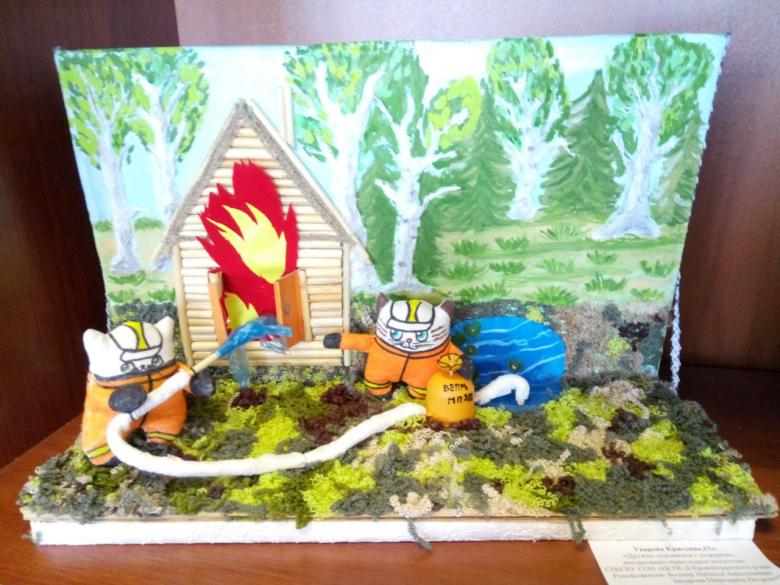
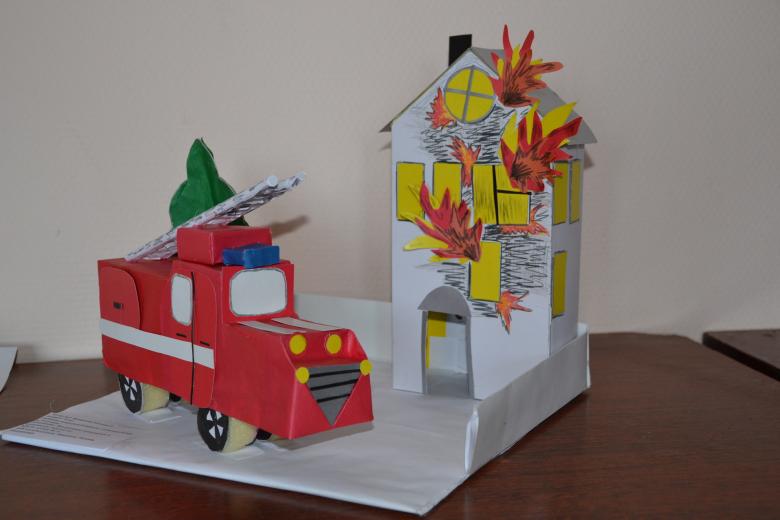
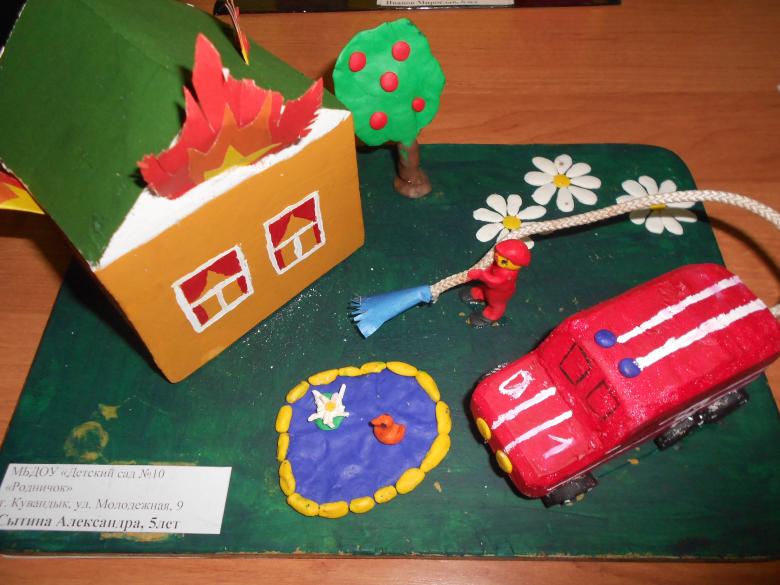
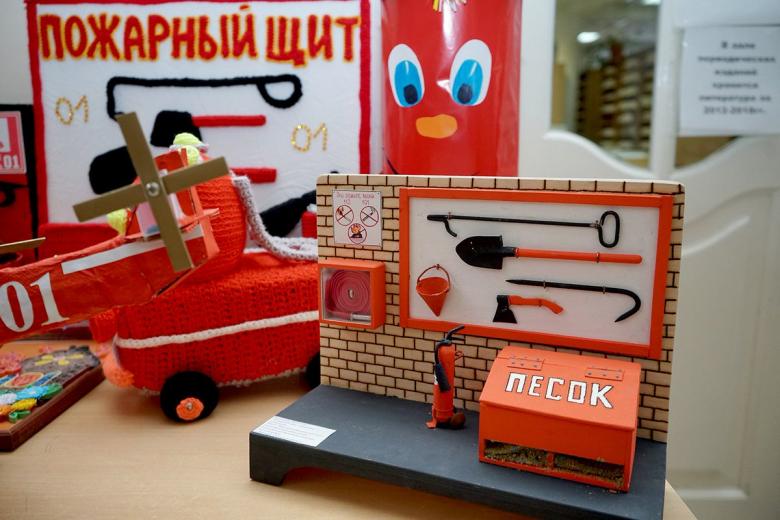
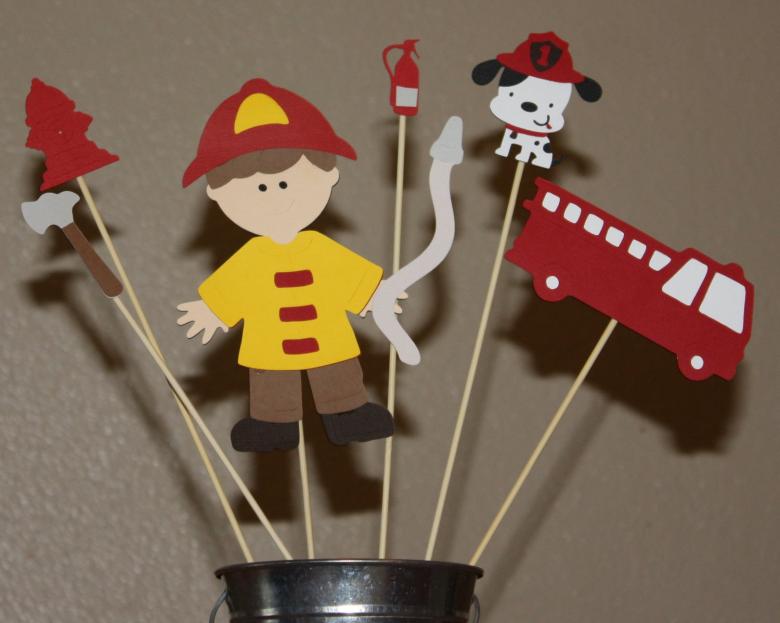
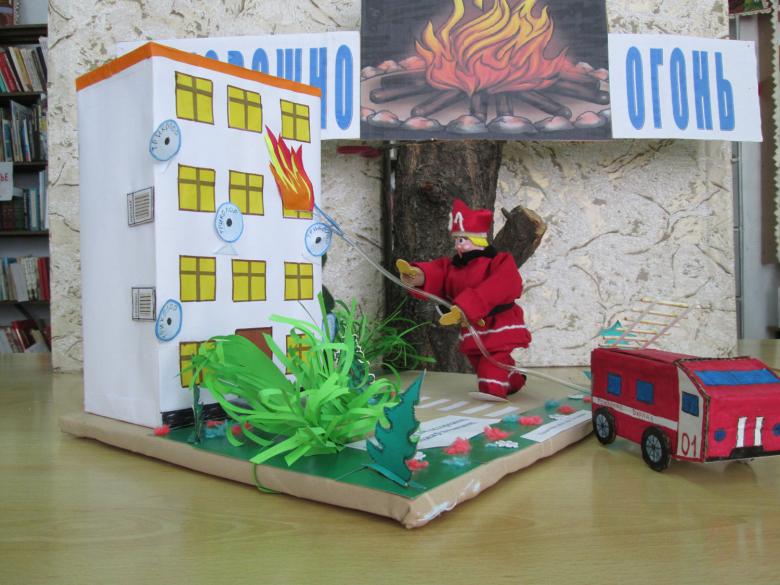
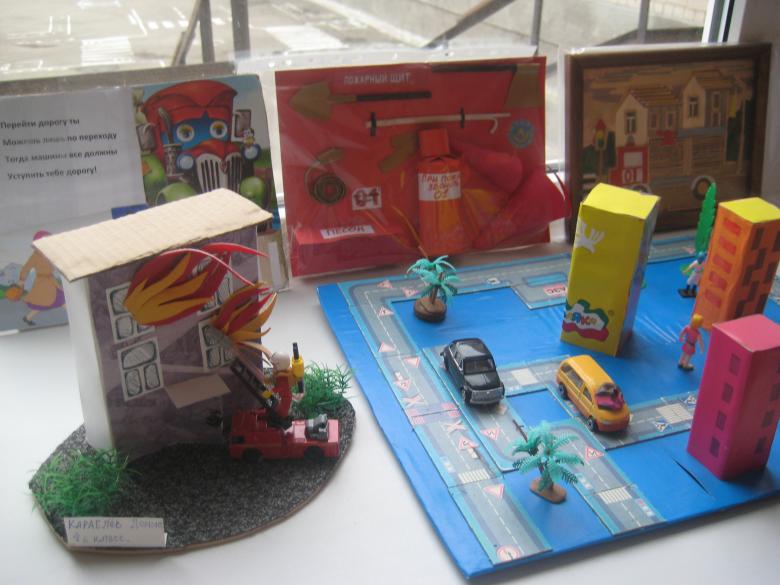
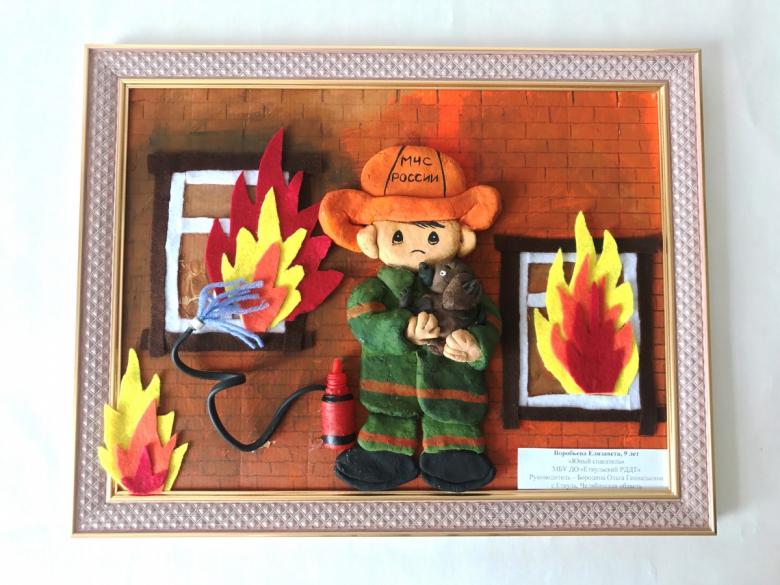
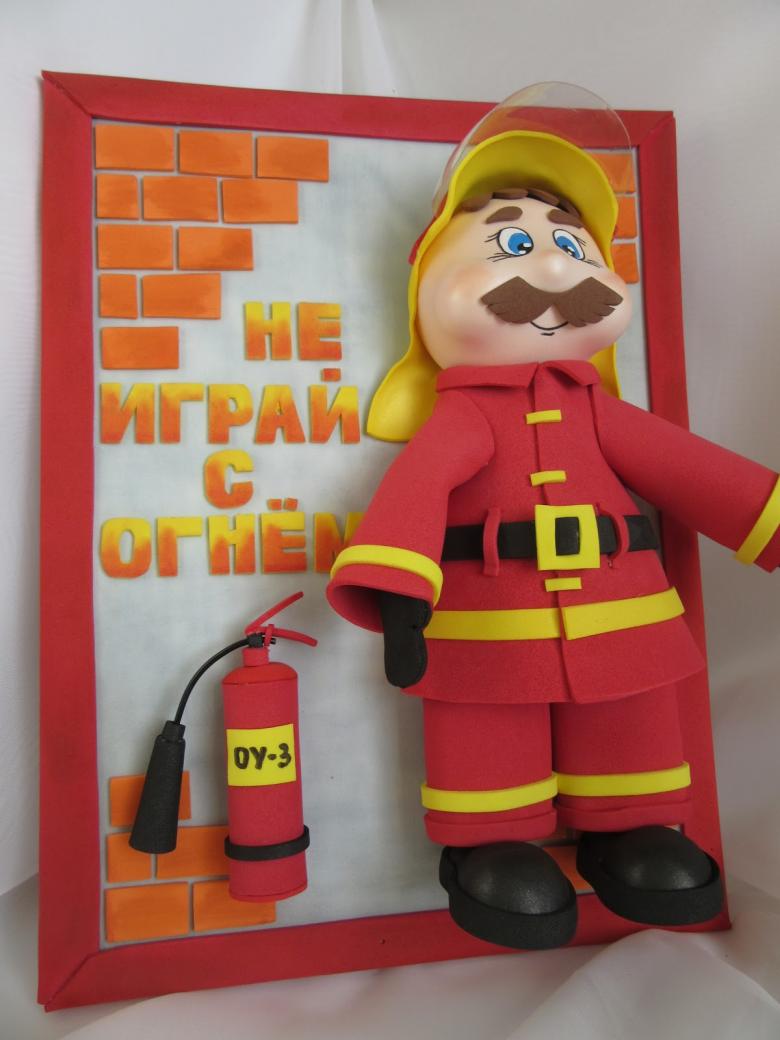
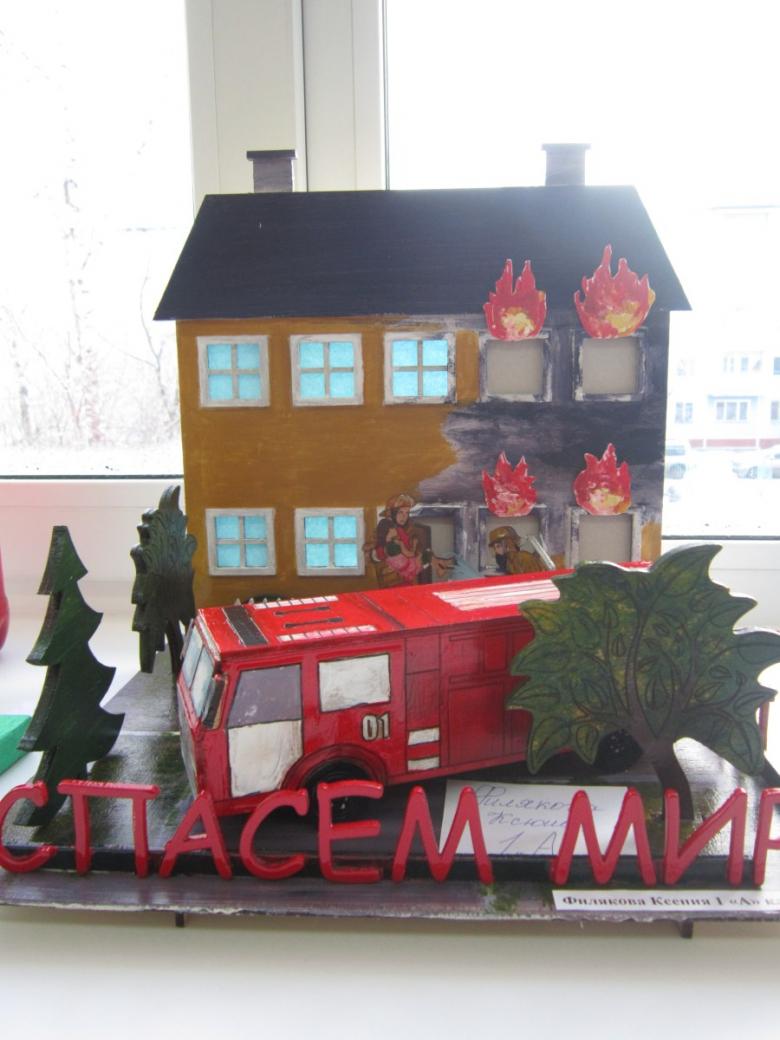
Fire safety crafts - step by step master classes for school and kindergarten with photo examples
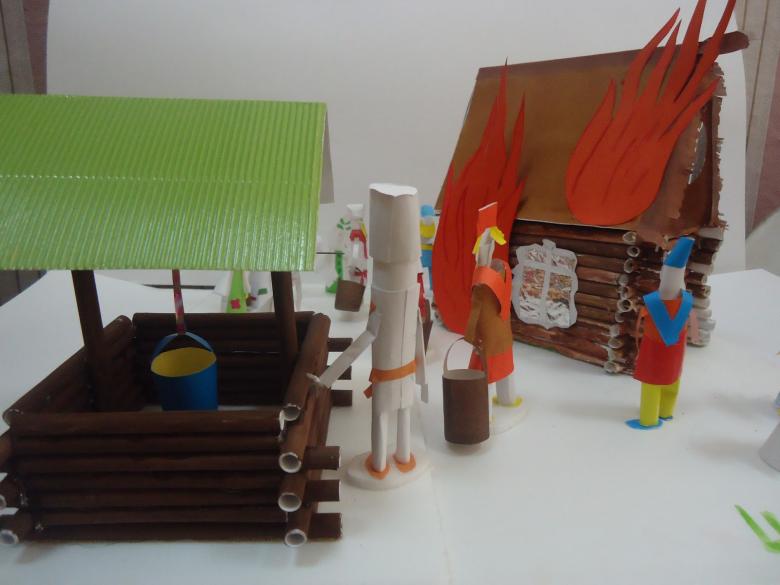
How to prevent fires and accidents with children and teenagers? These questions puzzle parents, kindergarten teachers and school teachers. Competitions are held on the production of handicrafts on a fire theme. Festivals agit-brigades, songs, poems and dances. But again and again the power of fire is out of control. After all, every 6 fires are caused by children's antics with fire.
Somewhere a little kid lit a match to see a beautiful light appear in his mother's hands after she picked up a magic box. Somewhere, younger schoolchildren set fire to poplar down to demonstrate a "fire snake" to the kids. And apartments, houses, and forests burn. And it's good if it's just a burned-out house. It is much worse when the fire sacrifices human lives. Because once again, somewhere they overheard, watched, played with. Therefore, it is necessary to remember clearly and specifically not only the basic actions in case of fire, but also the rules of handling matches and electrical appliances. But the monotonous cramming will not help here.
It is necessary to memorize consciously. And how, if not by making fire prevention crafts and wall newspapers to remember it? Creating a craft on this topic, children become more conscious of fire safety. Continuity helps a lot. The 4th or 5th graders prepared an agit-brigade performance, came up with models of fire-prevention crafts and went to the 1st, 2nd, 3rd grades to conduct master classes on how to make them.
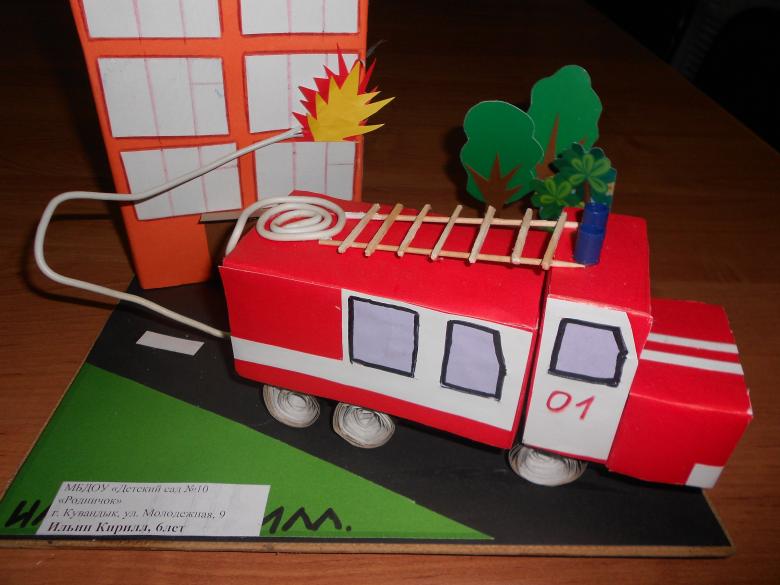
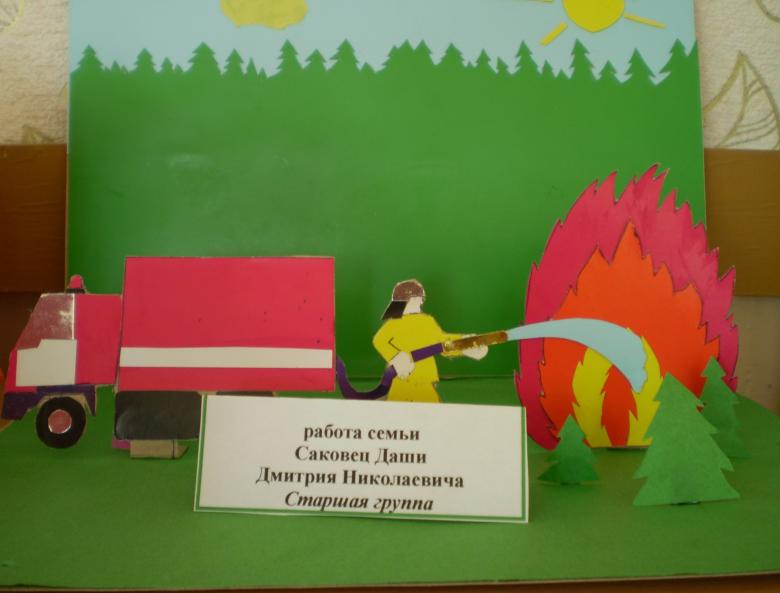
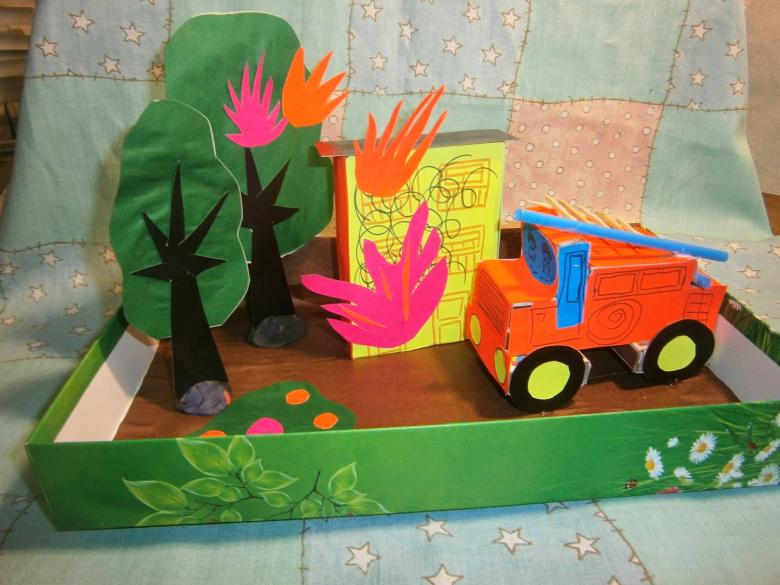
Making a fire truck
Sometimes toddlers in kindergarten are scared when they see a fire engine. And they may even start to cry. You can understand them. A huge, honking, beacon-wielding car rushes through town at breakneck speed.

To instill in young children a friendly attitude towards the fire engine and its owners, with them make it in different techniques.

Manna grits crafts
Such a technique is useful for the development of fine motor skills. You will need gouache, semolina, glue, colored paper or a pencil.
- First, we paint the semolina. In a bowl for artwork produce coloring semolina. We mix it evenly with gouache. Then lay it out on old paper (you can use old wallpaper) to dry.
- After it is completely dry, draw (or stencil) a fire engine on colored paper.
- Apply glue to the drawing.
- Take semolina, which is sprinkled so-first along the contours of the drawing, and then from the edges to the middle. We wait for complete drying. Excess semolina is removed and the fire engine is ready!
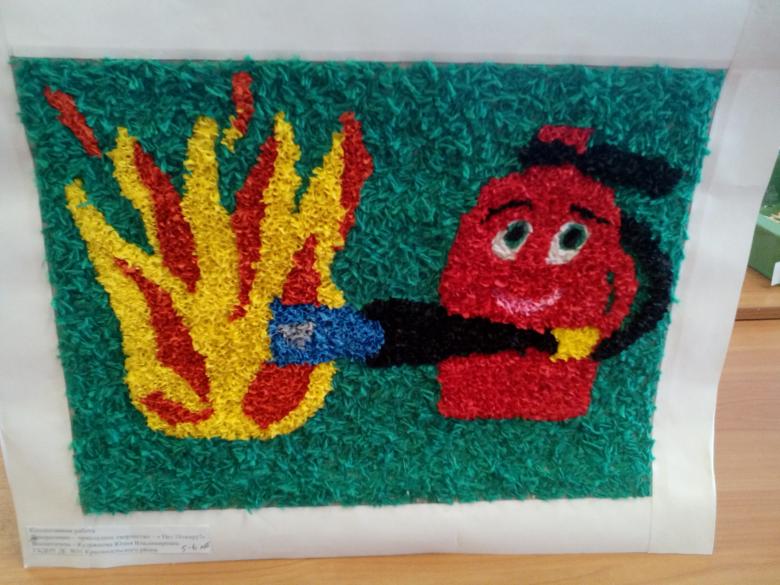
Handicrafts by applique
The method of application is very simple. But it is suitable for kids and older children.
- Find a drawing of a fire engine
- Transfer it to cardboard.
- Cut out all the parts.
- Trace a blank on colored paper. (We will need black, white and red paper).
- We cut out colored blanks.
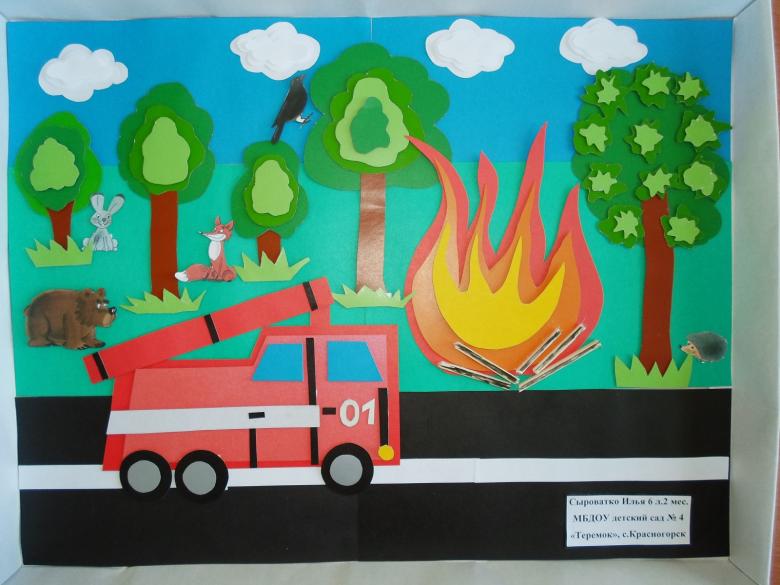
- On blue cardboard trace the outline of the drawing. Glue the parts of the fire engine in turn, according to the scheme.
- When the machine is ready, you can circle it with a black or red marker for clarity. You can glue clouds from cotton disks or absorbent cotton to the top of the work. If the fire engine does not occupy the entire sheet, you can create a tree next to it. Also by applique. You get the whole landscape.
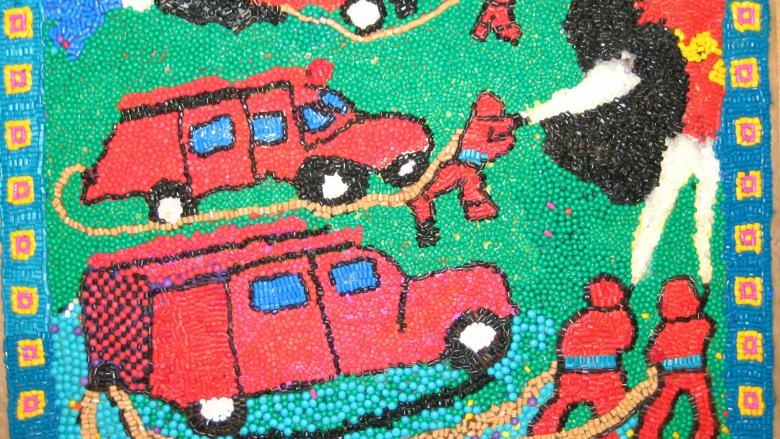
Poster "Matches are not toys!
Fire prevention handicrafts aimed at strengthening life skills. Very often parents and children take the path of least resistance and use matches in handicrafts.
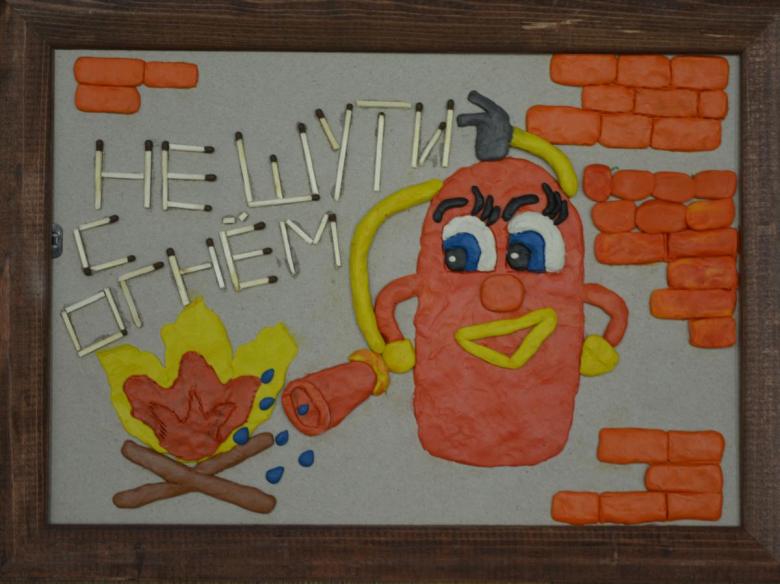
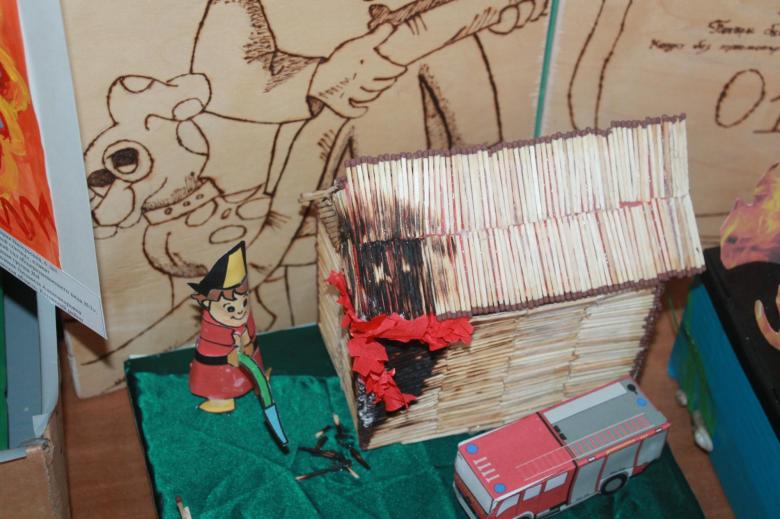
Inspectors of the Ministry of Emergency Situations and VDPO categorically do not recommend it! Because now the child glued a match to give "life" to the drawing, and then decide to burn the paper to glue it, burnt, also for life. So, no matter how much you want to save time and effort in this way, it is better not to take any risks.
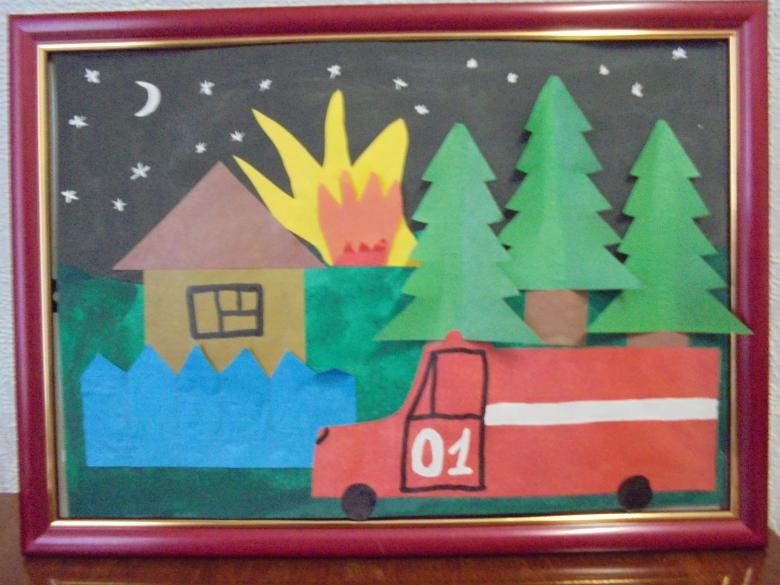
Proper handling of matches is taught by posters, which both in school and in kindergarten can be done in groups.
We take a sheet of A 1 or A 3 size Watman paper and create a "match". It can be cut out of paper. You can draw it with a felt-tip pen, gouache or watercolor.
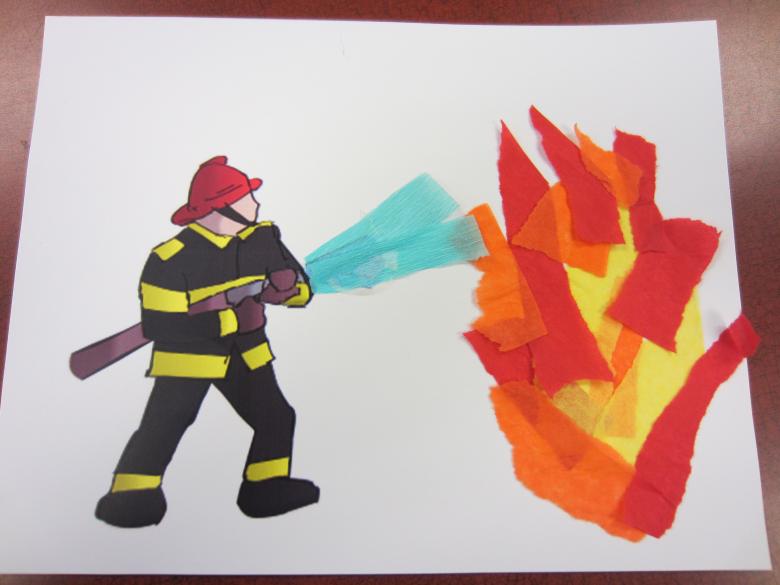
Draw the flames with paints or create an appliqué from colored paper. If the flame is not glued completely, but only at the beginning or end, you get a three-dimensional application.
Complement the poster with the inscription "Matches are not toys!". It is necessary to try to correctly calculate the space for the letters. To do this, we measure the distance we have for the inscription.

Count all the letters, punctuation and spaces in the word. Divide the distance in centimeters by the number of characters. We get the distance that we can allocate to one letter. Divide the segment into equal parts - rectangles. Now we can use the ruler to draw the letters. Since the letters are all straight, we only need to use the ruler to draw the center and middle parts.

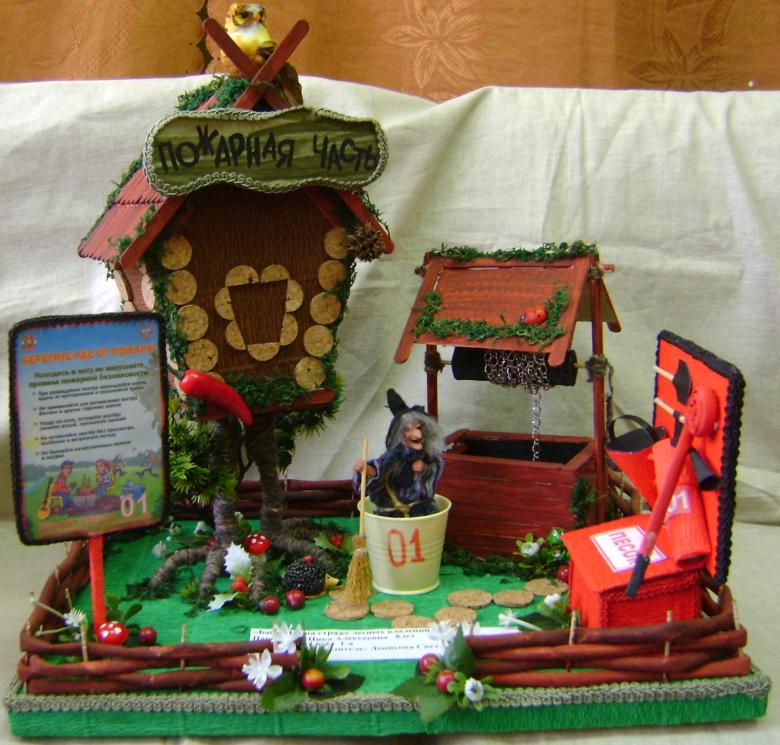
"A little spark lights up the forest, my friend!"
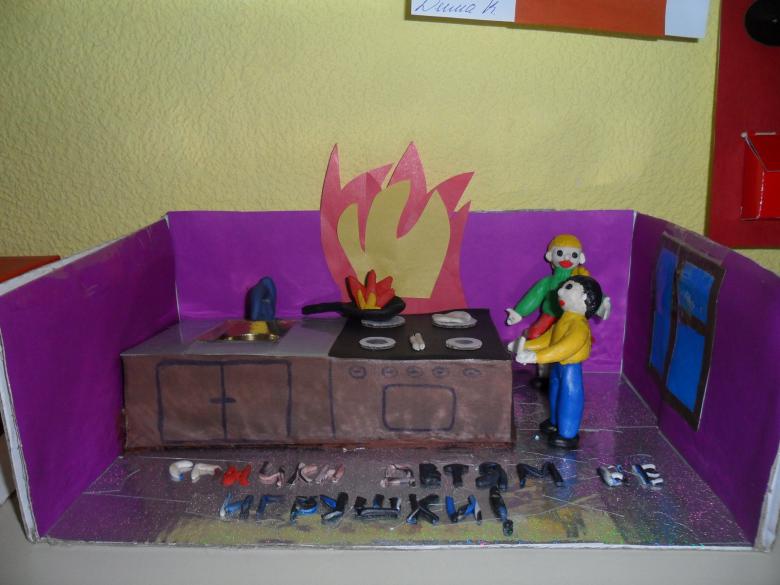
A great deal of attention in fire safety education is given to open fire as a source of danger. The fires, the curtains that caught fire, the pot on the stove and, finally, the ill-fated poplar fluff.
All this requires attention and thorough study.
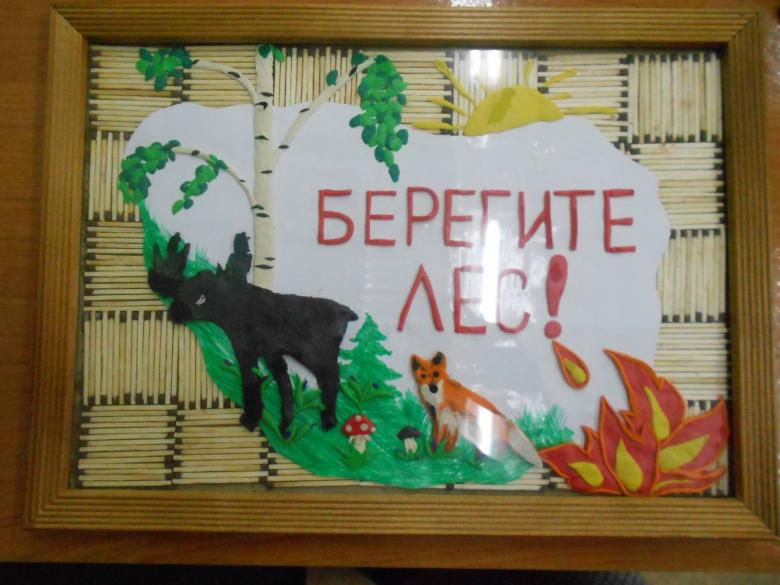
Attention is just not enough. Lectures to children are not interesting at all. Although, if you can get children interested in a non-standard work, and offer them a chance to participate in the contest, they will be attentive and diligent. As an option All-Russia competition "Neopalimaya Kupina". So, we conclude: "In any case it is necessary to arouse the child's interest!
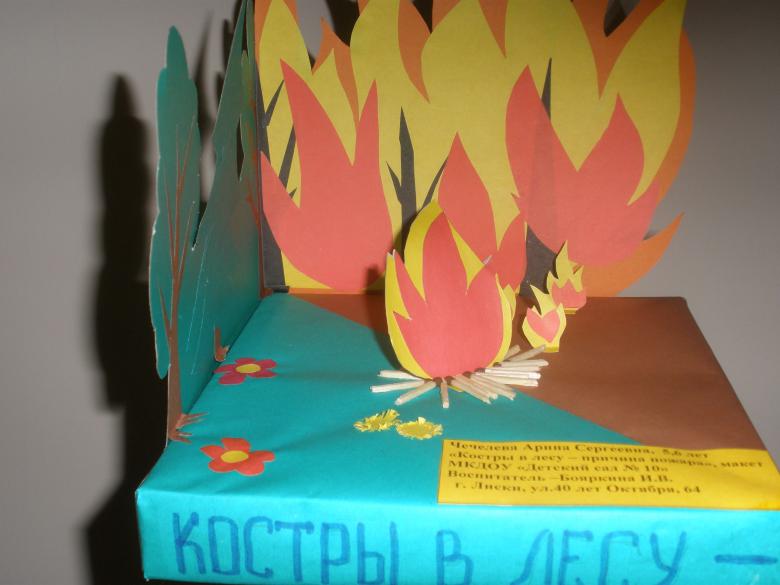
Courageous firefighters-hot hearts!
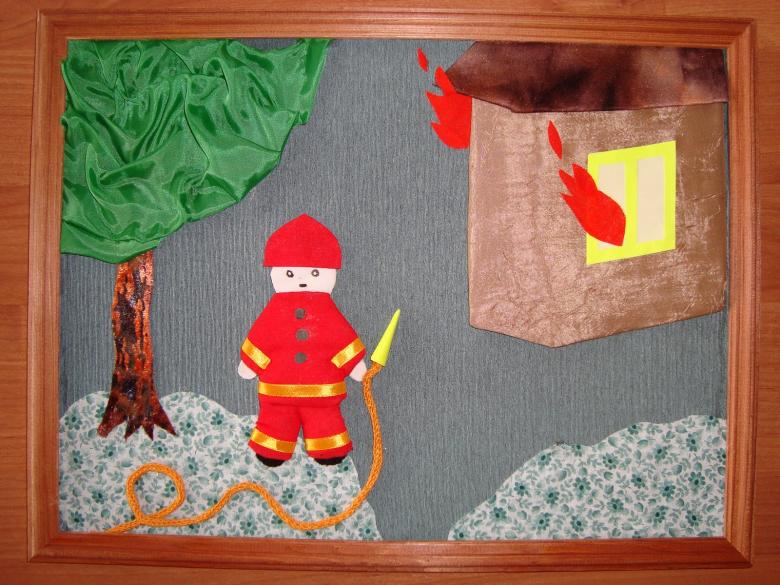
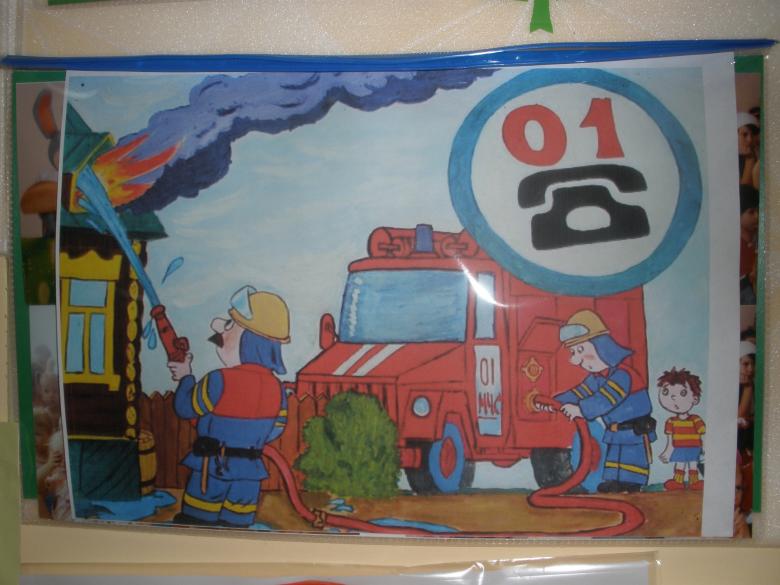
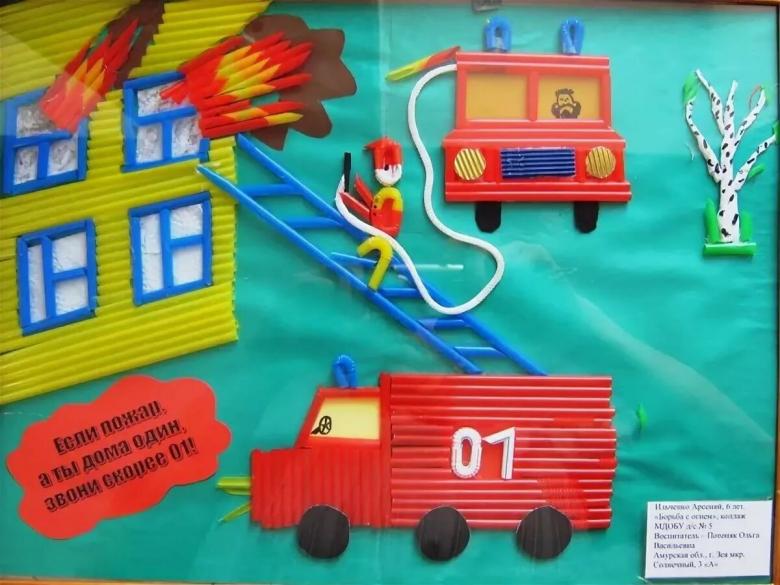
In order that the kids were not afraid of their uncle-fireman, and know that he is always ready to come to their aid, perform applique "Fireman".
- Take a sheet of A4 and put it in front of you horizontally. It is better if it will be blue or blue.
- Find a pattern for the workpiece and translate it into plain cardboard. We cut blanks.
- We outline the blanks on the colored paper on the back side.
- Cut out the parts of our picture applique.
- Assemble them on a blue piece of paper and glue them together.
- Now the fire. It will consist of several tongues of flame of different colors. You can draw yourself or use a blank. Do not forget about the wood. If you choose the birch, then draw them. If on another tree-colored paper will always come in handy.
- The fire hose can be cut out of paper, the water used to put out the fire, too.
All you have to do is learn the song about firefighters and you're good to go!
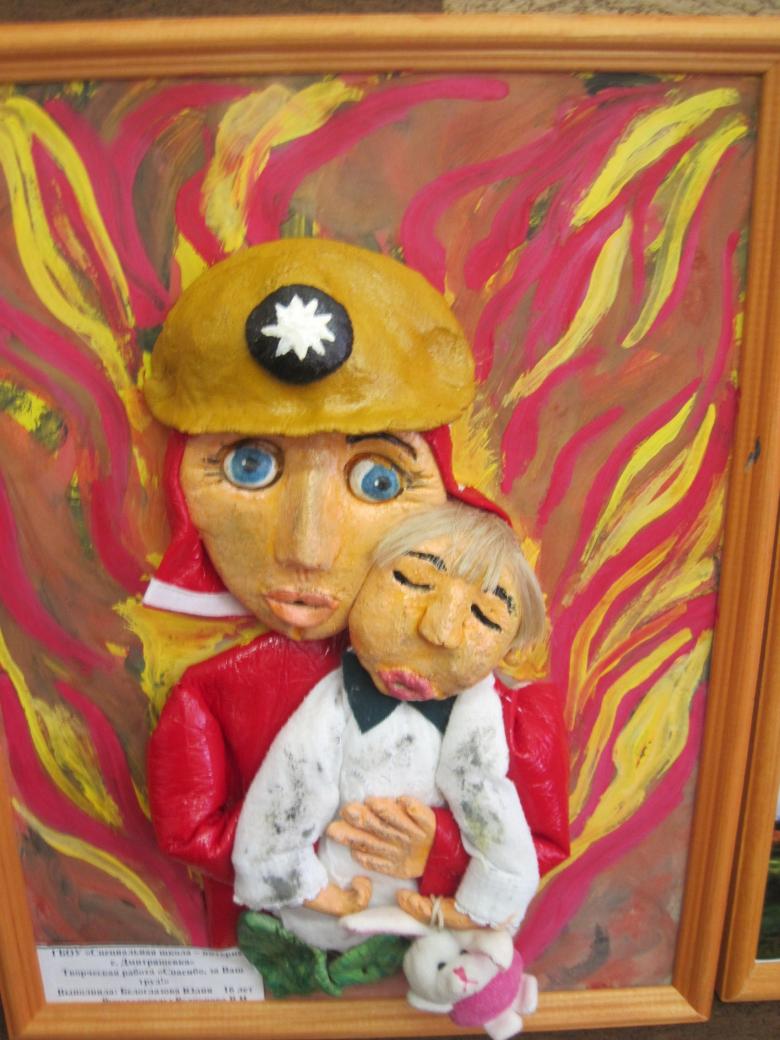
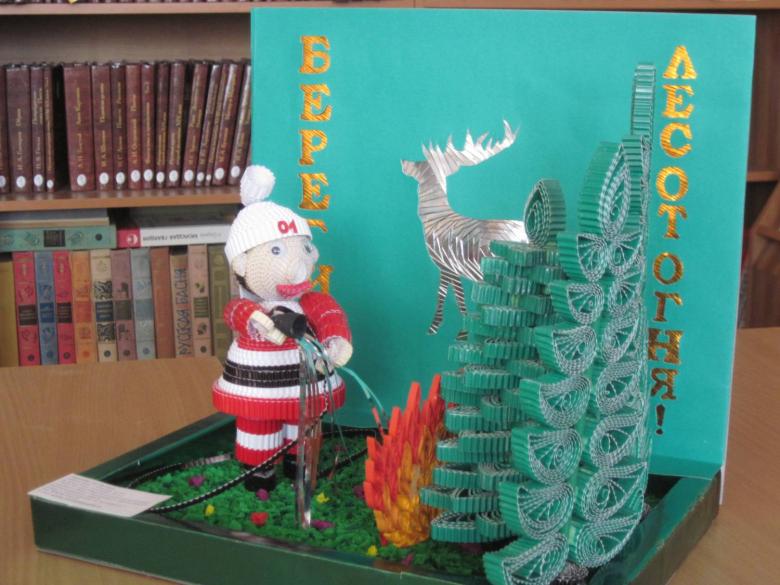
Quilling
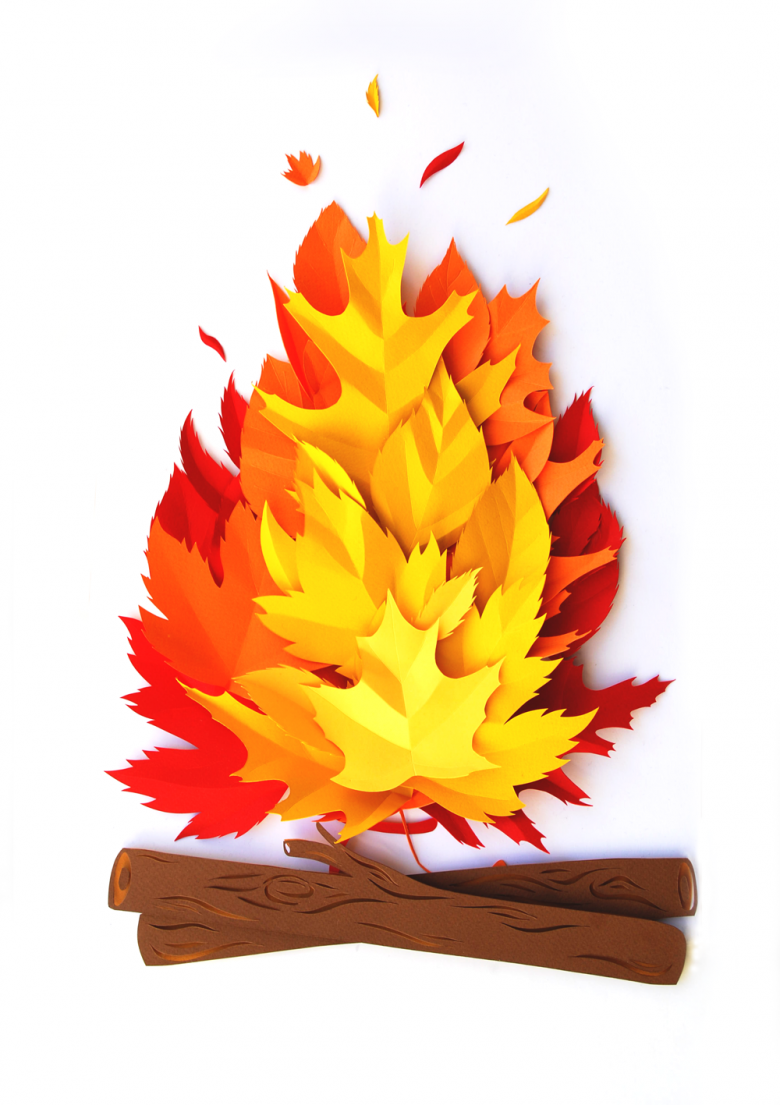
This is a method that is very simple to perform, but, giving a huge scope for creativity. Its original blanks, allow a variety of conveying tongues of flame. Using paper of different colors, you can achieve unique combinations.
The technique of torn applique.
Fire can also be made with such an interesting method.
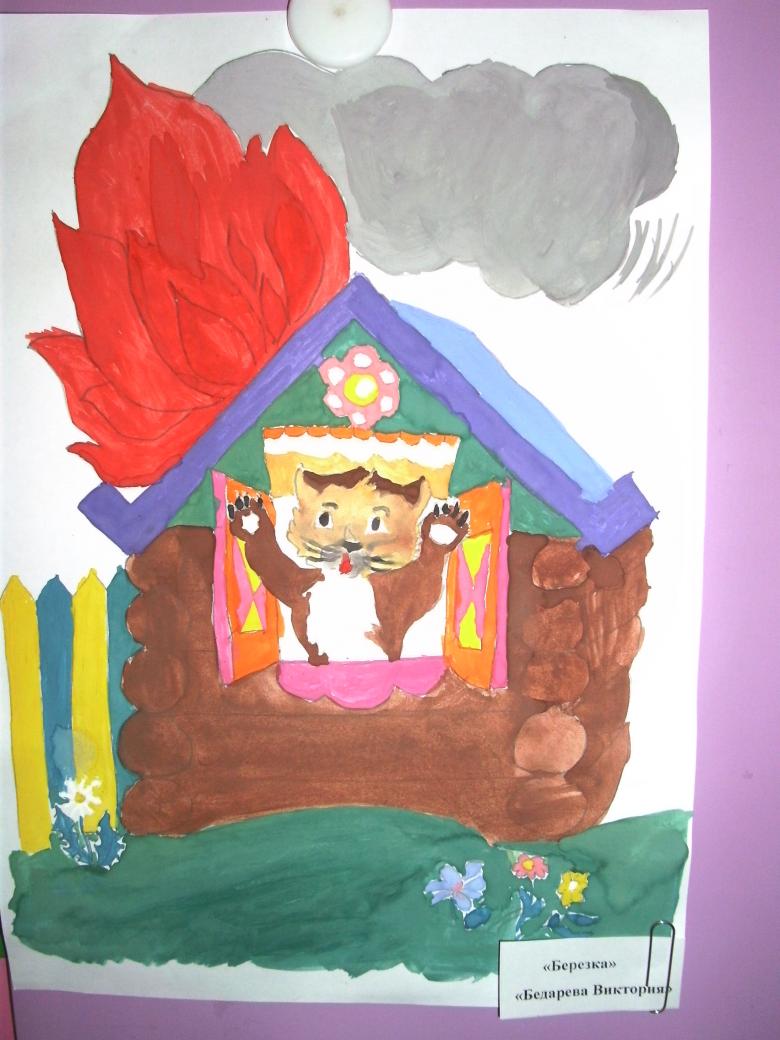
A master class on this technique is easy-peasy.
- We take blue thick paper of format A 4. The backing paper (background color paper) must be thick. Otherwise there will be a strong impregnation of glue, and the sheet may not hold.
- A pencil drawing is drawn on the background sheet-basis of the template.
- The pieces of paper that will represent the flame are prepared. Carefully tear the paper, creating pieces of different colors and sizes.
- We take the biggest pieces and begin to fill the space with them (flame, fire, fire). Then the average size. We finish with small pieces. Each piece glued separately. Otherwise the work will look sloppy.

Care must be taken to ensure that the pieces do not extend beyond the edge of the pattern. Otherwise you get a messy job.
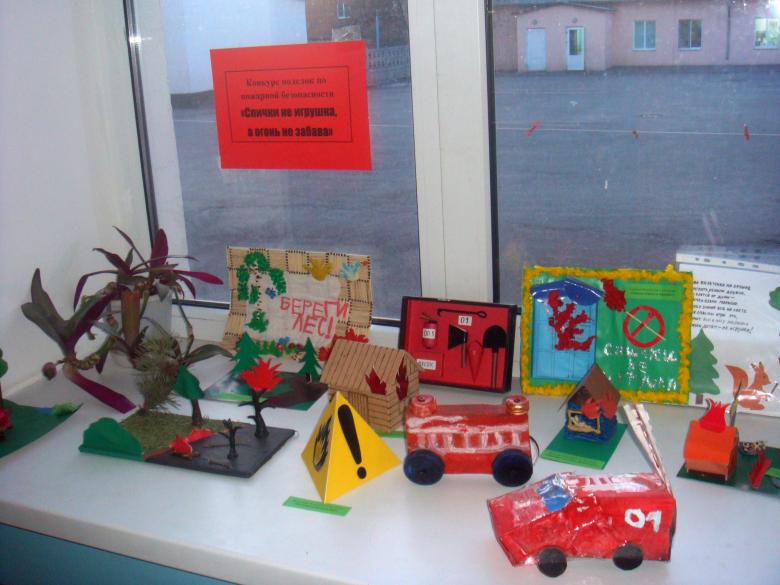
In parallel, we are talking about how fires are extinguished. What materials we extinguish. Thus, unobtrusively influencing the child, we try to convey the necessary information.

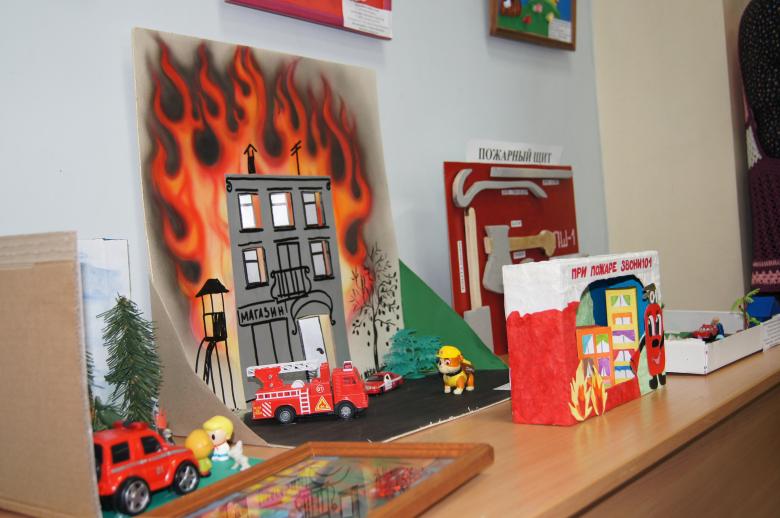
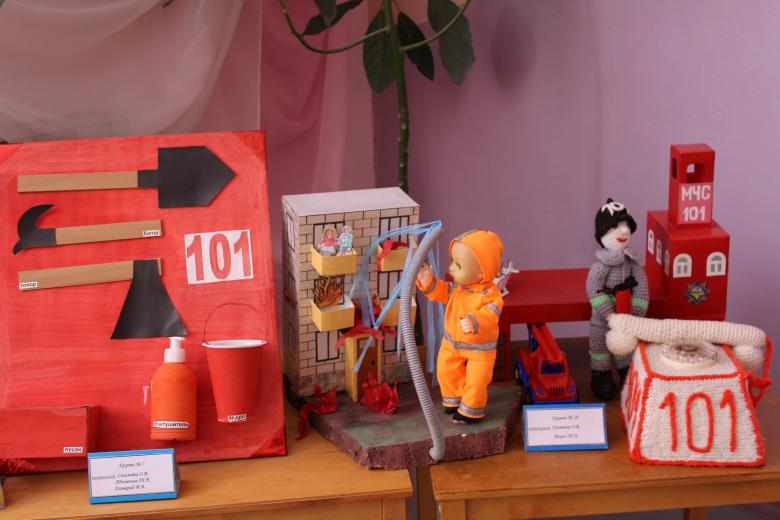
All that remains is to decorate the exhibition and take pictures of it. So that the kids, in the future, saw what beauty they can make with their own hands!

