How to make a handmade reindeer crafts - interesting master classes, tips, photo examples
Each of us is looking forward to the approaching New Year's holidays. December 31 and January 7 are not traditionally associated with us with reindeer and smart harness, but the Western trends have brought us the joyful ringing of bells on a decorated harness. Today we will learn techniques for creating the main symbol of Christmas, the festive reindeer.
What kinds of crafts can we make?
In fact, sources for inspiration are all around us: there are Christmas advertisements and pre-holiday posters. You can come up with dozens of your own ideas to bring them to life in the future. We will present you step-by-step schemes-instructions for creating the most famous crafts.
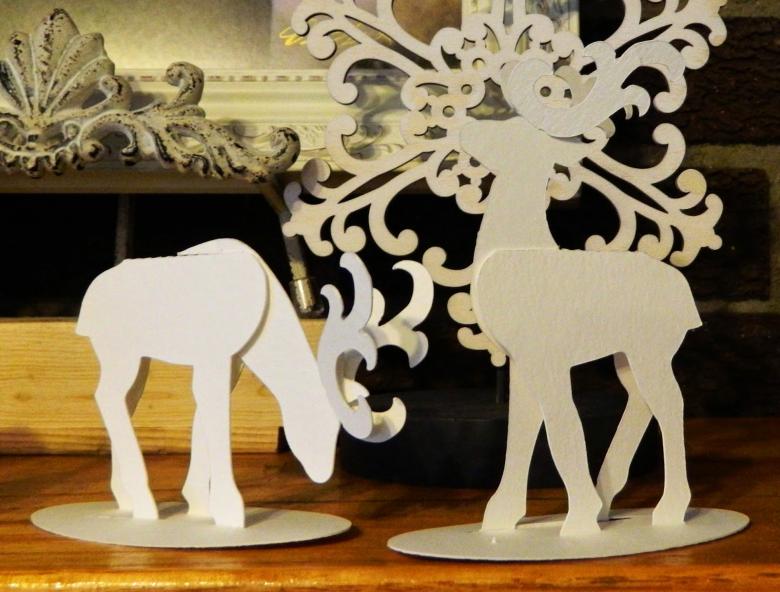
So, today our list is represented by such models as:
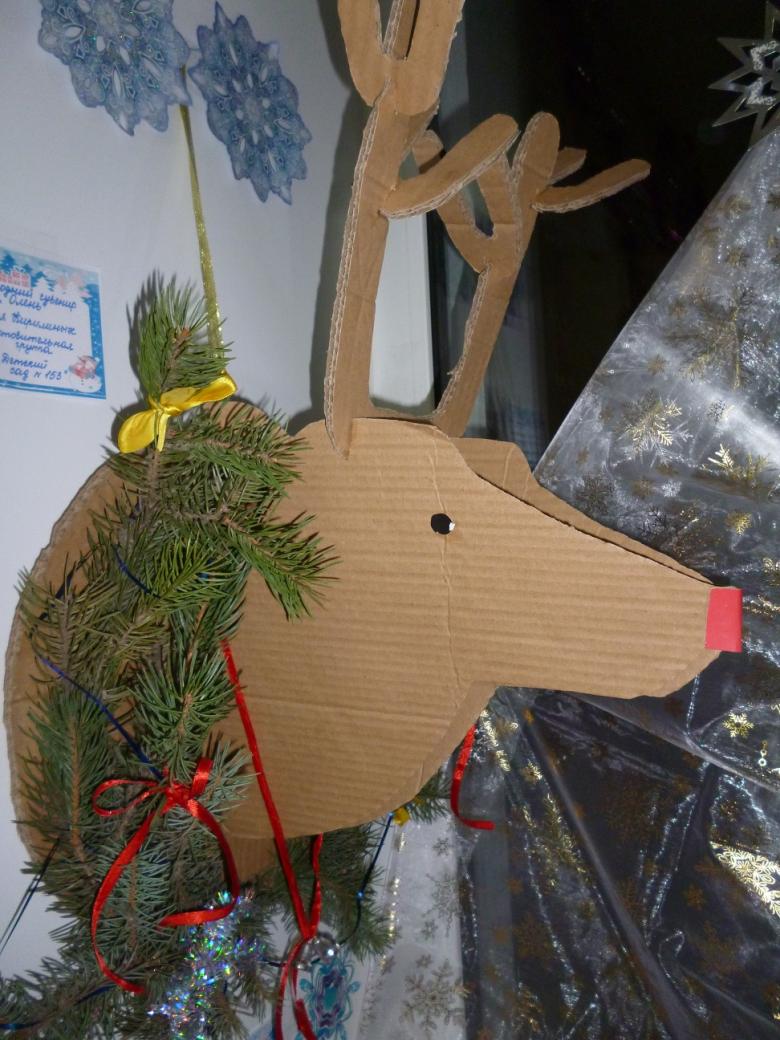
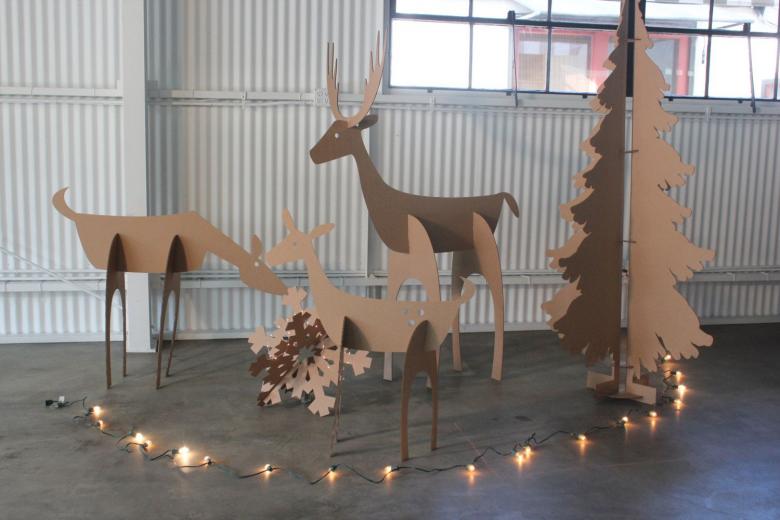
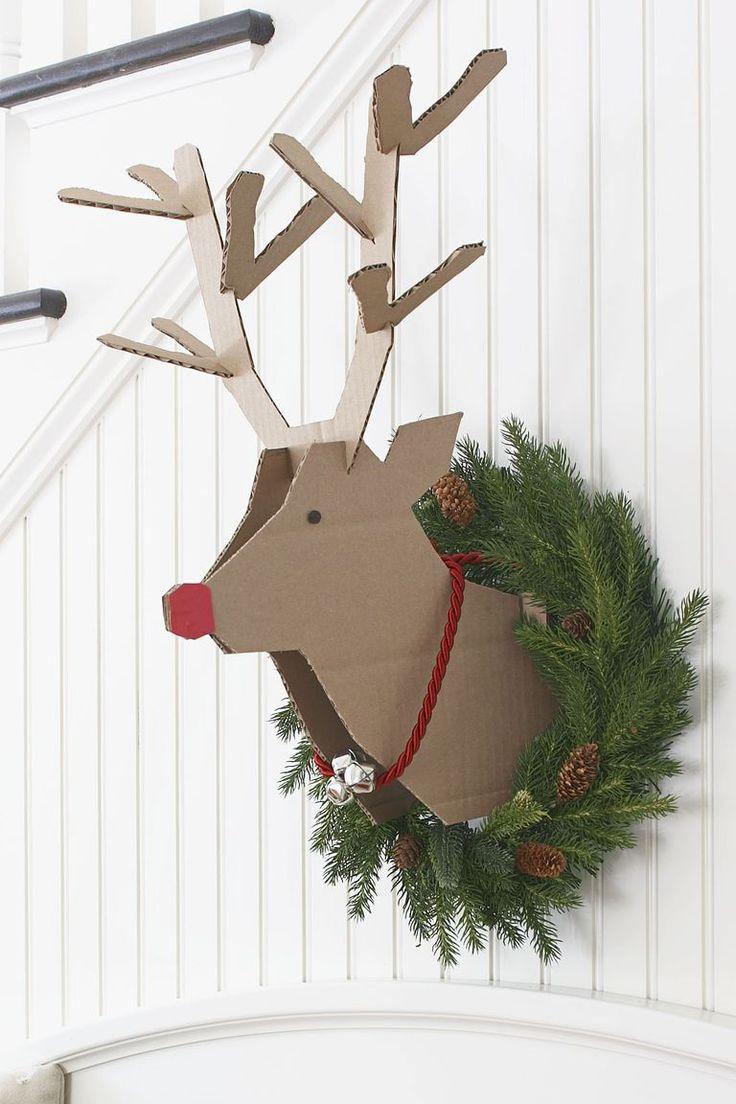
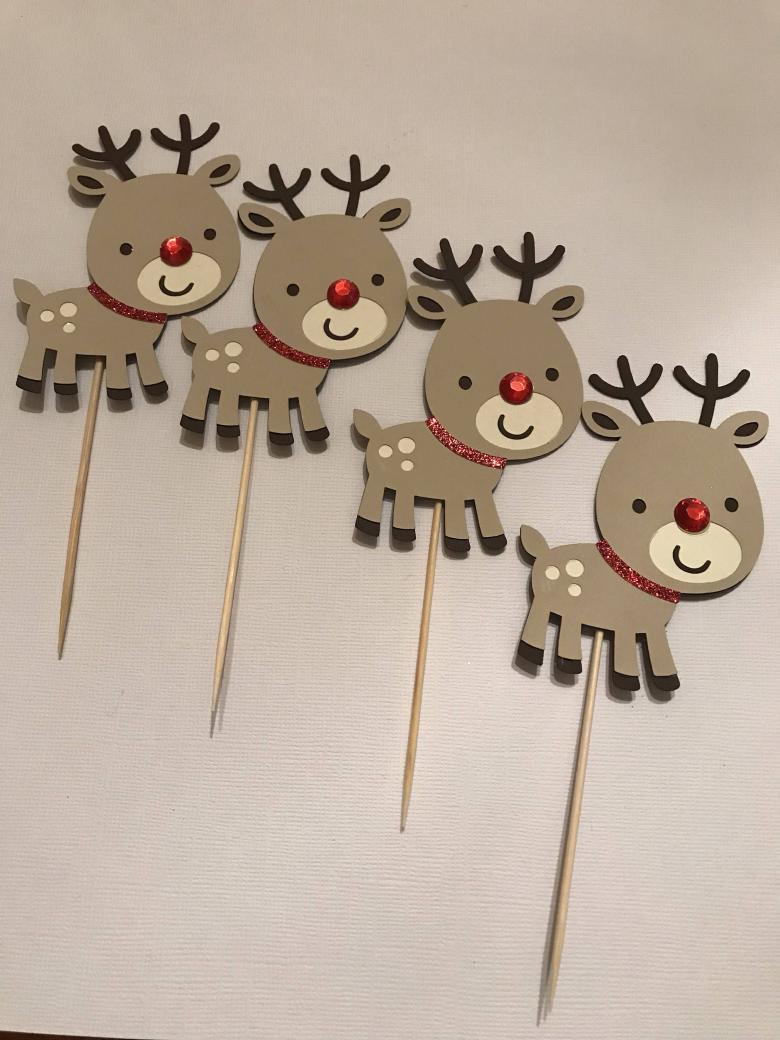
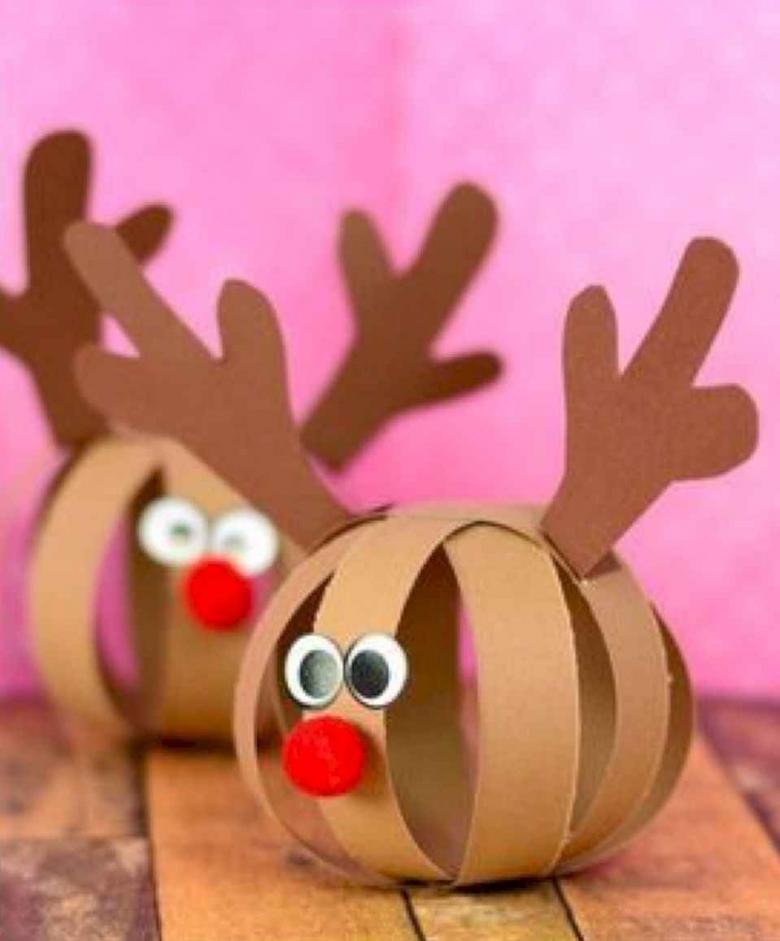
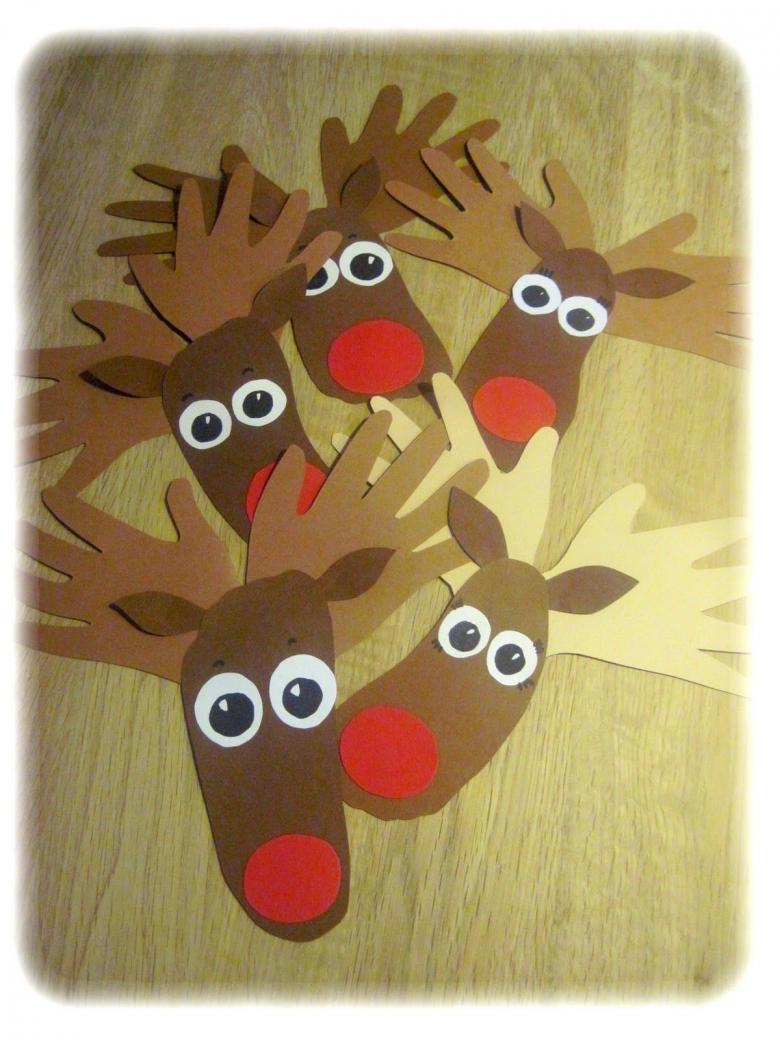
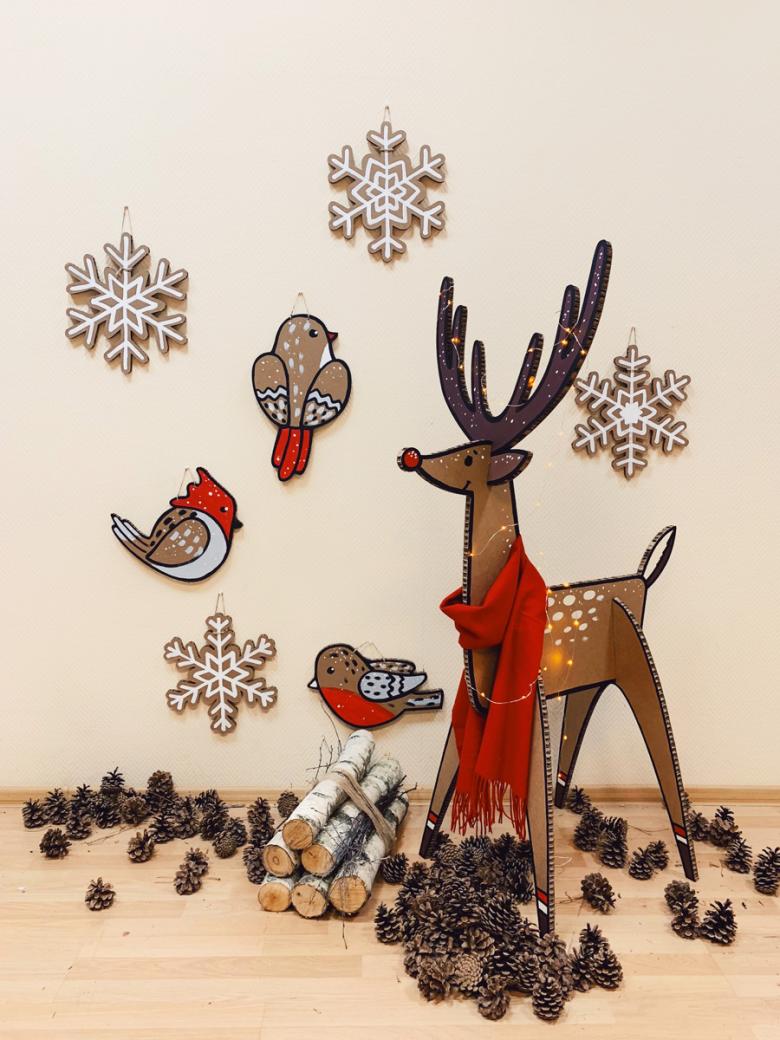
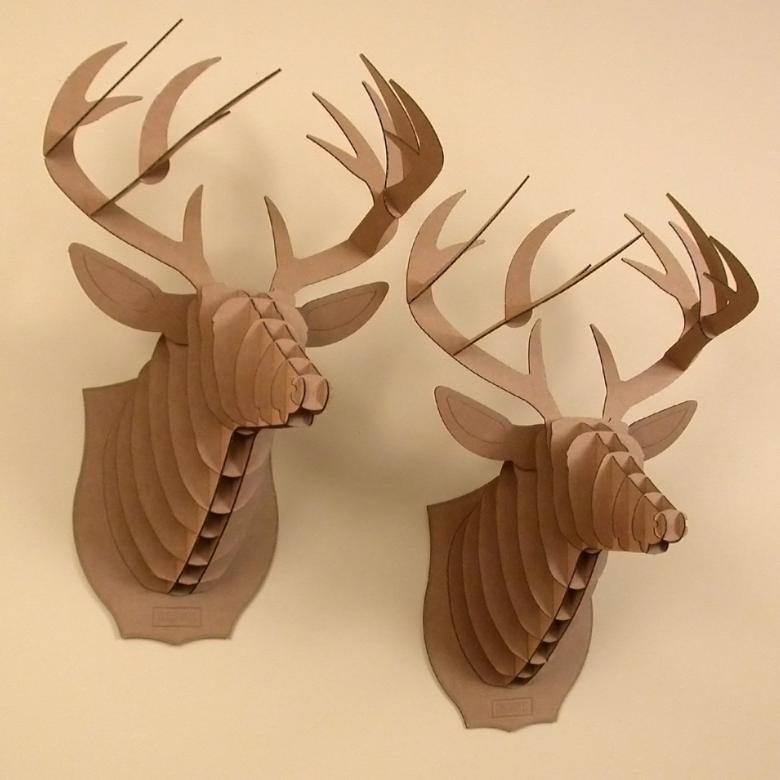
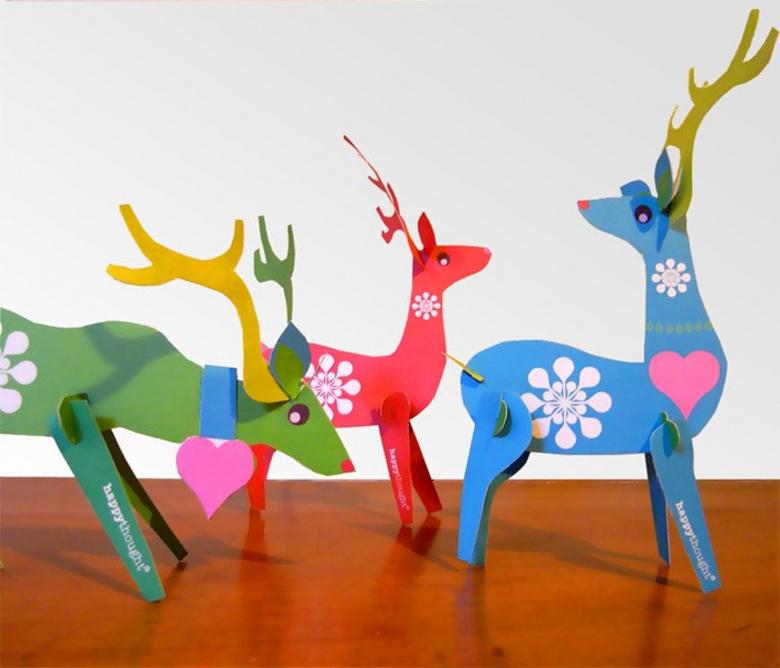
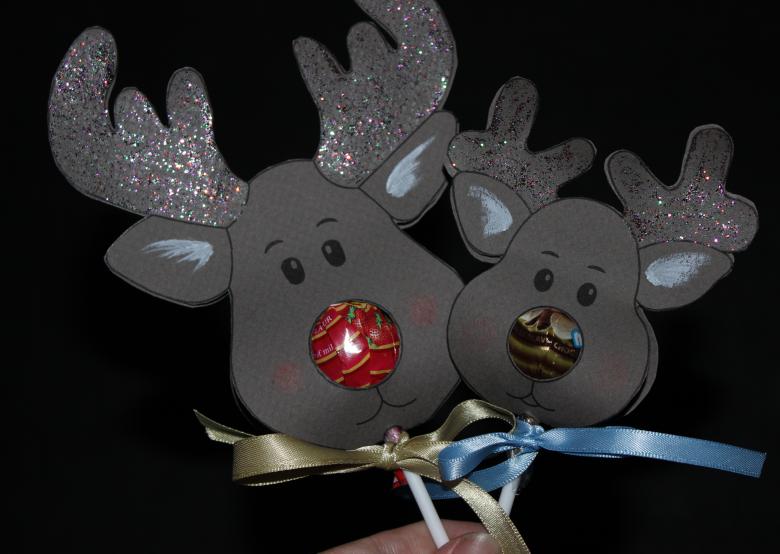
- Reindeer from cardboard and colored paper. Such handicrafts can be safely given to people you know as a New Year's souvenir, and to make them incredibly easy.
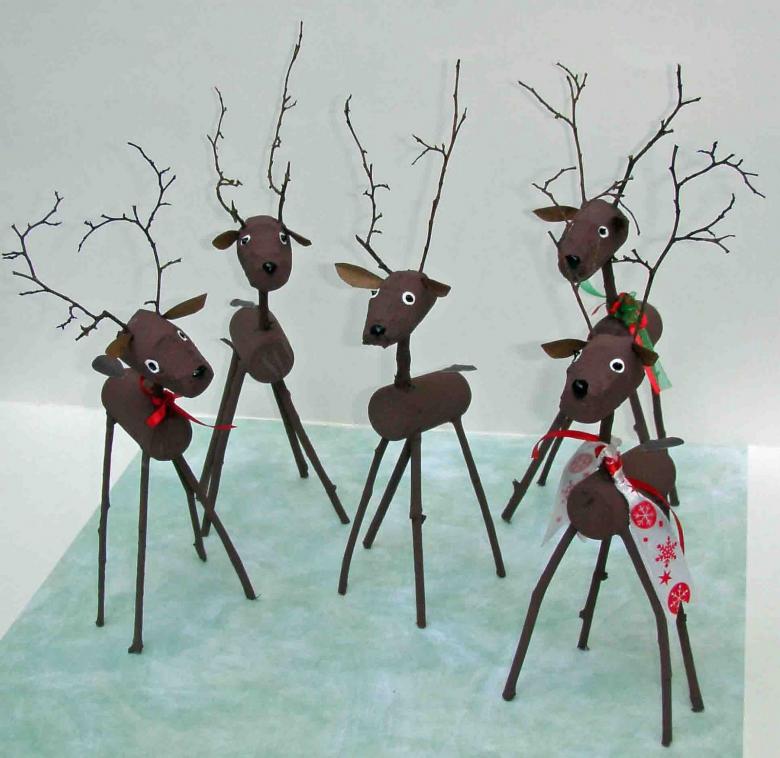
- Deer figurines made of plastic. It is enough to have on hand a few old plastic bottles, and the handicraft-composition for your child's school is ready.
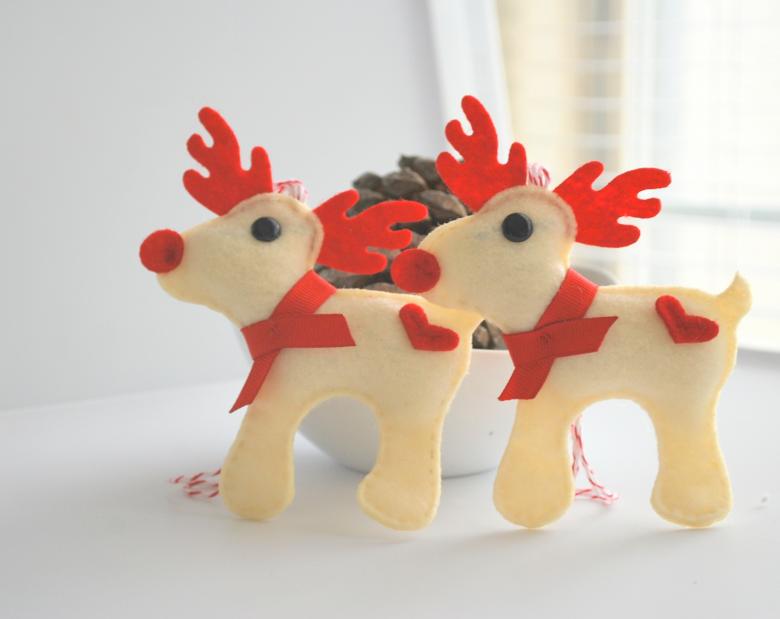
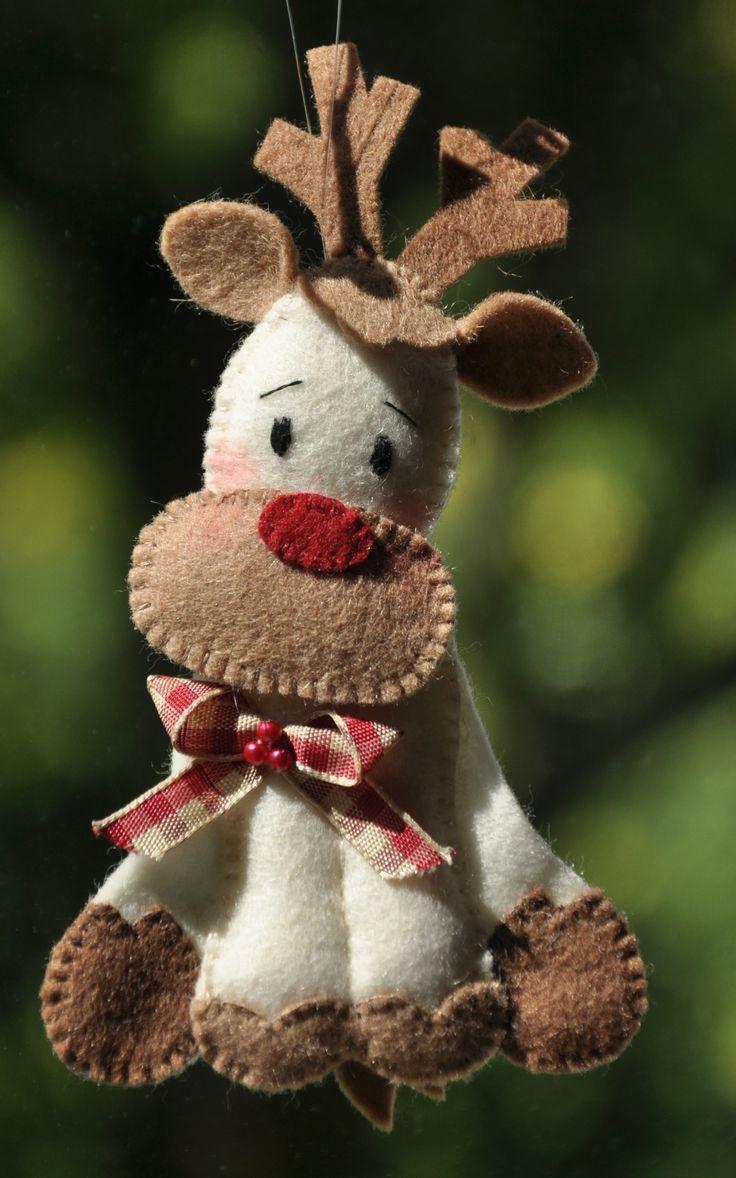
- Figurines made of felt. Small but elegant reindeer will decorate your bag or backpacks of your kids. The work does not take much time, but the cute toys will remind you of the nice holiday weekend ahead.
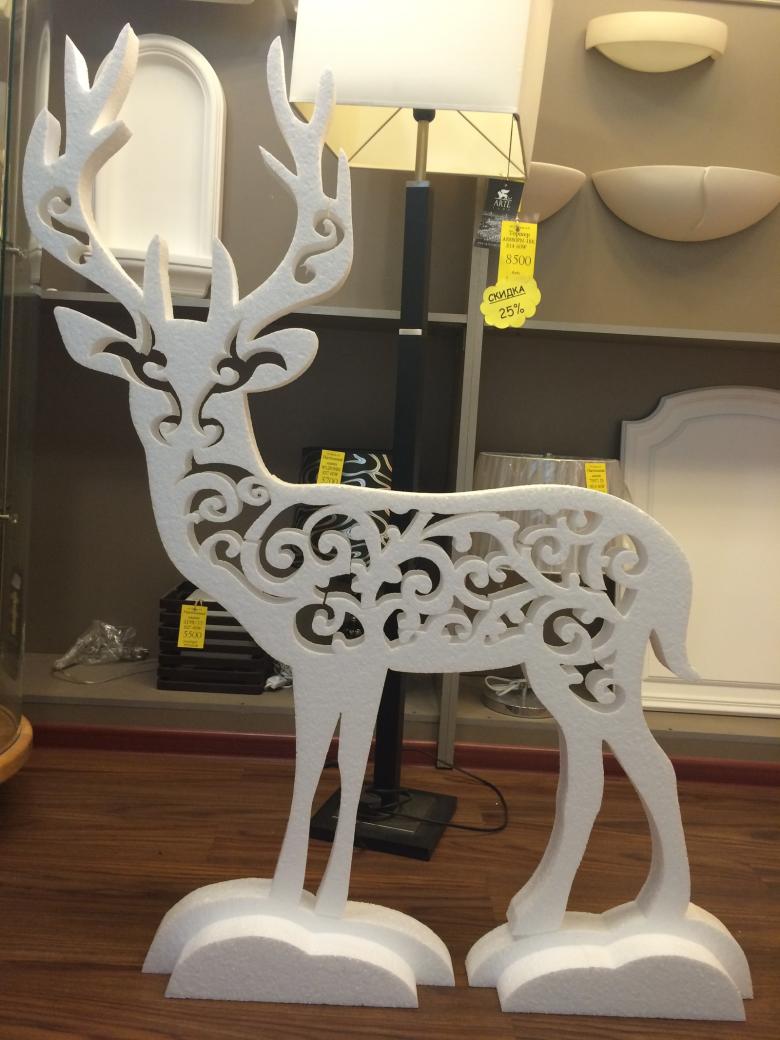
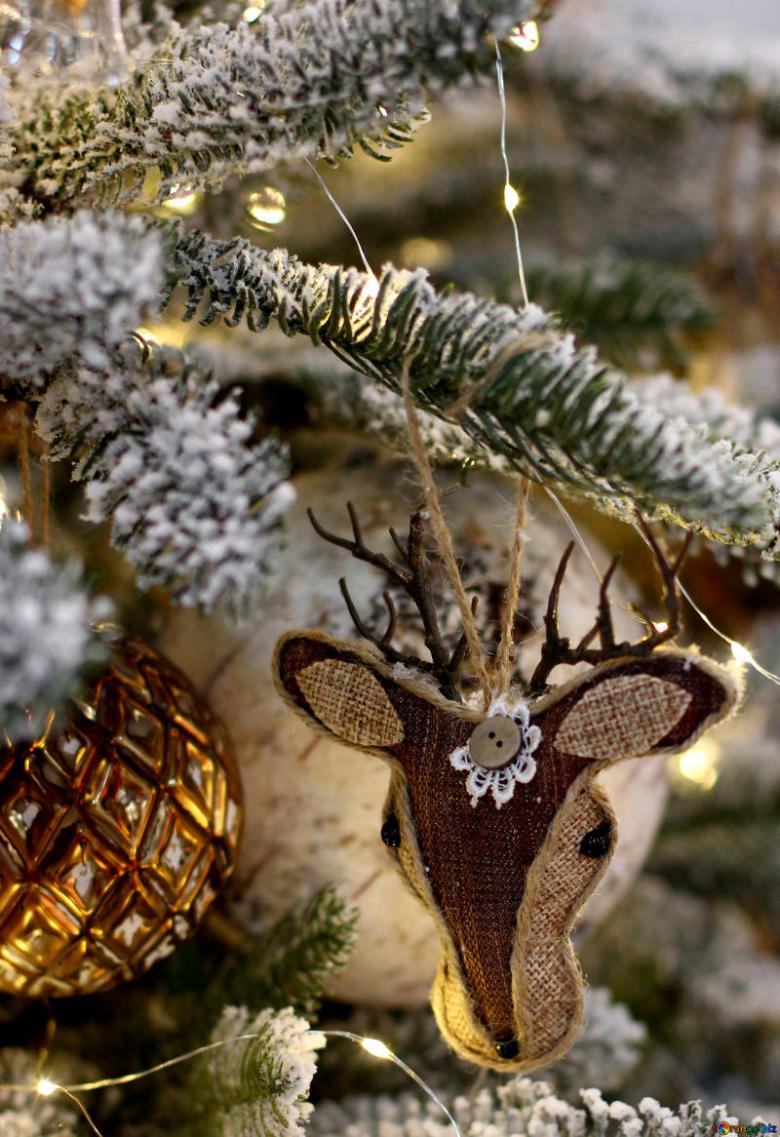
- Lightweight toy ornaments for the Christmas tree. Manufacturers have long since moved away from making heavy Christmas tree toys, and we won't be lagging behind them. Today we are going to create a holiday decoration out of foam plastic.
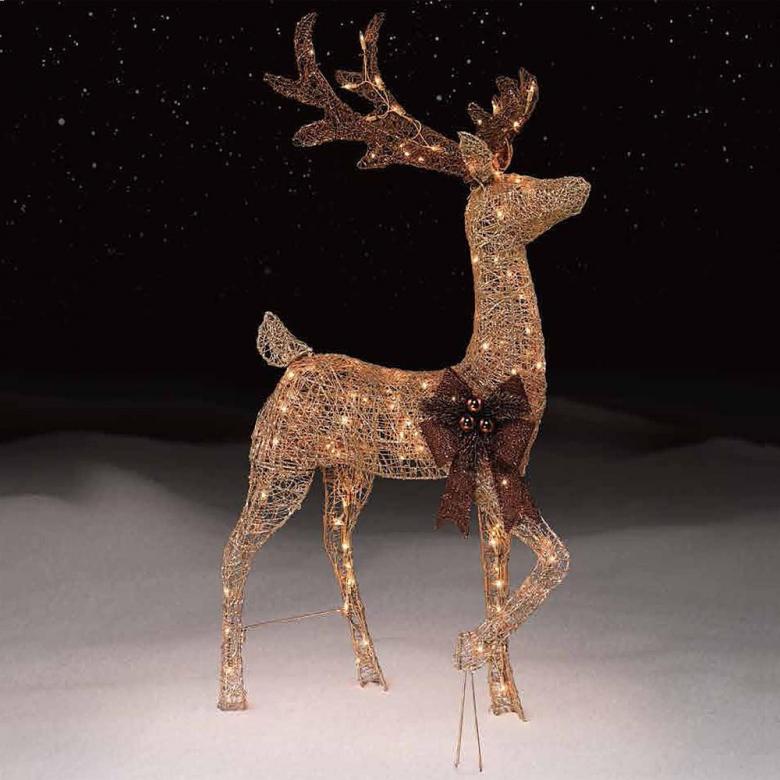
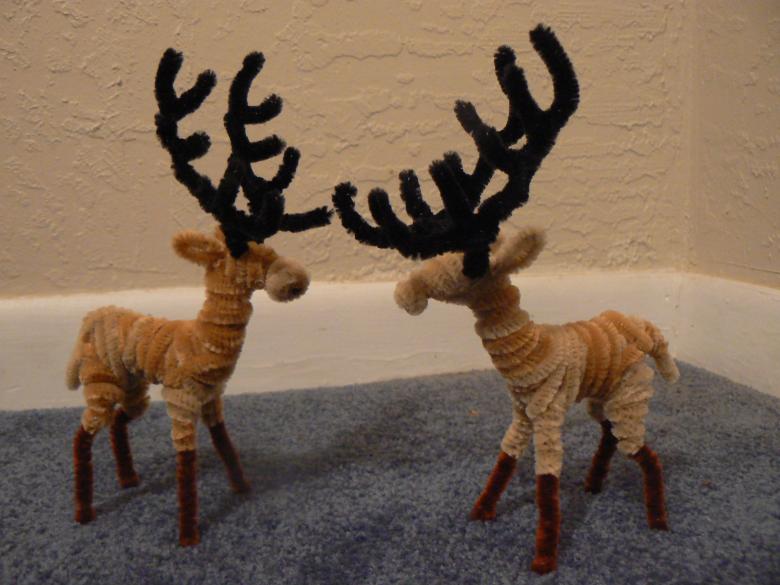
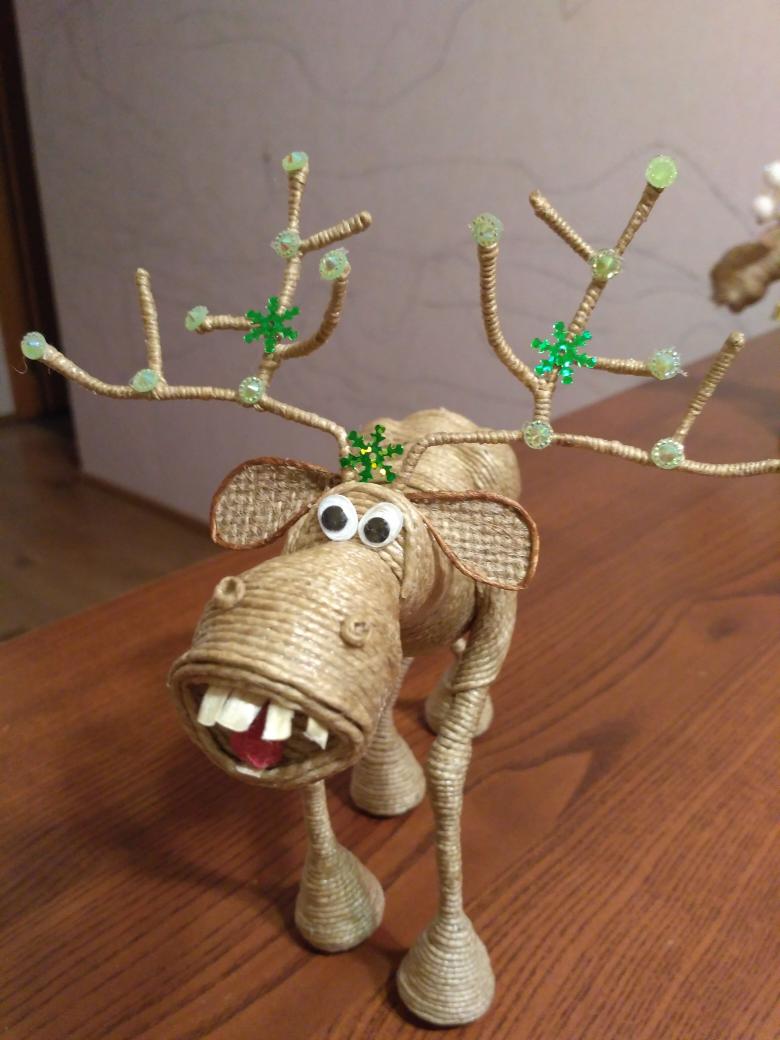
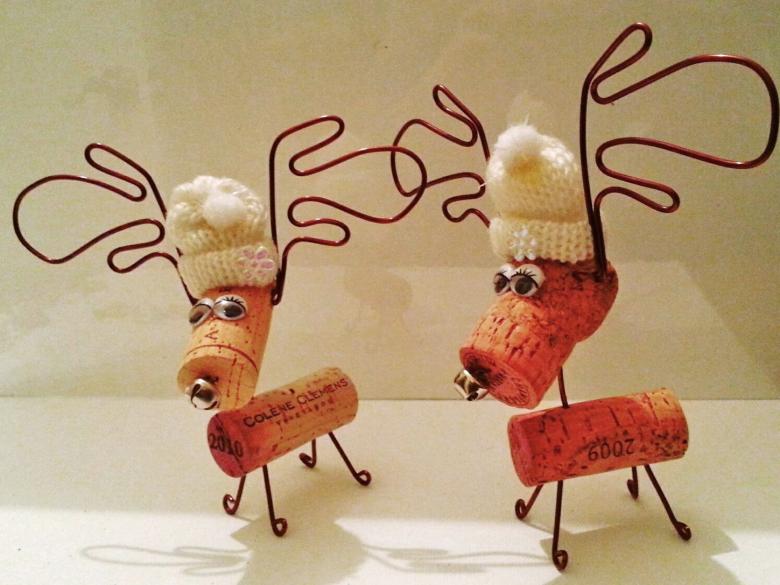
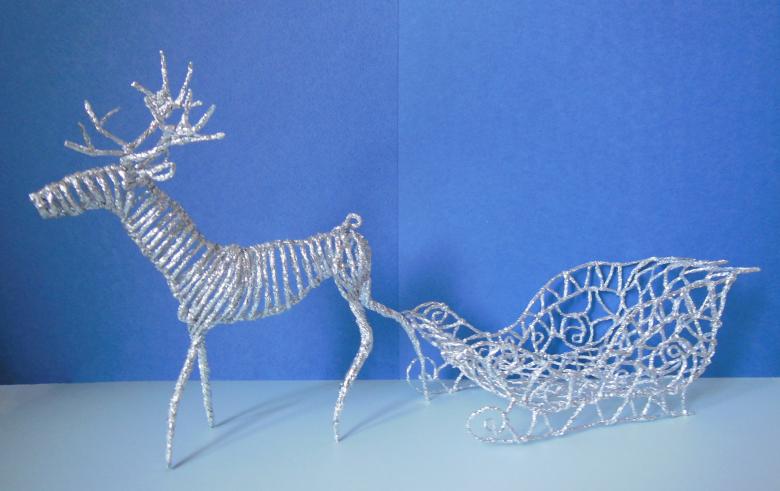
- Reindeer from a wire frame. The most difficult moment in this technique is to make the frame itself. And it can be supplemented with film, garland, fabric (at the discretion of the master).
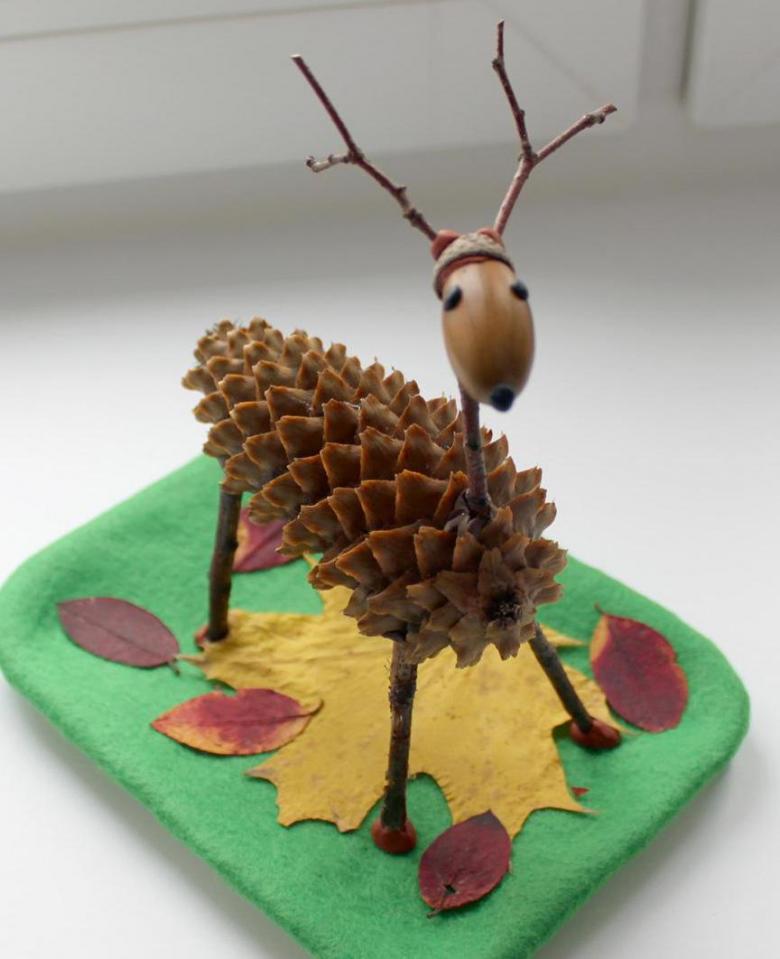
Step-by-step schemes-instructions for masters
Before proceeding directly to the work, prepare a workplace for yourself. The process of creating holiday crafts should bring pleasure, and well-prepared material and tools will greatly save your time and patience.
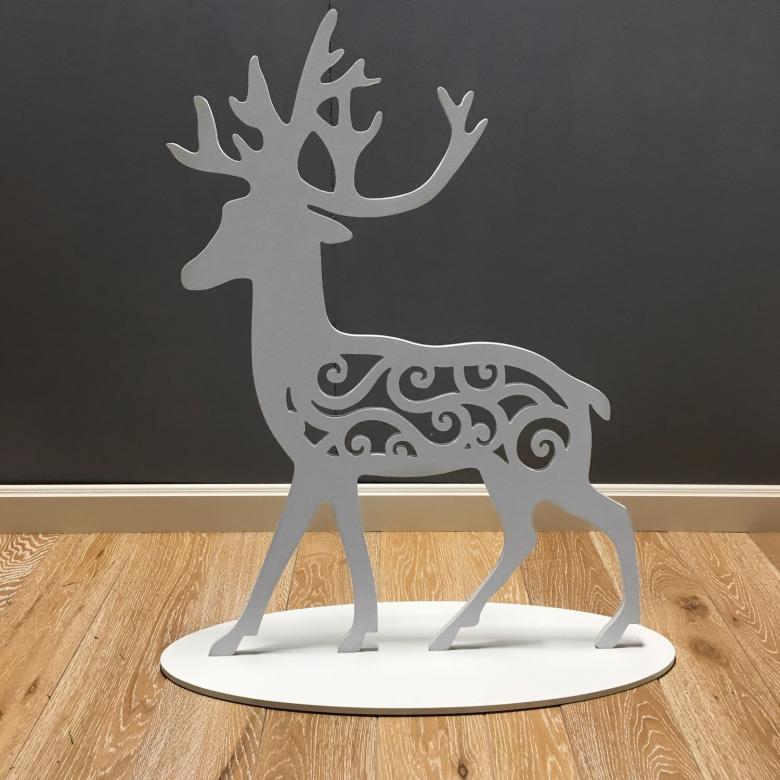
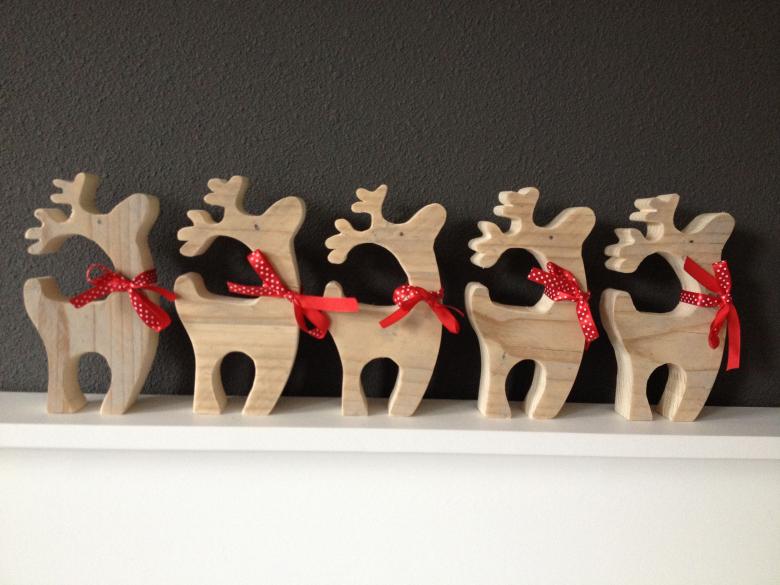
Creating reindeer from cardboard and foil
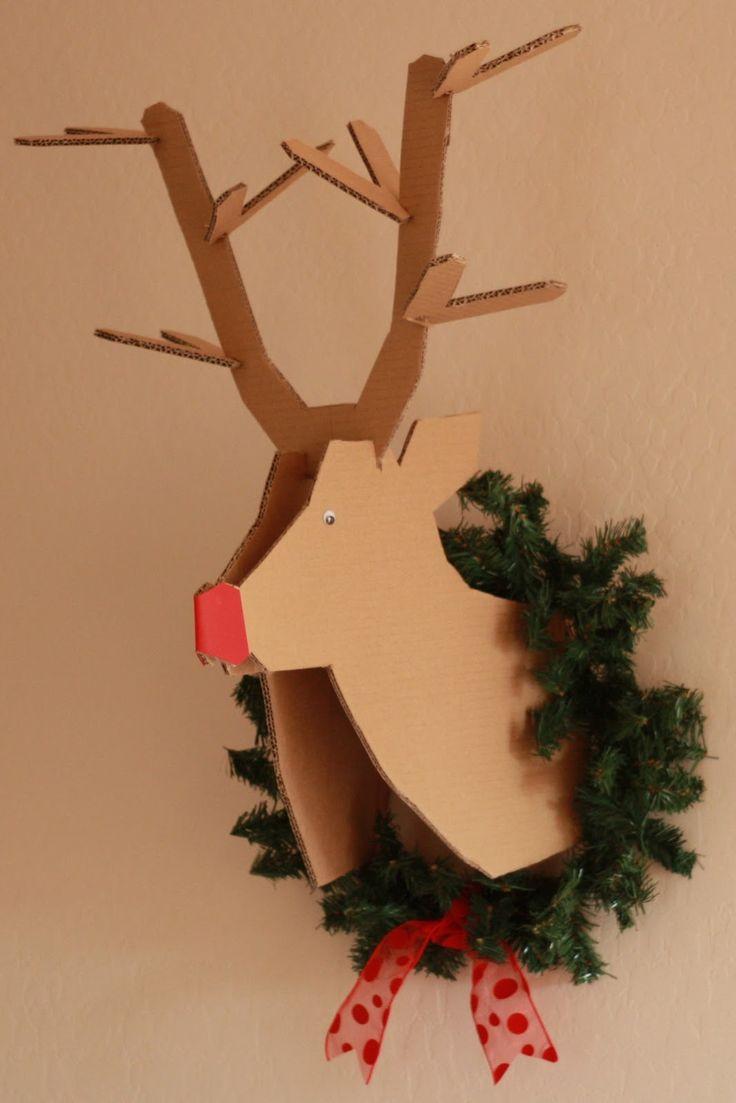
Today we are making a miniature tabletop version of a cardboard reindeer, so for the work we will need:
- Cardboard;
- A ready-made template or drawing to create a template;
- Scissors, glue;
- Paints and brushes.
Step by step scheme for the work:
- According to the made template on a sheet of cardboard draw the compound parts for our figure.
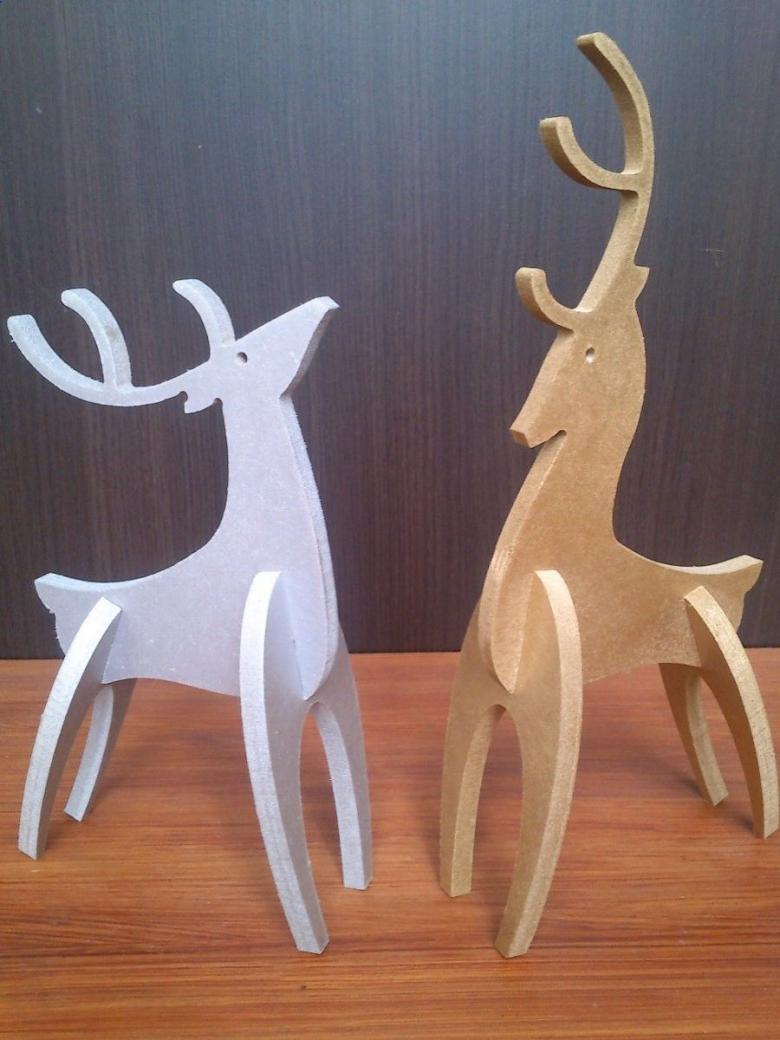
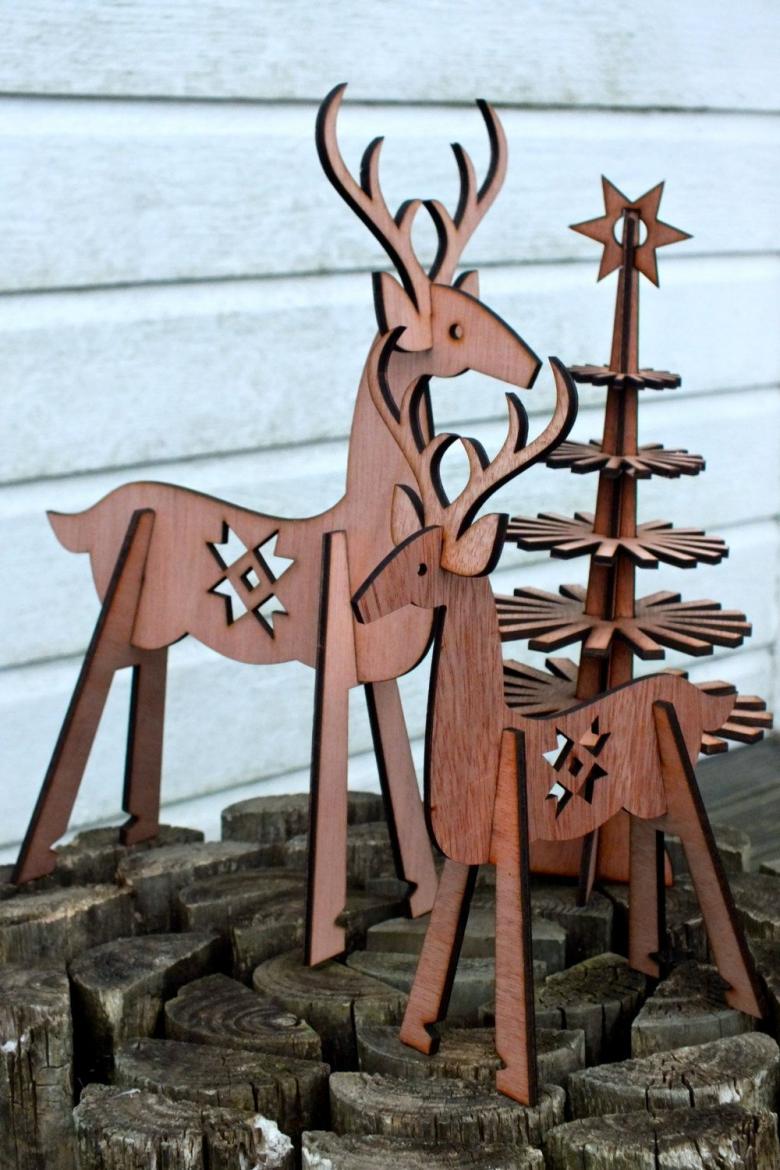
- Consistently cut out: the body, head, two pairs of legs. Our reindeer model is non-volumetric, but it has its own special feature. We will assemble it by having special grooves. These grooves you are sure to meet, downloading a sample for the crafts from the Internet.
- In our cardboard blanks cut moves-slots with a stationery knife.
- Assemble the layout of the deer according to the scheme.
- Using regular watercolor paint, give the animal the desired color.
- Decorate the antlers with grains of snow from absorbent cotton or sequins.
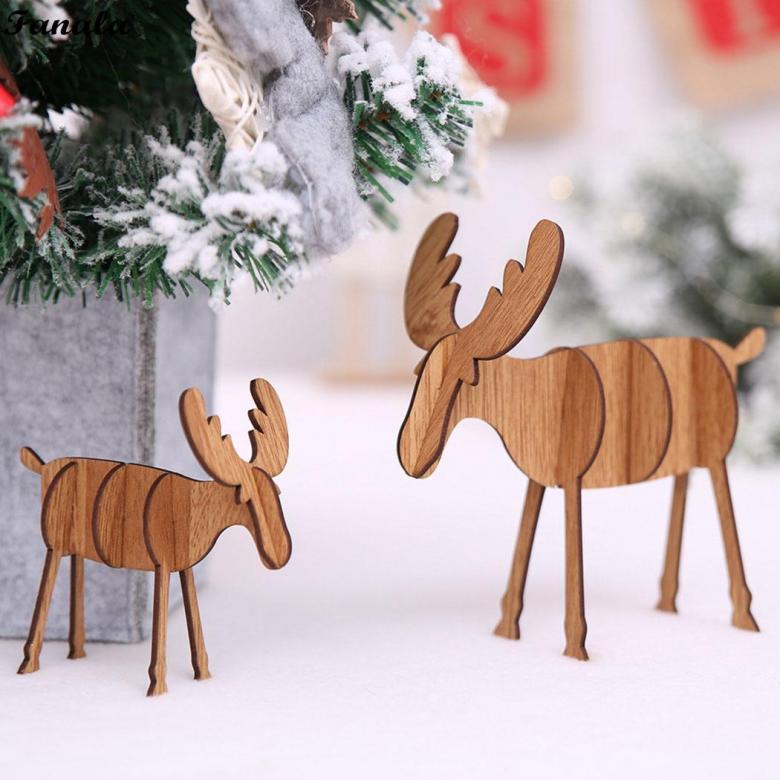
Our holiday deer is ready. Thanks to the frame assembly, it is quite stable. Therefore, you can use the handicraft as a decoration of a bookshelf in your room.
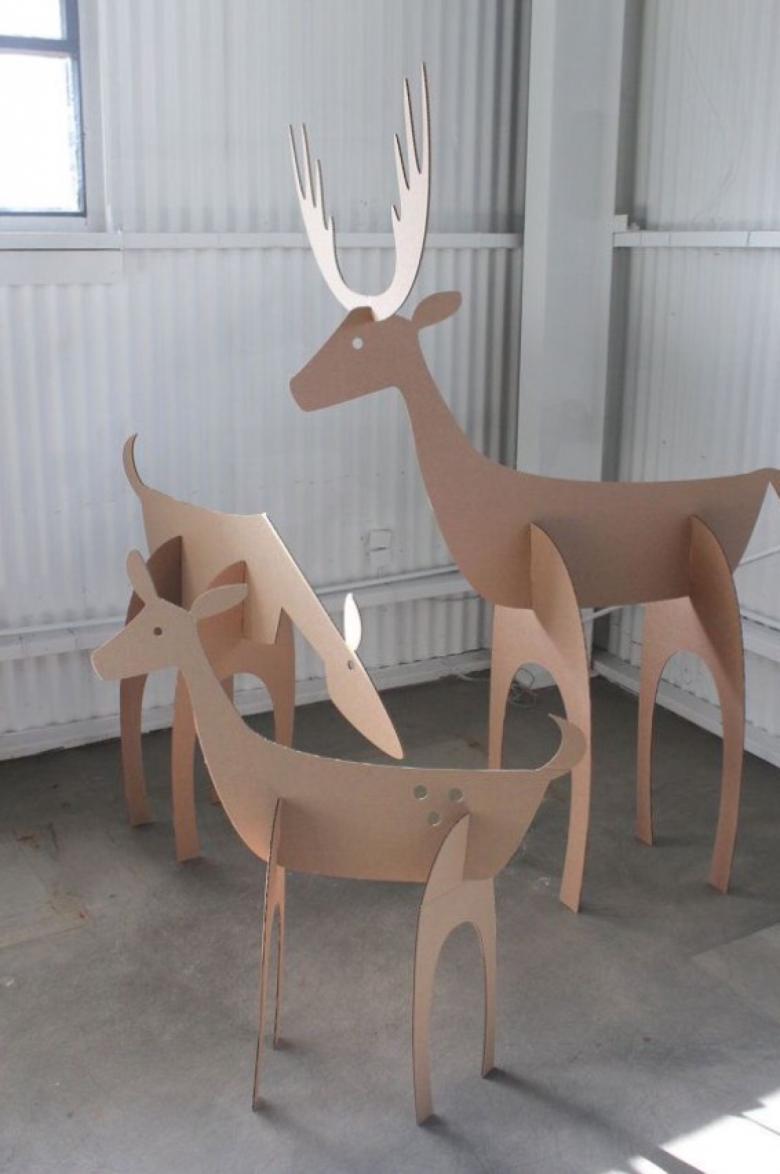
Making a reindeer out of plastic
To create the following figure we will need:
- Several plastic bottles of 1-1,5 liters.
- Some twigs to make the legs and horns.
- A sharp knife, glue.
- Some plasticine.
- A base for the figure.
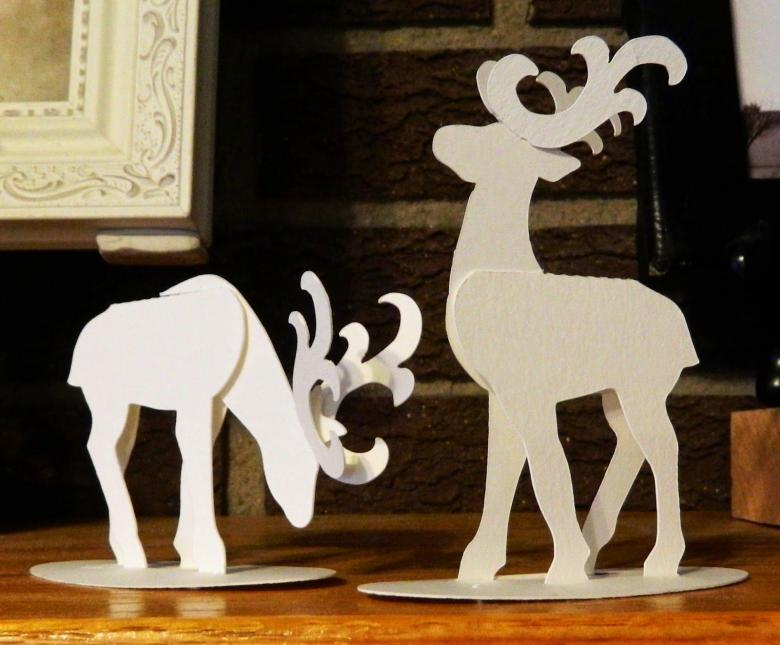
Let's begin to work on the craft:
- In the main bottle, which will serve as the body of the deer, cut round small holes.
- In the resulting holes, we insert the legs sticks, the other ends of which we fix with plasticine on the base (it can be a board, a piece of plywood, foam plastic). Perhaps you and your child decide not to stop and make a complete composition. In this case, the basis for the composition you will already be ready.
- For best effect, dab the joints between the body and legs of our deer.
- Let's take care of the head. For the neck we can take either a stick or a foil base roll. Both ends of our "neck" we put through the holes in the body and the head, which is played by another bottle.
- Now it only remains to add expressiveness to our deer: draw a muzzle, attach sticks horns. The more twisted twigs we find, the more realistic our product will look.

Leave the finished figure for a few hours, letting the glue harden sufficiently. Install the craft on the windowsill in the child's room as a pleasant reminder to the child of your work together.

Figurine mascot for a backpack
To create a New Year mascot souvenir, we need to prepare:
- Pieces of felt;
- Thread with needles;
- Satin or guipure ribbons;
- Pins.
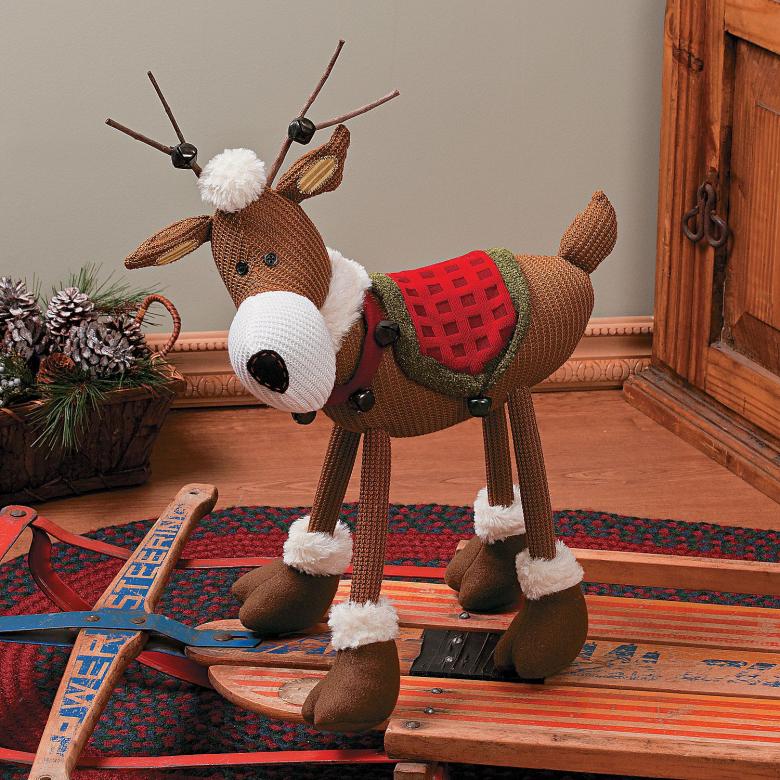
Let's get to work:
- Prepare a template: you can find on the Internet a drawing with the right proportions, which we transfer to a thick cardboard.
- According to the template, we cut out blanks of fabric, leaving 1 cm to form seams.
- Fold two identical pieces together, backside out. Sweep and stitch our product.
- Now you have to turn out the workpiece for the figure through the left "window".
- Inside the blank place the filler fabric and sew the "window".
- Glue our deer beady eyes, nose. On the neck tie a band of guipure.
- Now, using a pin, you can put our holiday symbol on a backpack, bag or give it to a loved one. After all, a gift made with your own hands is much more expensive than a purchased gift.

Christmas tree decoration for the New Year
Prepare the following material:
- Styrofoam;
- Sharp knife;
- Paints and brushes;
- Small paper clips;
- Satin ribbon.
So, let's start creating a Christmas toy reindeer:
- Prepare a template (you can draw or download a ready-made sample).
- According to the pattern, draw the figure of our future toy on foam plastic.
- Cut out the reindeer from the working material.
- Now you need to smooth out all the irregularities on the product. To do this, grind all the irregularities in the cuts of the toy.
- We paint the figure in the desired color, finish drawing the eyes, nose.
- Unfold one paper clip.
- Insert it into the foam with its sharp edge at about the level of the back of our product.
- On the other end of the paper clip we formed a loop, in which now we insert a satin ribbon.
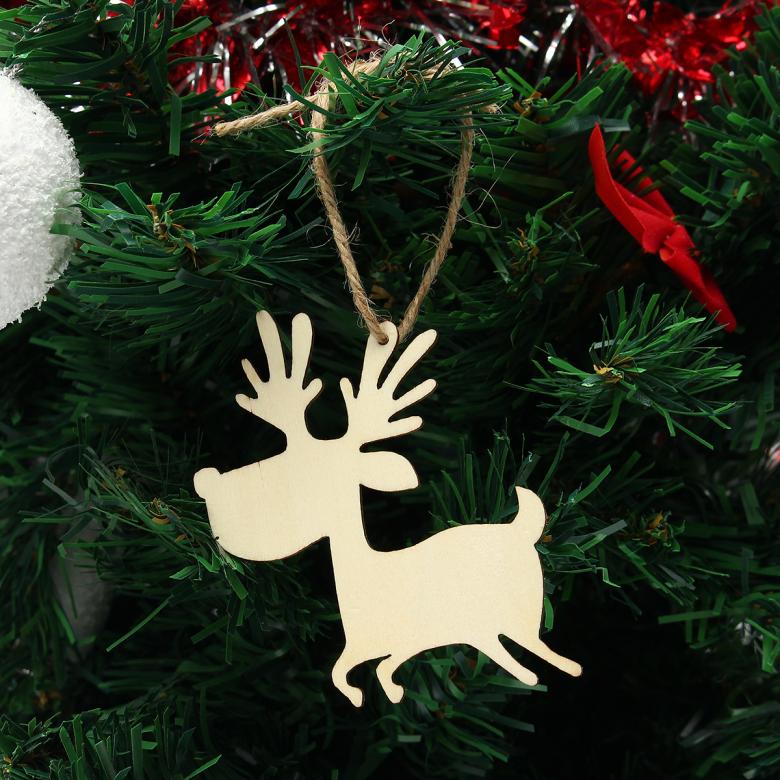
Our Christmas tree toy is very light, so the paper clip will perfectly support the weight of our new toy.
Now, on to decorating the Christmas tree for the holiday!
We've seen quite a few ways to make cardboard and fabric reindeer figurines, appliques and compositions, souvenirs and Christmas tree toys. But all of these ways are only step-by-step diagrams for beginner craftsmen. Armed with imagination, a small set of tools and improvised materials, you can achieve much more. So creating the best symbol of Christmas and New Year is your goal!

