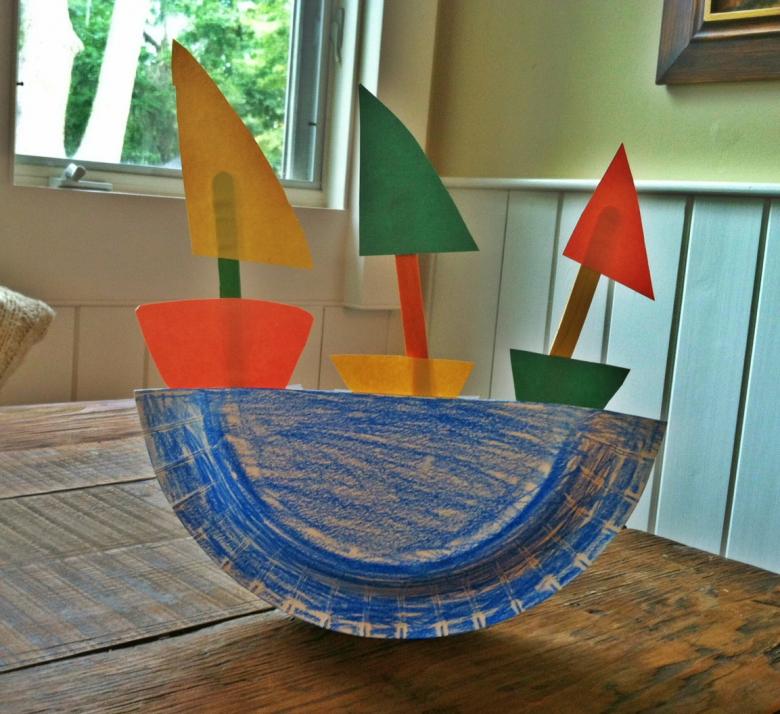
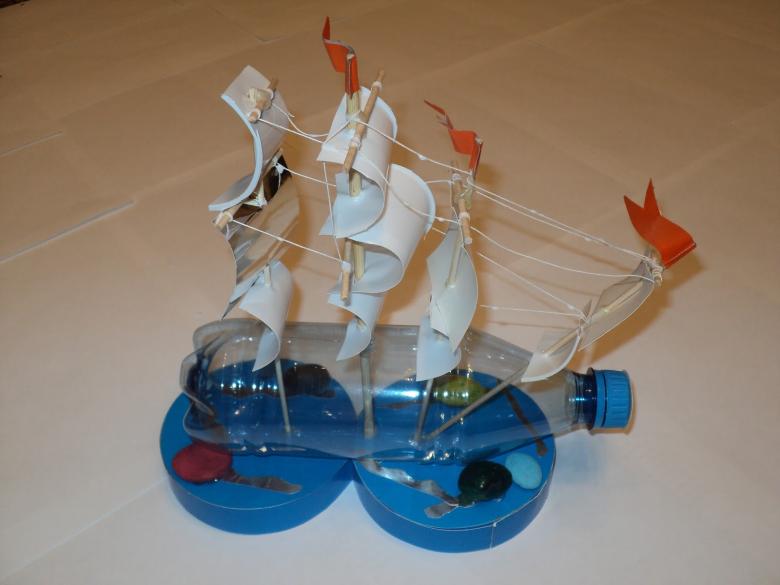
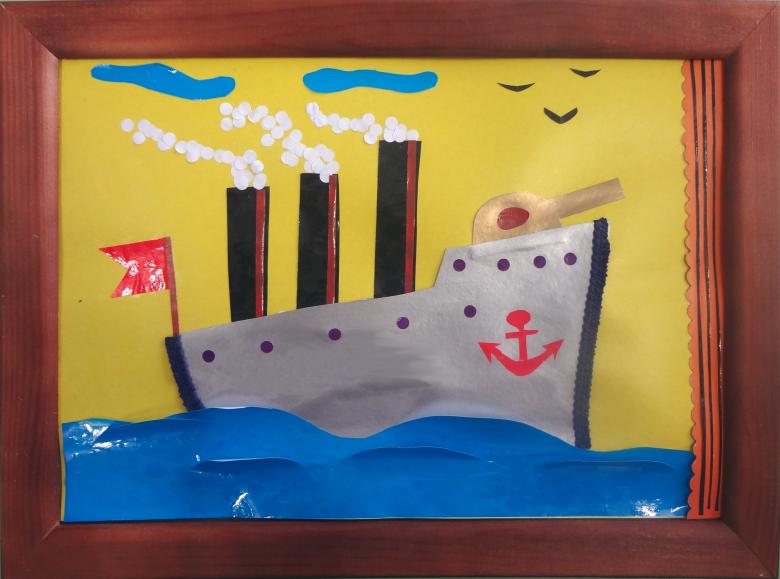
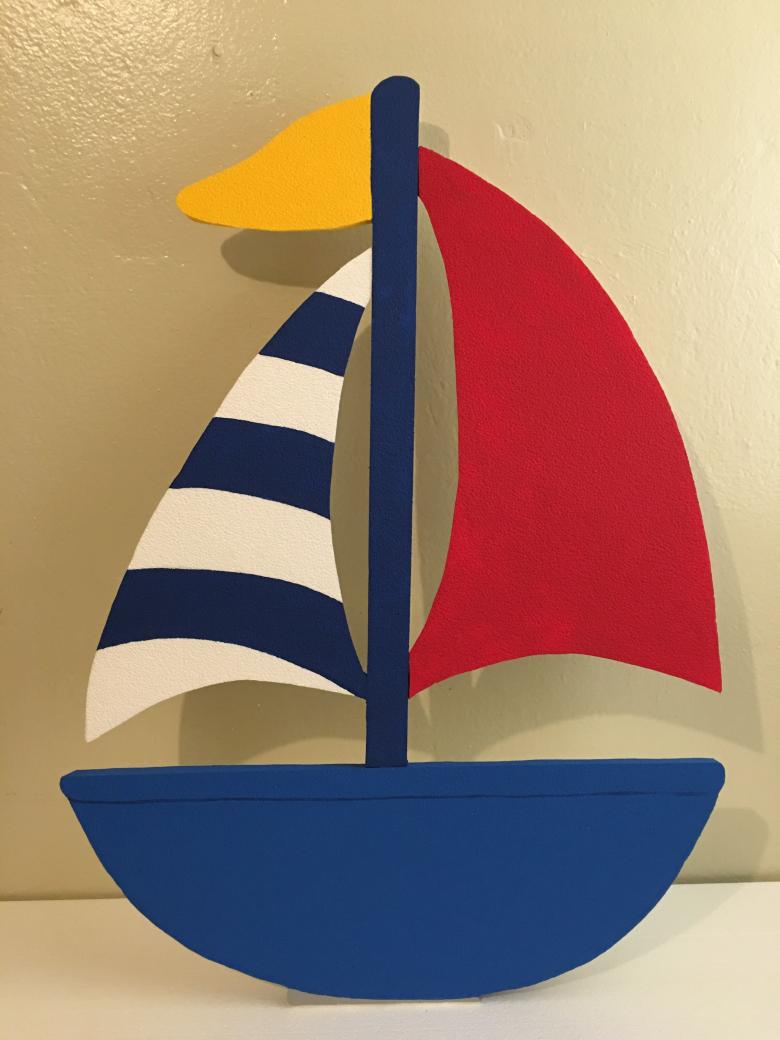
Handmade boat craft - three useful master classes with descriptions and photo ideas
Surely each of us as a child had to run in a puddle or a spring creek ships of paper. The secret of their manufacture passed from mouth to mouth, from generation to generation, from father to son! And now there is an opportunity to quickly learn this art on their own, visiting a specialized website. For example, such as this one!
We offer you 3 step by step instructions for the performance of simple models of ships in the origami technique.
Materials to be used in the master classes
To work we will need the following :
Paper .
At the beginning any paper will do: from a notebook page to ordinary office paper. But considering that we are going to make floating models, in the future it is better to use thicker paper, such as drawing paper. There is also printing paper. It is used for glossy magazines and geographic maps. It is resistant to soaking and is perfect for ships!
Tools
Scissors: you will need scissors to make a square sheet from a rectangular one. Later on, you will also need a metal ruler, a box cutter, and a sharpened T, 2T, or TM (H, 2H, HB) pencil for marking. This will immediately improve accuracy and neatness, and the fold lines will be just perfect! Instead of a knife, some people use a sharpened stick.
Be safe: a knife and scissors are not toys!
PVA glue: some models have weak joints. We will strengthen them with glue.
The workplace
You can, of course, fold the boat on his knees, but then get the appropriate quality. Organize yourself a workplace: a table with good lighting!

Now that the organizational part is done, let's get to work! Let's start from the simple to the complex. During the familiarization phase, we won't use bending tools when folding. This will cut down on time.
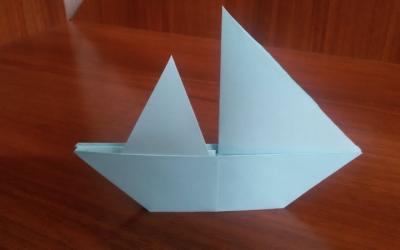
Model #1: Boat.
- We take a sheet of A4 office paper. It is rectangular, and for this model we need a square. Place the sheet vertically. We take the right hand top right corner and bend it down until the top side of the sheet coincides in one line with the left side. Firmly press the corner and flatten the diagonal. We get a double triangle.
- Under the triangle left an extra rectangular area, which should be removed. To do this, use scissors or cut with a knife with a ruler.
- Open the double triangle and get a square.
- Fold it in half along the horizontal axis. We get a double rectangle. Unfold it.
- Each rectangle fold in half inside, the central horizontal line.
- What we have, we bend in half again along the horizontal line. Now we have a narrow double rectangle. Arrange it so that it opens at the top.
- Bend up the left and right bottom corners of the rectangle. They should not reach the top edge of about 15 mm. We get a rectangle with bent up corners and a narrow double strip at the top.
- From this strip to form the sides of the boat. To do this, each strip is divided in half lengthwise and bend along this line down 2 times.

Attention! Our strip (board) must hold the bent up two corners. This is the weak point in this model! You can lightly glue the corners and the strip to strengthen the construction.
- Turn our product on the other side and form the second side, bending the top open edge of the rectangle down 2 times. The boat is almost ready!
- It is necessary to form a boat keel, on which it will stand. To do this we bend the bottom, closed part upwards by about 10 mm. Unbend.
- On the other side we turn and fold up again for 10mm. Unbend. These are the lines we are going to use to right the keel.
- Stretch the sides in different directions and push a sharp keel inside to create the bottom of the boat. This will give stability to the boat. Ready to sail!
Model #2: Catamaran
The first steps are similar to the previous one.
- We are making a square. Description on how to make it, see instructions "Boat".
- Bend it in half along a vertical line. Spread.
- Now, each half bend in half inside the central vertical line. Spread out.
- Turn the sheet of 90 degrees. Repeat all operations: fold it in half along a vertical line. Razrabatyvayut.
- Each half of the bend in half inside the central vertical line. Razravlyayut. We should get a sheet, divided into 4 large squares and 16 small. It is important to understand for future work.
- We make two large diagonals, folding them in half our workpiece. We straighten.
- We look at the unfolded sheet. It is divided into four squares. In each of these squares to make a diagonal.
- To do this, we take each of the 4 squares at a corner and bend them diagonally inward, to the center of the large square and straighten out.
- We got a large square with diagonals, which consists of 4 smaller squares, also divided by diagonals.
- Fold the left and right halves of the workpiece in half inside, to the vertical center line.
- We look at the vertical billet. It now consists of two squares: an upper square and a lower square. These are the two parts from which we will form the catamaran boats. We work with the bottom square.
Attention! A difficult moment! In the center of the bottom edge of the rectangular blank there are two corners. Pull them in turn up into the middle of the workpiece. We get the diamond, located at an angle downward.
- The upper corner of the obtained diamond consists of two corners. Stretch them in different directions, while raising his bottom corner up. It turns out a flat boat. Turn the workpiece 180 degrees.
- Repeat all previous steps with the second half and get the second boat, symmetrical to the first.
- Bend the workpiece so that the two boats are added along a horizontal line.
- Spread the sides of boats. Catamaran ready to sail!
Model number 3: Classic boat
- Take a sheet of A4. Place it vertically. That is, the small side of the rectangle will be at the bottom. Bend it in half along the horizontal axis. We get a rectangle, closed at the top and open at the bottom.
- Mark the middle of the upper side.
- Fold the top left and right corners down to the vertical axis of the rectangle, which passes through the marked middle. We get two triangles, bent to the center, and under them a long narrow strip - a double rectangle.
- We unbend the strip up first one side, turn the workpiece and also unbend up the second strip.
- On the upward bent strips to bend the protruding corners.
Attention! Bend the corners to bend inward, between the main triangle and strip. Many people make the mistake of bending the corner of a large triangle. Bent corners should not overlap each other.

- We have a triangle. Take the centers of its base and pull them apart. We get a square, pointing downwards with an open corner.
- Bend the corner of the square upwards, first from one side. Turn over and also bend the second corner up. We have a triple triangle.
- Take the center of its base and pull them apart. We get a square with an open corner down.
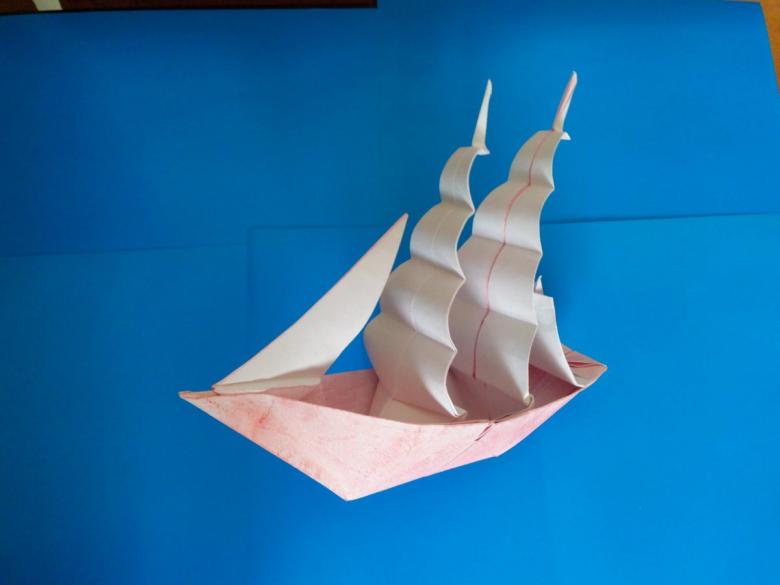
- Take the top corners and pull them in different directions - went boat!
- Now we need to slightly straighten its lower part for stability.
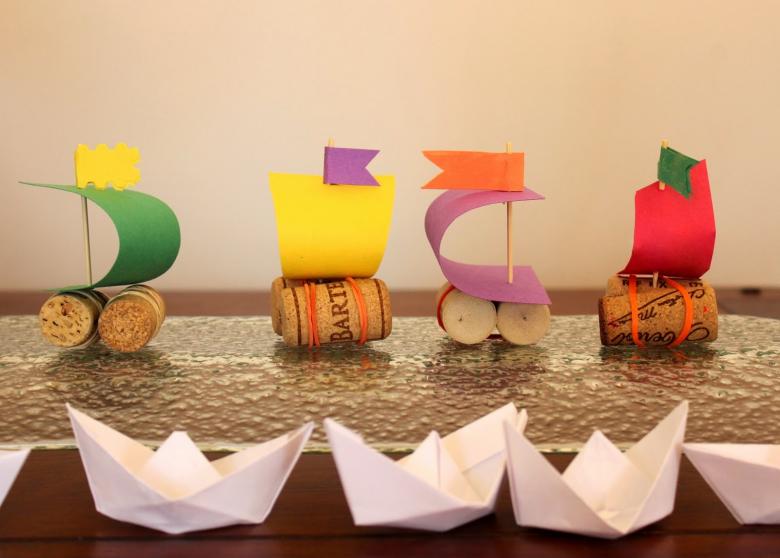
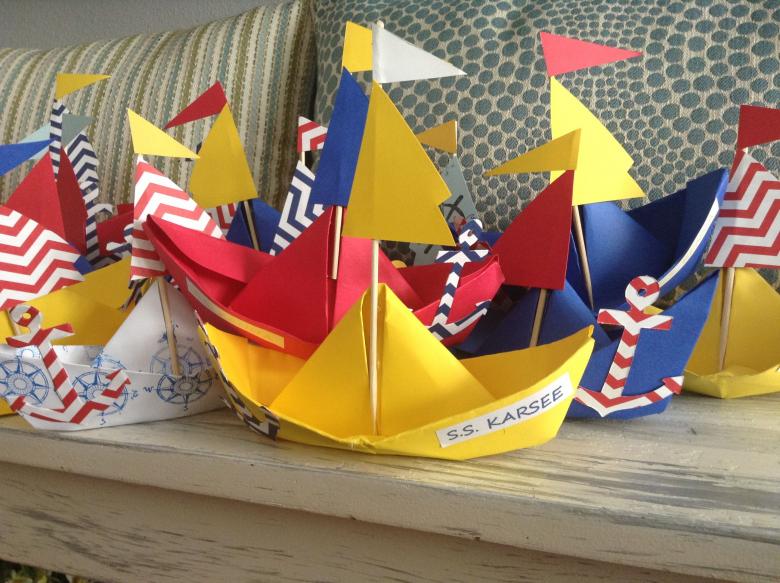
Paper flotilla is ready to sail!
Occupation origami develops attention, accuracy, precision and spatial thinking! Making ships allows you to have a good time with your child, because it involves field testing, and it is always interesting.

