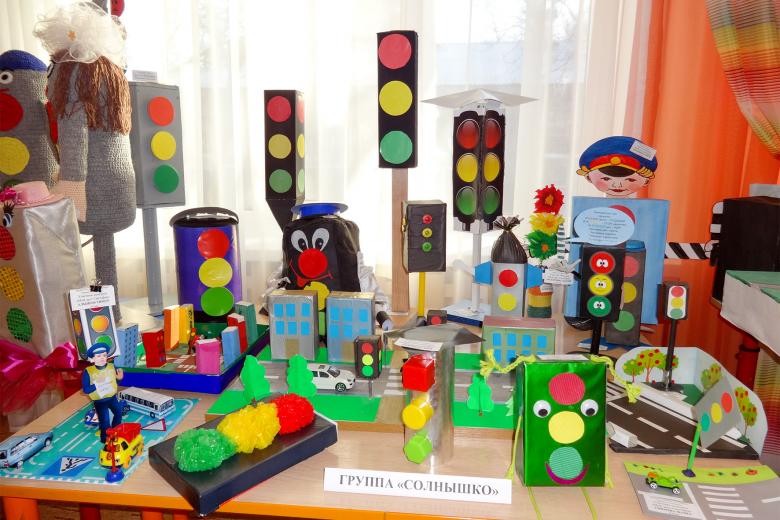
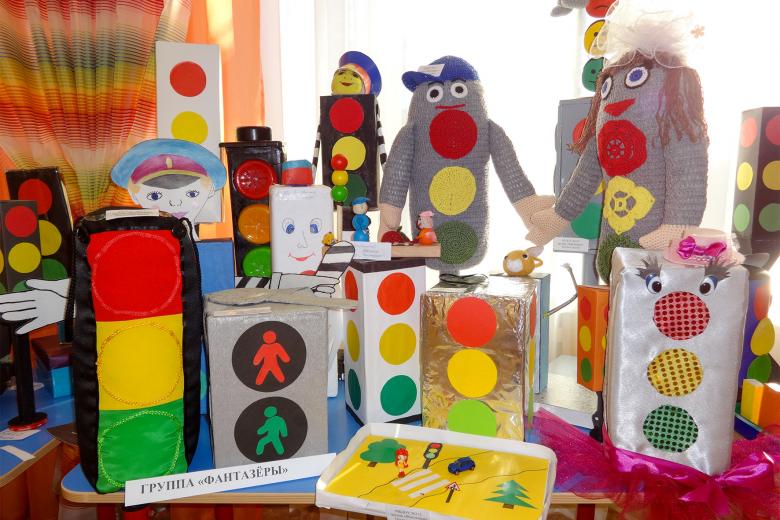
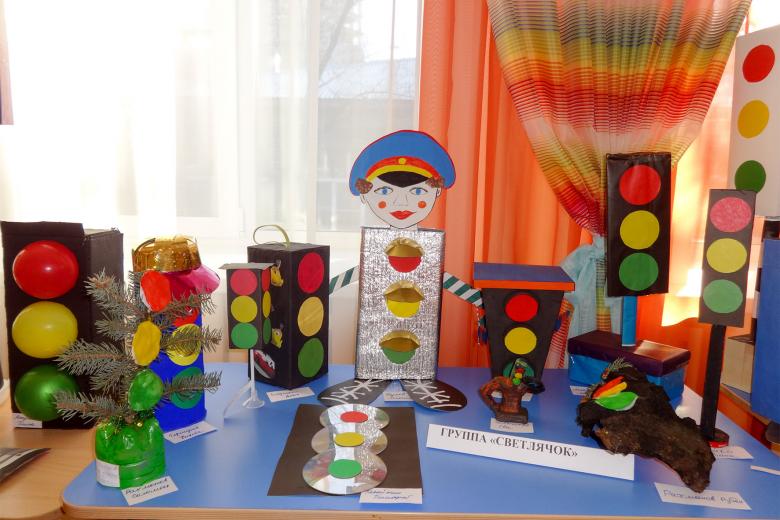
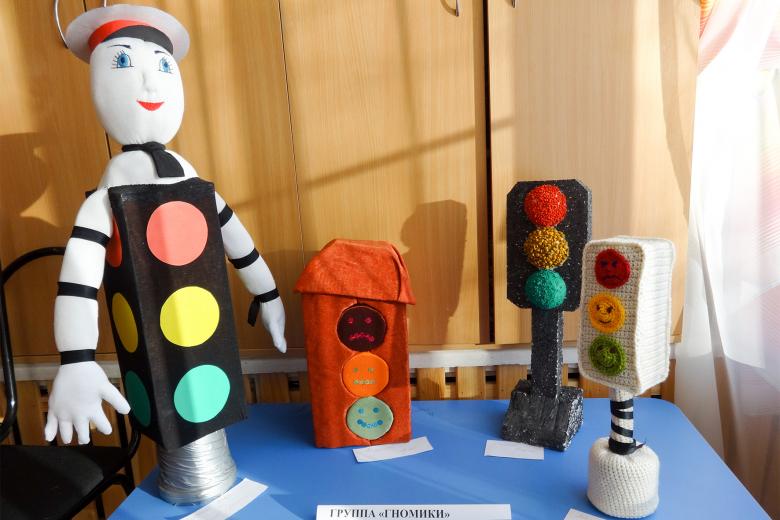
Traffic light crafts from improvised materials - interesting workshops for school and kindergarten
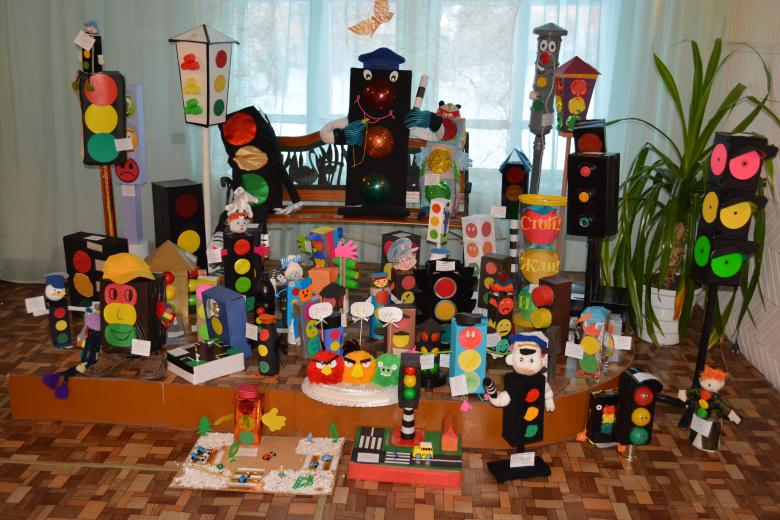
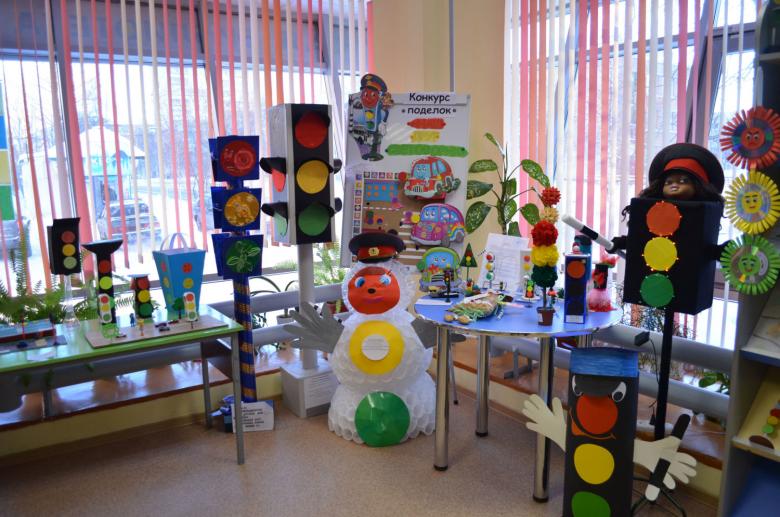
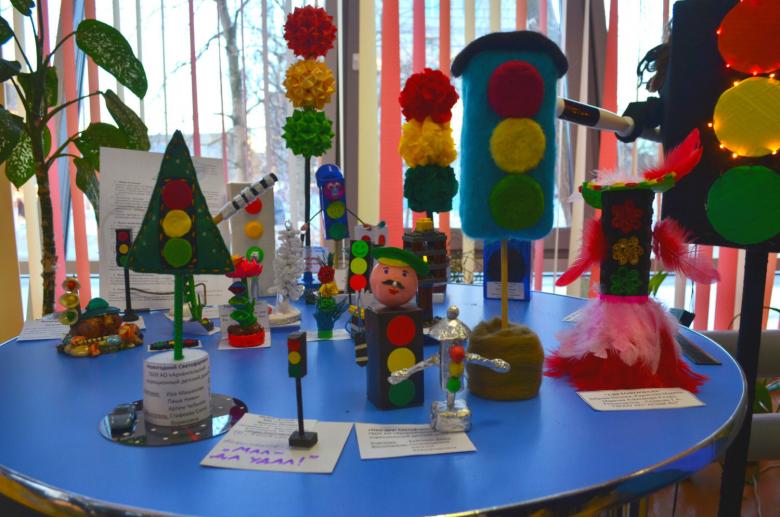
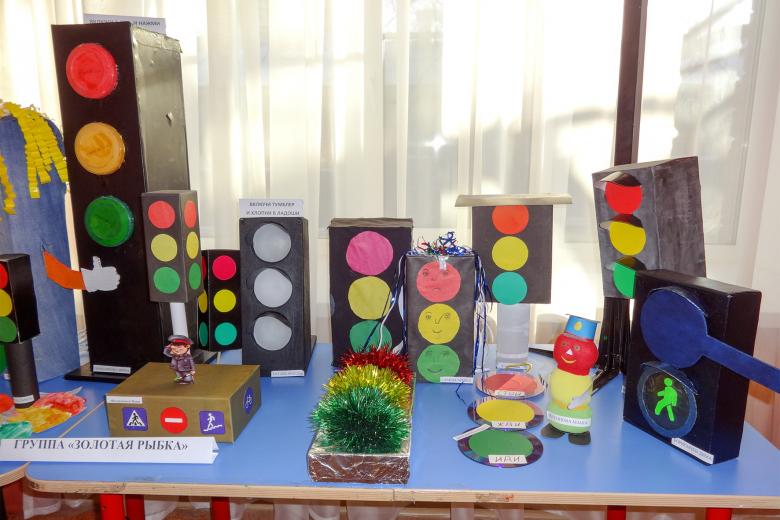
Crossing the street and holding your child's hand, be sure to draw his attention to traffic lights and explain why they alternately light up red, yellow and green. And back home, offer your baby to make his own handicraft "Traffic Light", to reinforce the knowledge gained on the street the rules of the road. Make a craft will have to take into account the age of the son or daughter.
For 2-3 years
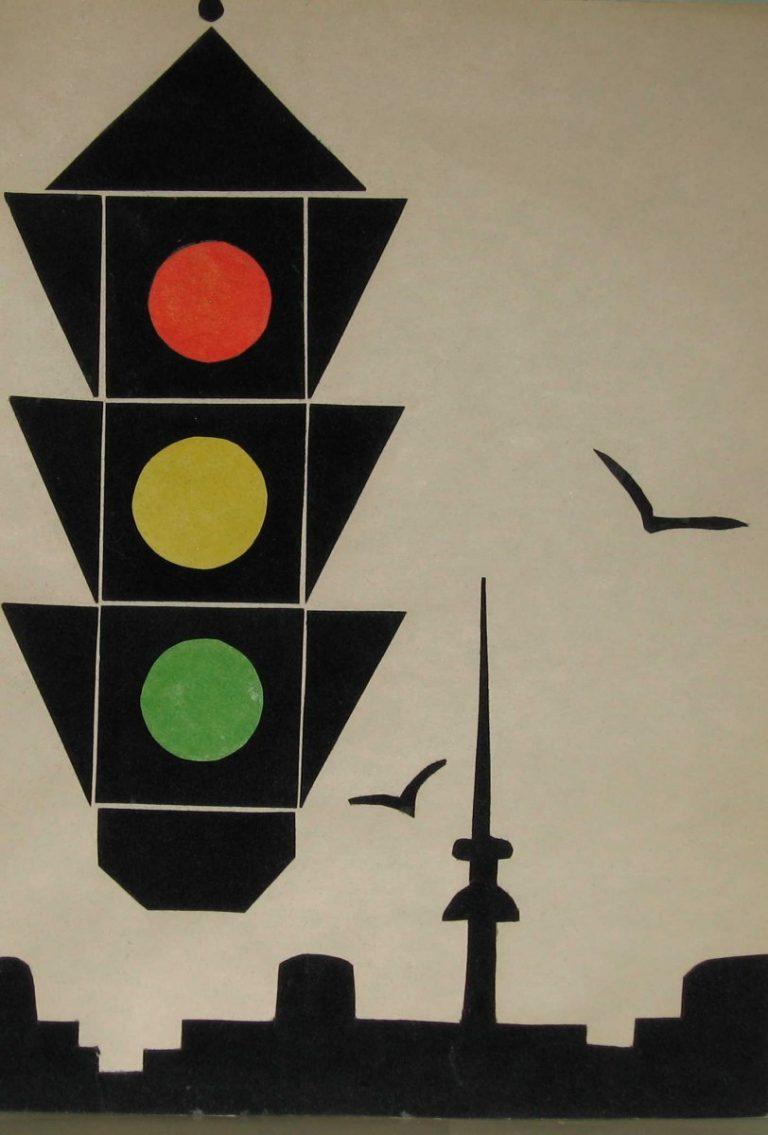
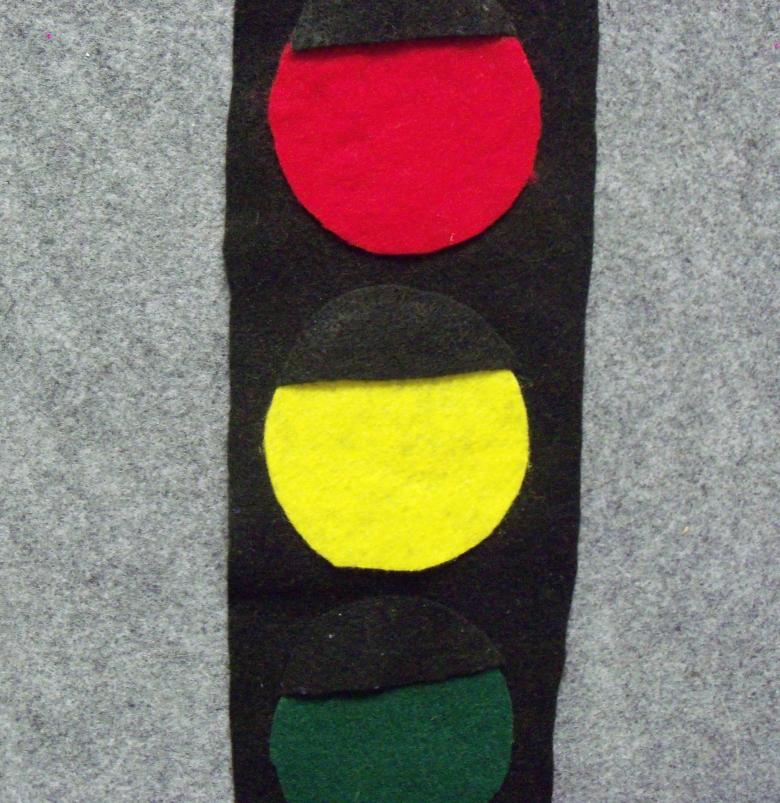
For children who just went to kindergarten, it is better to make blanks in advance. Cut out a rectangle of cardboard, glue a rectangle of black paper of the same size on it. Cut out of black paper three triangles so that their corners went beyond the billet traffic lights.
You also need three circles - red, yellow and green, but smaller in diameter.
Now you can invite your child to do applique. Let him first glue on a black rectangle triangles, and on top of them - circles. While working, you should talk to your child again about what the colors of traffic lights mean.
For 4-5 year olds
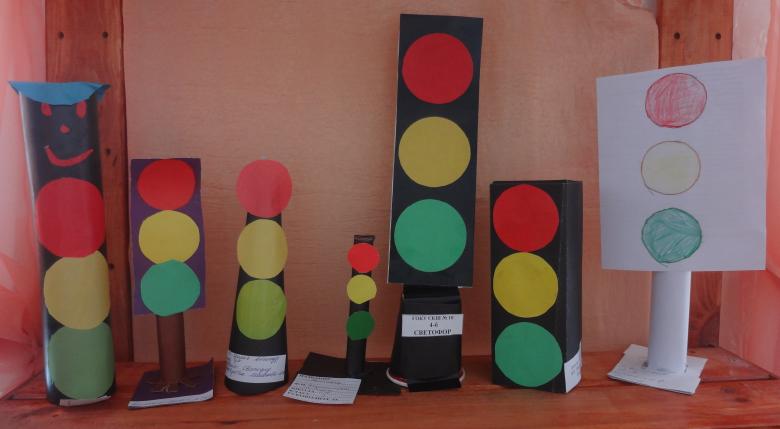
Kids of this age can be given scissors in their hands and let him try to cut out all the details of a future craft. On a sheet of paper make a diagram of the traffic light: draw a rectangle, narrower leg and draw three circles at equal distances from each other with a compass.

The child's task is to cut the colored paper of the corresponding color at random and glue the pieces to the desired circle in a chaotic order. The body of the traffic light and the foot should be covered with pieces of brown paper.
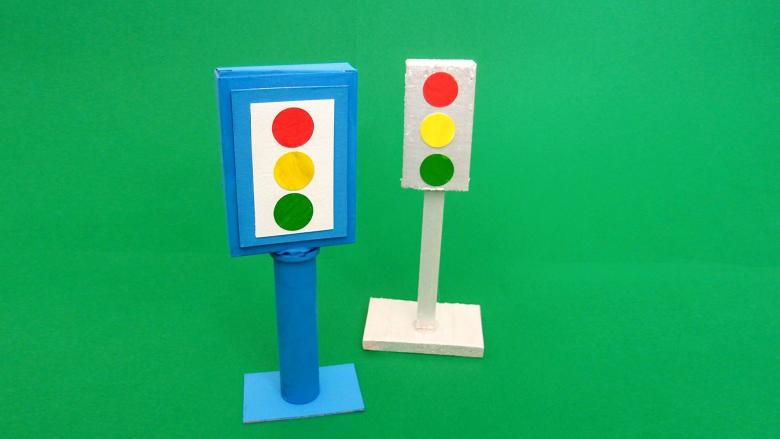
For 6-7-year-olds
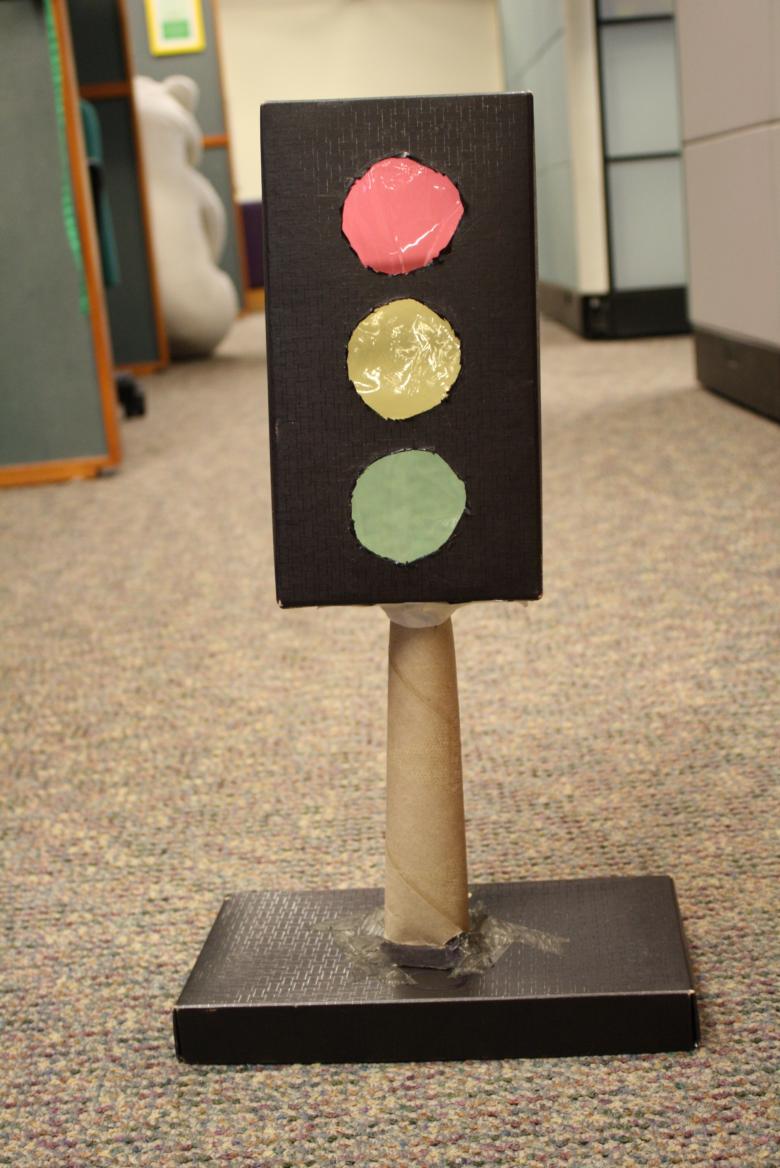
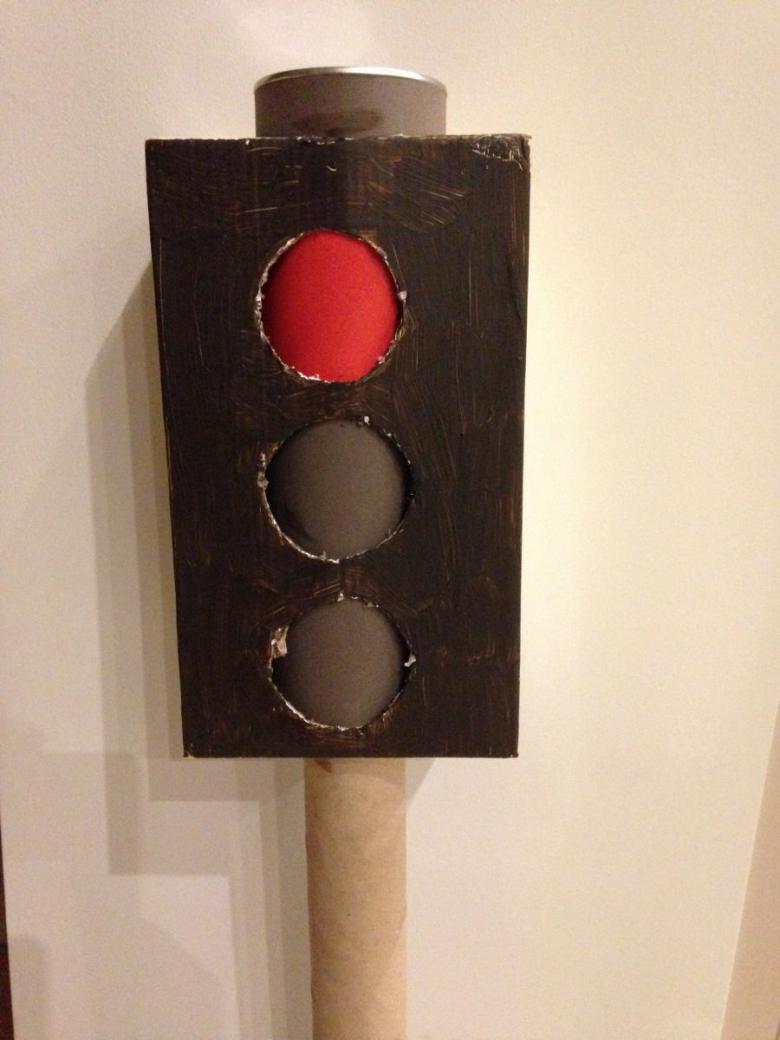
For first graders, the theme of the craft remains the same, but we will complicate it a little. We need to take two rectangular shoe boxes made of cardboard of different sizes. Narrower box will be in the role of the stand, and wider - the body of the traffic light. A child using a circular saw can draw three circles in different colors and cut them out.
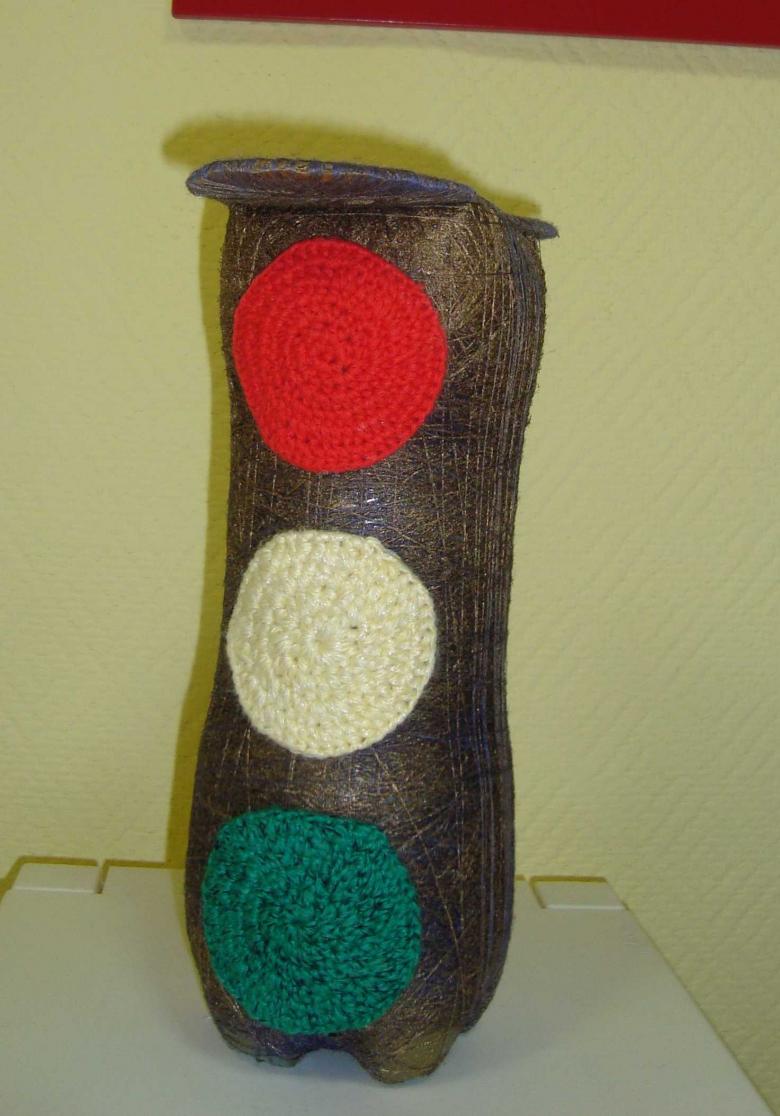
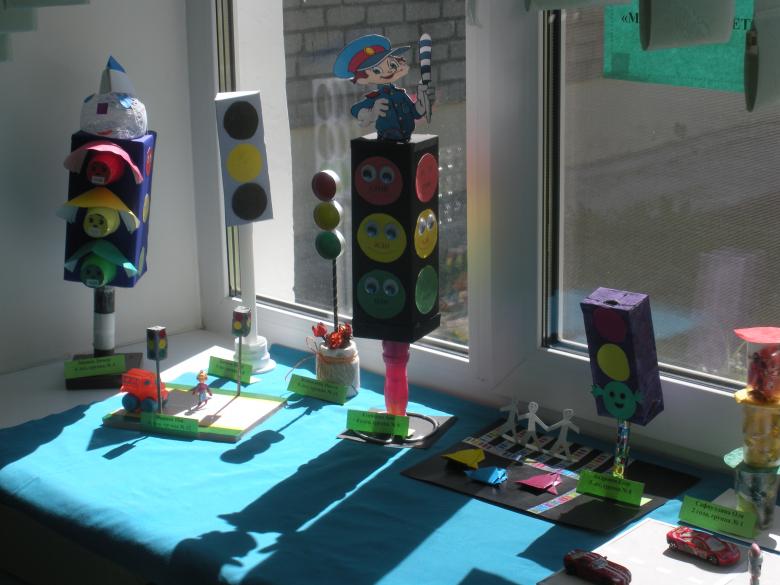
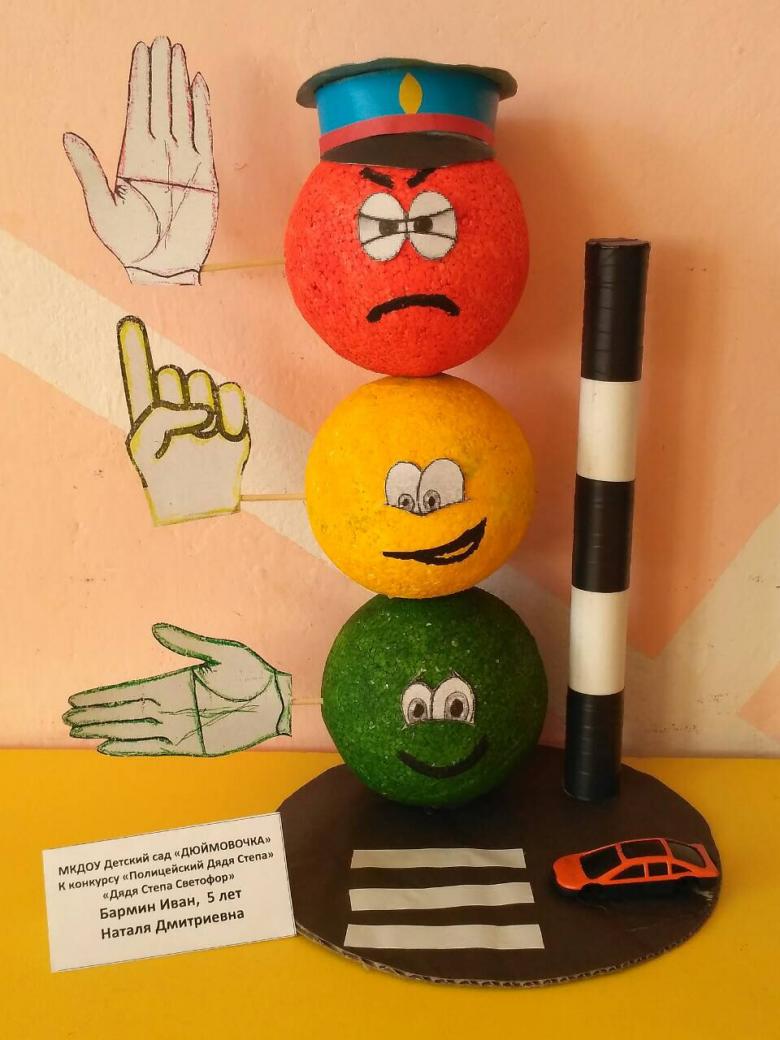
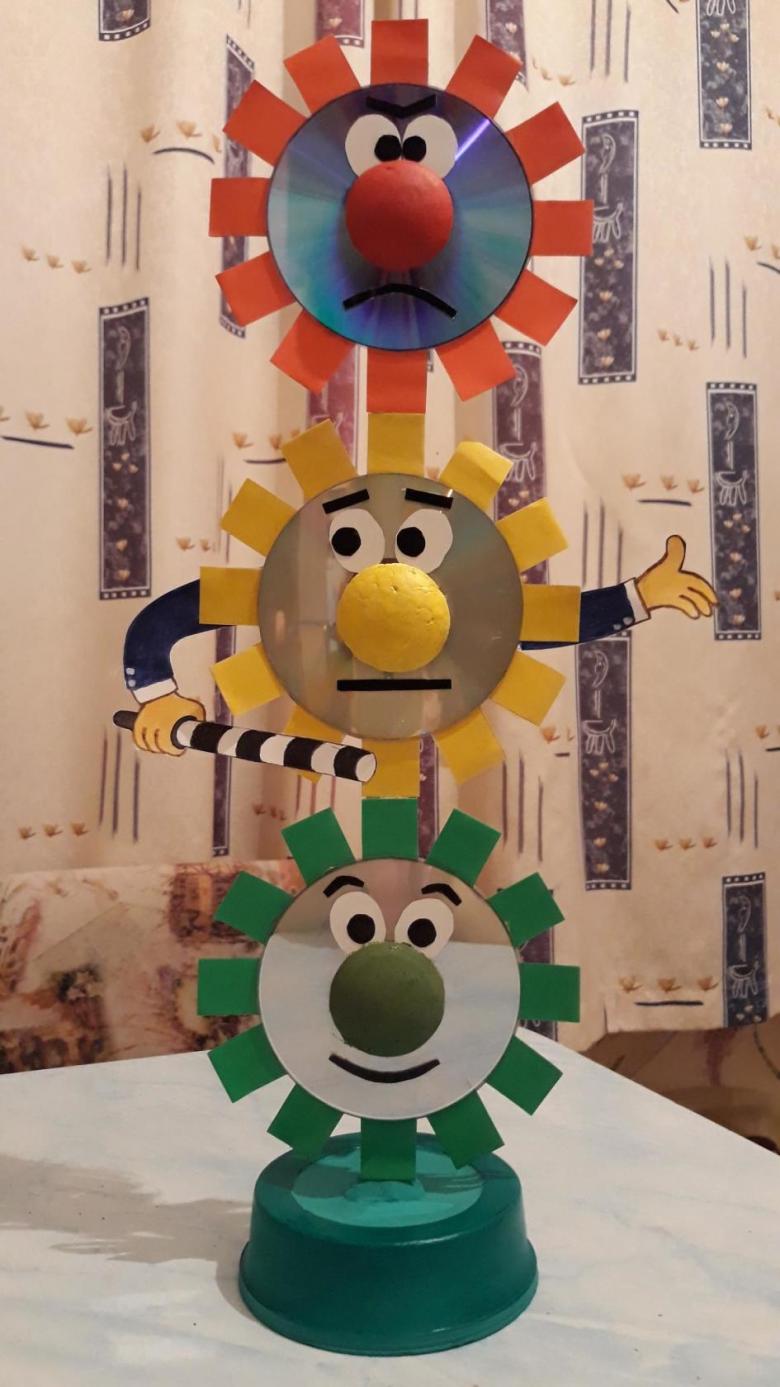
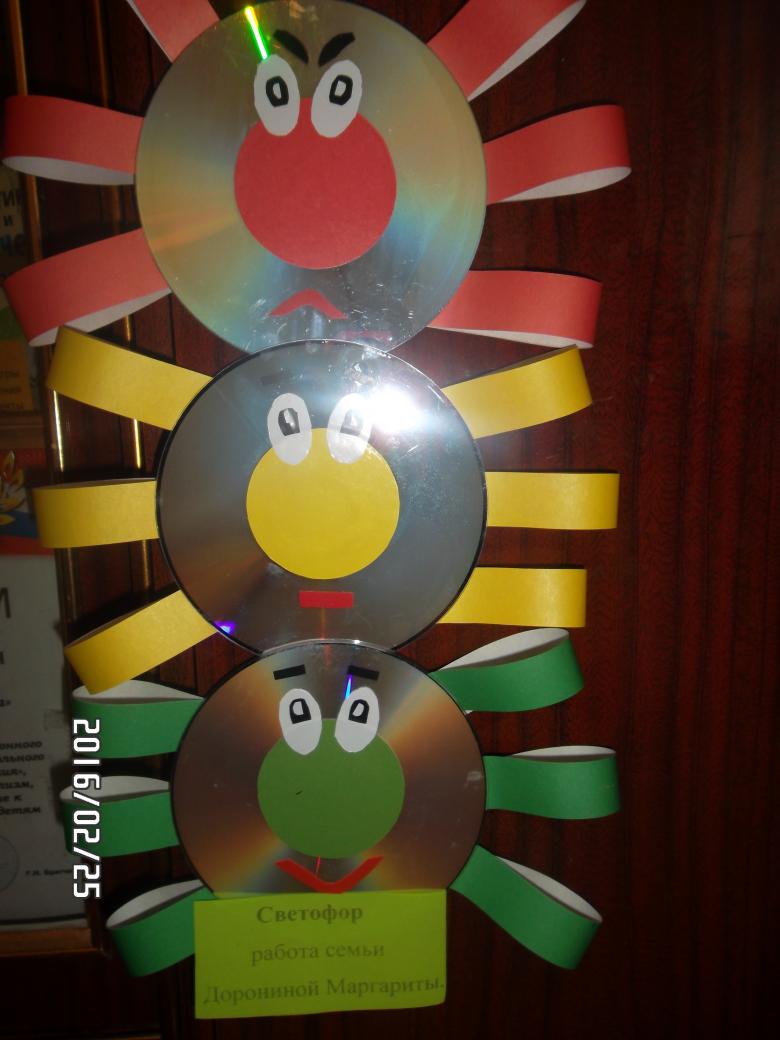
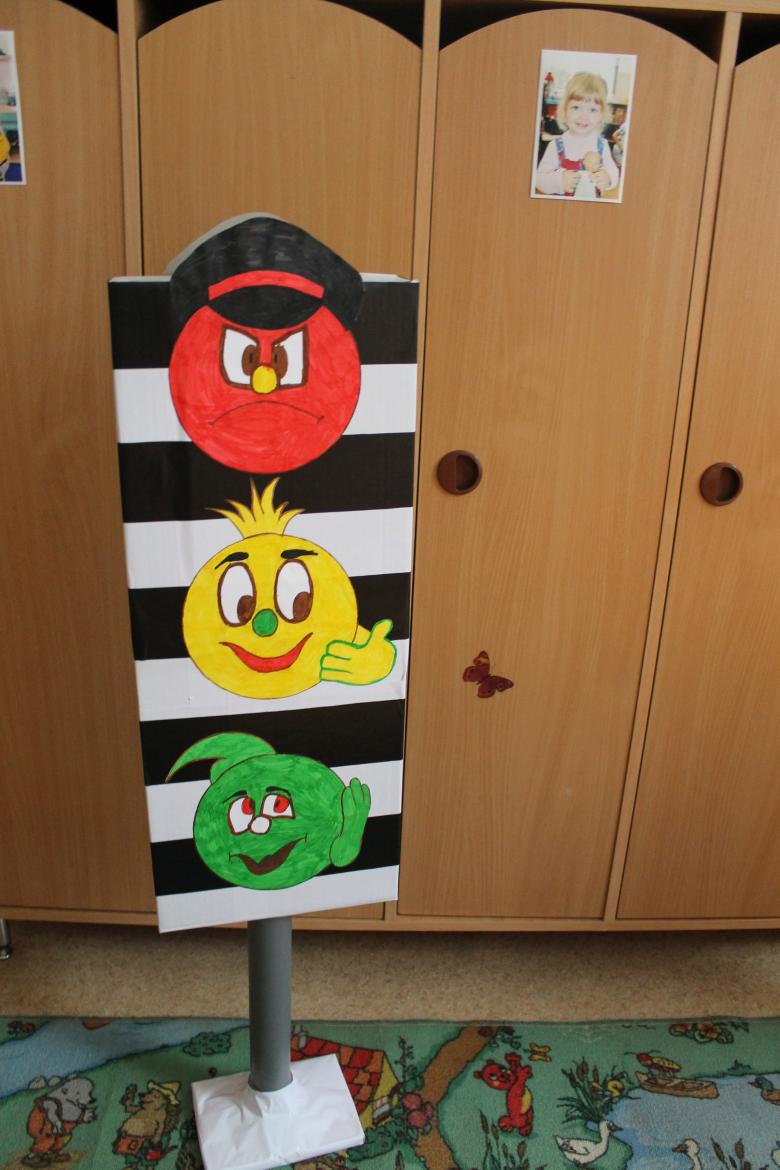
And, having glued the circles one over the other on the box, you should decorate the work, as your imagination prompts. You can turn the colors of the traffic light into cute smiley faces, and under the circle glue bows of the corresponding color.
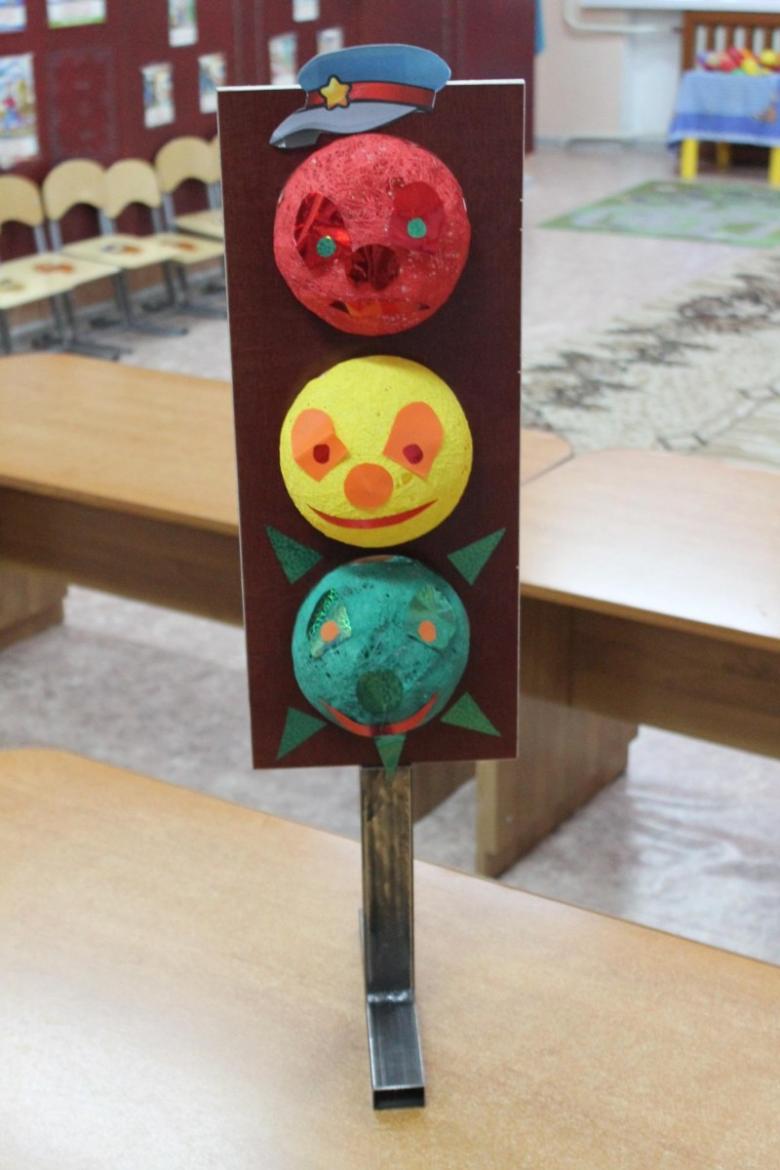
You can decorate the model with applique, and the eyes and nose on all circles to do the same, but the lips should match the value of color. The green circle has a semicircular smile on it, the yellow one has a rectangle, and the red one has the same semicircle as the green one, only reversed.
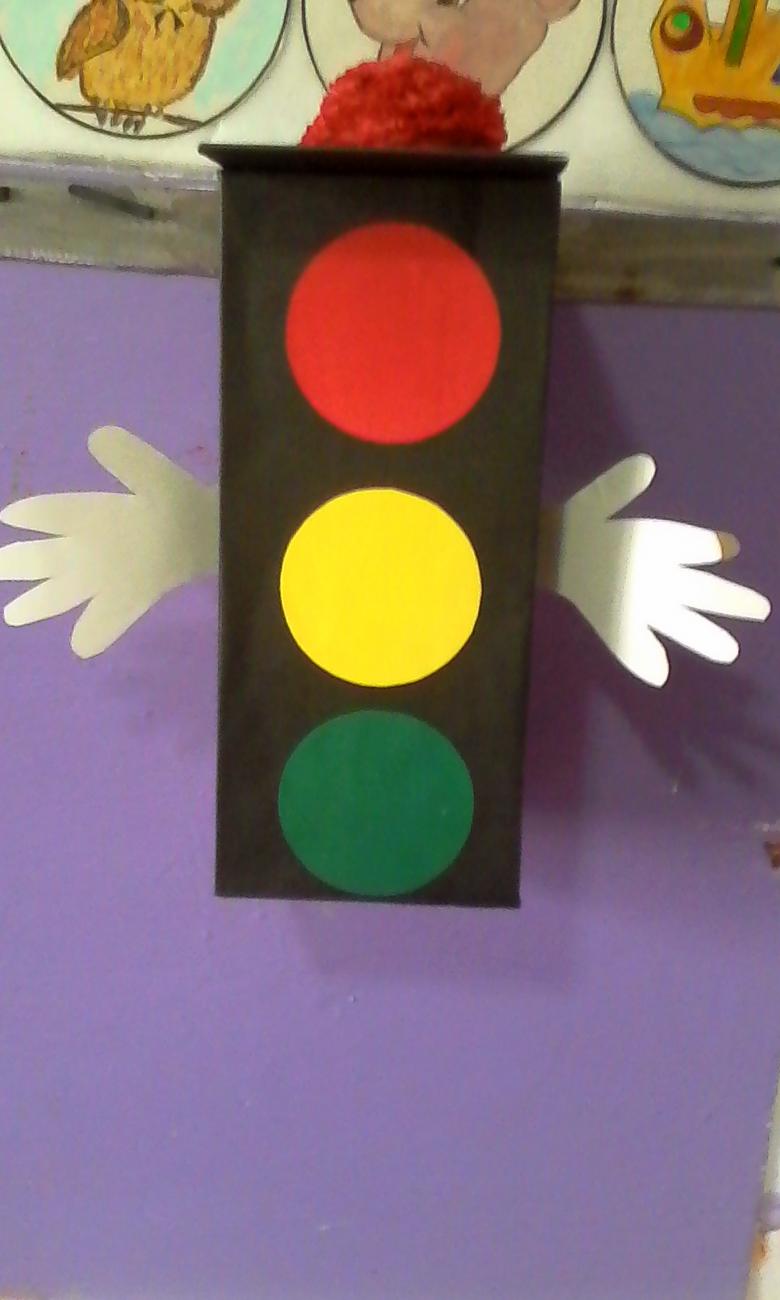
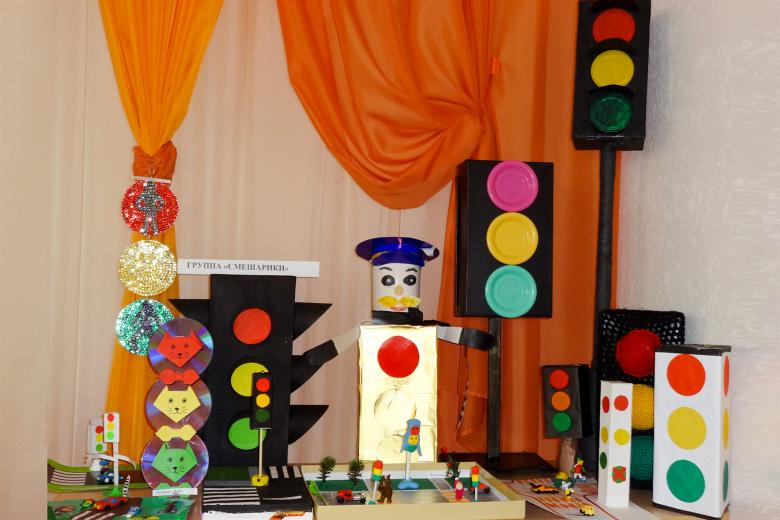
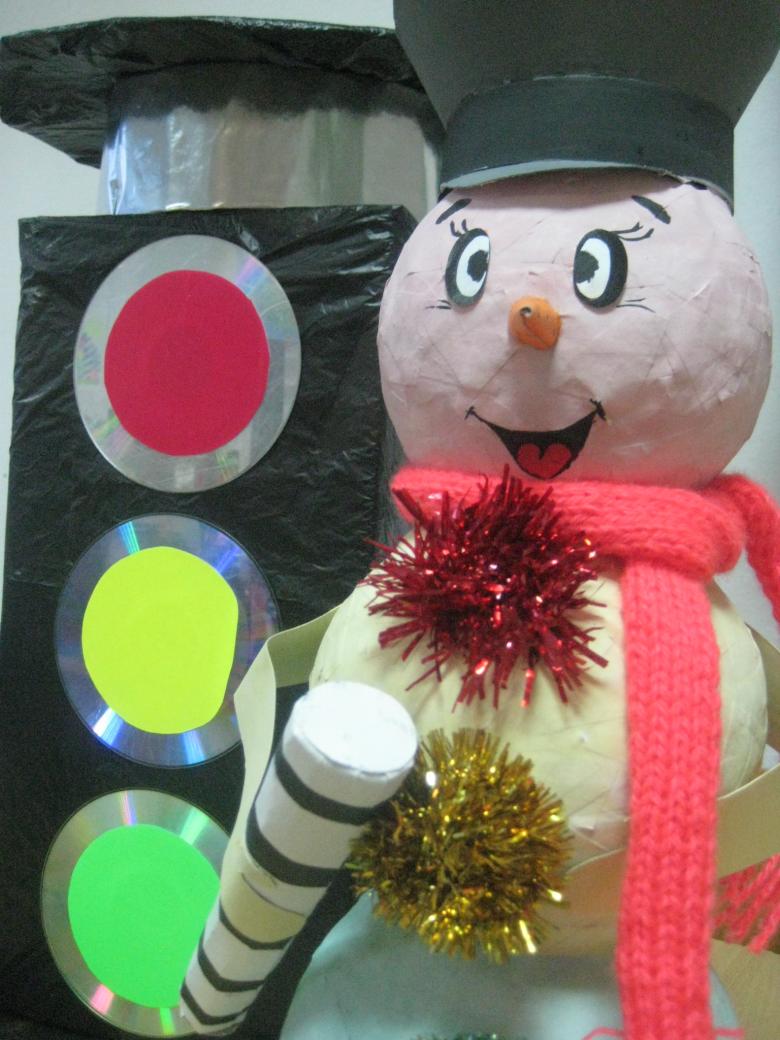
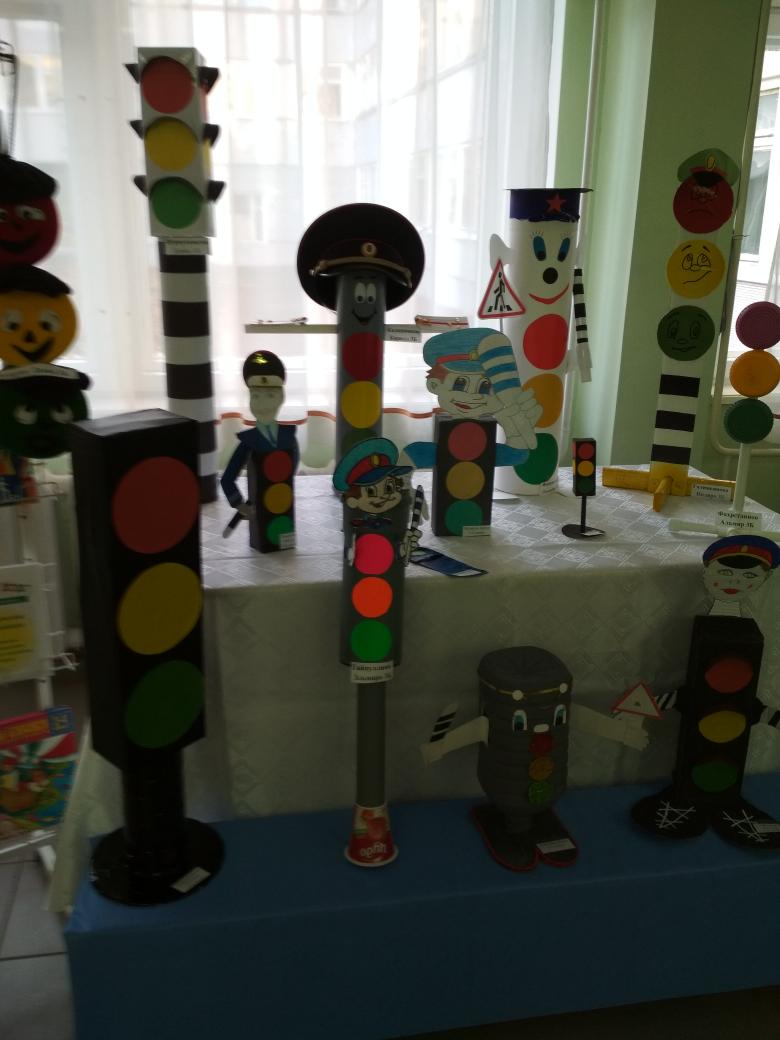
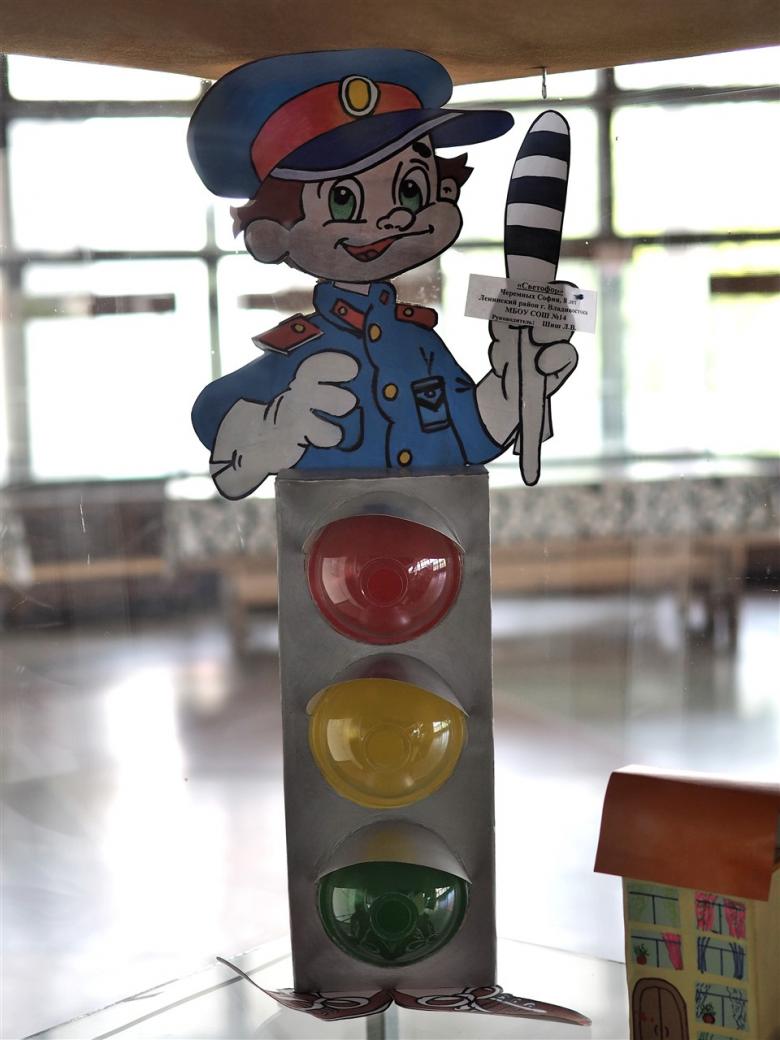
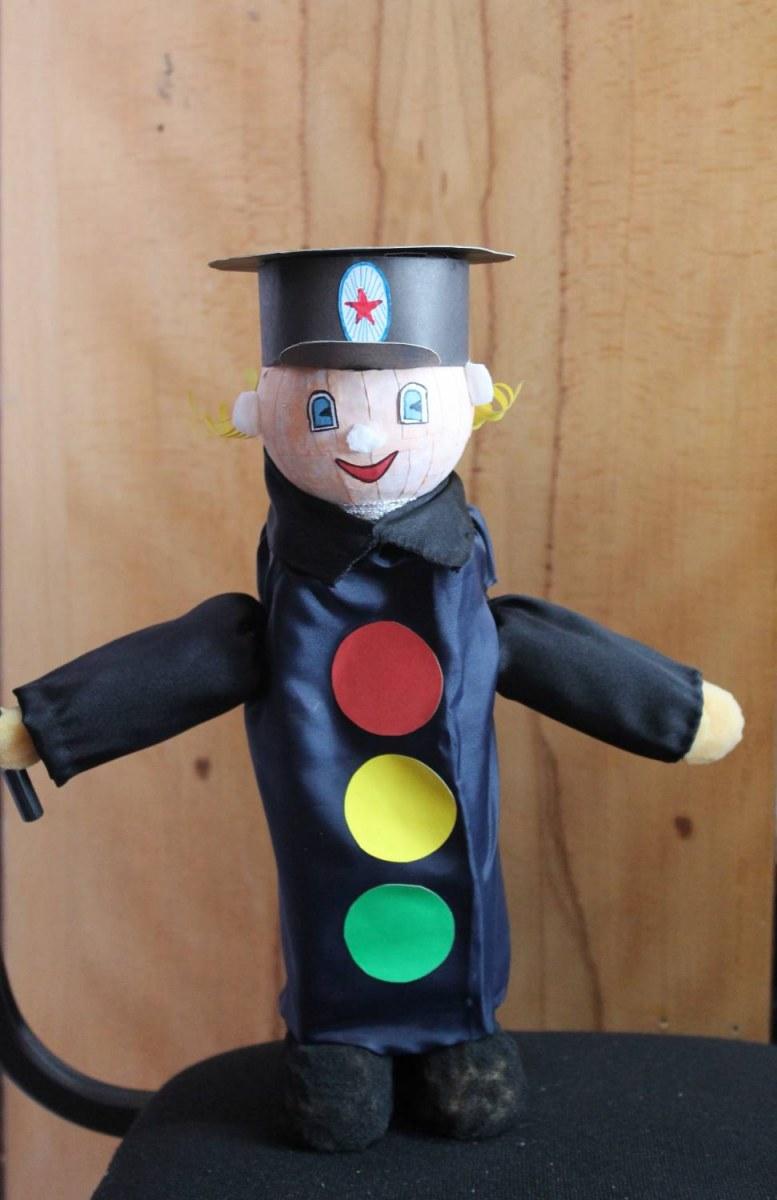
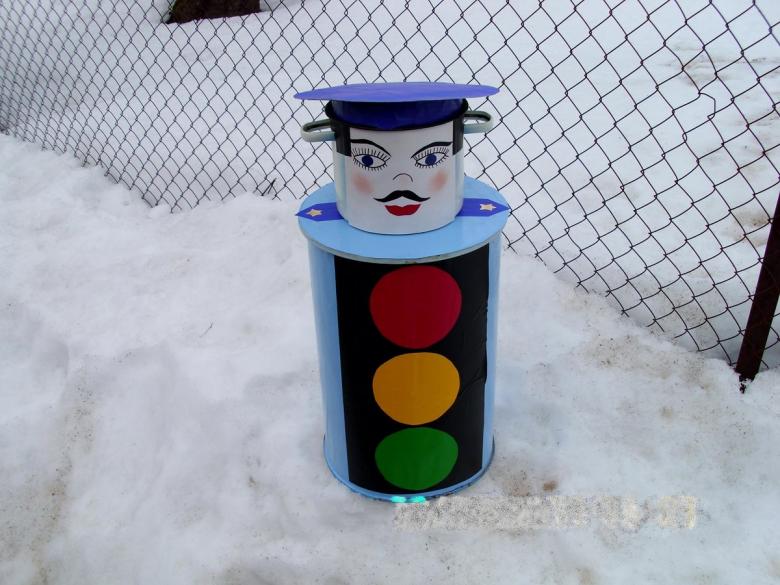
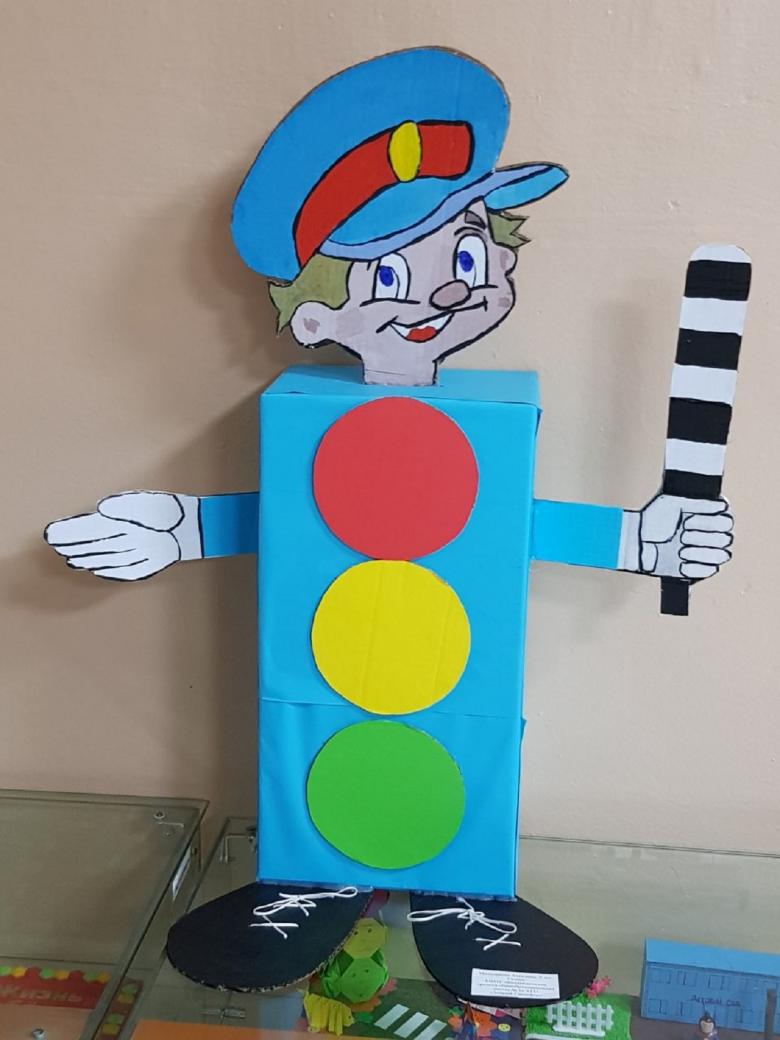
And you can turn the box into Mr. traffic light, decorating its top with a cylinder, or checkpoint, putting it on top of a uniform cap.
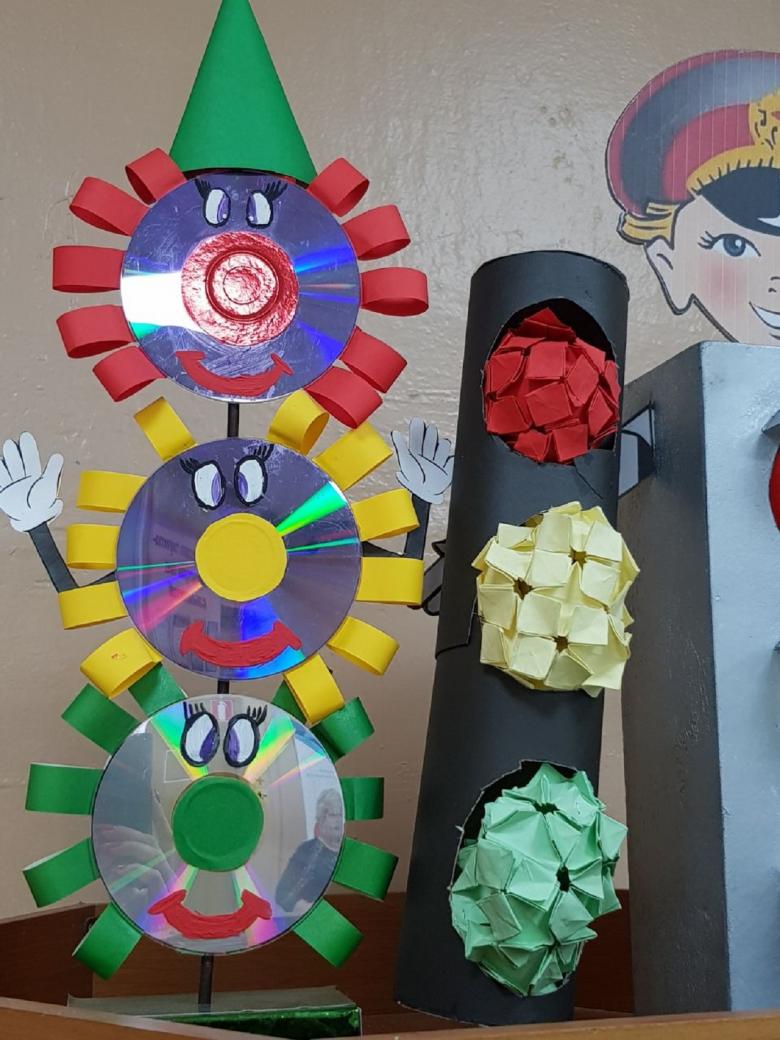
If a child is familiar with the origami technique, you can screate and offer him to roll out of red, yellow and green paper on a cat's face, and then glue them on a rectangular strip of cardboard in the right order.
For ages 8-9
For a son or daughter who attends junior high school for more than the first year, you can come up with many different options for making a craft.

Twisting .
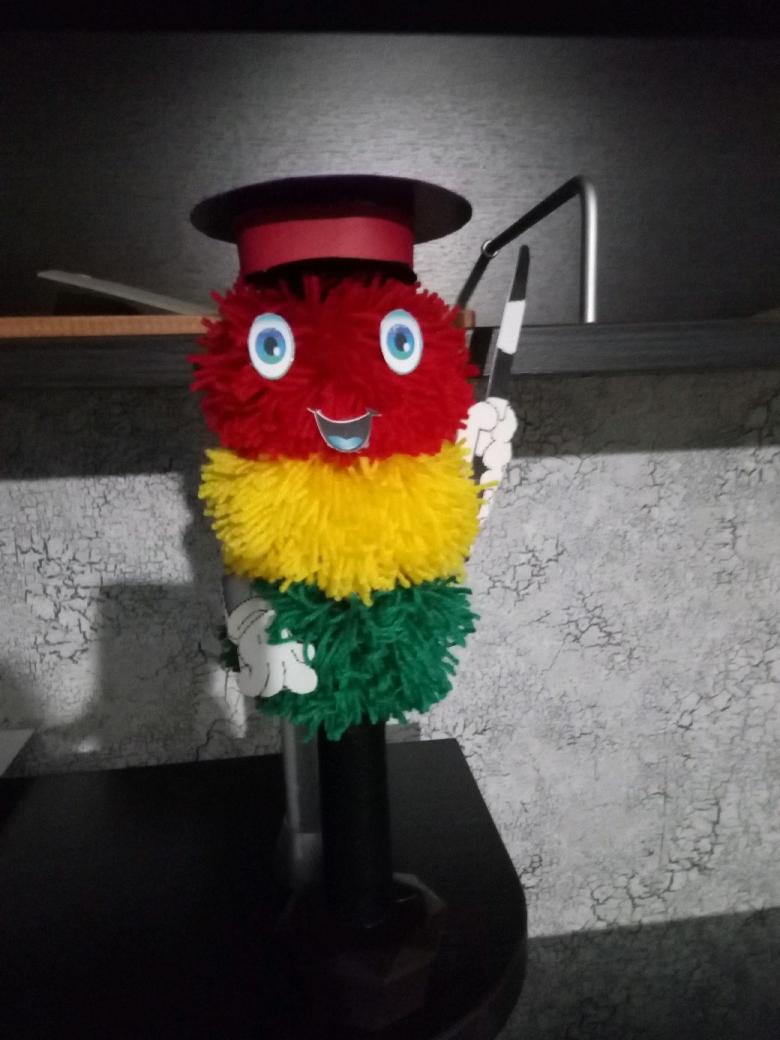
To begin with, you should glue a tall cylinder of black paper. Mark three circles on it. And then thin strips of red paper should be twisted on a pencil. The resulting volumetric circles glue in turn on the circle. Do the same with yellow and green paper. Time for such a craft will take a lot, but the result will pleasantly surprise.
Three-dimensional traffic light
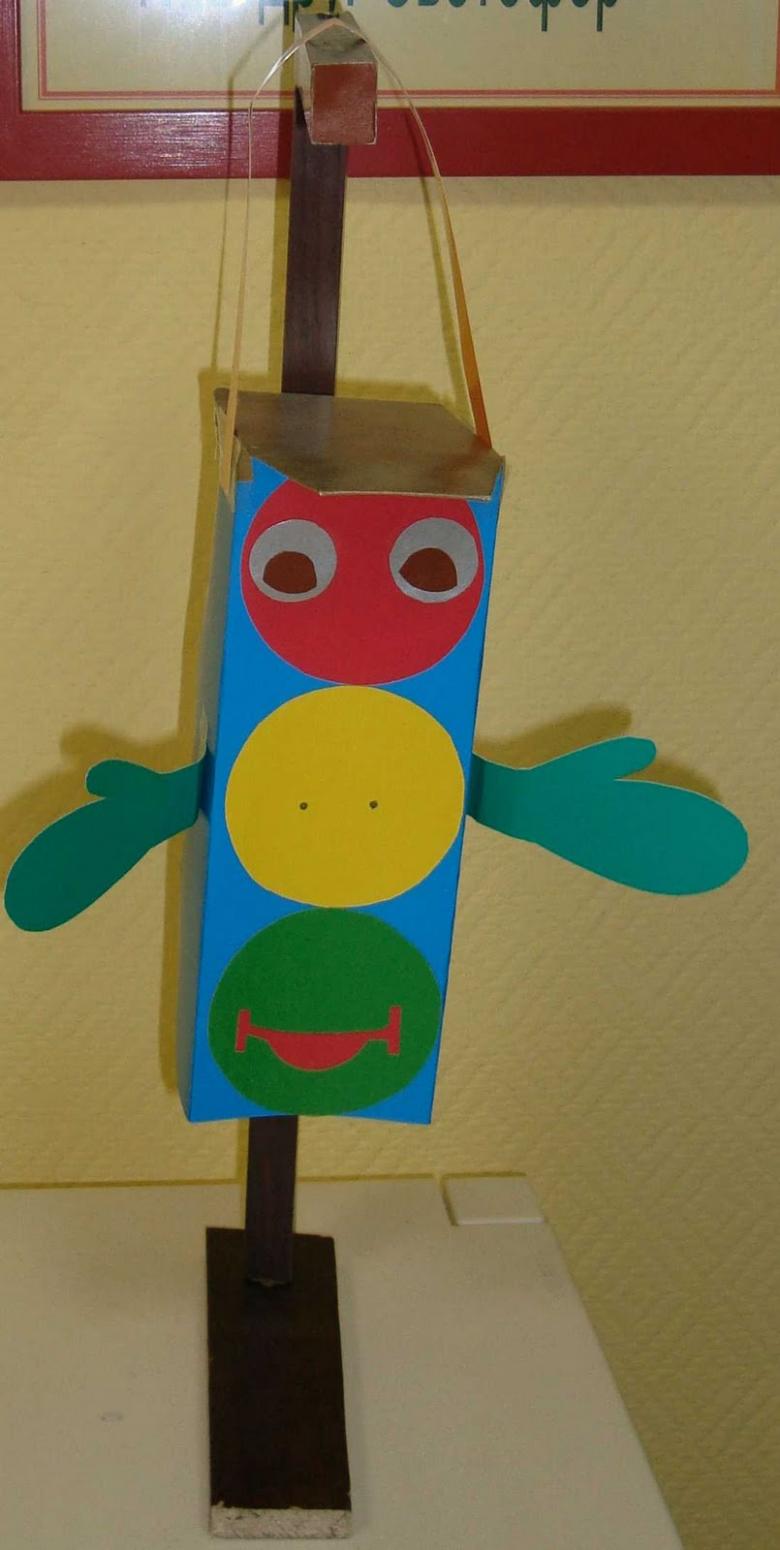
And you can also try to make a volumetric model. Here is a detailed master class:
- A large rectangular sheet of cardboard to roll in half and each half to roll again in half;
- Using a compass, trace three circles on each of the four narrow strips that are the result of folding;
- cut out four circles of colored paper in red, yellow and green;
- glue the circles onto the four parts of the traffic light;
- Roll the handicraft and glue the edge to form a parallelepiped;
- cut four narrow strips of cardboard and roll them in two "booklets";
- Glue the feet obtained to each corner of the main product.

To look more realistic traffic light, you can make the top of the visor of cardboard, which then glued black paper.

Traffic light from a tetrapak
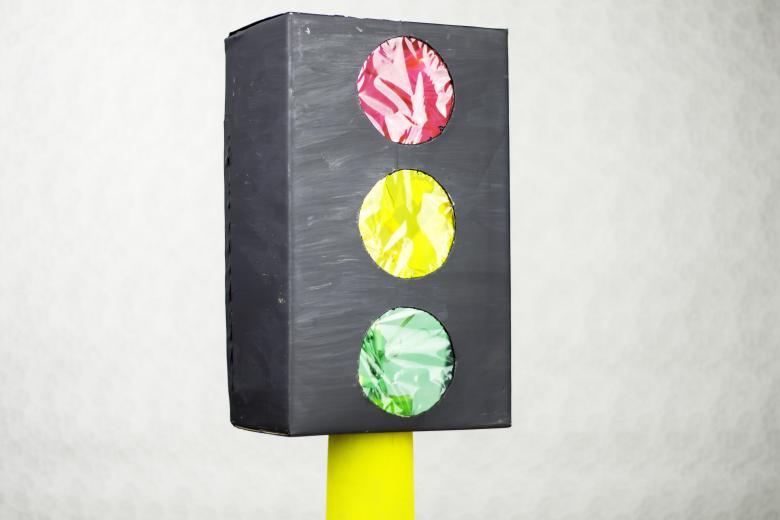
To simplify the task, you can take a large-volume tetrapak as a base. Drain the milk or kefir, wash it from the inside, dry it, and you can get to work.

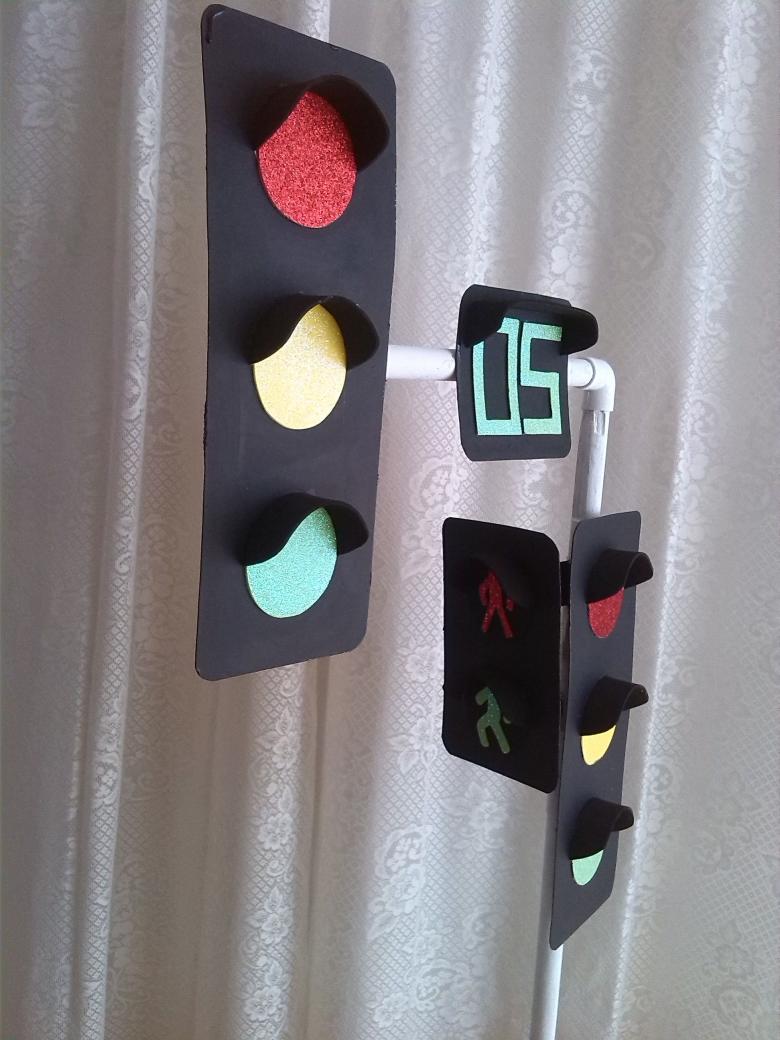
You can glue the ready base with a self-adhesive black film. In this case, the product will turn out shiny and will look good. It remains only to glue the circles of three colors, making visors over each circle. You can use a smaller tetrapak as a support.
Traffic light made out of tin
In the economy is always a tall narrow tin box round shape. It can easily be turned into a traffic light. Work steps:
- We cut out circles from cardboard, paste them on one side with tapes of double-sided tape and cut along with the tape to the contour.
- Tin cover with black corrugated paper and to this base glued blanks circles three on each side so that the tape is on the outside.
- Remove the tape from each circle in turn and sprinkle glitter of the appropriate color, distributing it evenly so that there are no gaps.
- Cut out six semicircles from black velvet and glue them over each circle to make canopies.
- Glue the top of the traffic light with a black circle.
This model is good because it does not need a stand, as the tin and without it will hold on the table.
Traffic light from a toothpaste packet
Take the toothpaste out of the packaging, and glue the box with white paper. Make a hole with an awl from the bottom of the package. Put the lid of the cream on the yellow paper, trace the outline and cut a circle. Such details you need four. Similarly, make four red and green circles.
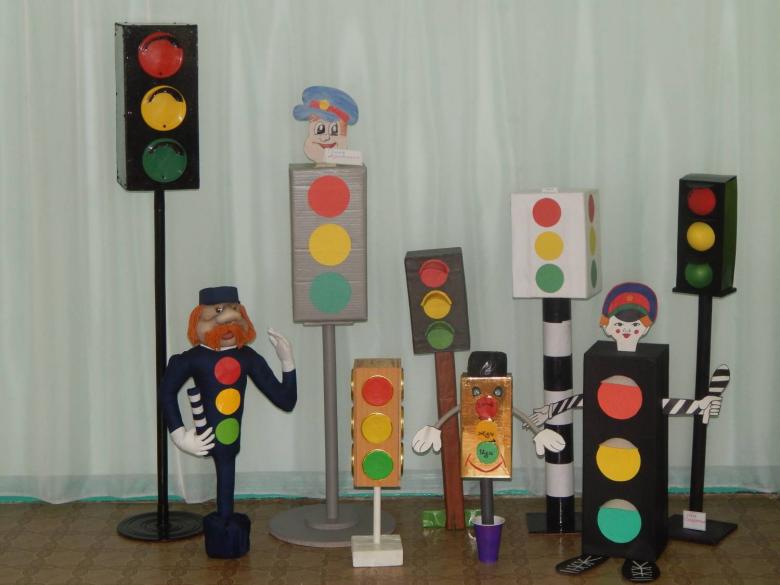
Glue the circles on each side of our box in turn - red, yellow and green. In the hole, insert the stand for the balloons.
Do not forget during the work to record a video on your phone, which you can put on your YouTube channel - let other children learn how to make traffic lights from your master class.


