How to make a chandelier with his own hands - a selection of interesting master classes, photo ideas, tips
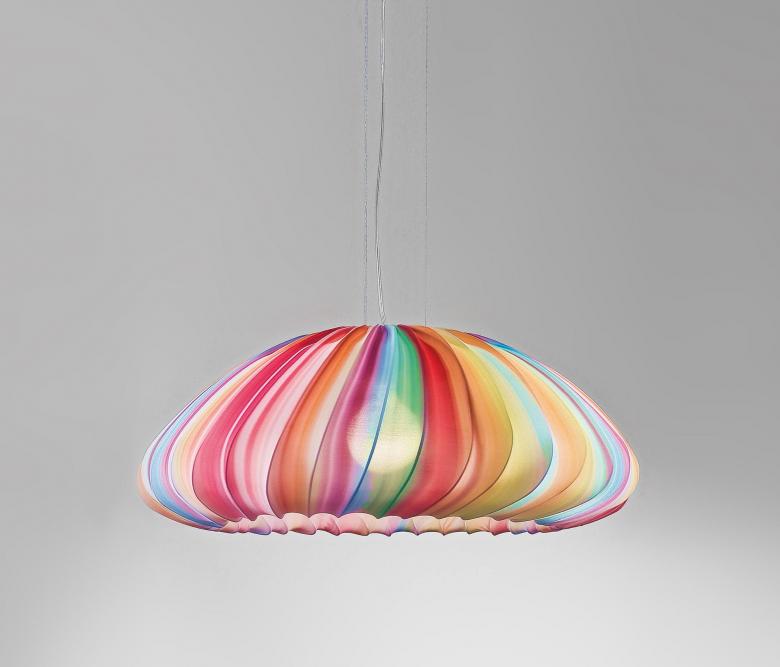
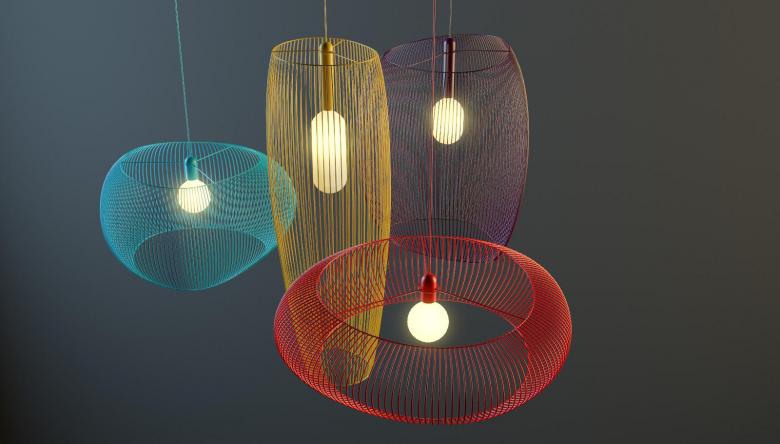
In every room there is a chandelier and it is not just a lighting element, but also a decoration of the room. The most original and stylish, look chandeliers made by hand, because in this case, it is an exclusive thing, which has no similarity with any other. Thus, the owner of the house, can show their unsurpassed taste and creativity.
Fulfillment chandelier by hand, requires a long and painstaking work. But the result of such work is worth it. We decided to tell you about several options for making chandeliers and give a full description of the process of work. In this case, all the instructions are set out in simple language that everyone can understand. Therefore, if you want to make a chandelier, everyone can.
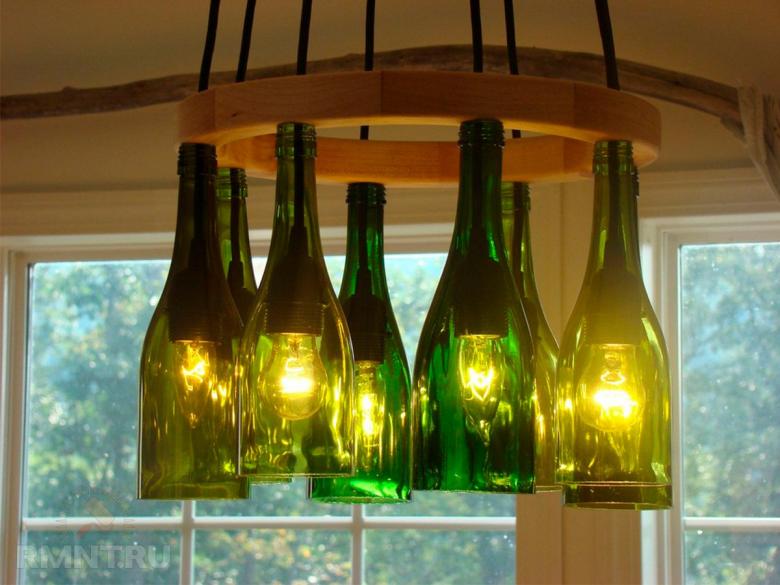
To create a chandelier, you can use different materials. It can be glass, wood, plastic, cardboard, bottles, etc.
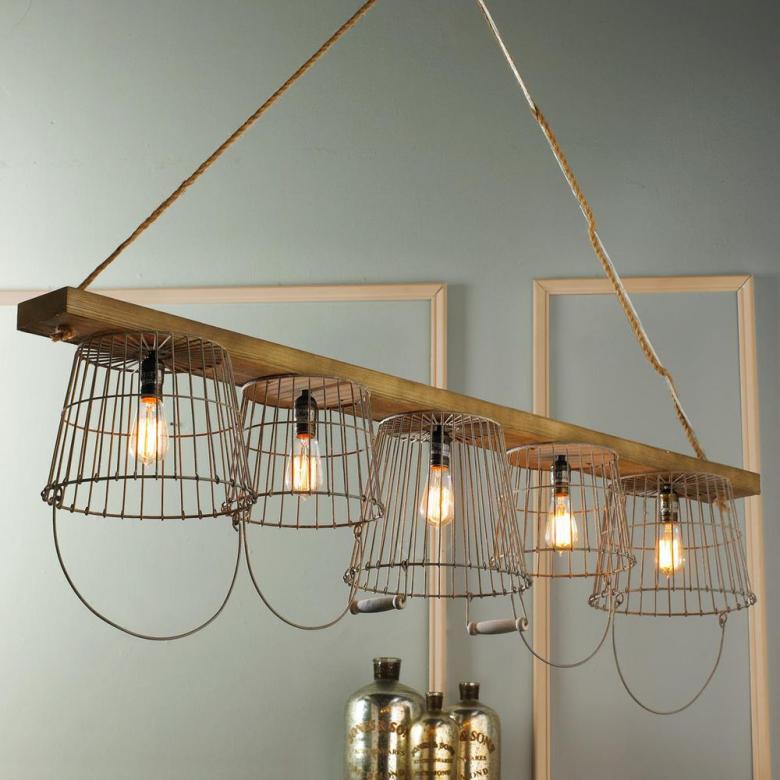
The choice of material depends on the idea behind the creation. And also, it is worth taking into account the design of the room, because your product, must fit harmoniously into the interior of the room.
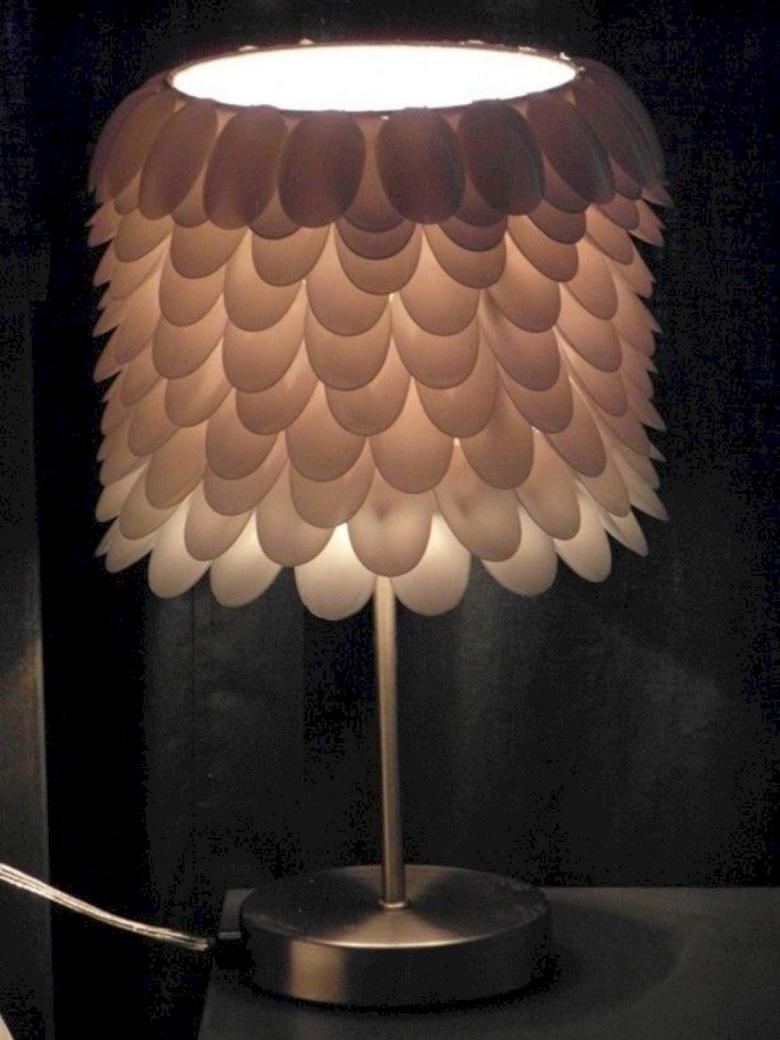
A chandelier from disposable spoons
This is one of the easiest and most importantly, inexpensive options for homemade chandelier. After all, the material for its creation will be very cheap and the process itself, too, will not require special skills and abilities.
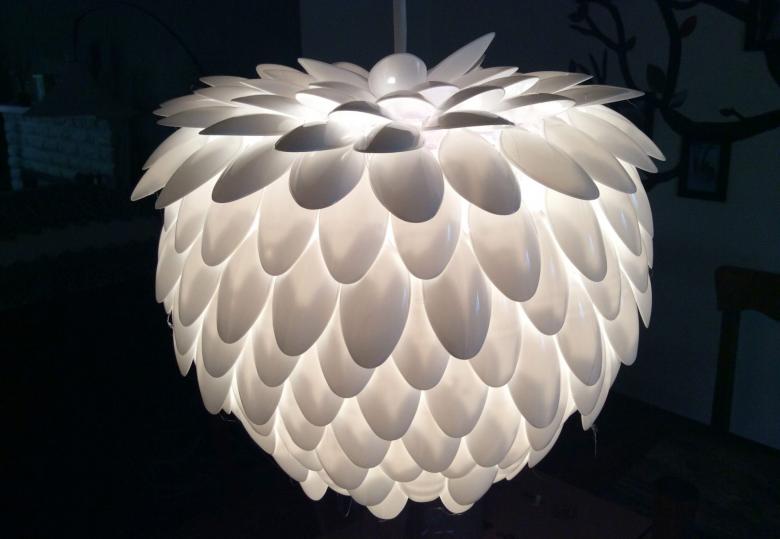
You will need:
- A 5-liter plastic bottle;
- disposable spoons;
- glue;
- cartridge;
- sharp knife.
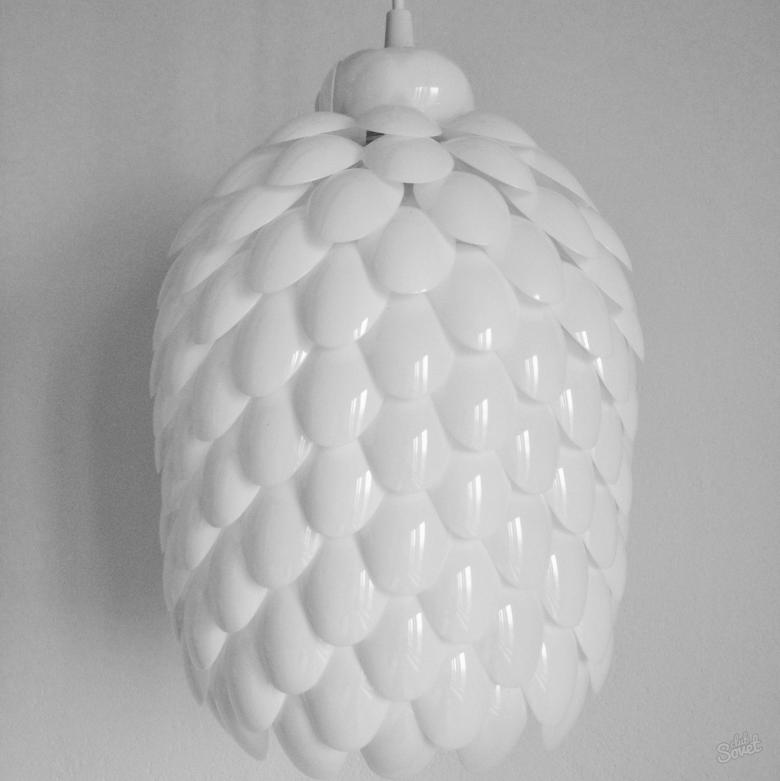
Step-by-step instructions:
- Take a clean and dry bottle, remove the label from it and cut off the bottom.
- Take spoons and cut off the handles in them, leaving "tails" of about 2 centimeters.
- Glue the spoons with their tails up to the bottle, starting at the base and moving all the way to the top. We do it in staggered order and as close as possible the spoons to each other, so there was no gap.
- In the neck area of the bottle, we place the cartridge and fix it, using glue and a frame.
- Next, you should wait until the glue dries completely and then install the chandelier.
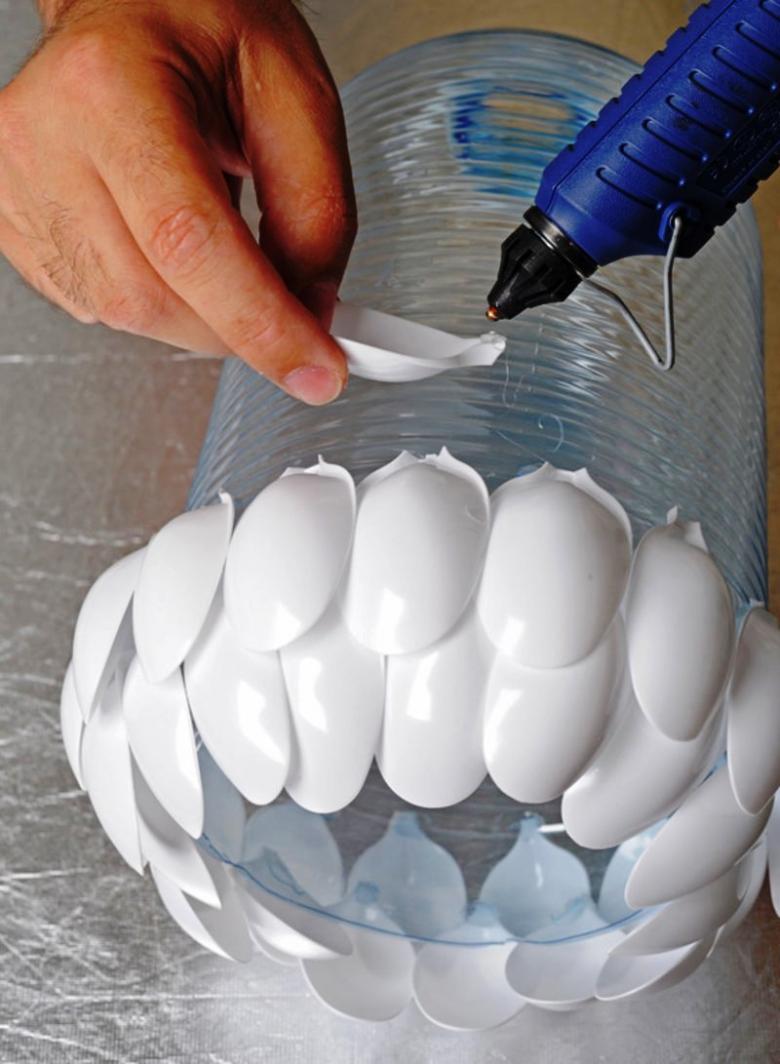
If you wish, the decor of the product can be changed. You can glue the spoons to half of the bottle or use different colors. You can also paint them yourself, which adds even more originality to the product.
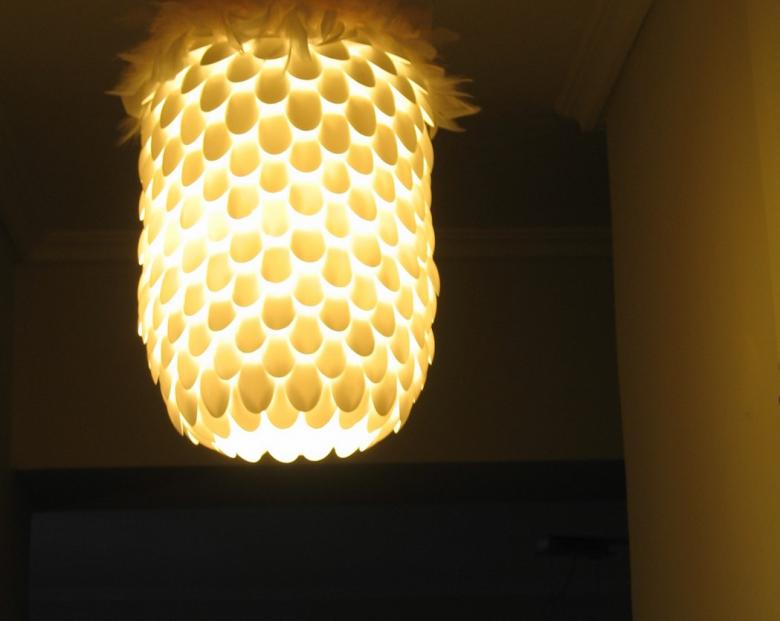
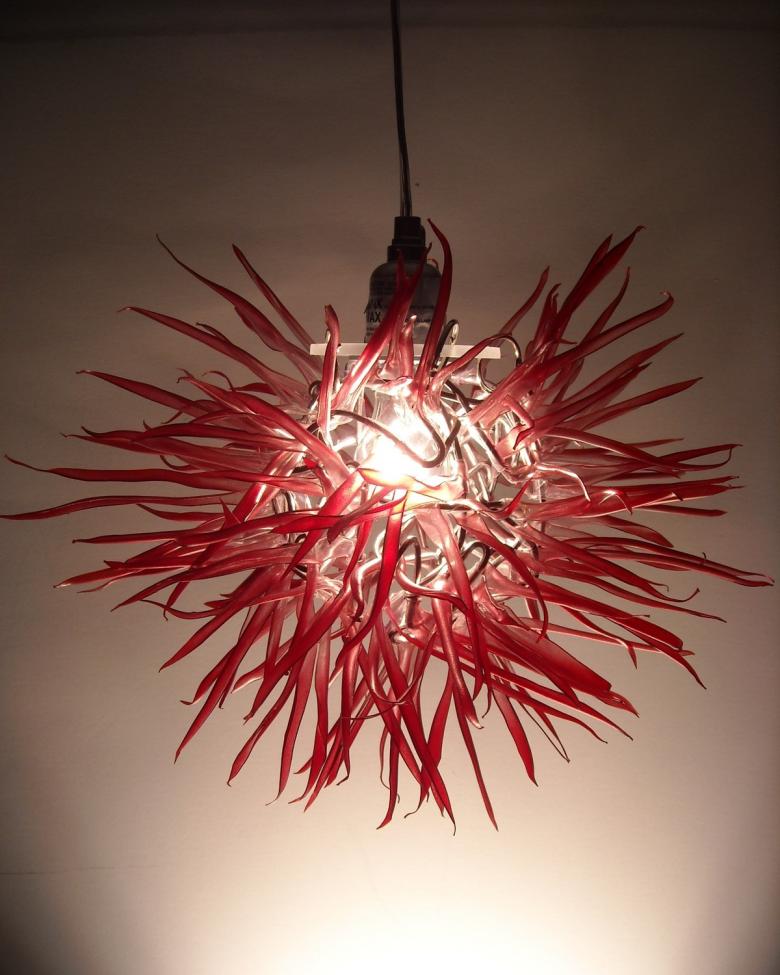
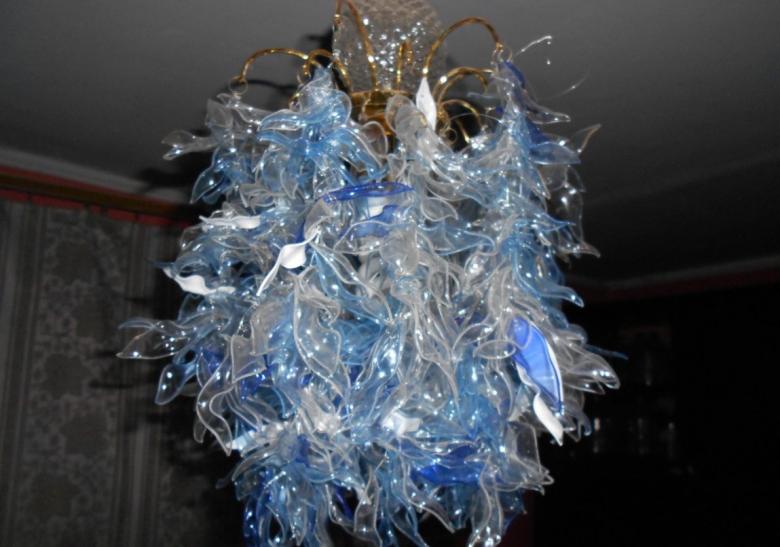
The leaf-shaped chandelier
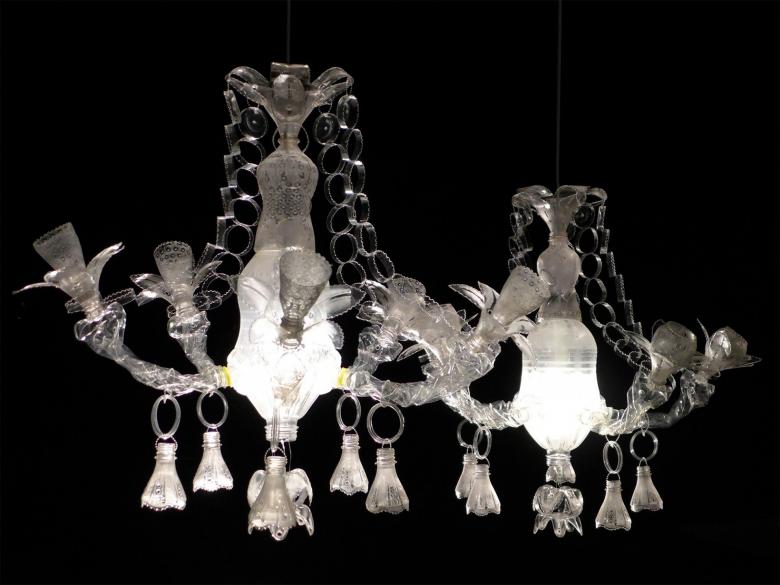
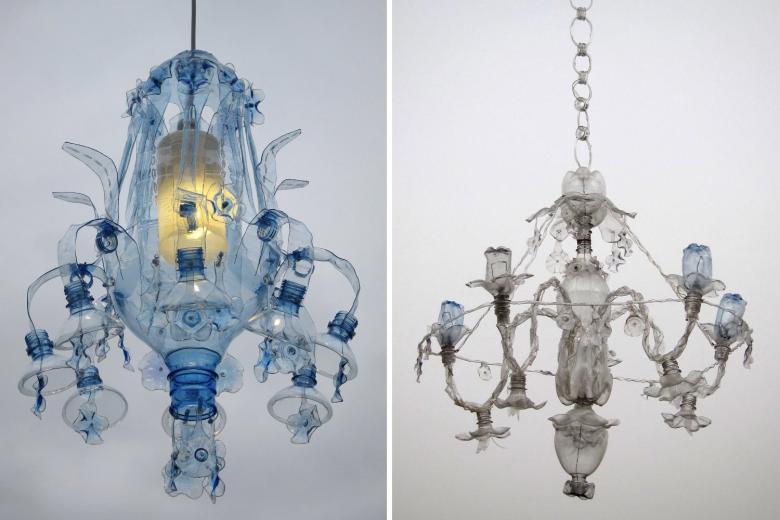
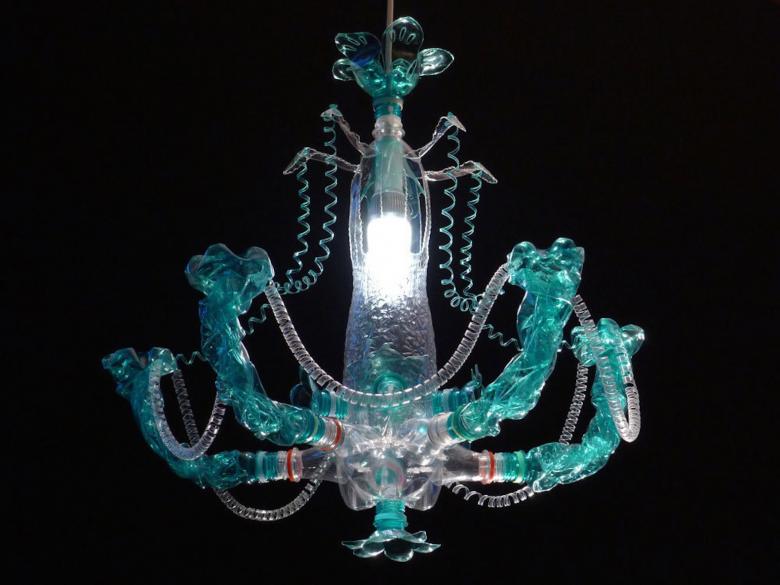
This is a very original product made of plastic bottles. Material for the manufacture of a lot of colors, which allows you to approach the process of working with imagination and creativity.

Step by step instructions
- From plastic bottles, cut out blanks, in the form of leaves of different shapes and sizes.
- Using a soldering iron, you need to do on leaves characteristic to them veins and make the edges a little more round, which will create a natural effect.
- Using a hot needle, at the base of the leaves we make holes to be able to connect them.
- We make a frame of metal wire and attach to them branches, previously formed from leaves.
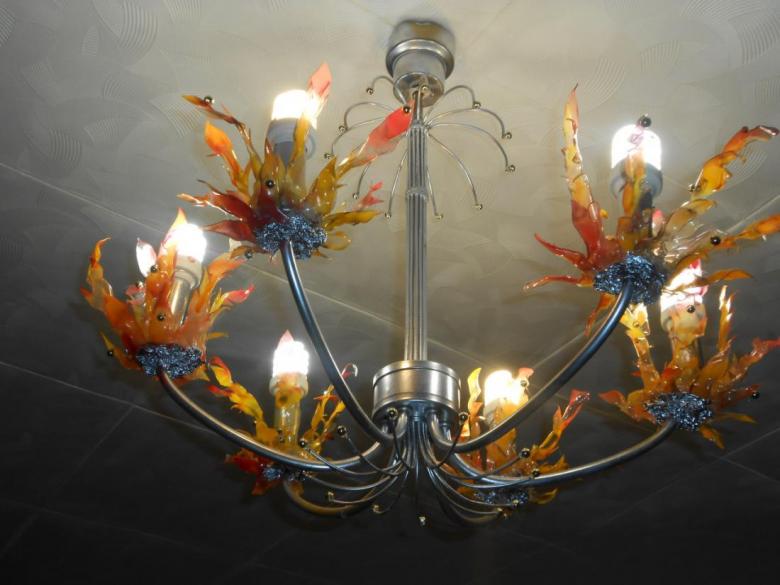
Such a technology, you can also use for lights that will complement the chandelier, creating a whole set of lighting items in the same style.

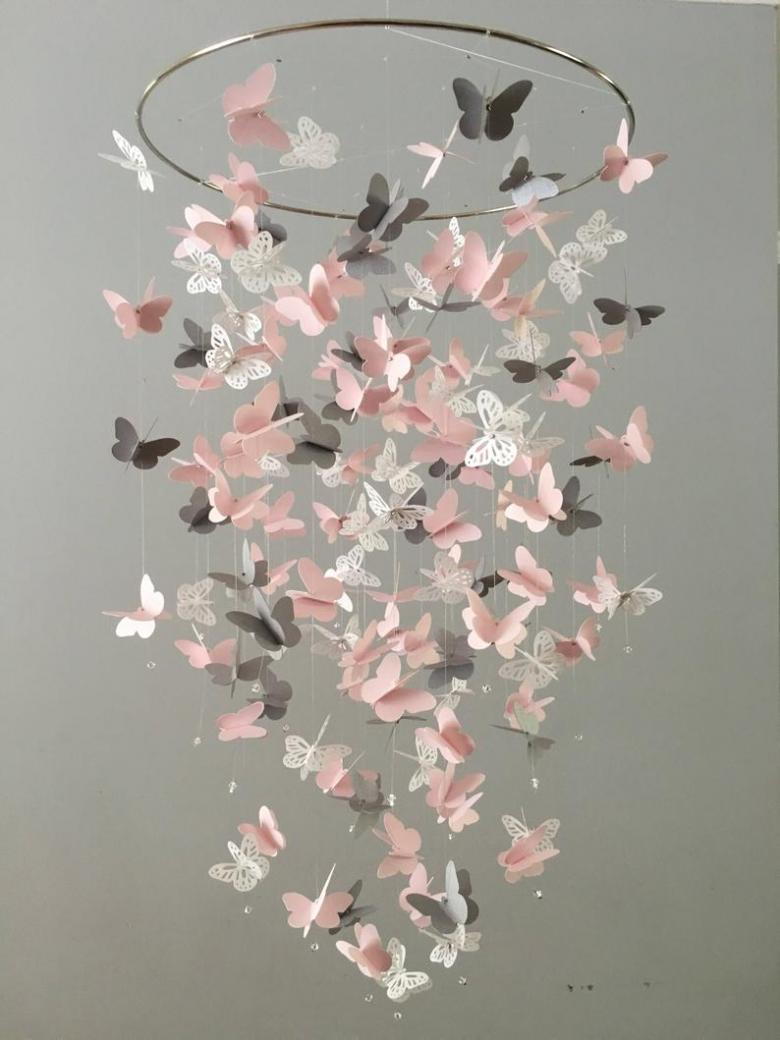
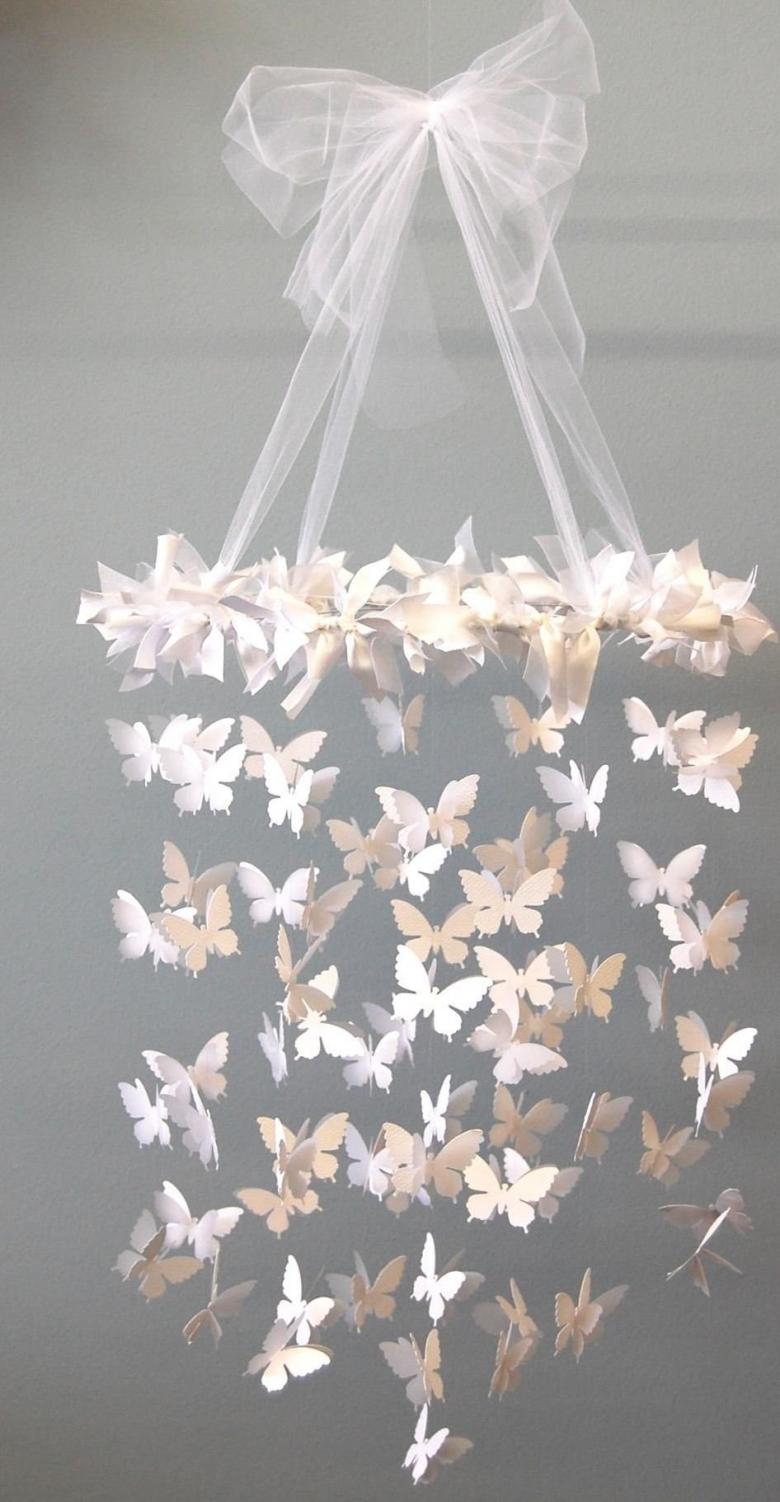
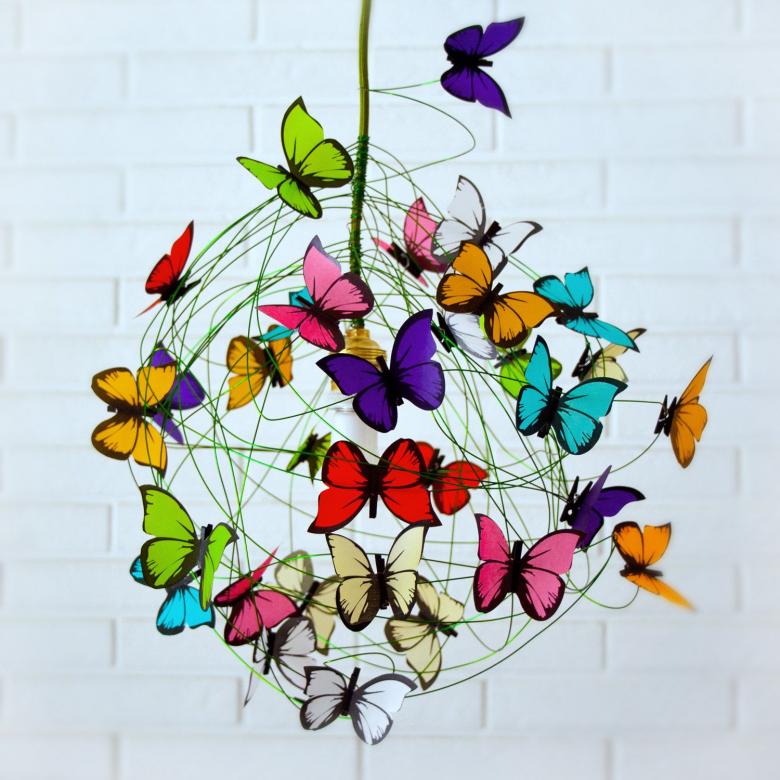
Paper butterfly chandelier
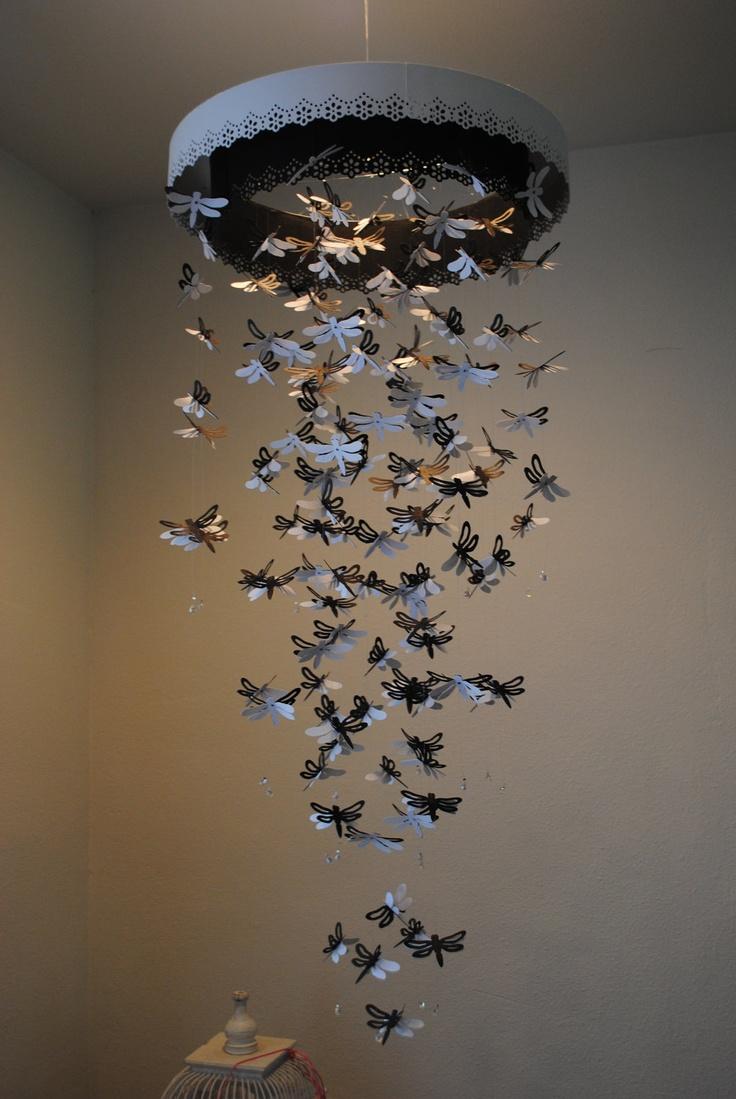
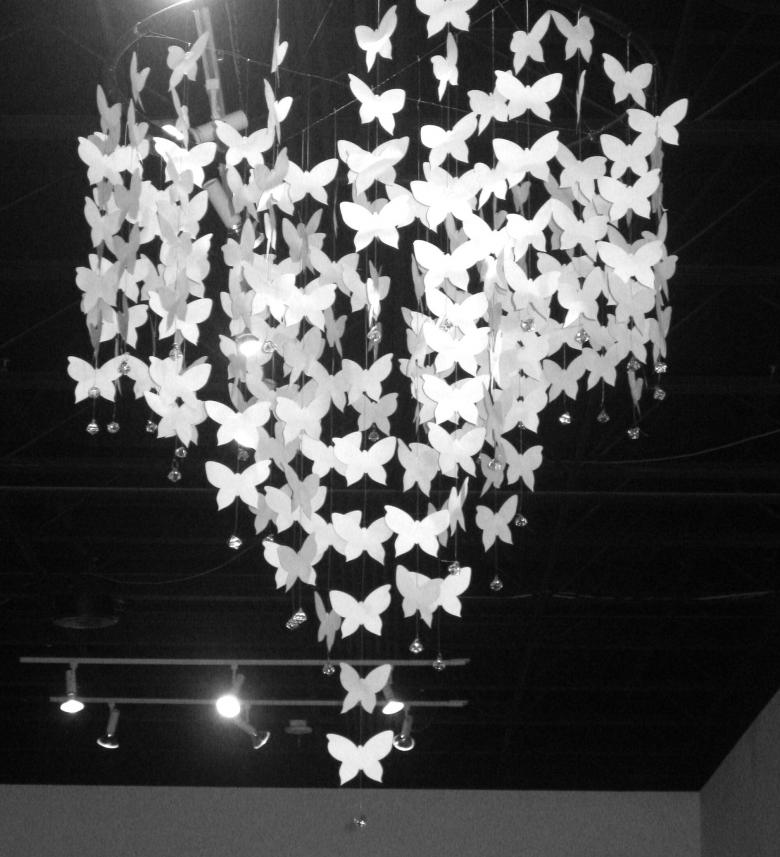
This is an incredibly beautiful kind of chandelier, made by your own hands. It is made very simply and does not require material costs. After all, the material from which it is made is paper.
Step by step instructions
- As a base, you can take the plafond of an old chandelier or make a frame from metal wire, in the form of a circle.
- Cut out, using templates of paper, butterflies of different sizes. Ideally, take a velvet type of paper. Such butterflies look great, in addition, with the help of a vacuum cleaner, they can easily be cleaned of dust.
- Using fishing line and a needle, we string the butterflies, forming strips of them. If desired, they can be fixed with glue, the choice is up to the master.
- Finished strips are fixed to the frame and distributed butterflies, creating the appearance of their accumulation.
Fabric chandeliers
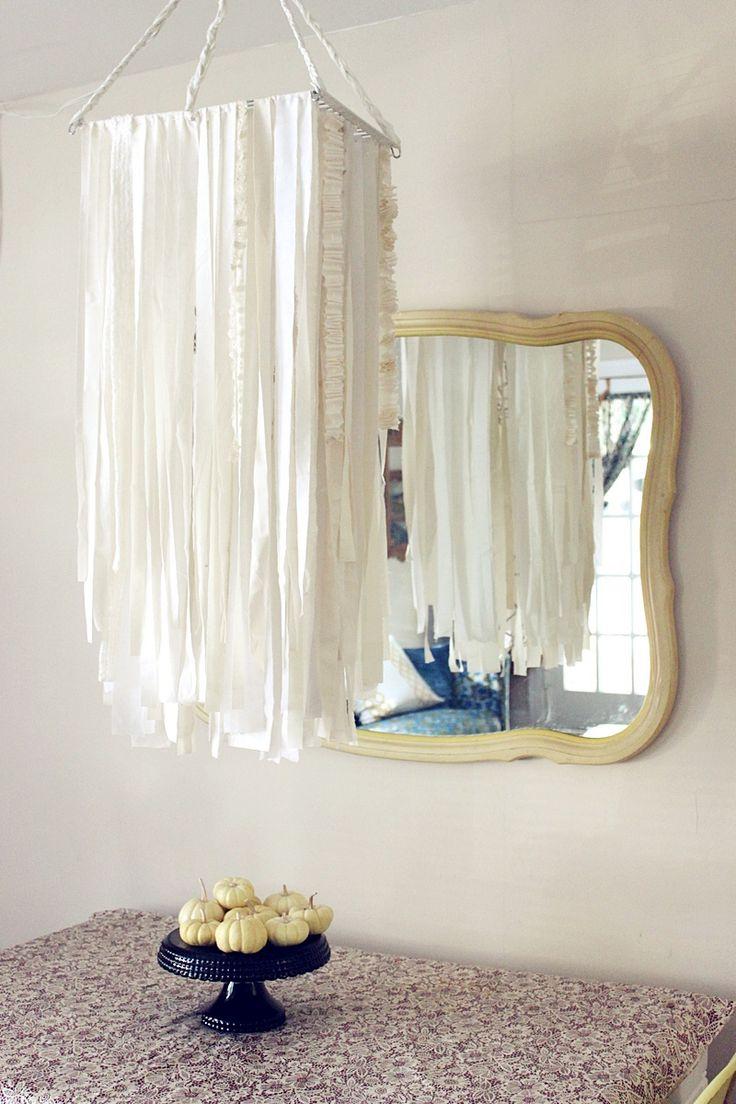
This type of chandelier, suggests its many types. After all, fabrics come in such a variety that they can satisfy everyone's taste.
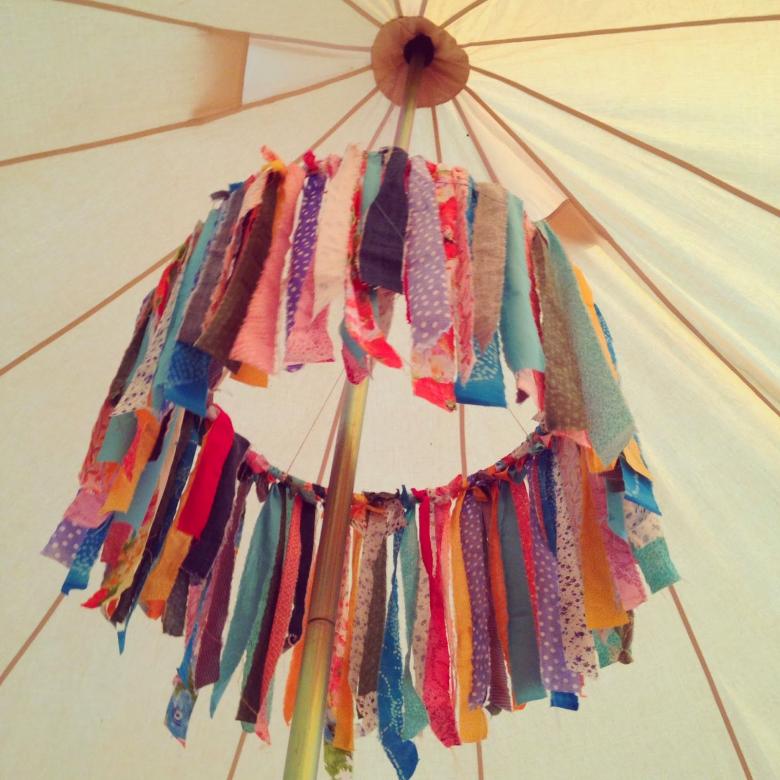
To make it, you will need to make a frame, in the form of two circles of iron wire. Then, cut the fabric to the size of the frame, from the chosen fabric. When you do this, make sure that the diameter of the base of the chandelier matches the width of the fabric, so that the chandelier looks symmetrical. Next, sew the fabric, fixing it at once on the frame and then connect its edges. If desired, you can decorate the resulting lampshade with lace, which will give the product a special design style.
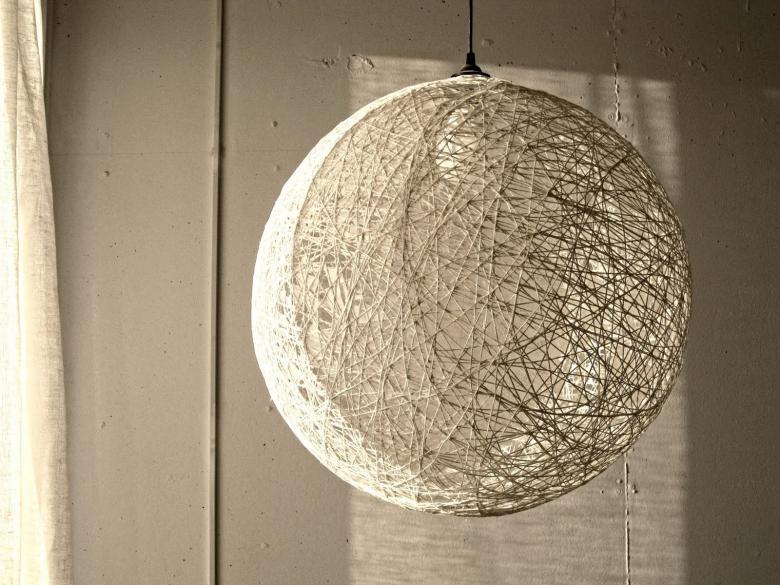
Chandelier of threads and balls
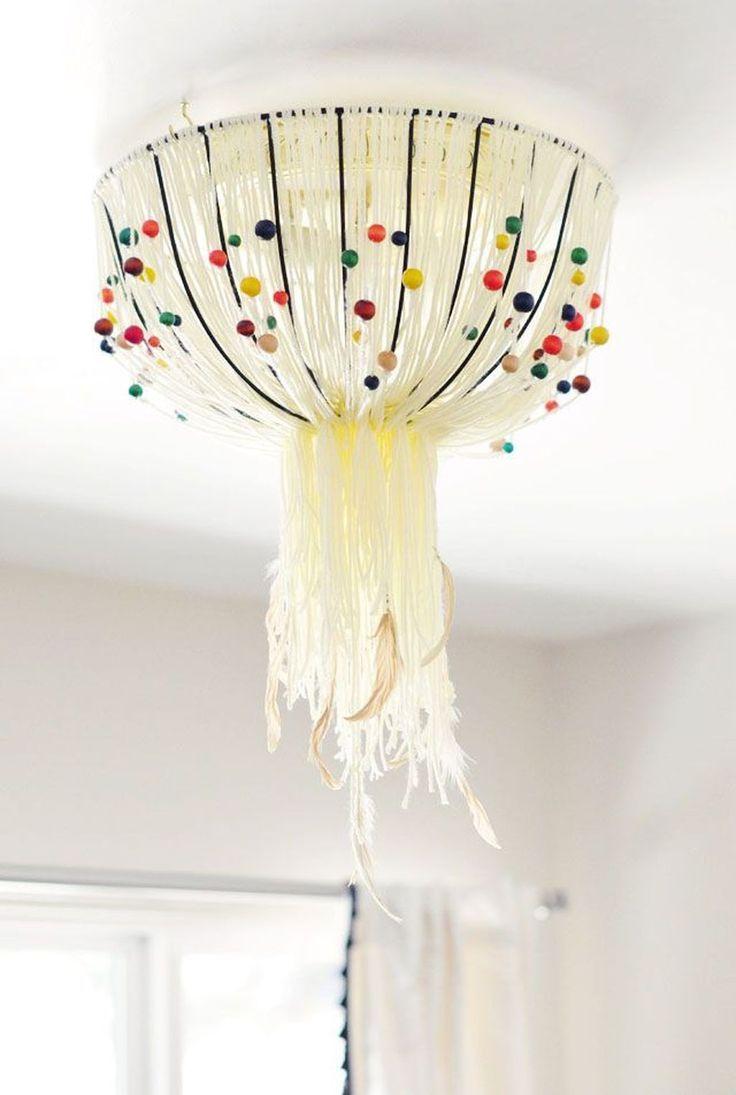
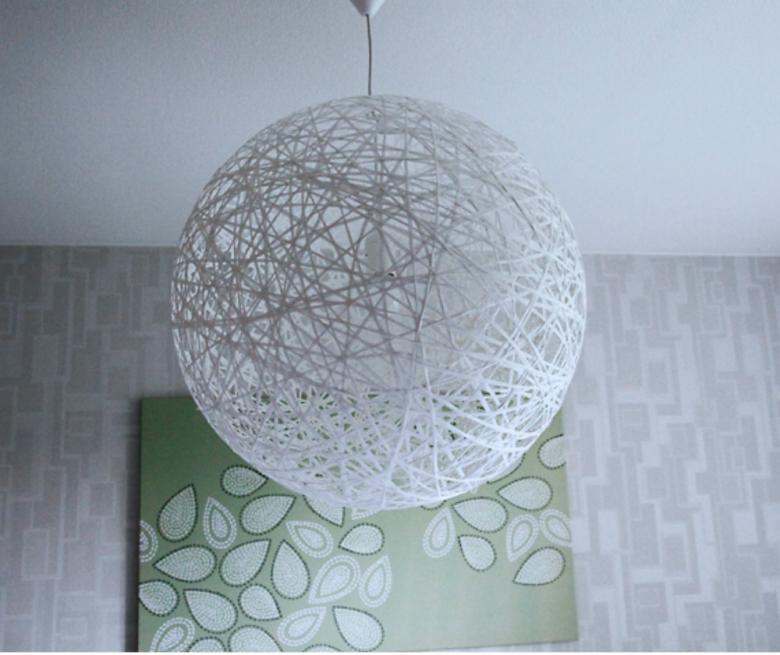
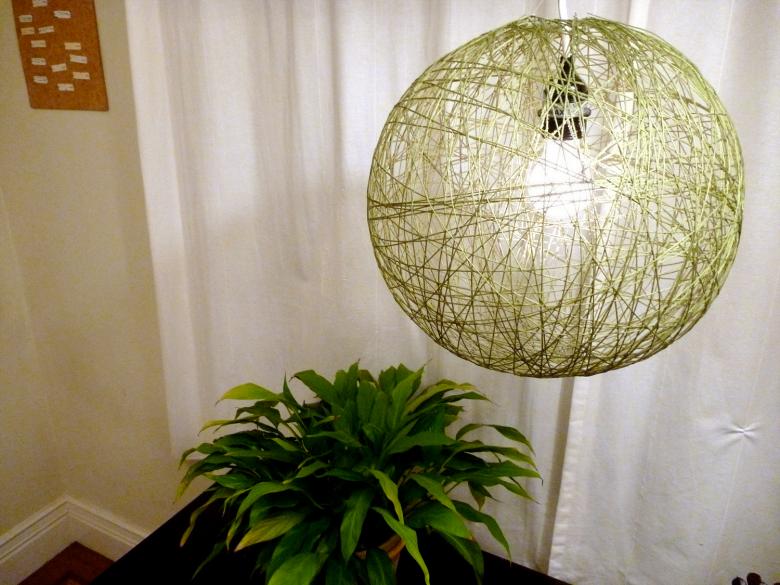
Unusual plafond, created with the help of various threads and a ball, you can perform any size and in a variety of colors.

You will need:
- 1 meter of thick thread, you can use wool, jute or cotton thread;
- Vaseline;
- brush;
- glue;
- cartridge;
- two balls.
Process of making:
- We inflate the balloon and draw borders on top and bottom for threads.
- The entire perimeter of the ball, smear vaseline.
- Proceed to wind the threads on the ball in any order, pre-spreading them with PVA glue.
- Hold the piece until the glue dries completely. Then, burst the ball and pull it through the threads.
- Fix in the upper hole of the cartridge with a frame.
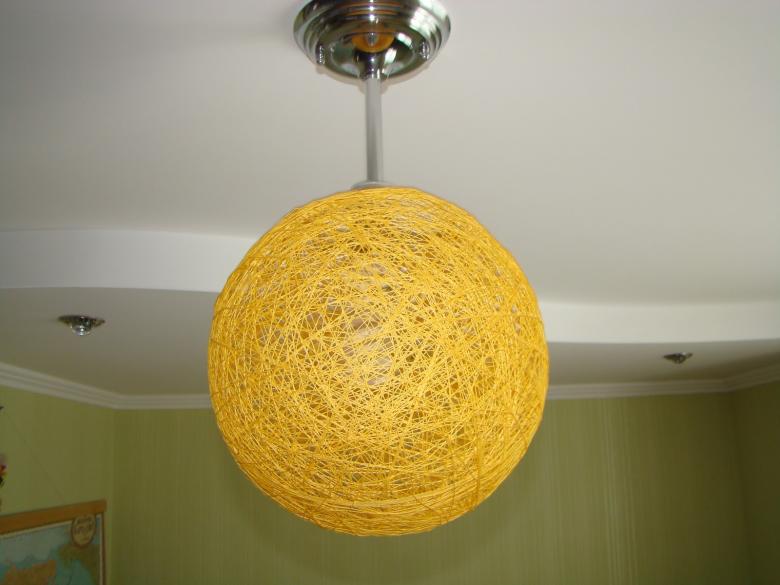
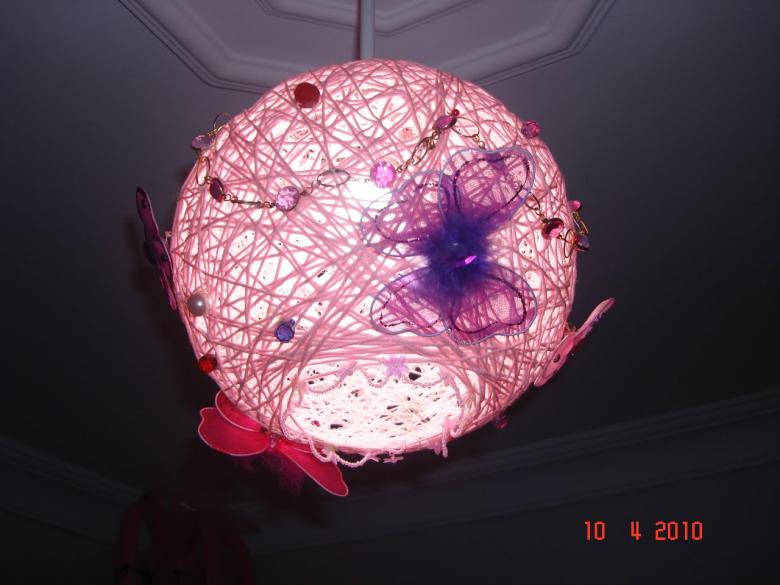
If desired, such a chandelier can be made, either in one color or in several. For beauty, elements in the form of butterflies or rhinestone ornaments are added. The ball can be one, large or several medium-sized, depending on your preference.
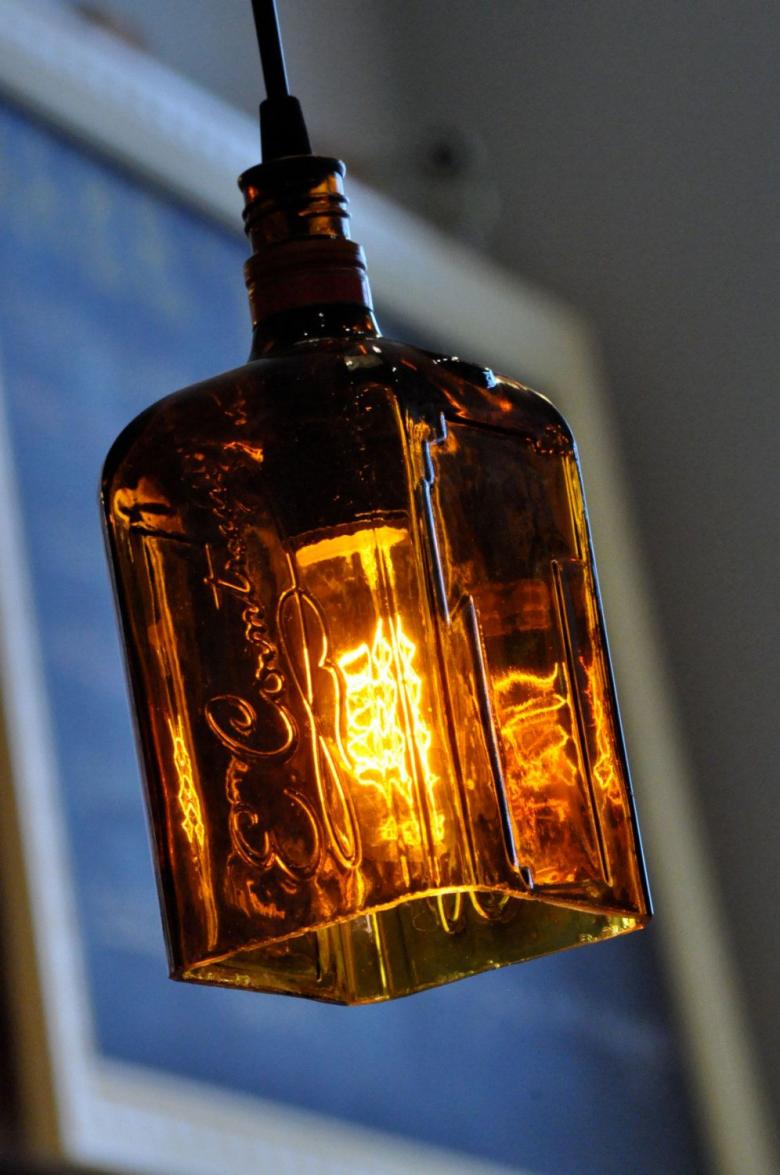
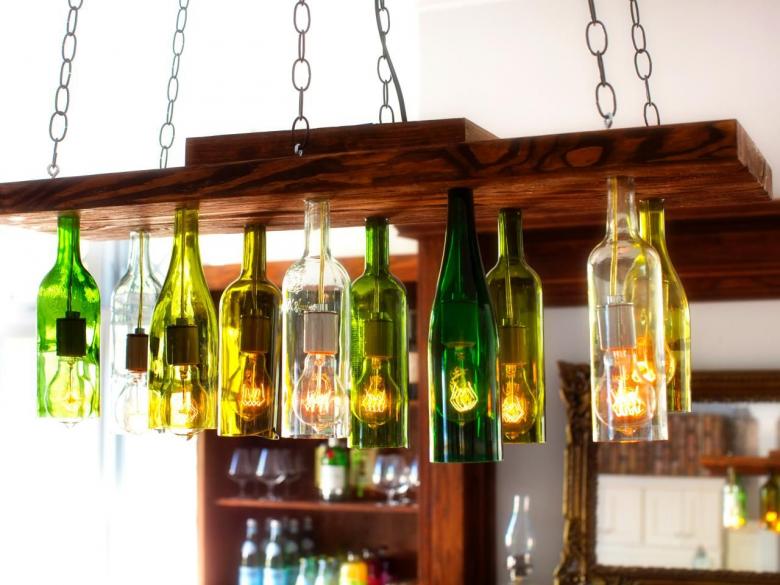
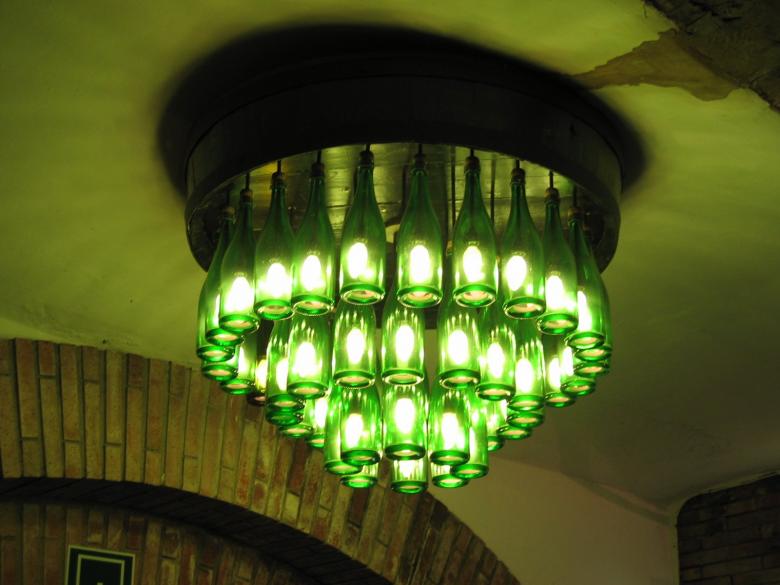
From glass bottles.
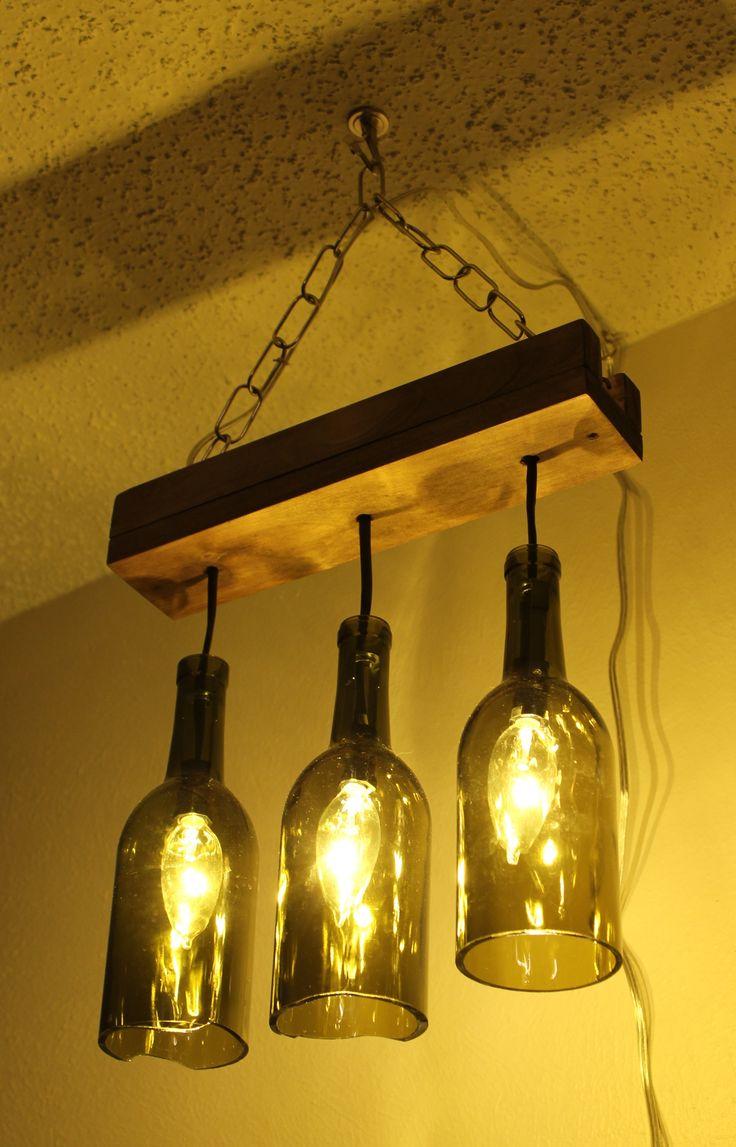
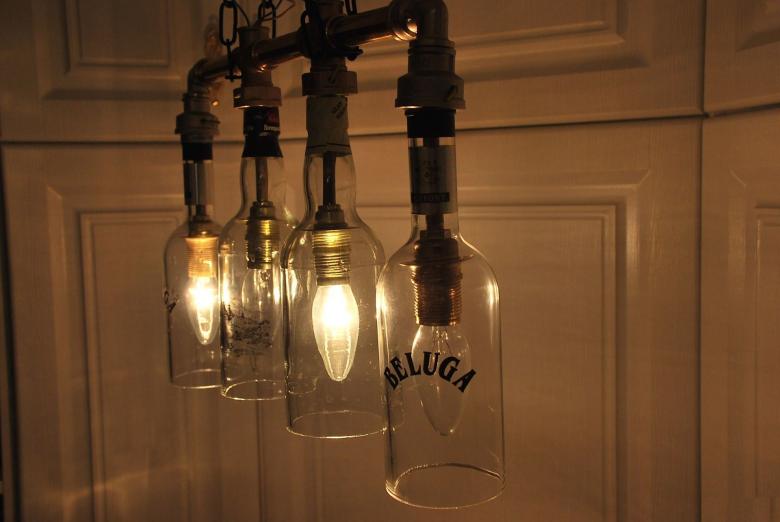
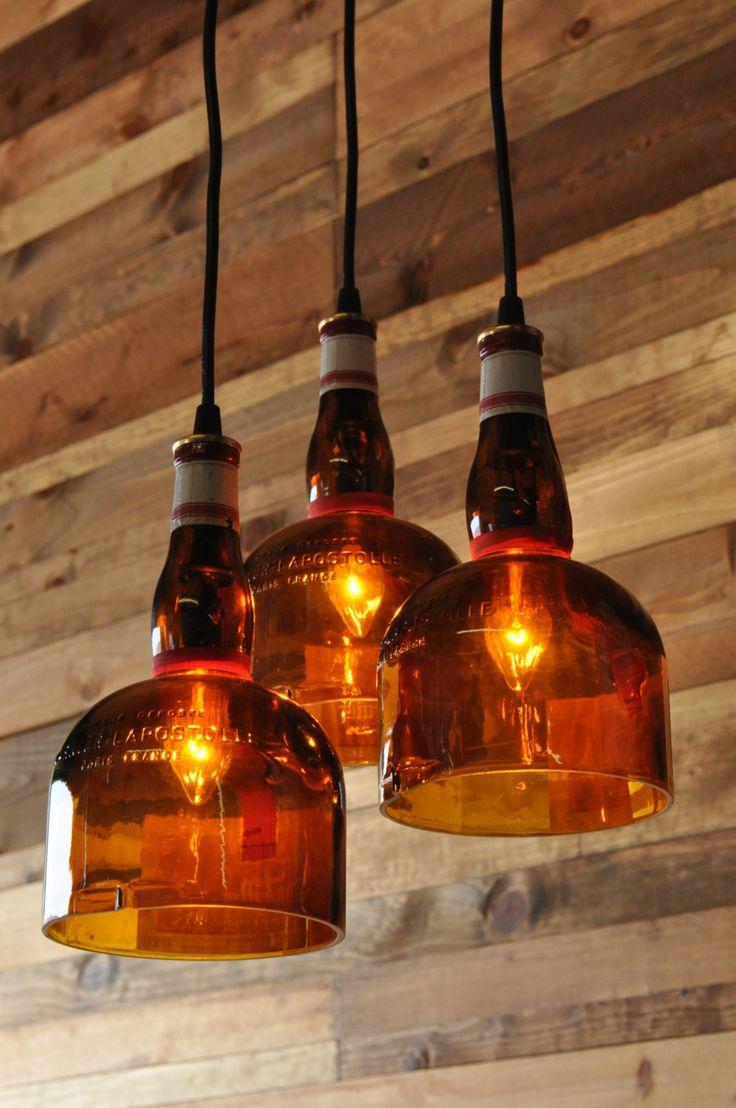
This is not an easy technique, the performance of which, requires particular accuracy. But in the end, you get an original and unusual chandelier, suitable for modern interior styles.
You will need:
- A bottle (you can use from under the champagne or wine);
- sandpaper;
- metal or wooden frame;
- chuck;
- cutter;
- wire.
Manufacturing process
- We take a dry and clean bottle and with the help of a glass cutter, cut off the bottom.
- Next, sand the edges of the cut, using sandpaper.
- Through the neck of the bottle, pull the wire and install the socket.
- Fix the product on the frame.
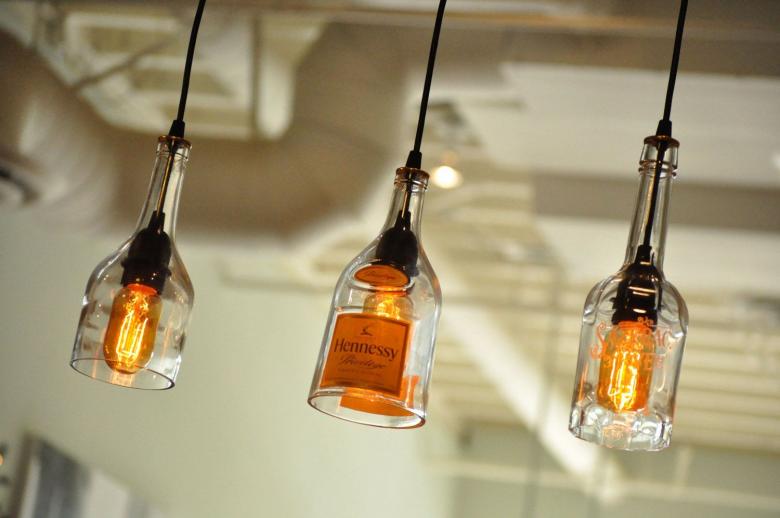
The final look of the product depends on your imagination. You can add different decorations or create a chandelier from several of the same or different bottles. In any case, the end result will have an original and unusual appearance.

Chandelier from disks
If you have a lot of discs that you do not need, and throw away is a pity, you can make a beautiful chandelier out of them.

Materials for work:
- Two round wooden discs, slightly larger in diameter than the discs themselves. In this case, the thickness of the wooden discs should be different;
- A wooden or metal stand;
- lamp;
- disks;
- A starter with a switch.
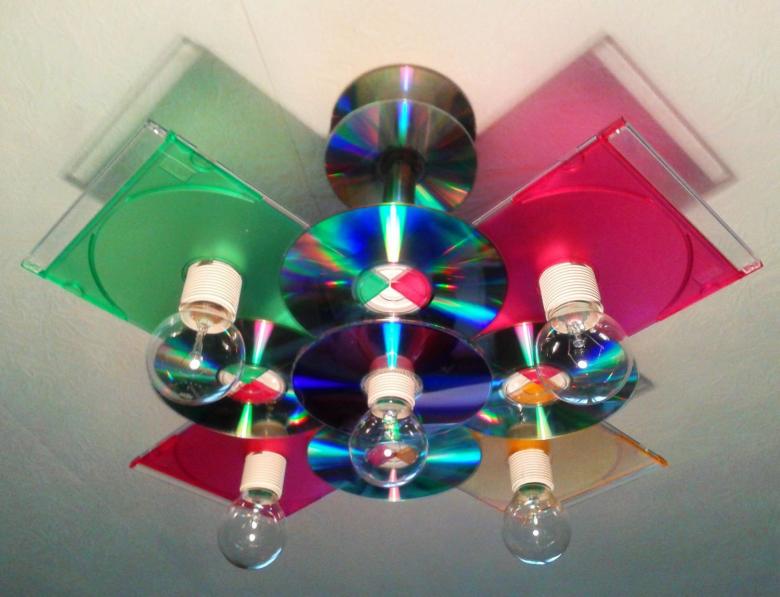
Working process
- In a wider circle of wood, make a hole and install a starter in it.
- Then connect the lamp and thread the discs onto it.
- Around it we place the racks and fix them around the circle of discs.
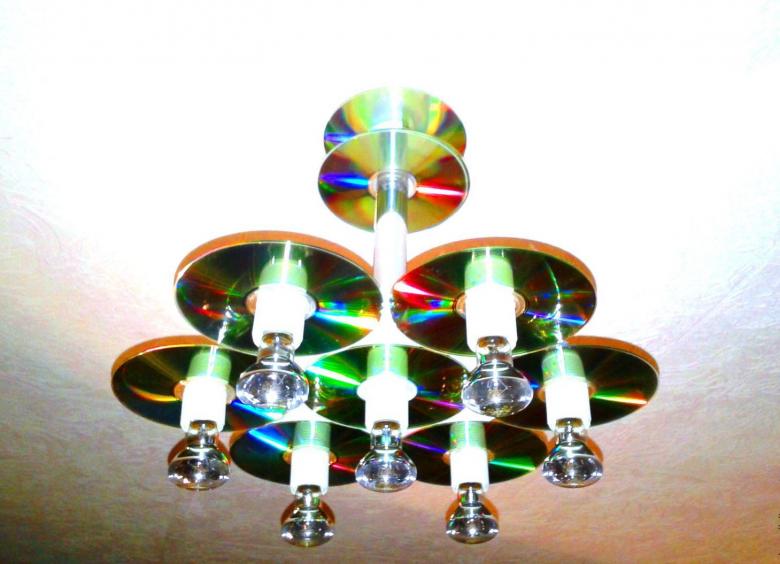
In finished form, such a chandelier, will not require careful maintenance. But you should be careful, because the edges of the discs are quite sharp. Therefore, place the product should be so that children can not reach it.
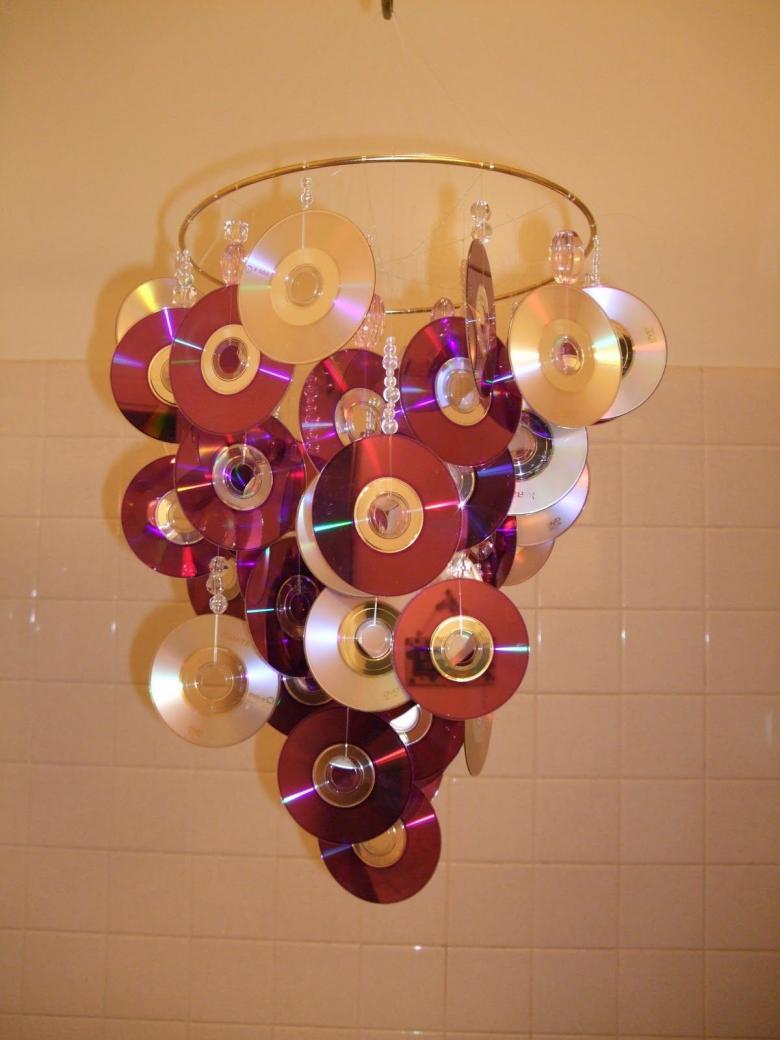
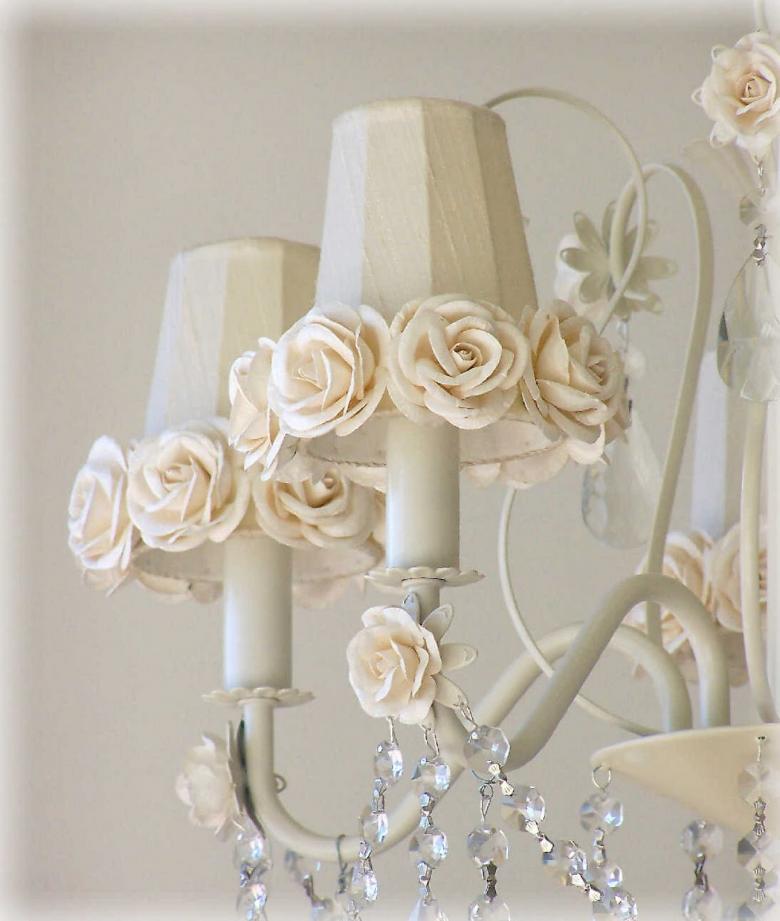
Style "Shebby - chic".
For this style of lighting, you will need fabric and beads. Such plafonds look elegant and impress all guests of the house, its sophistication.
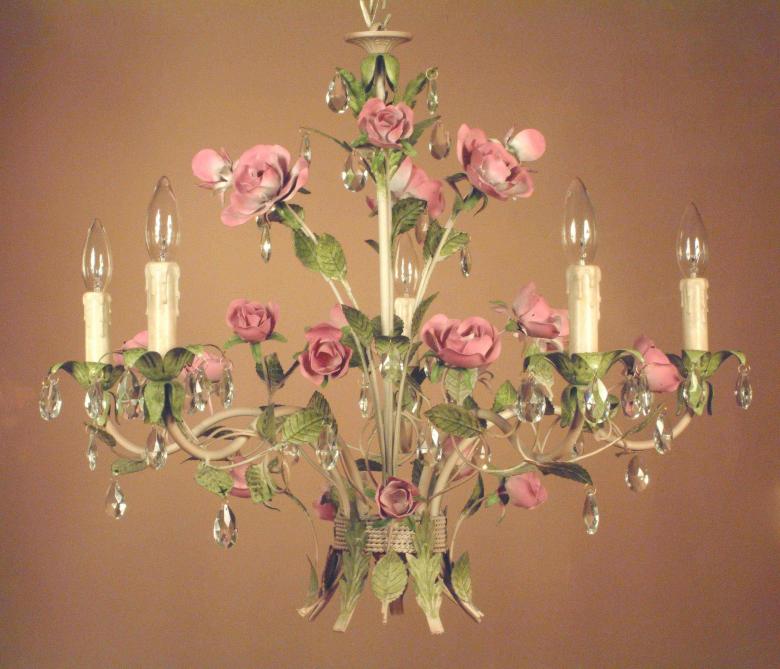
Necessary materials:
- metal frame;
- chuck;
- beads and glass beads of different sizes;
- strings and chains for decorations.
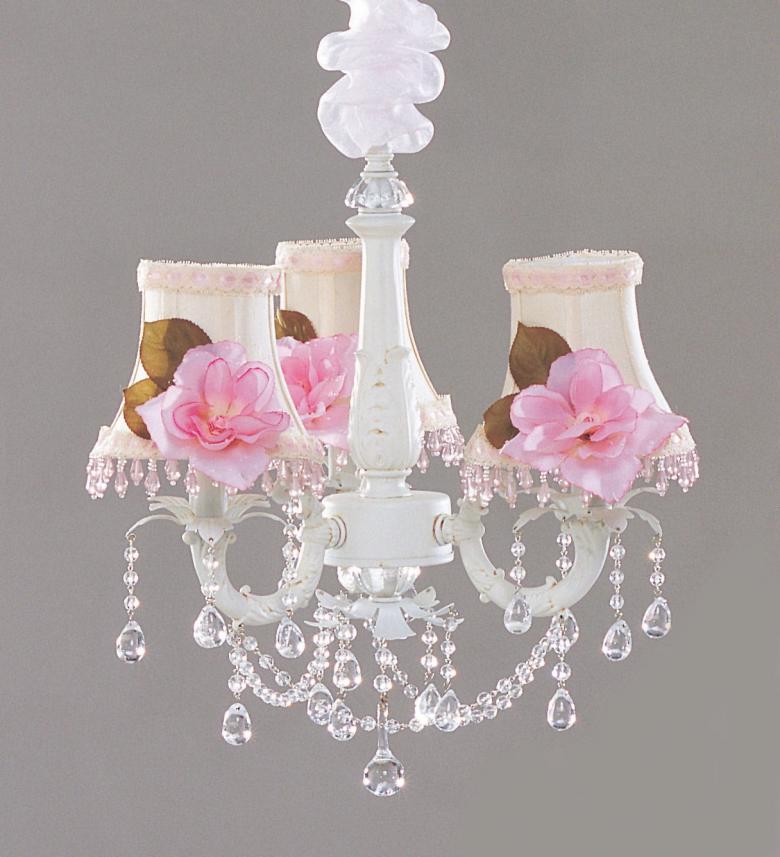
In fact, this work does not require any special skills. But you will need patience, because the process of performance, will take a lot of time. Usually, for the plafonds, three rings of iron wire are taken, one or different sizes. If they are the same, we get lighting in the modern style.
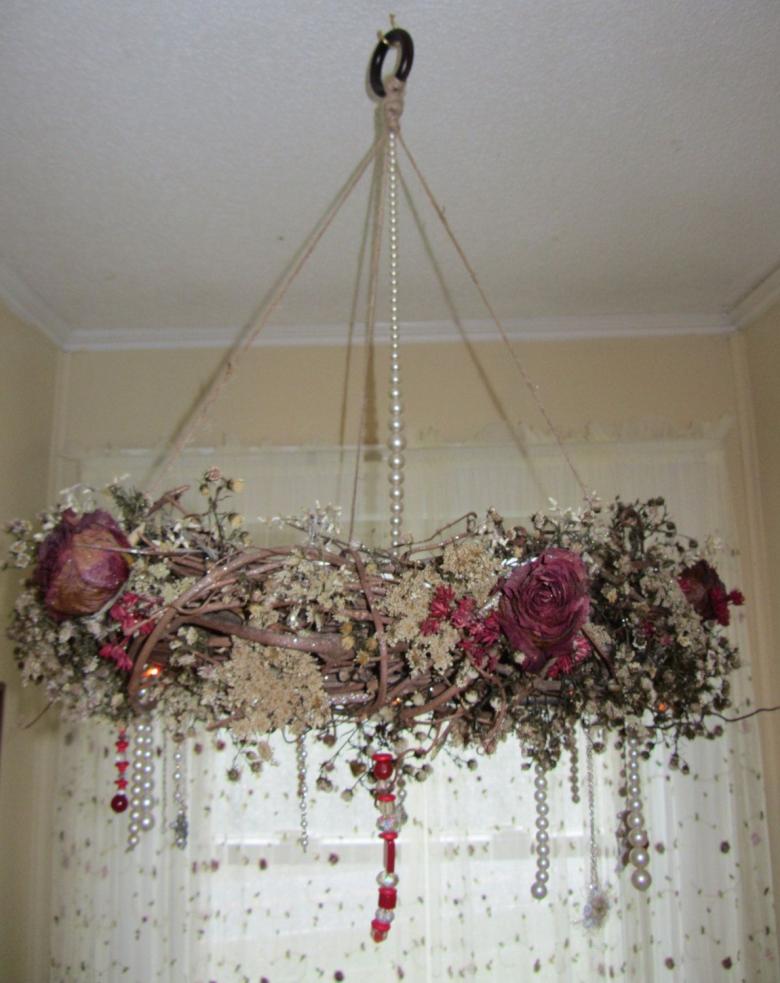
It is important to consider that before proceeding to decorate the product, it is necessary to paint it and stretch the material around the frame.

Finished lampshade, trimmed with beads and beads, to your liking. If desired, you can perform decor with rhinestones.
As you can see, there are many options for chandeliers made by hand. This element of the interior will decorate any room and make its furnishings original and unique, which will show the extraordinary nature of the hostess of the house. Such lighting your home, you can decorate any room and your guests will surely admire your talent and originality of taste.

