Origami napkins with your own hands - the description of simple compositions and their photos
Napkins in the form of animals and plants have become fashionable decoration since the XVII century. Napkins, stacked in this way, look like small statues. Sometimes at large receptions they make whole works of art.
Thanks to an uncomplicated technique, the table looks stylish and unusual. Also the origami technique, which is the folding of various compositions from paper or textiles, can be a great decoration.
Easy options
Fabric for the manufacture of tissue is desirable to iron and starched in advance. It is better to choose natural types of fabrics, artificial material is undesirable.

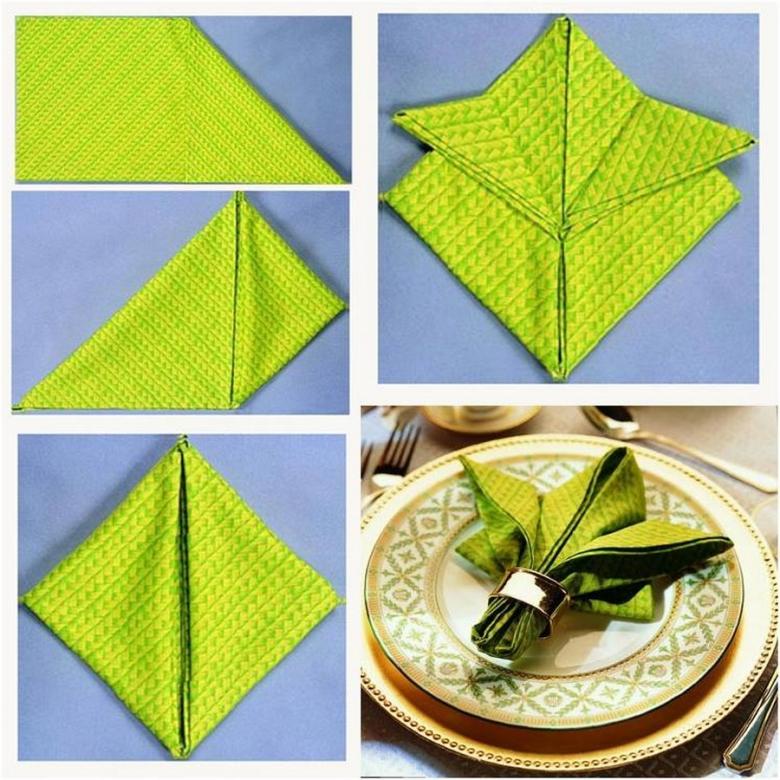
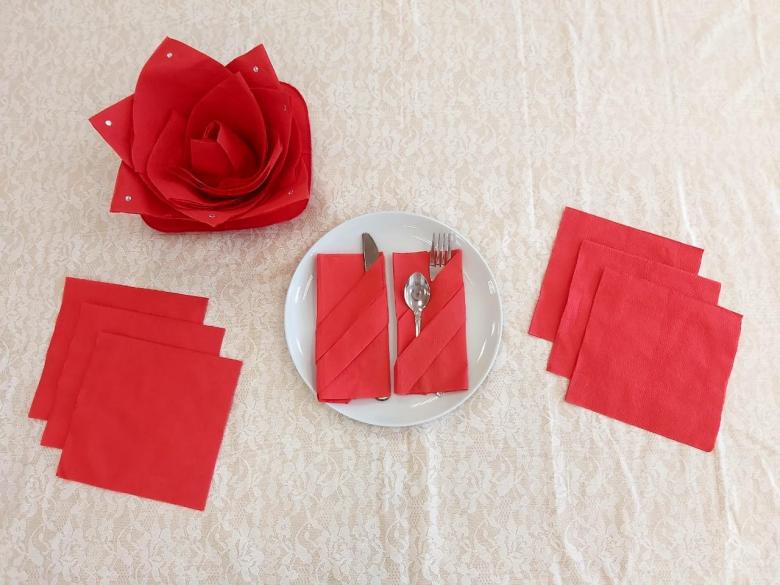
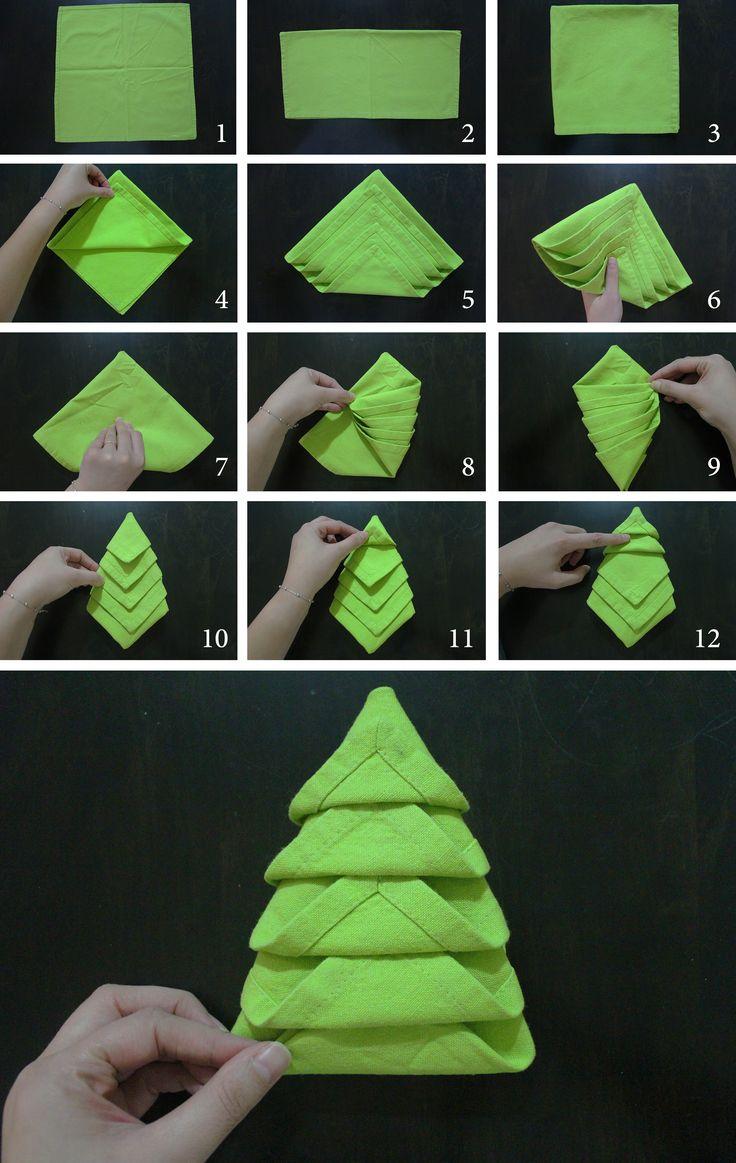
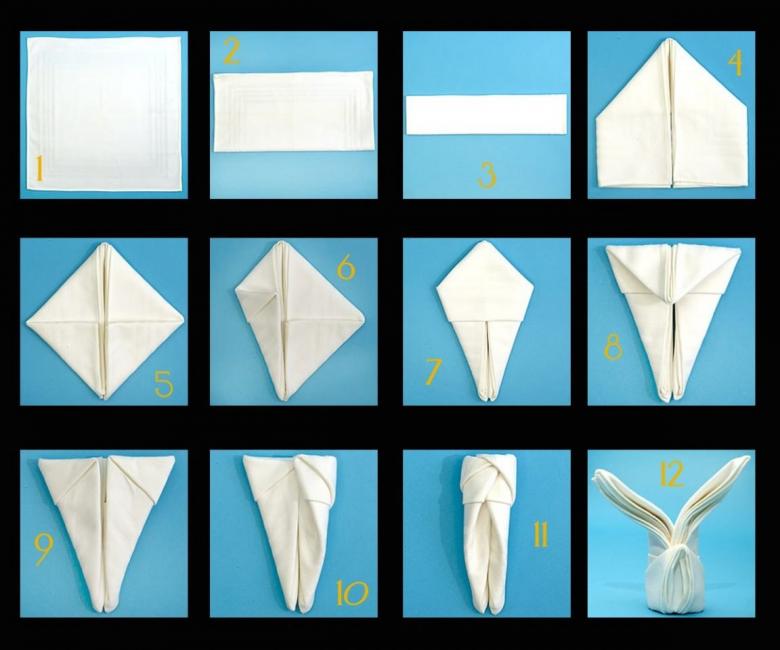
Cone .
This is an easy origami out of a napkin for beginners. Need to pick a napkin made of natural material 35 by 35 cm or 50 by 50 cm. First you need to fold the material in half from top to bottom, then again in half, but vice versa. Then you need to turn the free ends away from you in the opposite direction, and the top fold in half.
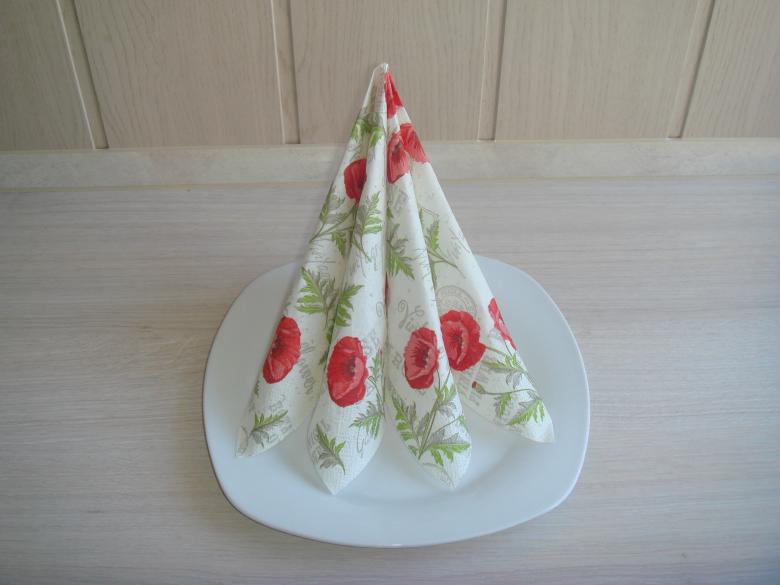
After this, turn the future composition of the other side. The left side to turn to the center at 60%. The loose ends to put under the left side. Product is ready! In the resulting pocket on the outside, you can put decorations or a sprig of mint.
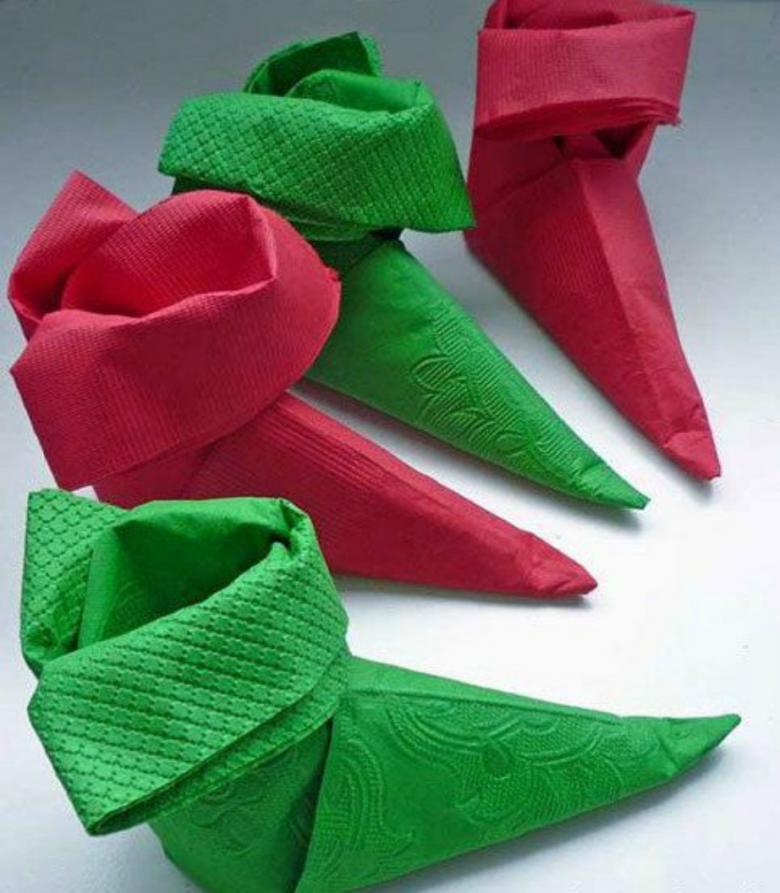
This version of origami is also easy and simple to perform. Thanks to this uncomplicated technique, the table can give a grand and festive appearance.
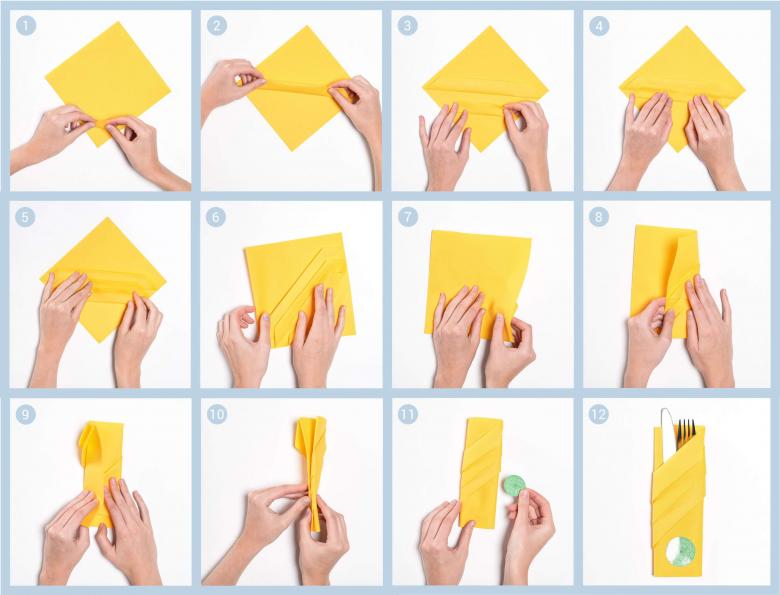
To begin with, you need to pick a square textile with a length of about 50 cm. The technique of execution is similar to the previous "cone" technique. The back of the napkin should be folded from the bottom up and then from right to left.
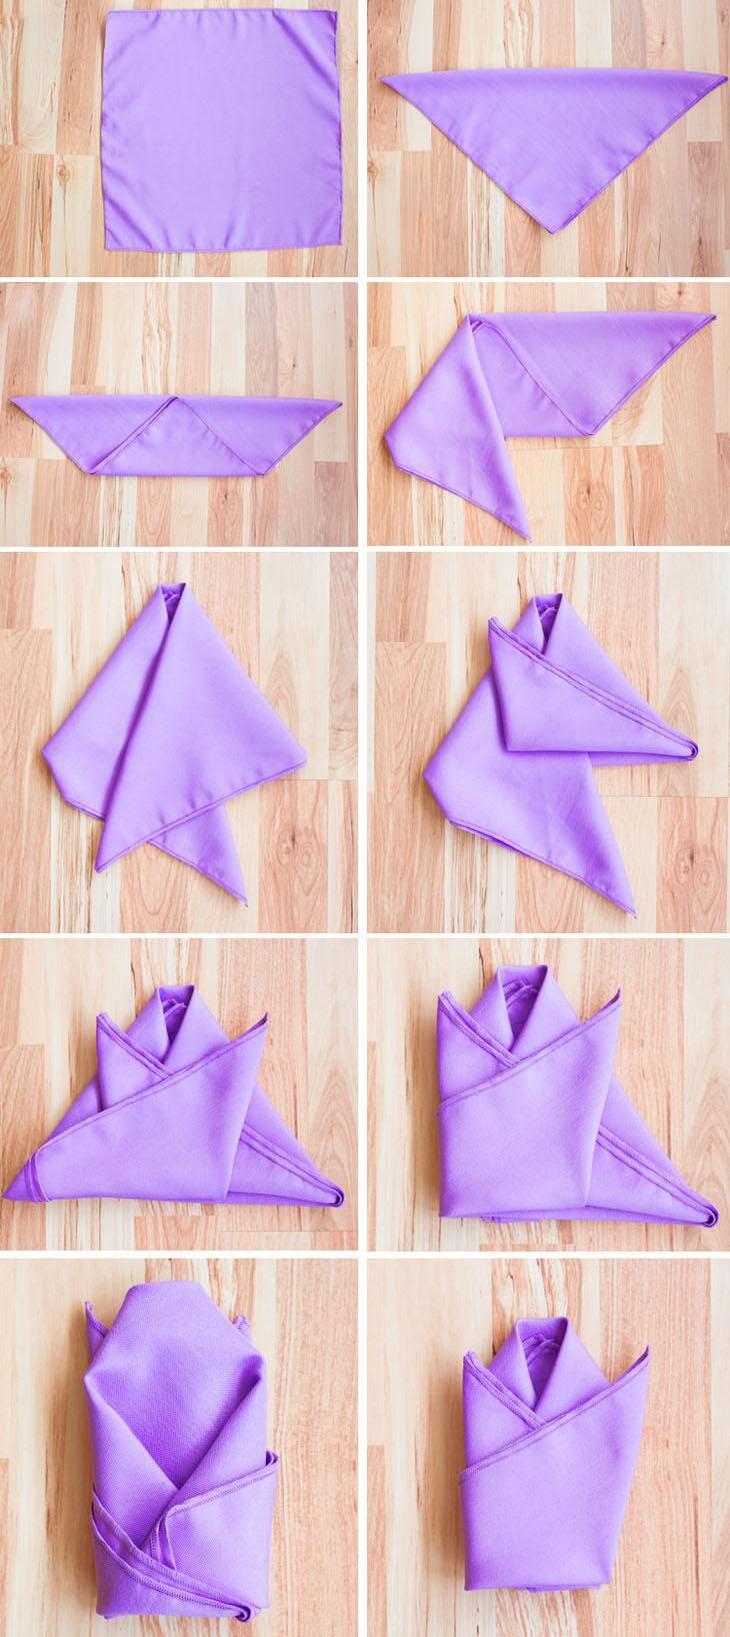
The top layer of textile should be folded in half. After that, the napkin is turned over, and the right side should be bent to the center by 30%. The left side should be tucked into the resulting pocket. The product is ready! Front pocket can be decorated with a decor.
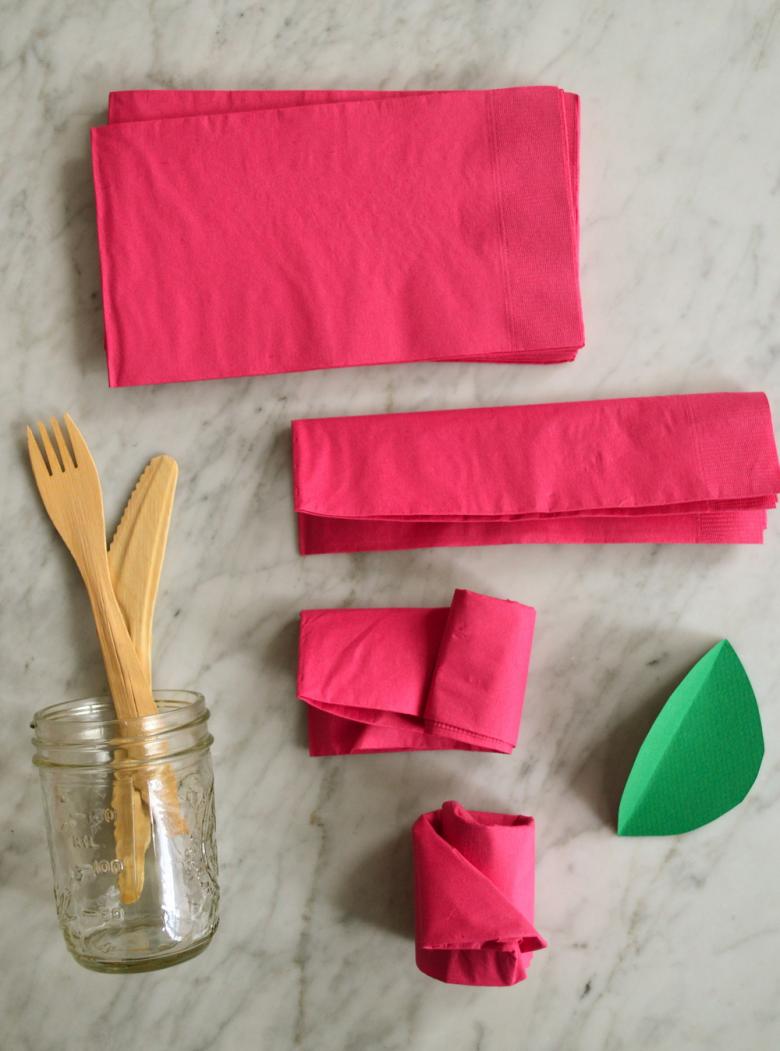
Basket .
From a simple textile you can make a beautiful basket for bakery products. It is an original type of serving and the possibility to keep them warm.
Workflow:
- The napkin should be placed on the table and straighten the edges.
- The left side is bent to the middle of the textile.
- Then bend to the right by 60%.
- Do the same on the other side.
- The composition is then turned the other way around and the top and bottom sides are put together. The bottom should be superimposed on top of the product.
- Smooth out all the folds and turn over.
- In the resulting side pockets you need to put buns.
Such a basket will suit the kitchen in a country style.

Origami flowers
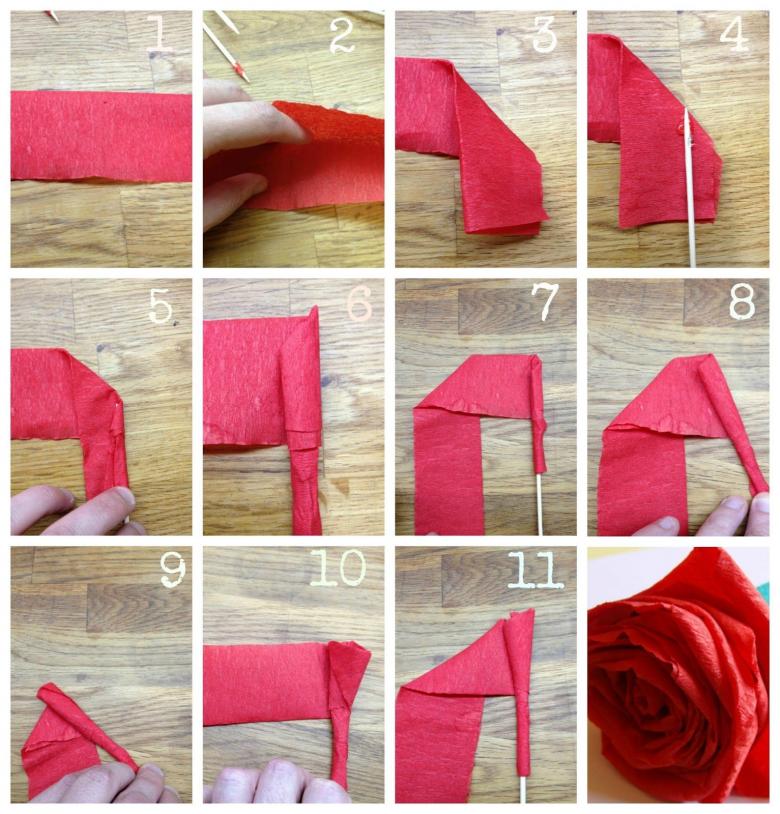
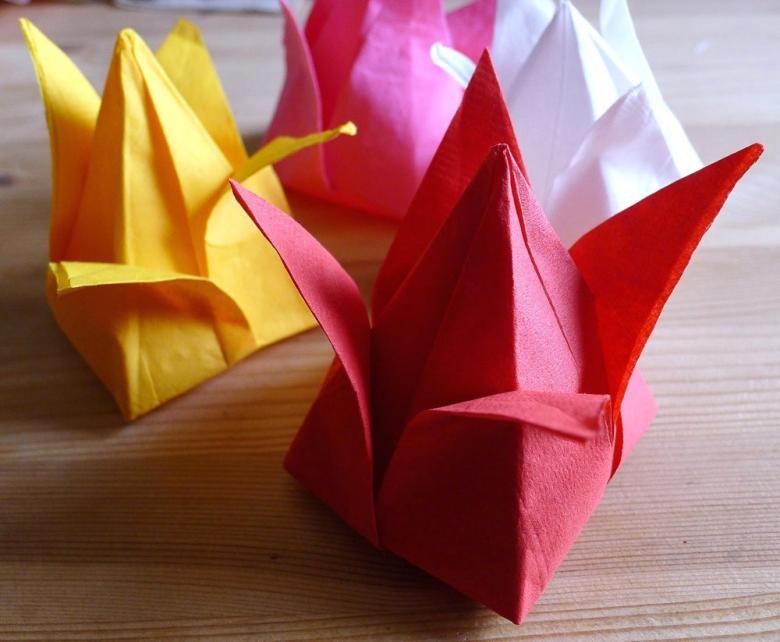
Origami flower compositions are most often made for children from paper napkins. One of the most relevant at the moment is considered a rose. For an origami rose out of a napkin, it is desirable to use three-layered paper versions.
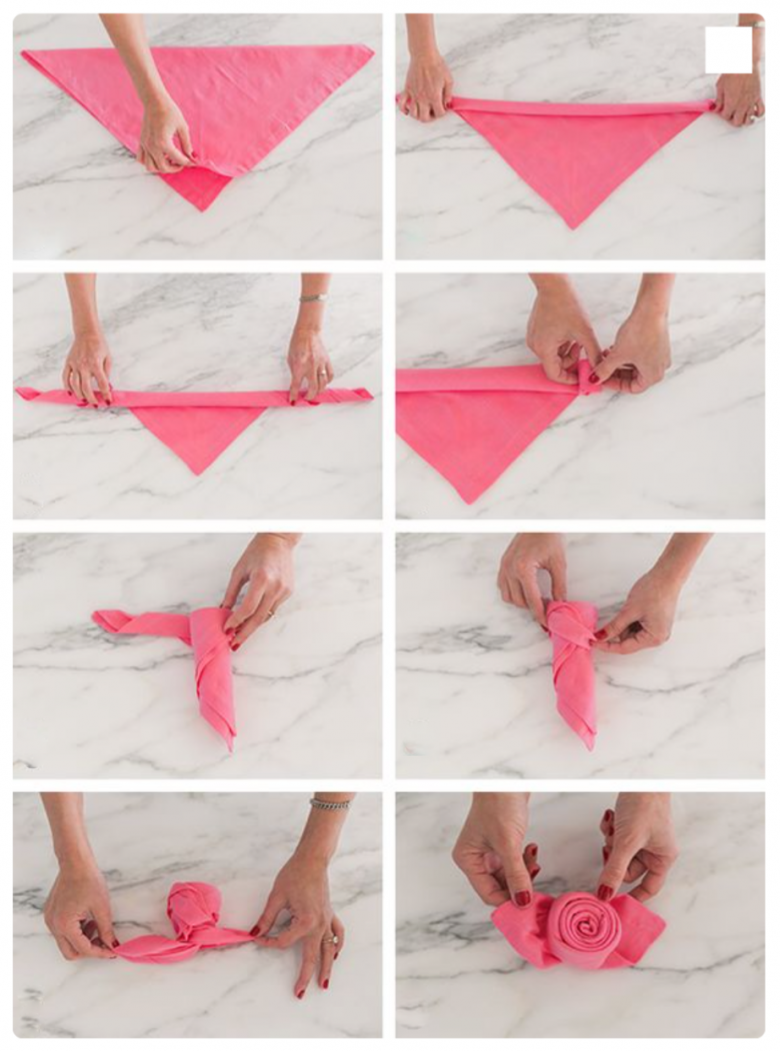
The queen of flowers
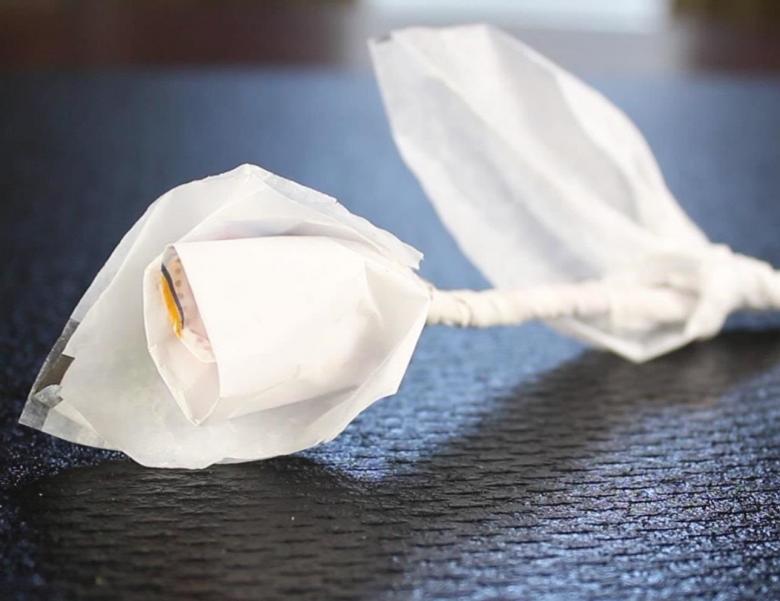
Perform this composition can be made from different kinds of fabrics. To decorate the dinner table, cotton is suitable, and for celebrations it is better to use silk. Despite all the chicness of the composition, it is easy enough to make a rose. Children will love this composition, especially if you make it right in front of their eyes.
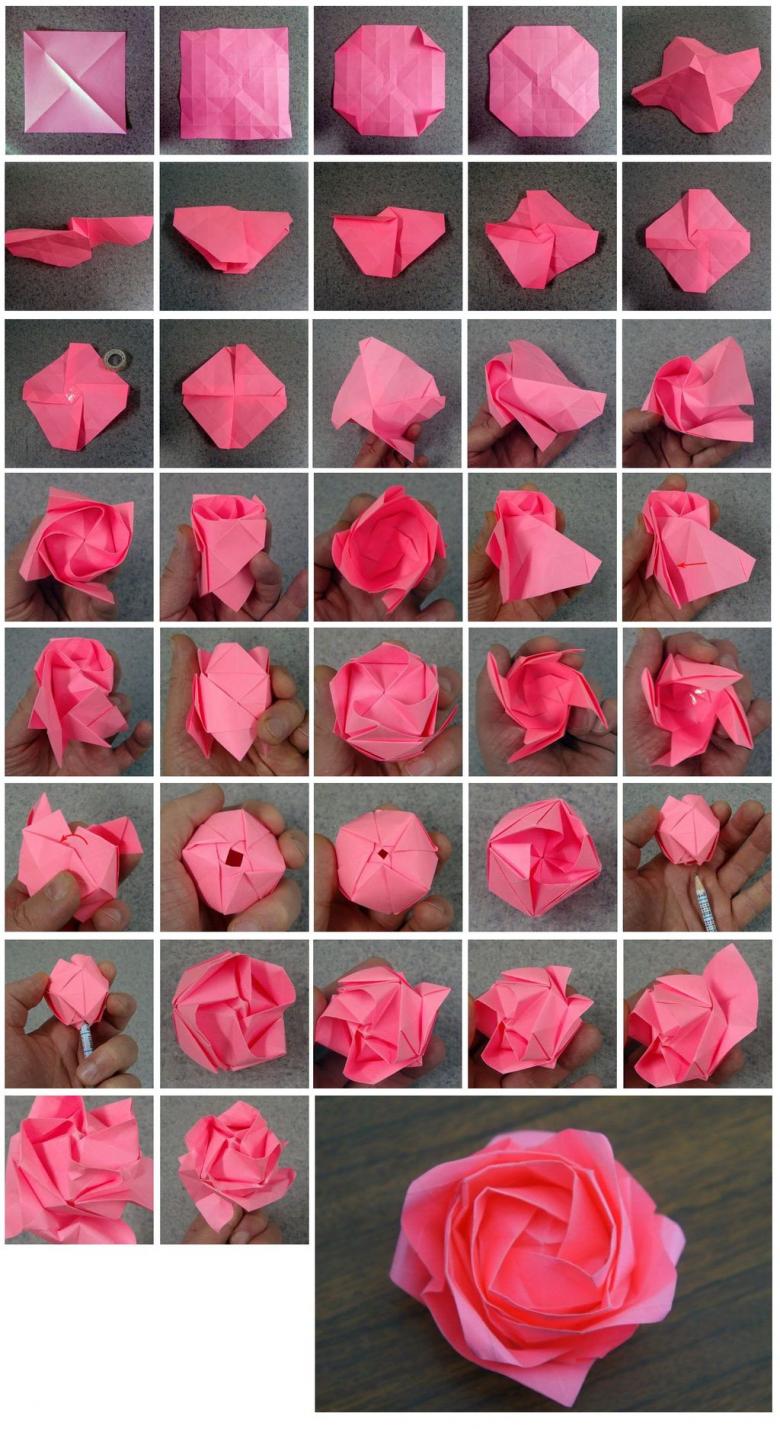
Workflow:
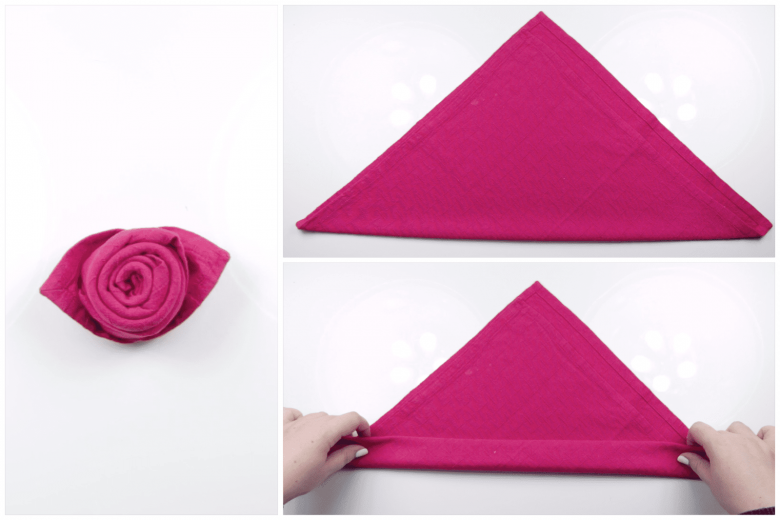
- The napkin needs to be placed with the corner down, and then folded in half.
- Bottom of the napkin to bend. On how much the napkin will be bent, will depend on the appearance of the rose. If you intend to make a bud, you need to make a small crease, and for a gorgeous flower, you need to widely twist the edge of the napkin.
- Next, you need to keep folding the fabric so that only a small tip is left on top.
- Next, you need to turn the composition with the tip down.
- After that you need to roll the resulting figure from left to right, and the tip tucked under the outer layer.
- Then you need to turn the product and carefully separate the two ends in different directions.
- From both ends are made leaves. Need to turn the textile and slightly twist the ends.
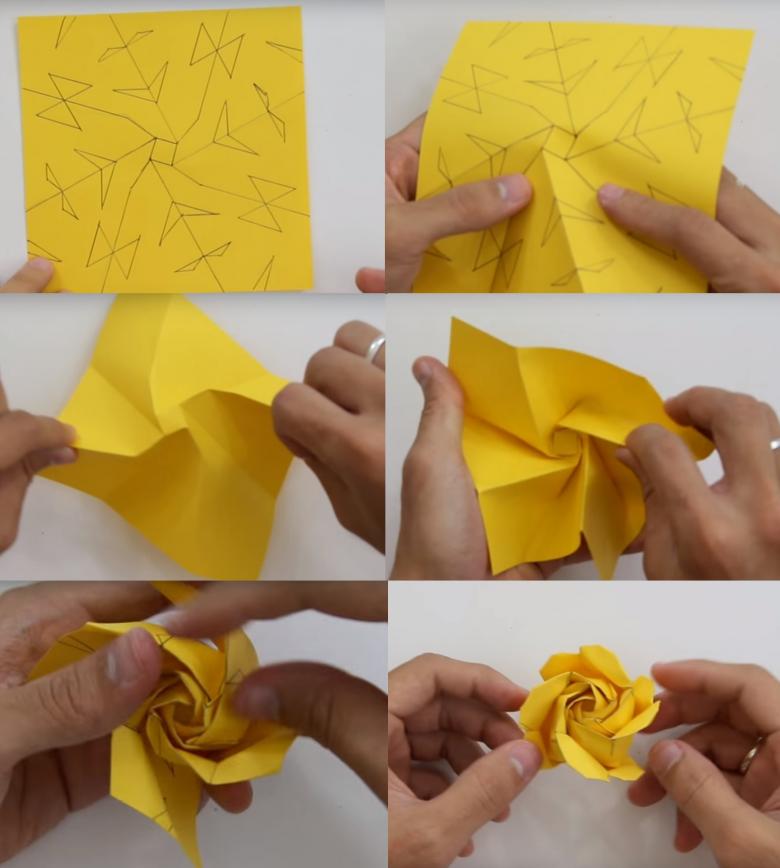
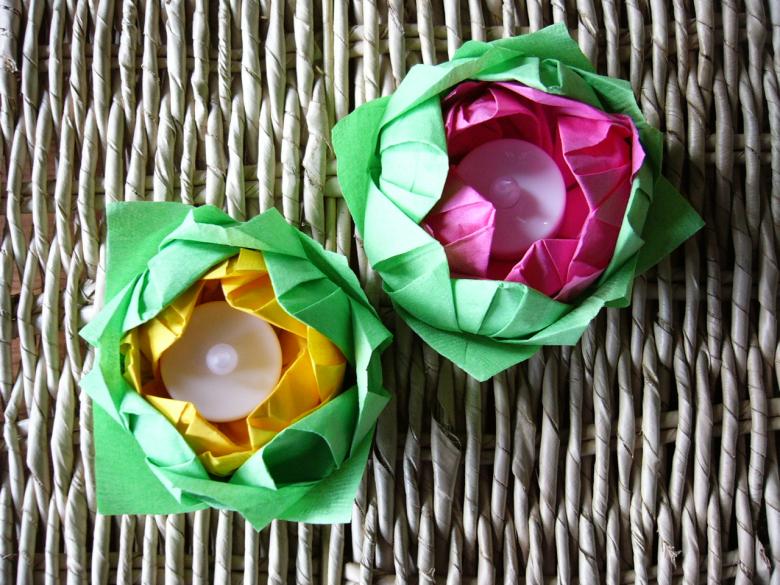
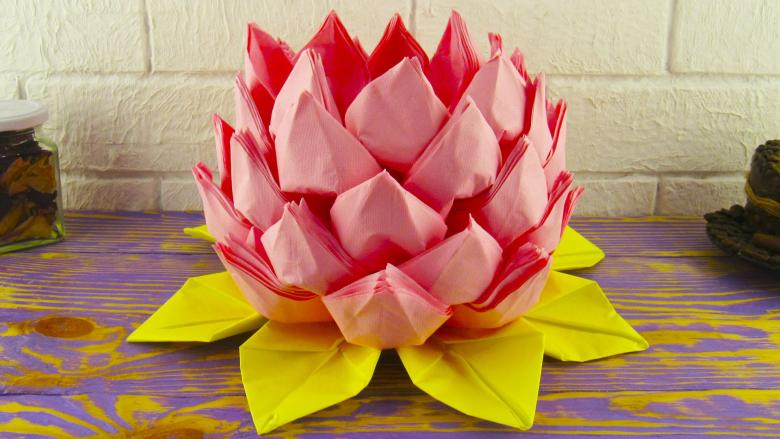
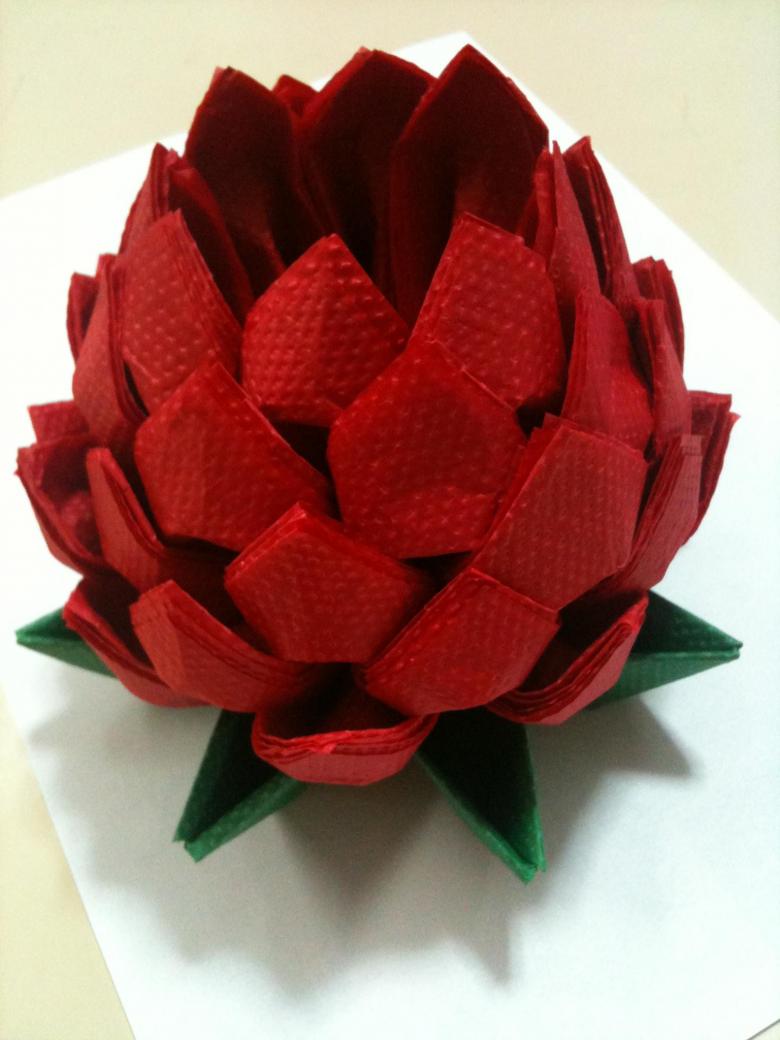
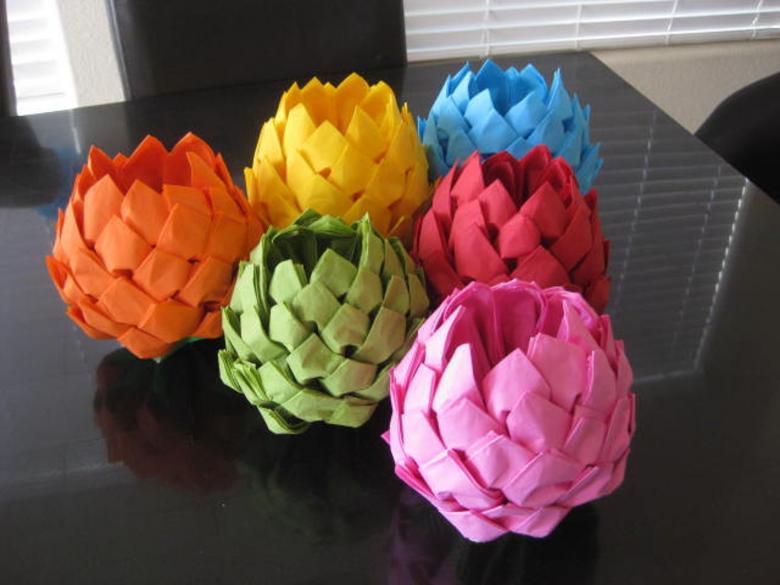
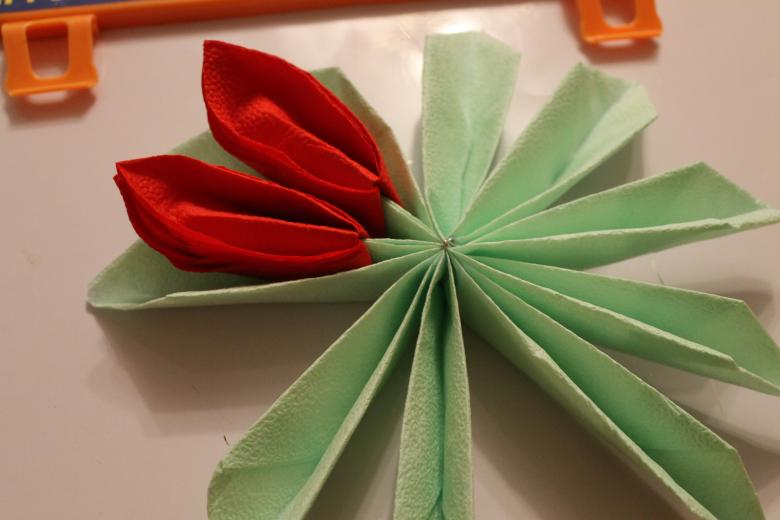
Lotus
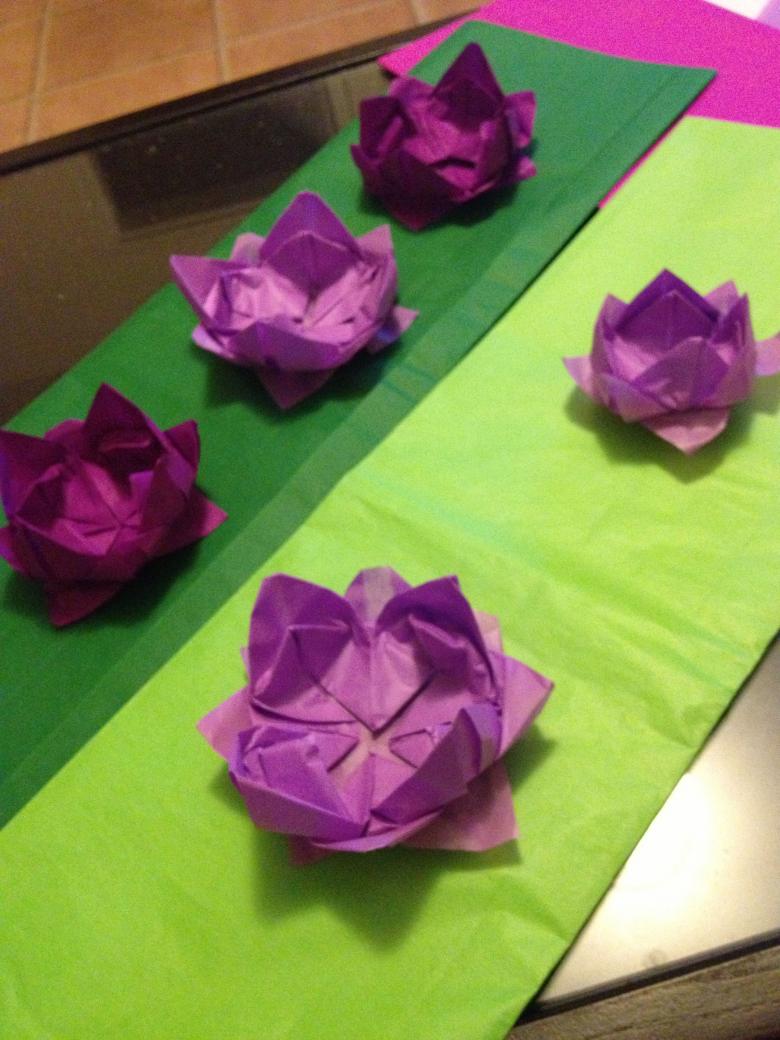
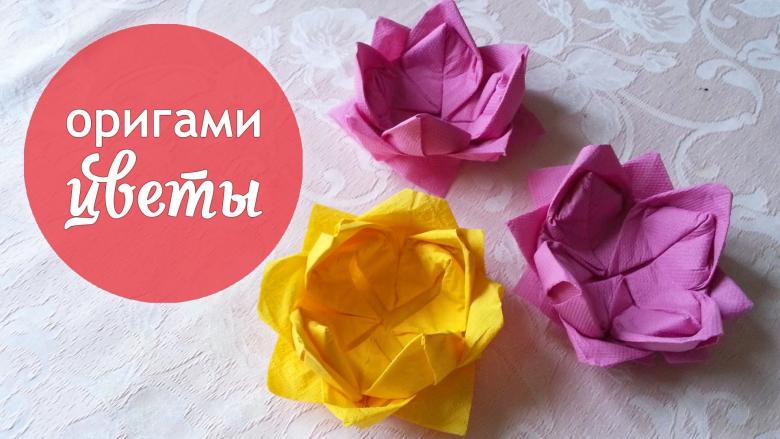
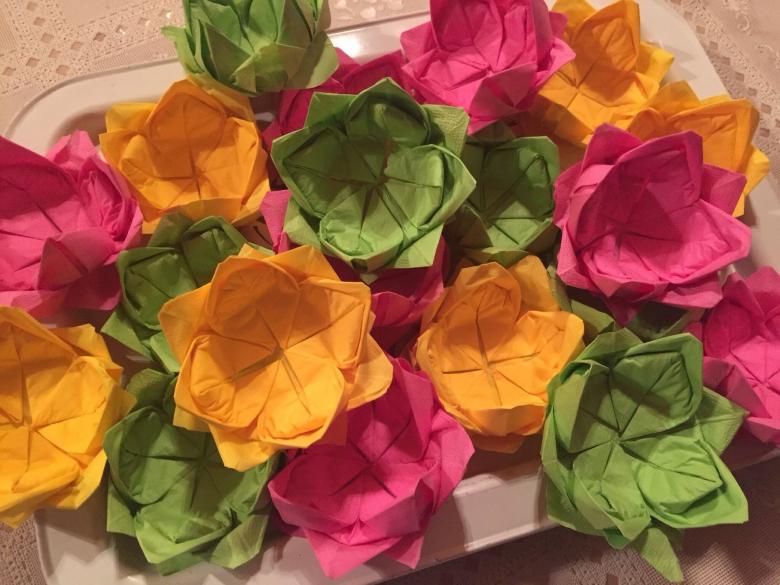
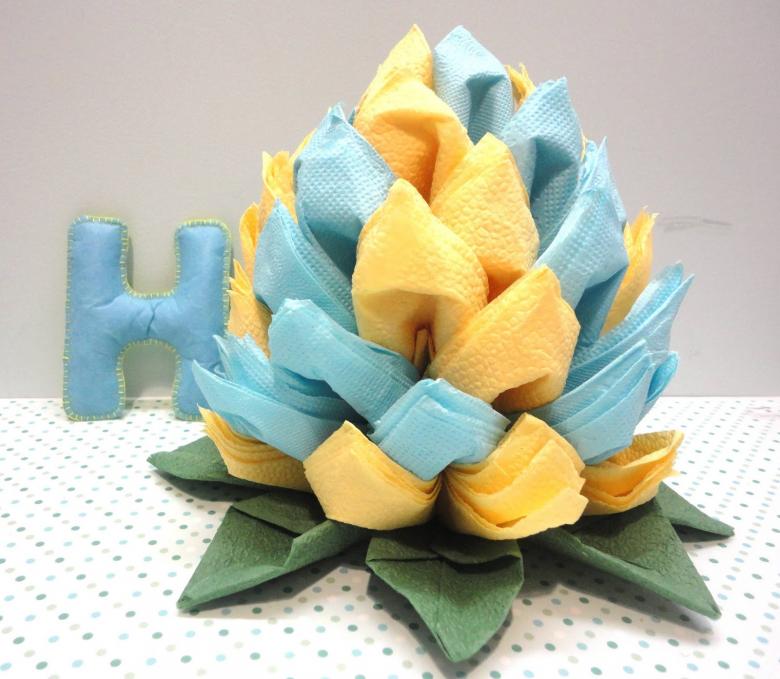
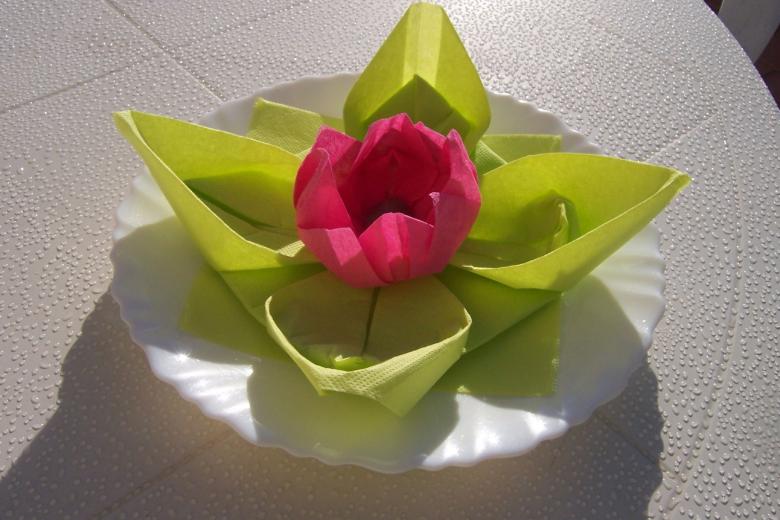
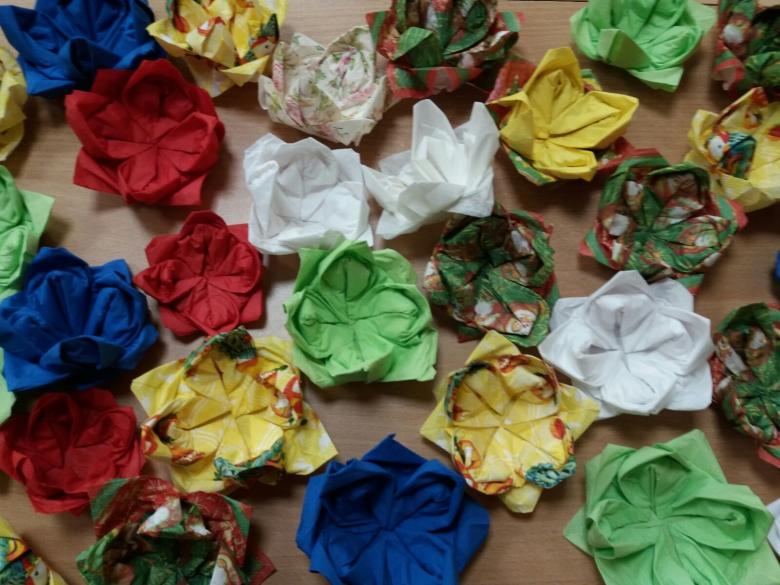
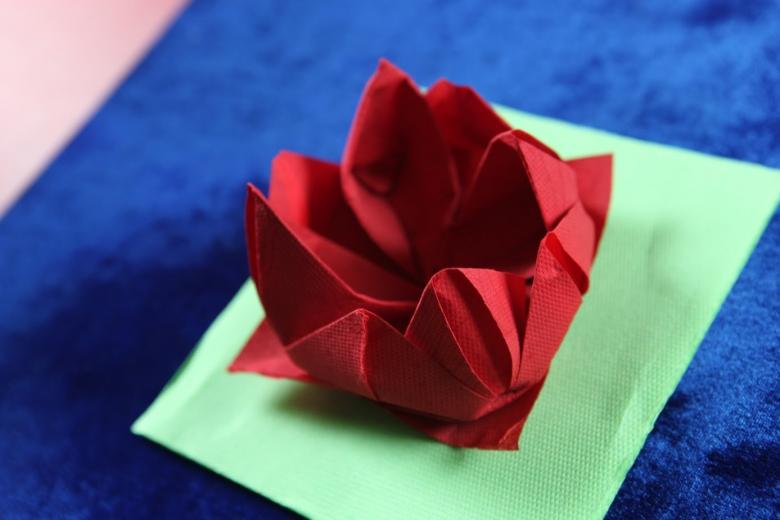
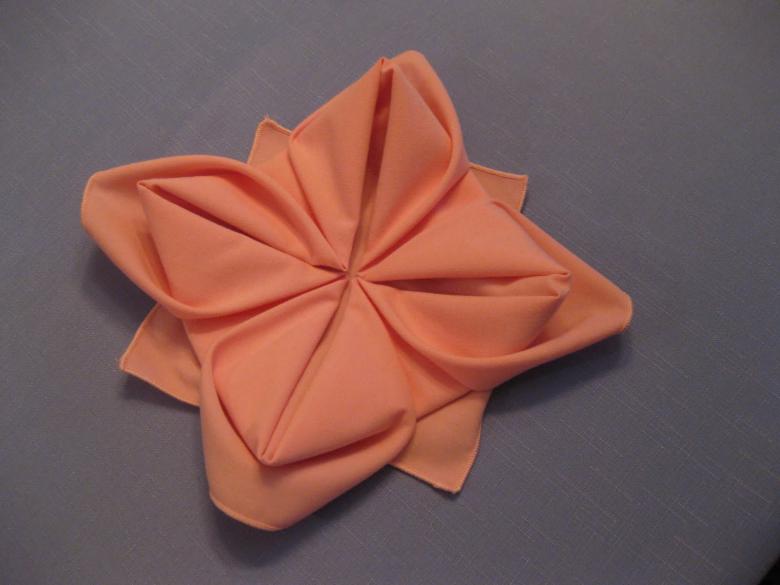
This is a beautiful and stylish decoration that is usually even pathetic to disassemble for the use of a salvette. It is advisable to work with cellulose napkins with special care, as they can be damaged by one careless action.
When working with the creation of figures, it is important to carefully iron the folds.
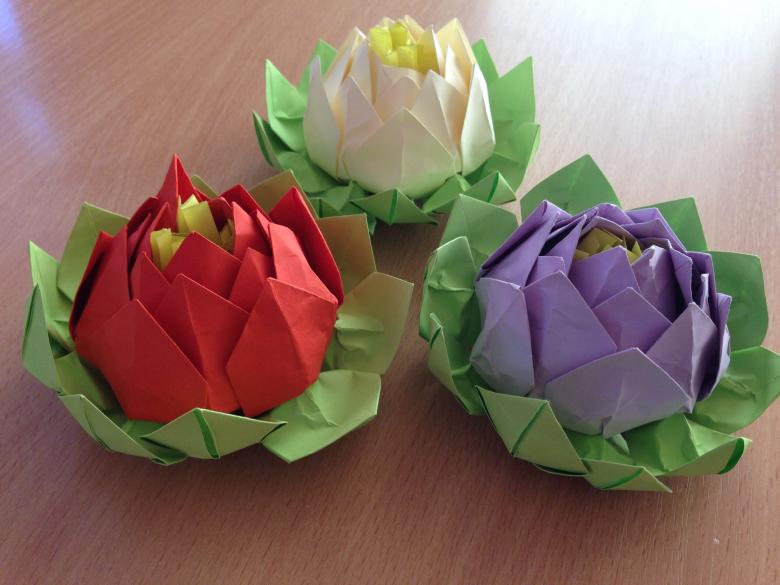
Workflow:
- Paper napkins are usually already folded and are divided horizontally and vertically. It is necessary to bend all corners to the center.
- Then the procedure must be repeated, and all the folds must be carefully ironed.
- Then flip the resulting product to the other side.
- Again repeat the procedure with bending the corners to the center.
- At this stage, the corners to bend again, but already 1/3 to the center.
- Next, holding the corner, you need to take the rear corner and fold it forward.
- Corners, which are now inside, you need to lift up.
- In the penultimate step, you need to turn the last petals, which are on the back side of the product.
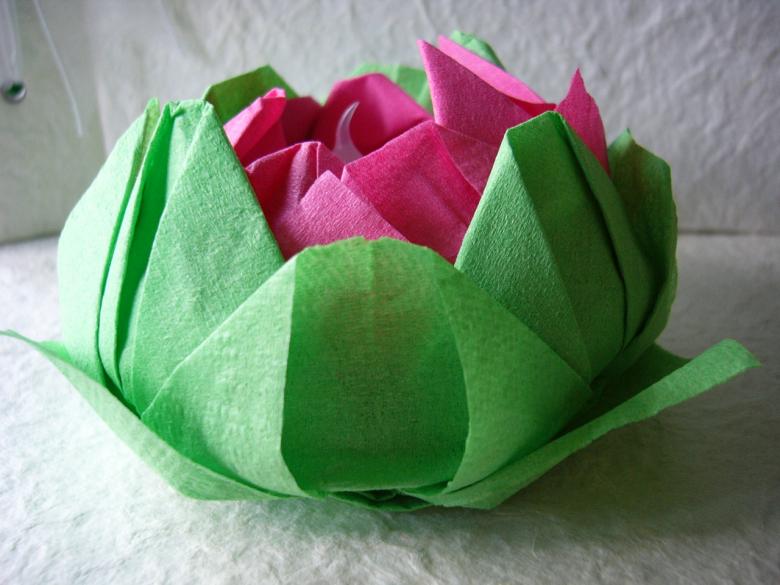
- Now gently smooth out the leaves and fold the ends. "Bowl" lotus can be both folded and unfolded product.
Inside the bud you can put sweets or buns.
Animals and insects
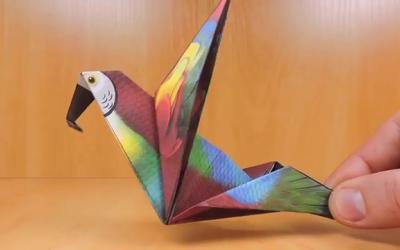
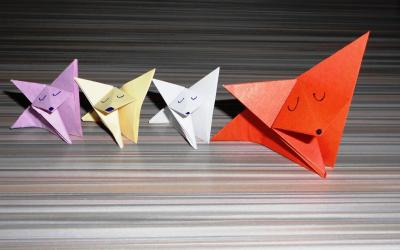
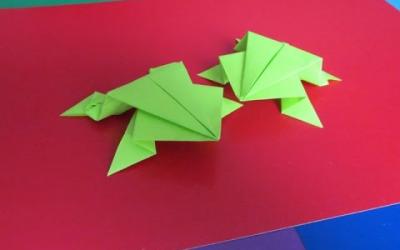
Often this material creates butterflies or swans. Learn the art of origami under everyone's power.
Butterfly
Mode of operation:
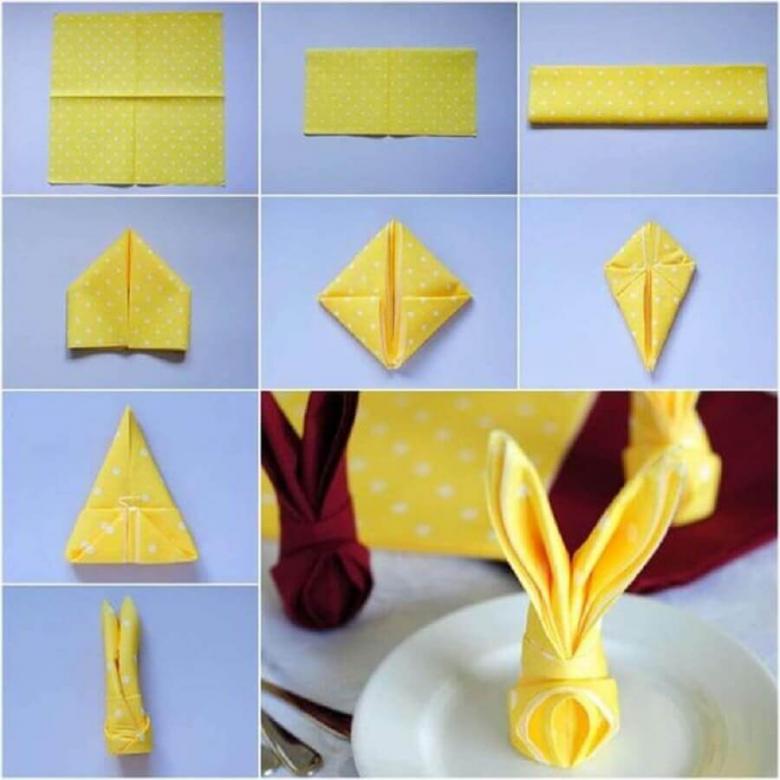
- Need to fold a napkin to form the folds.
- Material to fold in half, to form a rectangle.
- From the rectangle to create a triangle: you need to straighten the right and left sides.
- Fold the corners up, turn the product on the reverse side.
- Then wrap the bottom corner up and straighten the folds.
- Repeat step # 4.
- At the bottom you get a corner, which should be folded to the top.
- The resulting figure is folded in half, and its top bend toward you.
- Repeat steps. Product ready!

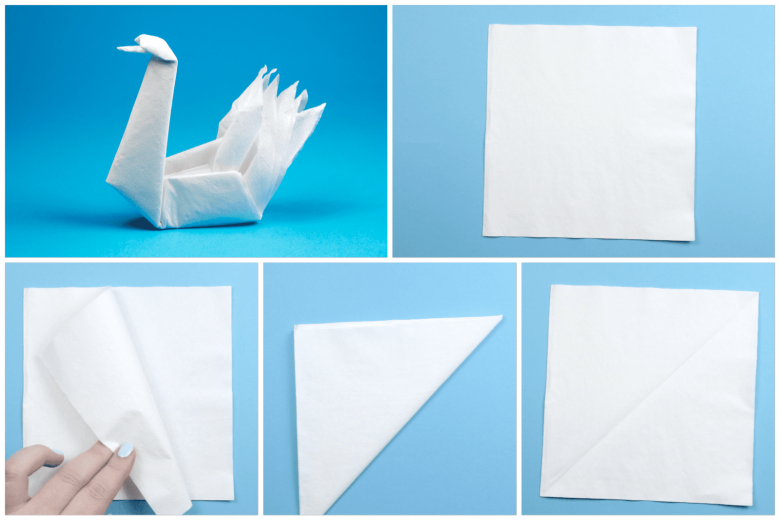
Swan
- Napkin necessary to bend in 4 times and place the angle to you.
- Then bend the right corner to the left and unbend. This will help find the center.
- After that, the right and left side should be directed to the center.
- Then put the figure on the back side, and repeat step number 3.
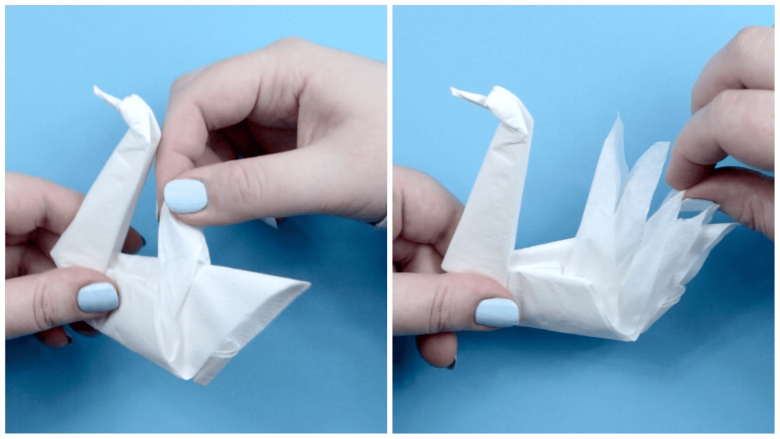
- Next you need to rotate the product so that the angle was to face you and bend it - this is the future swan beak.
- The product must be bent and straighten the head of the bird.
- At the last stage you need to open the tail of the bird, gently pulling out the layers of the napkin.
Here we have come to the end of our master classes. Good luck!
