Origami Tank: a simple master class for children and beginners, photo ideas
If girls like to play with dolls, dressing up their favorites, treating them to various treats and drinks, rocking and putting them to bed, then the favorite toys for the boys are cars and guns.
Game of "voynushka" is the most popular hobby of future defenders of the Fatherland. At home, in the yard and on the street unfolds no small battles between the "opposing" sides. People with average incomes are not difficult to buy a toy military equipment for your favorite kid.
But the problem is something else - quickly get bored with a thing you buy. It is quite another thing if the toy is made by hand. The child will wear it as a pissant and consider it the best toy in the world.
The benefits of .
Occupation, it would seem, the simplest actions is a great help in the development of creativity, imagination and fine motor skills of children.
Working together strengthens family bonds, teaches your child to be creative, develops logic and aesthetic taste. Knowing about these useful aspects of working in the art of origami should not neglect them, but rather, as often as possible to engage with a child in such activities.
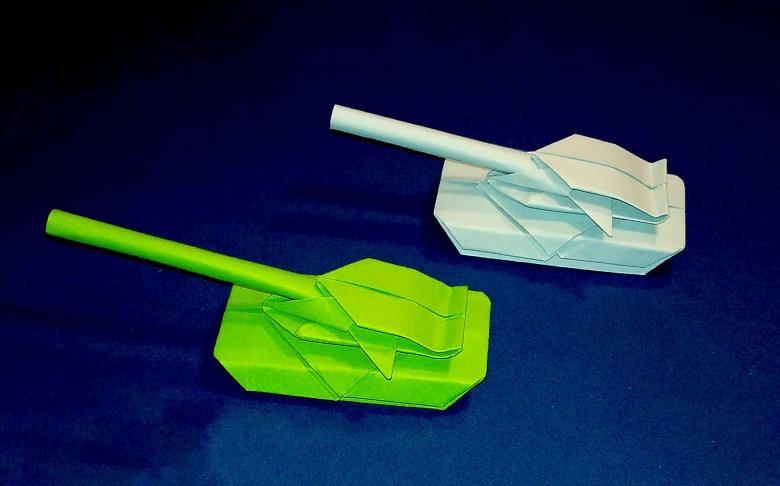
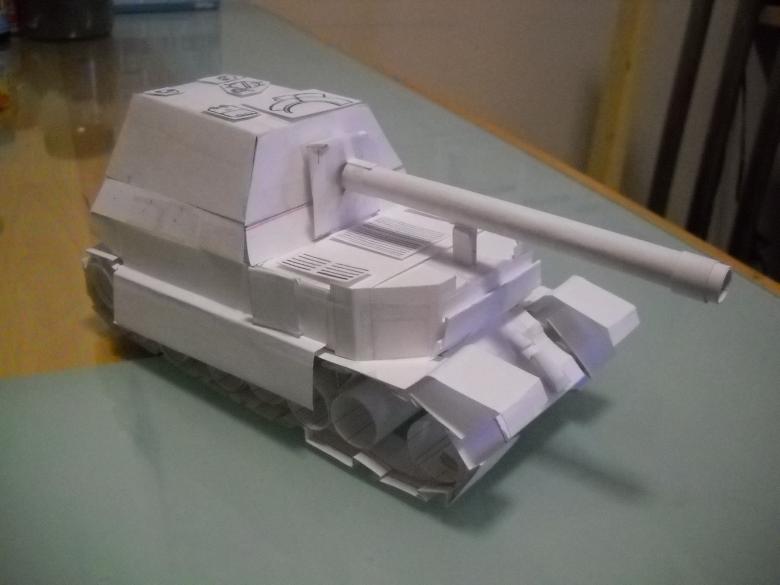
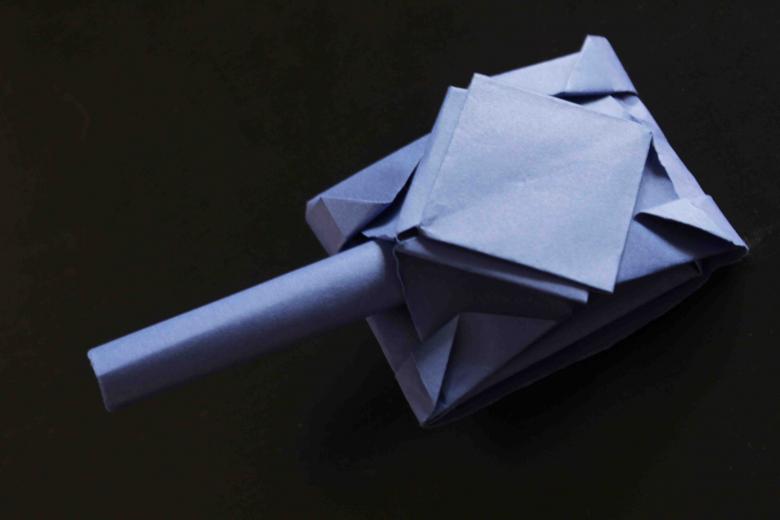
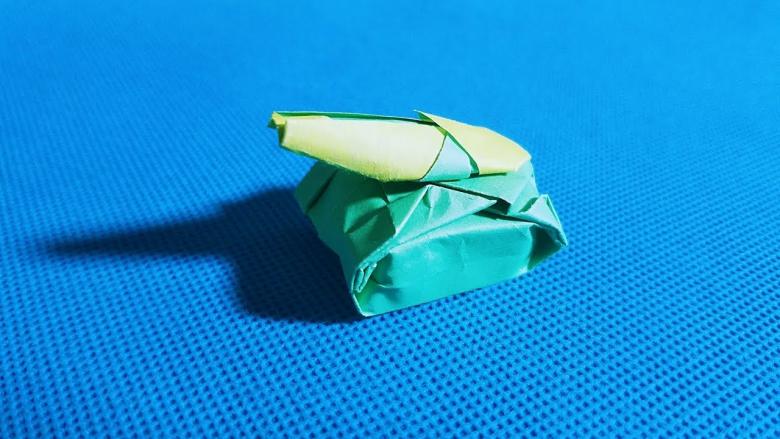
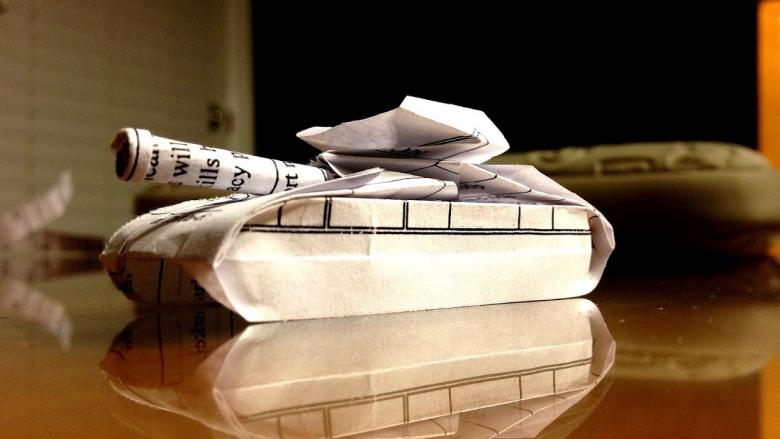
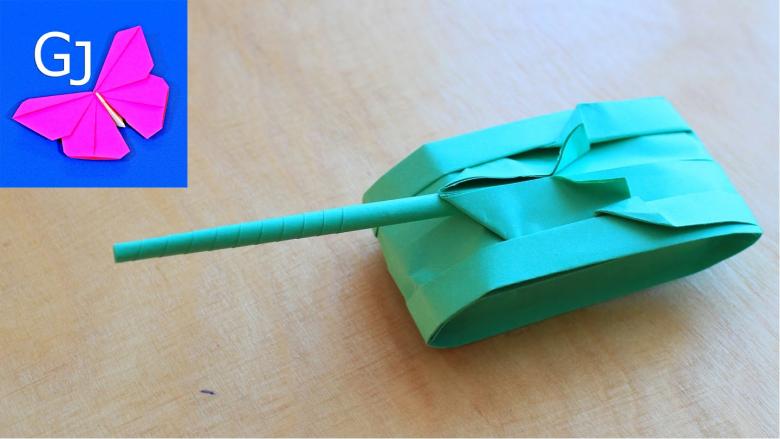
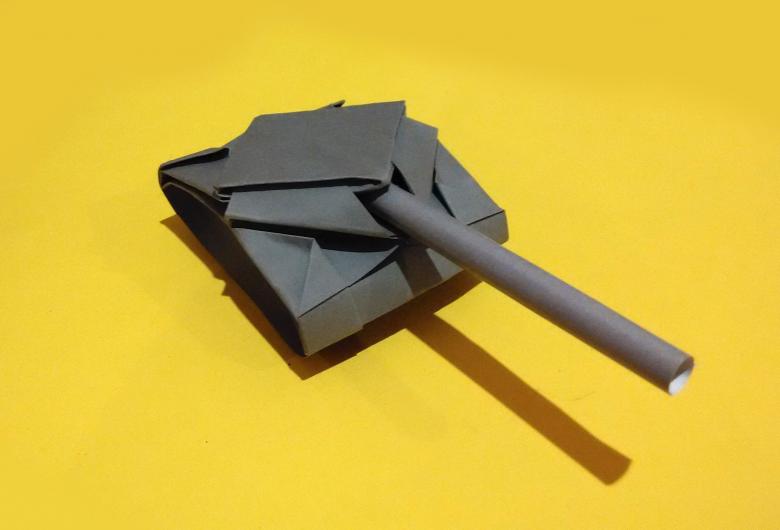
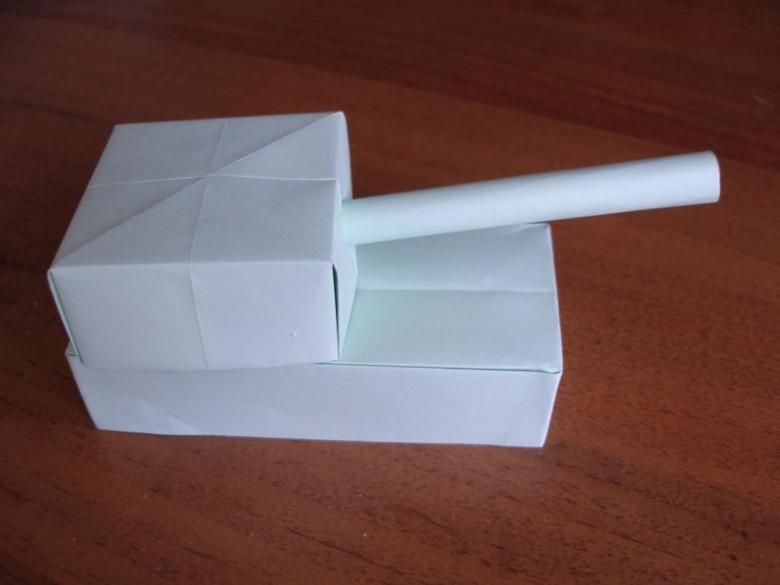
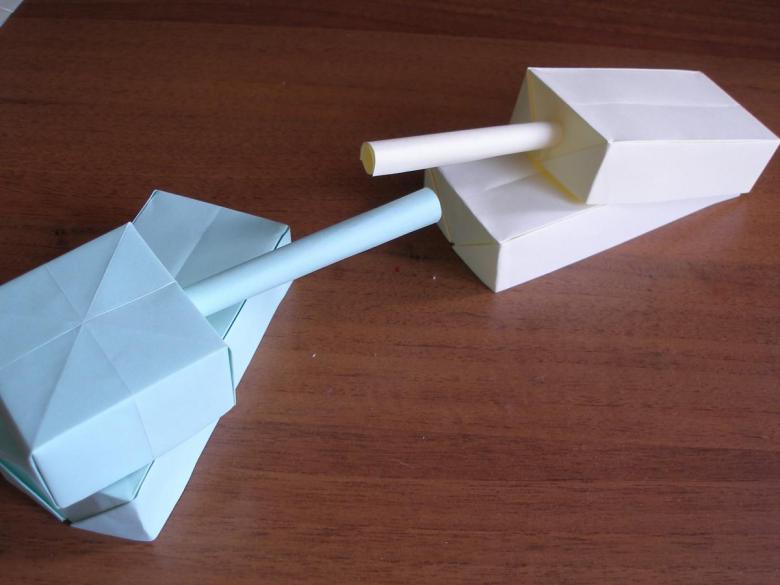
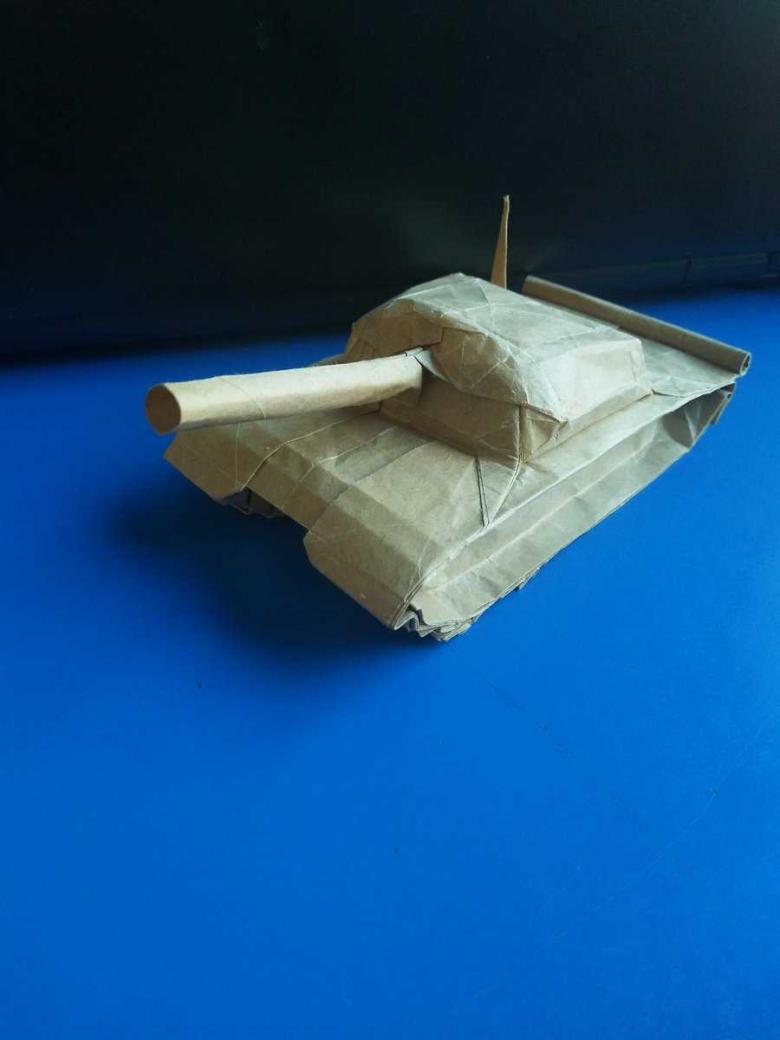
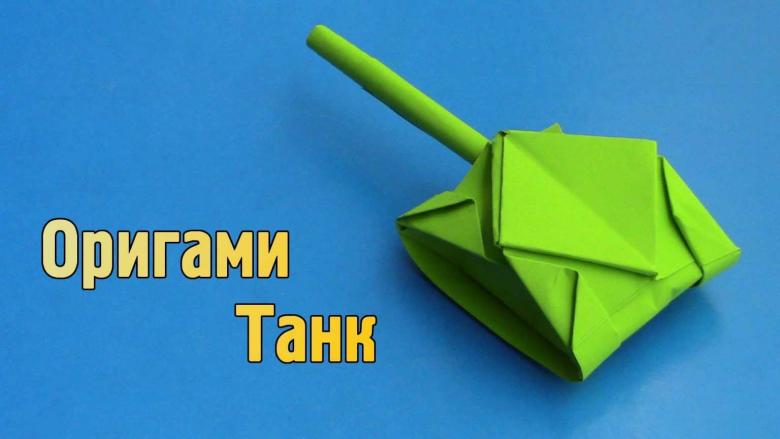
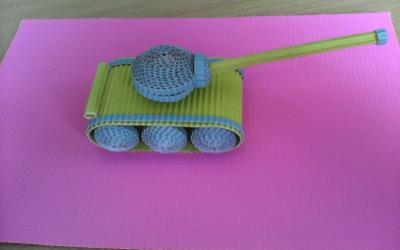
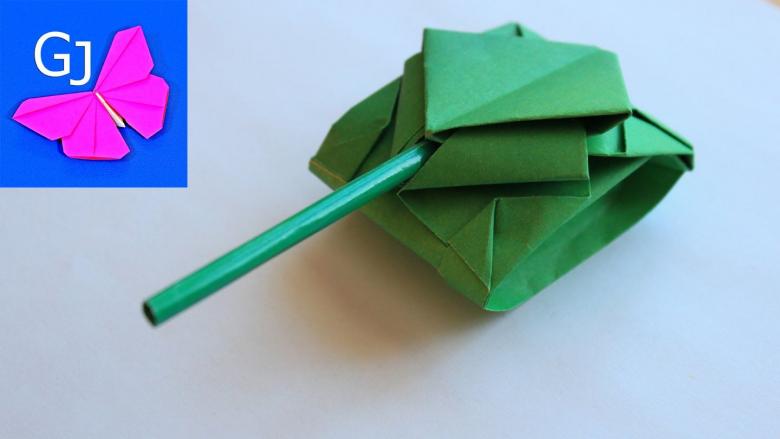
Excellent joint activity can be making a tank by origami. To begin with, we advise to choose the most simple model. Then you can go to the designs, consisting of several parts.
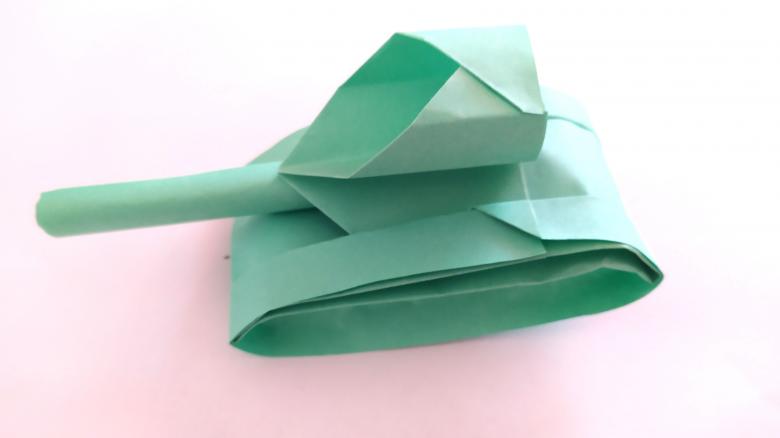
Material
Origami technique involves the ability to choose the most simple paper, including newspaper. However, if you set out to make a tank, then he must be able to withstand albeit toy, but fight.
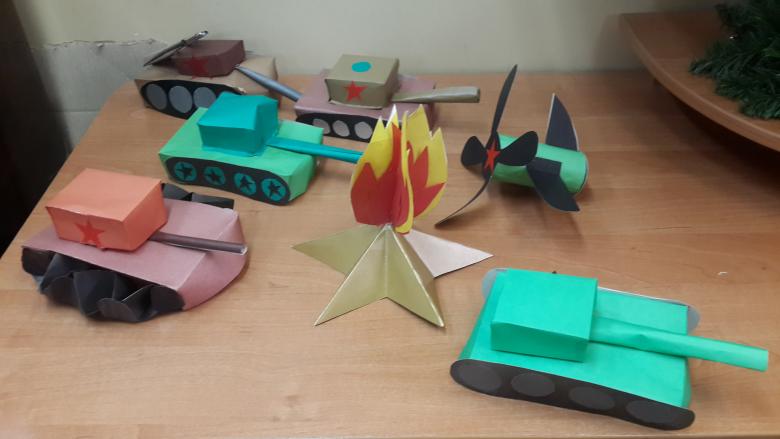
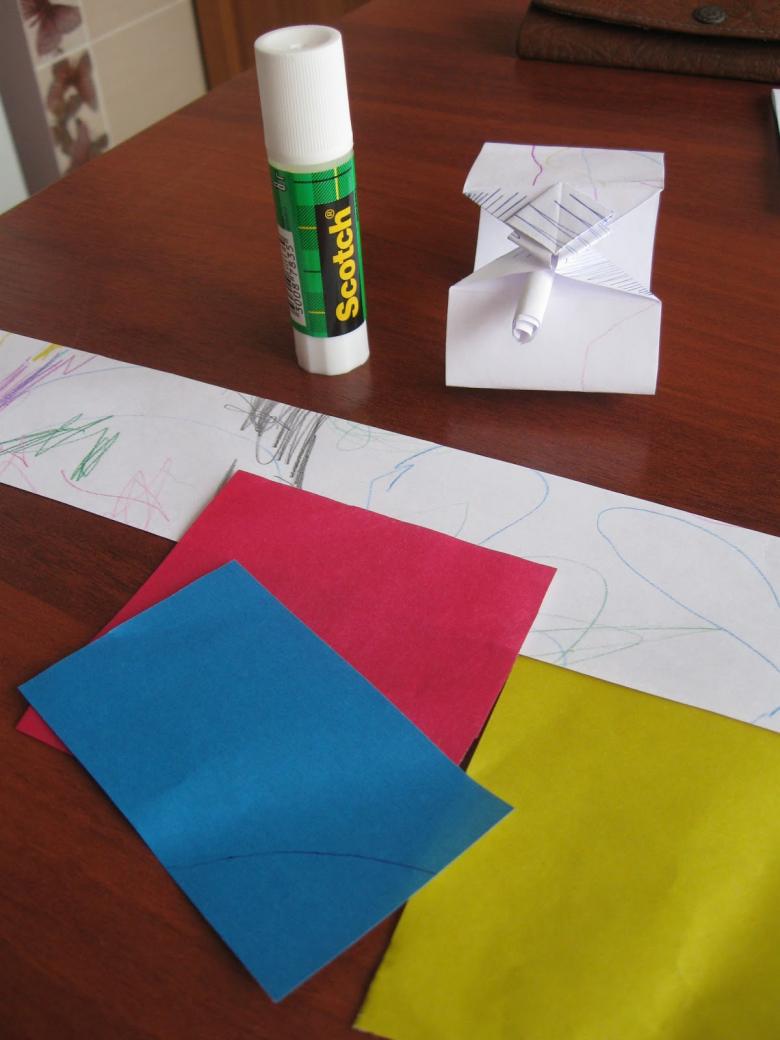
Therefore it is best to buy a special paper for origami, as it is more dense. Made of her craft will last a long time. Just need two sheets of paper. One for the body, the other for the turret of the vehicle.
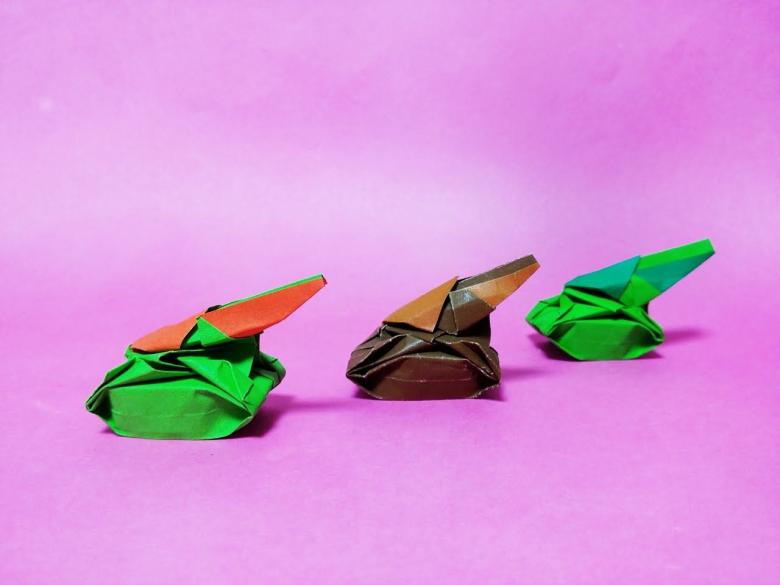
The tank - a complex figure, to prevent errors in the process of work should accurately follow all the requirements of the step by step instructions for the assembly of the tank from paper origami technique.
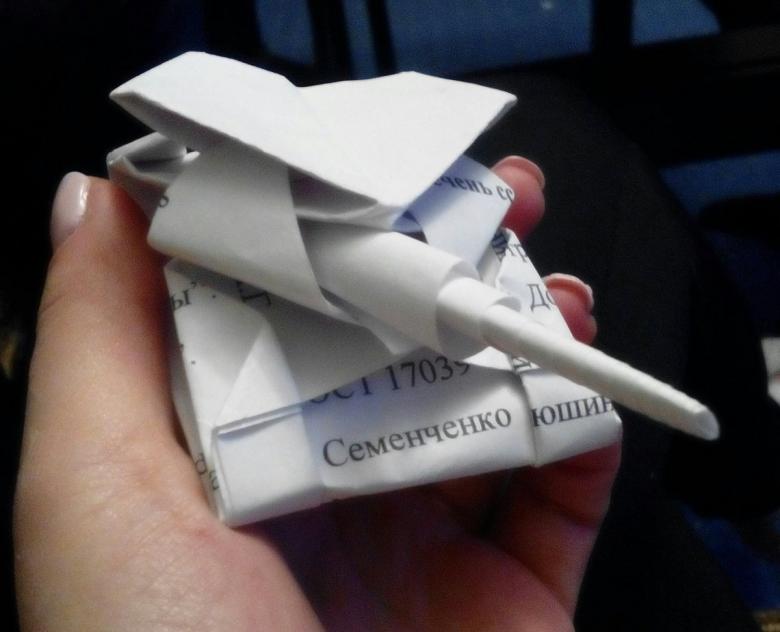
A simple master class
Getting started
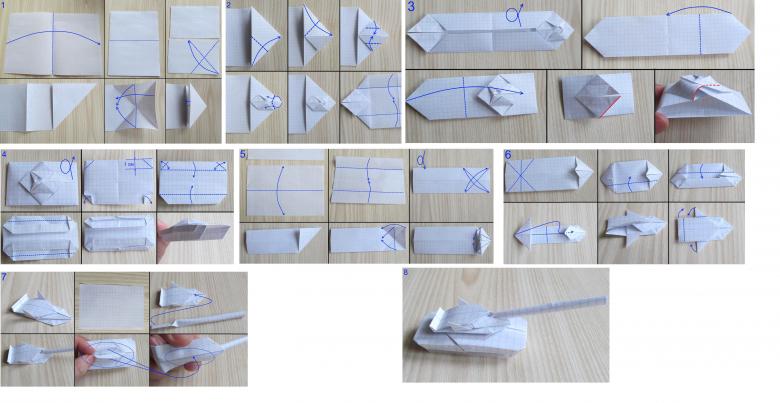
The stages of work should be carried out in the following sequence:
- A sheet of paper is folded in half.
- Bend the corners, marked the lines, and then unroll the workpiece.
- Corner bend in the opposite direction and formed a crosswise intersection.
- Triangles are added so that the folds were inside the workpiece.
- The inner parts of the triangles are directed downward, and the upper - toward the center.
- The resulting billet turn up and rolled in two.
- Remaining triangles on each side are rolled up, and the strip is bent in half.
- Billet unbent, and we get an arrow that has angles on both sides.
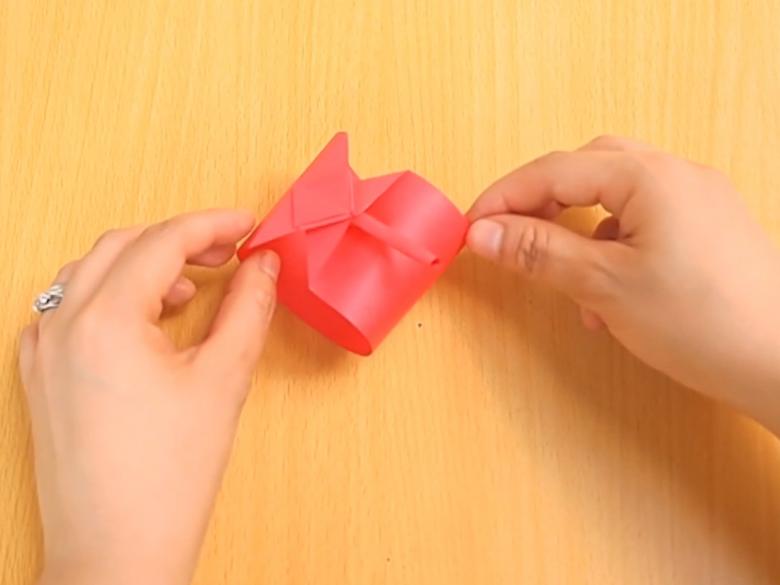
- Item turn over, and its side enter into each other to form a ring.
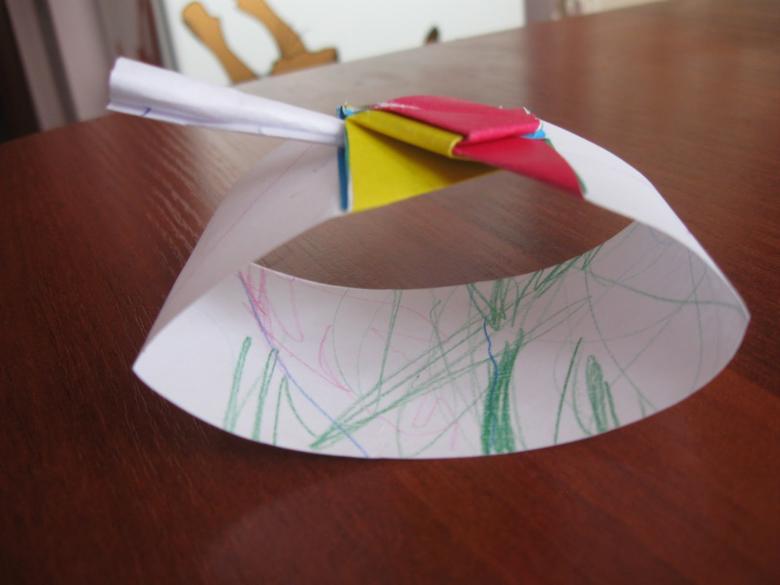
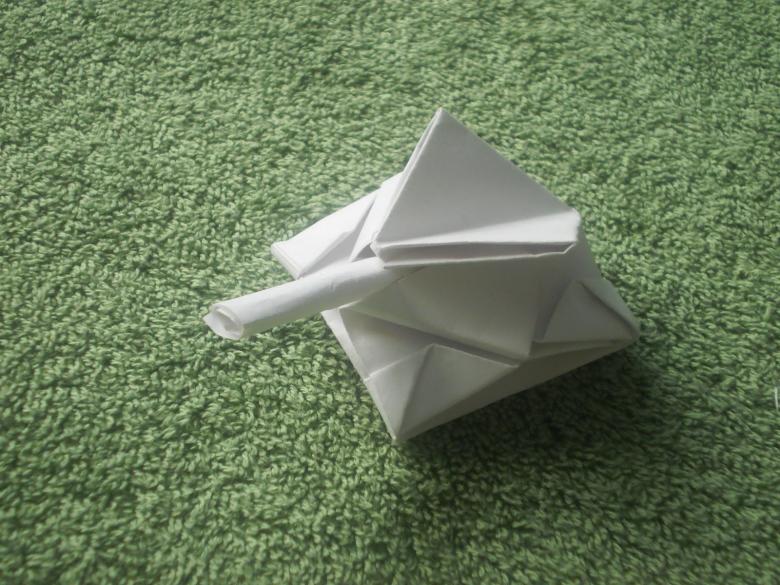
- From the protruding triangles removed the lower part and formed a tower.
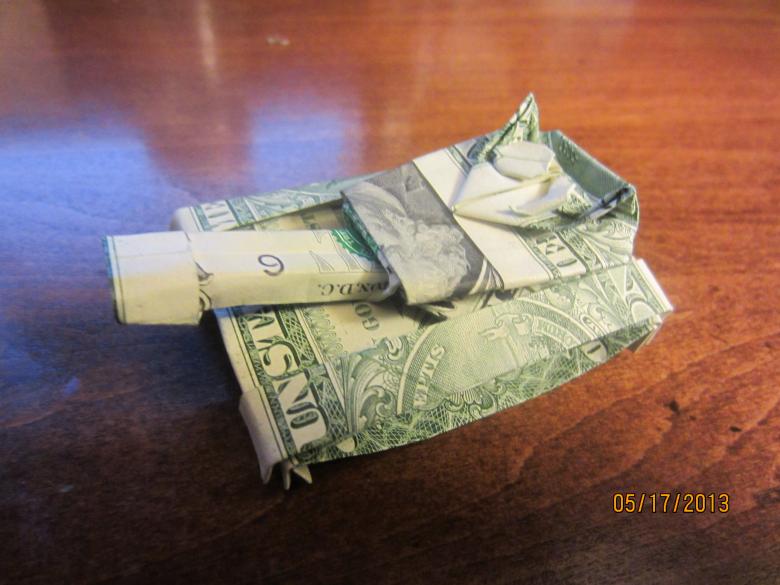
The second step
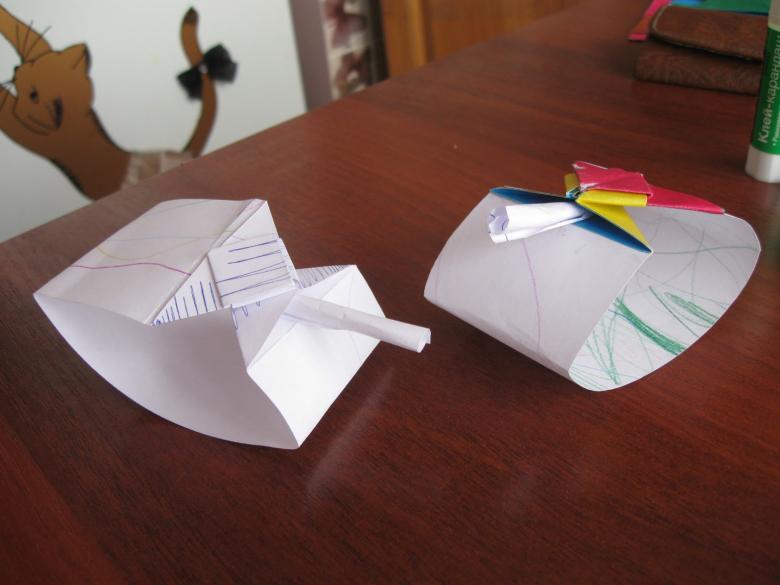
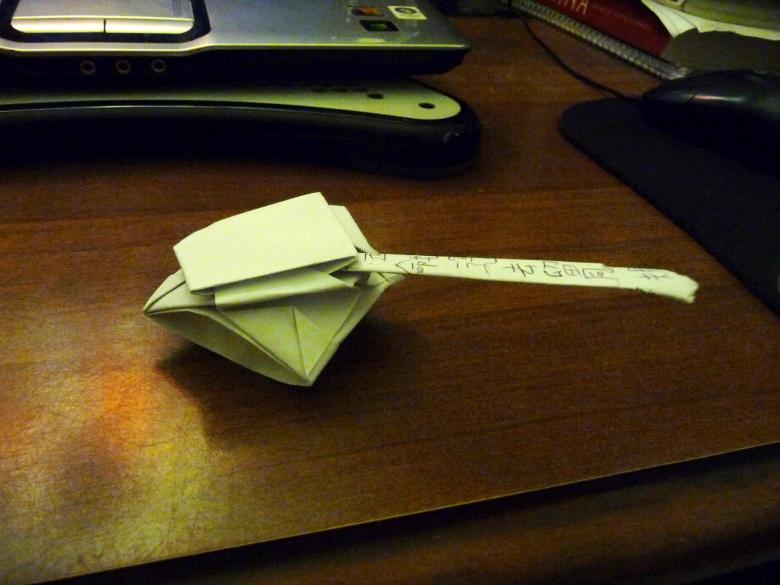
Here is a very simple action - a small piece of paper is twisted into a tube and formed a gun tank.
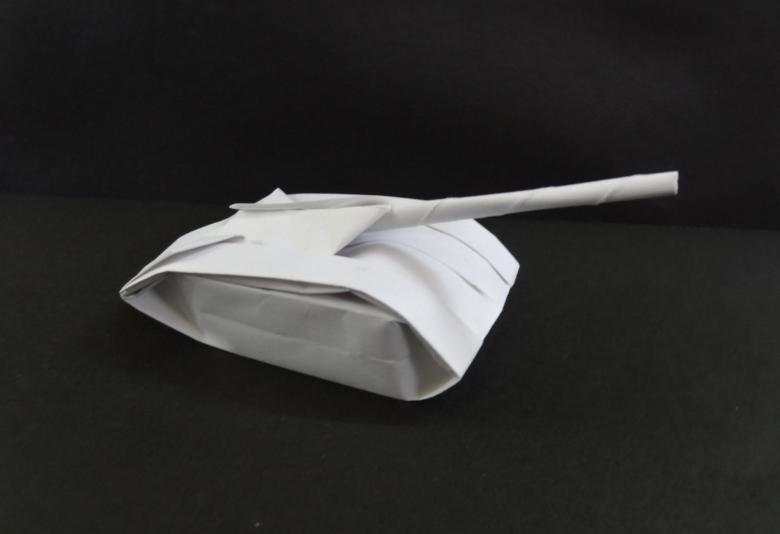
The final phase
And in this phase only a few actions are performed. First, the muzzle is inserted into the hull, and then it is necessary to straighten the lower part of the blank and from the folds get the tracks.
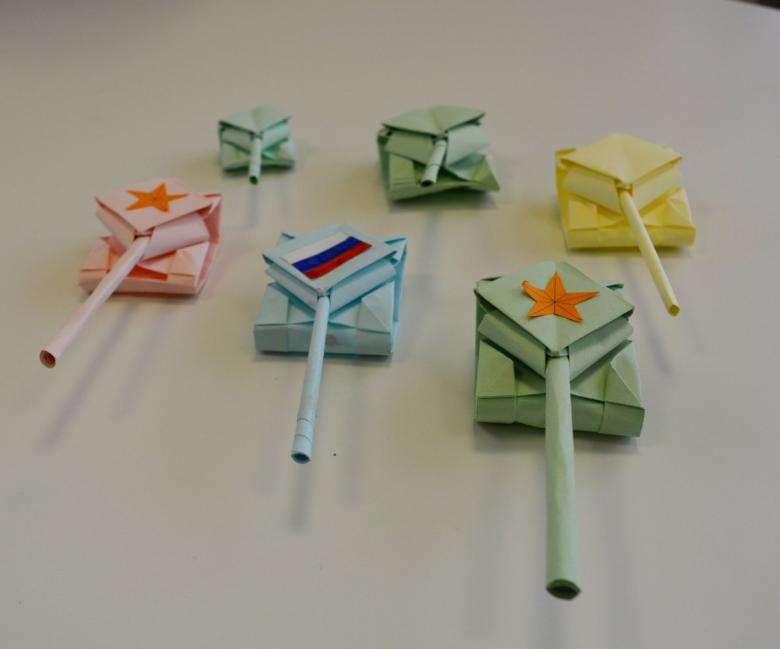
Decorating
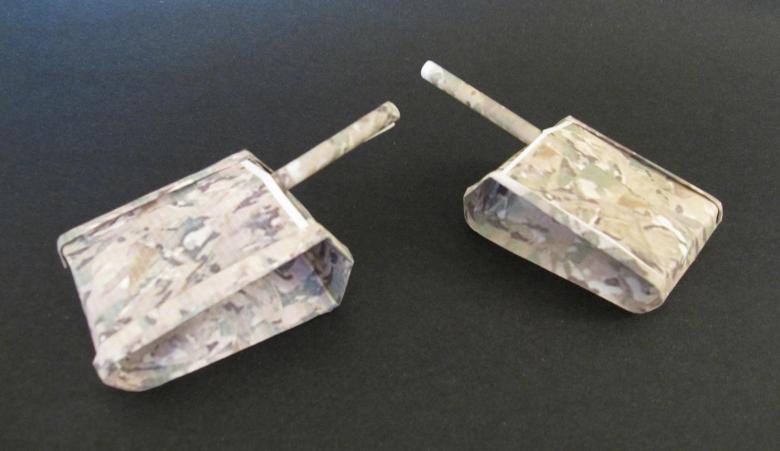
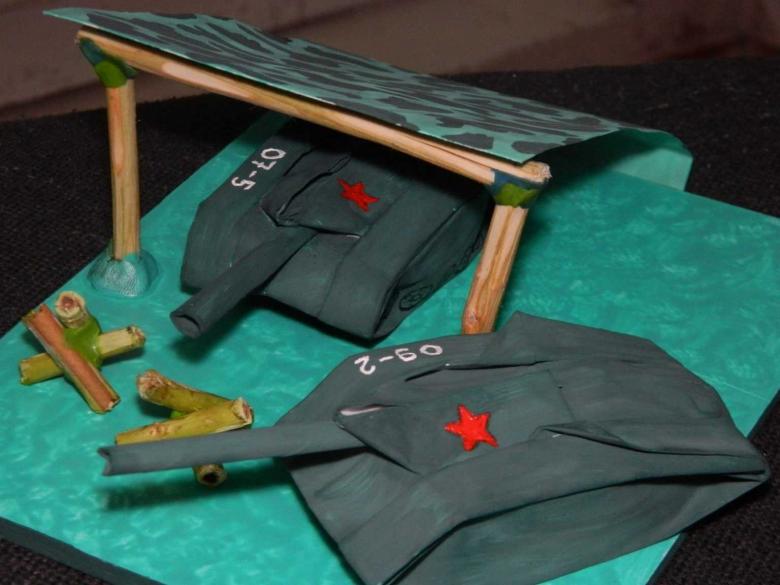
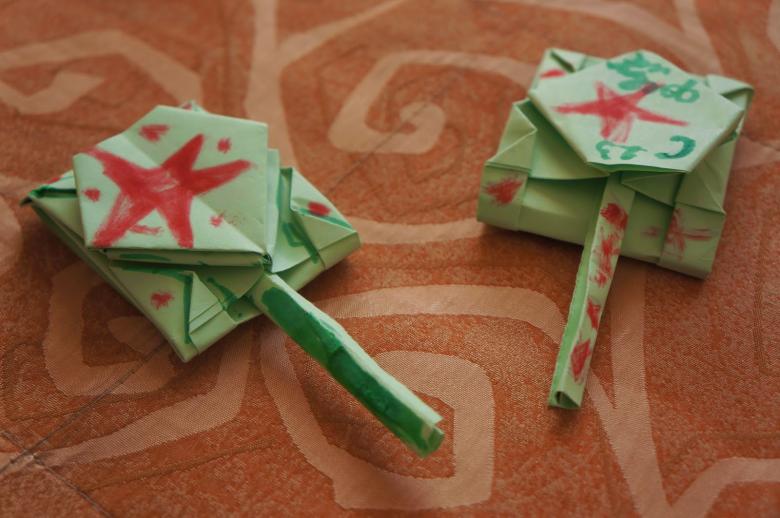
Since the creation of origami tank made of paper for children in this scheme used the material in white, not unreasonable to paint the toy. The most appropriate coloring will be camouflage. This allows you to get a miniature replica of a real fighting vehicle. You can use pencils, paint, and felt-tip pens for this purpose. It is up to the boy's choice and taste.
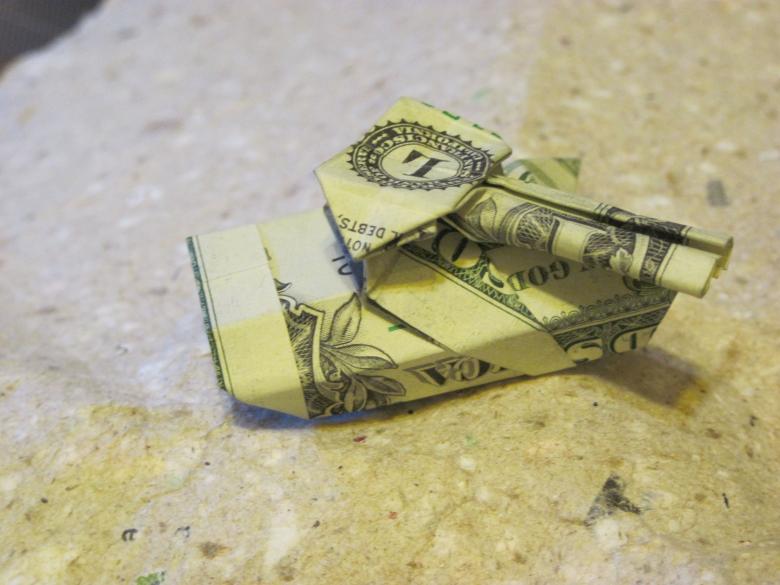
If the first tank was released from the "family" conveyor belt by joint efforts, then you can instruct your child to make a few more toys independently and create a real polygon, decorating it with trees and houses made both of paper and plasticine.
Assembled model
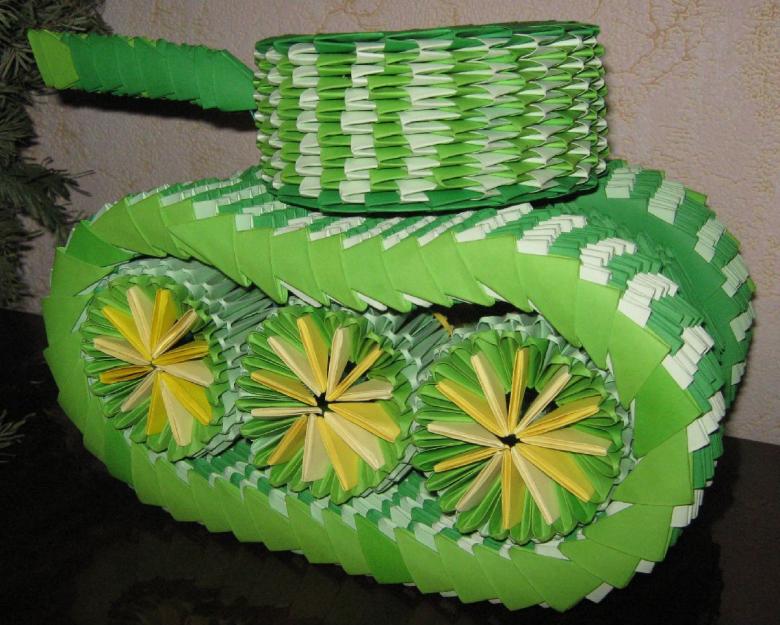
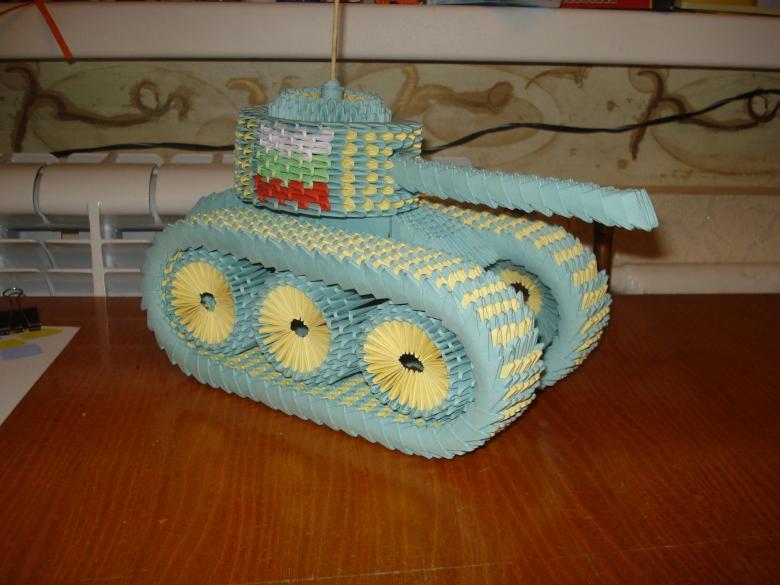
Having mastered the simplest scheme, you can proceed to the next option, making a prefabricated model of the tank. Here the work steps are divided into registration of separate parts of the vehicle and their consecutive connection into a whole.
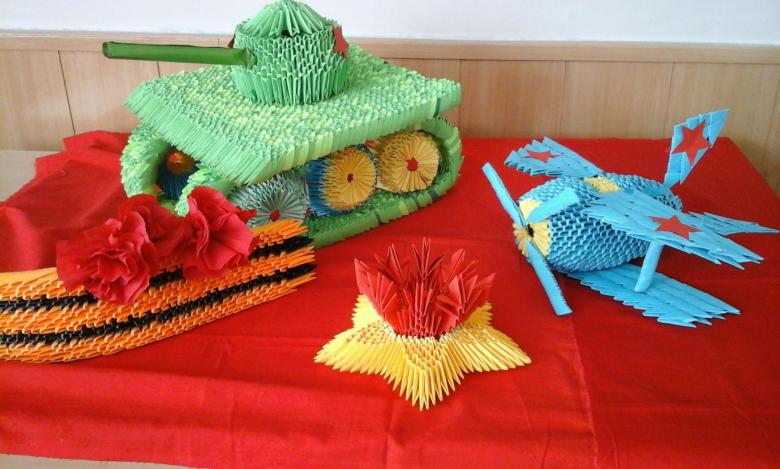
In addition to several sheets of paper will need a number of tools and other materials:
- scissors;
- glue.
Making modules
A sheet of paper is cut into rectangles. Then:
- The workpiece is folded in half (lengthwise).
- Once again inflected pattern, but across.
- Both ends are bent to the center. It turns out something similar to the wings of a paper airplane.
- Flip the module, and its corners tucked to the top.
- The resulting triangle is folded in half.
The resulting blanks are made in necessary quantity, because they will serve as the basis for all elements of the tank. Will have to make more than a thousand and a half templates.
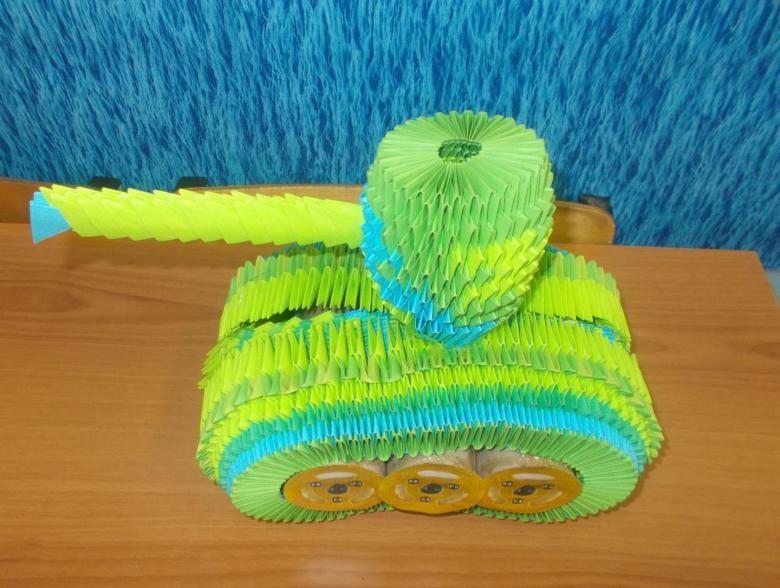
What is important! It is preferable to make the modules from different-colored paper, this will give the finished product a camouflaged look.
Turret
We begin to make a tank of paper origami technique.
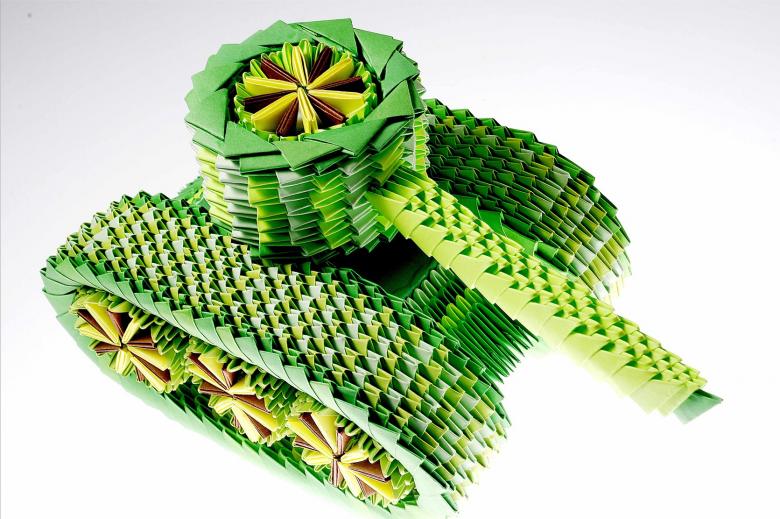
- The first and second row is formed of thirty modules (the same number of blanks will need for all other rows). Modules are attached to each other through the insertion of one into another.
- When forming the third row of modules should be attached to the short side.
- The fourth - eighth rows are also laid out the short side.
- The ninth row is stacked on the long side.
- Turret of the tank is turned upside down.
Body
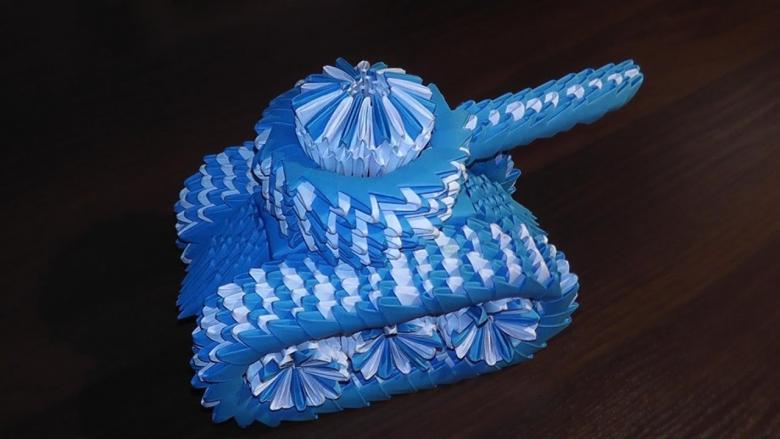
Sheet of square shape is folded diagonally (twice) and as many times horizontally. Corners should wrap inward so as to form a diamond with a crease near the top.
Caterpillars .
Need to make seven rows.
- The first and second rows are laid out long side of the modules, and the third, fourth and fifth - short. Each take five dozen templates.
- The sixth row is made of forty-six modules, fastened by the short side.
- The seventh row is fixed long side, and is made from the same number of templates as the previous one.
The second caterpillar is collected on the same principle.
Wheels
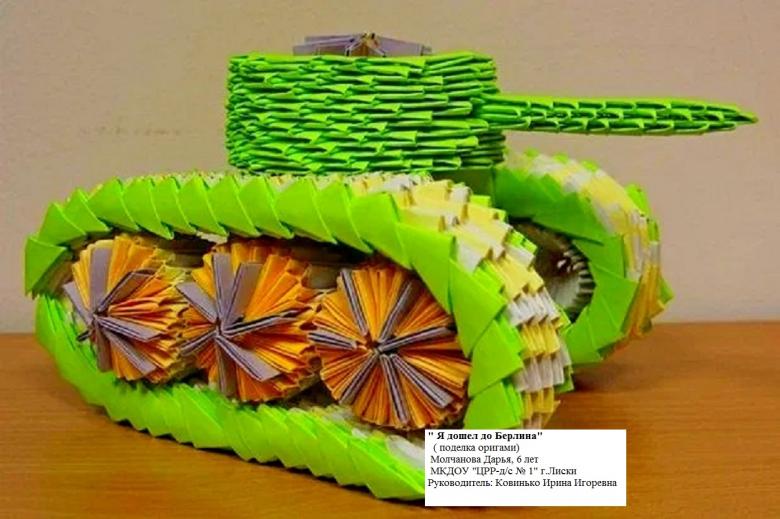
For the running gear of the vehicle will need to make six parts, each of which will take ten modules.
- Putting two rows of modules.
- Five more rows are assembled and inserted into the track.
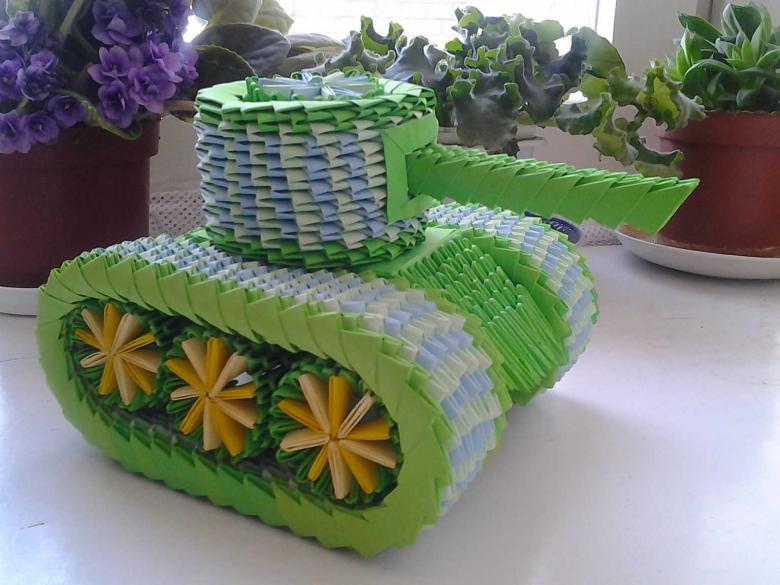
Gun
Remains to "make" the most terrible part of the tank. To make the muzzle requires twenty rows. Follow the alternation - odd-numbered rows one pattern, even-numbered rows two, up to the seventeenth. In the eighteenth - twentieth row, alternate four - three - four modules.
Joining elements and assembly
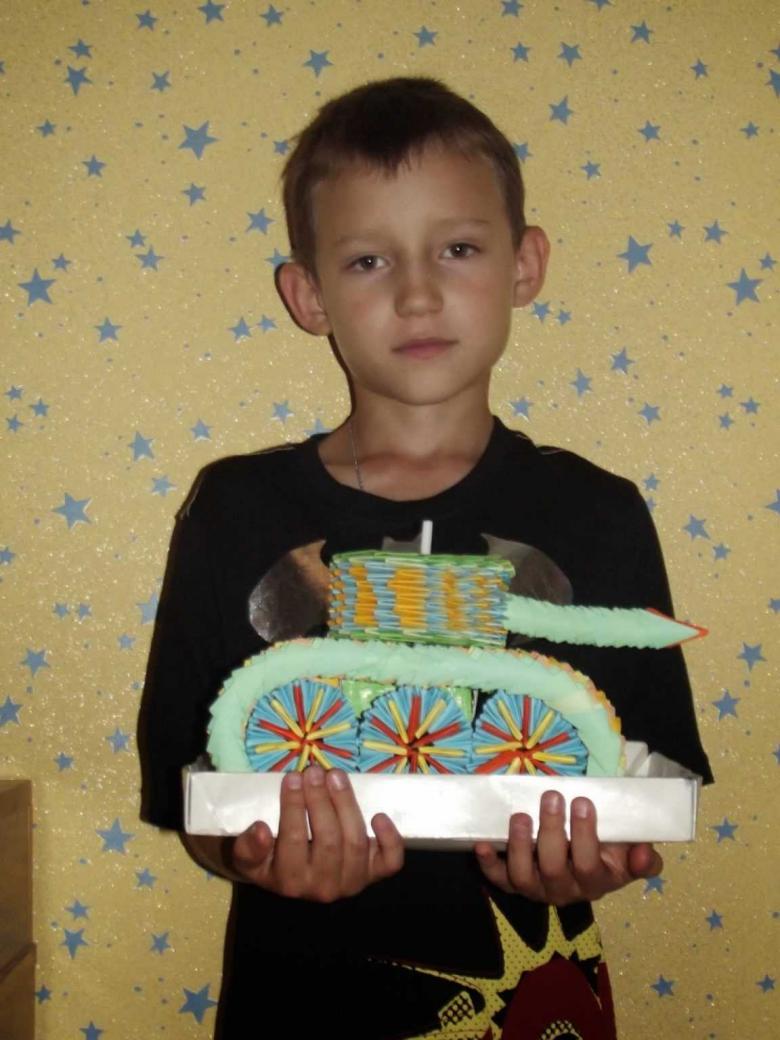
It will be necessary to assemble more than thirty rows. The formula for the assembly is simple - the first rows are collected from four modules, the fifth of five, the sixth of four, the seventh of five. Such alternation should continue until the thirty-fourth row. With the help of connectors and glue assembled together all the parts of the fighting machine, and she is ready to take part in his first tank battle!
