How to make origami crane: introduction to the art, review of techniques, photo ideas
Origami is an ancient Japanese art, which is expressed by creating various intricate figures from paper. The art itself is very broad and virtually limitless, but there are the basics, which you need to initially comprehend, to be able to move forward.
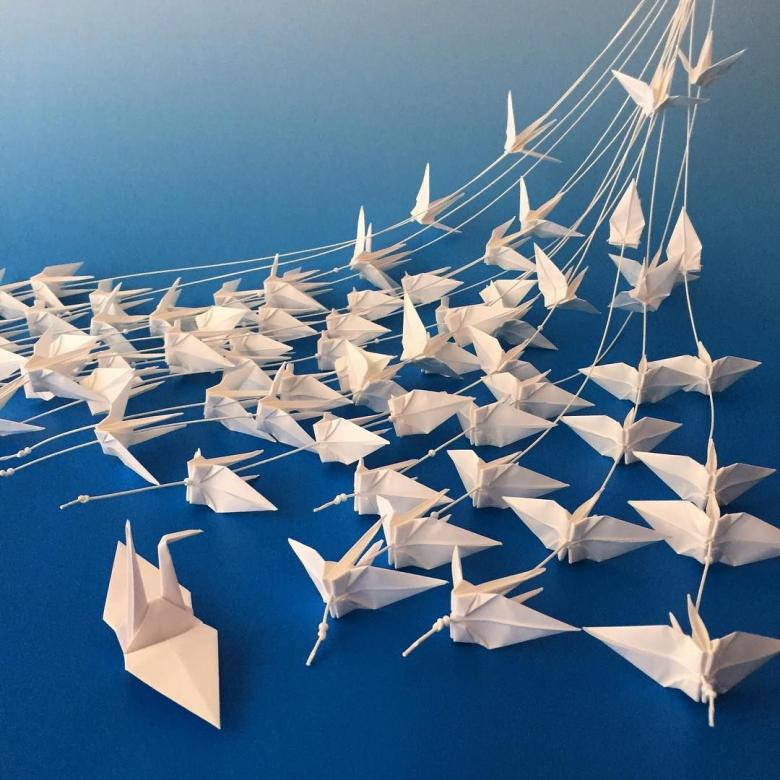
As the basics are invited to make as simple figures.
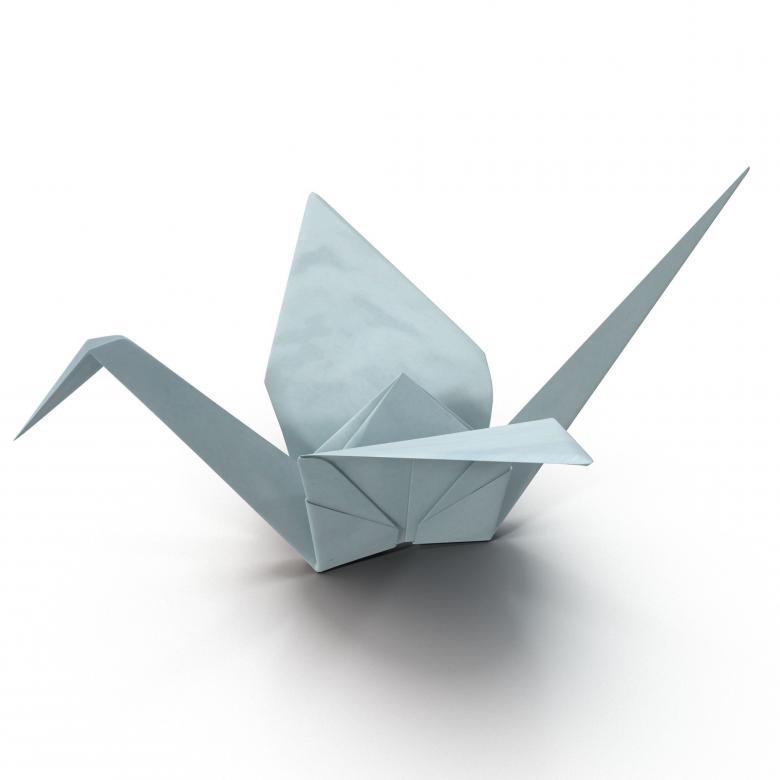
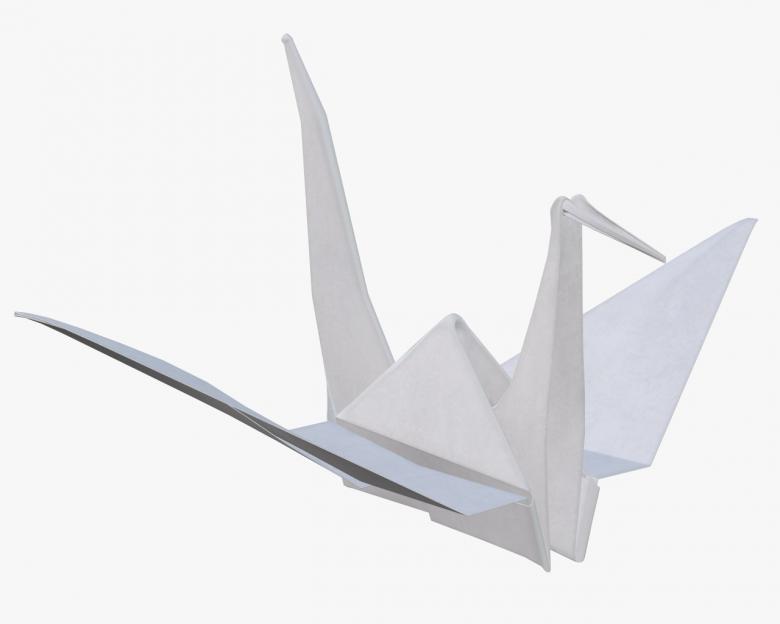
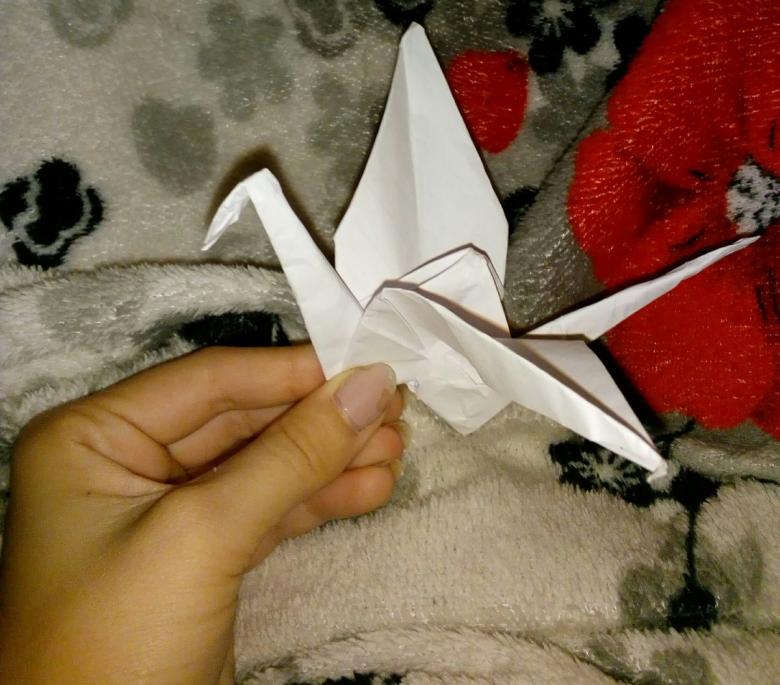
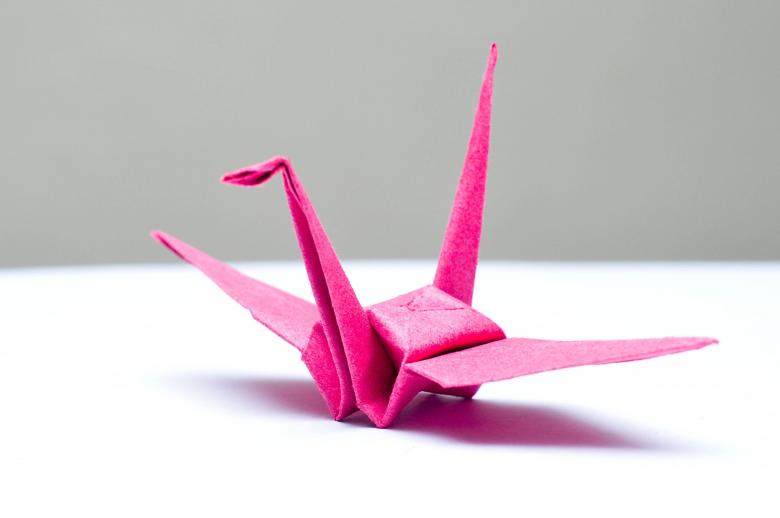
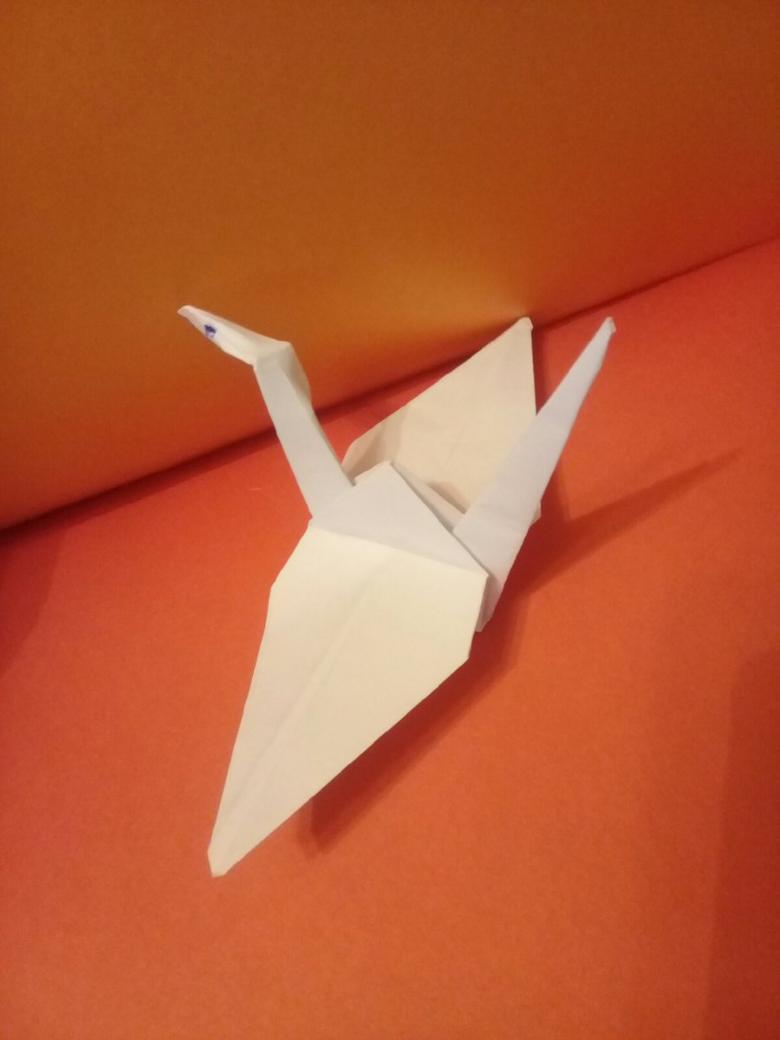
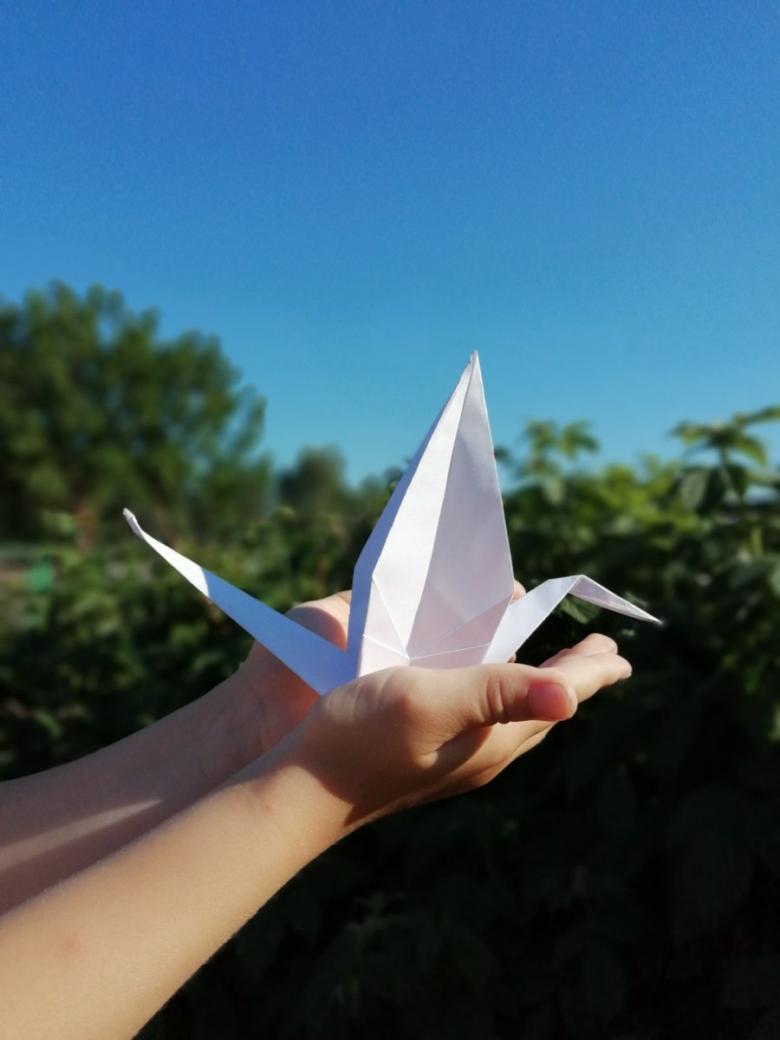
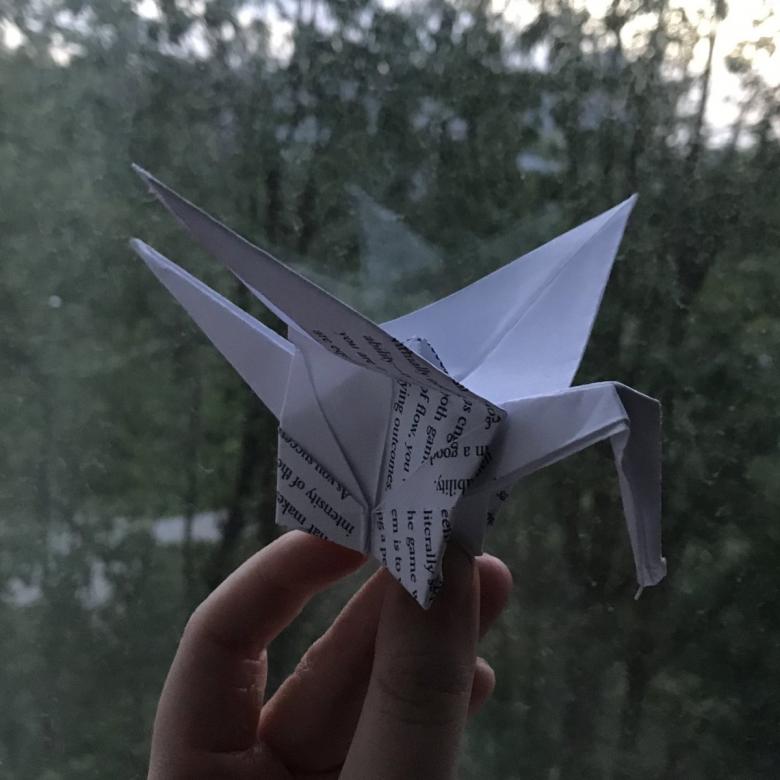
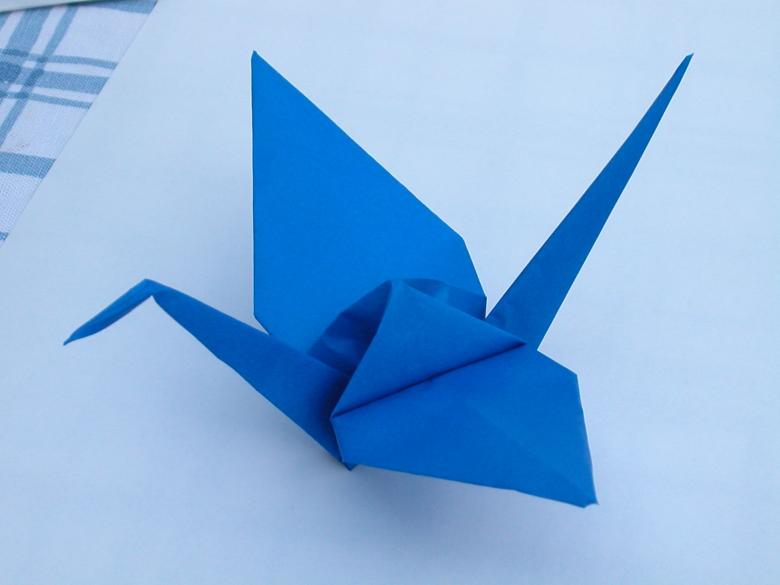
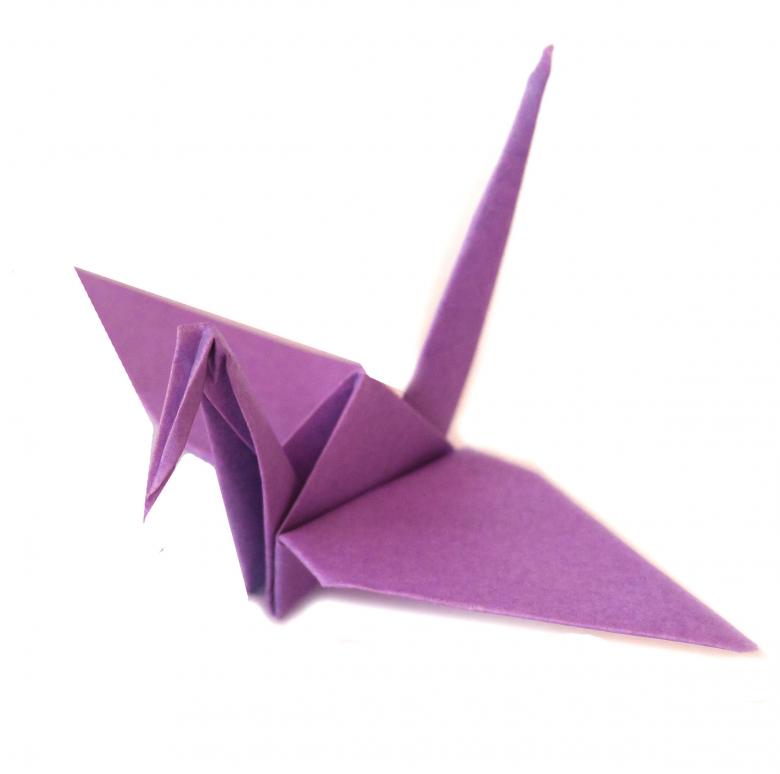
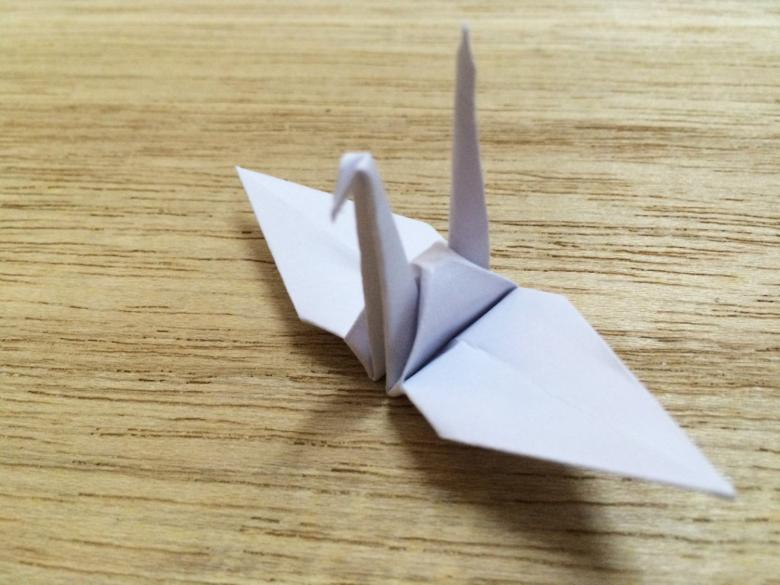
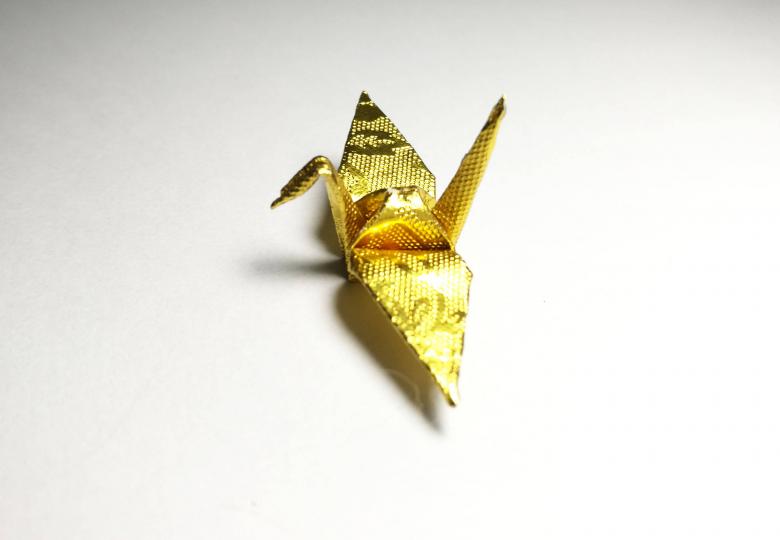
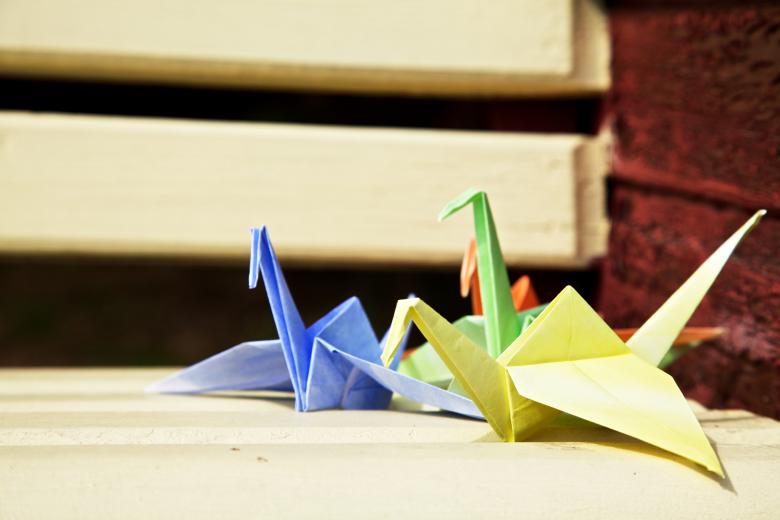
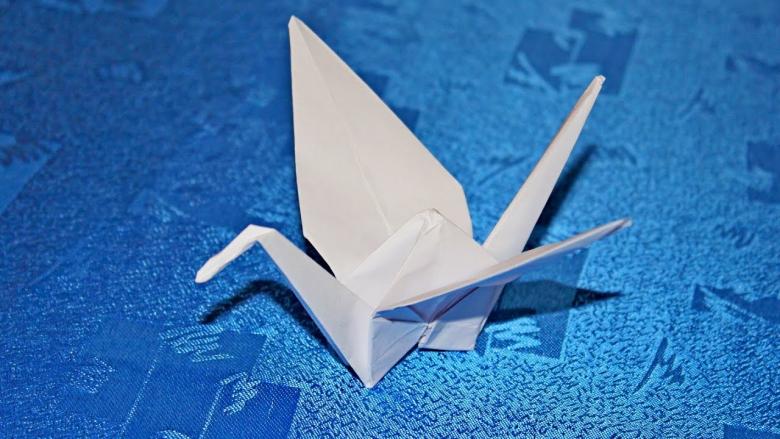
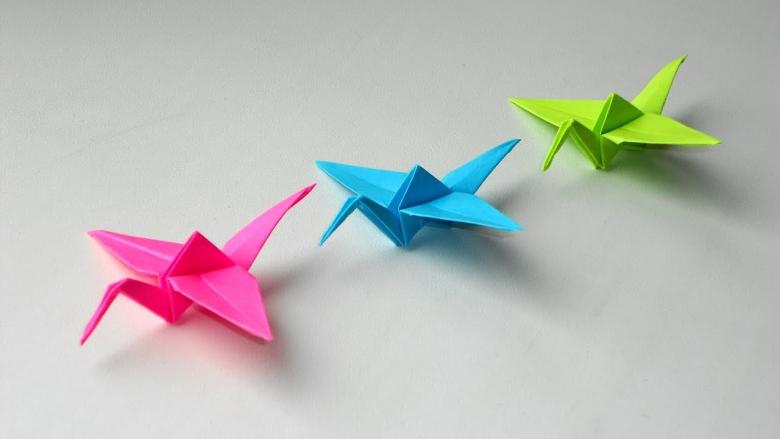
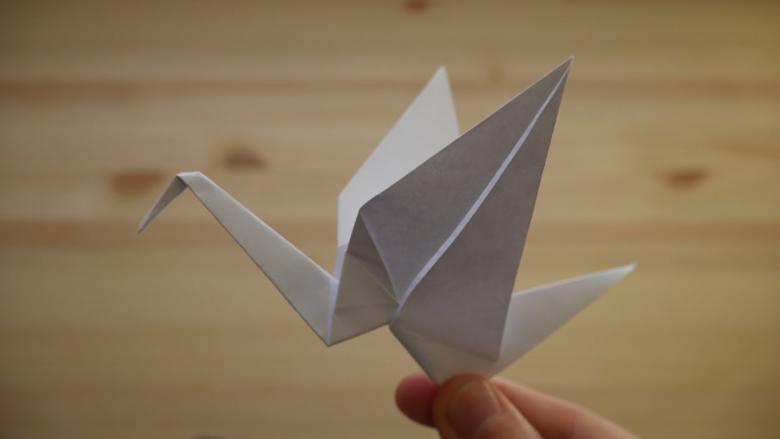
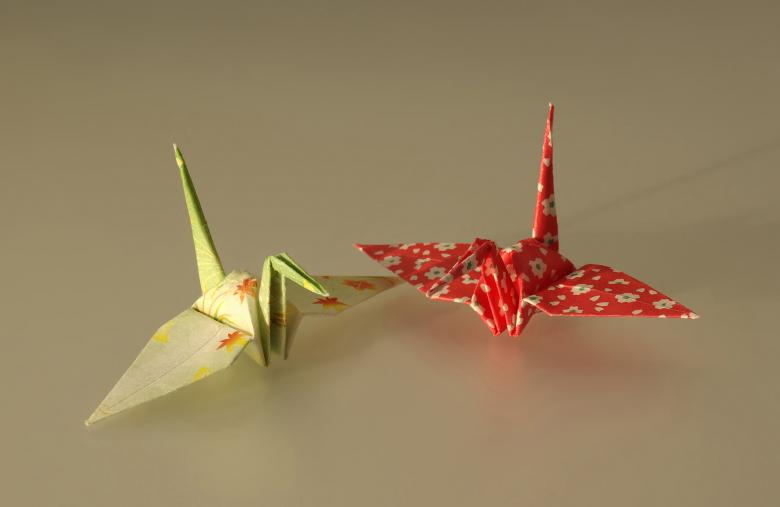
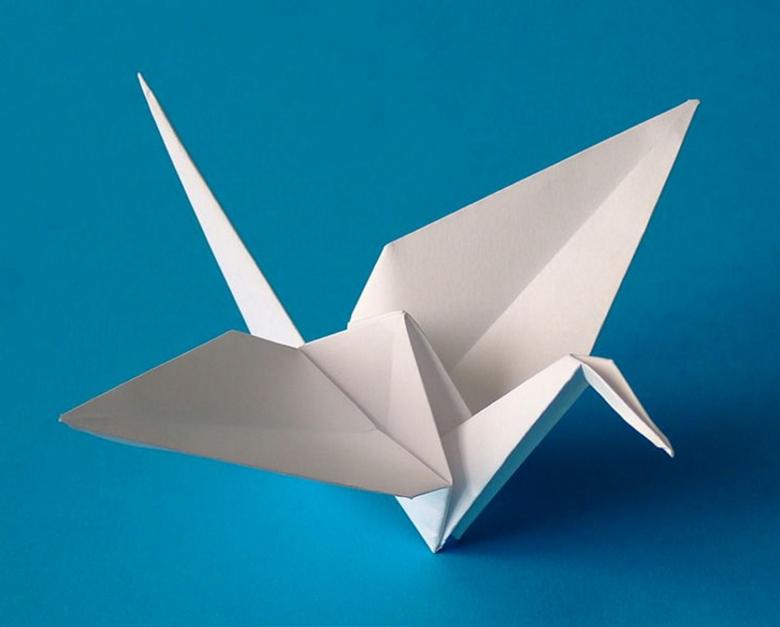
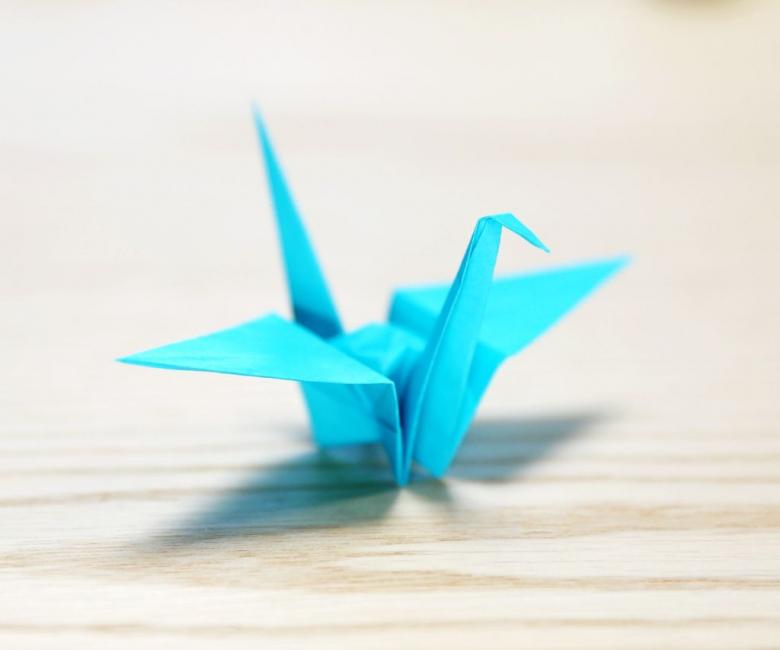
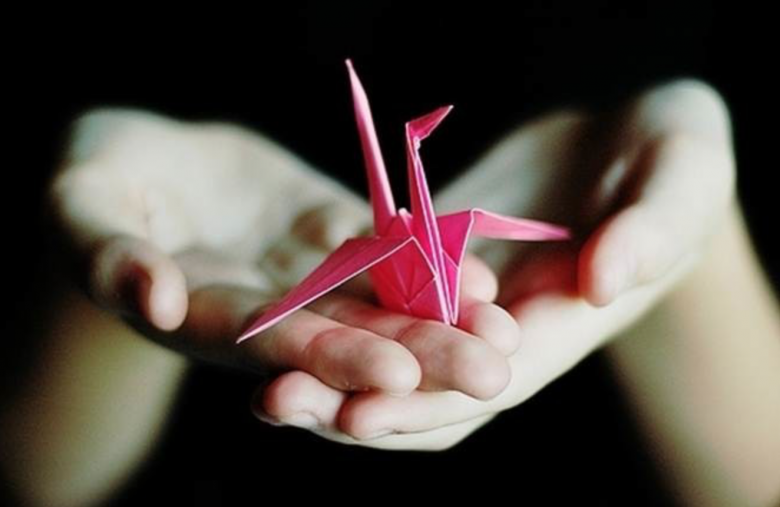
One of the simplest is a crane. It is very easy to make, many are familiar with it since school, at the labor classes in elementary school it is collected in order to develop fine motor skills in children.
Getting to know the art
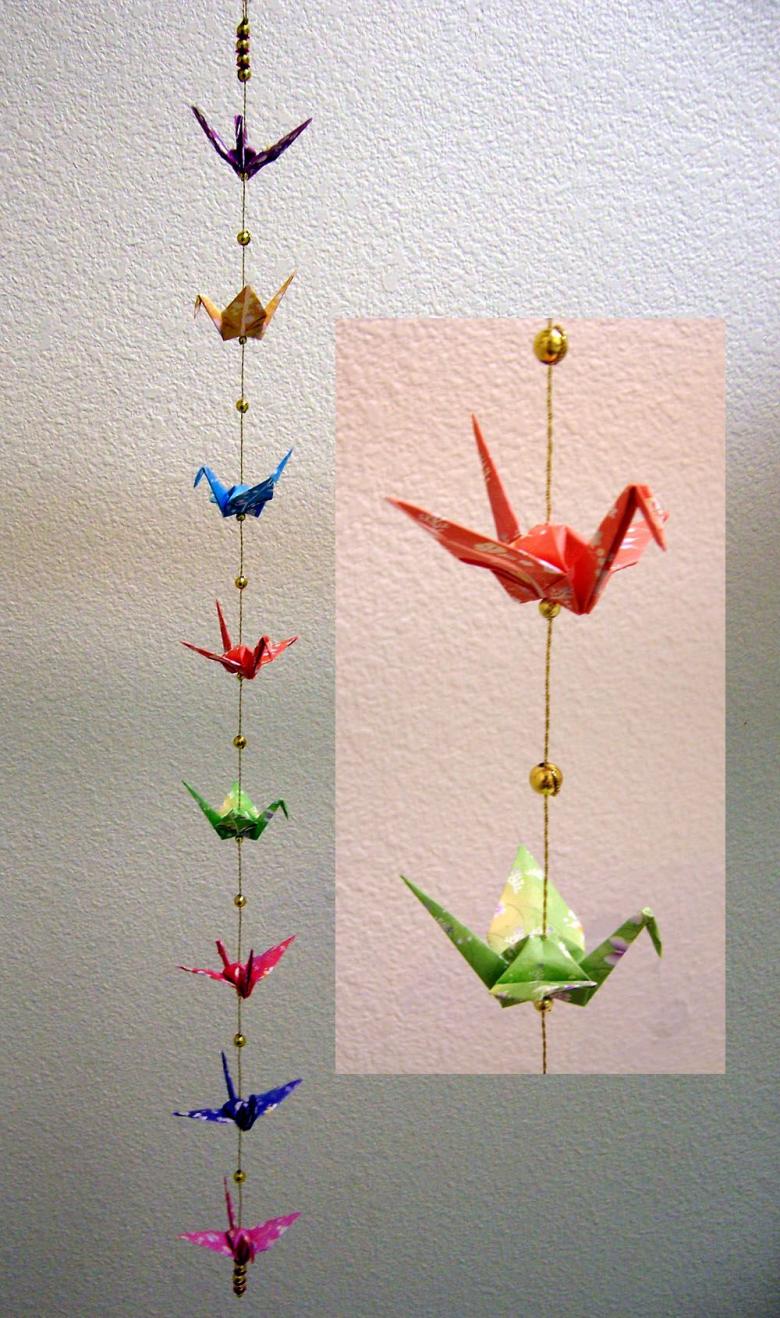
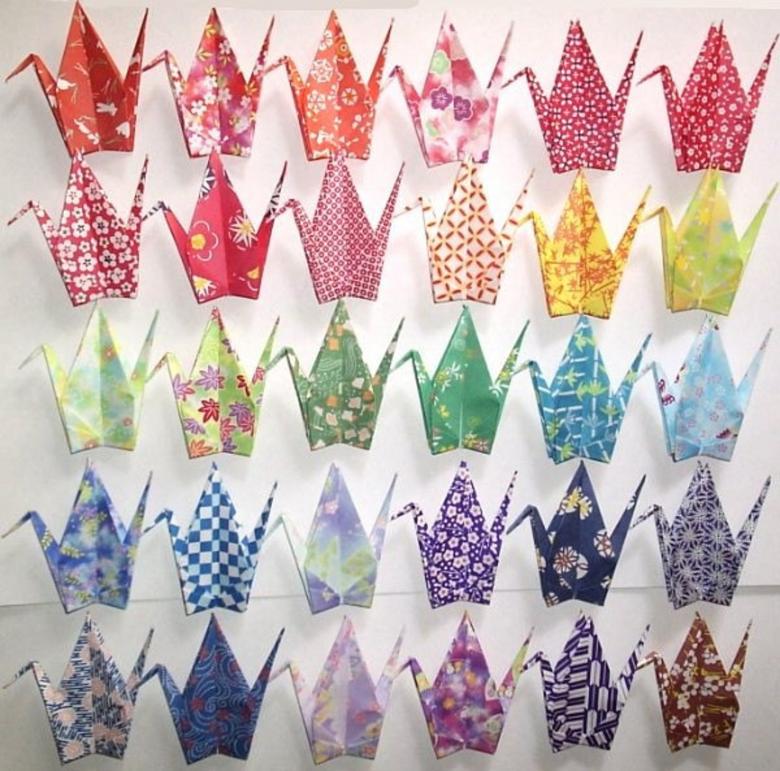
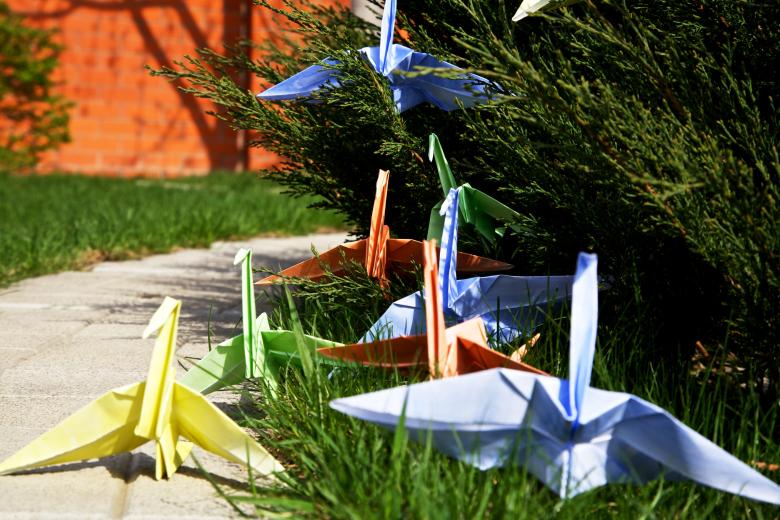
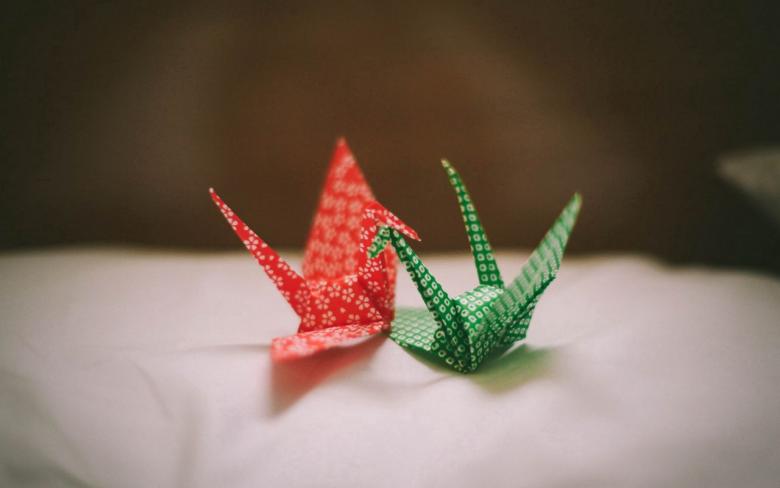
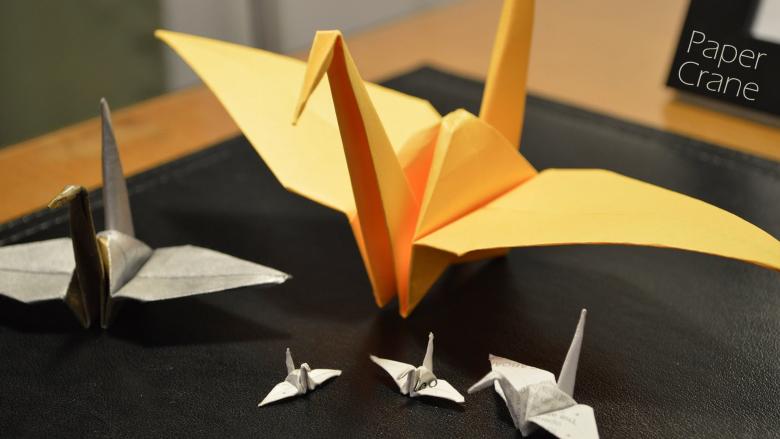
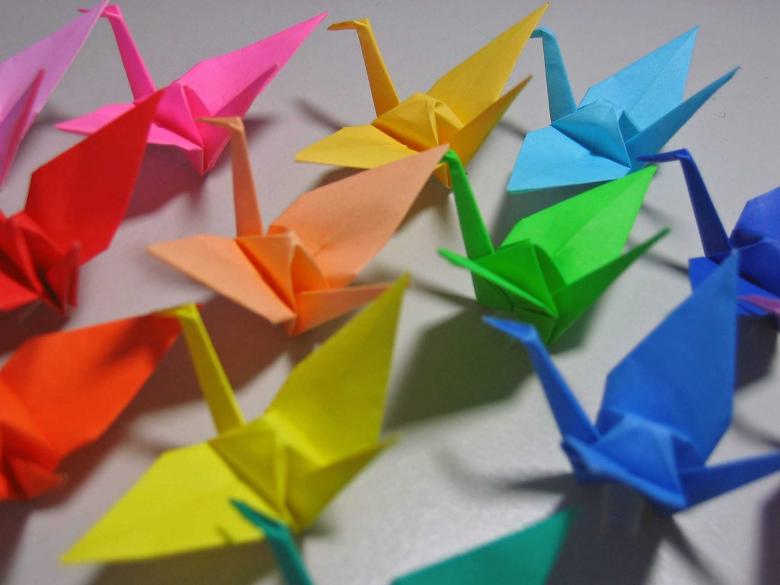
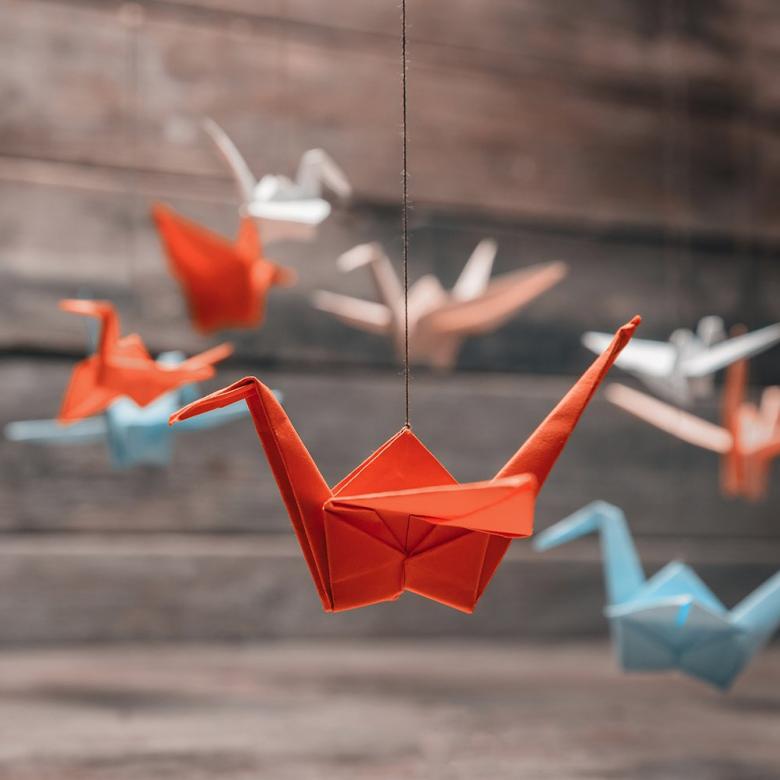
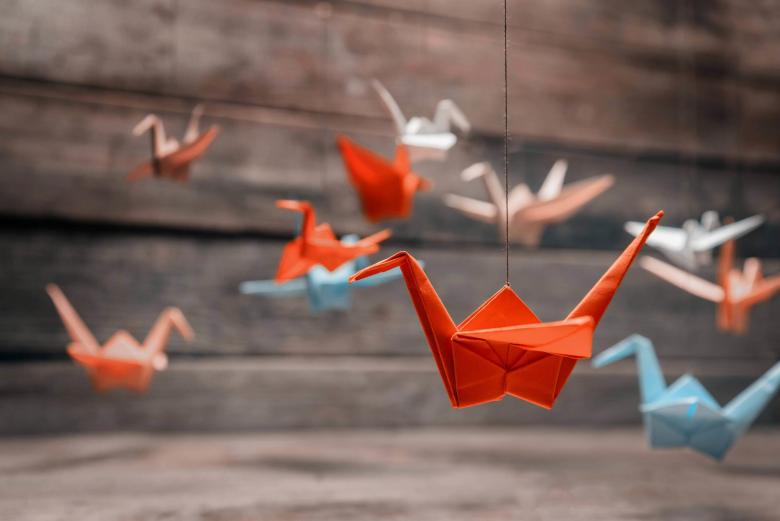
According to Japanese legends, if you make and collect a thousand cranes, you can make a wish that is sure to come true. But cranes must be all the same. This is a very painstaking work, which is not everyone can do.
We begin with the basics.
To make a crane, you won't need anything other than a simple sheet of A4 paper. However, plain paper is not very dense. Therefore, if you plan to use a crane in various expositions, such as on water, it is desirable to use a thicker paper.
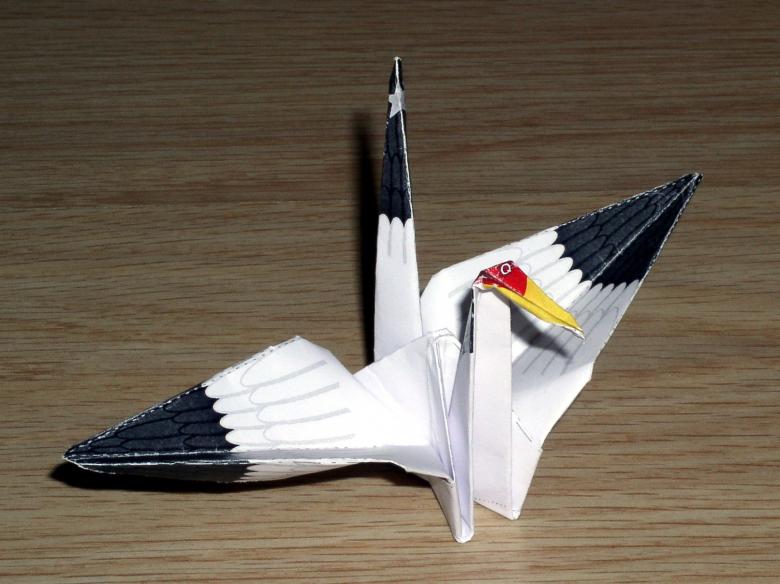
On sale there are separate sets for origami, which include special, dense canvases, which figures are the most accurate and durable.
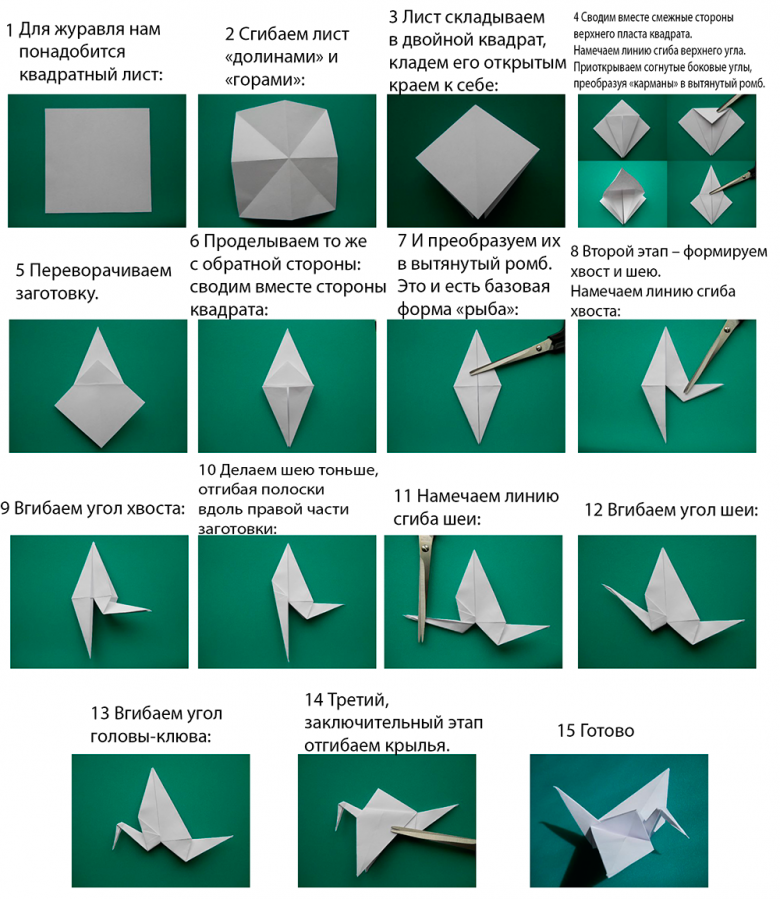
Crane is chosen initial origami figure for a reason. The thing is that he combines all the basic movements, which should be studied first. In this case, there are several ways to make a crane.
The easiest is considered a double square. Consider how to make origami crane of paper.
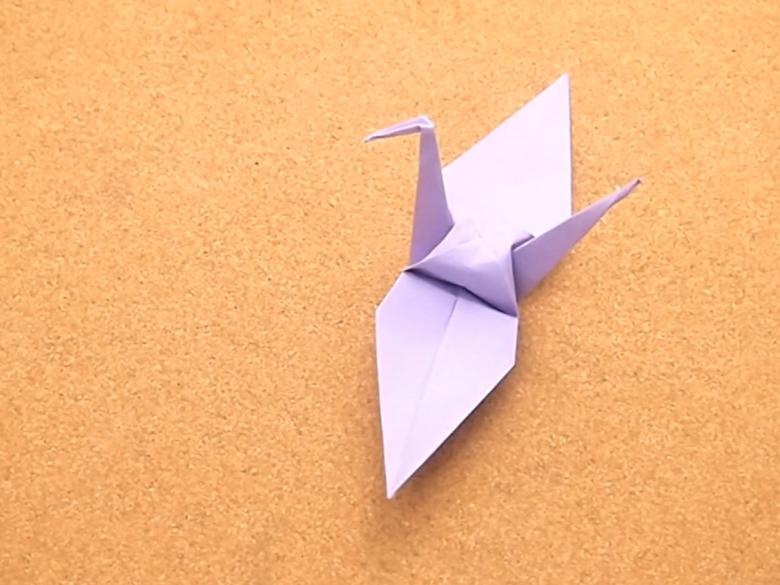
The process of assembly
First you need to bend the corner of the sheet so as to obtain an even line. After that it must be cut, using scissors. The end result is a flat square, folded diagonally. After that, the workpiece to return to its original position, fold it vertically, then again horizontally.
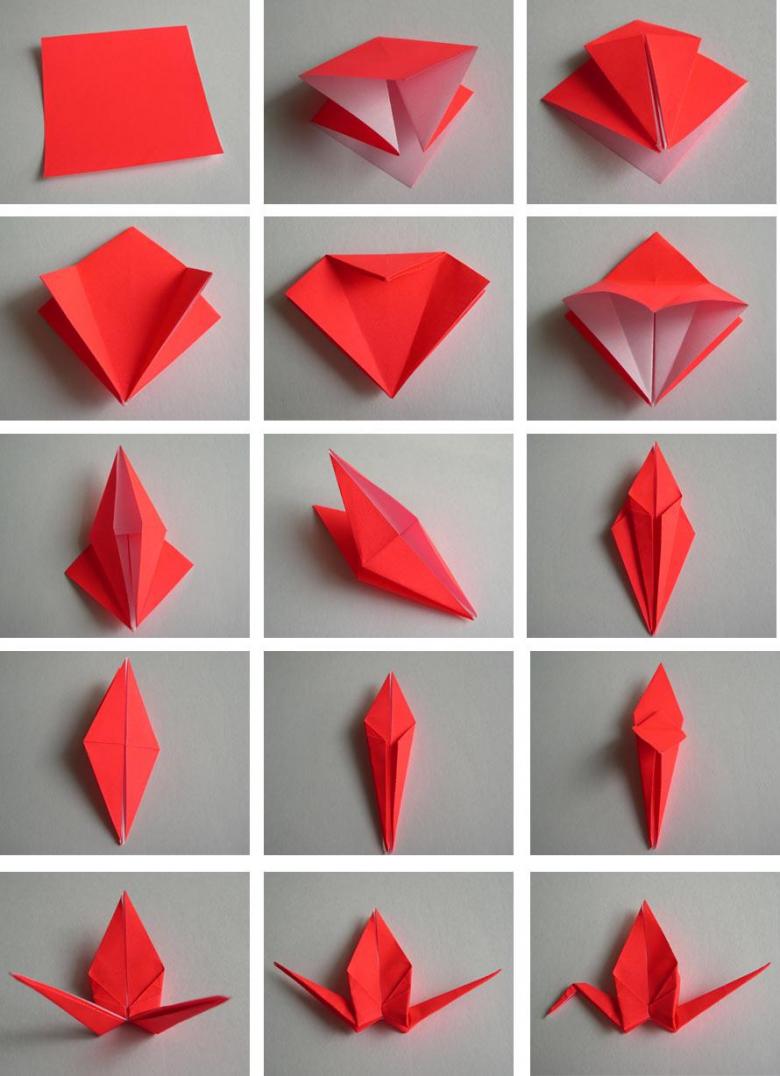
After this workpiece to turn around again, mark another diagonal, folding at an opposite angle. Thus there will be 4 places bend. Next, you need to add a square of one of the diagonals, and then put an angle down.

Visually lines will create a square, inside which is a triangle. Free corners, located along the lines, you need to bring in a workpiece, the result should be a square.
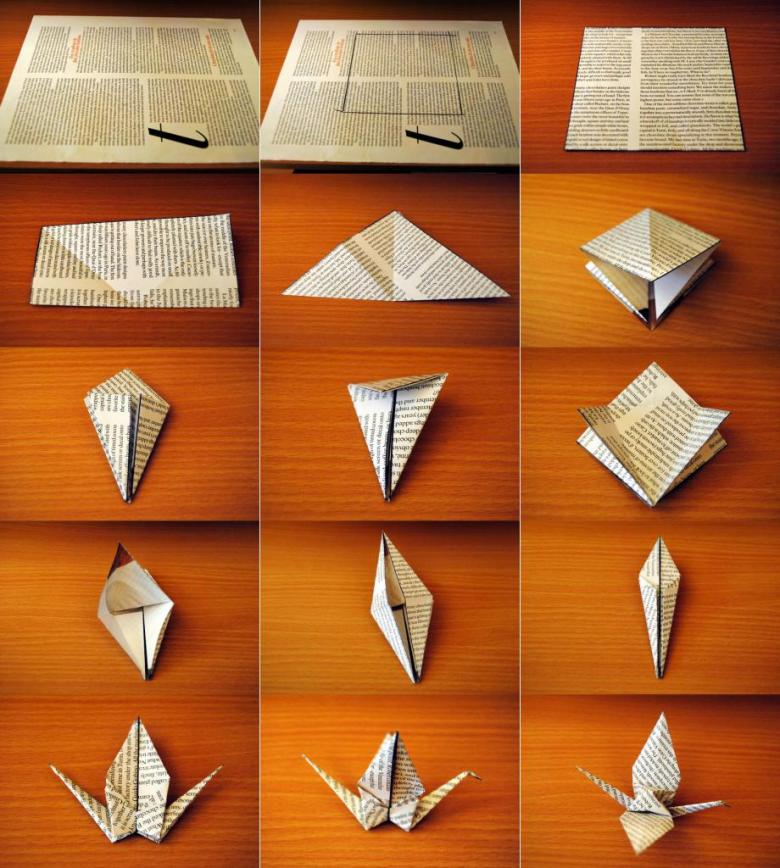
Having mastered this simple process, all subsequent figures will be given much easier. As mentioned above, there are several varieties of this origami. Here are examples of several popular, along with instructions.
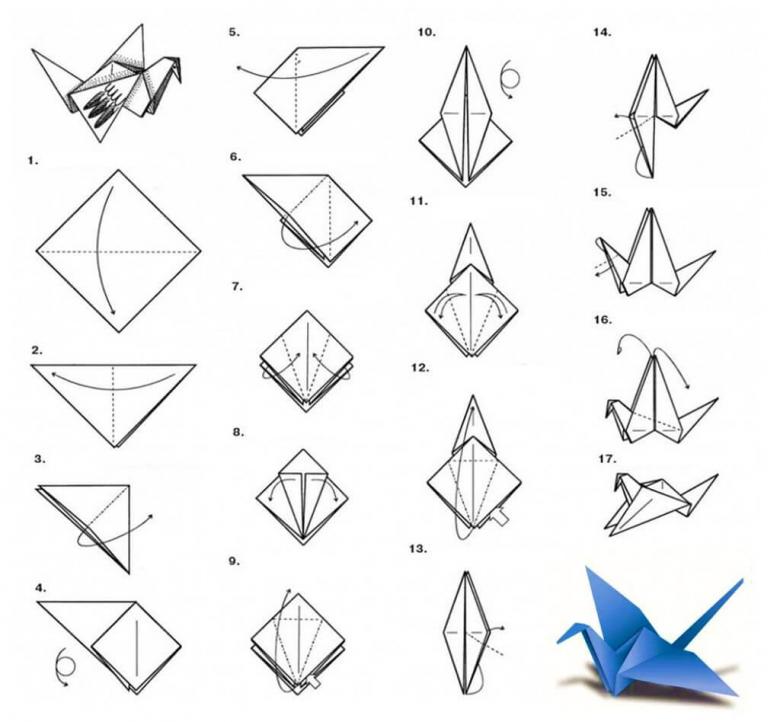
Crane with unusual wings
At the heart of this handicraft is a little different principle of action. Initially, the square must be placed at an angle to yourself for ease of further manipulation. The upper part will be bent to the center bend, after which you need to turn the workpiece and repeat the previous step, but the other layer.

It turns out that the figure consists of several layers, making it unique in the technique of origami initial stages. After the manipulation to unfold the workpiece in its previous state. According to the resulting bends to bend all corners of the square inside the product. The end result should be a small rhombus.
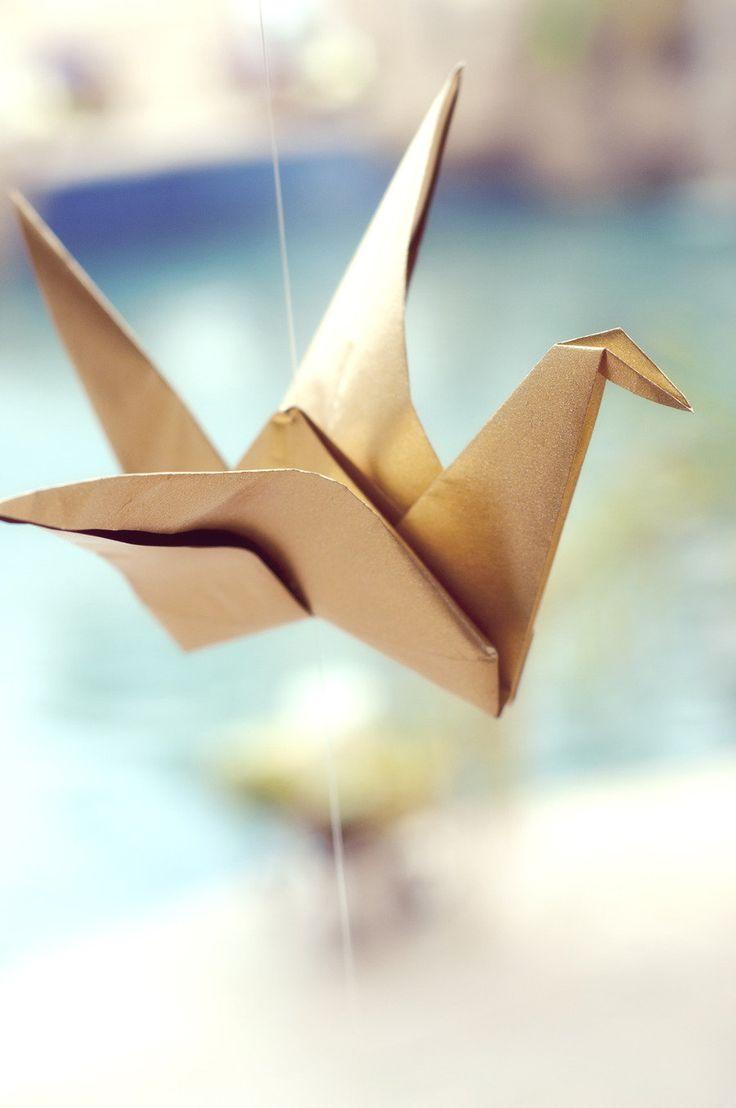
Unlike the previous crane, the surface of this figure will be more even and aesthetic. After the previous step to lift the corners of the workpiece up to unroll it. We must add both edges, the part that will be closer, bend, eventually we get a triangle.
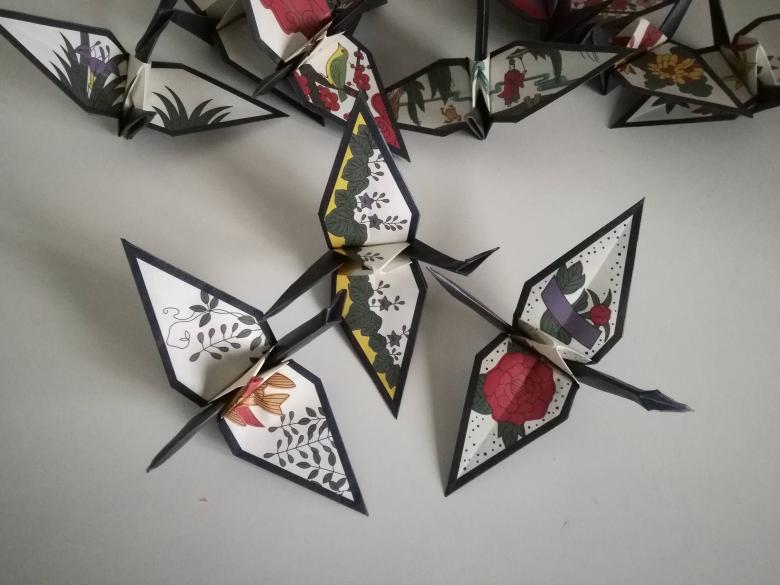
After these manipulations on each side are the wings. Lower to assemble the accordion, the upper hand, on the contrary, straighten. The central part of the workpiece is 2 triangles, the edge of one of them must bend back, it will serve as the head of the figure. The second triangle do not need to touch.

Rare technique
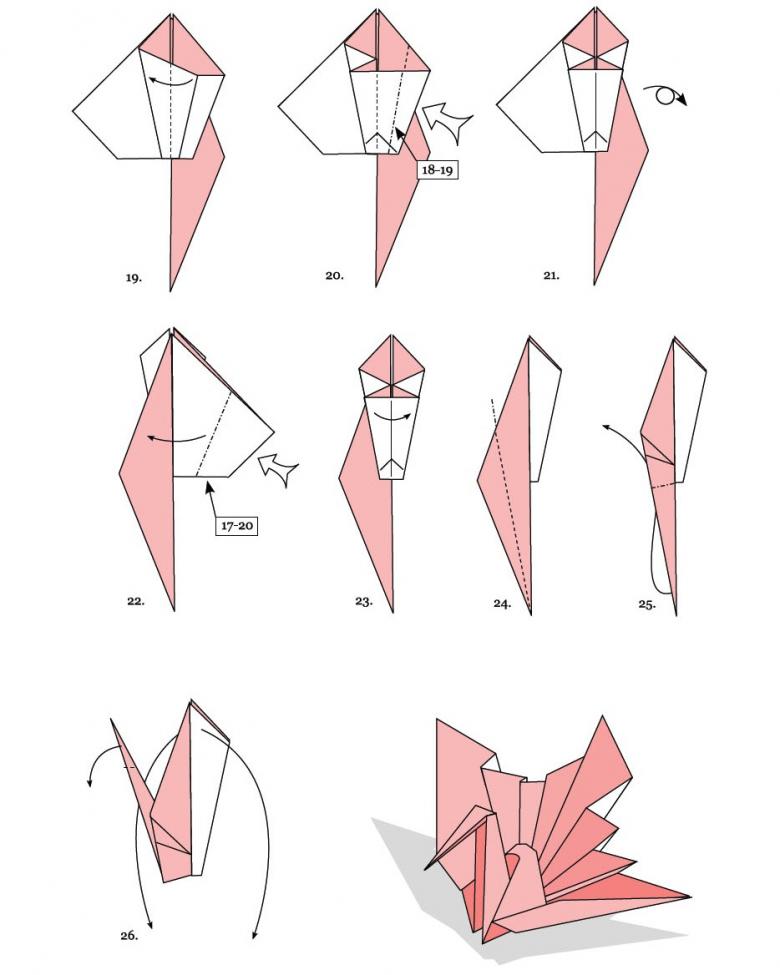
Cranes in this technique are rarely made, but they are very beautiful and unusual, quite different from the classic types of origami. Here is a step by step instruction to create origami crane in this technique.
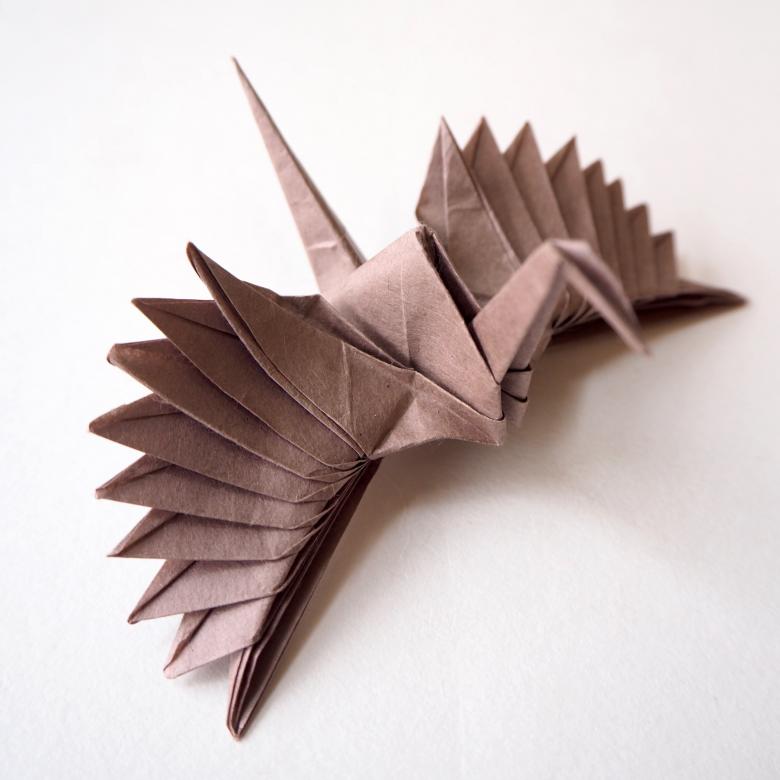
As the base to take the basic shape, on each side to make the folds, bend the corners to its central part. The resulting diamond to bend the edge closer to him.

The resulting figure to unroll by lifting the top corners. Exactly the same step to do with the other layer. Upper right corner to bend to the middle.
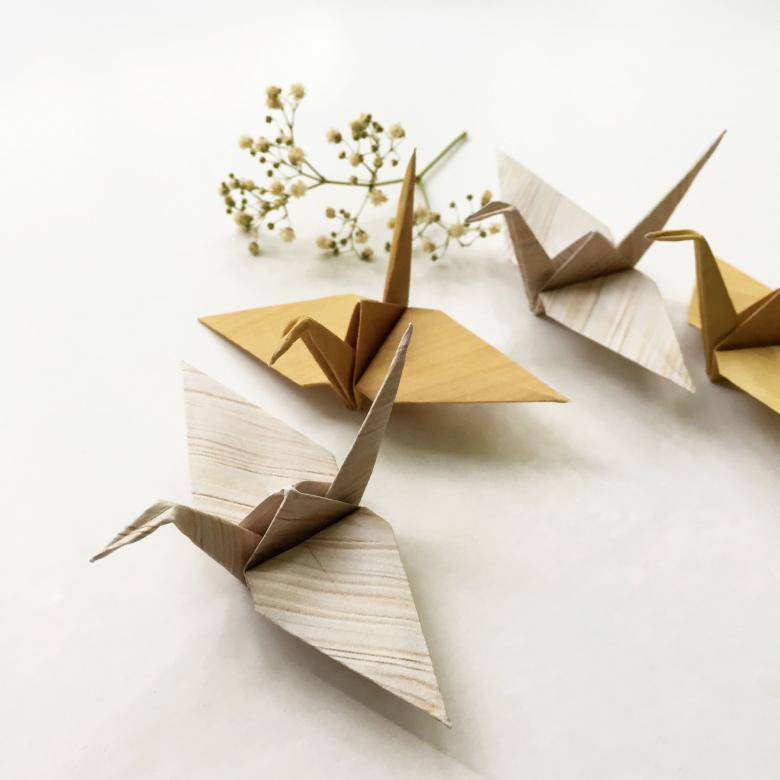
Exactly the same step to do with the opposite part of the figure. Corners at the bottom, you have to bend in different directions, then put them inside the crane.
The resulting figure should resemble its shape lotus flower. Choosing any of the petals, it must be bent at right angles, it will be the head of a bird.

The wide part of the form will serve as wings, to give them an appropriate form should be stretched to different sides. Should remain 1 triangle, it is not necessary to touch it, it will act as a tail.
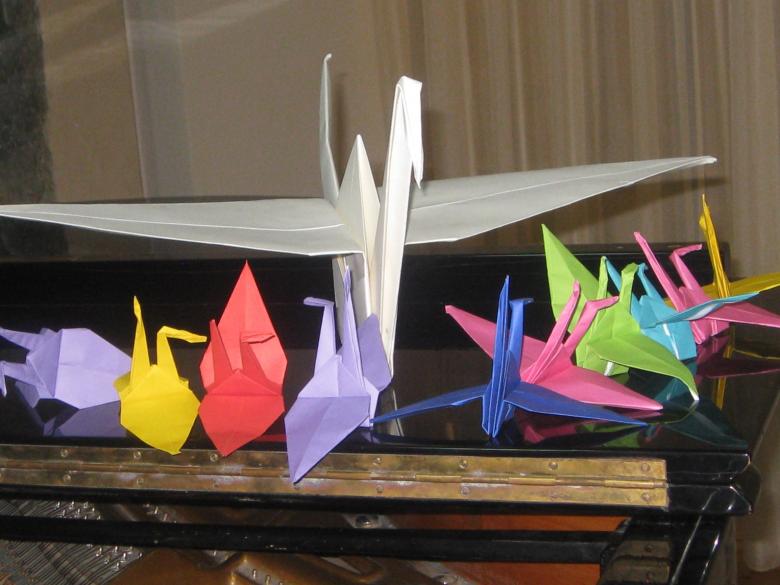
We have considered a few basic techniques, which are more common than the others. They are quite able to cope with a preschool child. Collecting such a figure can be considered a kind of exercise that trains not only fine motor skills, but also the logic of the child, teaches him to follow instructions carefully.
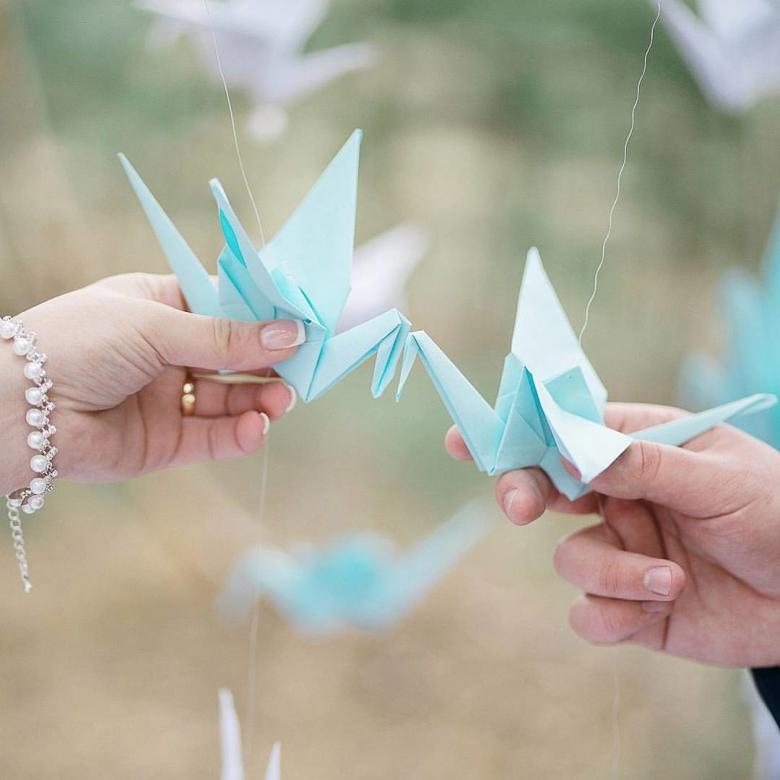
How can you decorate
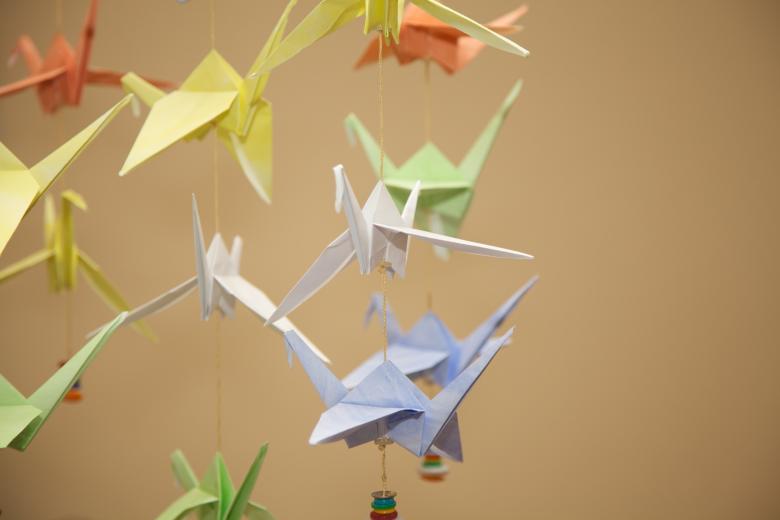
If a simple origami crane from the paper is not enough for a beautiful room design or space, you can use additional tools to help decorate the figures made.
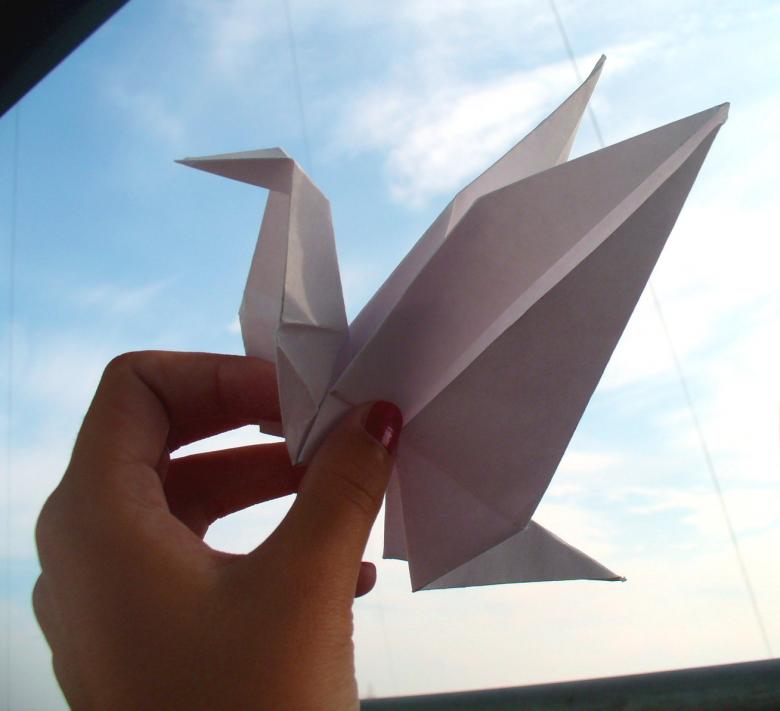
If you plan to decorate birds after their assembly, it is desirable to use matte paper, because it is much easier to stick additional elements.
However, if you use superglue, then also glossy papers will do, but such glue leaves strong stains, spoiling the appearance of the product.

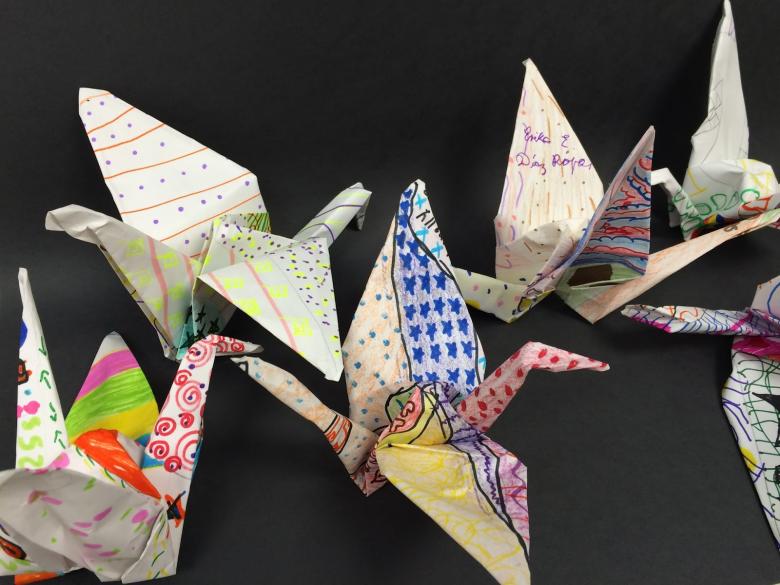
Most often use glitter and small stickers on the wings to decorate the craft. Also paint large surfaces with helium pens, giving the crafts a unique look.

For detailing is allowed to use separate elements created from paper. This can be another wings, or small volume triangles, giving a greater volume of the entire figure.
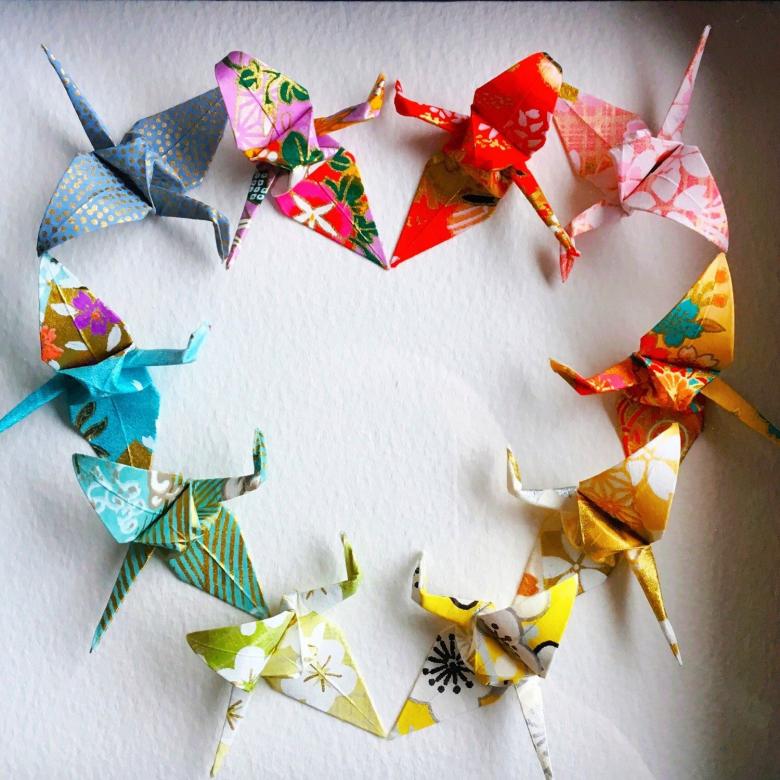
It is recommended to be guided by the principle the less the better. Classic origami is used as a calming tool for creating beautiful figures.
Some Japanese consider this art as a workout diligence, which is also true.
