Origami parrot for beginners: a variety of schemes and techniques, photos of examples of crafts
A bird in the house is always fun and joy, and sometimes interesting crafts on the theme of pets become the most favorite for children. Want to capture your love for these feathered creatures, then you will love the technique of making paper birds, because all you need for this - paper!
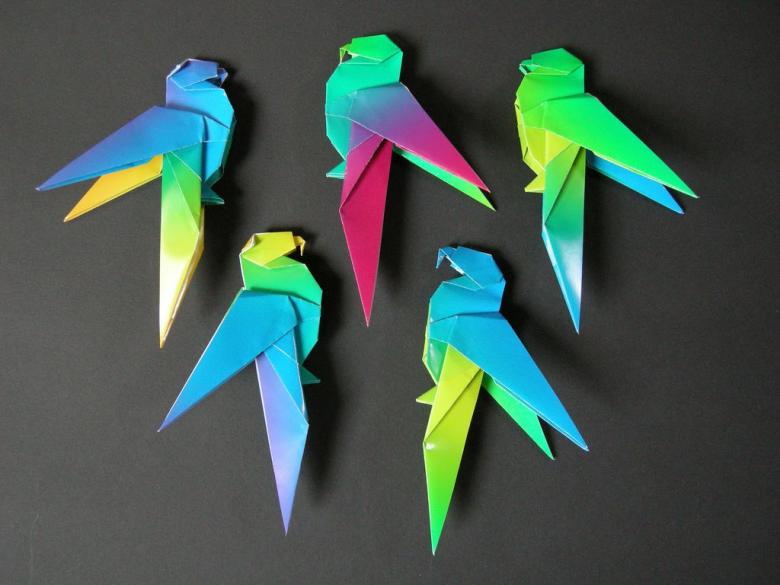
Colorful, bright, what a color!
Yellow, green, blue,
Sings beautifully, says,
In the mirror he looks,
On my shoulder, fly away!
My favorite green parrot!
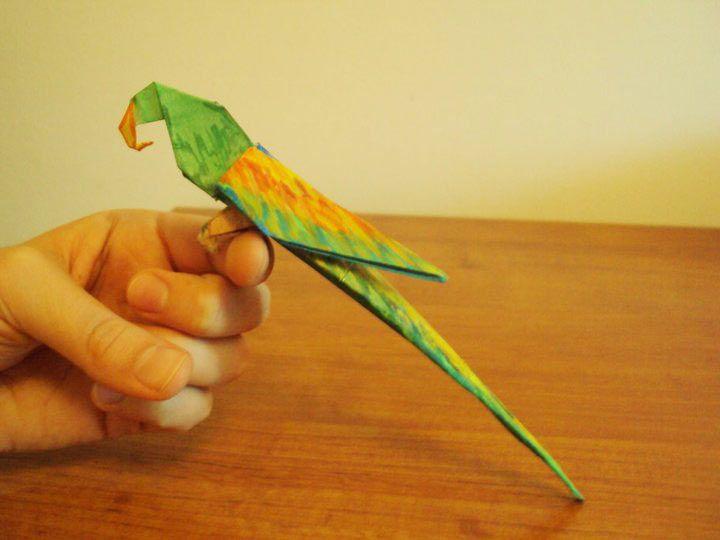
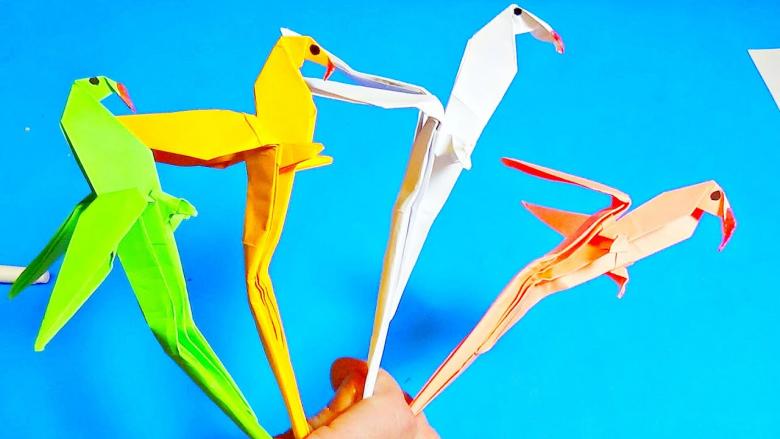
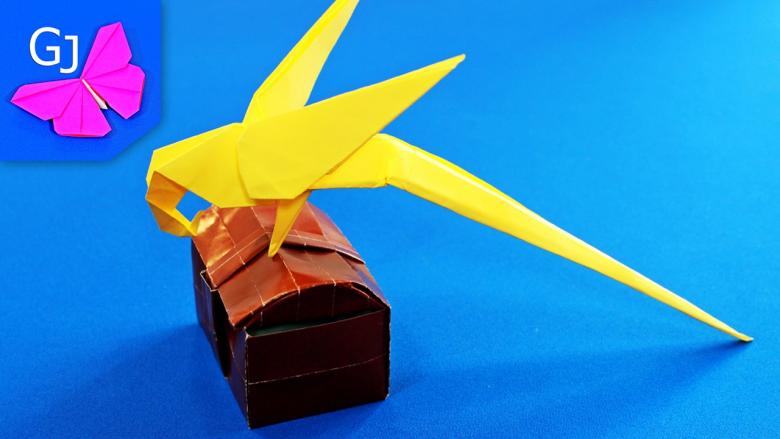
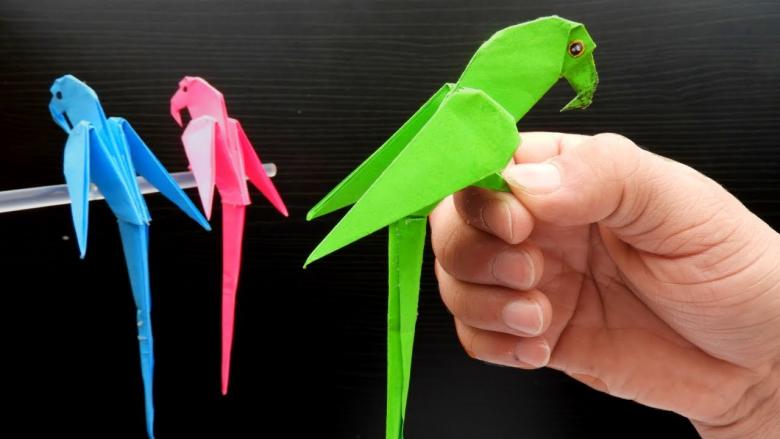
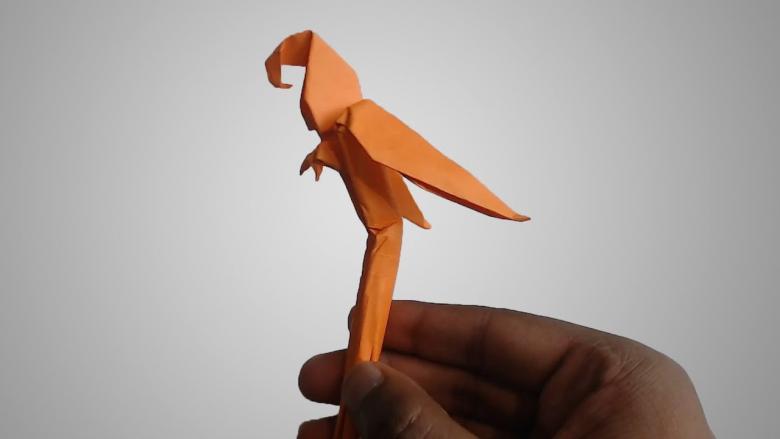
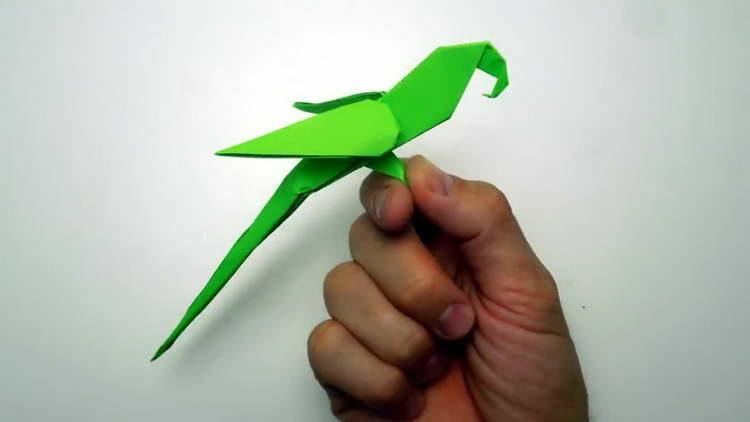
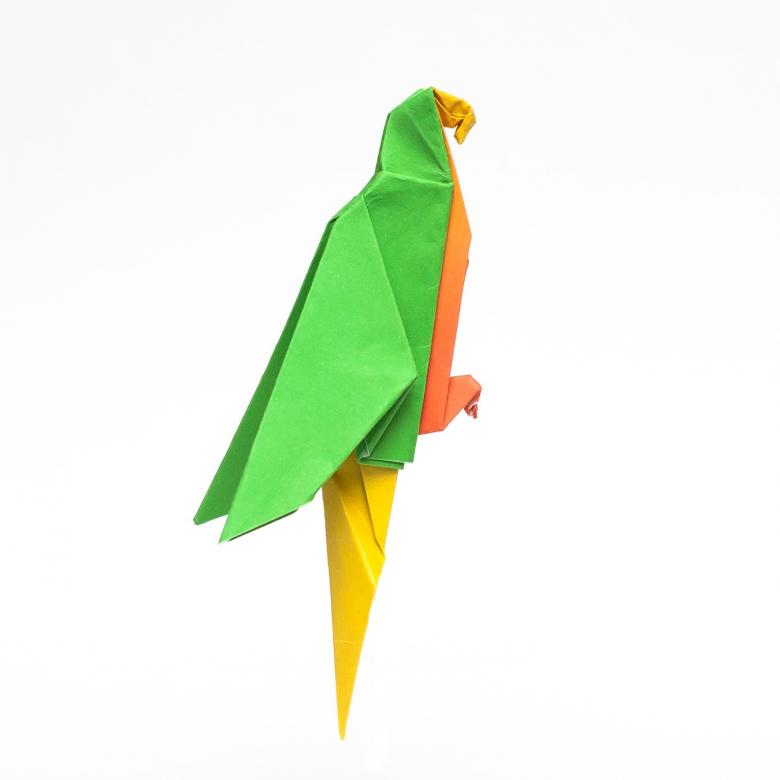
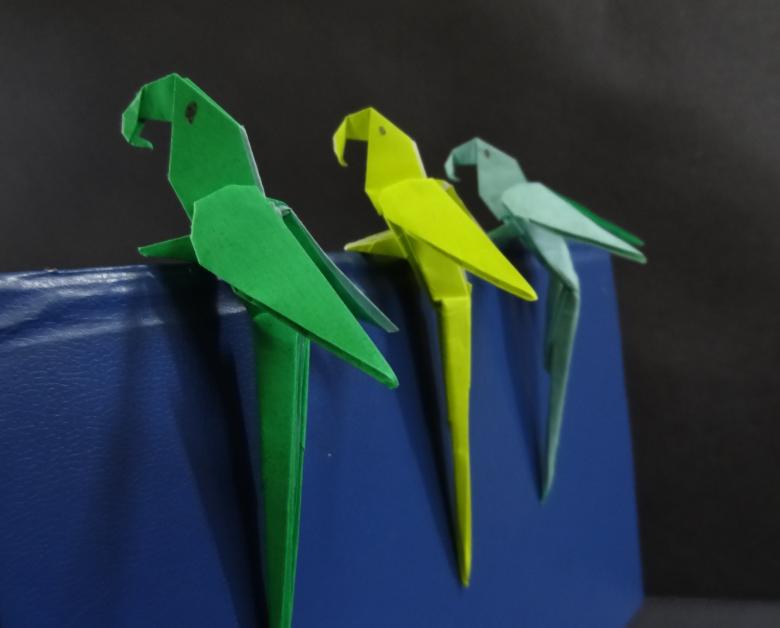
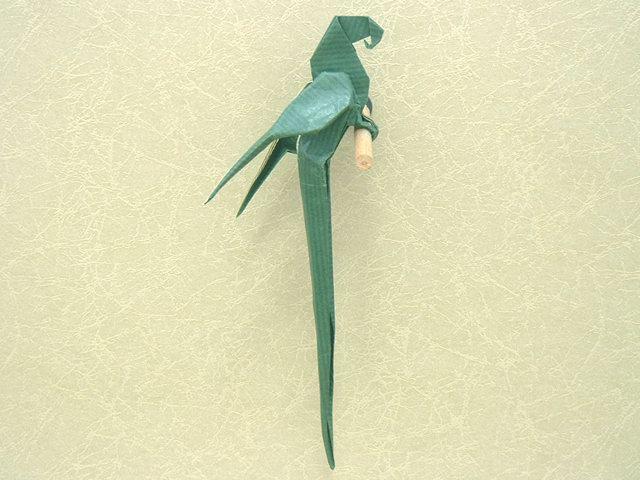
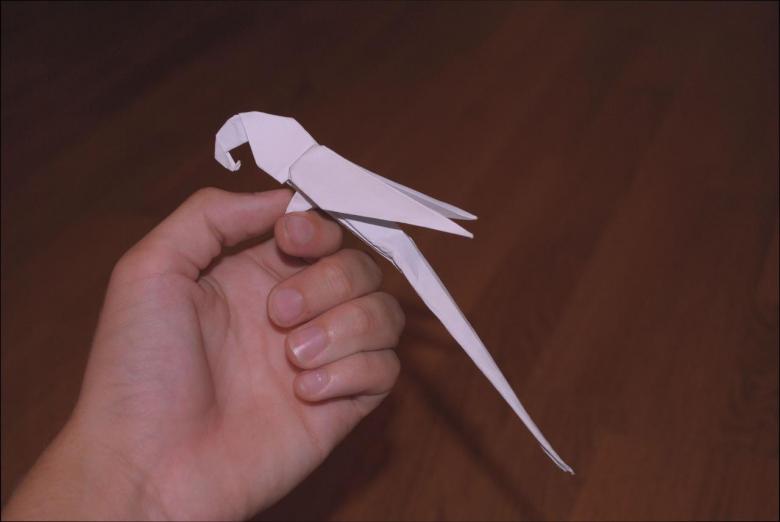
As you have already understood, we will talk about a feathered bird - the parrot. A favorite friend of most people due to its ability to imitate human speech and quite bright plumage. Now we will deal in detail with the topic, how to make a parrot out of origami paper.
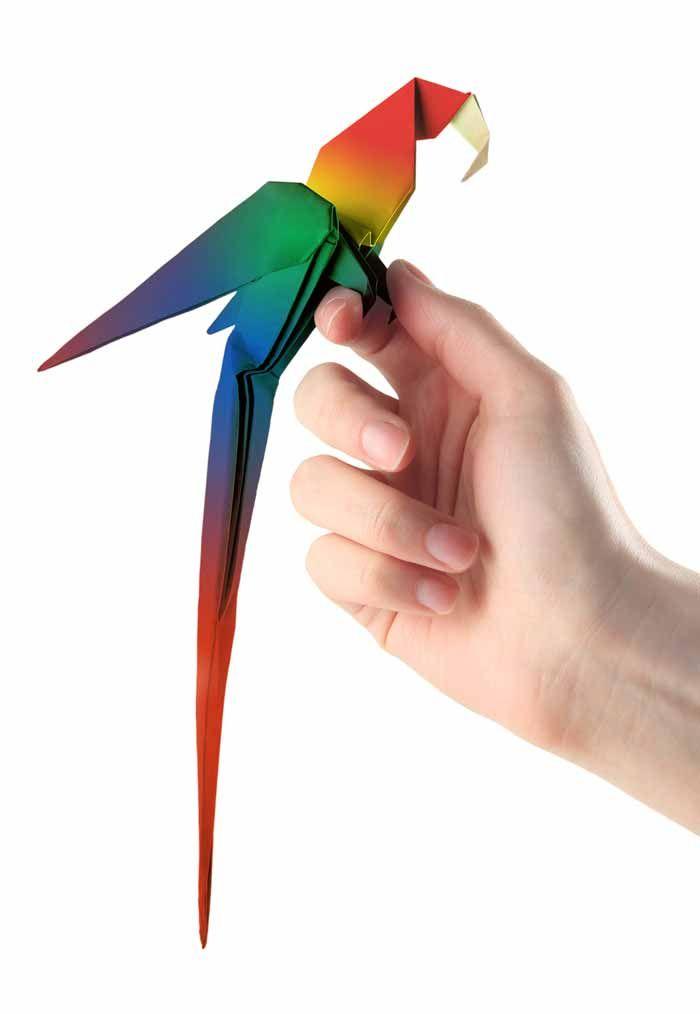
What do we need for this?
Before any work, you need to make sure that the work surface of the table is clean and ready to work. In addition it does not hurt to hold a short briefing with a child on the safety of working with scissors and other materials.
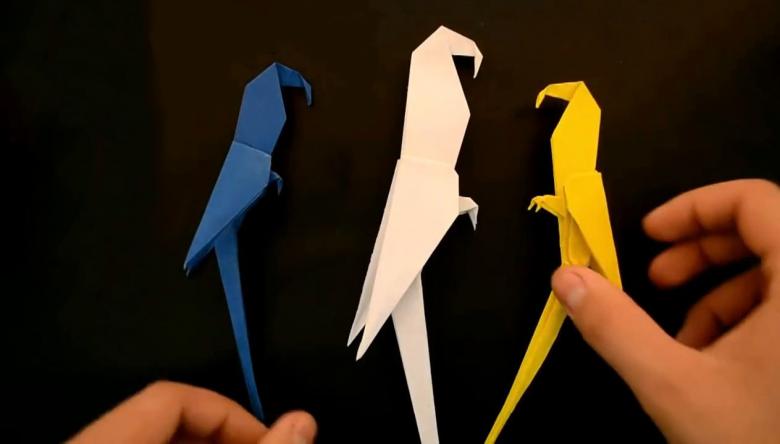
The youngest is better to help at all stages of work.
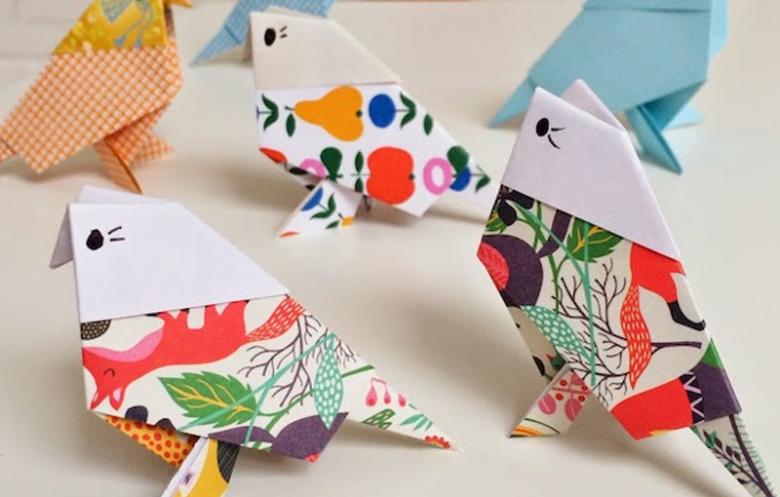
Origami is a very old art, which was learned in China and Japan. It teaches the craftsman endurance, patience, and allows you to develop your imagination and do incredible things with just one sheet of paper. For children, we have chosen the most optimal basic schemes that will be power even the youngest.
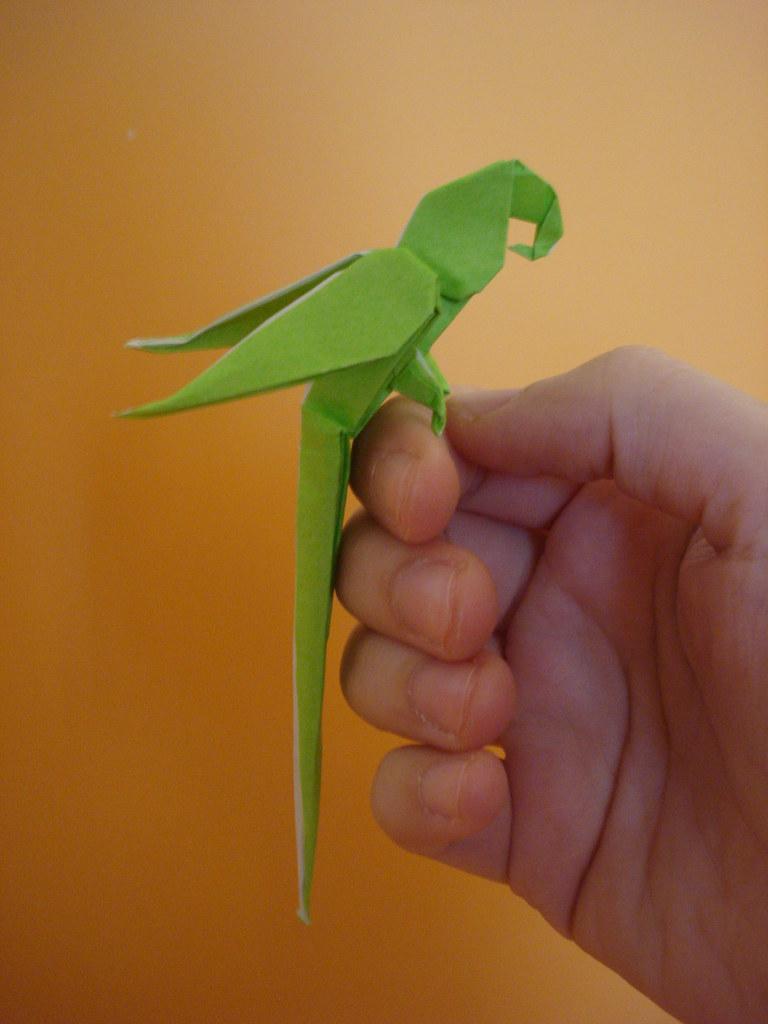
What materials can be used
To work in the technique of origami suitable for any paper that can be bent without any effort. These same materials can include additional:
- Fabric.
- Tinfoil.
- Candy wrappers.
- Polyethylene from bags.
- Grappling paper.
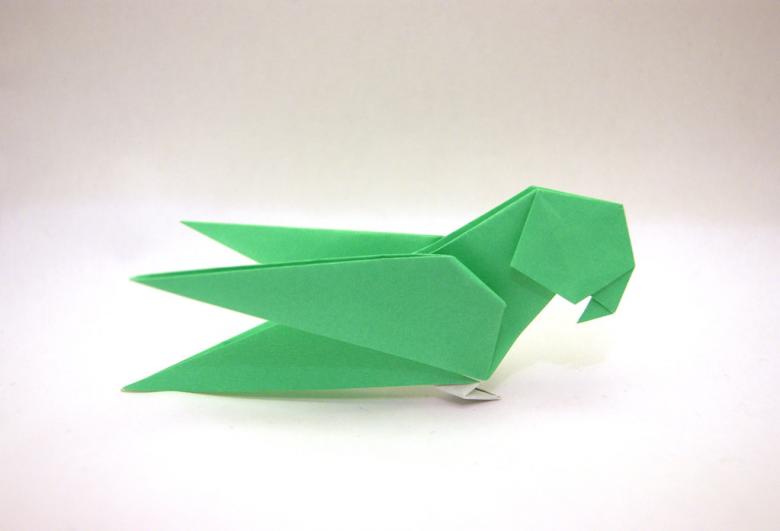
Varieties of origami paper art
Origami involves the art of knowing how to fold a sheet of paper by folding it without secondary cuts and joining by gluing or fixing with additional materials.
Simply put, paper art allows you to create a full-fledged three-dimensional shape of the paper, which, without additional treatments and decorations will be recognized the image, which laid in his creator.
These same topics can include such art as applique and modular origami, which we will talk about below.
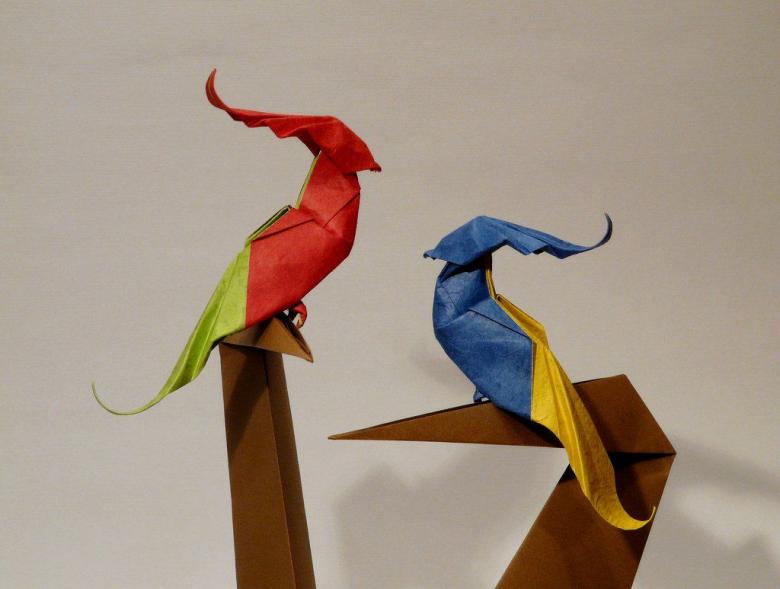
Original ideas for creativity with children
Do not limit yourself to the idea that origami must necessarily be a single sheet of paper. Applique gives more variety in this regard, and is also inherently a subtype of origami, as the work uses paper.
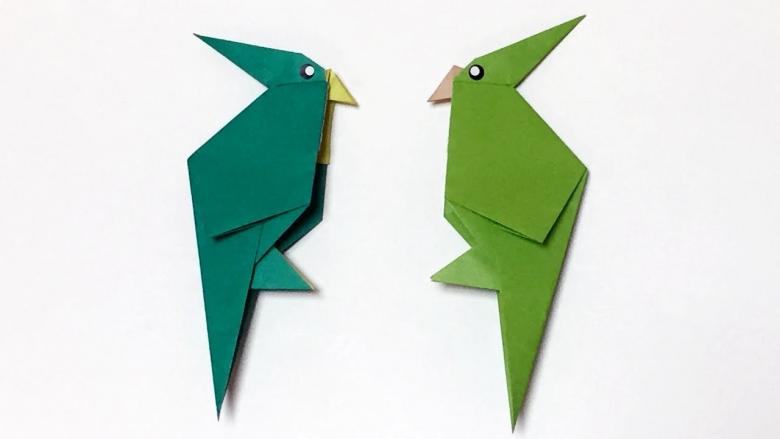
Application on the theme of origami parrot
For this imitation is sufficient to use a normal sheet of A4 and a set of colored paper. For a child can make a paper blank in the form of a bird.
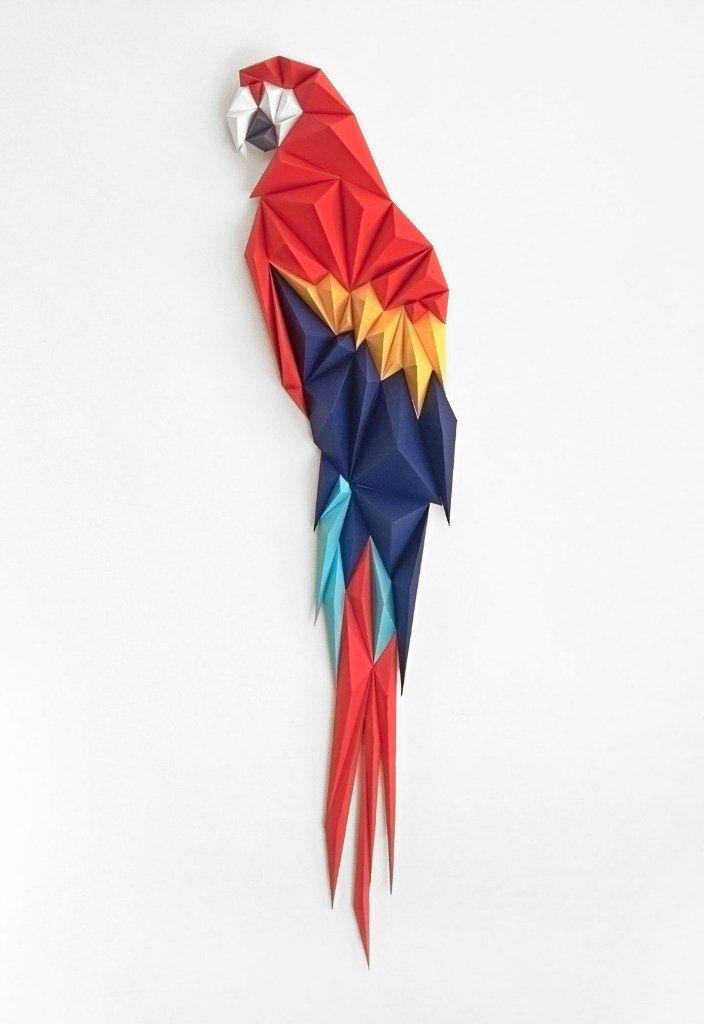
After that, a young child glues bird pieces of torn paper in different colors. Go can be used the most vivid colors, because these representatives of the avian family, as a rule, in his plumage speckled with fancy colors.
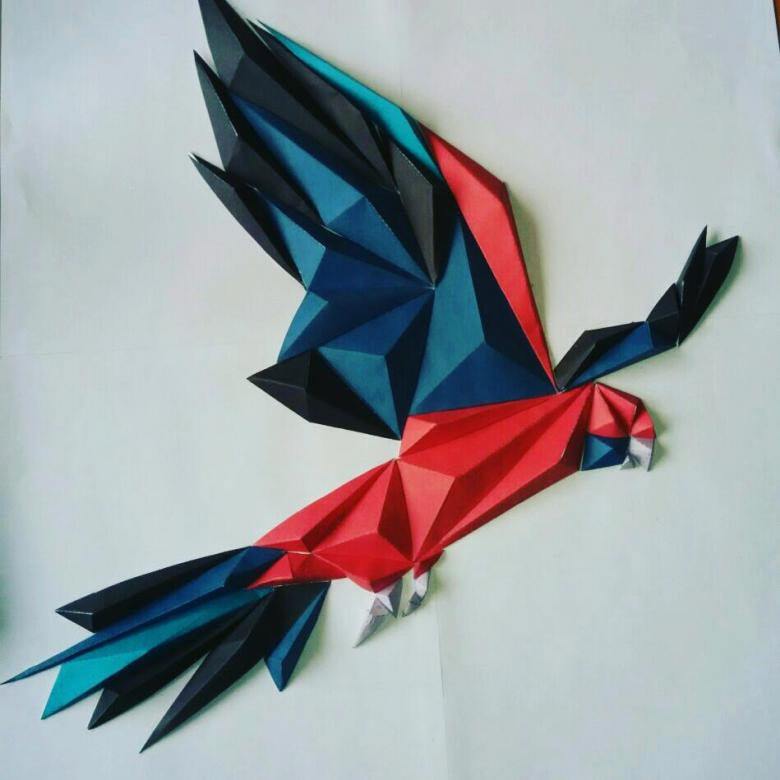
In addition, you can make a simple applique. It is enough to trace the outline of the bird, and then the child himself will begin to lay out the mosaic and glue the pieces of paper.
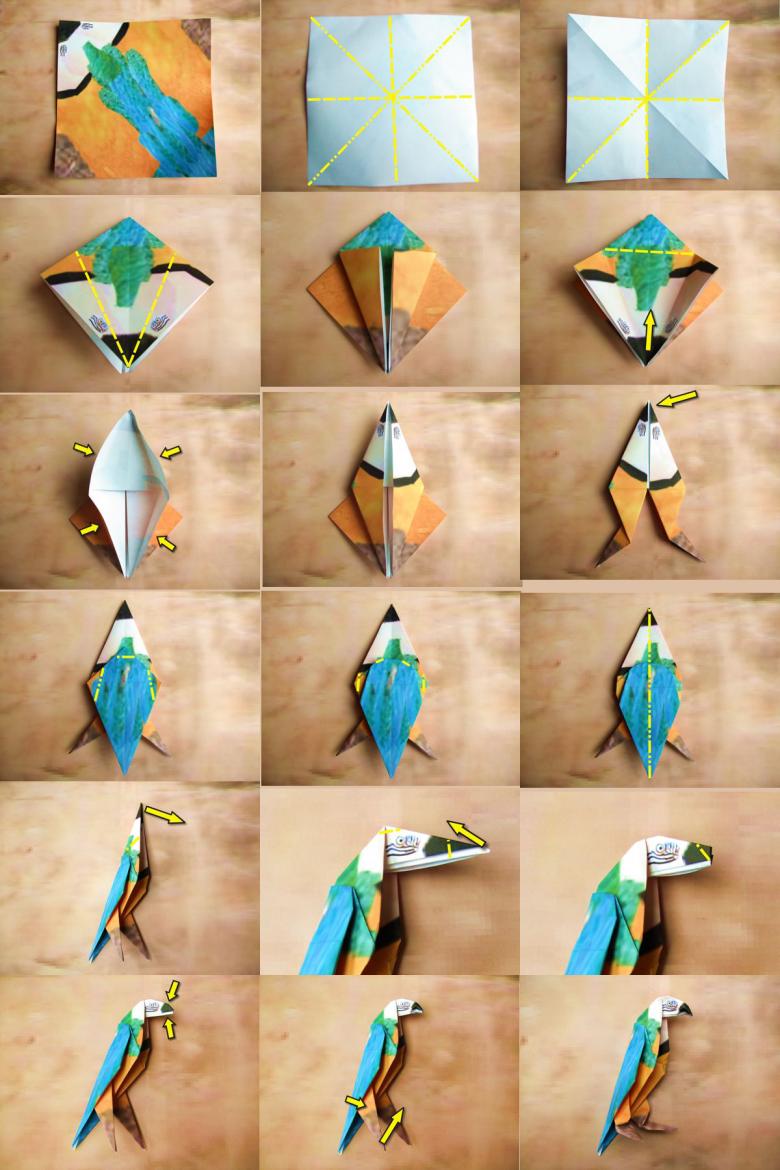
A simple form of base to create a parrot
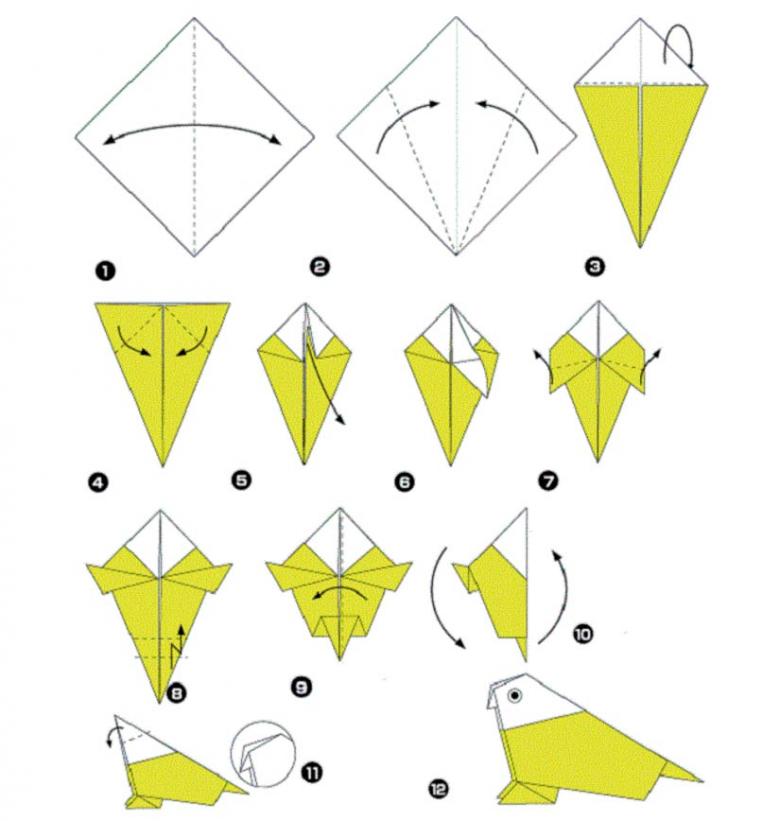
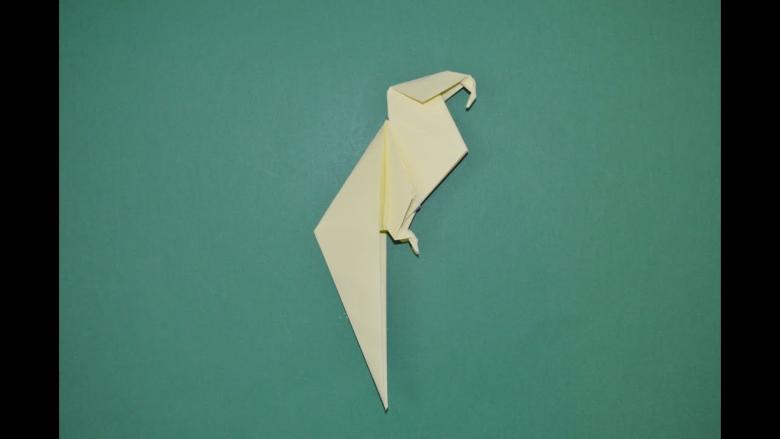
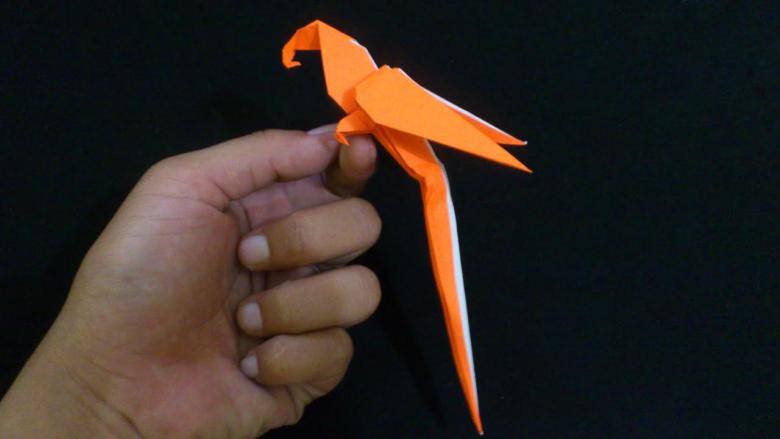
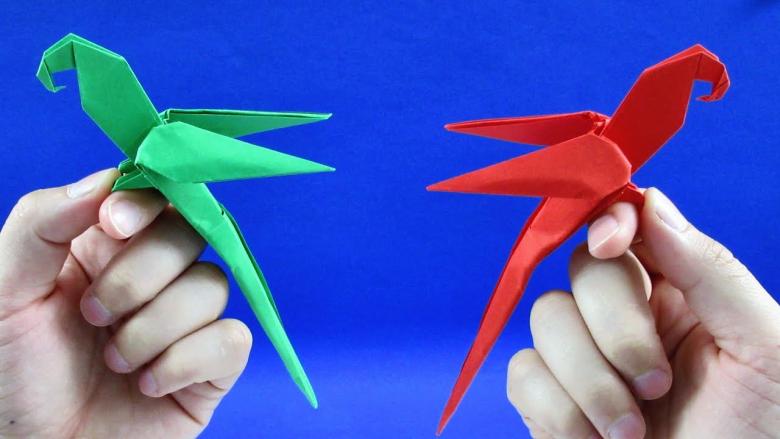
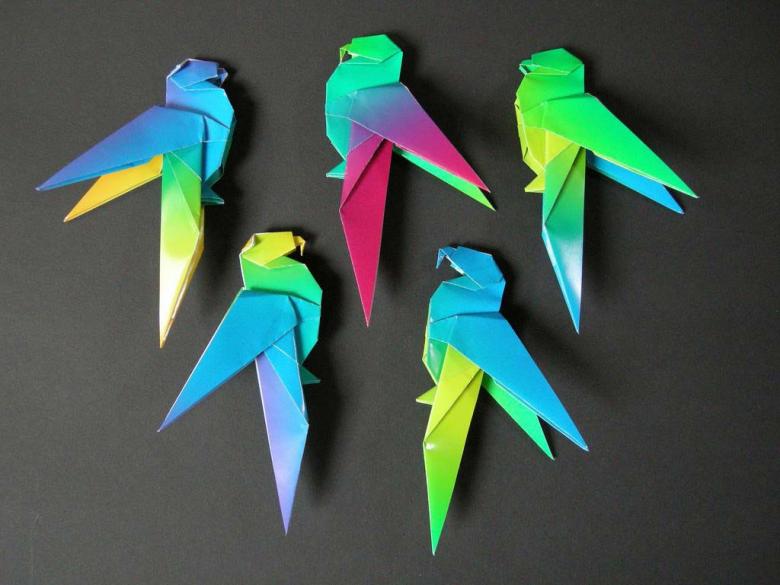
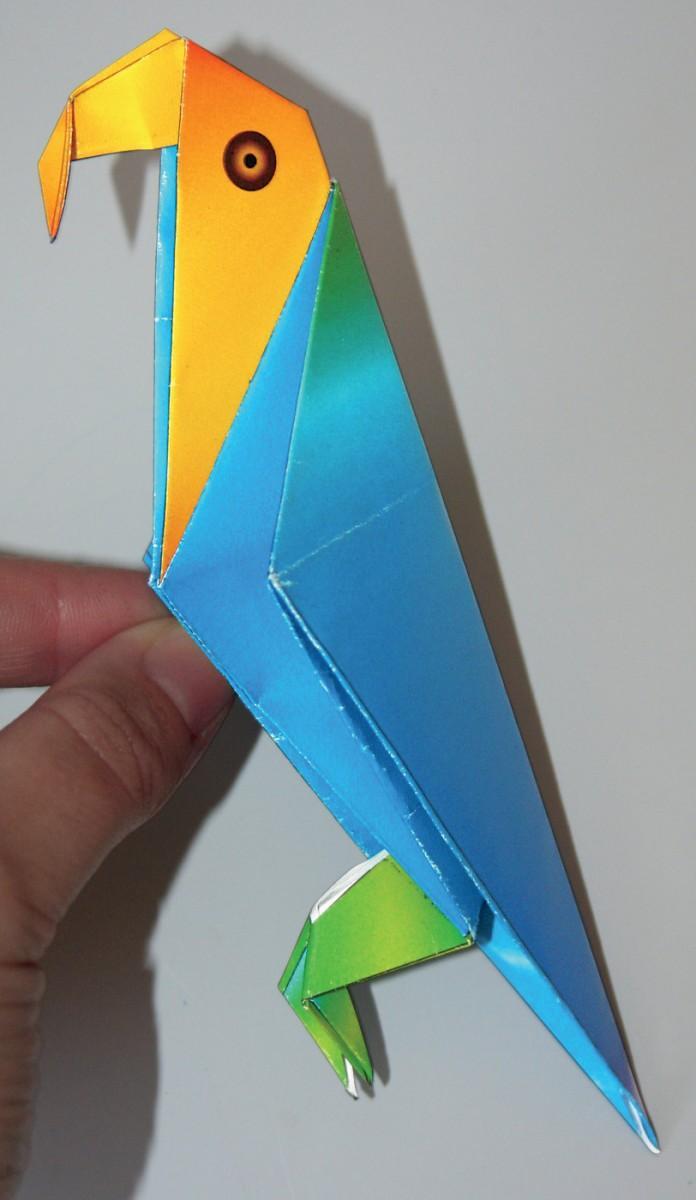
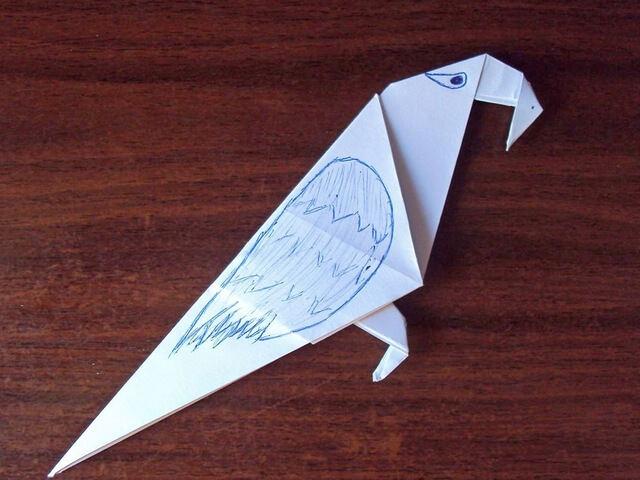
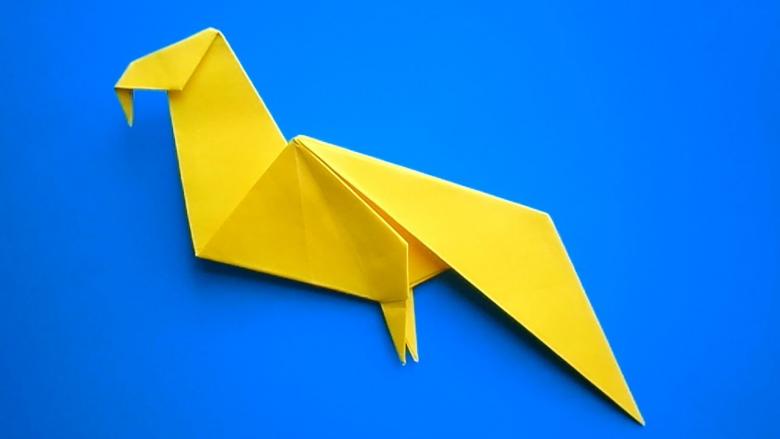
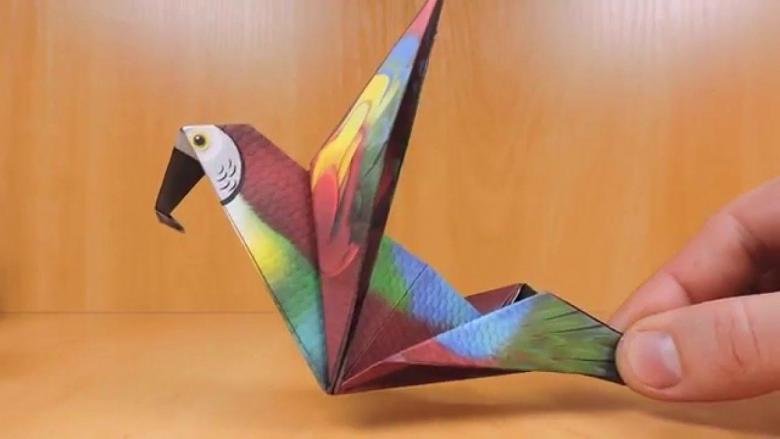
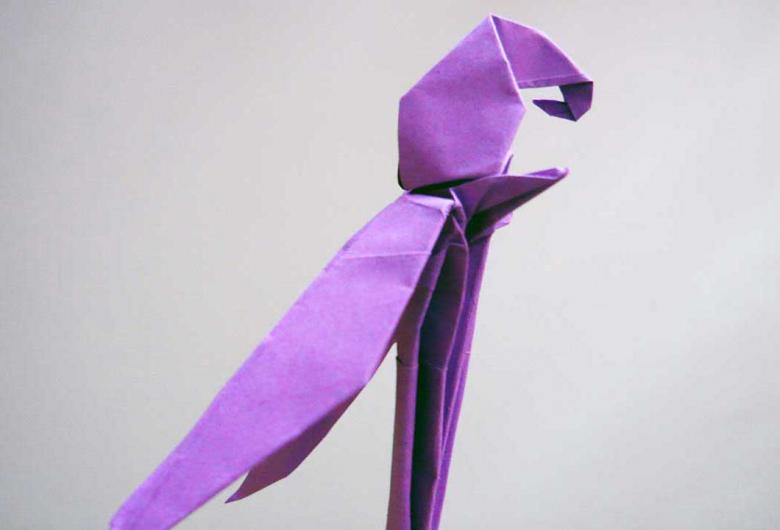
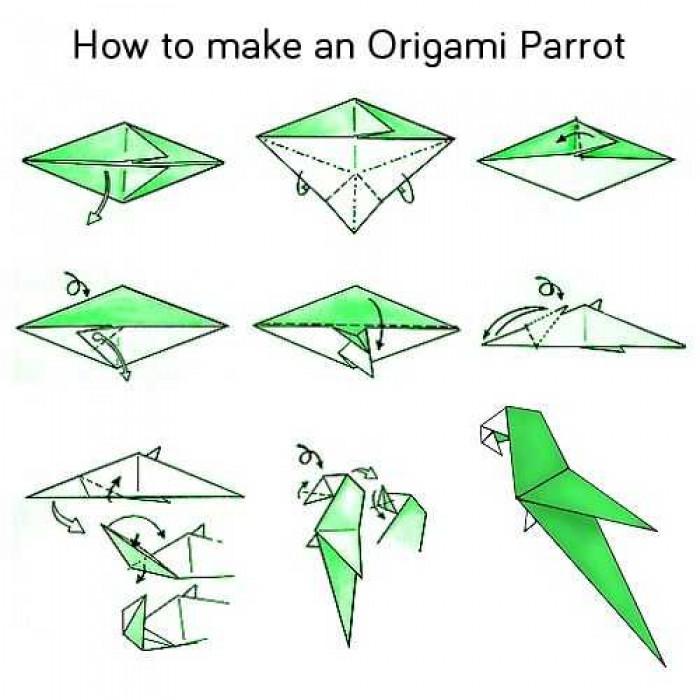
For older children we propose to dive into the varied world of origami, but let's start with a simple basic scheme, at the end of which we get the original bird. To begin with let's make a basic shape "horn". To do this, the square turn in front of you in the form of a diamond. The edges symmetrically bend along the central line to form a "cone", which resembles a wafer cup ice cream.
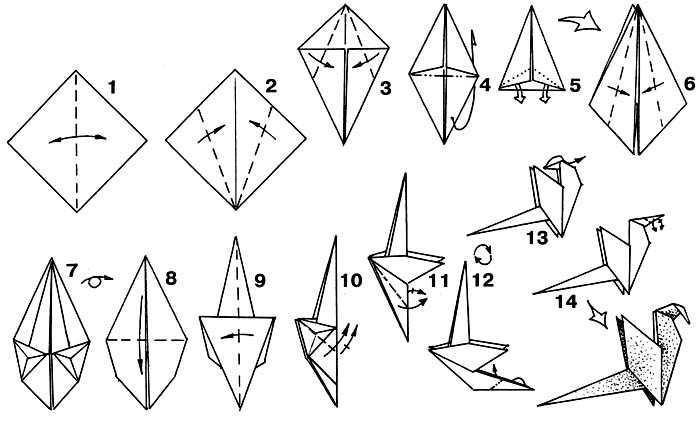
Further, the top of the triangle formed we turn back to the fold line. Two side wings of the pocket unscrew to the middle. Peel back corners will be future legs parrot, and formed sharp tip will be the tail of a bird. The head is formed from the turned corners and make his beak from the edge. That is all! Now we just have to bend the construction in half and parrot is ready. Doris eye or decorate the bird to your liking.
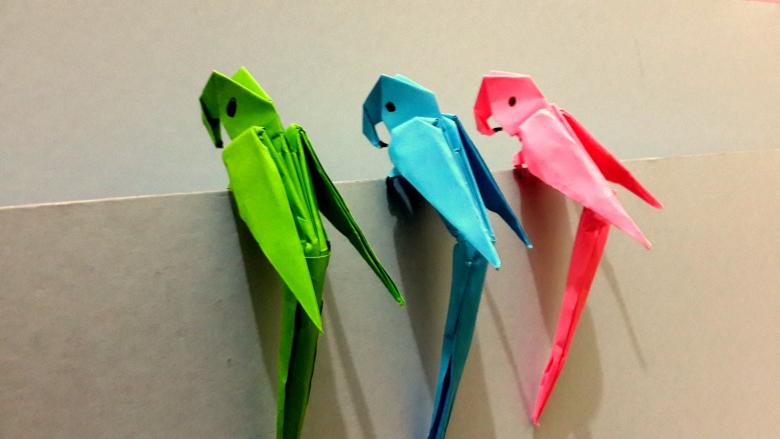
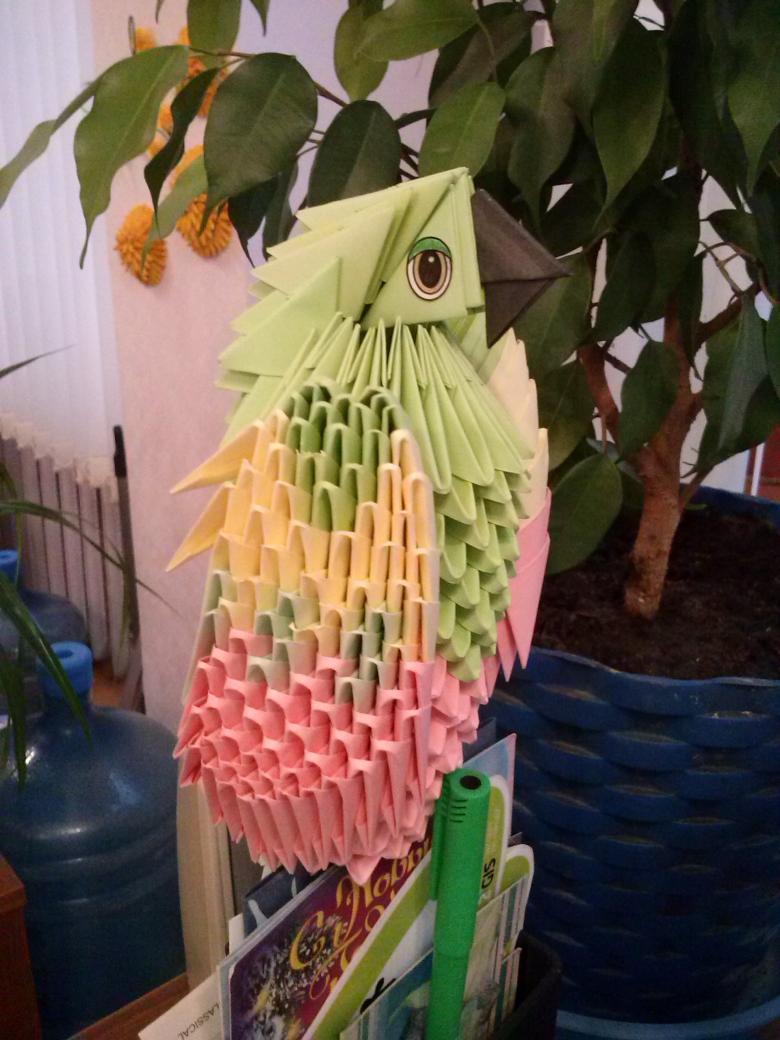
Modular origami in the form of a parrot
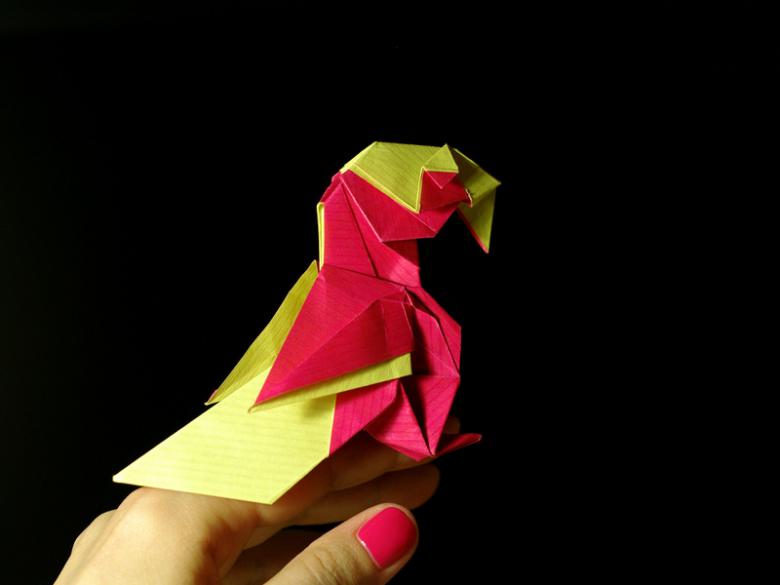
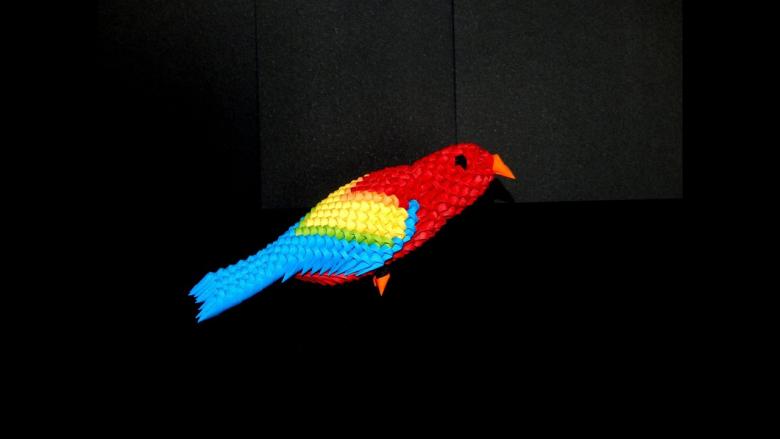
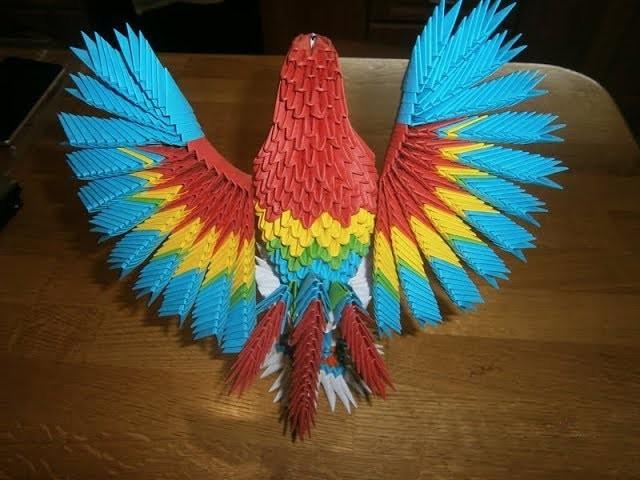
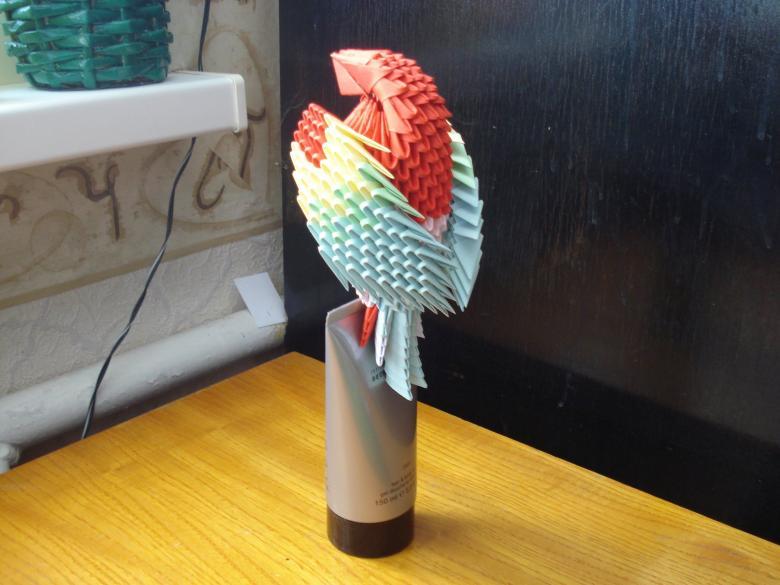
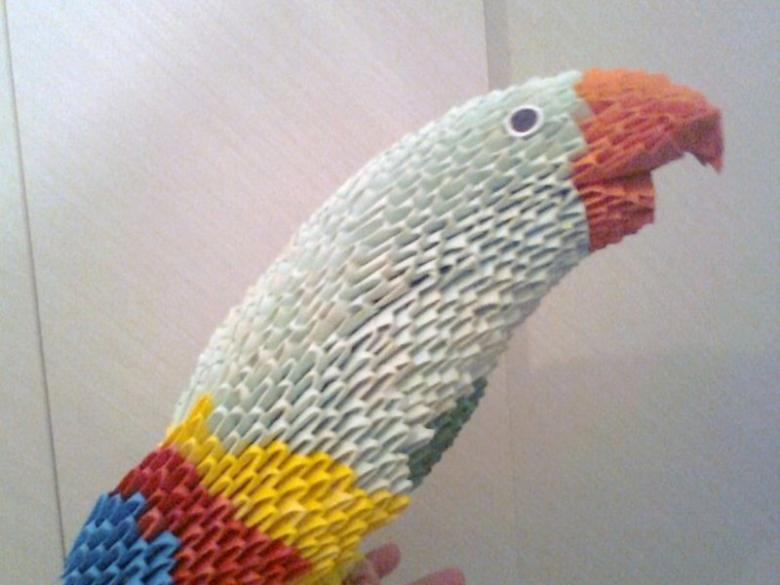
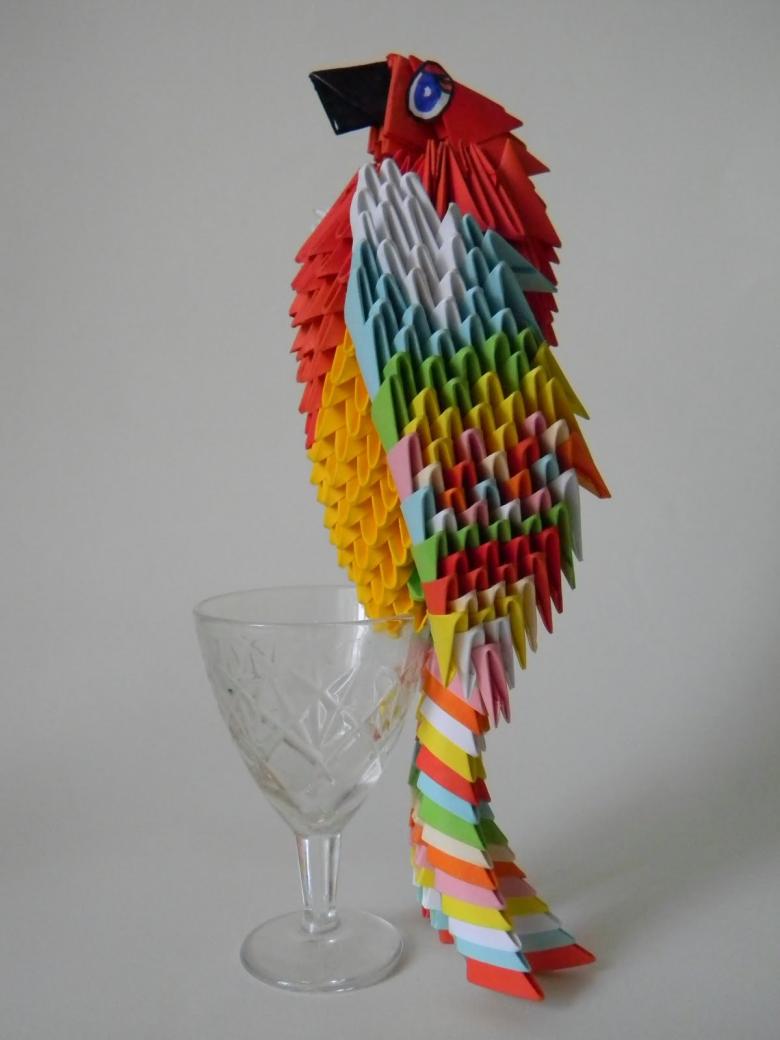
We offer you a scheme of a blue macaw from modular origami.
To create a model to use 160 triangles of red and 18 smaller orange. 90 blue, 62 turquoise, 125 pink or purple, 20 green, 54 yellow modules.
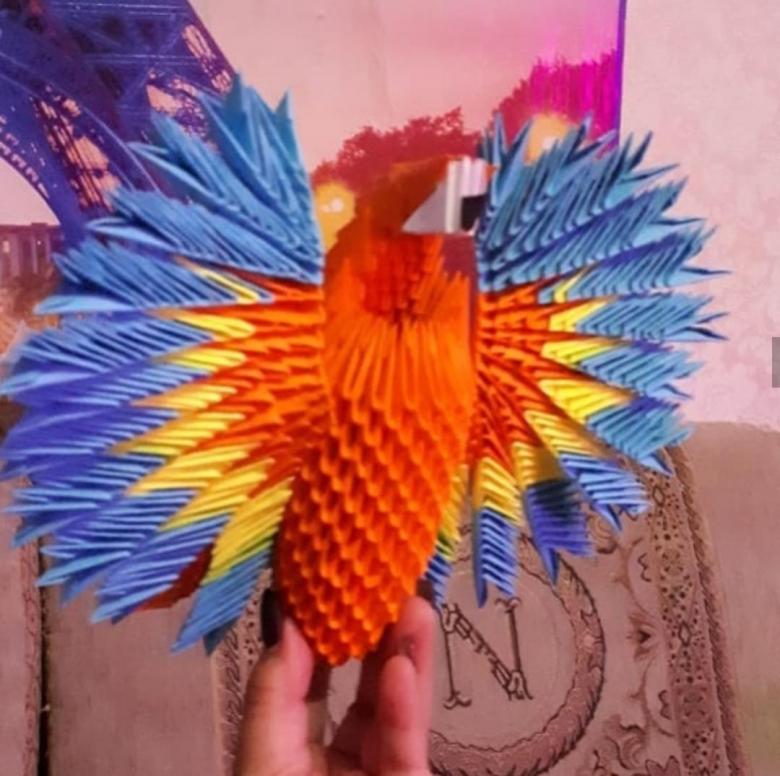
How to fold a basic module
Take a rectangle and fold it horizontally. After that, turn the edges inward and make a conditional "arrow". Bottom ends of the bend inward horizontally formed line. Fold the finished structure in half. All - the first module ready!
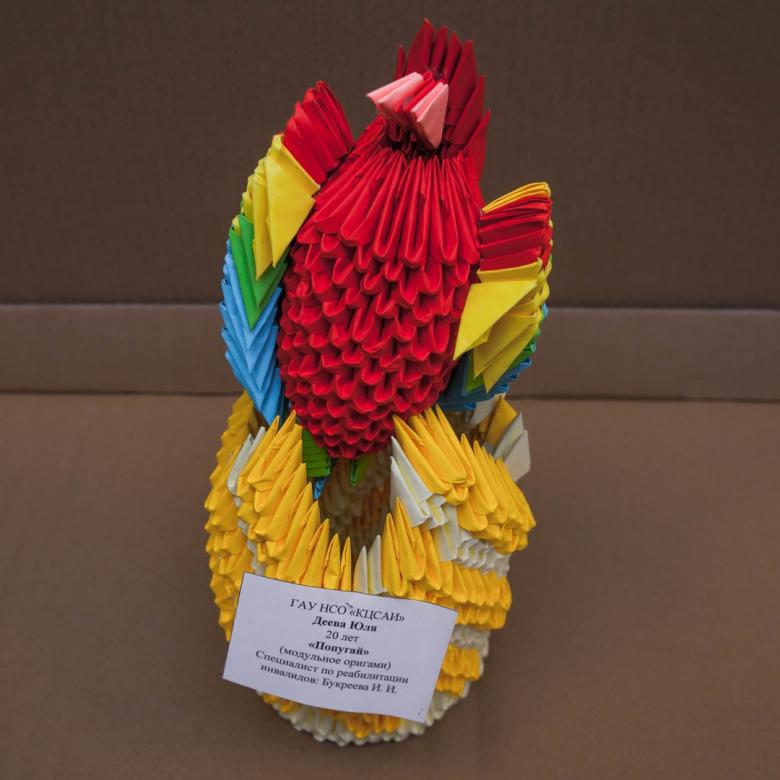
Scheme of a blue macaw from the modular origami
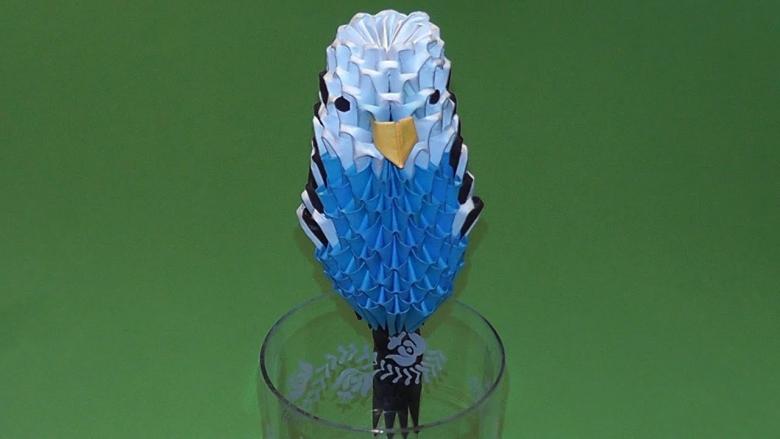
The first step of the modular origami do the basic "rosette", which we will consist of 6 purple and 5 turquoise modules. The order does not change, and rows 3 to 5 are going to the standard. Next, starting with the 6th module you determine the direction of the parrot "front" and "back". Considering that this design is more complex, it is better to stick to the scheme. Beginning creators can make modules without color to color their parrot later.

Further to make we add modules up to row 8. After that, we add 2 turquoise modules to get a combination of 6 turquoise, 2 purple. For the front side we will use 9 purple. The next row is a binding in the design, which connects the front and back. Watch the order of addition on the belly and back, so as not to break the proportion of the pattern.
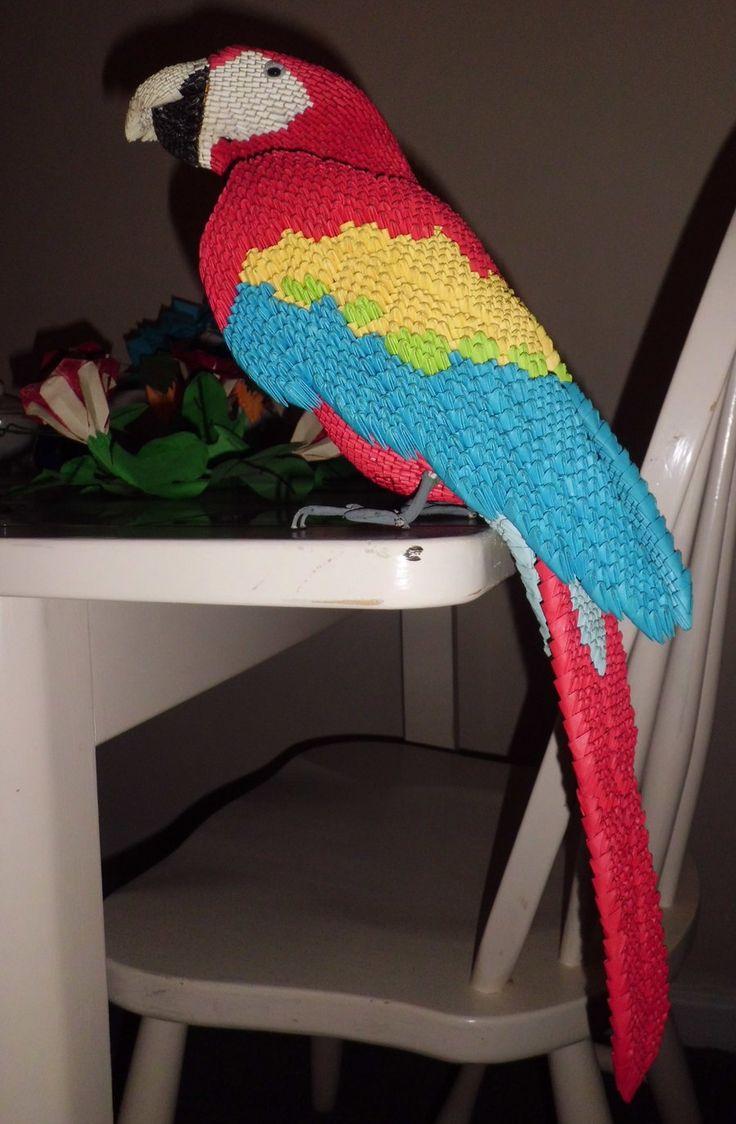
On the 16th row you fix the red triangles for the head of the bird. The next row will consist of a combination of 6 red, and the 18th row of 5 red, the 19th row one module less (4). To assemble the tail of the bird, you can use alternating rows or mix them in staggered order.
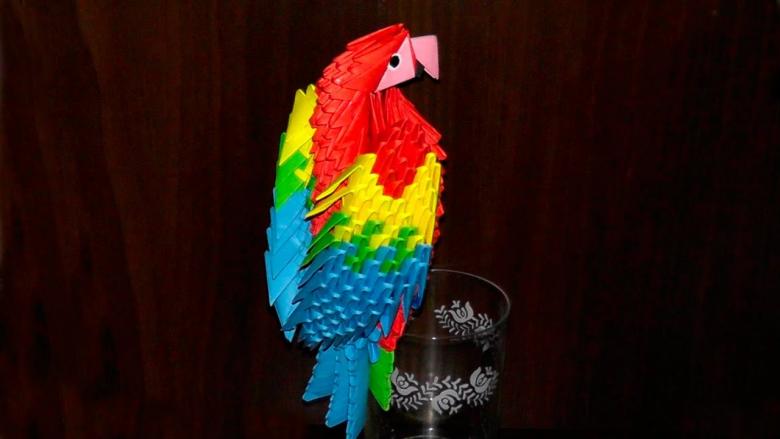
That's it! At first glance, modular origami seems complicated, but when you practice the basics, then it will be easy!
So you can decorate different parts of the interior. For example, a bird in the kitchen, bookmark in the book, postcard or coaster.
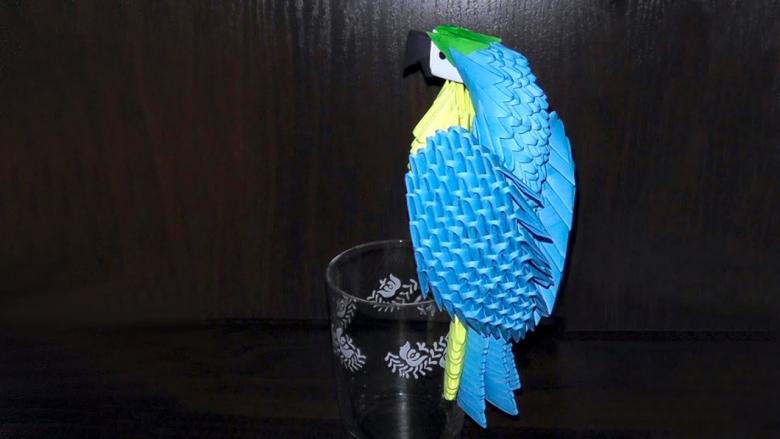
Attractive is that in a similar theme there are no restrictions, and thanks to the variety of modular origami, you can, if necessary, to disassemble the craft and waste the modules on another as it can be done with the construction set "Lego".


