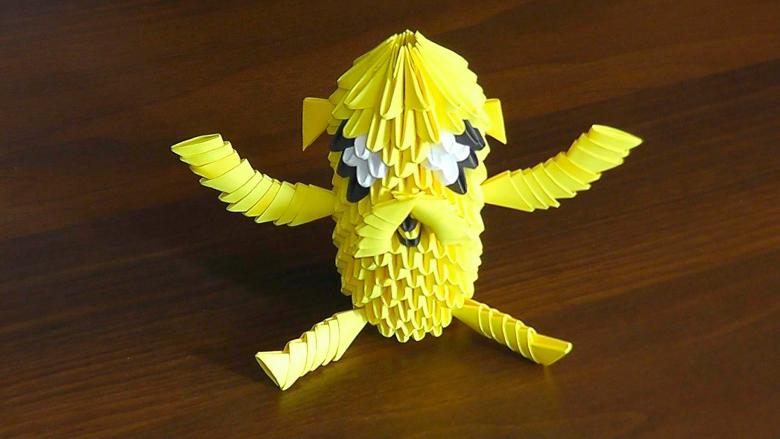
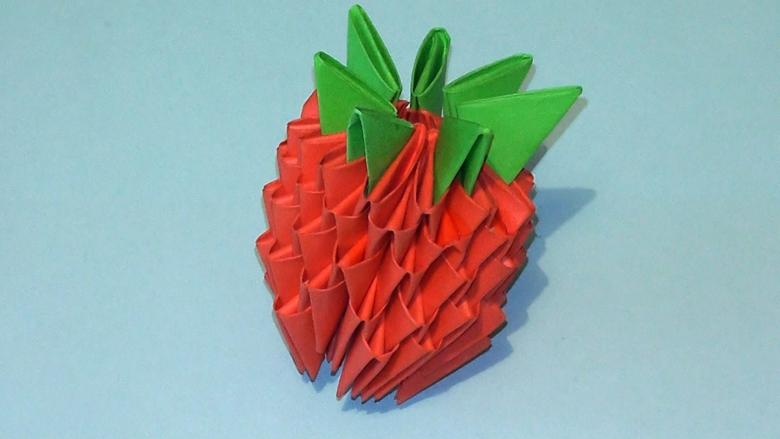
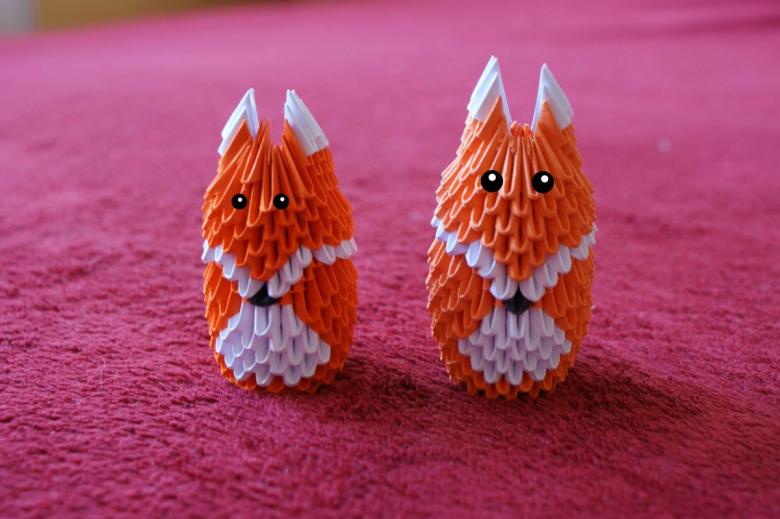
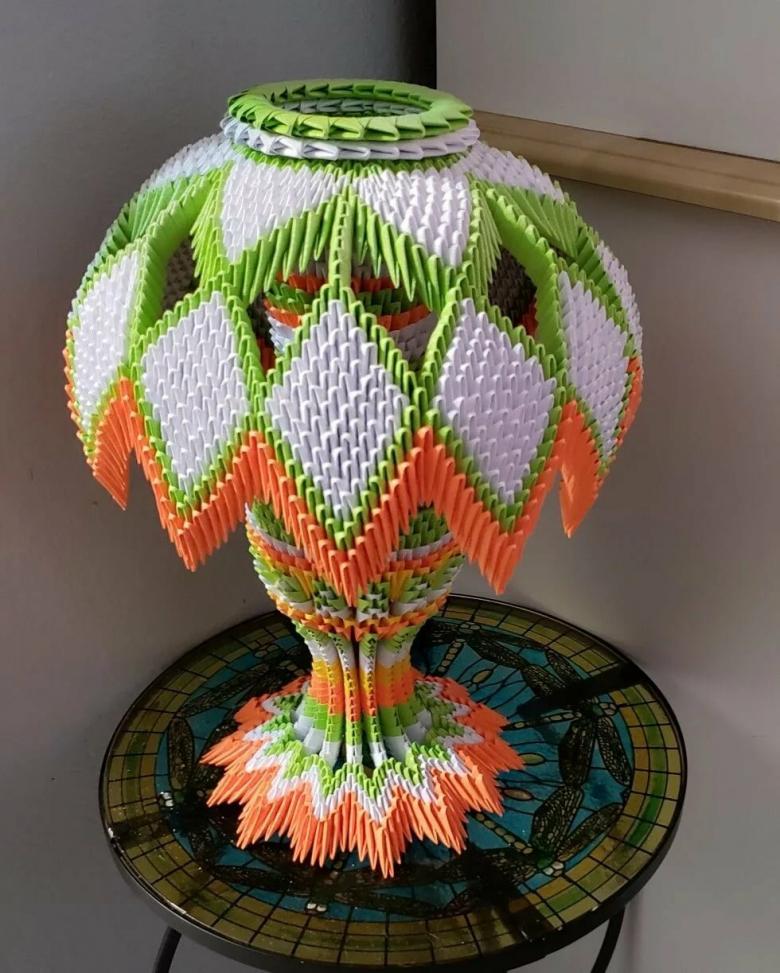
Handmade crafts from paper modules - step by step instructions for beginners, photo examples
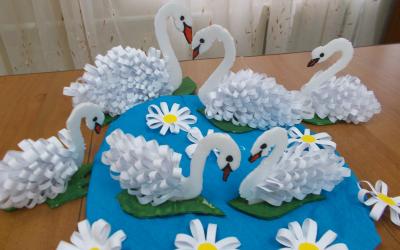
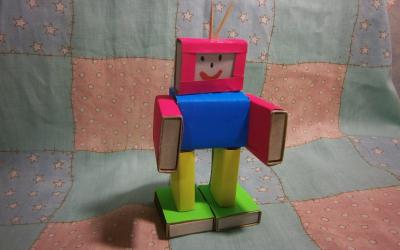
There are a lot of different directions in home creativity, which can be applied to create attractive and unusual things. To make something with their own hands together with parents is very useful for the versatile development of the child. To diversify the creative process, to make it as interesting as possible, you can learn the technology of constructing handicrafts from unusual homemade blanks.
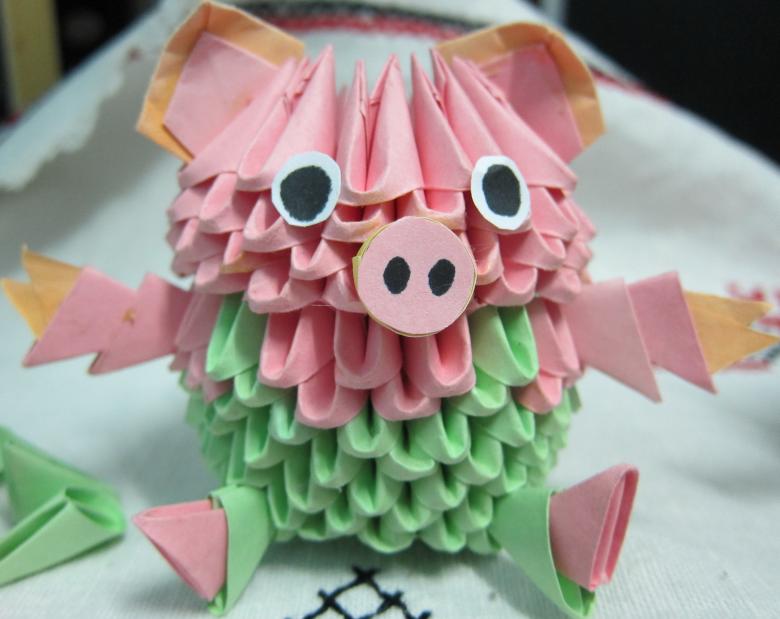
Construction of different figures can become a real hobby of the whole family. Amazing things are obtained even by novice craftsmen. Having gained experience, it is possible to implement the most fantastic projects.
What is modular origami
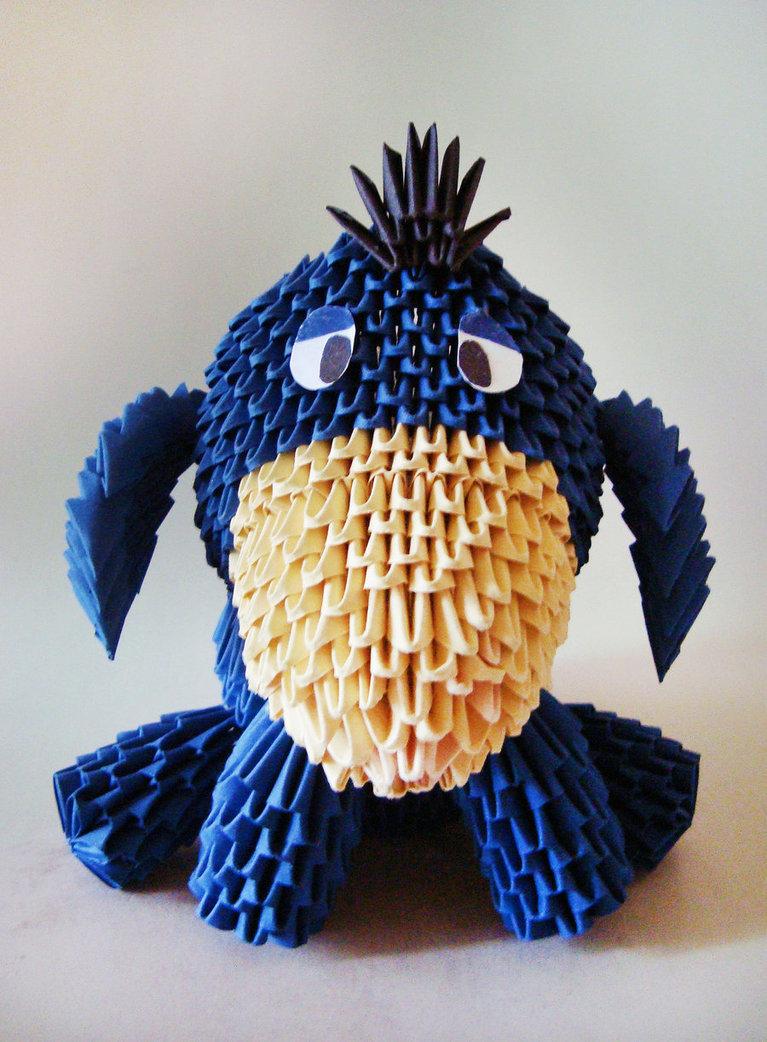
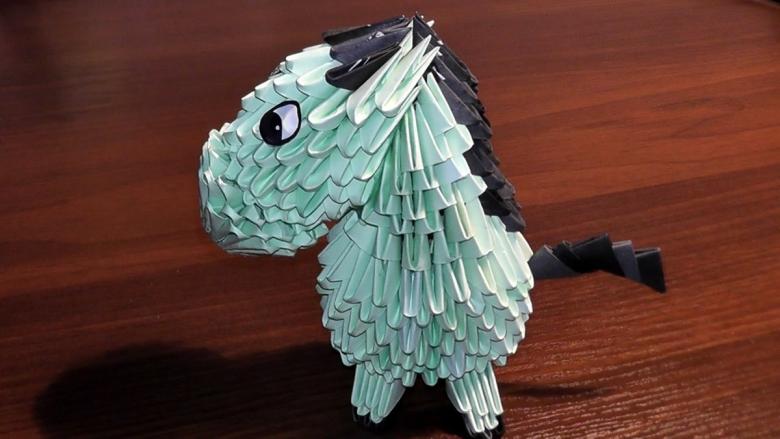
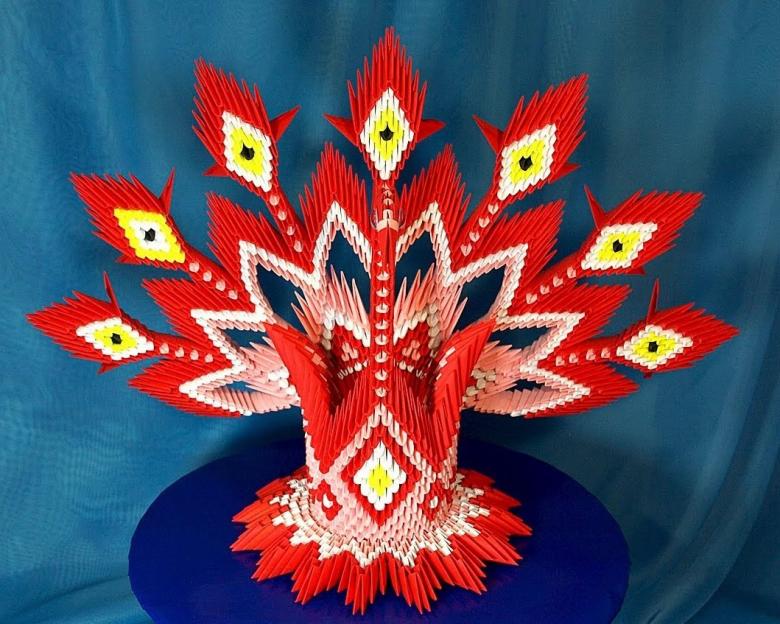
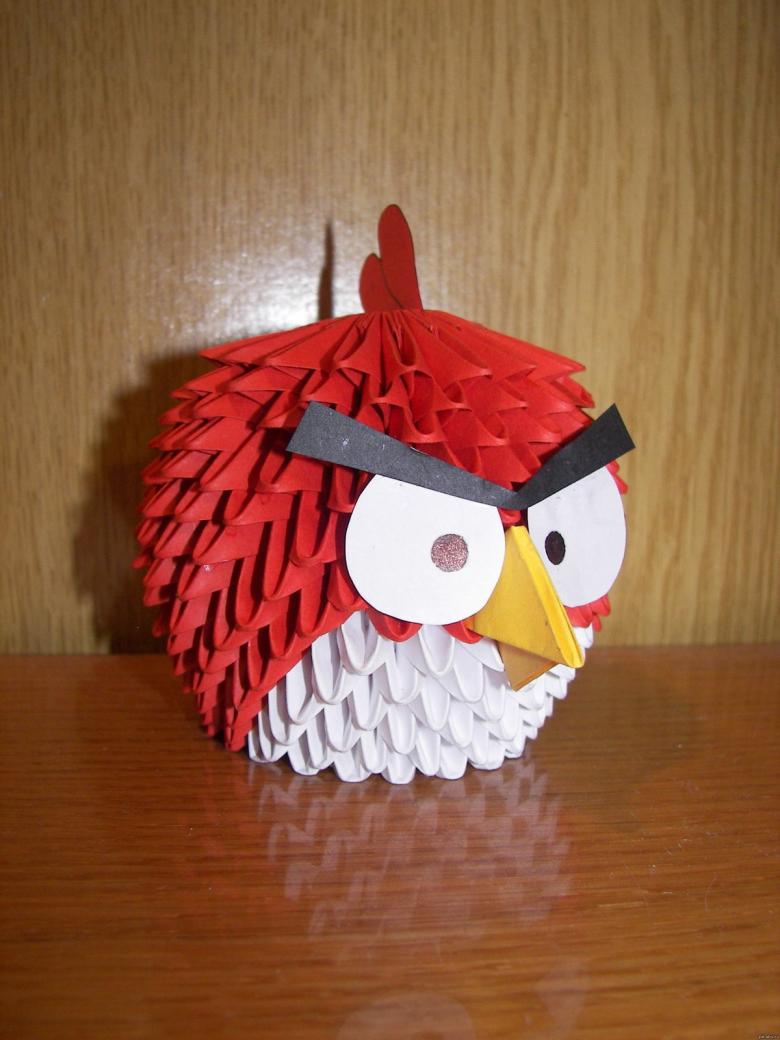
Origami technology is known to all. Modelling with blocks is one of the creative directions of this art. The main difference from other methods is the peculiar assembly of figures from blanks.
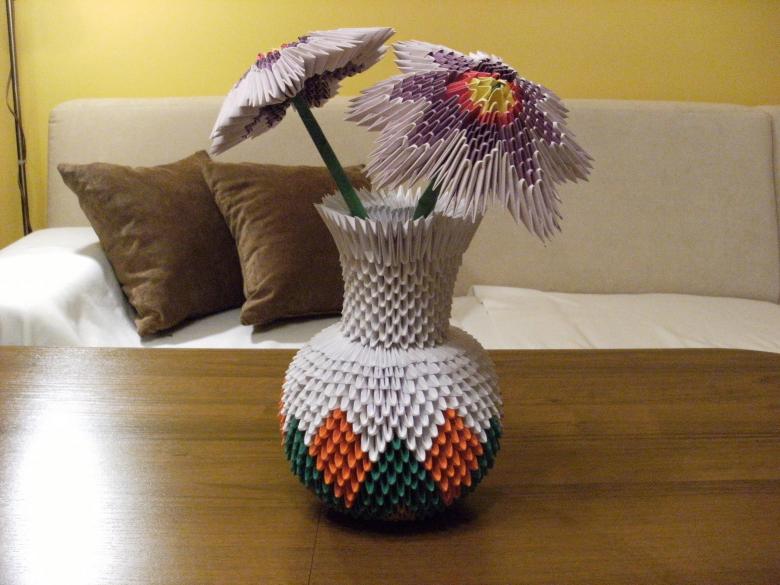
The main features of modular technique:
- the work requires identical figures-blocks, folded in a special way from paper,
- fastening is carried out by inserting a part of one block into another.
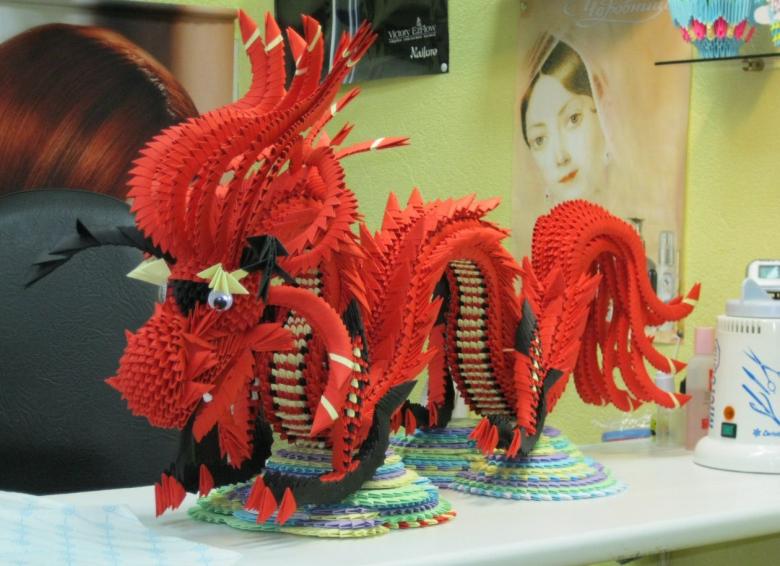
Modules can be three-dimensional or flat. Volumetric assemble complex shapes, and used flat for mosaic patterns. Most often, paper blanks are used for construction of a triangular shape, as well as in the form of "trefoil" or a pyramid.
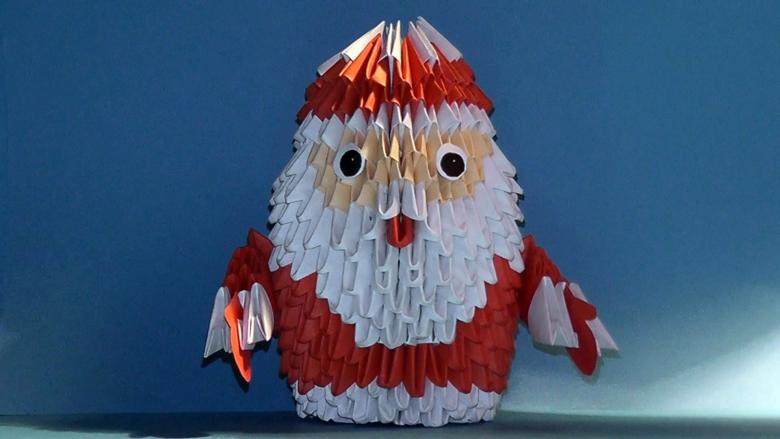
The main material for the blanks:
- Sturdy paper for printing,
- colored stickers,
- wrapping and packaging paper,
- Special Japanese paper for origami,
- foil paper,
- Magazine pages (not glossy).
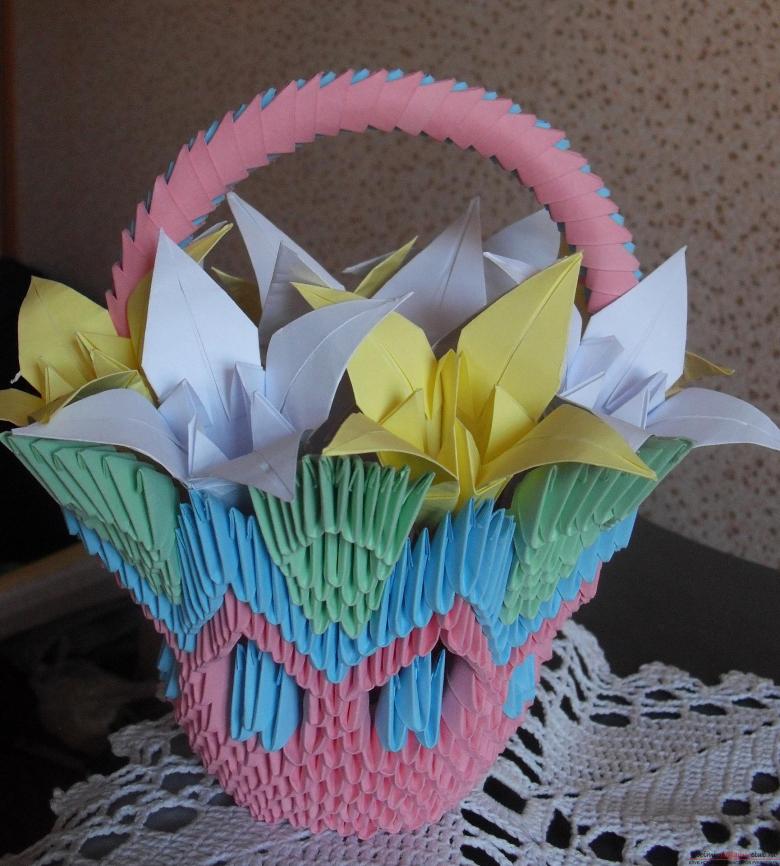
Do not take:
- glossy paper (the paint on the folds rubs off),
- Plain colored paper (it is thin and gets lighter on the folds),
- cardboard (it is elastic),
- Newspapers (they will turn yellow with time).
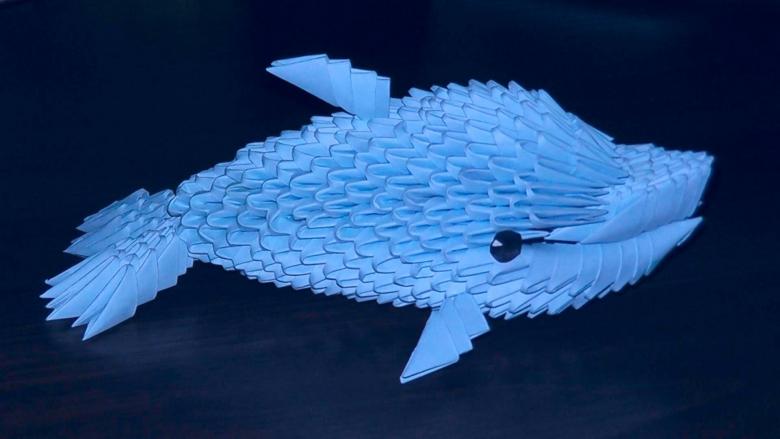
Making modules
The first phase is the most important and painstaking task. It is necessary to have patience and fold the triangles. Their number depends on the idea, which must be implemented.
- Elements of a triangular shape fold out of a sheet of A4.
- Rectangular sheet should be folded in half, and then another 3 times without changing the position of the sheet. We get 32 rectangles. Thus made triangular parts, the size of 1 / 32.
- From the resulting blank cut with scissors into rectangular pieces.
- Rectangle fold along the length, then width. Mark the line in the center.
- The edges pressed to the middle like folding an airplane.
- Turn.
- Fold the bottom corners of the protruding upward to the base of the triangle.
- The bottom edge of the lift, bend the resulting billet in the middle.
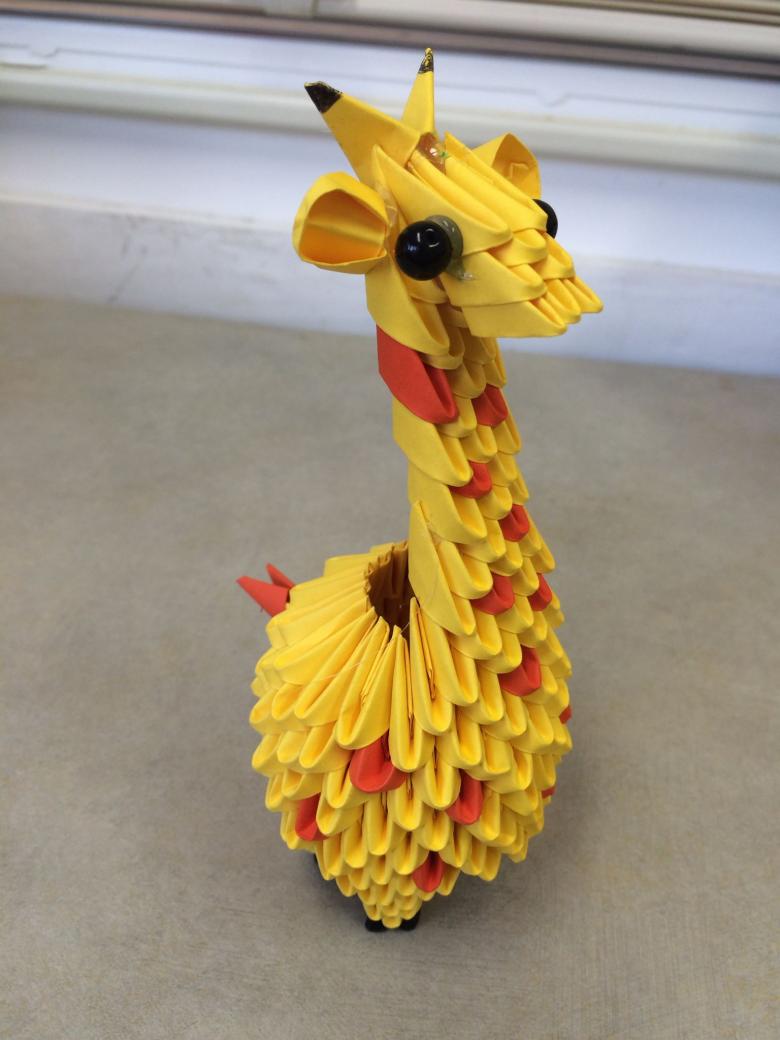
The result is a block of triangular shape. The ratio of sides 2:3. Of them and collect the figures.
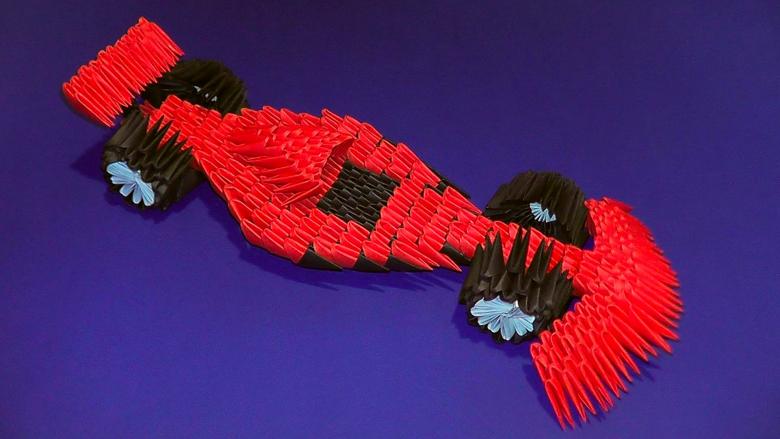
Technique of assembly
Method of connecting the blanks determines the external outline of the product:
- To assemble flat elements, the connection is made by inserting the corners of one module into the pockets of the other,
- to create the basis of the figure or chain dock top with a pocket, the parts are inserted consistently, one after another,
- if you need to connect 3 modules, the tops of the 2 parts are inserted in the pocket of the 3rd,
- Yads are formed by stringing the element on the adjacent corners of the triangles of the bottom row.
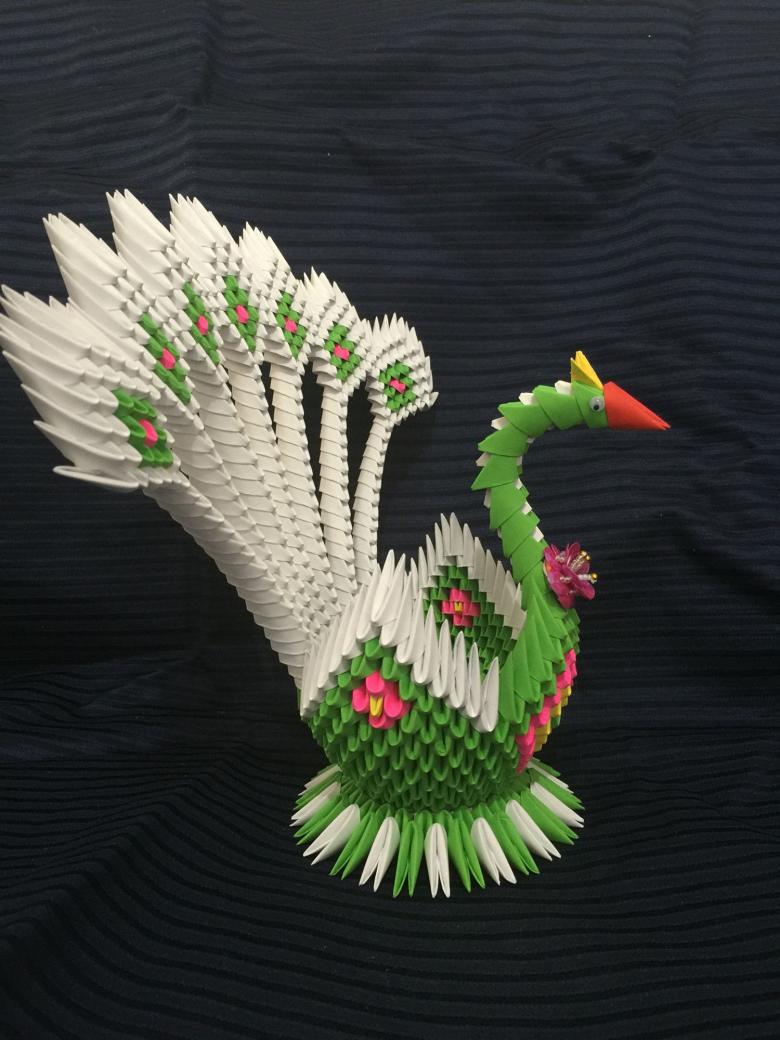
After preparing a sufficient number of small paper structures, you can start modeling.

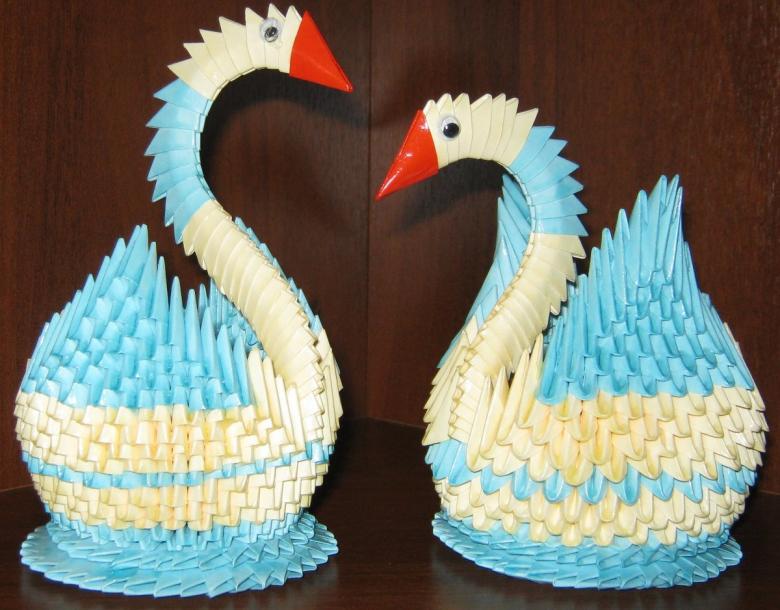
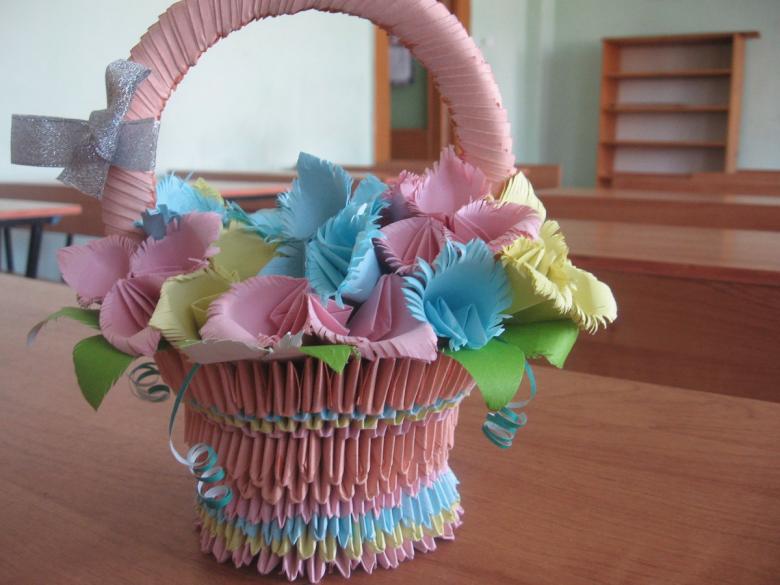
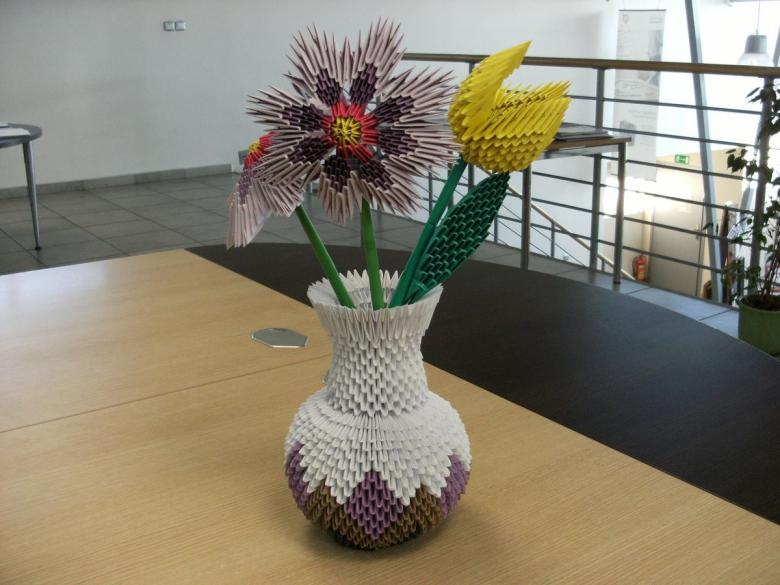
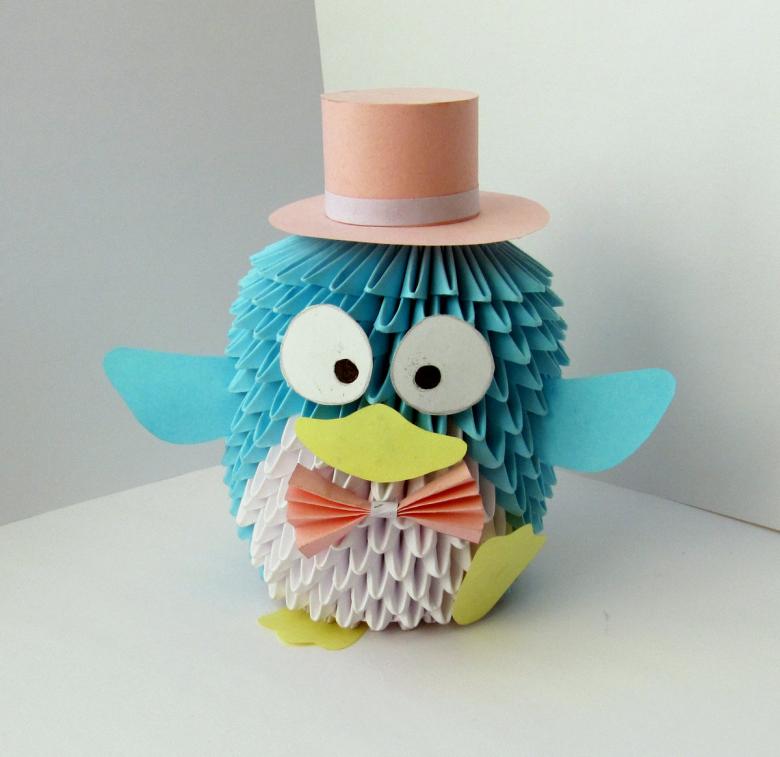
To calculate the required number of modules you can use the photo. It is necessary to count all the visible elements, multiply their number by 3 and subtract 15% of the resulting figure. The final amount is an approximate number needed to assemble the "spare parts".
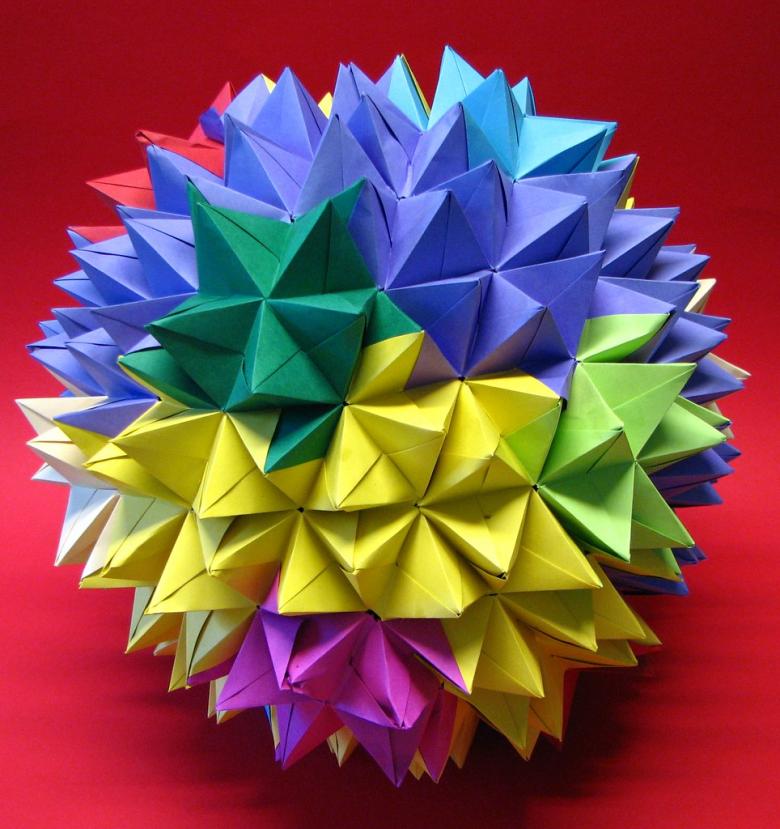
Handicrafts in the technique of modular origami
Start working with the simple figures. This can be flowers, requiring a small number of elements, or monochrome shapes.
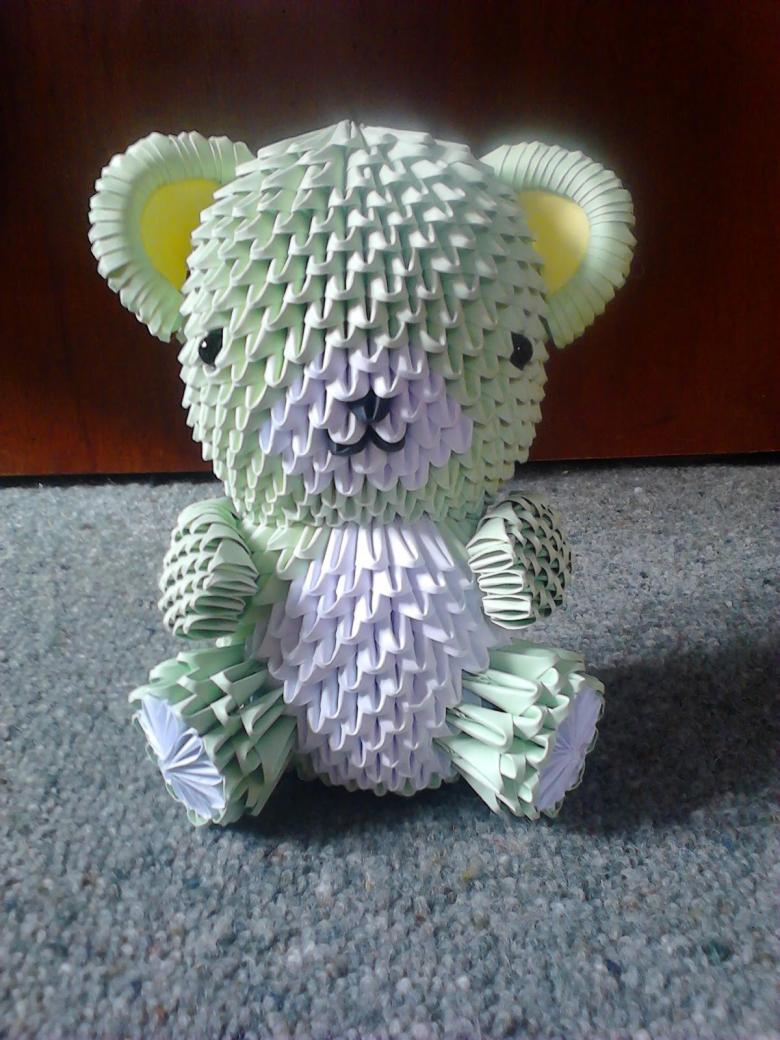
To work it is better to prepare a triangular piece 1 / 32. Easy to assemble flowers will serve as an original decoration for the holiday table or a nice souvenir for friends.
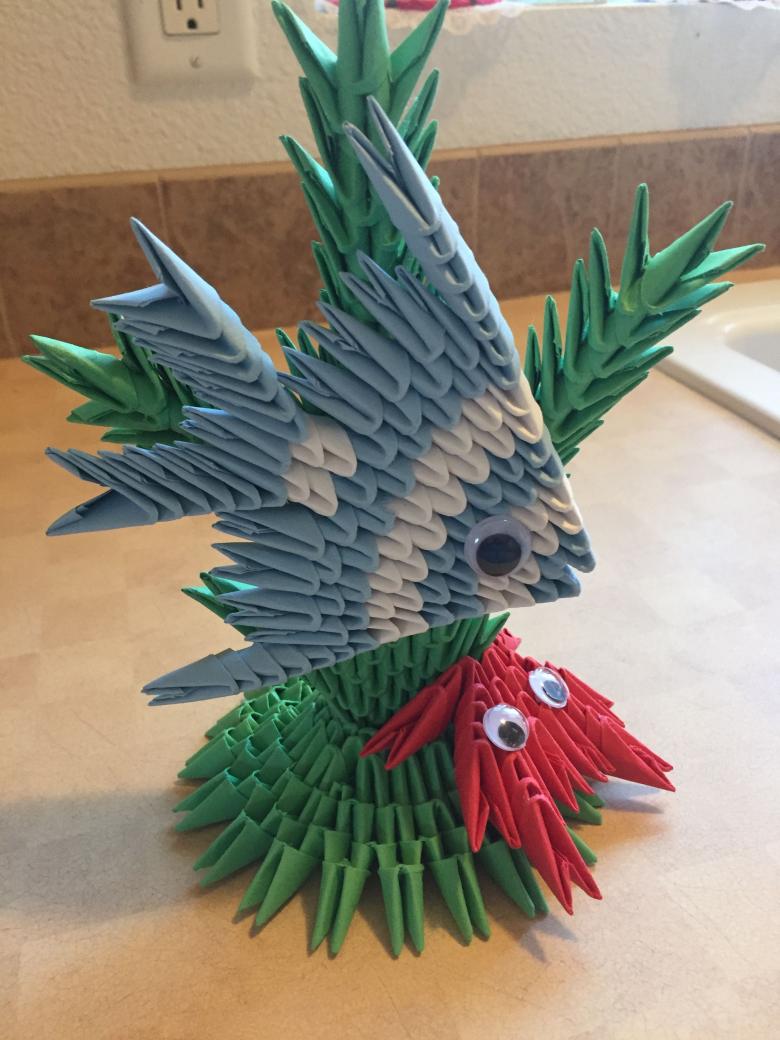
There is a practice of decorating the room with such flowers, for such a purpose they are assembled from modules of large size.

Water lily
The original souvenir consists of a bud and a green base.
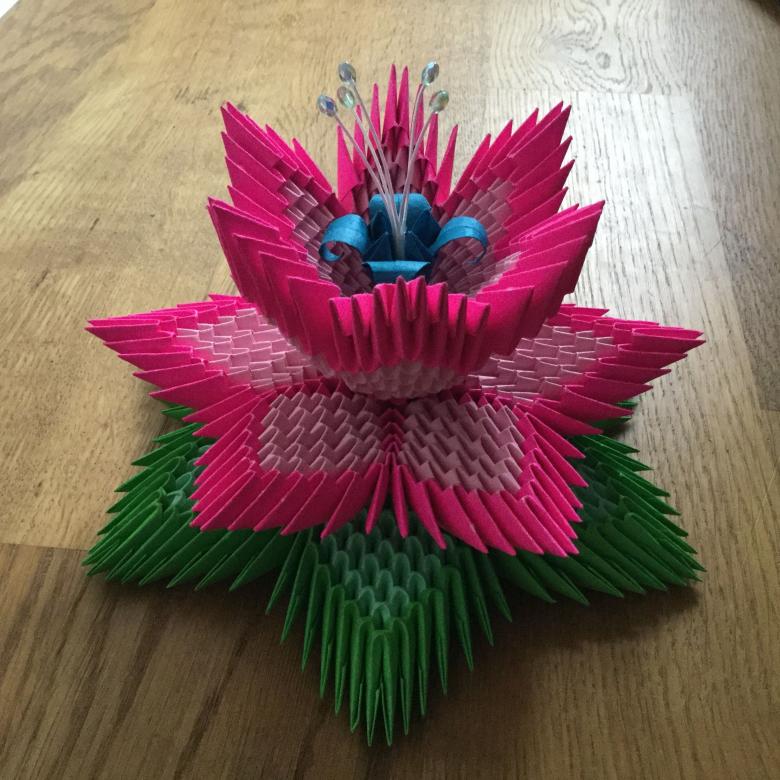
In order to make a lily, you will need:
- 318 green triangles,
- 50 yellow,
- 126 dark pink,
- 240 pink blanks.
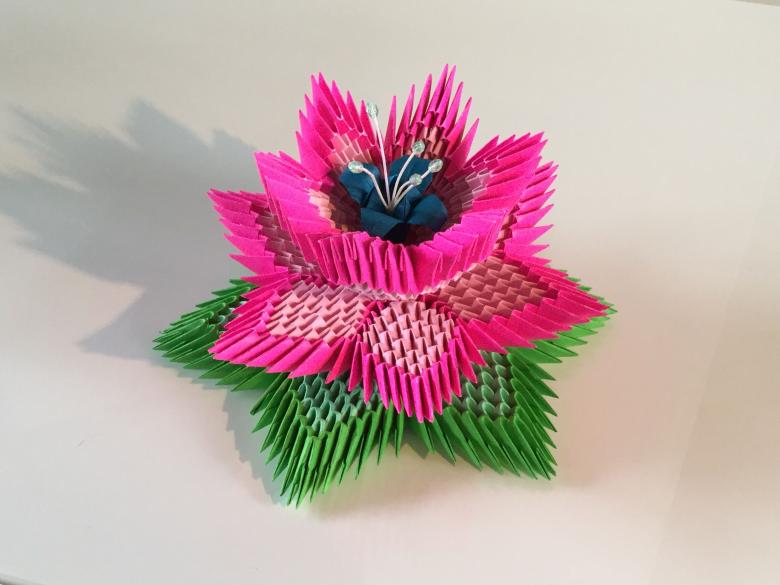
Step by step instructions.
- The first step is to make diamond-shaped leaves. Two parts are inserted into the block of green, and then add 1 more in the next rows.
- Two completed sheets are connected by using another 4 blocks. Inserting them backward, joined the resulting 6 pieces.
- On the same scheme is the assembly of 6 parts for the bud. The maximum number of modules in a row is 5 pieces.
- The resulting parts are arranged in one row. To connect them need a block of dark pink.
- Filling all the space from the band form a ring. At the bottom lay out 3 rows of alternating colors, dark and light elements.
- The middle of the lily is made of yellow details. Rows of 5-6 blanks.
- After the assembly of the lily bud attached to the leaves, then secure it to the middle.

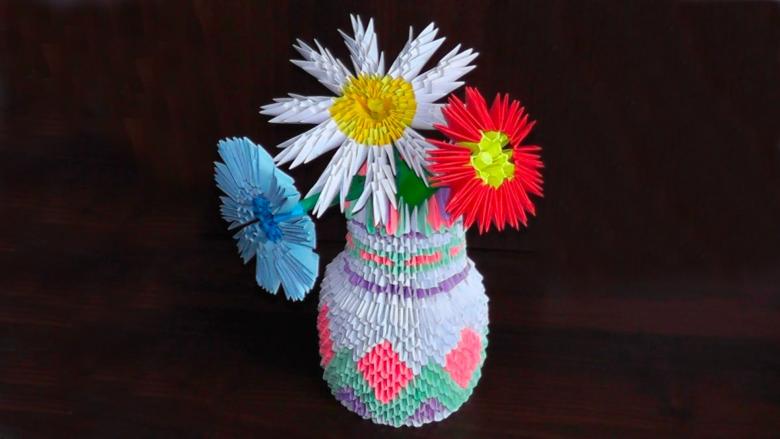
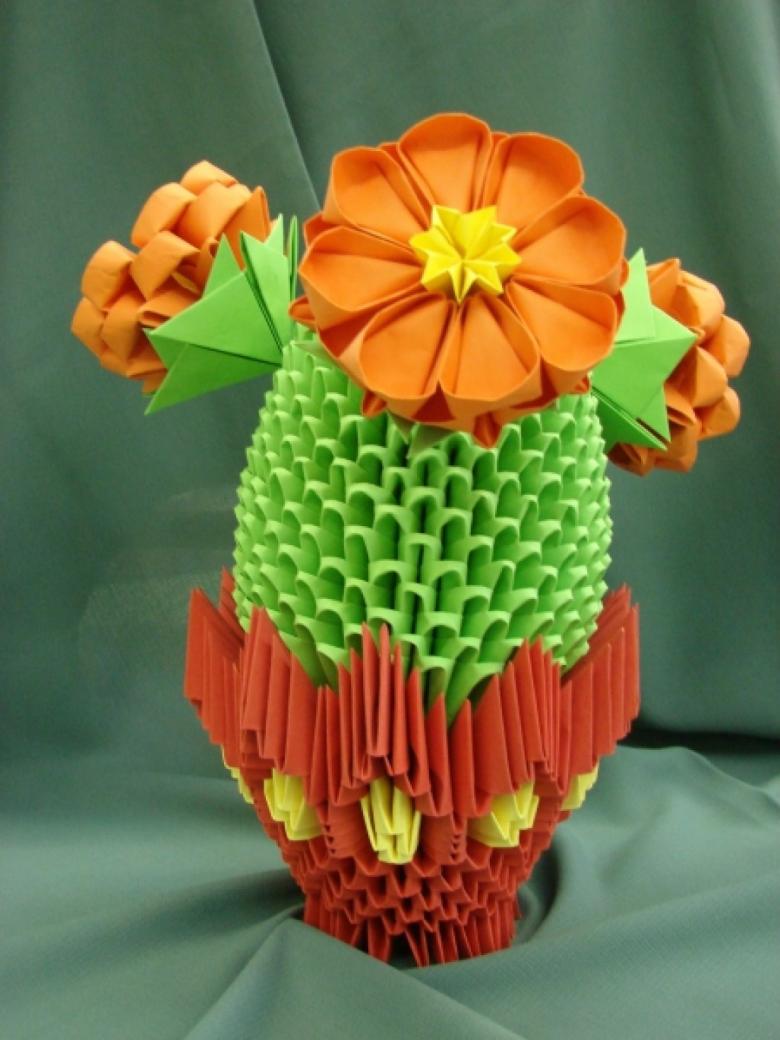
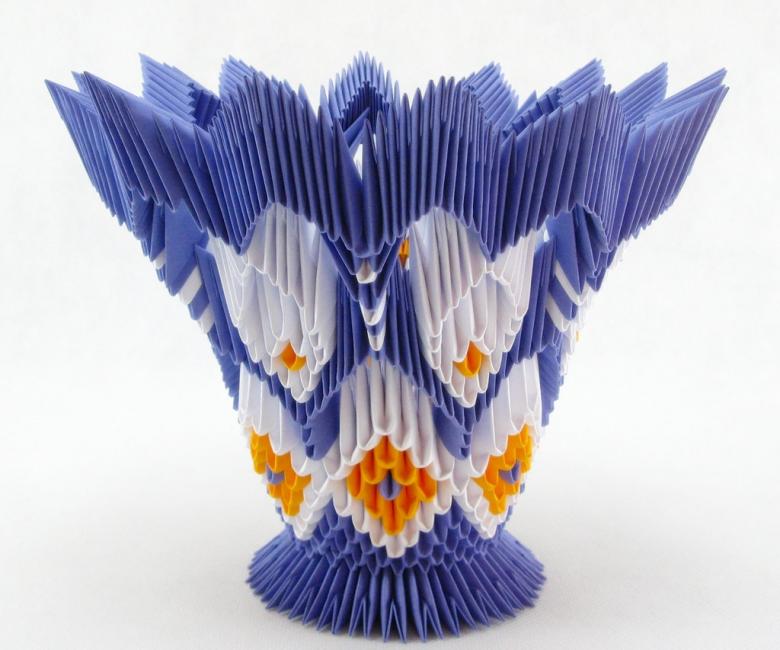
Work on the assembly of the flower is finished. As an option, you can perform the assembly of the bud from the modules of the same color. Without the core of the product resembles a vase. Such a composition can decorate the holiday table.
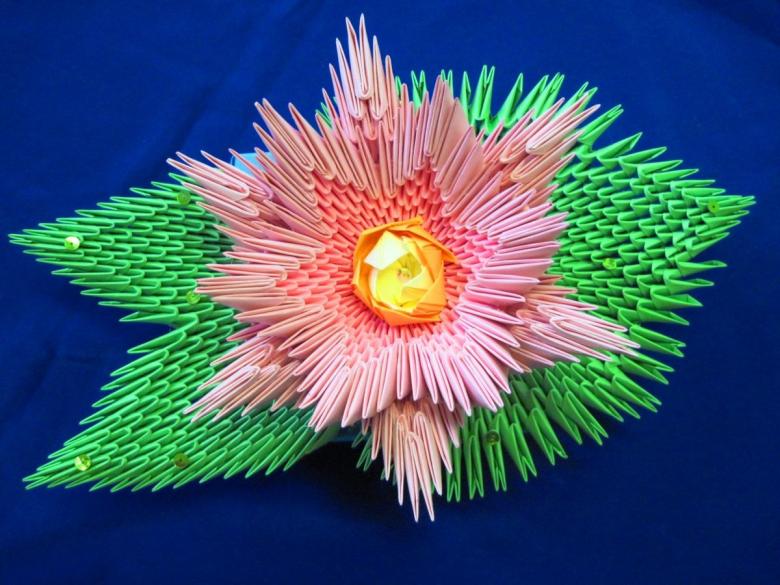
Options for making original and very beautiful flowers in the technique of modular origami is a lot. Create unique products can be combined with a child.
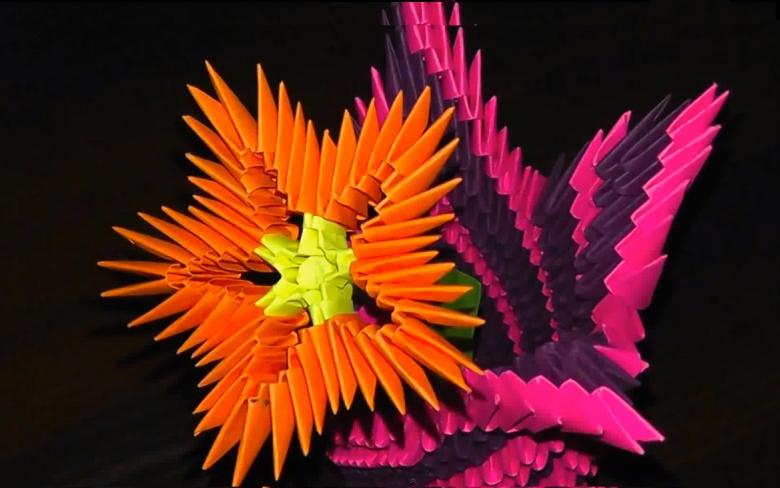
In order to make the creative process even more fun, from the creation of flower arrangements can go to the assembly of figures of funny animals.
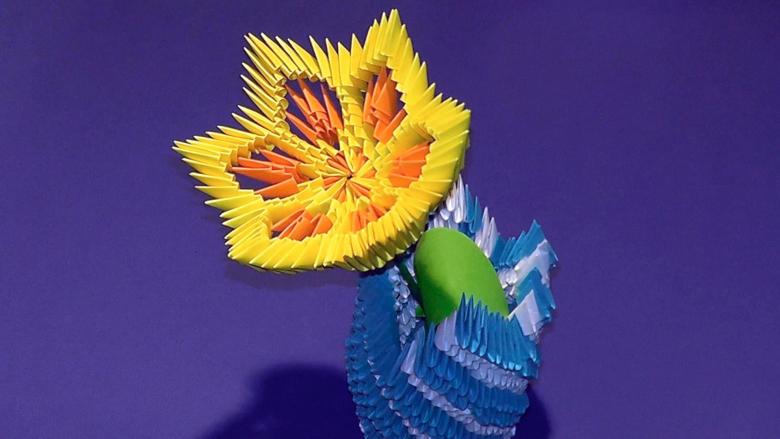
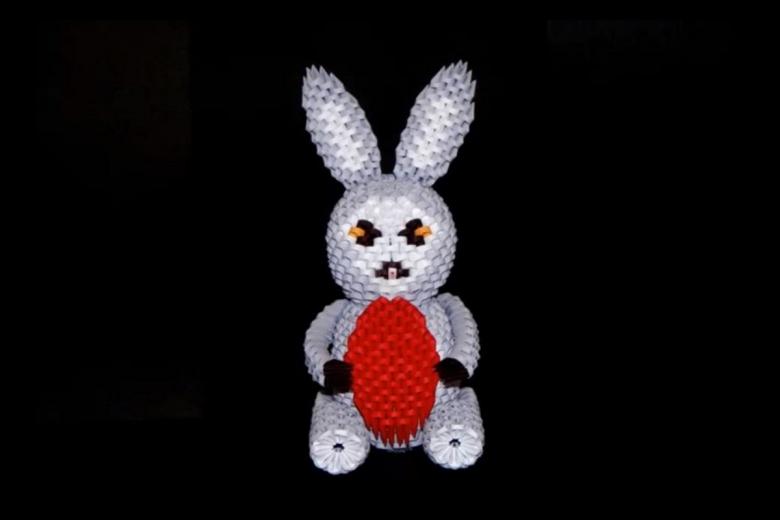
A bunny in a sweater
In order to make such a toy, you need to prepare:
- 402 elements of white paper,
- 120 colorful parts.
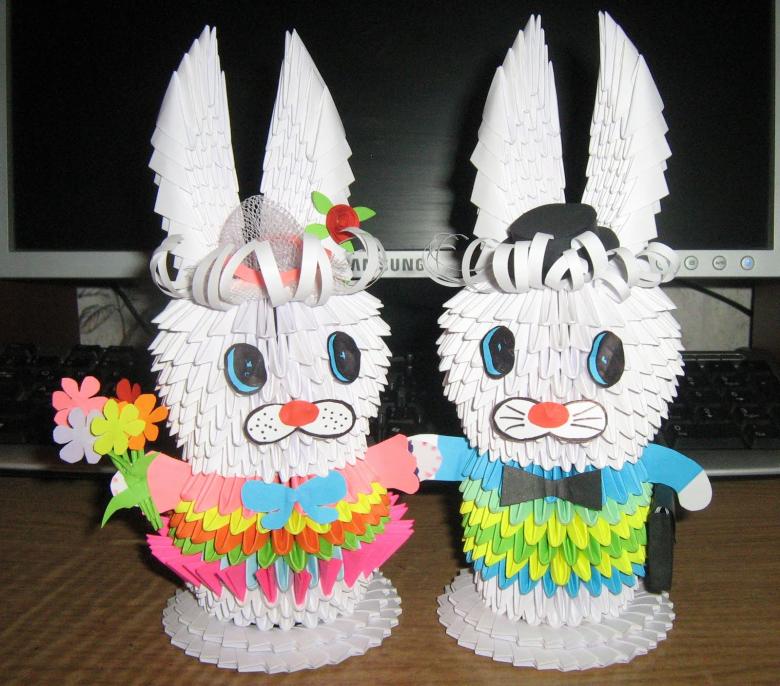
Step by step master class.
- Begin the work by forming 3 rows of 24 elements in each of them.
- Formed a 3-row strip is closed in a ring.
- The next row will be the beginning of the sweater. 24 colored parts are fastened by slightly moving forward. In the same way to collect four more strips.
- The first row, which forms the head, is mounted from the 24 pieces, fastening them in advance by the edge that has no pocket.
- In the second row of head extra 6 more elements are used. Parts of this and the next 6 rows are fastened hypotenuse up.
- The base of the ear is 6 triangular blocks. Fix them with a short edge forward. The 2nd row includes 5 parts, and the next is collected from the 6 elements. The outer parts are fixed to the upper corners of the 2 previous elements. Thus install the next 7 rows.
- Row number 8 is mounted from 5 parts, side parts are attached to the 3 tops of the previous ones.
- Row 9 is collected from 4 blocks, 2 middle hook above the side.
- Making a skip of the two elements, following the same pattern add up the second ear.
Toy complement the muzzle. Elements can be made of cardboard, as well as paws.
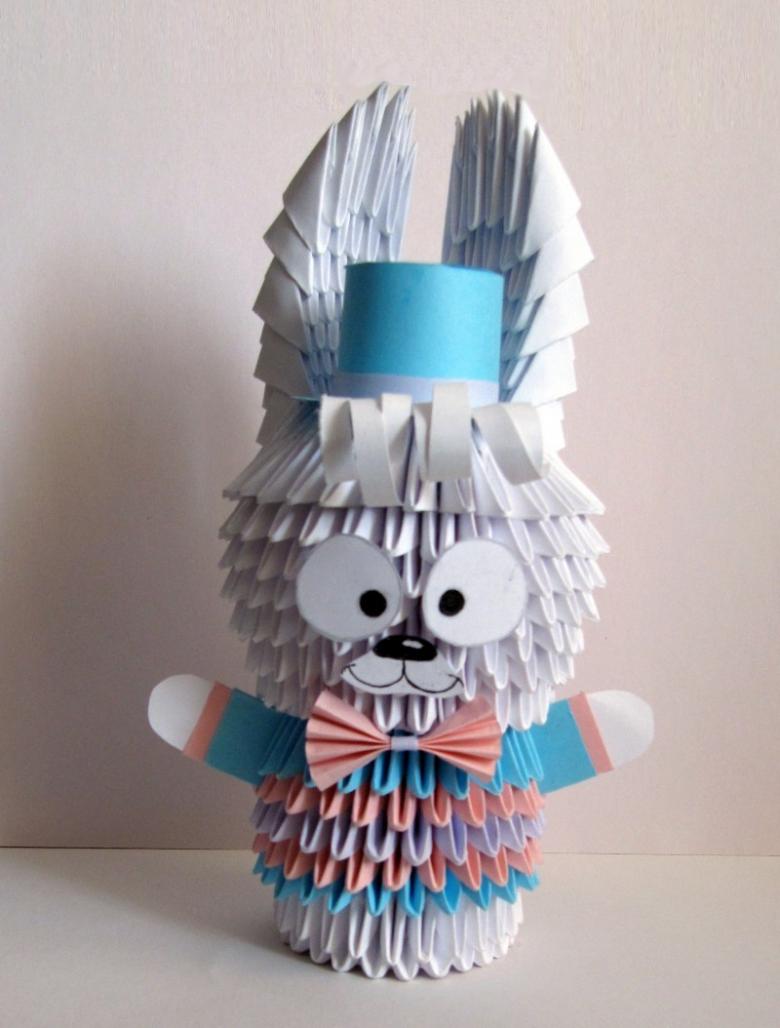
You can supplement the figure with a tie or scarf, link funny clothes.
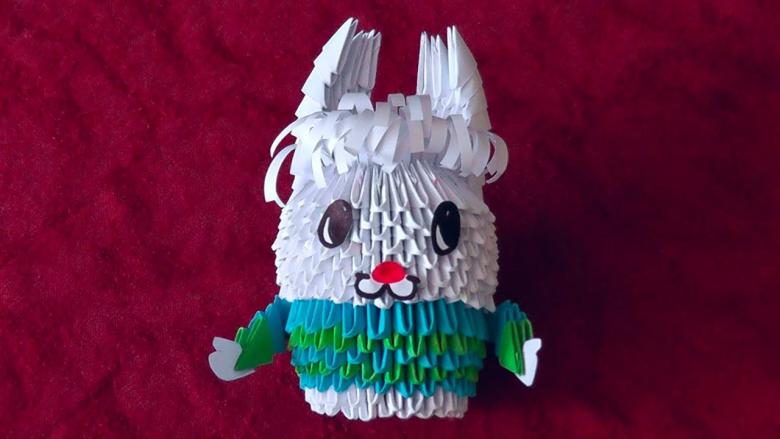
If desired, you can make a whole family of hares.
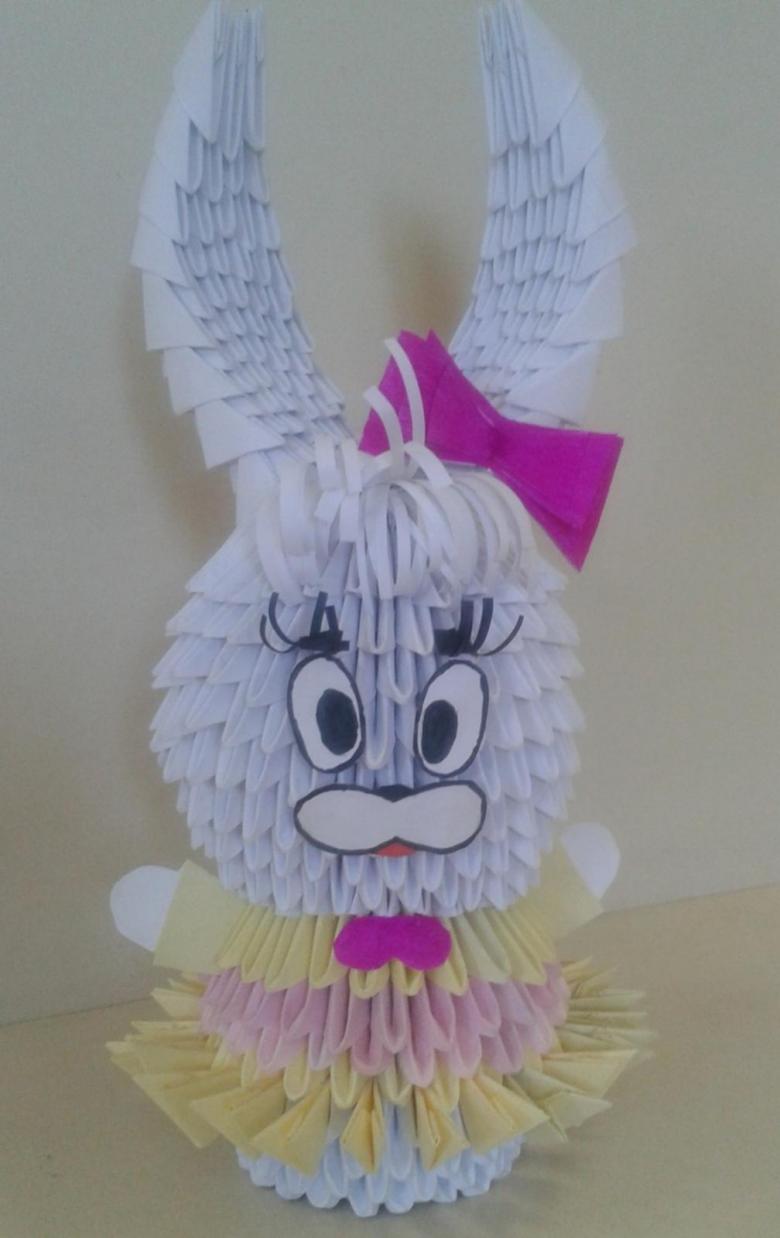
Doggy .
A very interesting, but simple option for assembly is a dog.
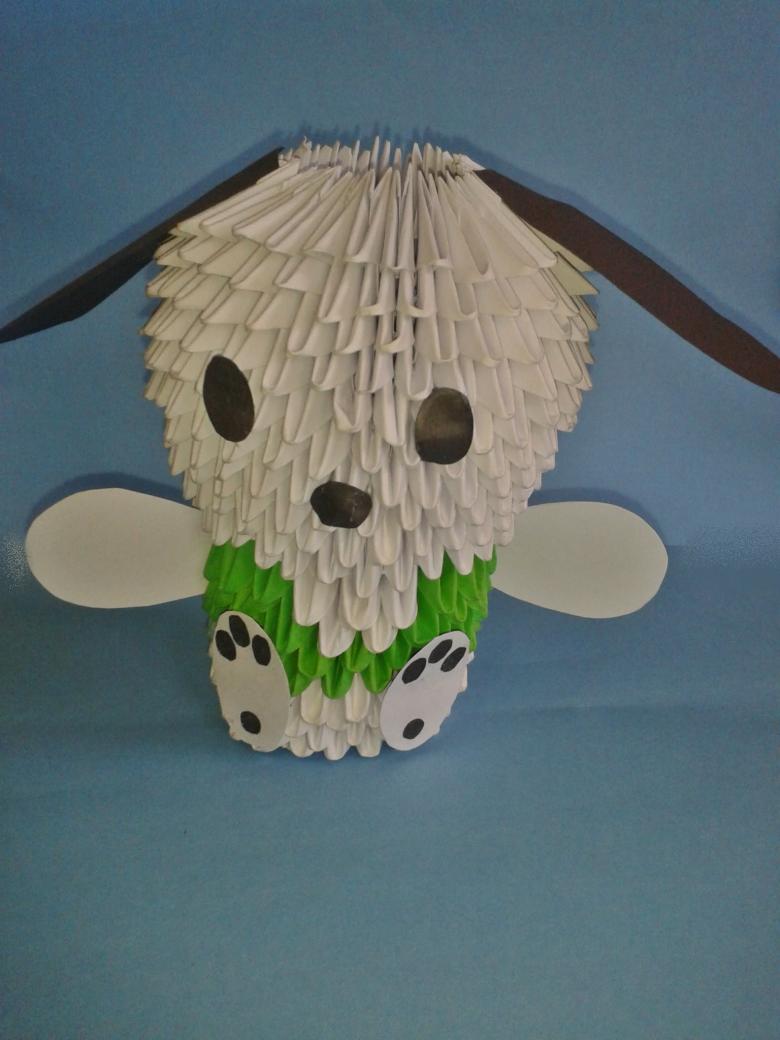
It is necessary to assemble:
- 98 colored elements,
- 37 pieces of white paper.

Assembly is carried out hypotenuse upwards. The eyes and nose can easily be made from cardboard to decorate the face. You can use plastic eyes and nose.
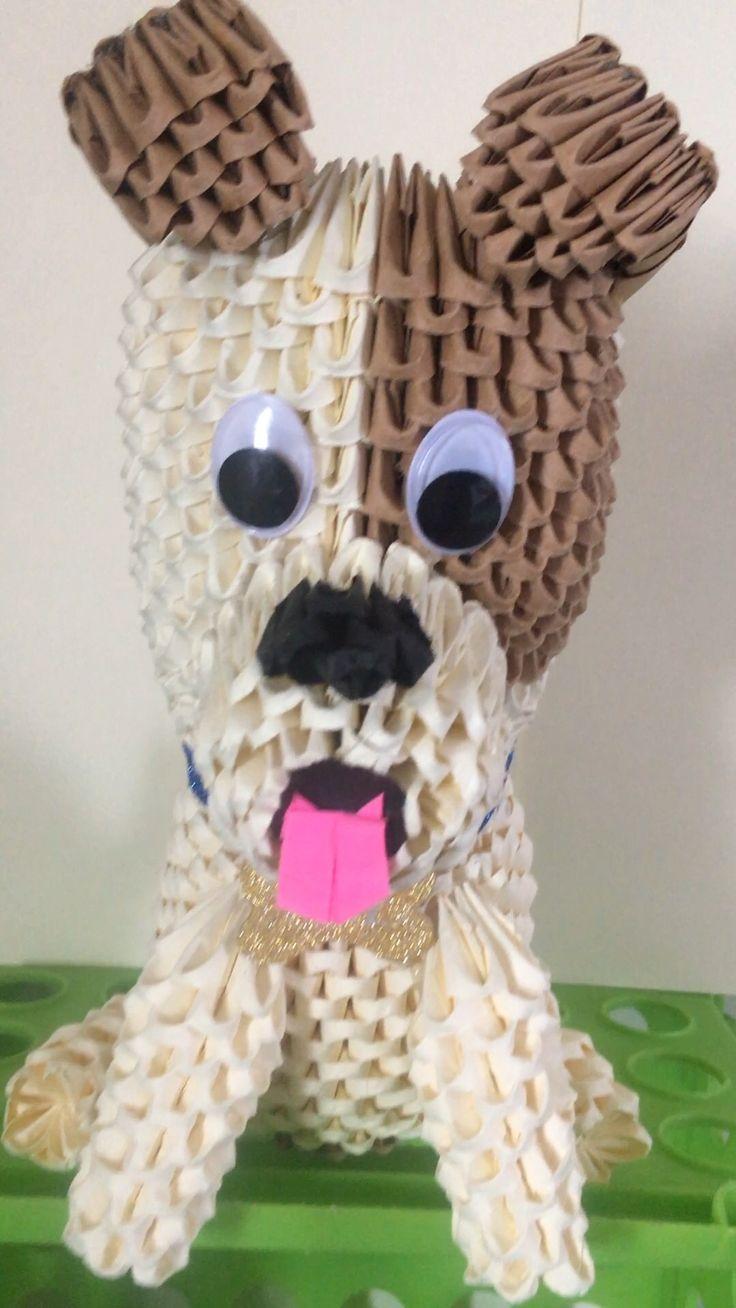
Order of assembly.
- Work begin with the assembly of the ring. It consists of 2 rows, each of which should be 8 colored modules.
- In 3 rows are inserted 7 colored elements and white to indicate the breast of the dog.
- Row number 4 consists of 2 white triangular blanks and 6 colored.
- The fifth row already includes 4 white blocks and 5 colored elements. The next two rows are collected in the same way.
- Then comes row 8, where the 9 parts are fastened to the outside with a short edge.
- Make out a muzzle. Assemble 4 rows of 9 parts hypotenuse up.
- Row #13 is formed by 4 colored blanks, which fasten the long edge forward. This is a forehead doggie.
- The apex of a triangle is inserted into the slot of another, bend the design to make the ear figures.
- The tail is obtained by consistently connecting a white element with 3 colored parts.
- Upper paws are assembled from white and 2 colored triangles.
- Ears, tail and paws are attached to the body figure.
- Make out a muzzle.

Funny dog ready.
There are a lot of assembly schemes of such figures.
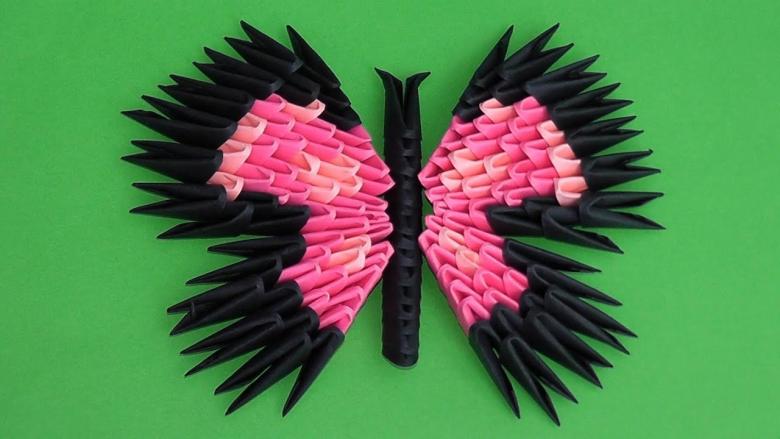
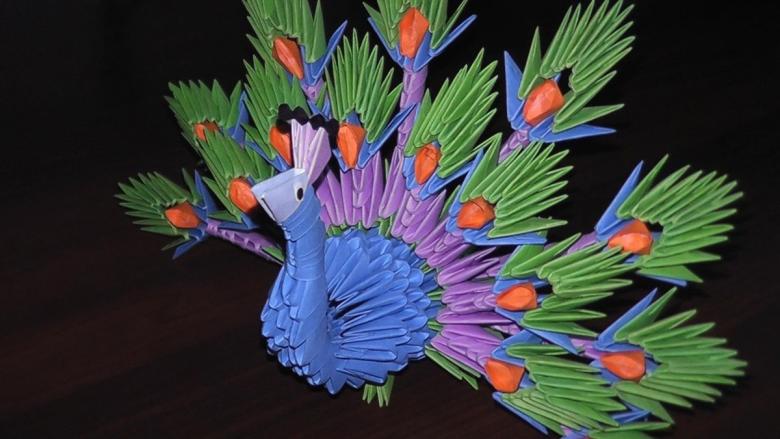
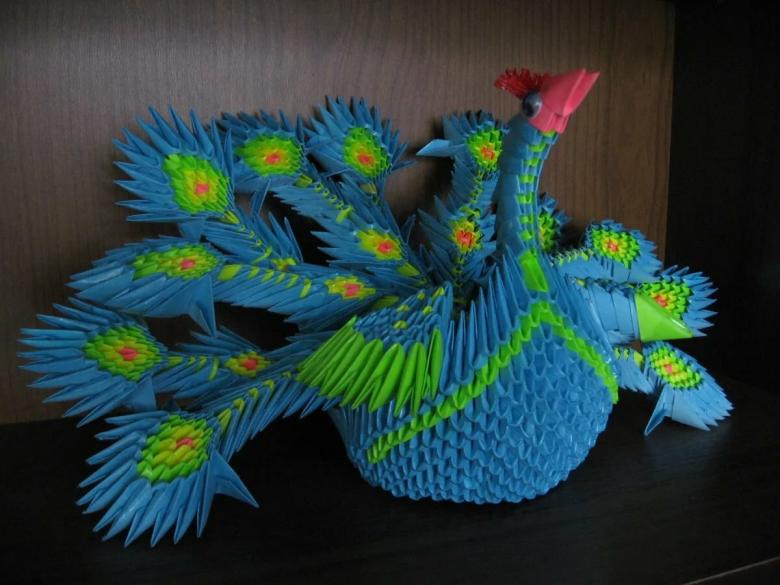
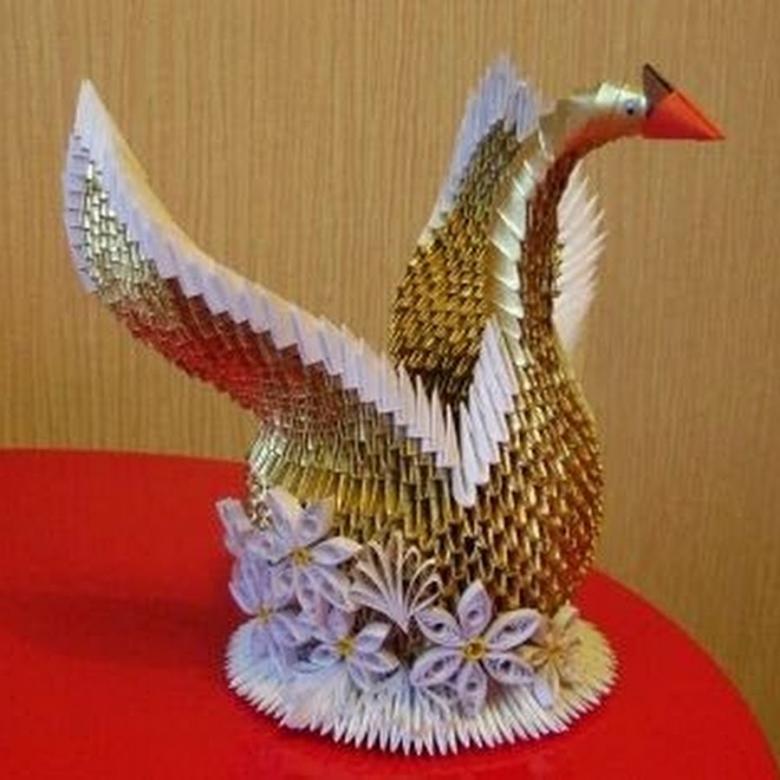
Having collected many crafts from paper modules, one can be combined from the remains of the colored blocks. This can be interesting floral options or bright exotic birds, original bookmarks for books, stylized trees and insects.

Making crafts from paper modules is a very exciting creative process that requires accuracy, patience and perseverance. Child participation in preparing parts and assembling the entire composition will help develop spatial thinking, self-discipline and diligence. Active movements of the small muscles of the fingers will have a positive impact on the activation of fine motor skills, the development of speech and thinking.
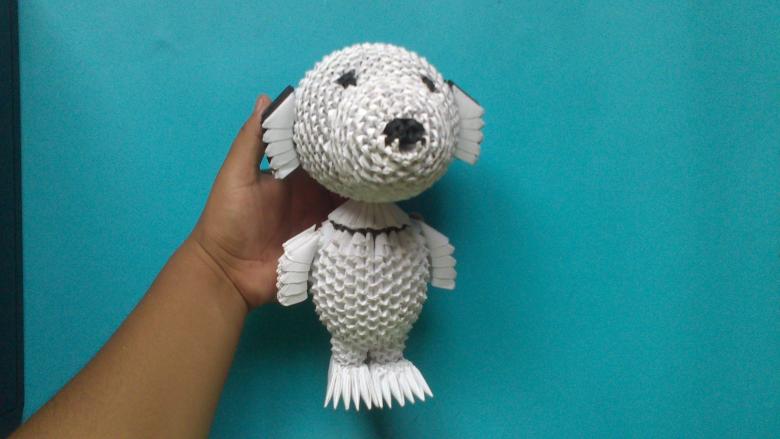
A useful hobby will not only help to brighten up the leisure time, but also unite all members of the family at work. New ideas for crafts easy to find on the Internet, in thematic literature or come up with your own.

