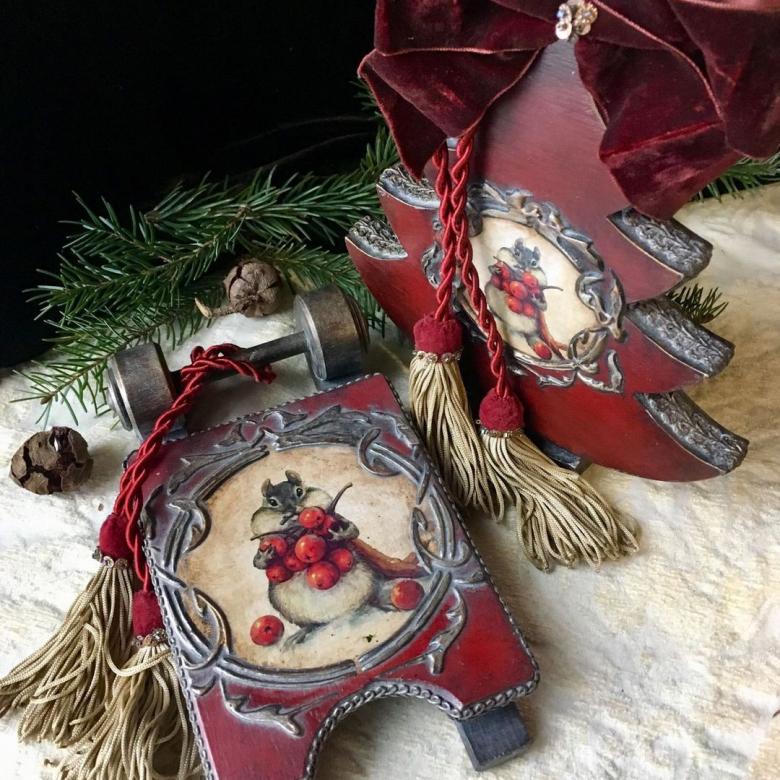
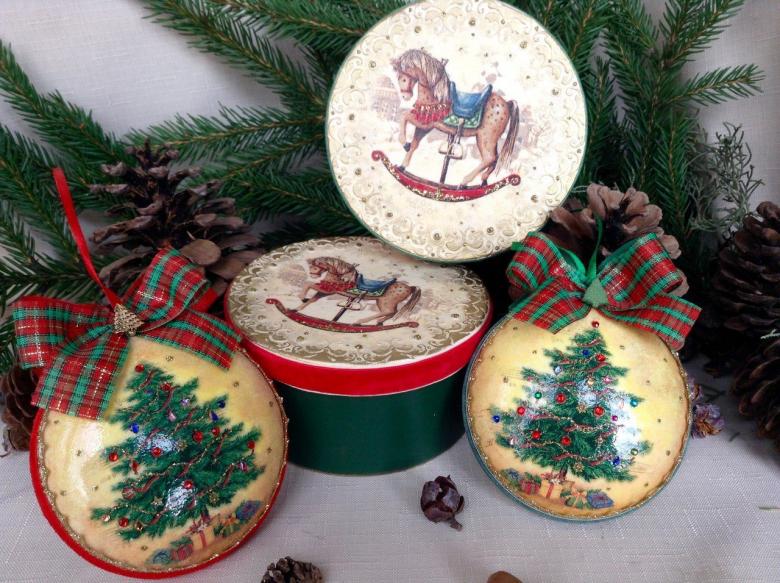
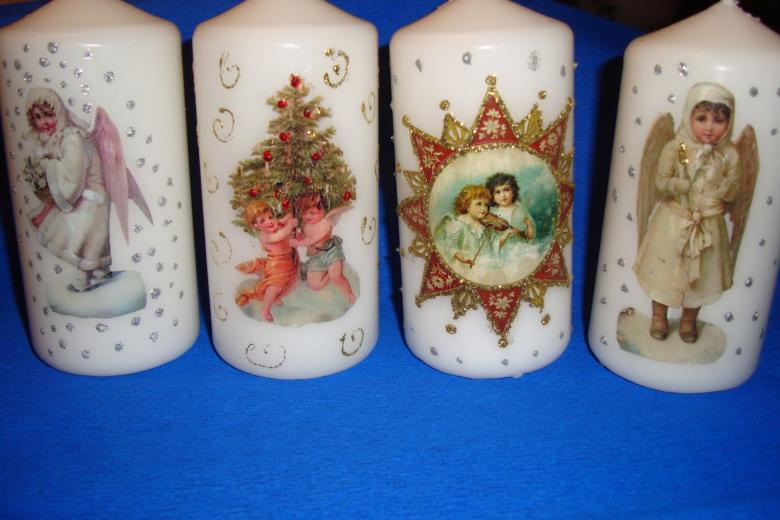
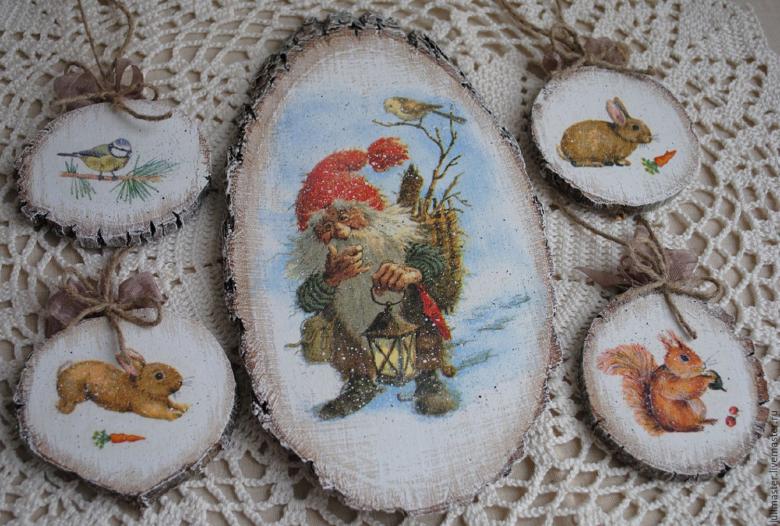
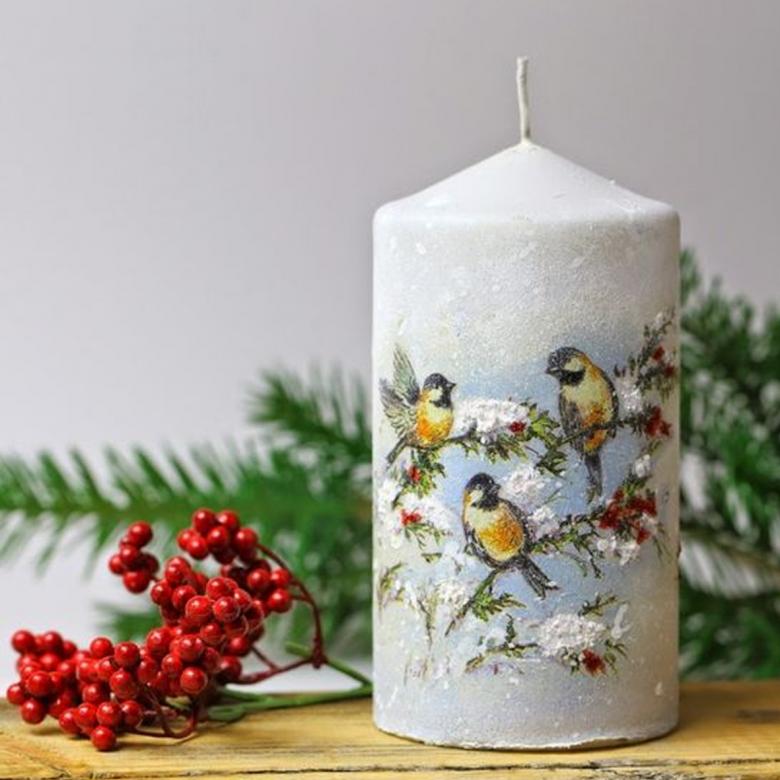
New Year's Decoupage by our hands - master classes on decorating Christmas tree balls, champagne bottles, wine glasses
Do you like to create beautiful things with your own hands, create in various techniques? You want to do something exclusive to decorate the house or as a gift to loved ones, but no new ideas come to mind? Then our tips for New Year's decoupage are for you.
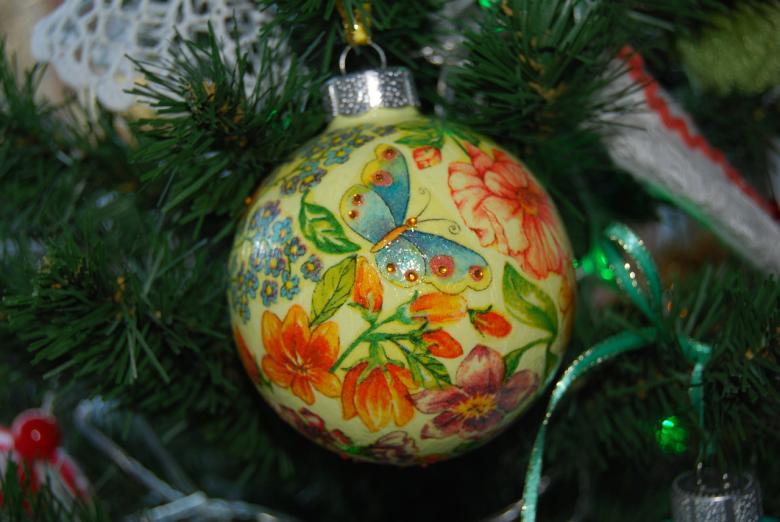
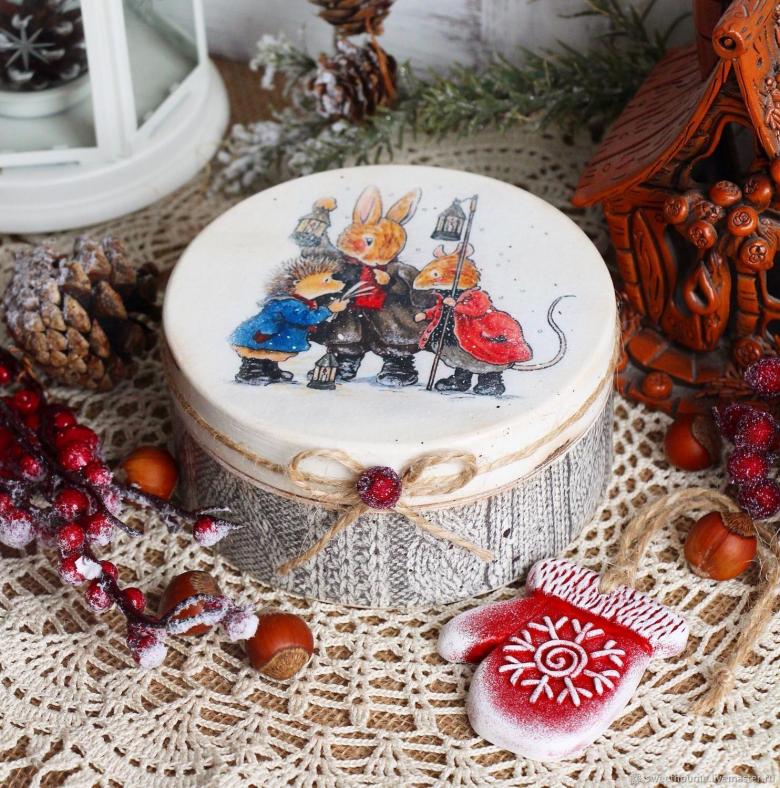
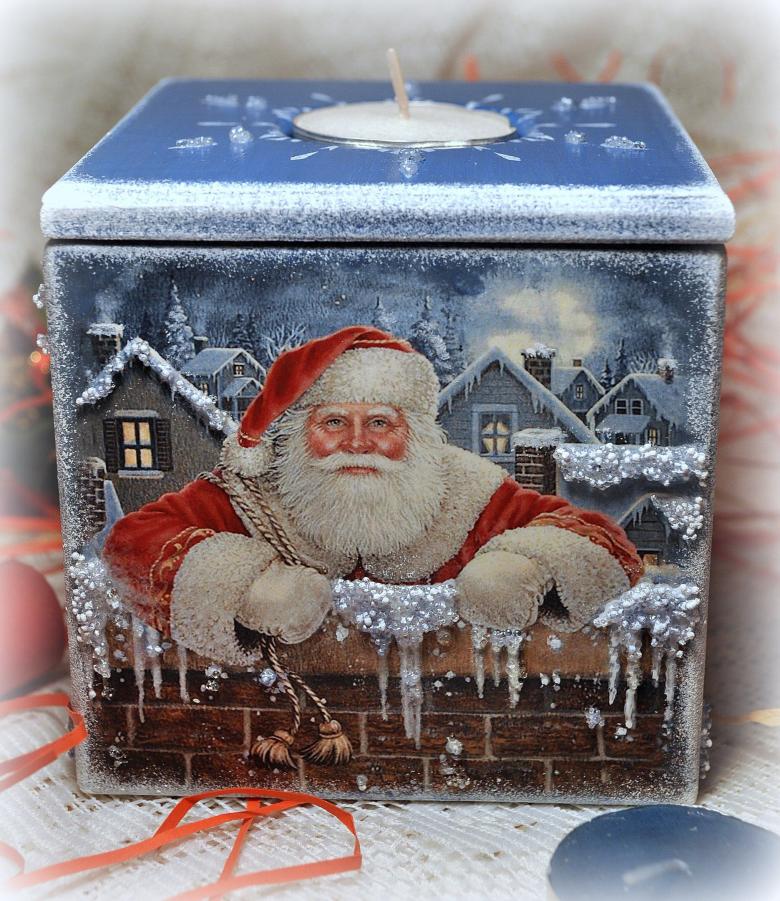
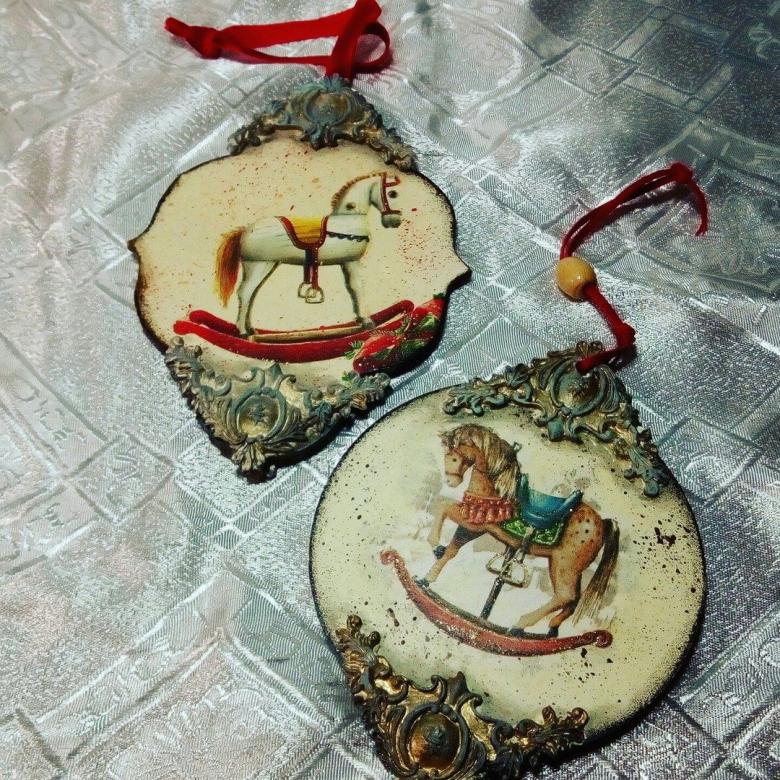
With the help of decoupage you can create something special and unique. It is a technique of decorating with cut out themed or just beautiful pictures. This type of creativity is great for adults and children of all ages.
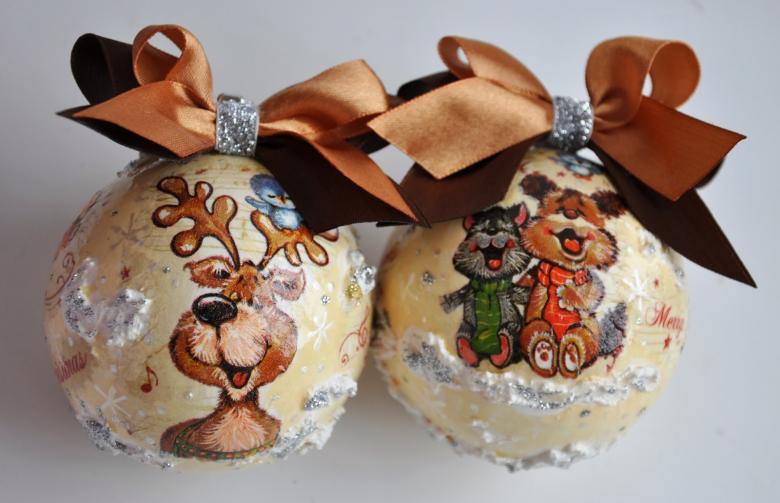
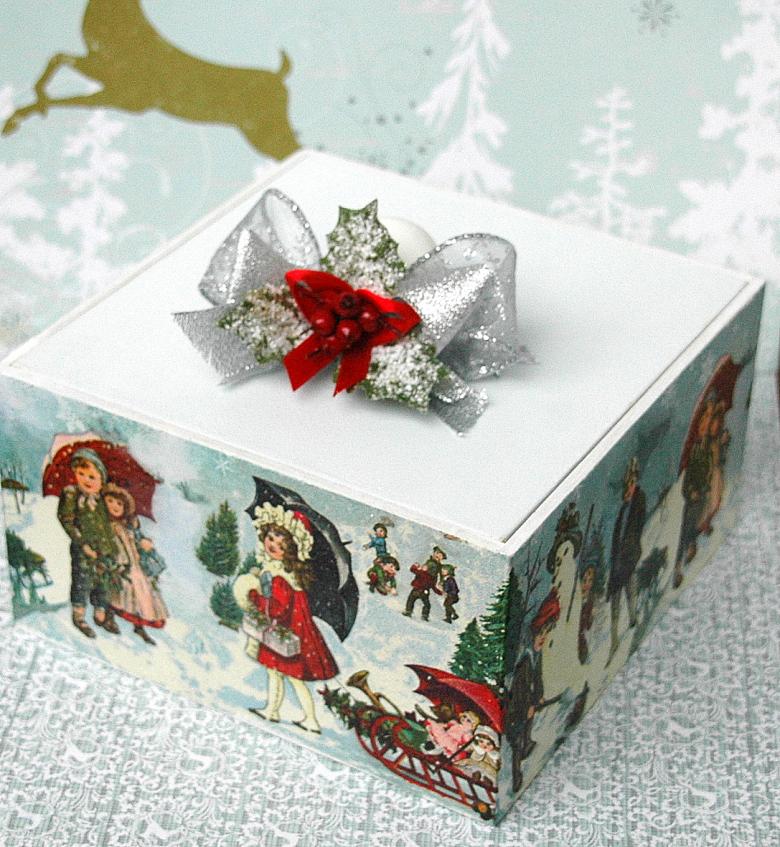
You can decorate products made of wood, plastic, glass, ceramics. These can be bottles, Christmas tree toys, glasses, plates, sets of dishes, vases.
We will give you master classes on decoupage of a bottle, a wine glass and a New Year's Eve balloon. So, let's begin.
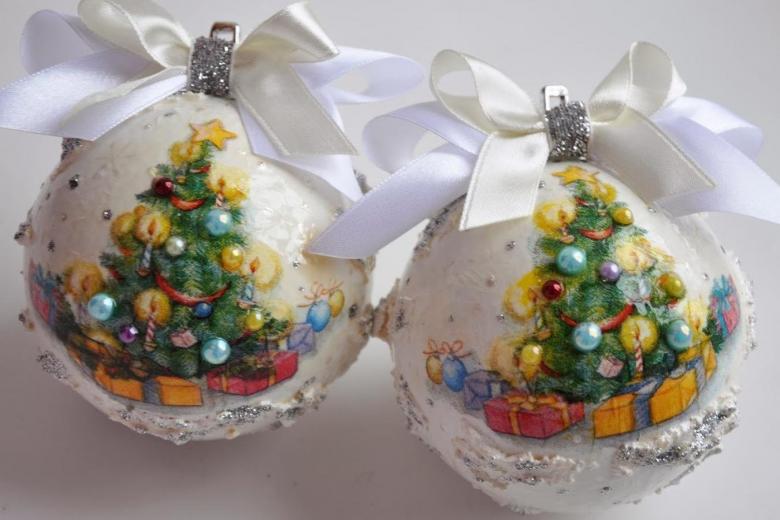
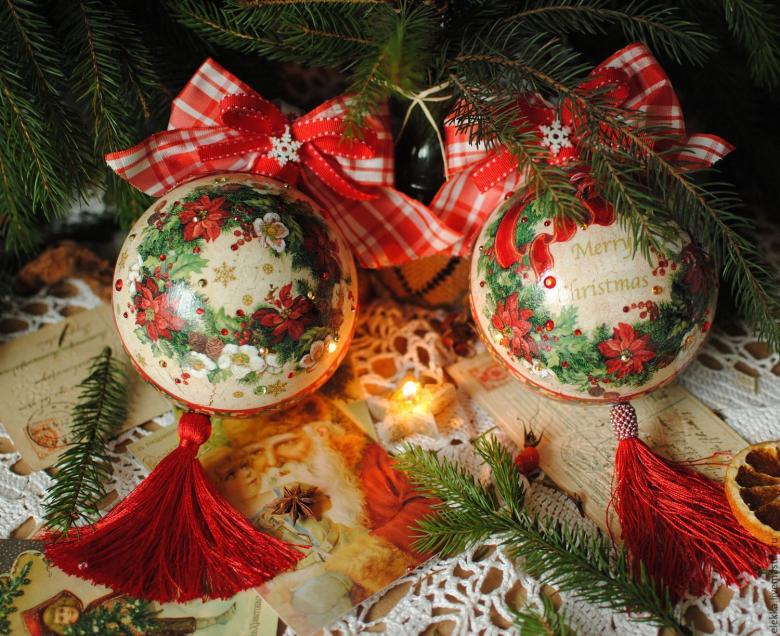
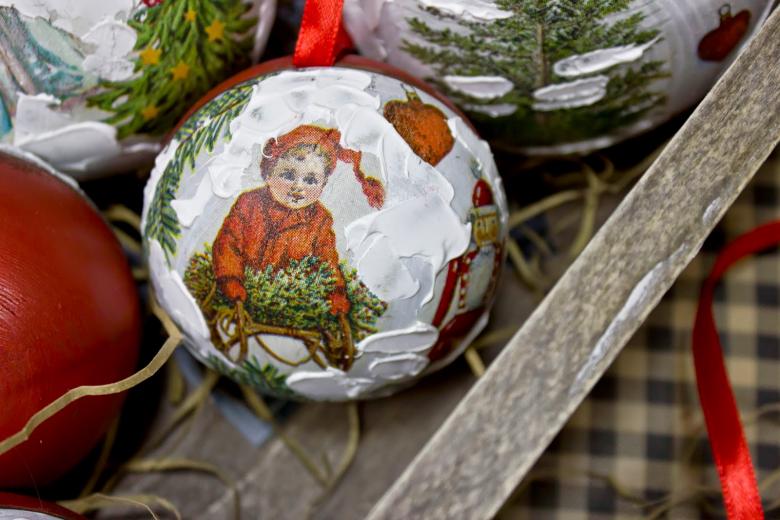
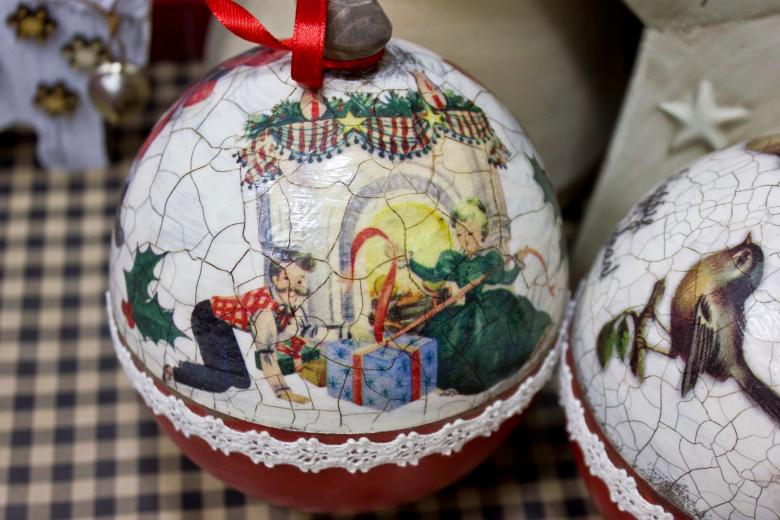
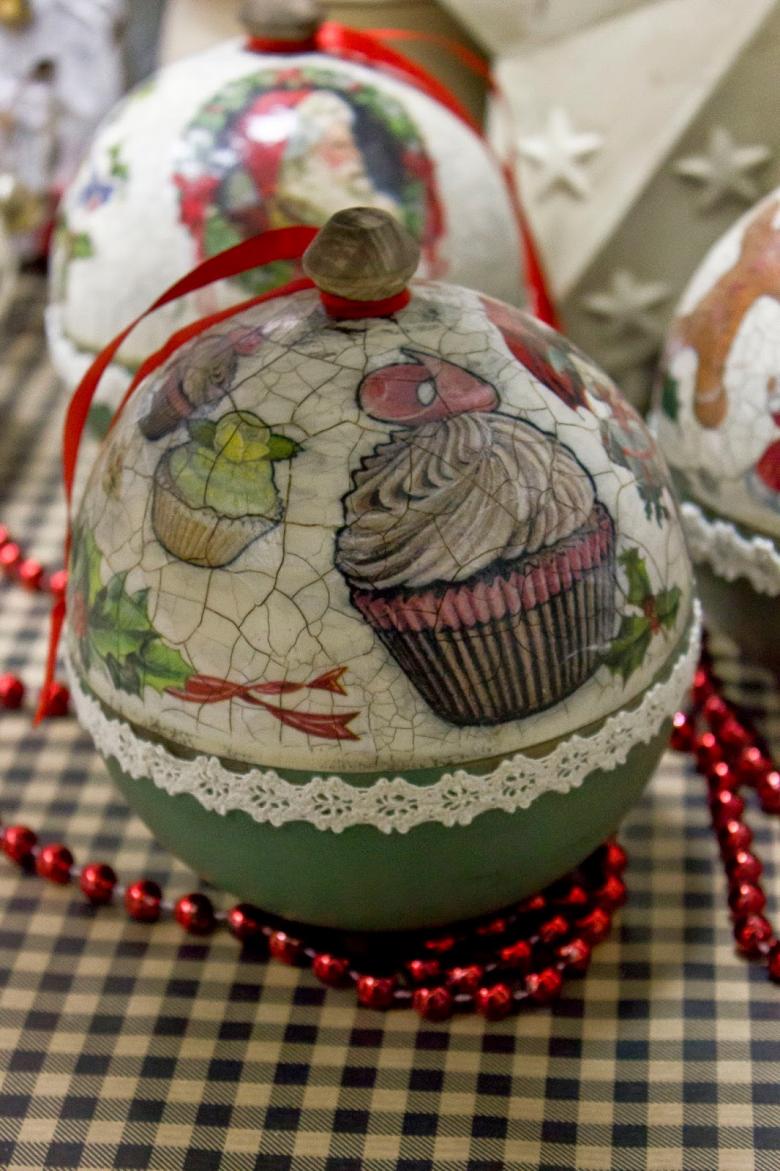
Decoupage of Christmas toys
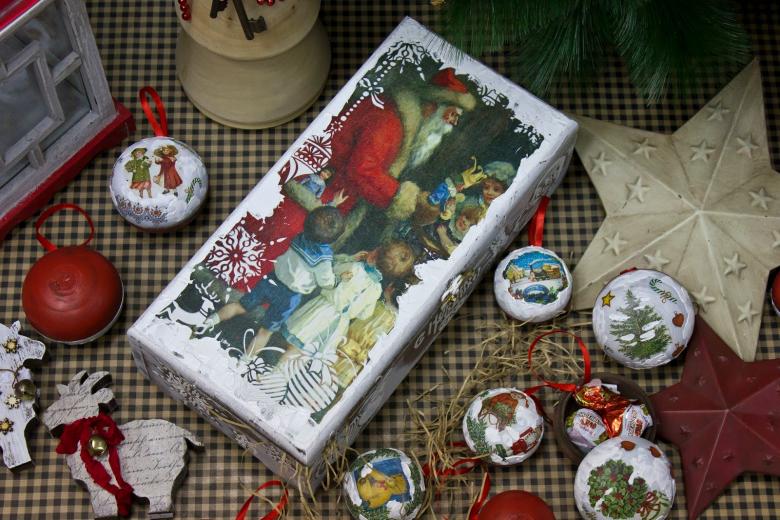
Choose a Christmas ball with an even surface and prepare the materials:
- sponge;
- paintbrush;
- PVA;
- images;
- white acrylic;
- scissors.
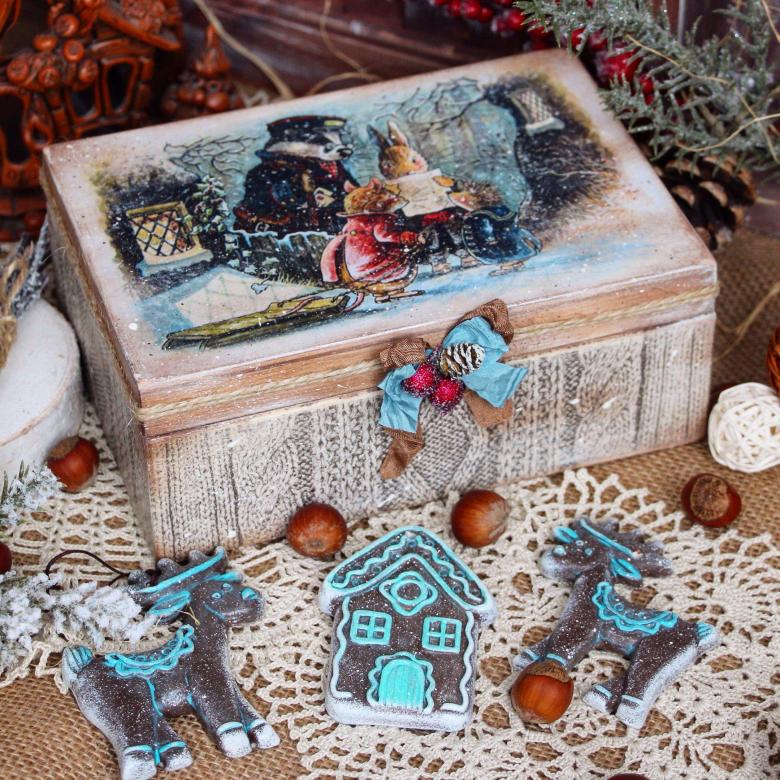
To avoid creases and irregularities when gluing on the base, choose drawings from thin paper. Suitable figures and patterns from Christmas napkins, from magazines, catalogs, booklets. You can print something from the Internet, even a photo, but take into account the thickness of the paper.
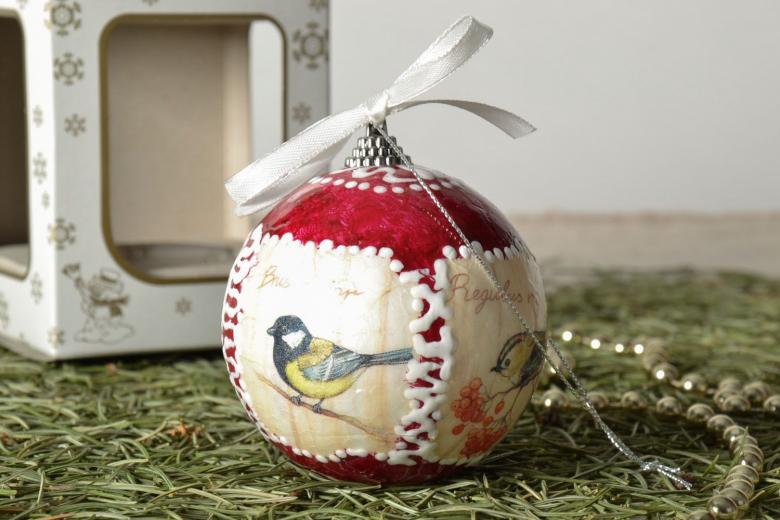
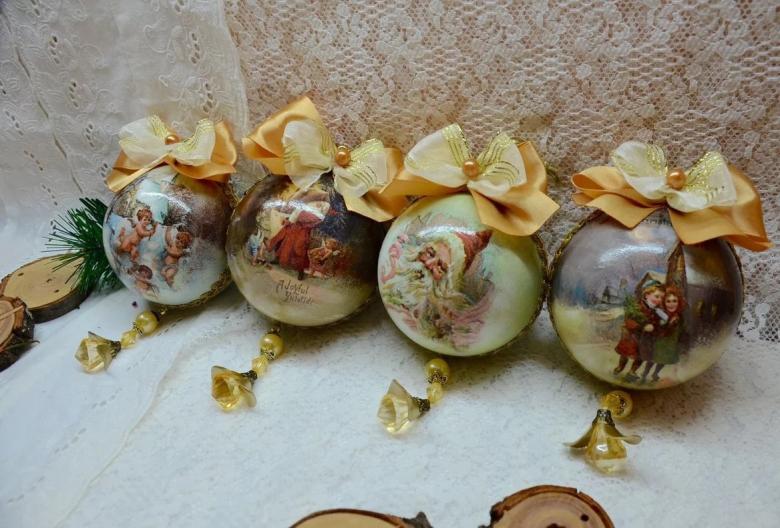
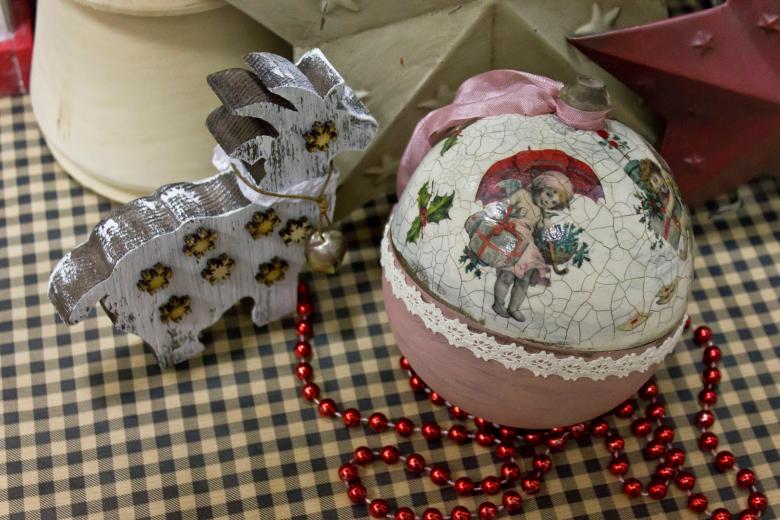
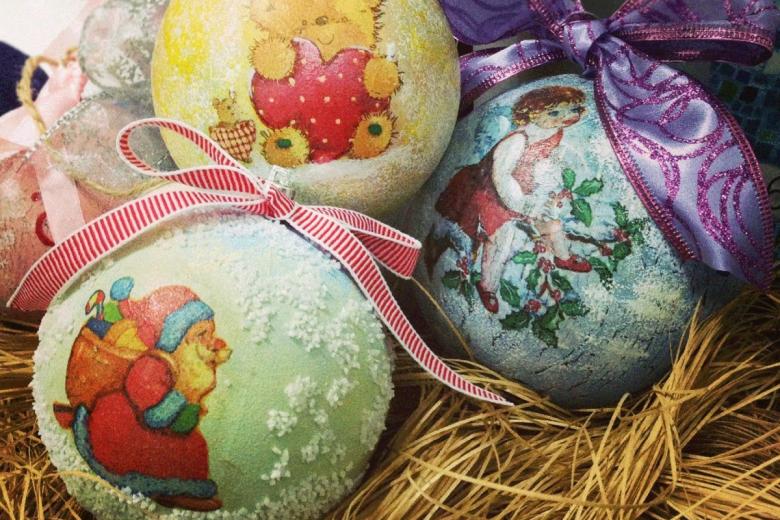
Master class on decoupage of Christmas toys
- Preparation of toys. Wipe the ball with a damp cloth to clean the dust and dirt. Apply white acrylic with a sponge.
- Image Preparation. If you are using doilies, cut out the pictures with a small indentation from the outline. Separate the top layer of the napkin from the bottom layer, since we only need the first one. If the image is printed, cut out strictly according to the outline.
- Glue the pictures onto the balloon. Attach the cut out section of the napkin to the balloon in the desired, pre-considered, place. Moving from the center to the edges, gently dab the glue on the picture. Blot any excess glue with a soft cloth.
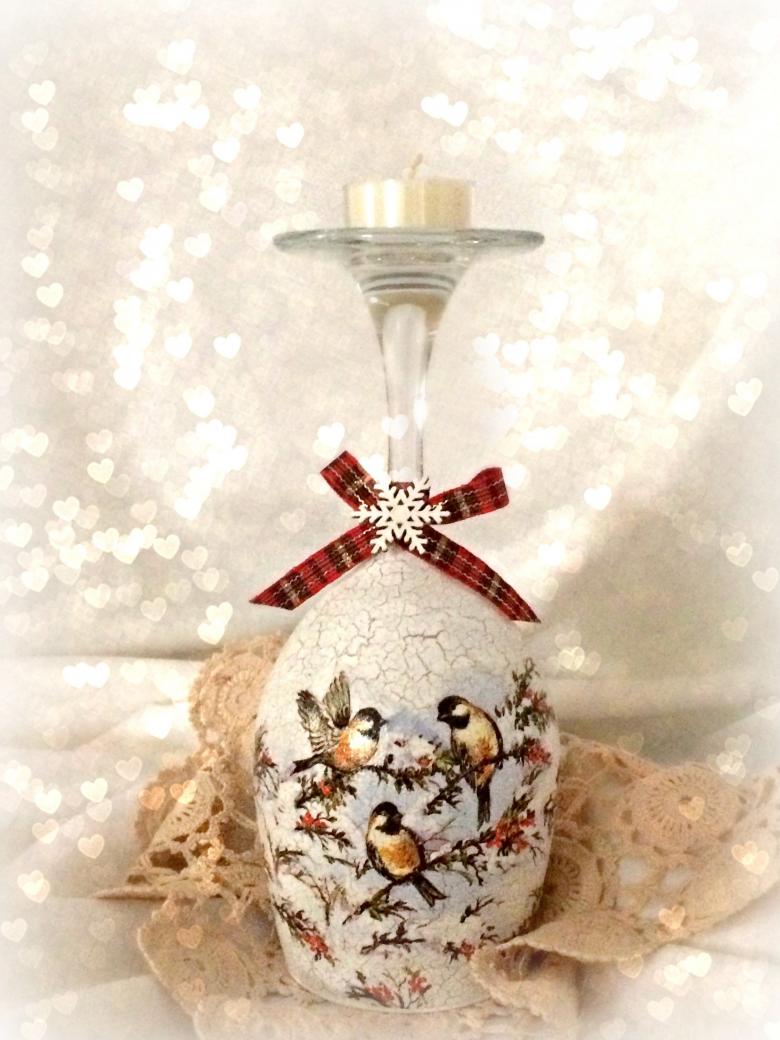
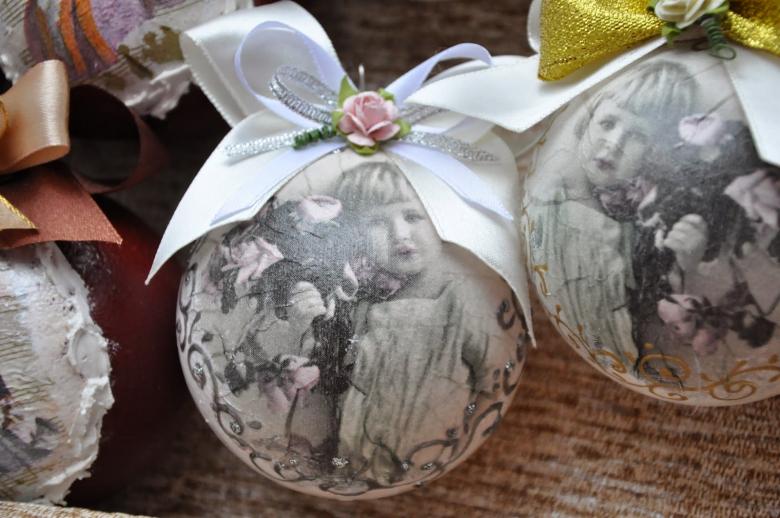
If you are decorating with a print, try it on first. Put it on the toy, cut off anything unnecessary. Along the edges, make incisions in places where it won't hurt the pattern. This is necessary because the paper is not as thin as a napkin, which means that when gluing it on a round base, folds can form. After fitting, make a mark on the ball in the place where there will be decorations. Apply glue to this area, put the picture and flatten it with a brush with PVA. After it dries, carefully paint over the edges with a sponge.
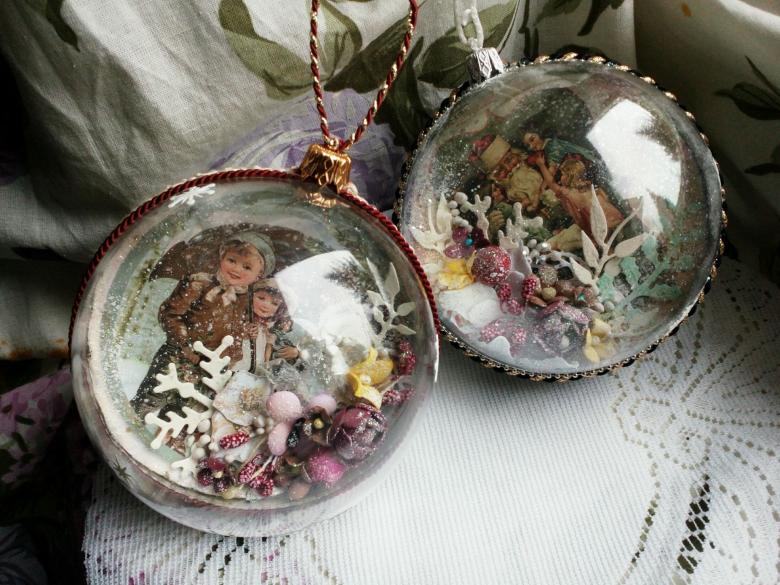
On printed pictures, the paint may not be stable and may smudge. To avoid this, coat the paper with water varnish beforehand. Allow it to dry before decorating.
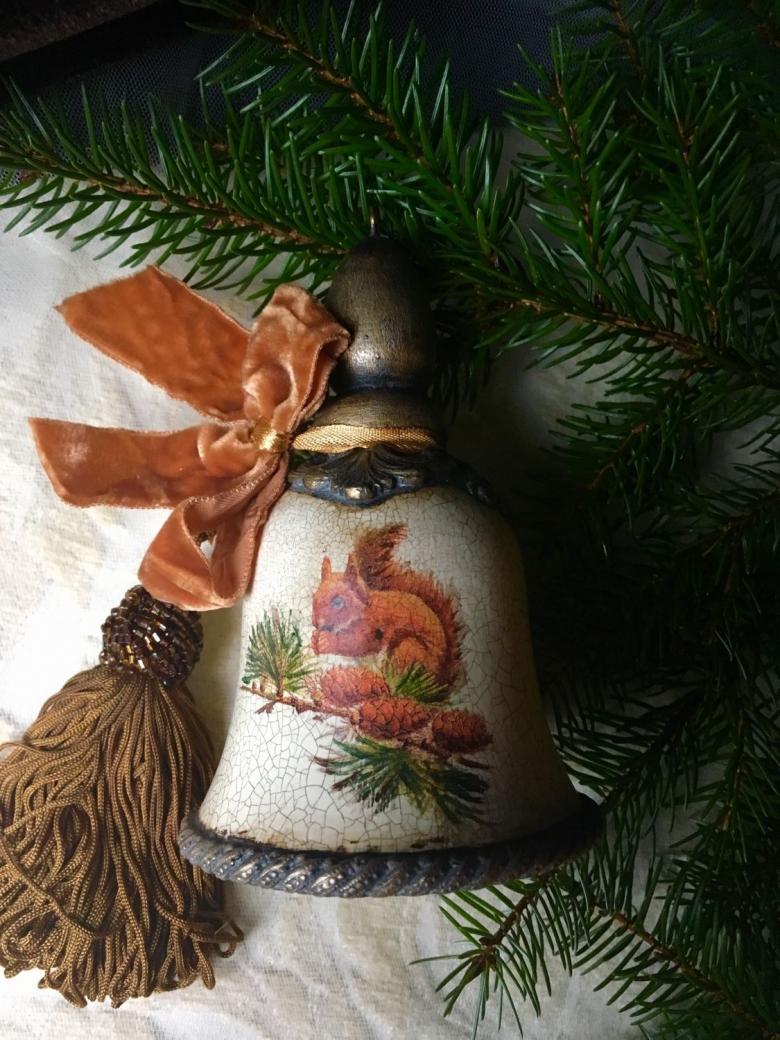
Additional decoration
If you think something is missing, decorate the toy with additional elements:
- Using a sponge and paint, apply a pattern or figure through a stencil.
- Draw original ornaments with glittery outline paint.
- Glaze the ball with glitter.
- Decorate with beads, beads, rhinestones or sequins, using clear silicone or superglue.
- Tie ribbons, add lace or shiny paper to the base of the balloon.
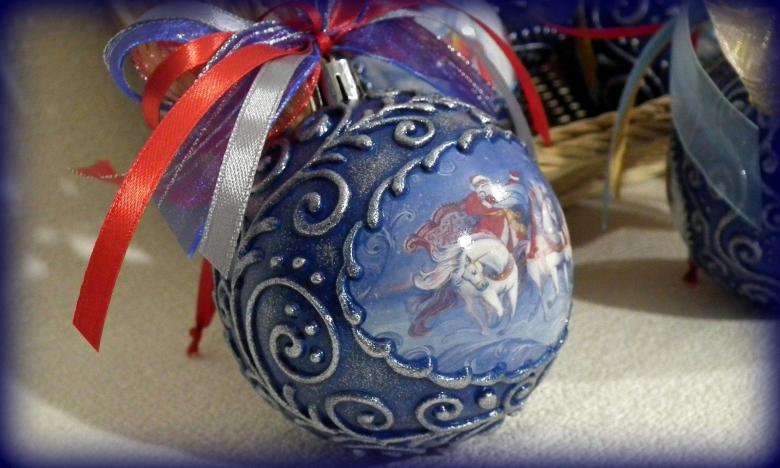
Your Christmas tree decorating ball is ready. Hang it on a decorative cord or ribbon.
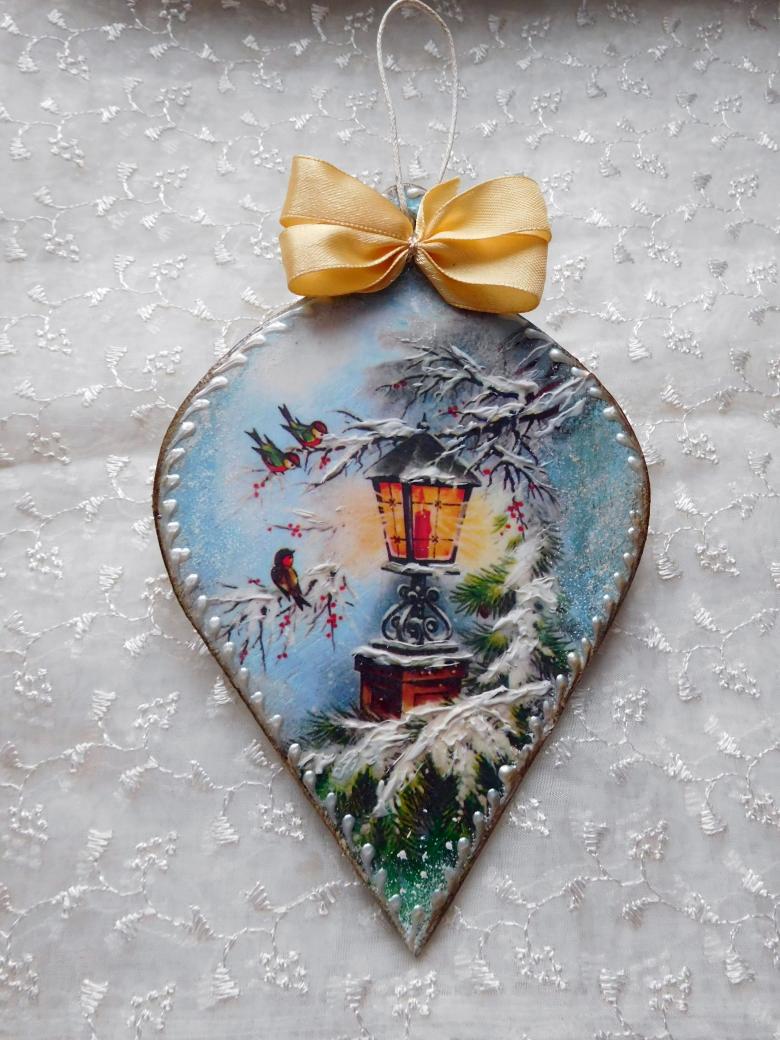
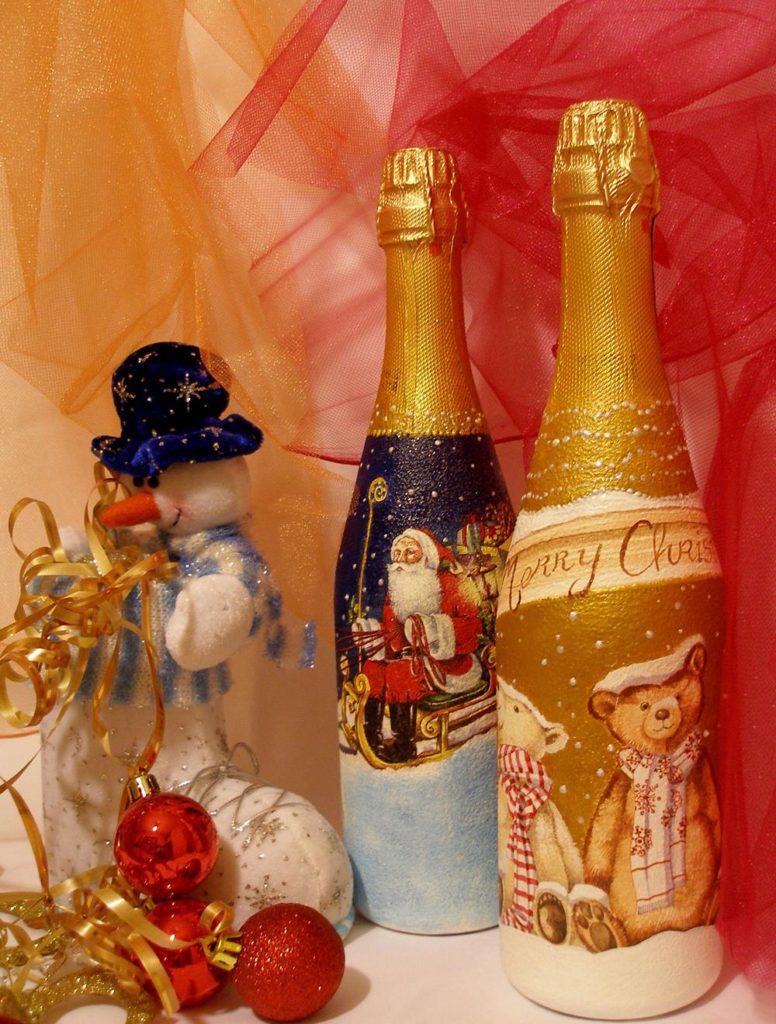
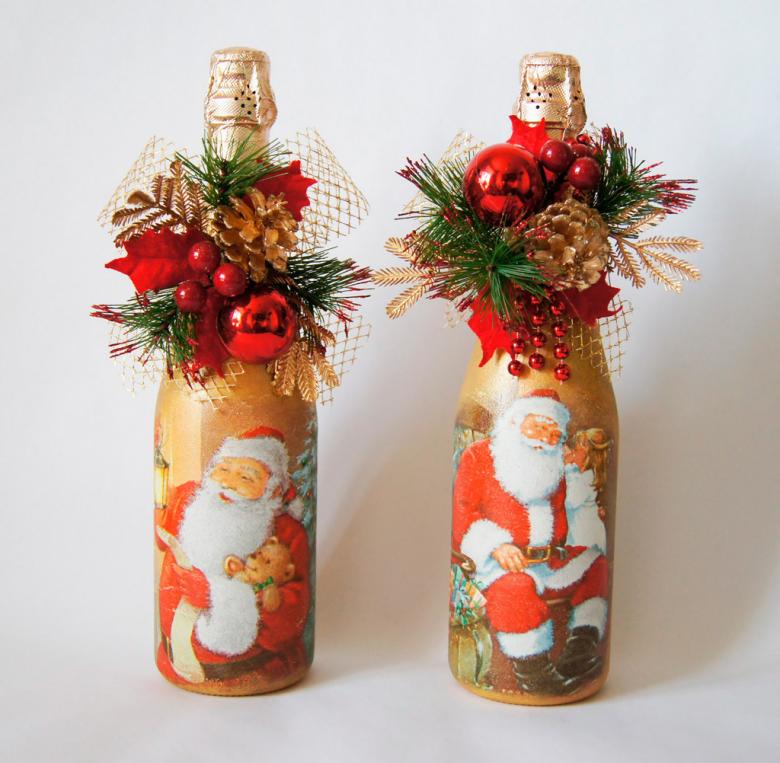
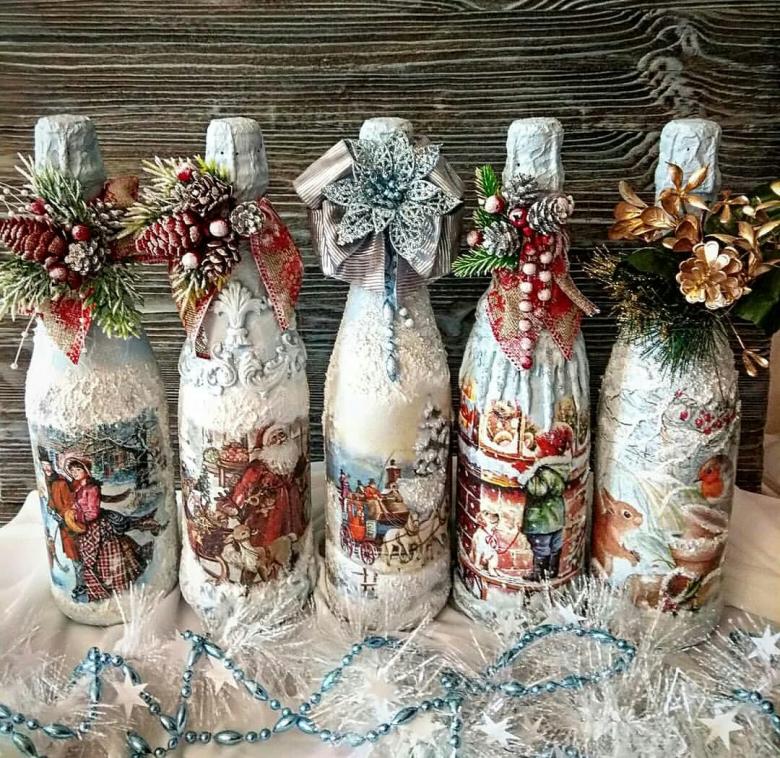
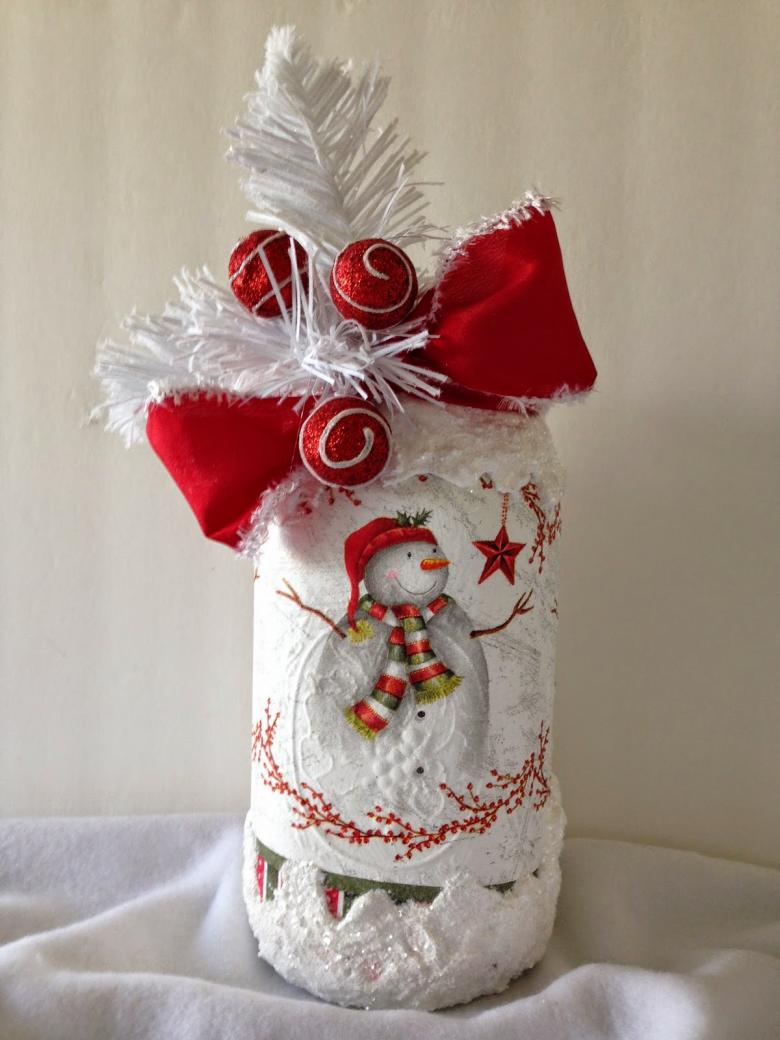
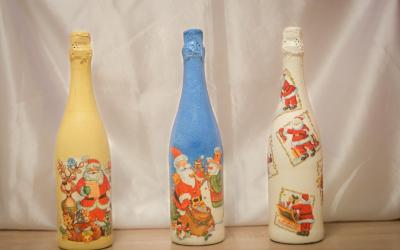
Bottle decoupage
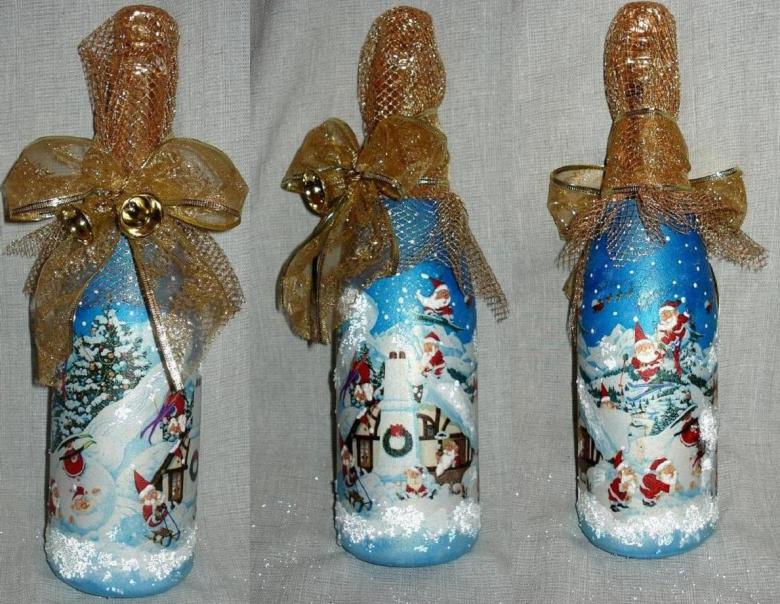
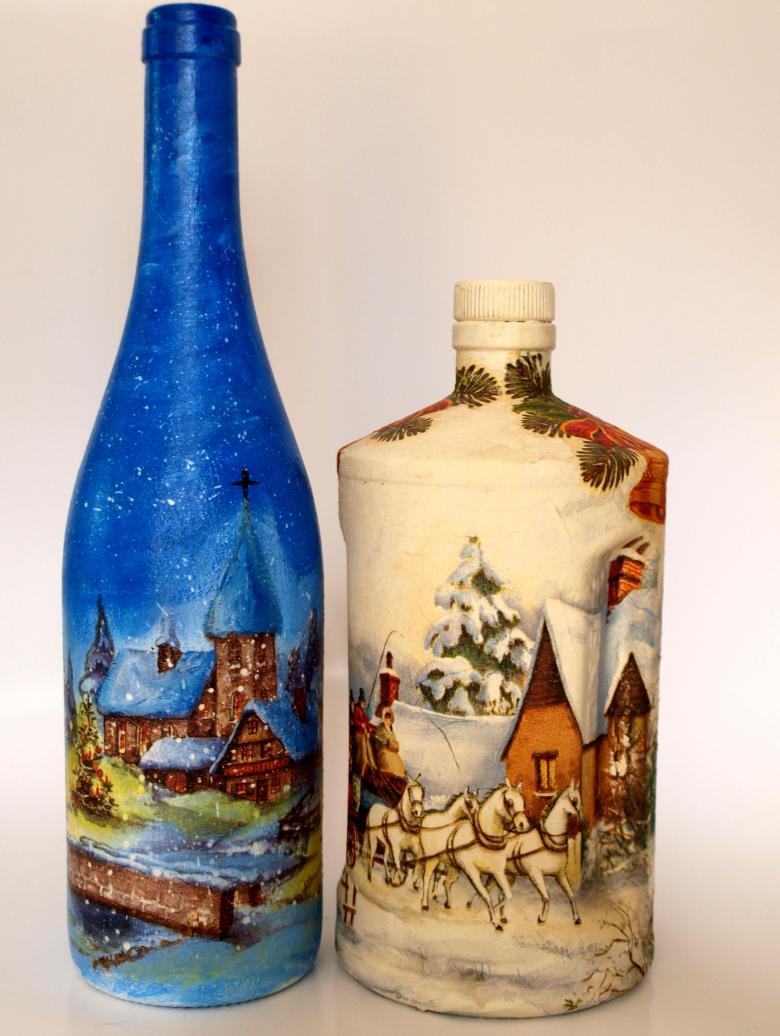
Decorated champagne is an original handmade gift.
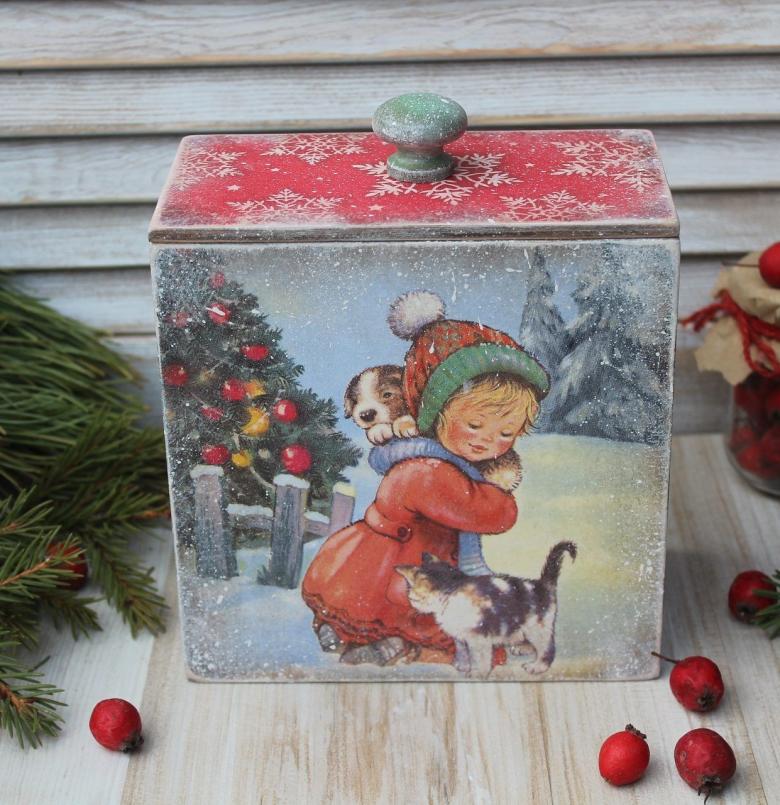
What you will need:
- A bottle with a flat surface;
- scissors;
- sponge;
- brushes of different sizes;
- PVA glue;
- acrylic paints;
- images;
- masking tape;
- degreasing agent (alcohol, acetone);
- water-based acrylic varnish.
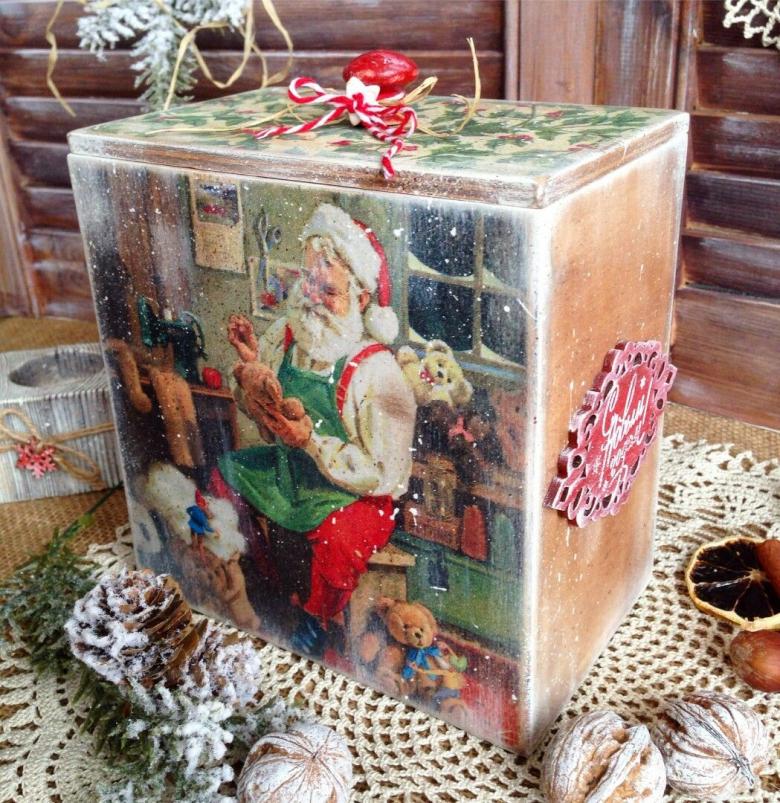
Master class on bottle decoupage
- Preparing the bottle. Remove the labels. If the paper does not come off well, put the bottle in a solution of water and dishwashing liquid for a while. Then wipe the entire surface with degreaser. Tape the neck with masking tape so that you do not damage the label.
- Painting. Our job is to paint the glass with white paint. Apply the coating with a broad brush or sponge.
- Gluing the picture. Put the picture on the glass and dab it with glue. If the picture is large, use a wide fan brush to distribute the glue better.
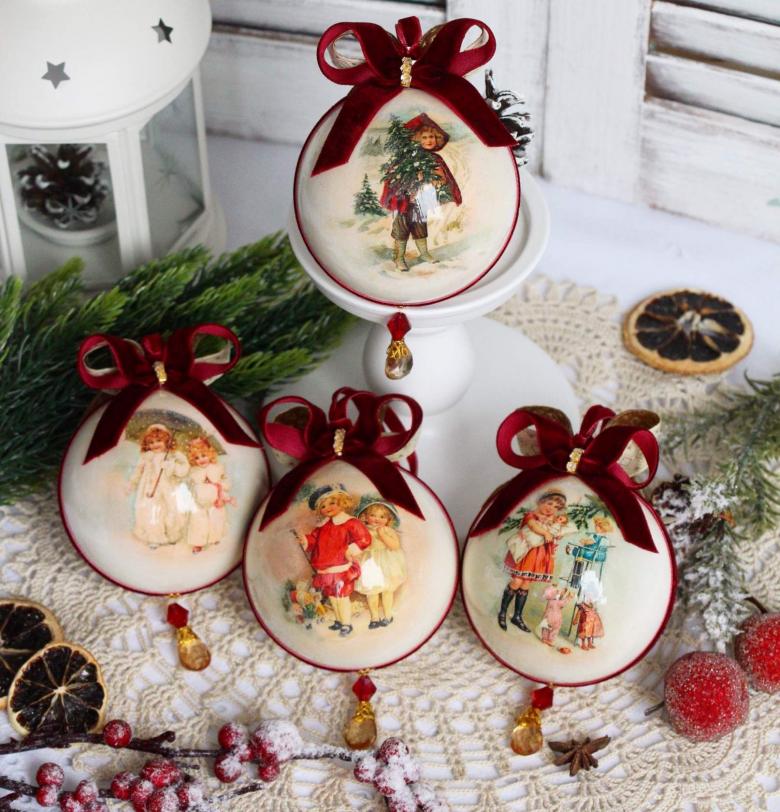
If the paper is wet and torn, carefully join the edges of the tear. After it dries, the defect will not be as noticeable. Or mask the edges of the dried picture with glitter or paint.
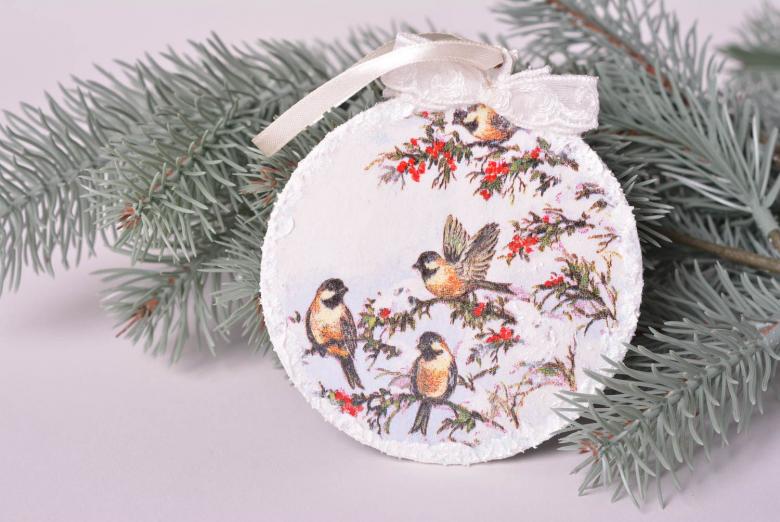
After it is completely dry, gently paint the edges of the drawings with paint using a sponge. Try to choose a paint that matches the color of the artwork.
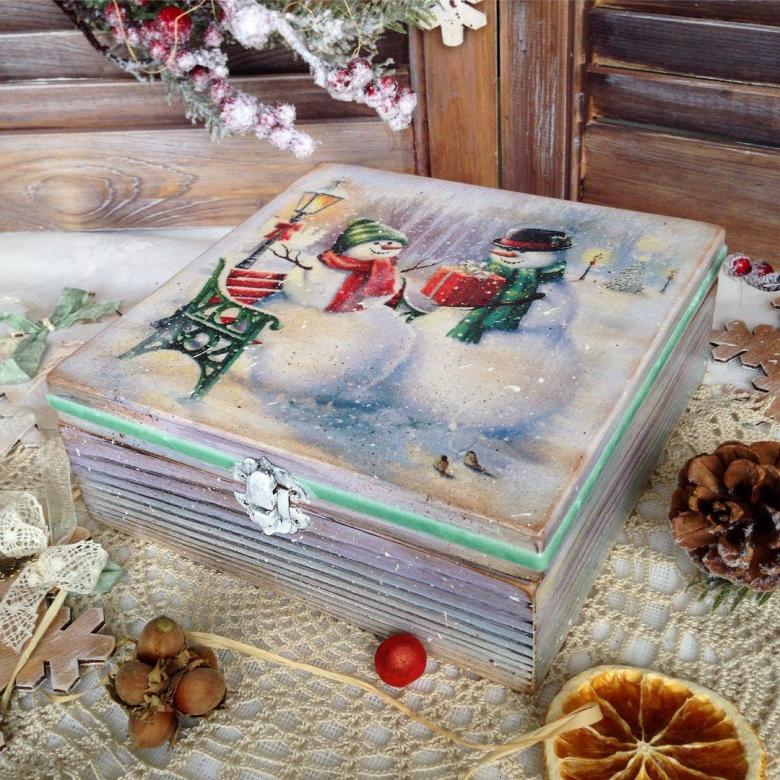
Extra decoration
Fill your handicraft with other decorative elements if you like. Make inscriptions, decorate with glitter, glue rhinestones, sequins or other details. With semolina and glue, you can create a real snow effect.
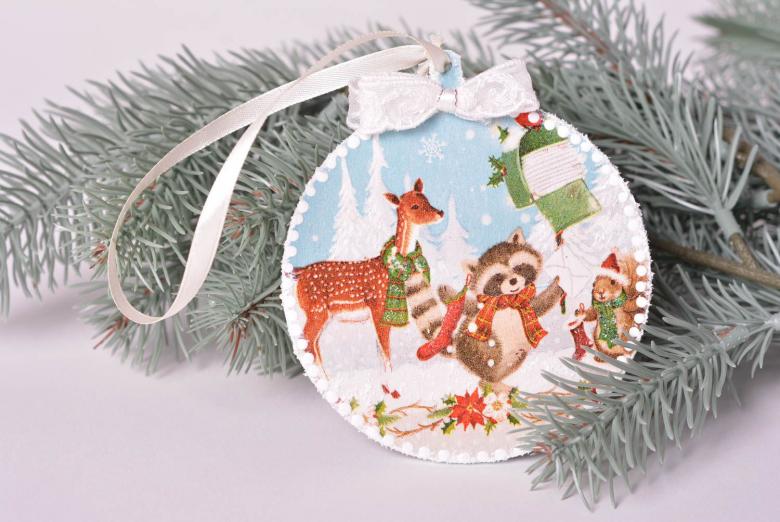
Varnish
For protection, coat the product with water-based varnish. Peel off the masking tape, and put a ribbon around the neck of the bottle. You have an original and exclusive gift for the New Year's holidays!
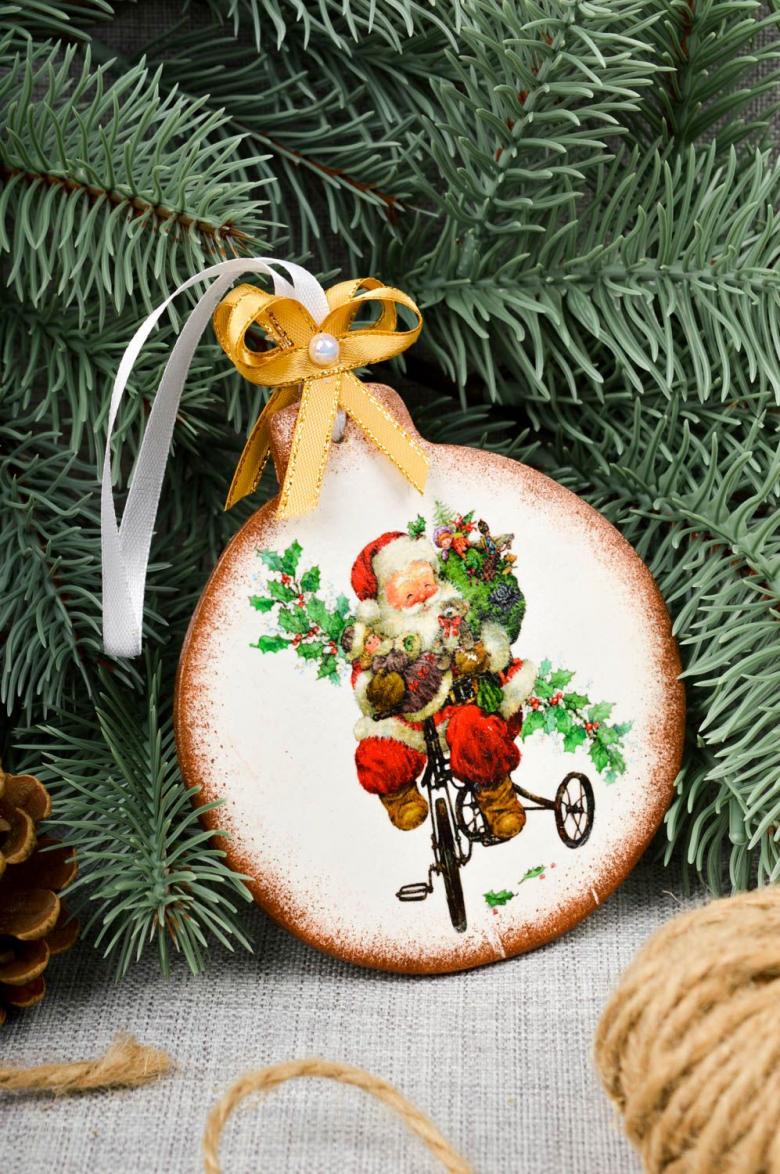
Decoupage of a Fougère
To decorate the interior, make a decoration of glass or crystal glasses in the technique of decoupage.
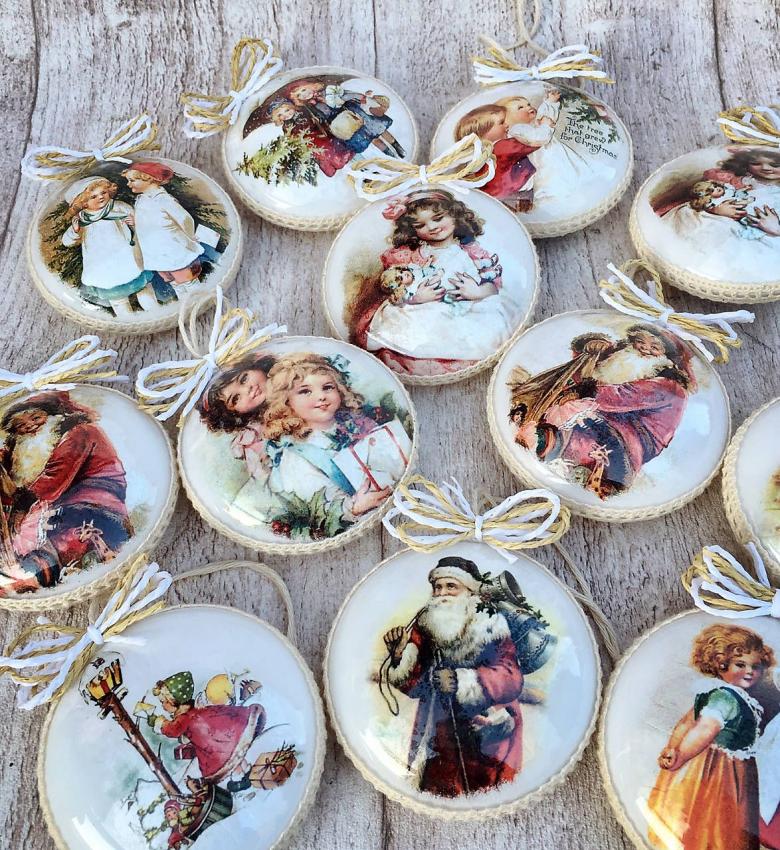
For the creative process we will need:
- A glass (glass or smooth crystal);
- images;
- acetone;
- gel varnish;
- acrylic varnish;
- Decoupage glue or PVA;
- sponge;
- white rice paper;
- scissors;
- brushes;
- hairspray;
- sandpaper for grouting;
- acrylic paint.
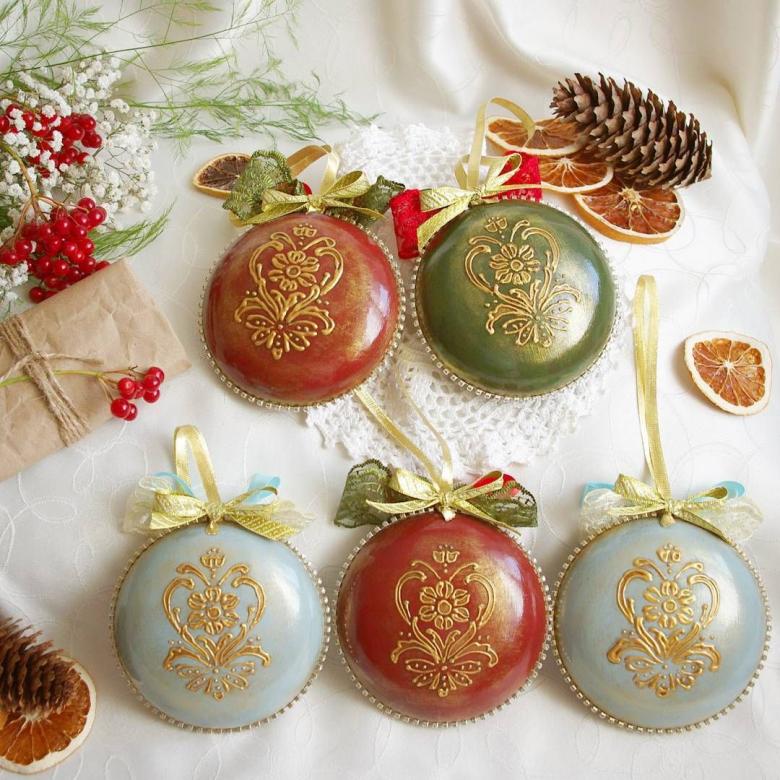
Master class on decoupage of a glass
- Preparing the goblet. Wipe the glass with degreaser. It must be clean, without chips and scratches, without stickers and labels.
- Varnish the images. Spritz the cut out pictures with hairspray in several layers. This will make the paper more durable and tear-resistant.
- Gluing the rice paper. Glue the rice paper to the surface with gel polish; smooth it out so there are no creases. After drying, tear off or sand the excess pieces along the edge.
- Gluing Images. Apply decoupage glue or PVA to the area where the picture will be. Carefully glue the pictures.
- Covering the foot. Paint the stem of the glass (if available) with white acrylic paste or paint. When dry, paint in the desired color, such as pearlescent, silver or gold.
- Coating with varnish. After drying, coat the surface of the glass with vitreous varnish and the stem with glossy varnish.
- Additional decorations. Glue various small elements for decoration: ribbons, bows, rhinestones, beads, sequins, colors, glitter.
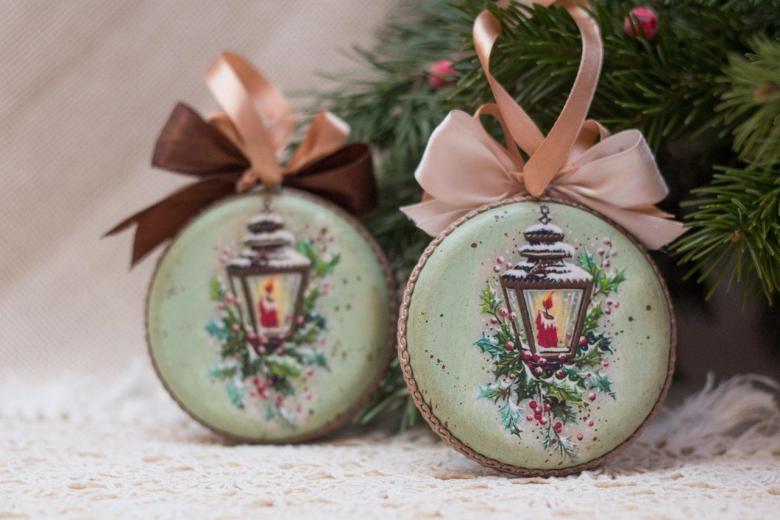
New Year's souvenir is ready! Present it as a holiday gift or put it in a room to create a festive interior.

Instead of rice paper, you can work with fabrics and paper napkins. Chiffon, lace, organza, fine silk will work well.

We have told in detail about New Year's decoupage. We chose the simplest, but original ways of decoration, so that even a beginner or a child can cope with the task. Creativity is not only a good result, but also a pleasant and interesting pastime. Try to create your own amazing original gifts and souvenirs!

