Decoupage of wooden and metal tray - step by step master classes for beginners, photo ideas
Decoupage is a special technique of decorating objects, and it is quite easy and popular. In translation from the French "decoupage" means "to cut out". Hence it is clear that we are talking about gluing the pattern on the object and covering the resulting composition with varnish.
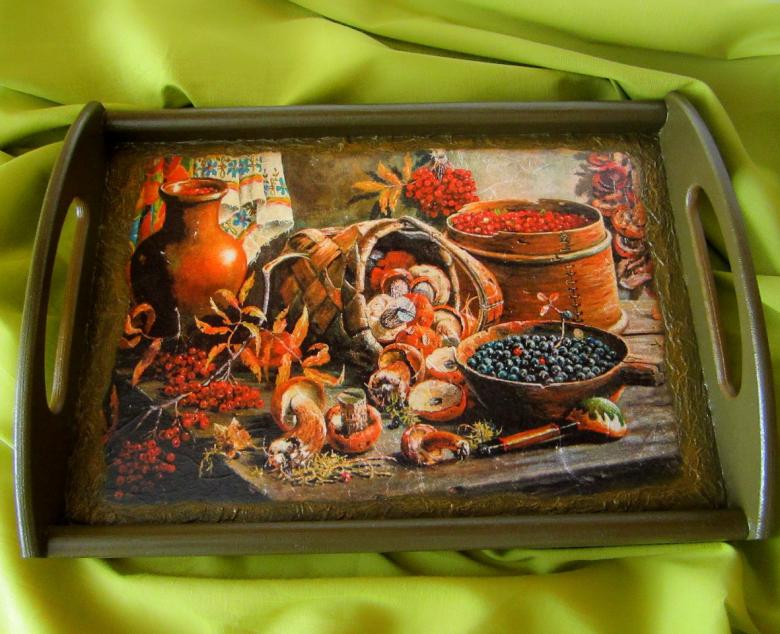
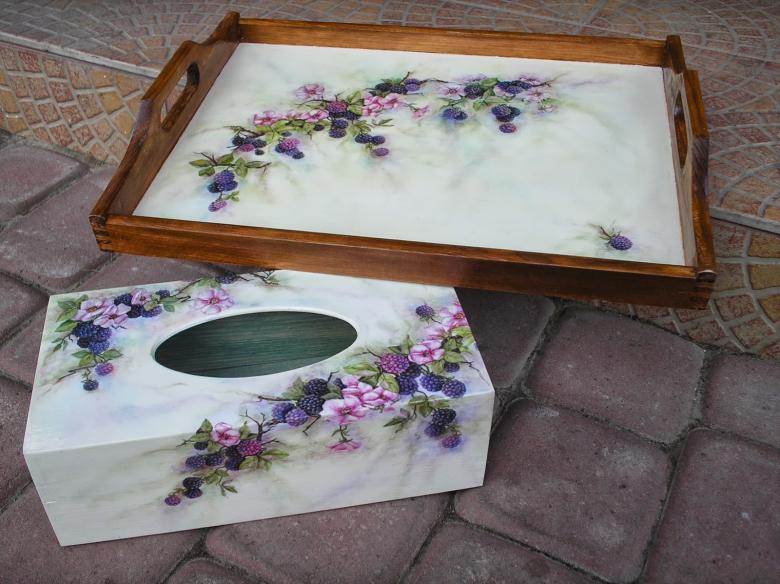
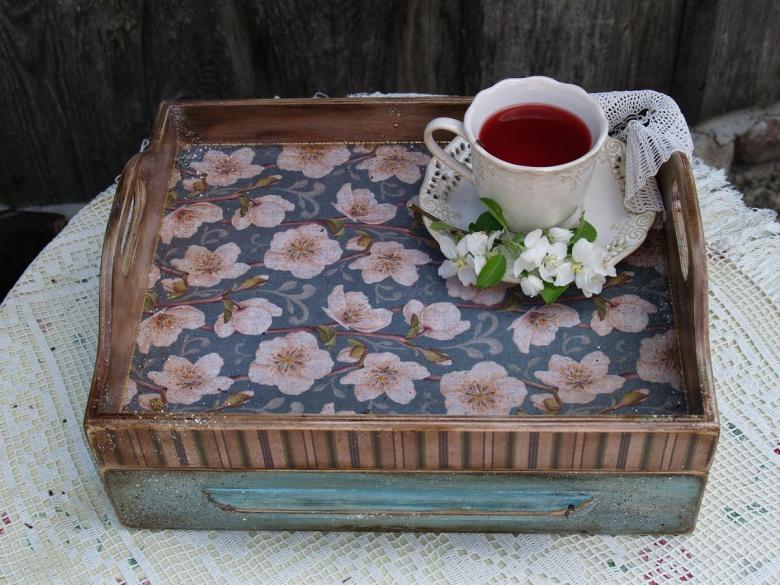
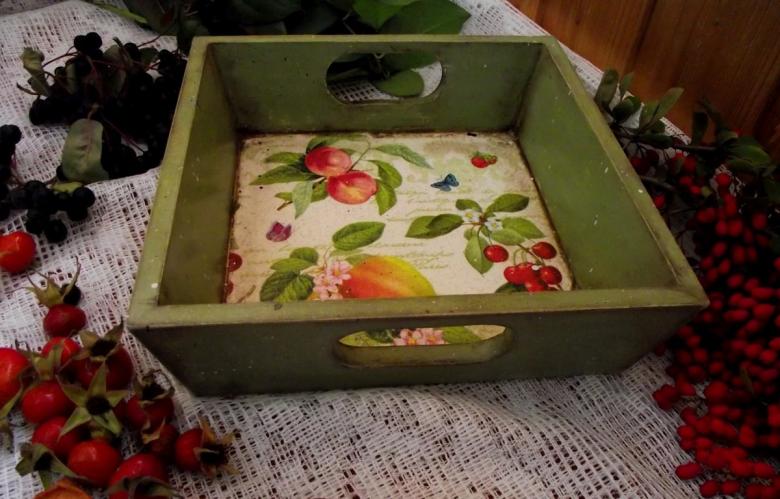
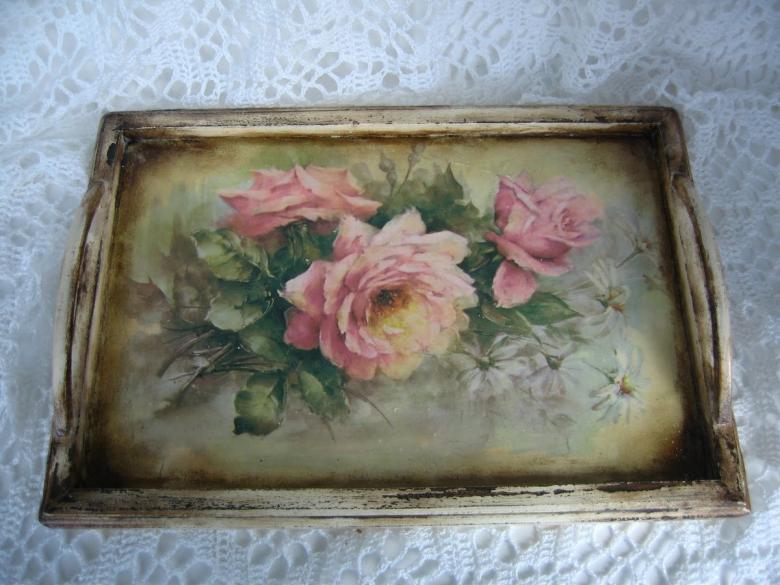
Works in this style imitate hand-painted paintings. Using this technique, you can decorate any object, such as a tray.
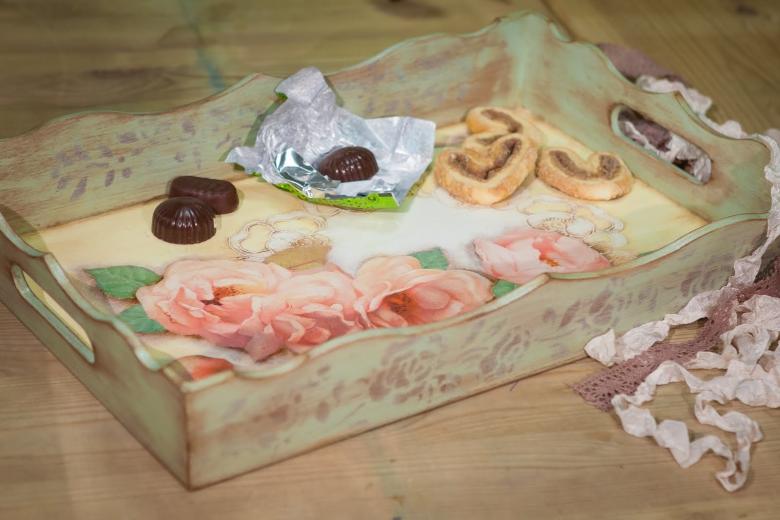
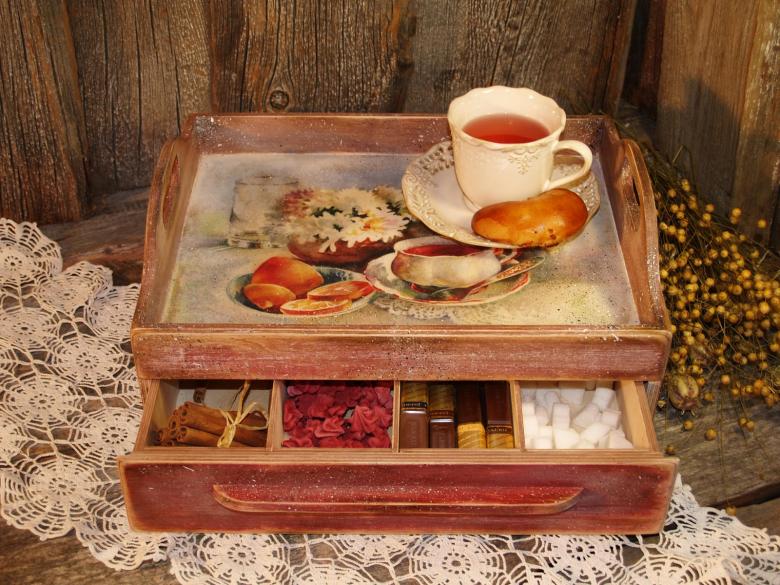
Tray is always useful during a feast. When a hostess brings out even an ordinary dish on a beautiful tray, it immediately becomes more appetizing. Guess how much more impressed the guests will make a tray with a special homemade decoration?
Tips about tray decoupage
Why is tray decoupage so popular? Because you can buy a cheap version and perfectly ennoble without spending a lot of resources.
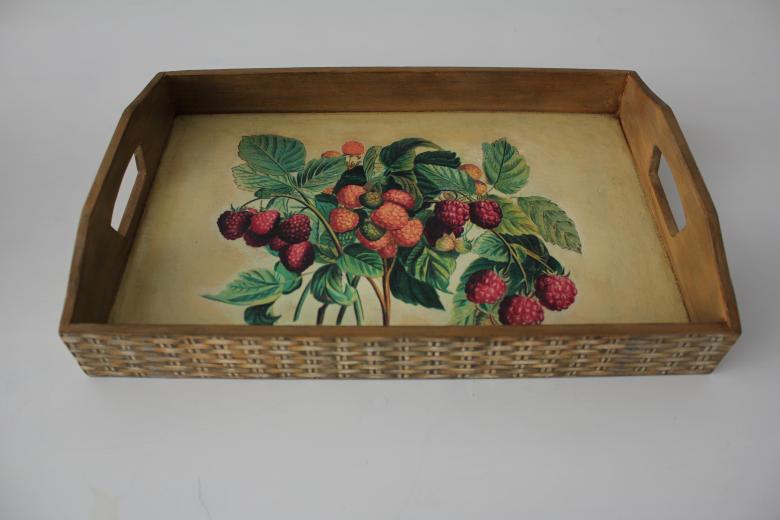
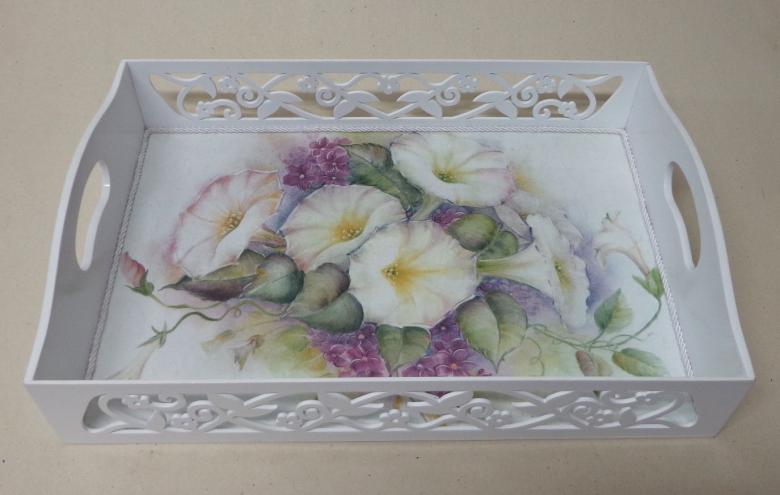
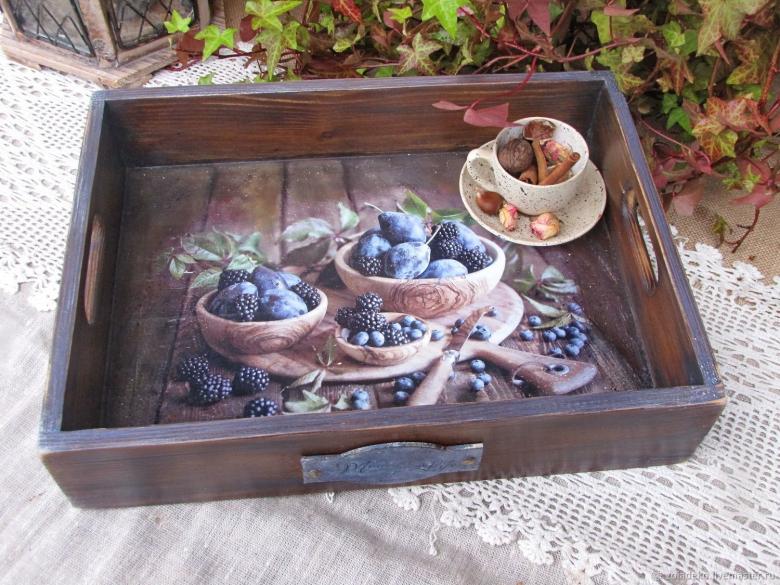
- To update the tray, it is better to choose pictures on "food" themes with the image of fruit, buns or kitchen utensils. Sometimes natural and floral motifs will look good.
- Napkins will work well because of their lightweight structure. In hobby stores you can find entire stands with a variety of napkins, which you can buy by the piece.
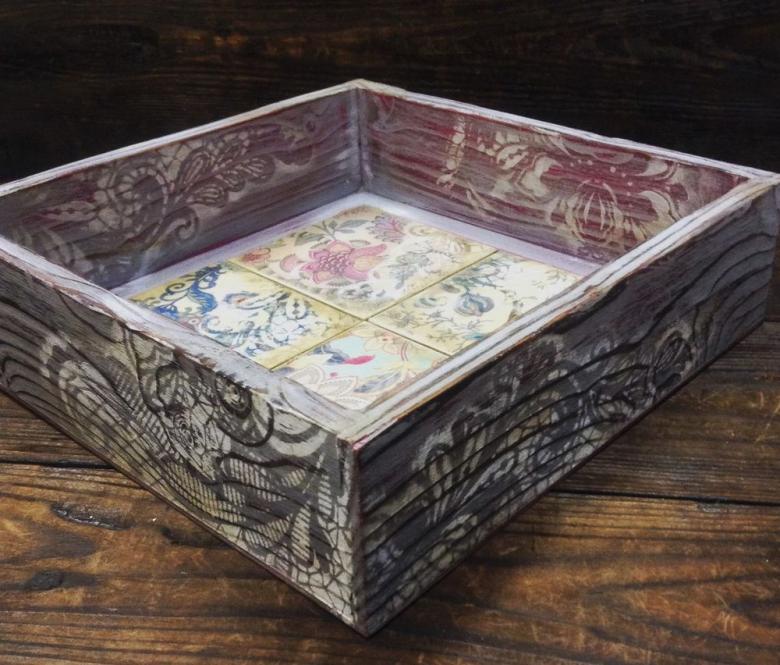
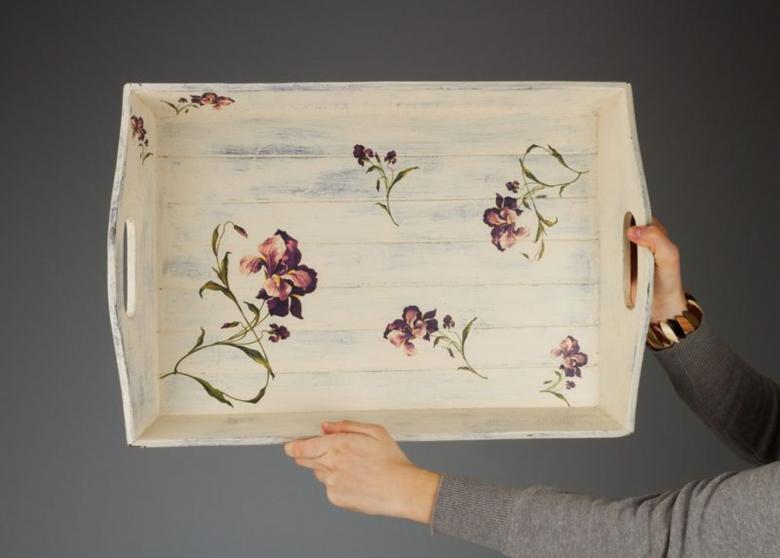
- The original looks tray in the technique of brushing. Relevant for decorating only wooden trays. With the use of a stiff brush, soft fibers are washed out. The effect of aged wood is obtained.
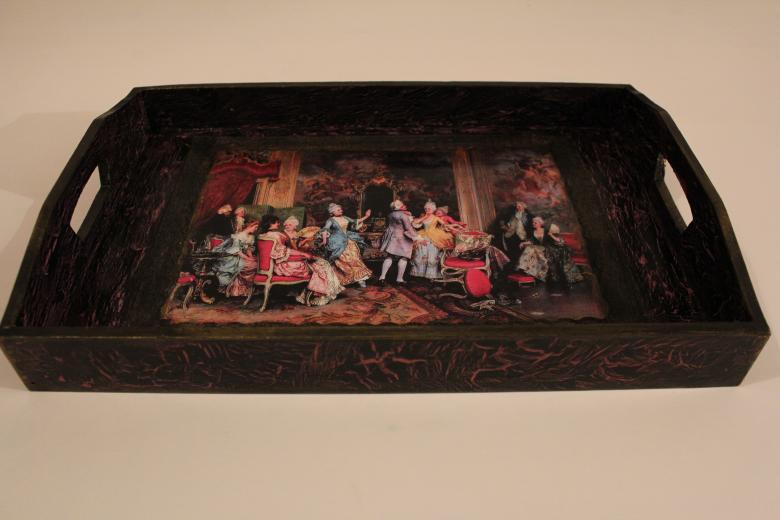
- The crackling effect is created by the Cracklejour method. After application, it is necessary to make a grouting of cracks with oil paints or to apply at once two contrasting layers of paint, and between them a special varnish, which dries and thus creates cracks in the paint.
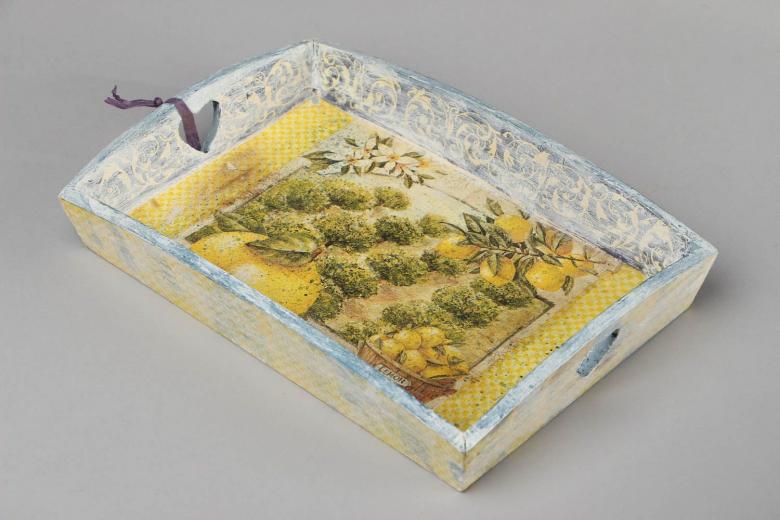
The necessary materials for decoupage of any tray
- Clean base;
- Acrylic paint;
- Foam sponges;
- Specialized glue for decoupage;
- Printed picture on a thin paper base or napkins with a pattern;
- Primer Sandpaper;
- Matt acrylic varnish.
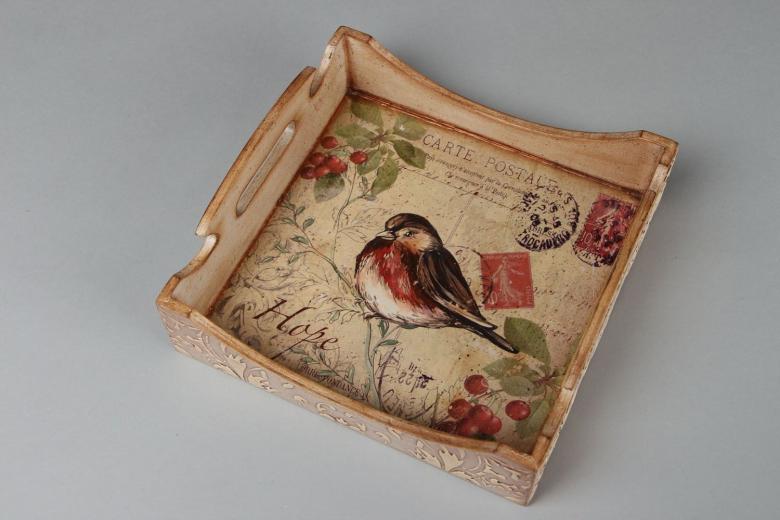
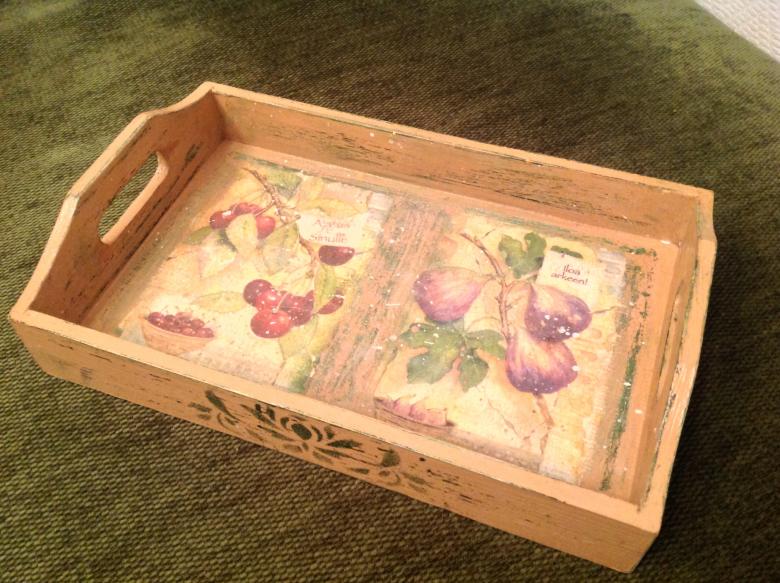
Simple decoupage of a wooden tray
Master class:
- Before working, it should be cleaned and made smooth using sandpaper.
- First of all, prime the surface, then sand it to achieve smoothness everywhere.
- Printed pattern on tracing paper (or use a napkin, pre-cut out of it), then put the front side on a transparent file and apply glue. After that, place the sheet on the surface, remove the file and dab the pattern with glue again. It is necessary to remove all the air by hand, dipping your fingers in the glue.
- Dry completely.
- Paint 4 times.
- Paint the sides of the tray.
- Varnish about 10 times to protect pattern from high temperatures.
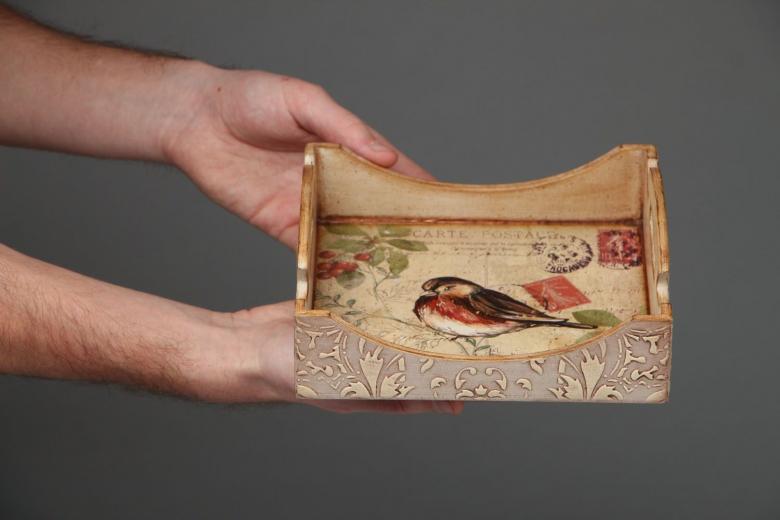
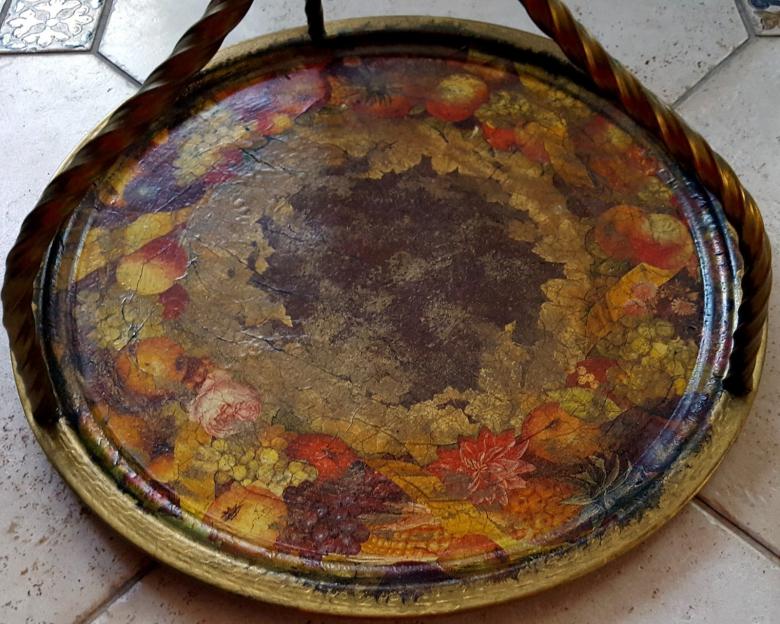
Decoupage of metal tray
The difference between processing metal and wood as a material for the tray in the final result and the need exclusively in all cases to treat the plane.
Use alcohol to treat it.

Master Class:
- You need to first thoroughly sand and treat the tray with alcohol.
- Prim the surface with a sponge of foam rubber.
- Cut out the piece from a napkin and apply it to the chosen place.
- Glue it with the special glue.
- Paint the rest of the surface with a sponge.
- Apply varnish several times, drying each coat.
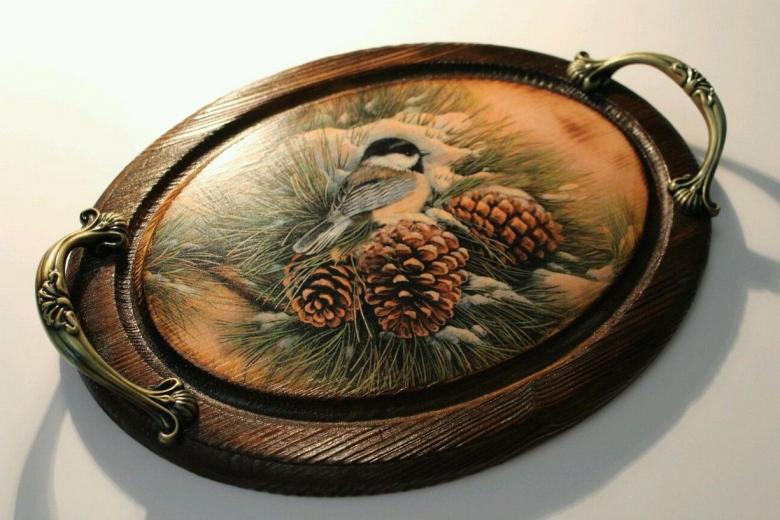
Decoupage Styles
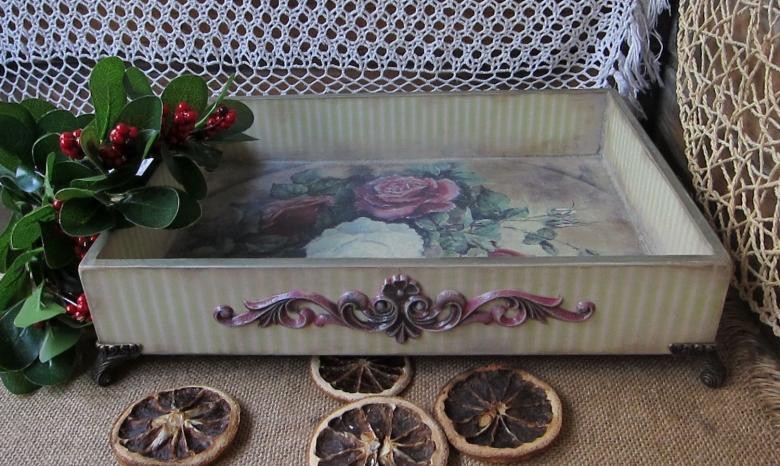
Decorate the tray in chic chebby style
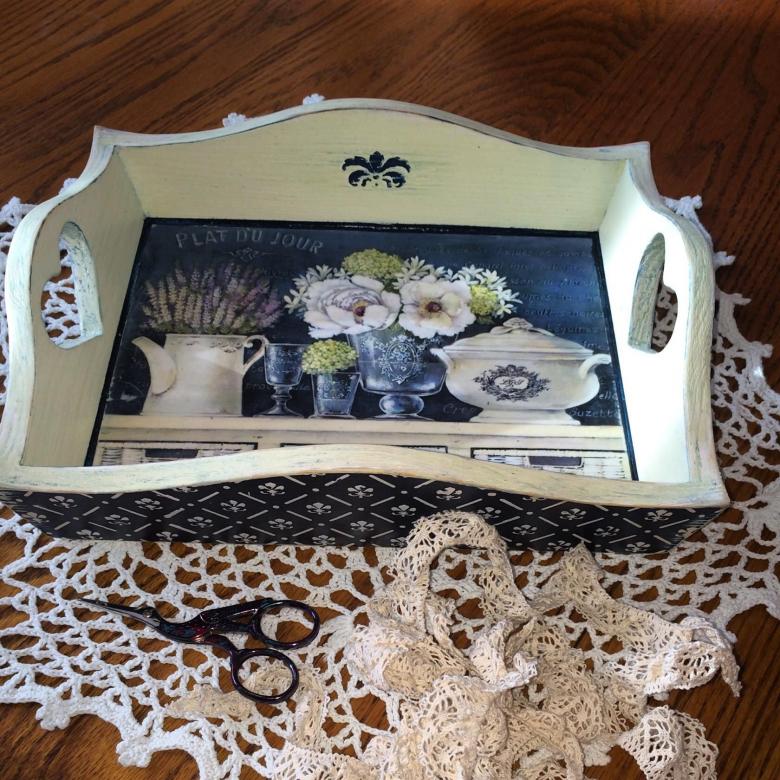
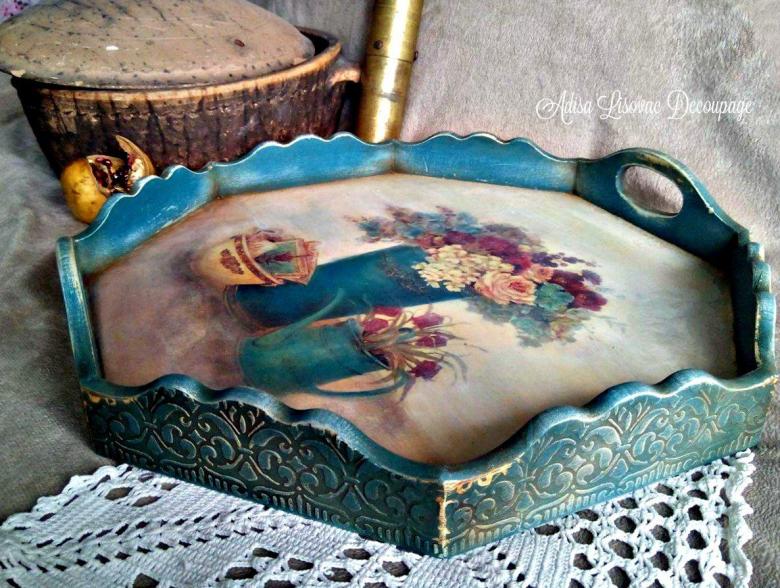
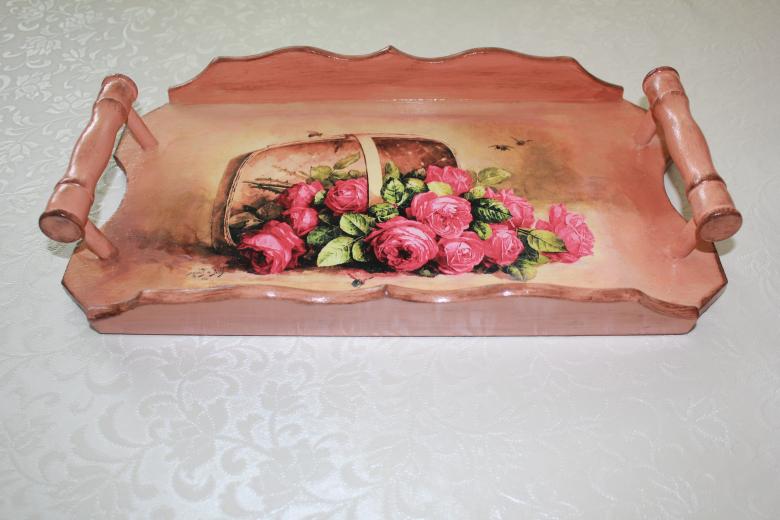
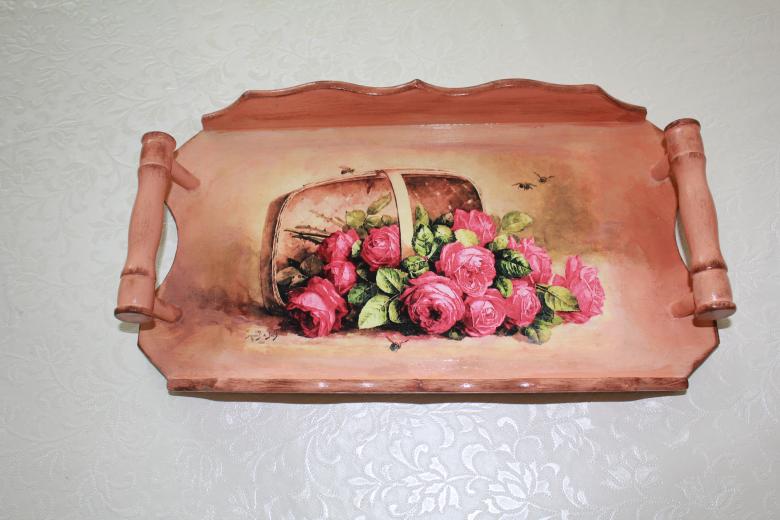
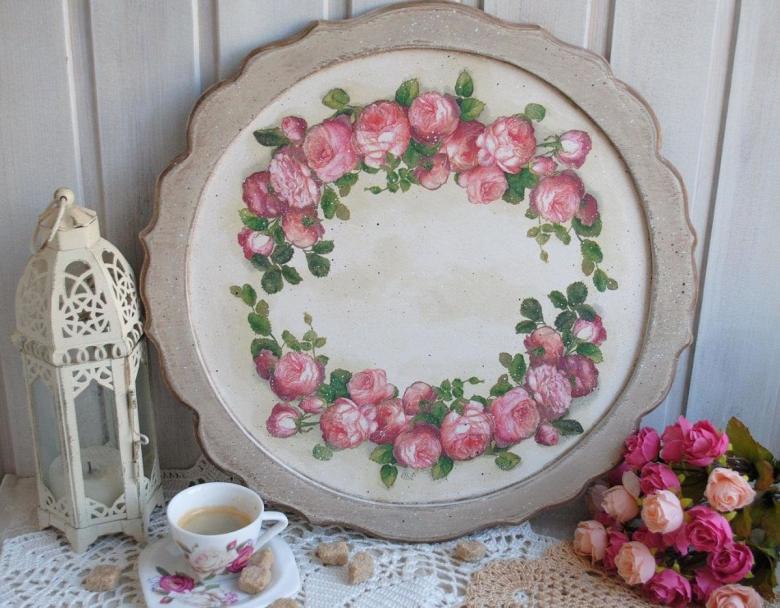
Shebby-chic refers to "folkloric," but is characterized by sharper colors. Often "wooden" backing with the effect of artificial aging is used. The drawing of the napkin, too, in this case, can be used contrasting. Pictures with baskets with flowers and greenery inside will look especially advantageous.
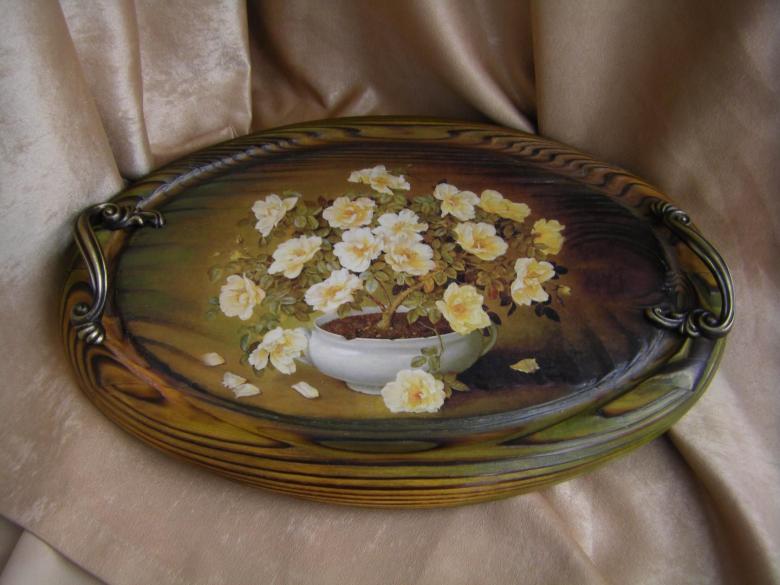
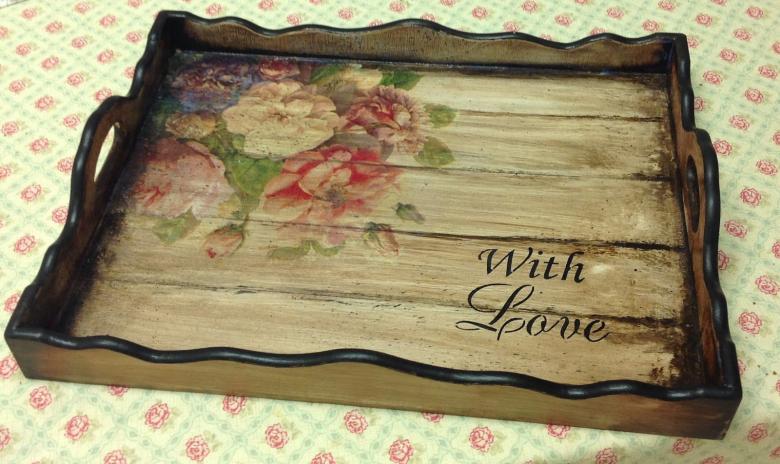
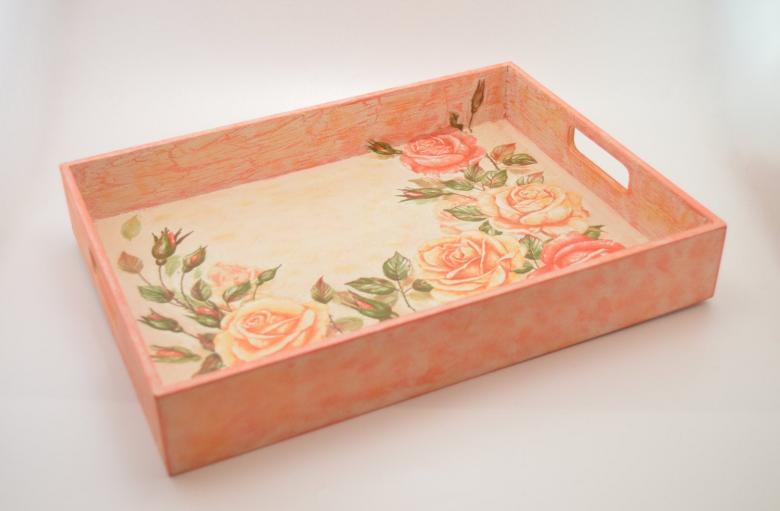
To achieve a specific impression of aging, you can apply two-component craquelure.
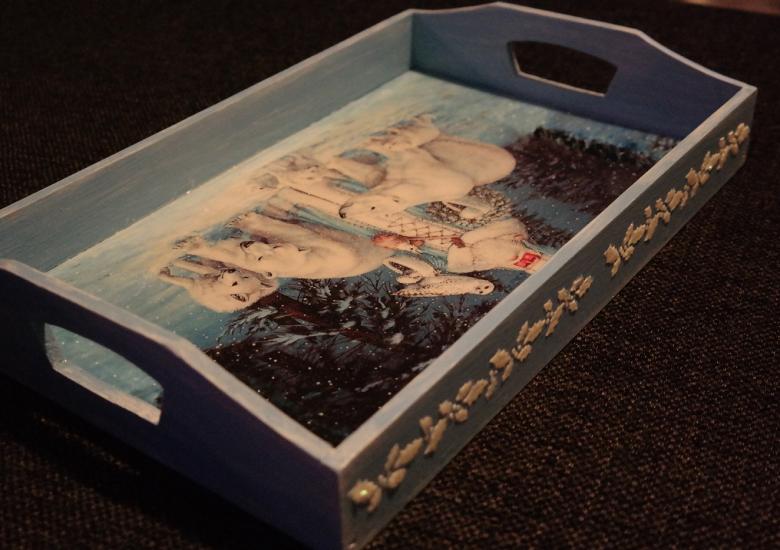
Master Class:
- Prepare the surface, that is, treat with sandpaper, primer.
- To attach the image from a napkin.
- The next step is to use glue for decoupage.
- Finish the composition with varnish, dry it.
- Exclusively after the final coat of varnish, apply craquelure to the image, which will begin to form the expected cracks.
- Fill the cracks with oil paints of a polar color.
- Rub with a candle the areas that will retain their dark color after covering the entire tray with paint.
- It is best to touch the corners and sides with the candle.
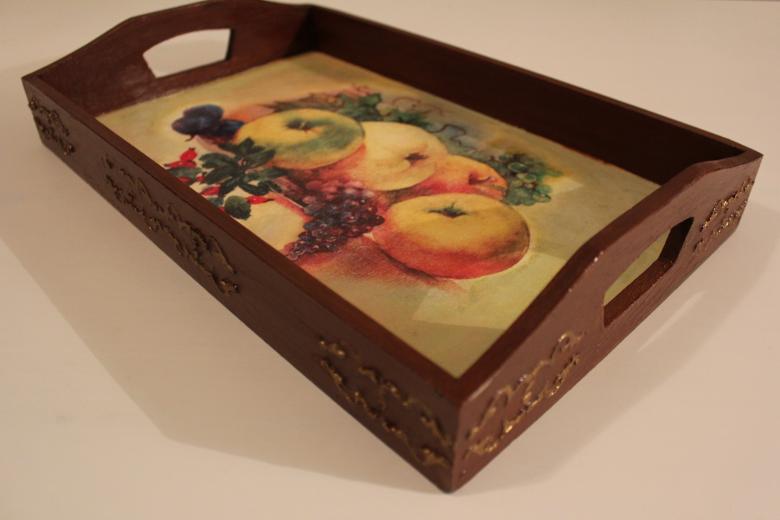
Decorating a Provence style tray
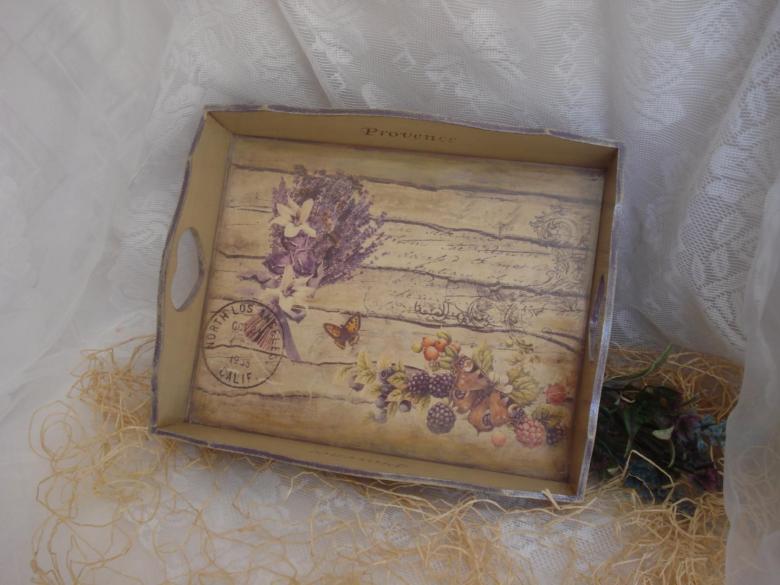
This style creates associations with the Côte d'Azur, the foothills of the Alps and lavender landscapes.
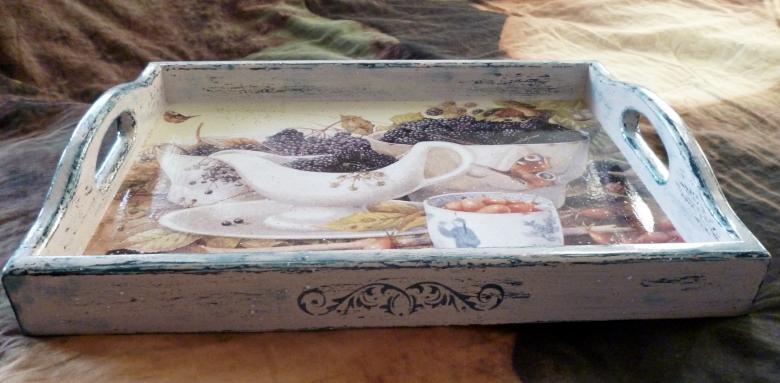
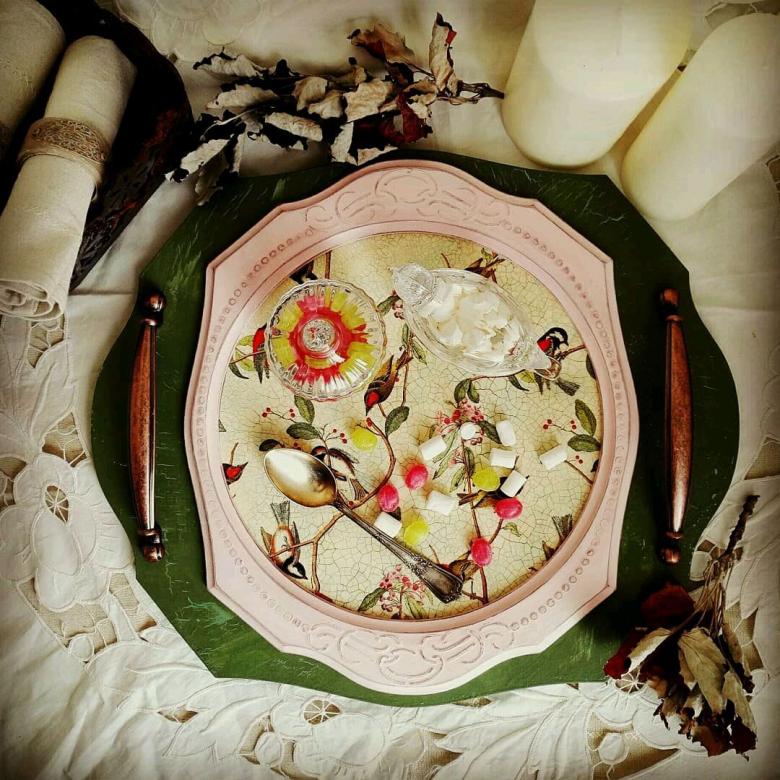
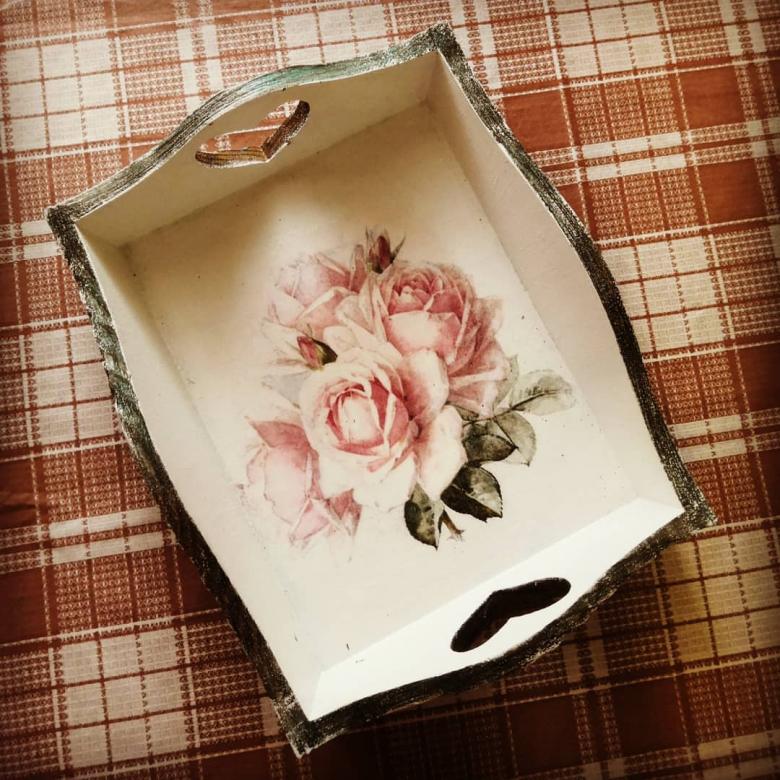
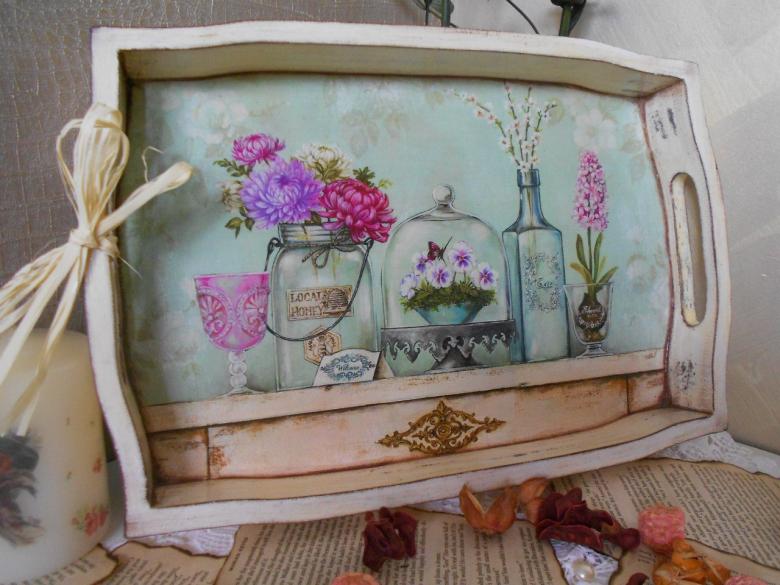
Provence is a French style with notes of folklore and culturally appropriate elegance. The typical drawing for this style is baskets of fruit or wildflowers. The drawing should not conflict with the background.
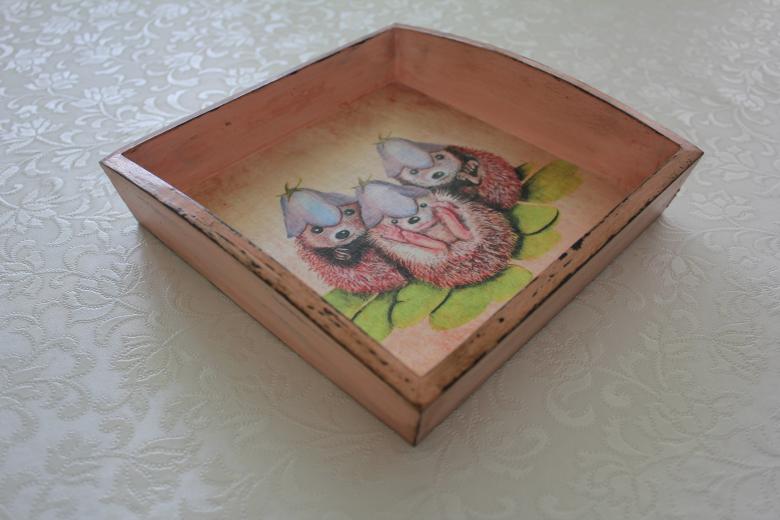
A special palette of colors is created for this direction: gray, turquoise, white, lilac, pistachio, green.
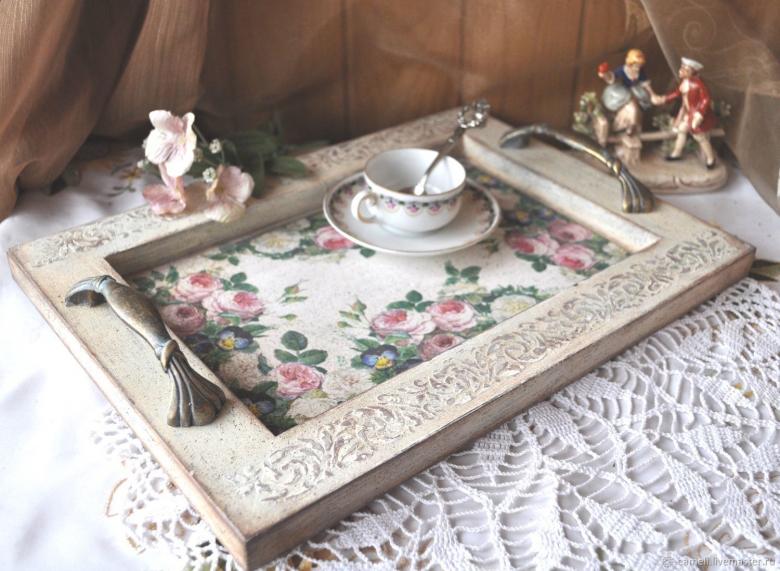
Master Class:
- Prepare the surface.
- Apply 3 coats of white paint, drying each one.
- Rub the painted tray along the edges. This gives a peeling effect.
- Cover the cloth with the pattern and glue it for decoupage.
- Varnish the entire piece about 6 times.
- Grind the tray with a fine sandpaper.
Use the paint peeling method for a peeling effect.
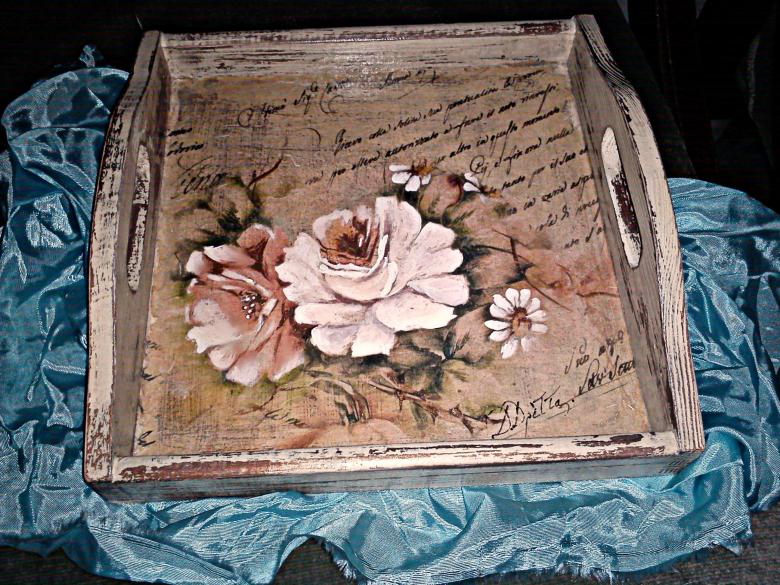
Decorating a Kitsch Tray
Kitsch is a bright trend with opposite shades. Here any elements are suitable for design, including the usual figures of geometry.

The backdrop can be motley and asymmetrical. The highest bar is reached by the master if he places a small reproduction of a great Renaissance painting in the center of the composition.
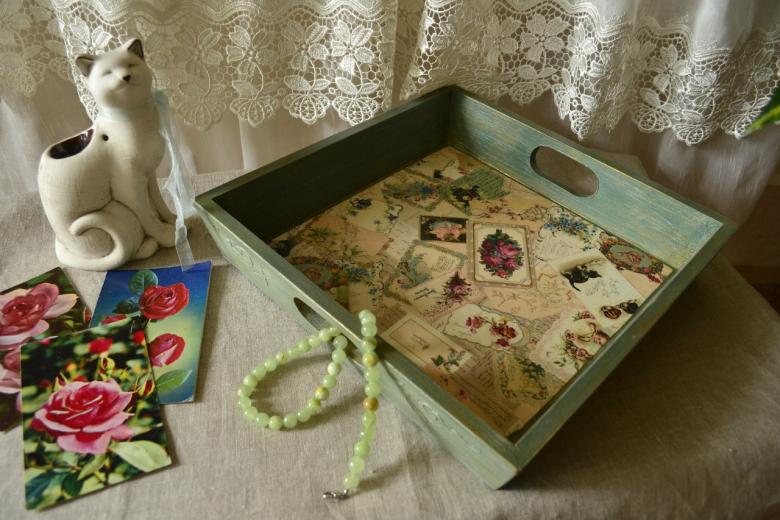
Decoupage of a tray in the Chinese style
The backdrop of the tray in a similar design is most often chosen black or other rich and deep.
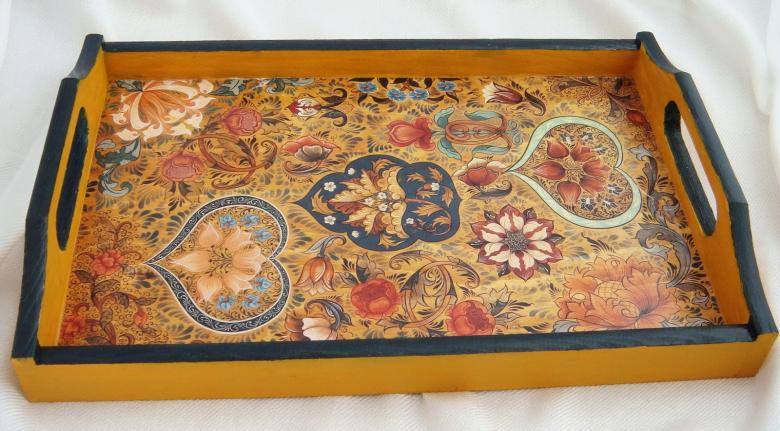
In the middle of the tray when decorating distribute traditional Chinese drawings of animals, birds, mythical creatures, the image of a running river and rich grass, flourishing tree branches.
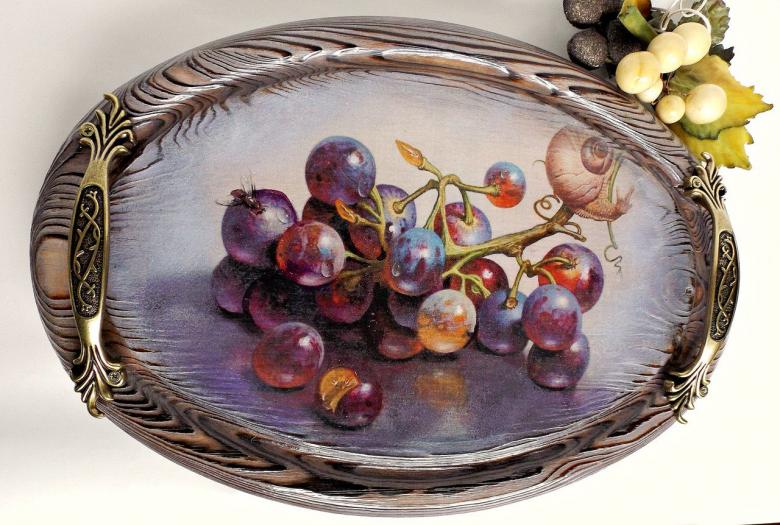
Updating the trays in one of these techniques is limited only by the imagination of the author himself, so you can find many original and unique works.
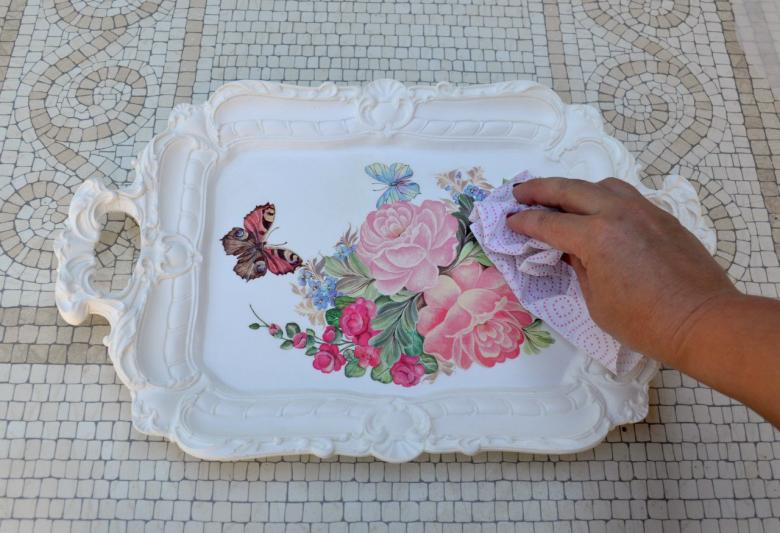
Characteristic and basic are such aspects of technology as:
- meticulous surface preparation
- The permanent multi-layer varnishing of the finished product to avoid damage to the pattern.
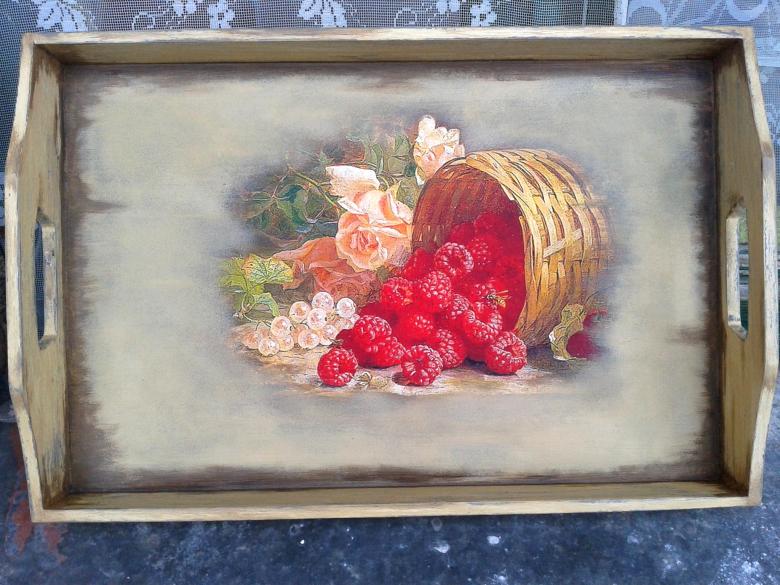
The result can range from a cute craft or a kind gift for a friend to a work of art that belongs in a museum rather than the kitchen.

