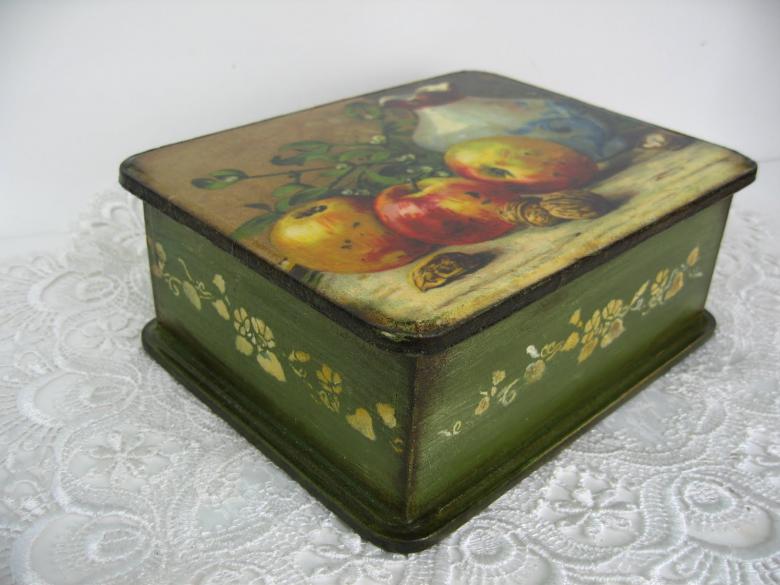
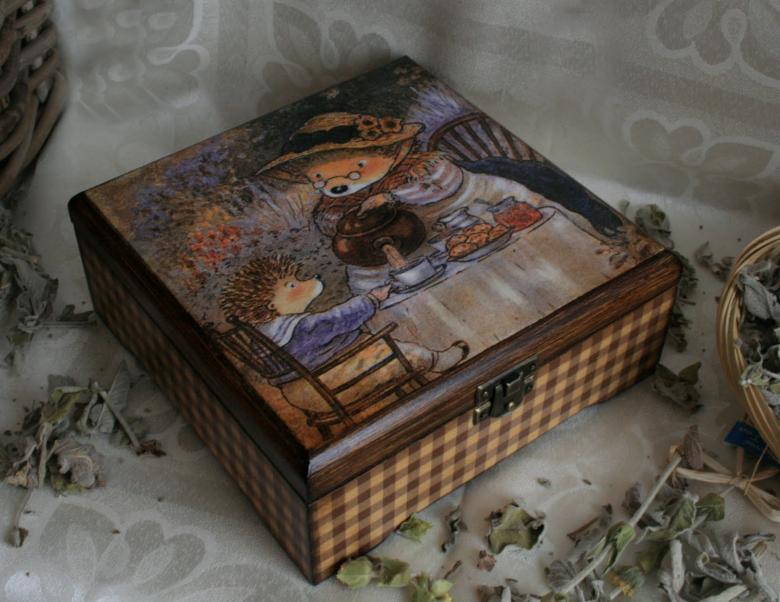
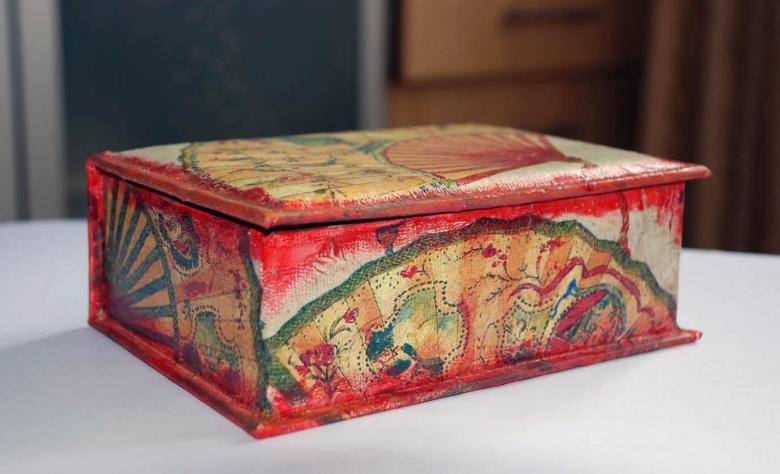
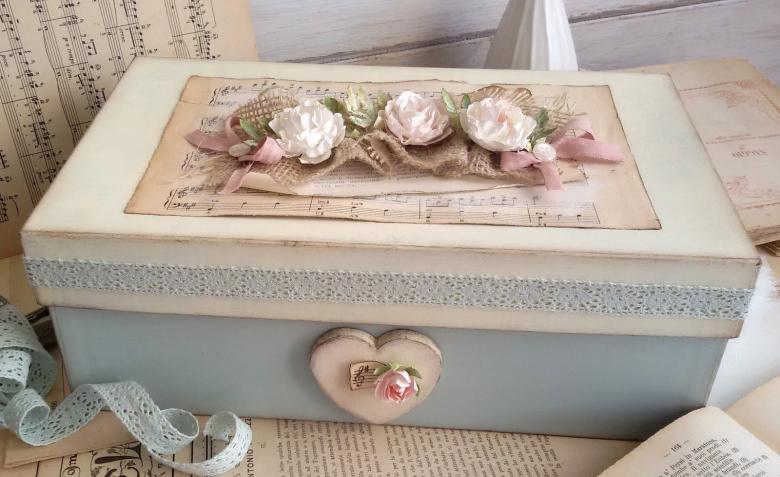
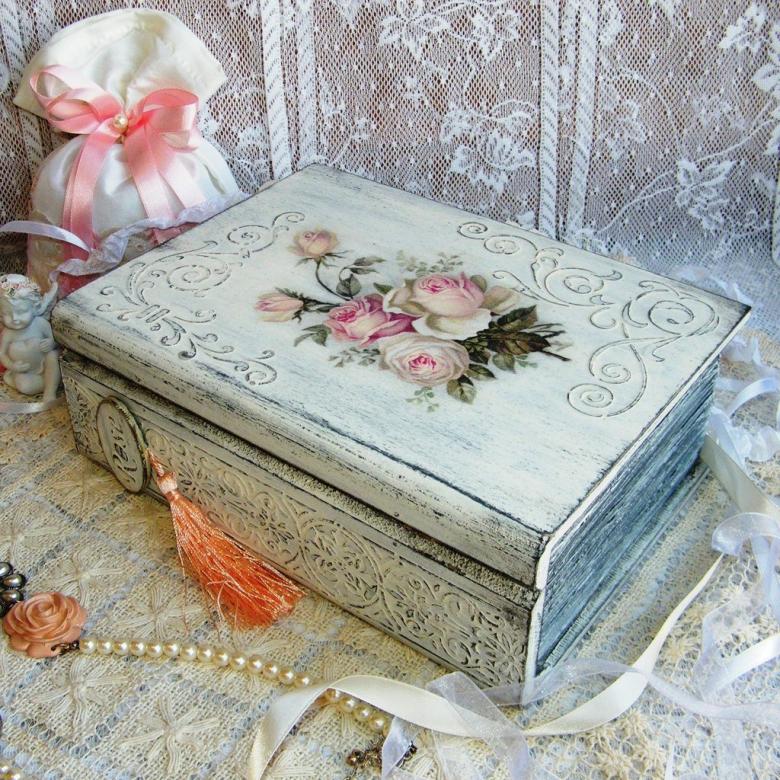
Decoupage of cardboard, wood and plastic boxes - understandable master classes, photo ideas and tips
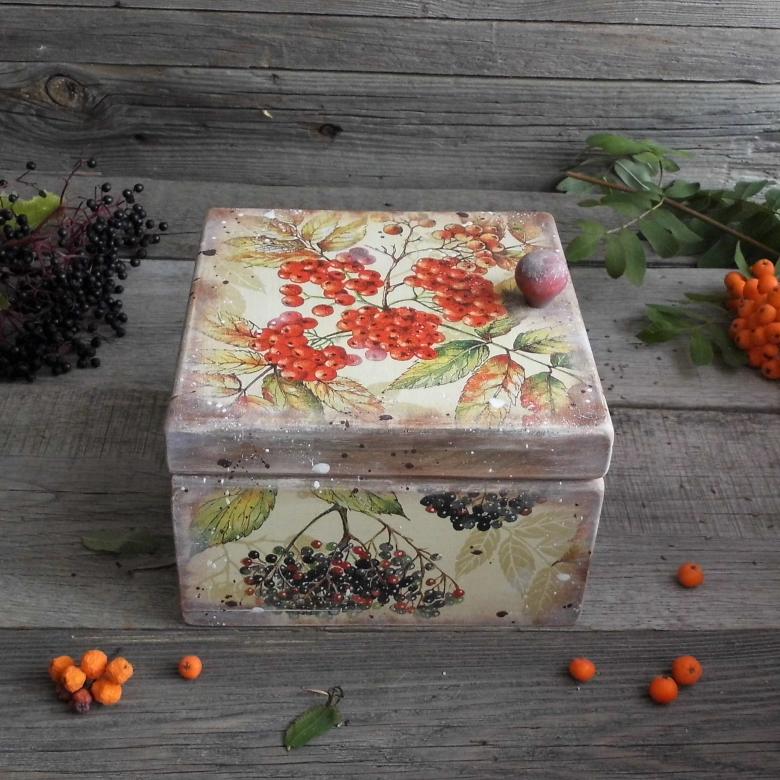
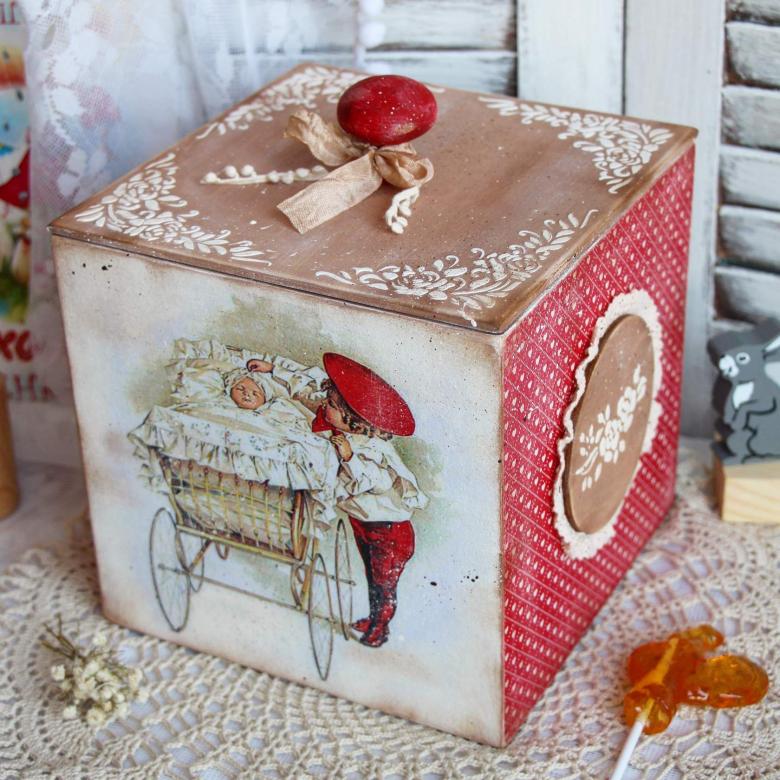
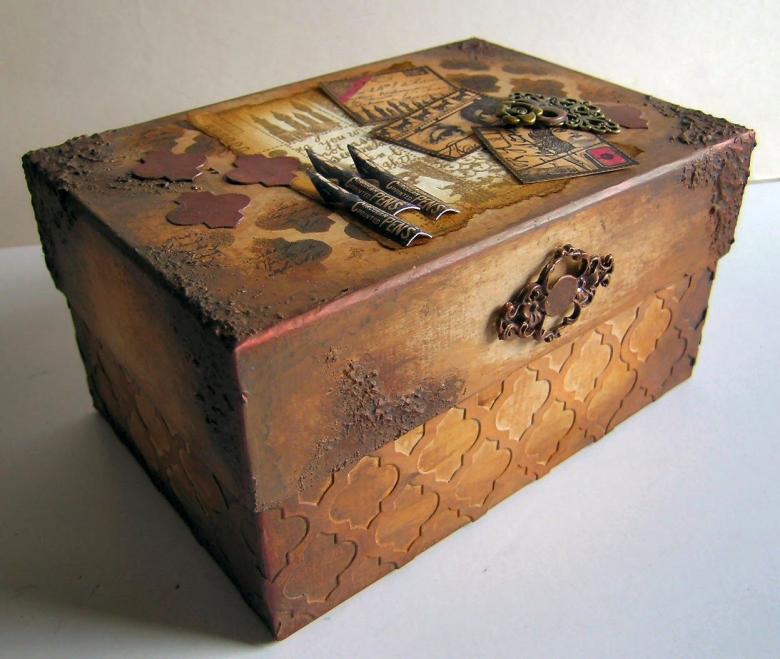
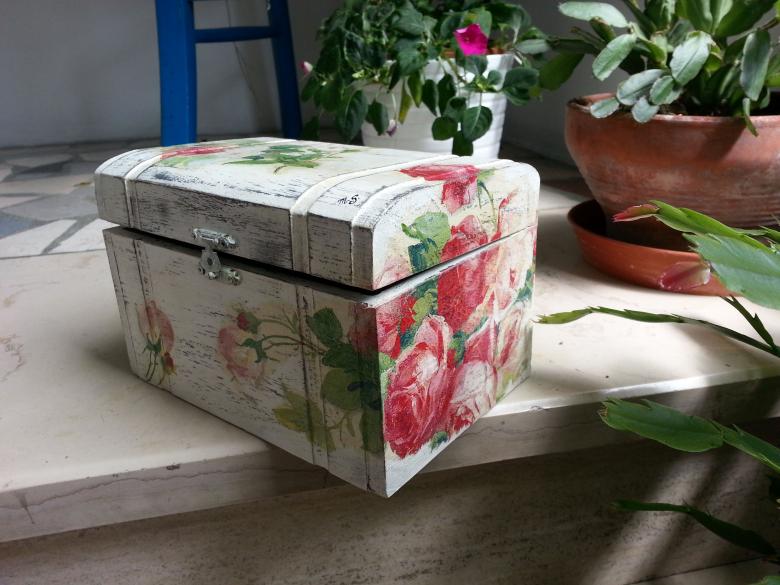
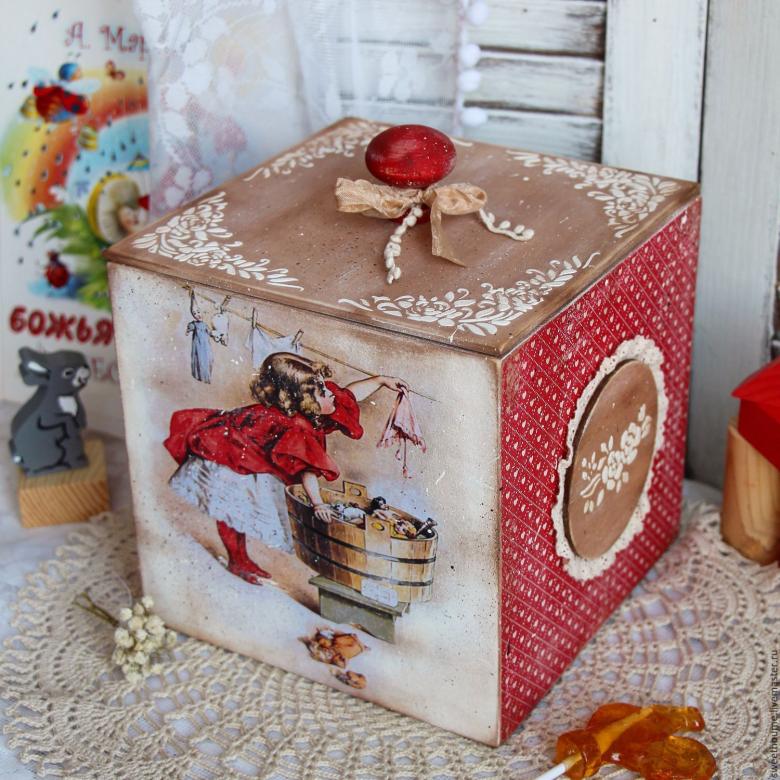
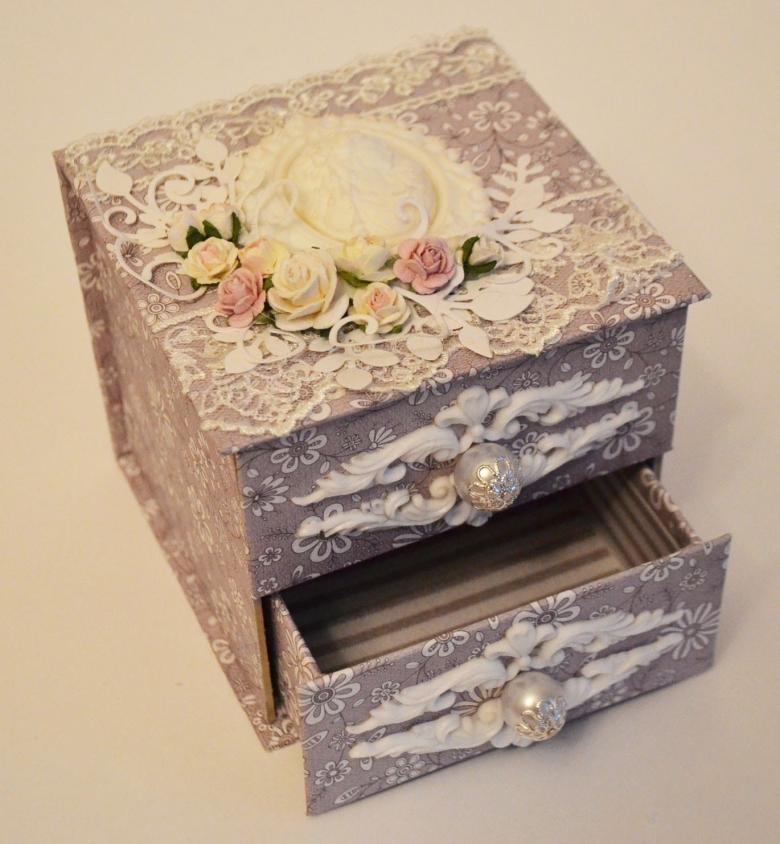
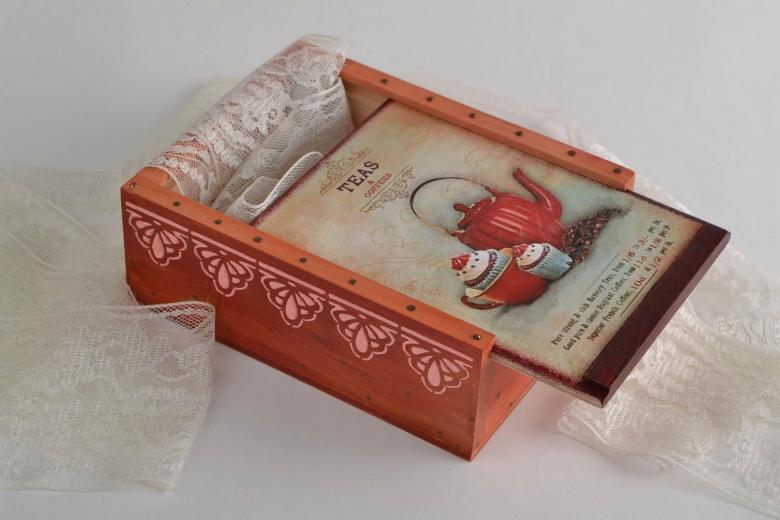
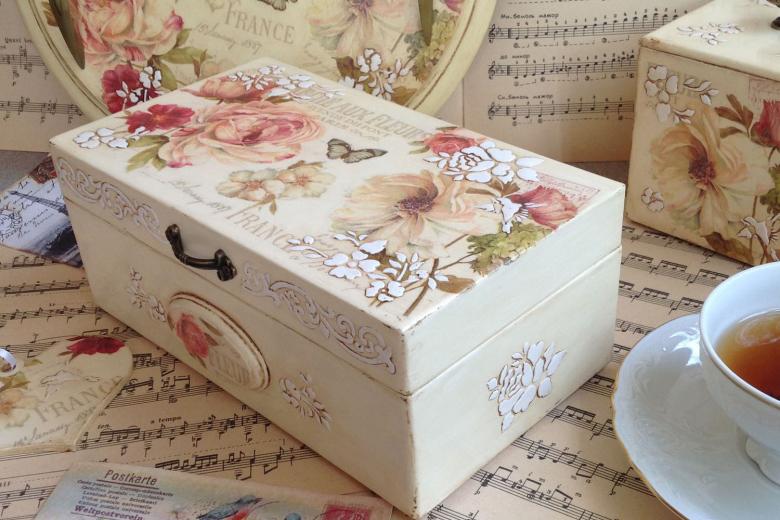
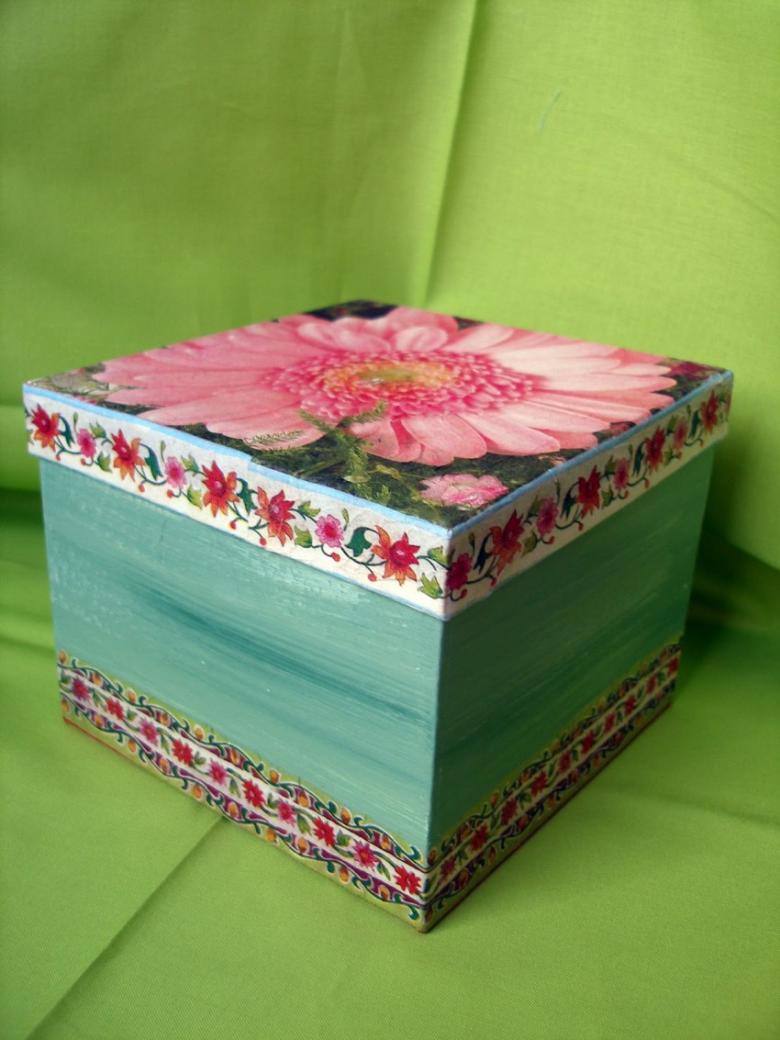
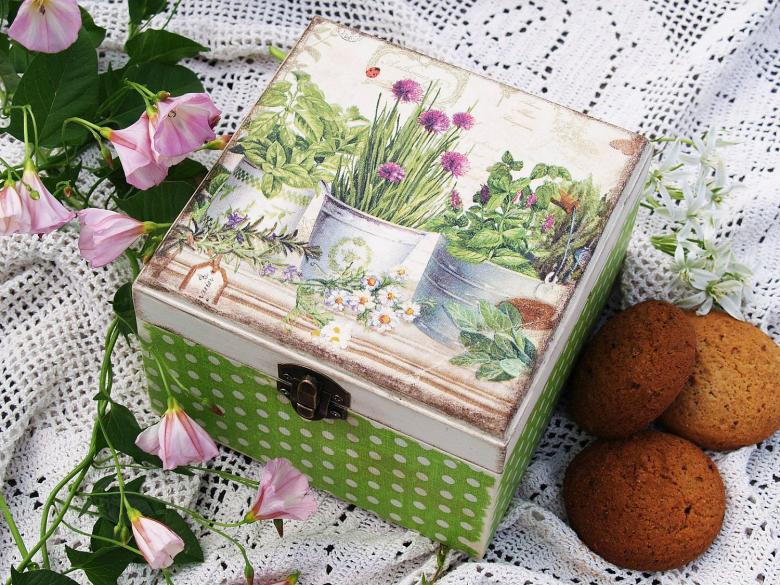
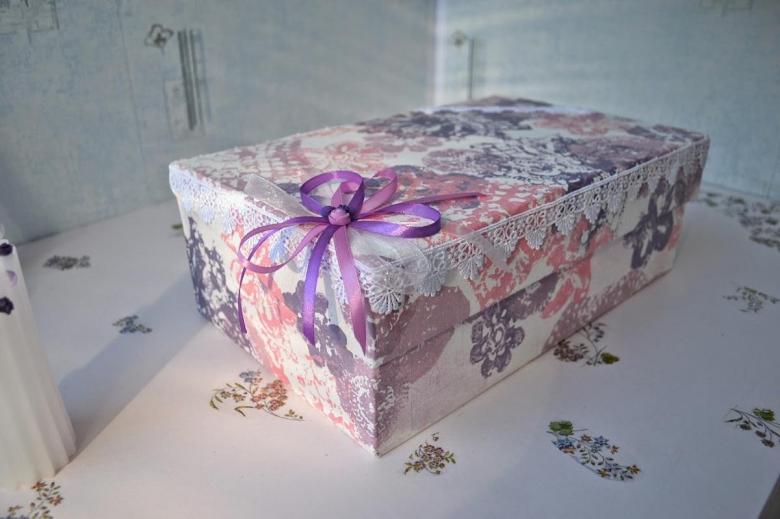
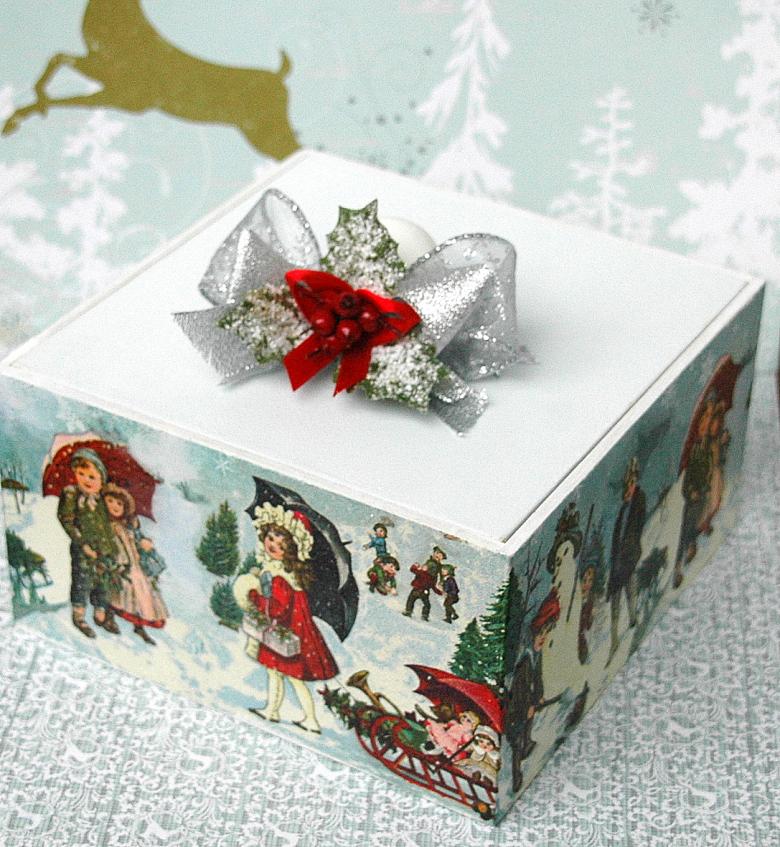
In every house different boxes are accumulated: from under shoes, from various gifts, from under cosmetics and other things. Do not rush to throw them away. They can be given a second life, processing processing by decoupage. They will become not only useful containers for various items, but also a very beautiful addition to the interior.
Materials and tools for decoupage technique
First of all, you need to visit a store selling handicraft products, as well as a stationery store and stock up on some materials and tools. For the decoupage technique you need:
- paints (acrylic is better);
- glue for decoupage (or PVA);
- Decoupage varnish;
- napkins;
- brushes;
- scissors;
- sandpaper;
- elements of decor.
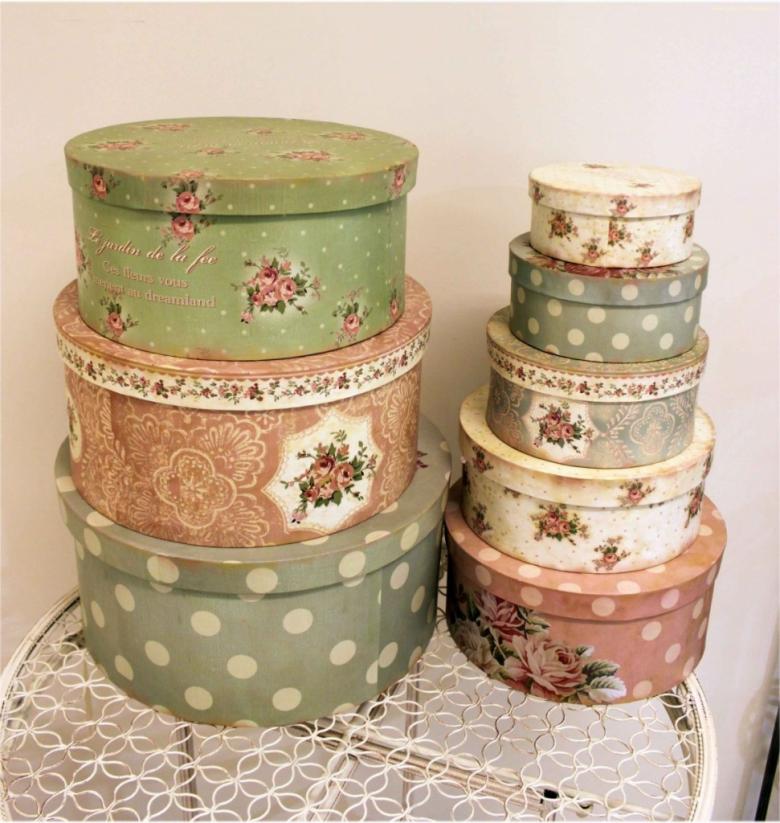
This is the minimum set. You may need something else to decorate, depending on the idea of making a unique handicraft.
Choosing pictures for decoupage boxes
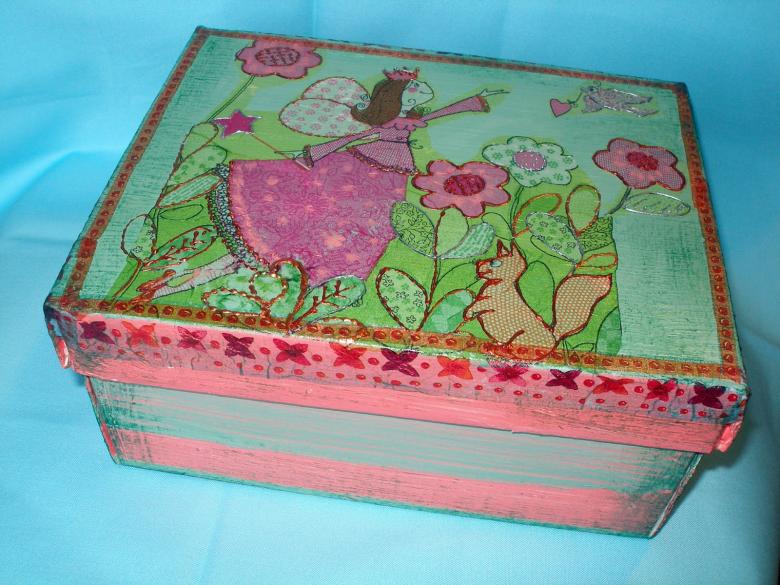
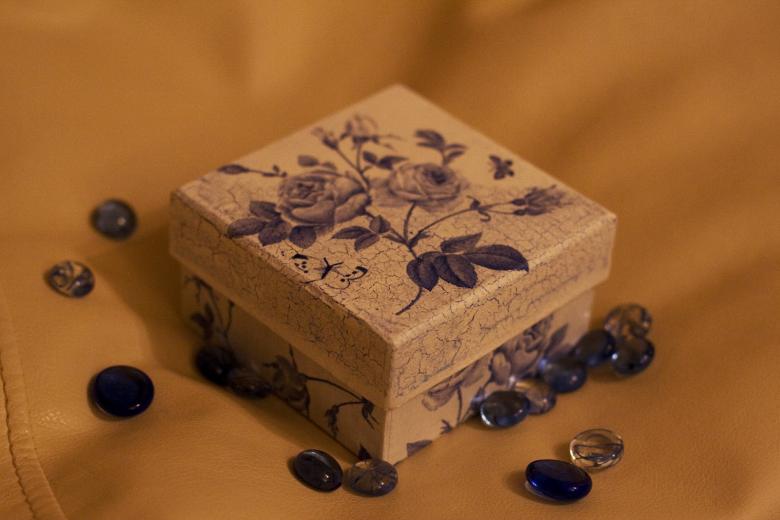
The choice of patterns for decoupage is a very responsible thing. It is necessary that the picture not just be beautiful but combine with the surroundings. If the box is made for a child's room, for its decor bright pictures with cartoon characters, toys or animals are suitable.
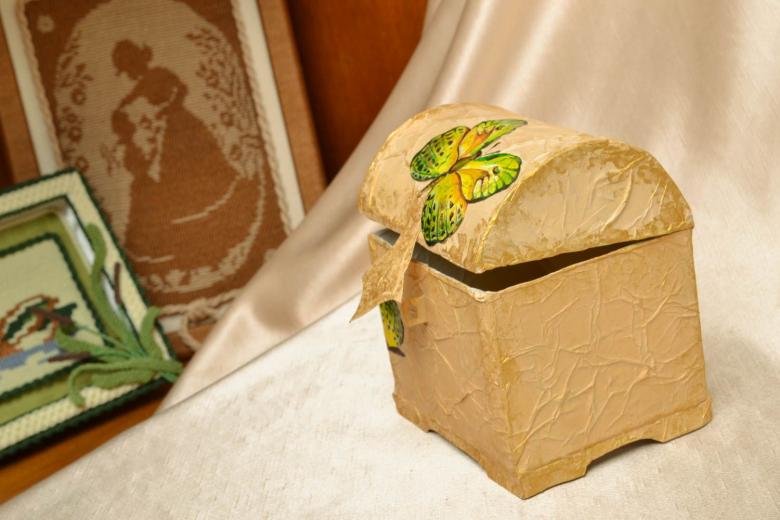
For the men's area of the house, boxes are appropriate to decorate with pictures of cars, guns, hunting or fishing scenes, depending on the man's hobbies. For the kitchen area, boxes with pictures of fruits, vegetables, trees or flowers are suitable. For gifts for relatives and friends are suitable boxes decorated with photos of children and grandchildren. The main thing is to think in advance about the subject and approach the work with love.
Decoupage of cardboard boxes
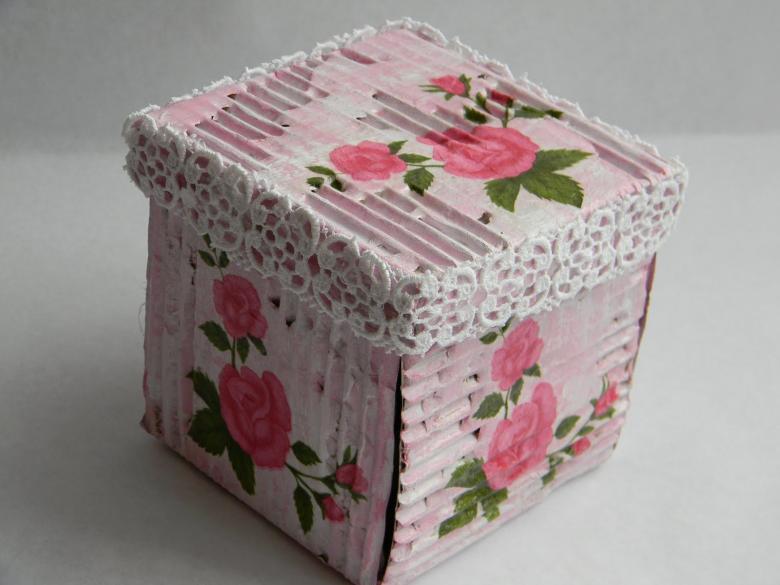
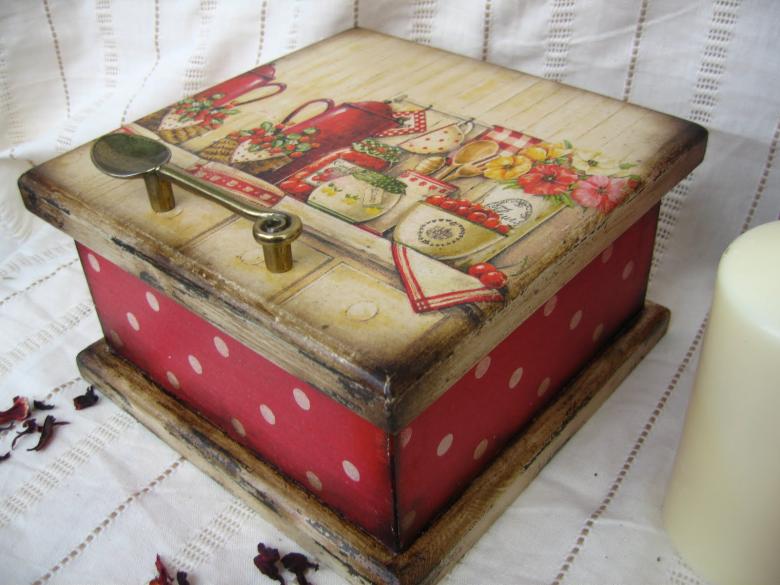
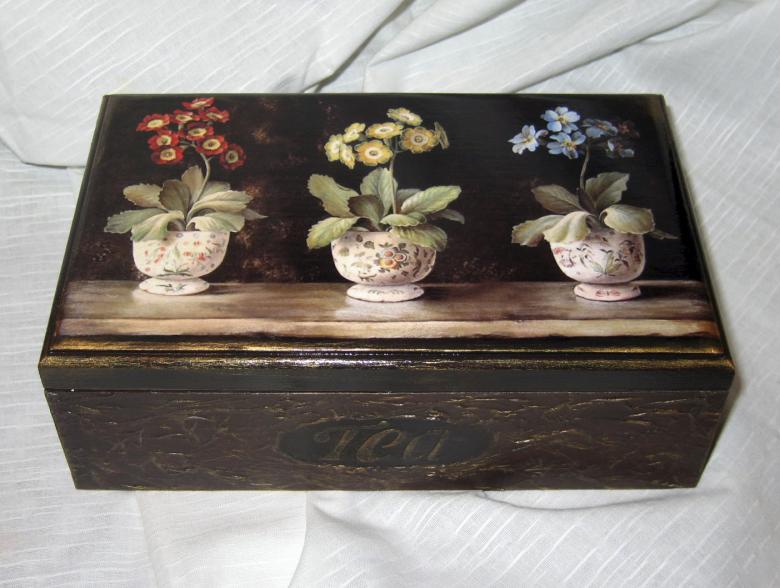
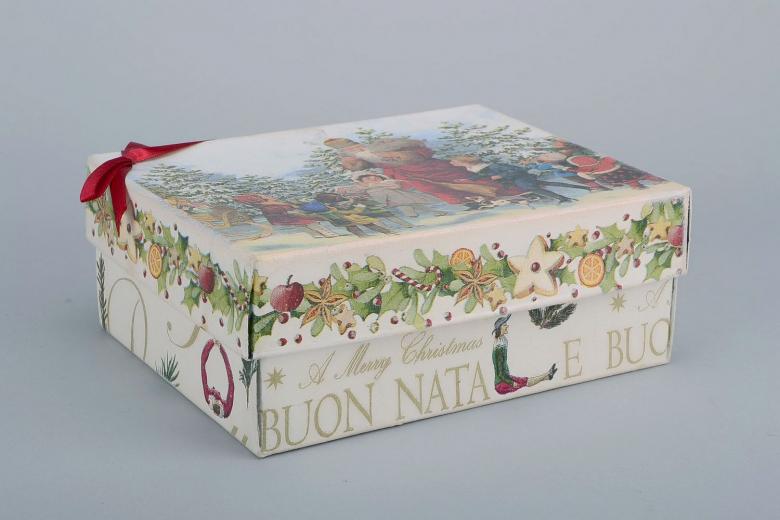
Decoupage cloths lie very well on the cardboard. If you take a shoebox and connect your imagination, from it you can make a unique container for bulk products, as well as a box for spices or for tea.
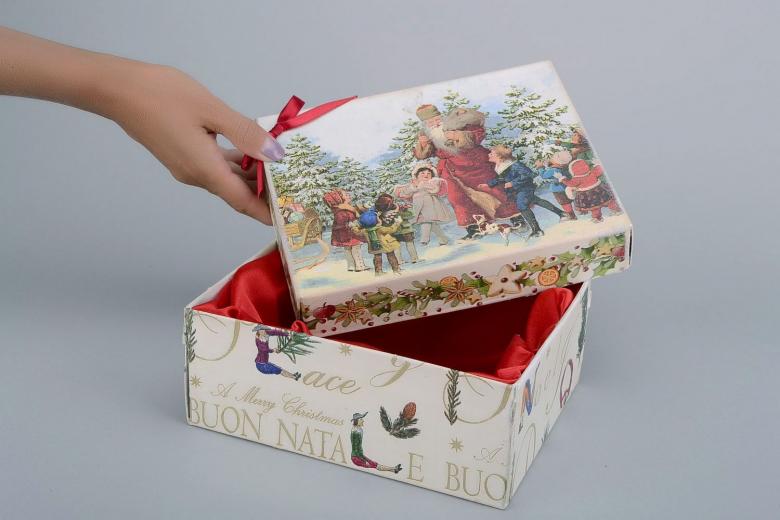
To decorate cardboard boxes, be sure to glue all the corner joints in it with masking tape. White paper is also suitable. Then you need to take a white primer and cover the entire workpiece with it, then dry and sand it. Such manipulation should be repeated three times, so that the product will be strong and last a long time.

Then paint the box in the color of the base for the picture. Separate the top layer from the cloth, the one on which the pattern is applied. Then spread the glue well over the entire surface of the box and glue the cloth on it. Iron with gauze all glued parts of the box and let the glue dry. Then, if desired, you can add some elements with paint, and also brown paint to "olden" the edges. Be sure to varnish the box in 3-4 layers. A useful and beautiful container is ready.
Technique of decoupage for wooden boxes
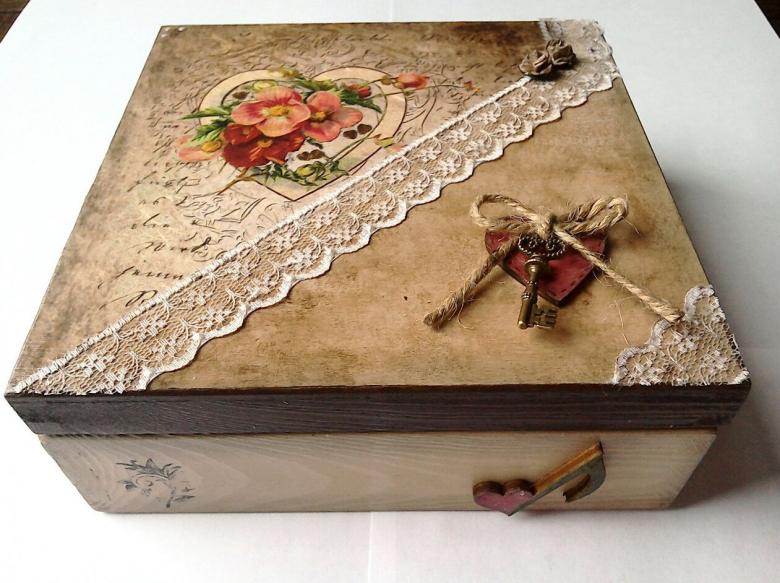
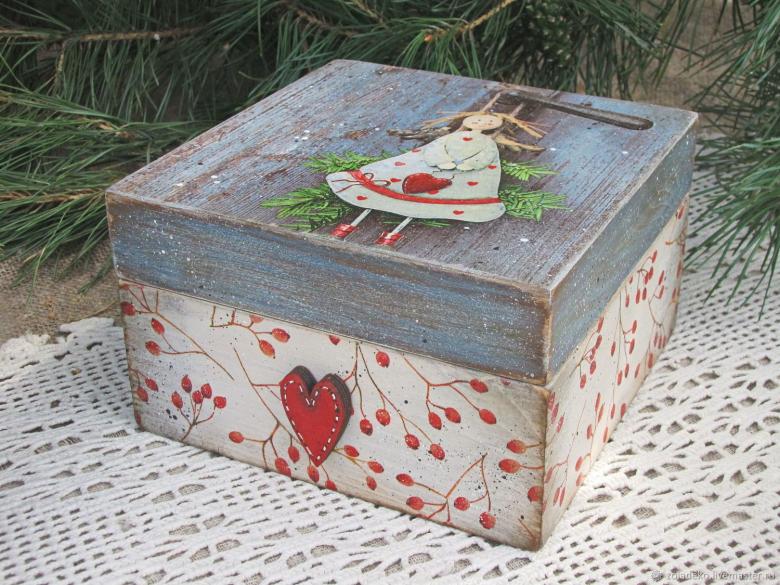
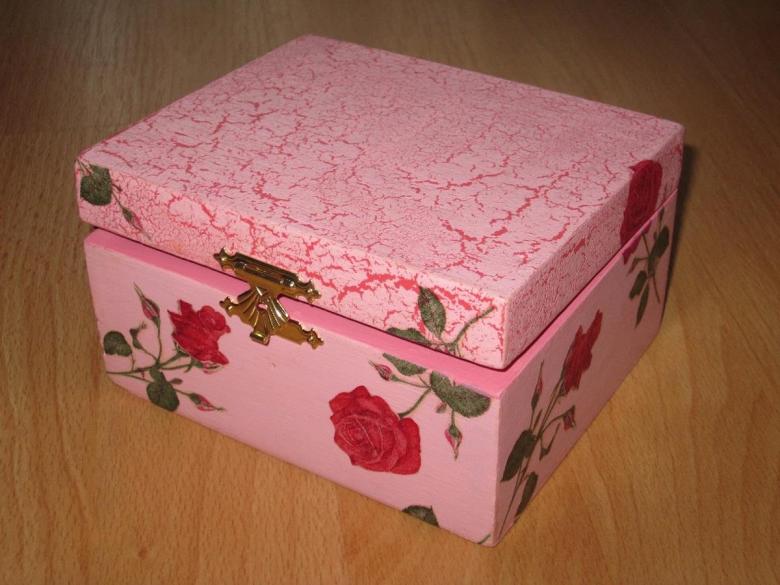
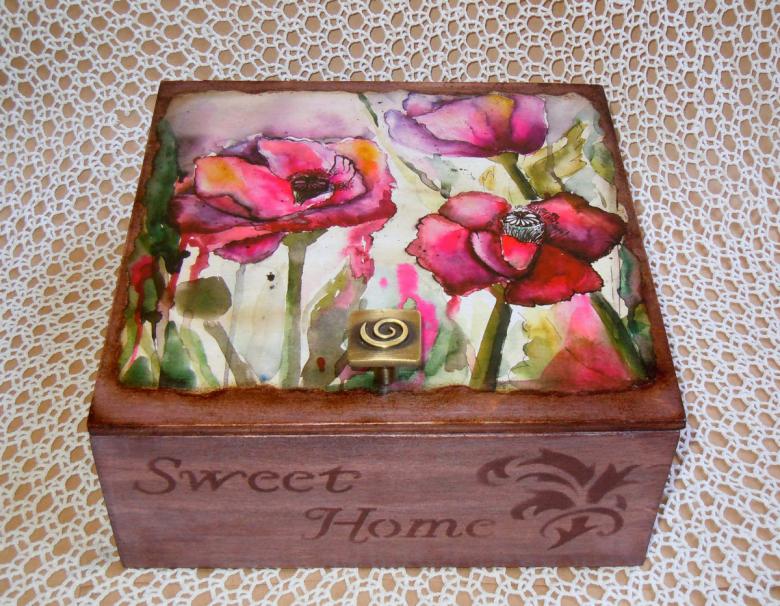
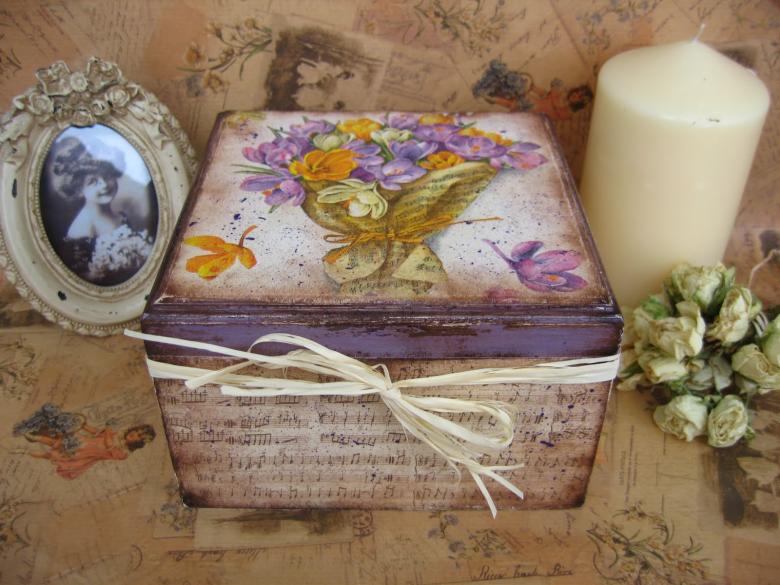
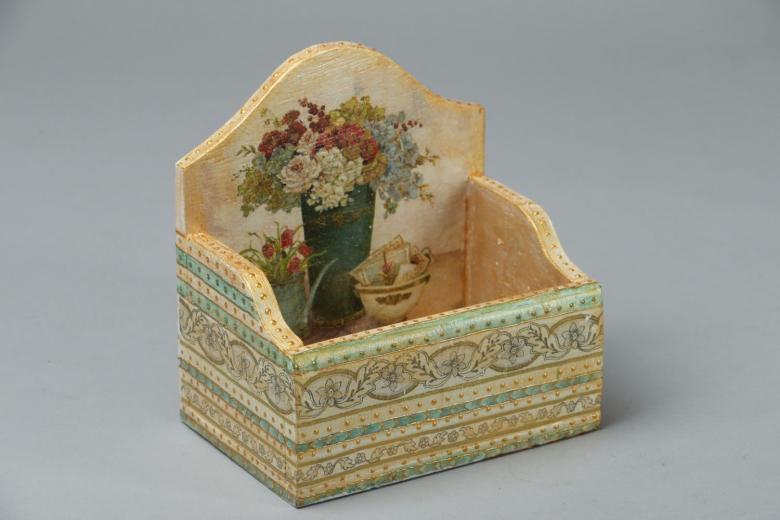
Wooden boxes are good to use as gift boxes, for example, for wine. Any wooden workpiece must first be prepared: treat it with sandpaper. Then, after removing the dust from it, degrease it with alcohol. All the surface of the workpiece from the outside should be coated with primer in several layers, and the lid should be especially carefully coated.
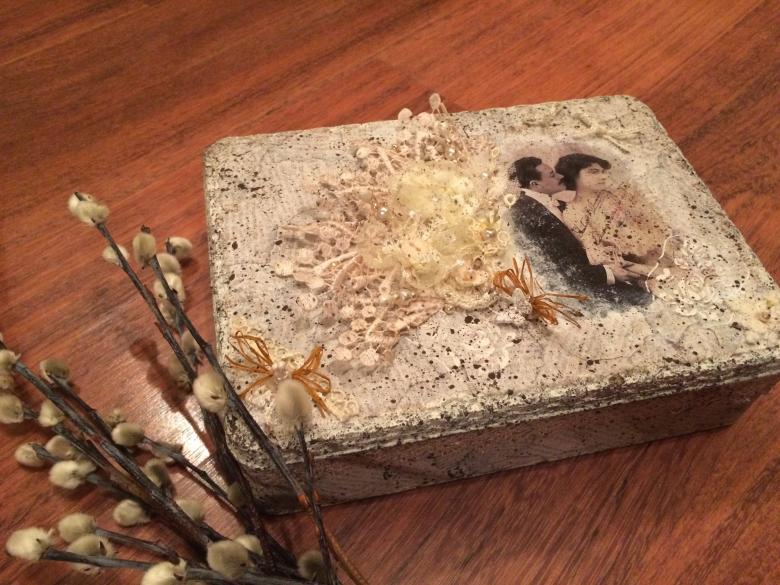
The inside of the blank should be treated with stain, and the outside should be painted with a mixture of 2-3 colors. Separate the top layer of the napkin and tear out the necessary motifs by hand so that the edges of the napkin are torn. Wet the elements and apply them to the workpiece, smear them with glue. Dry the workpiece and varnish it in several layers. You get an "aged" box for a good wine, which is not embarrassing to give to a friend or girlfriend.
Decoupage for a plastic box
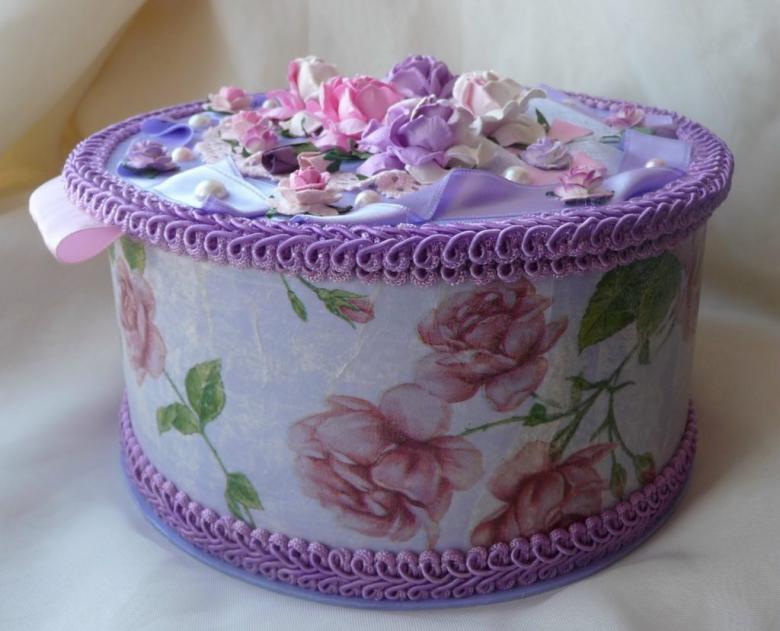
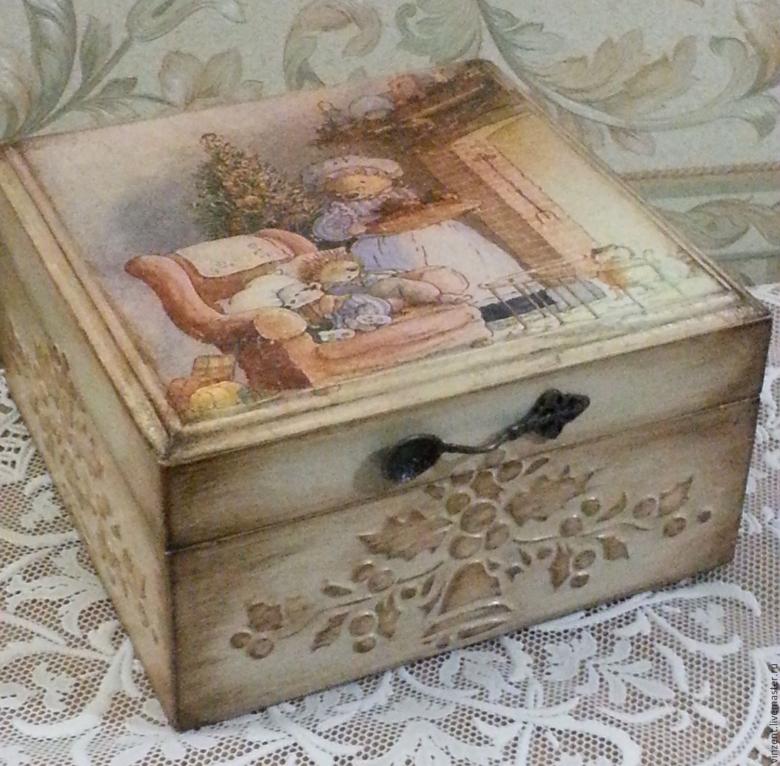
Plastic round and rectangular boxes from under various products are well suited for making various boxes. In them you can store candy, other sweets, materials and tools for needlework. It is easy to combine the technique of decoupage on wood with other techniques.
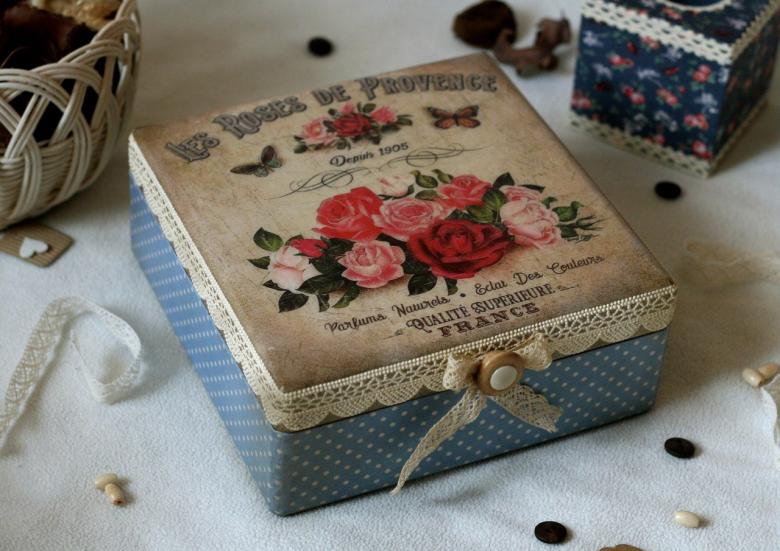
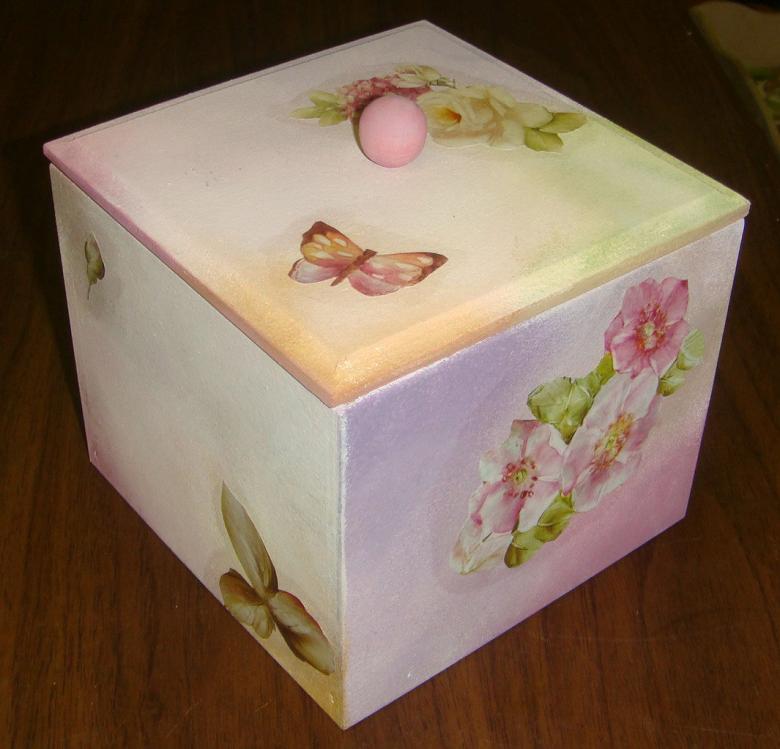
First, the plastic box should be glued with white glossy paper. Then cover it with primer. When the box dries, you can glue to the outside of a napkin with this or that pattern. The areas free of tissues can be painted over and the entire surface can be varnished.
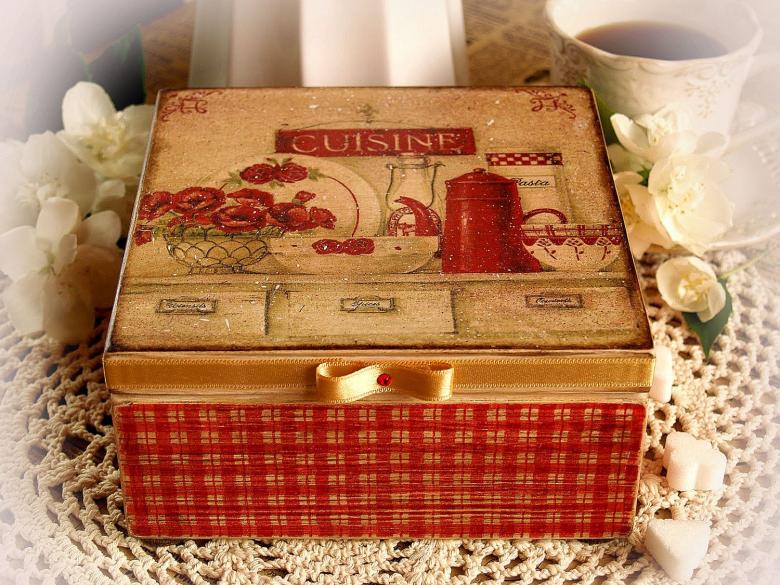
After drying, the box can be decorated with flowers, lace, ribbons, beads, corrugated paper and other decorations that the artist finds.
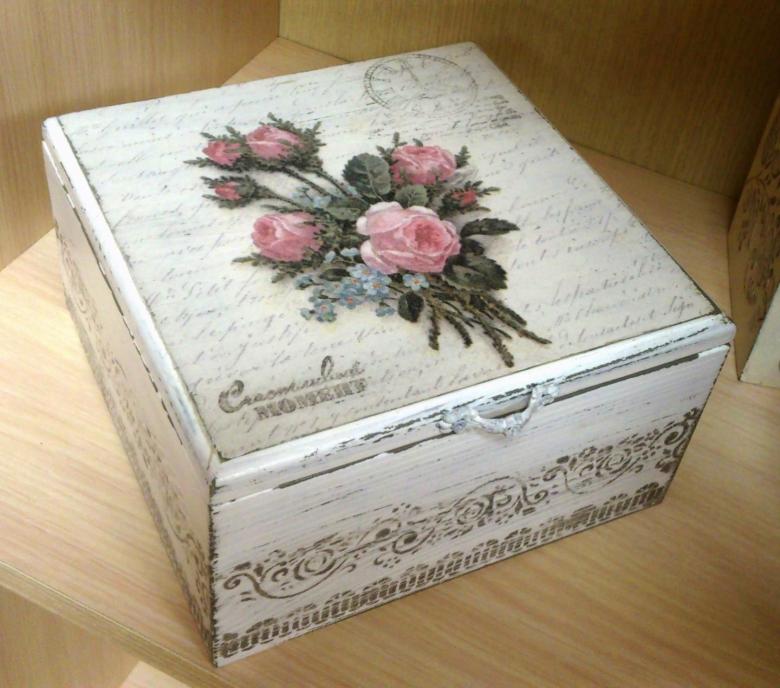
A useful jewelry box
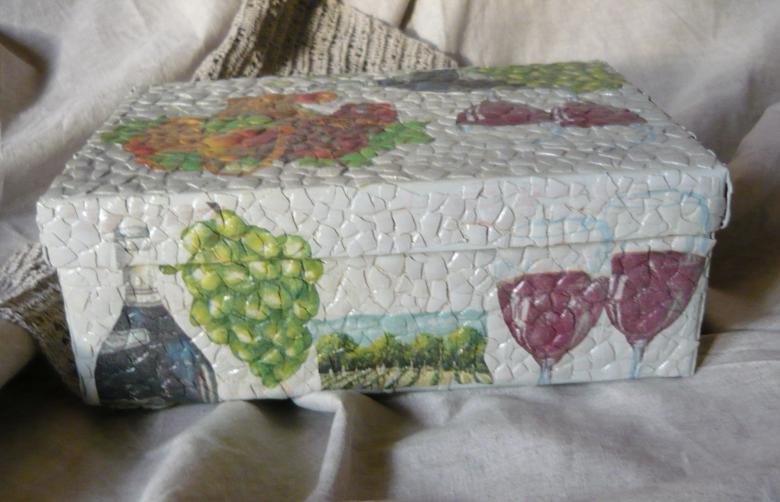
Having prepared the necessary size of the box, it is necessary to cover it with primer and paint it in the main color. It is better not to paint with a brush, but to blot with a sponge, so the surface will be more spectacular. Then you need to take the eggshells, wash them with soap and water, remove the film and dry them. Then glue its small pieces on the surface of the casket, smeared with PVA glue. On top also smear it with glue.
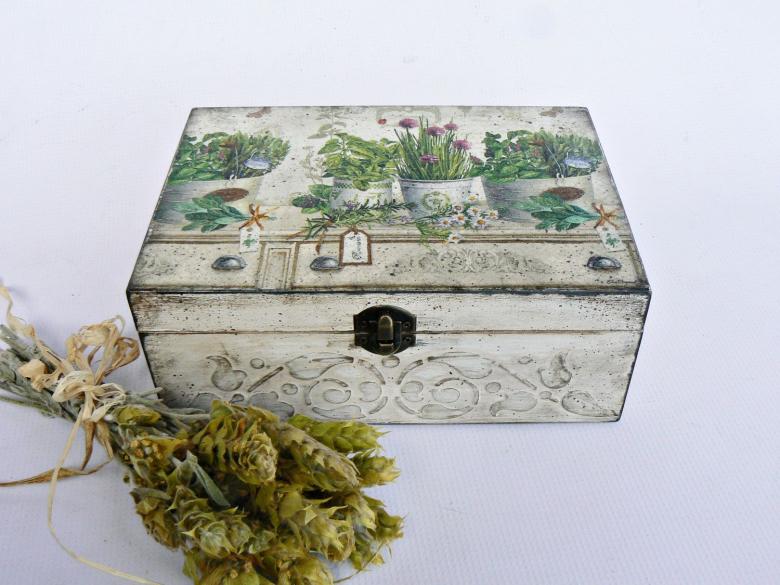
Then apply fragments of tissue paper on the surface and cover with several layers of varnish. The inside of the casket can be beautifully lined with knitted fabric. This will create a stylish jewelry box. Such a box with soft walls inside can also be used to store Christmas decorations. It can also be given as a New Year's gift along with toys to please girlfriends or colleagues.
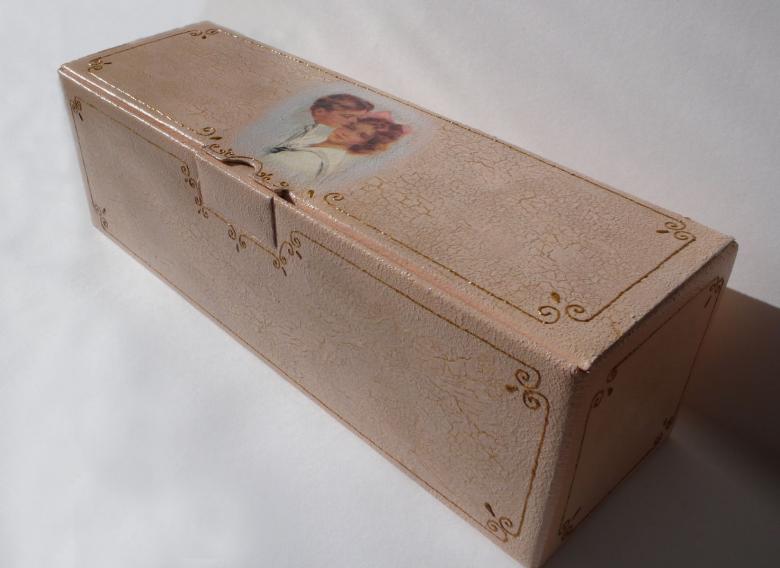
Box for storing children's toys
Taking a large box, you can make a container for storing children's toys. To perform in the style of decoupage a large box will need to work hard. It will have to be covered with a large layer of primer and 5-6 or more coats of varnish in order to give the products greater strength. But there are a huge number of baby images on sale. And every holiday you can please children with new and new boxes for toys.
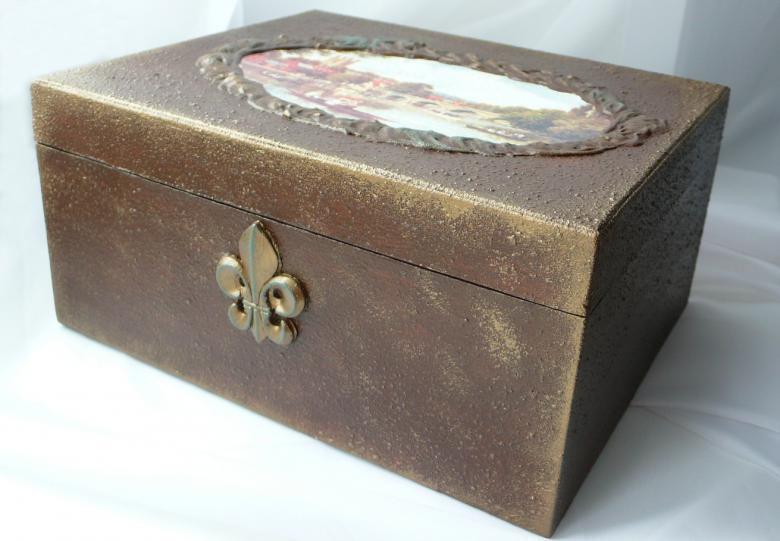
On the Internet today you can find many master classes on how to make different boxes in decoupage style, which is easy to do with their own hands. There are also photos and pictures for the decor of such boxes and boxes. You only need to connect your imagination, and such products will long please the home with their beauty and originality.

