Decoupage in chebby-chic style - simple master classes of chair and casket decoration for beginners (63 photos)
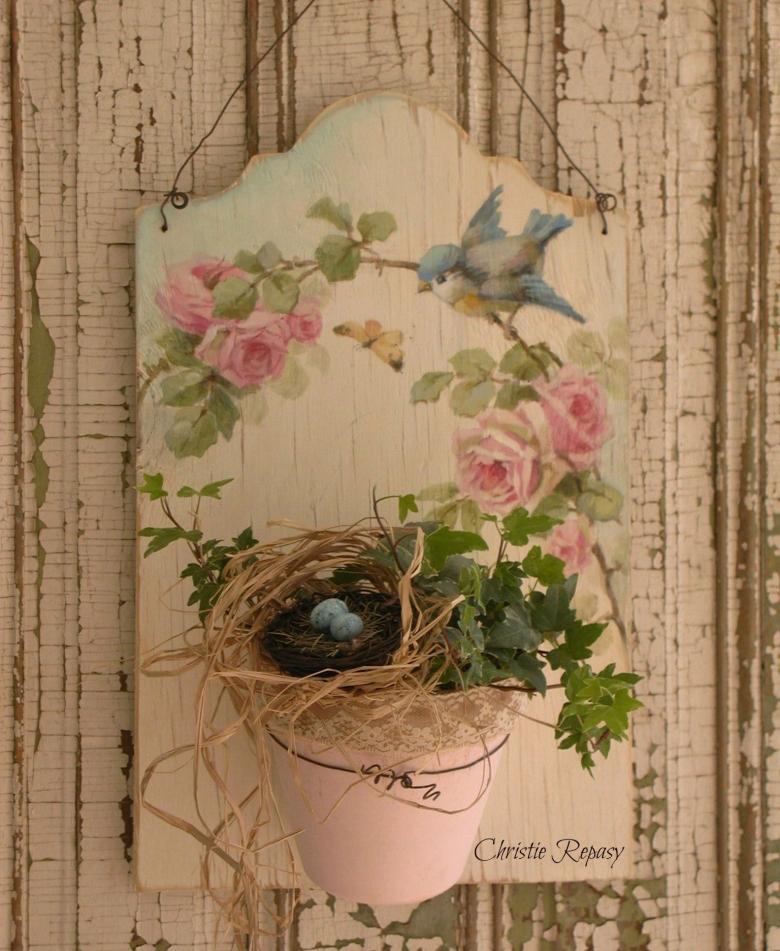
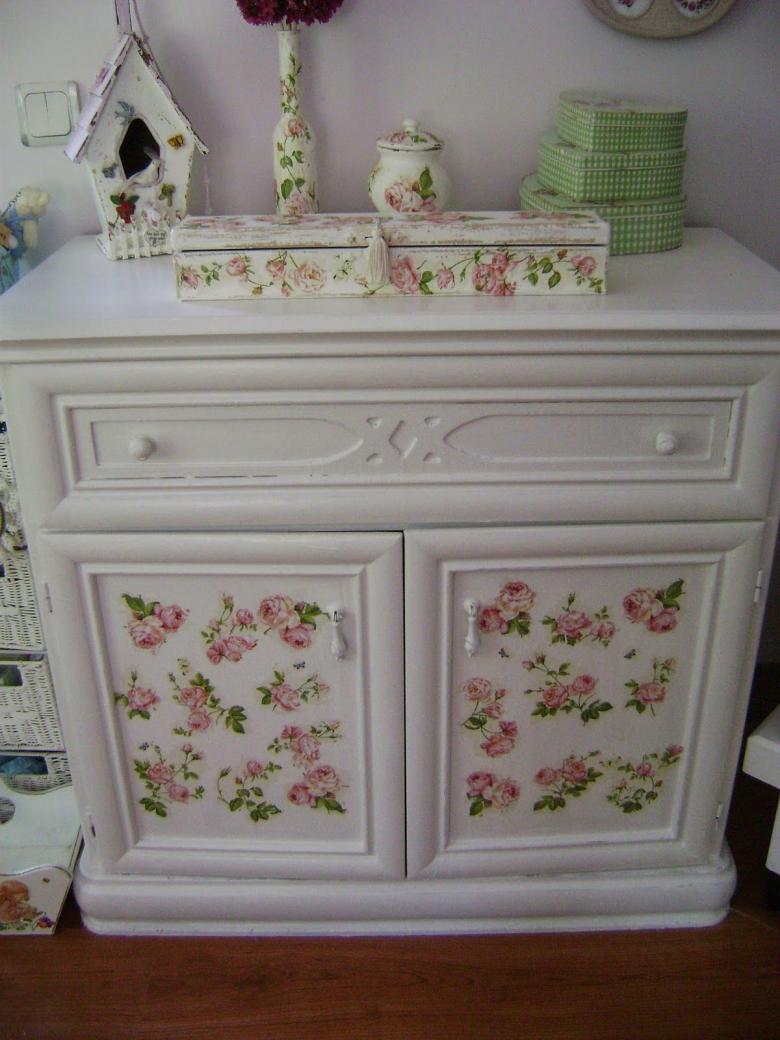
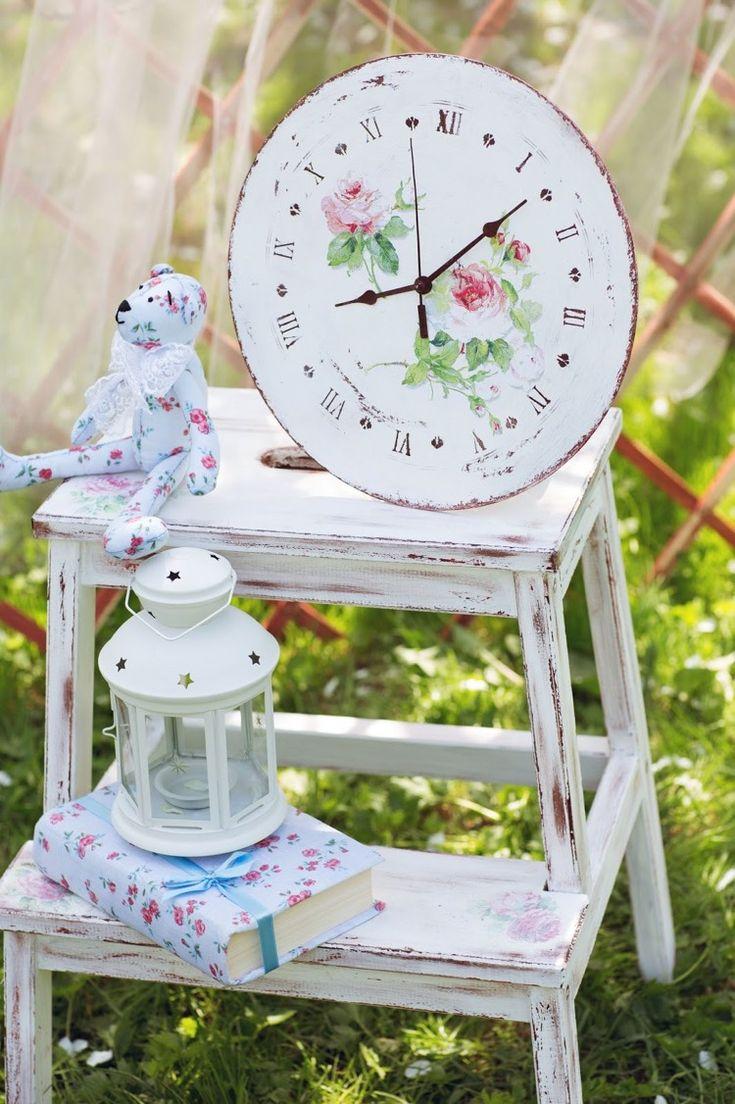
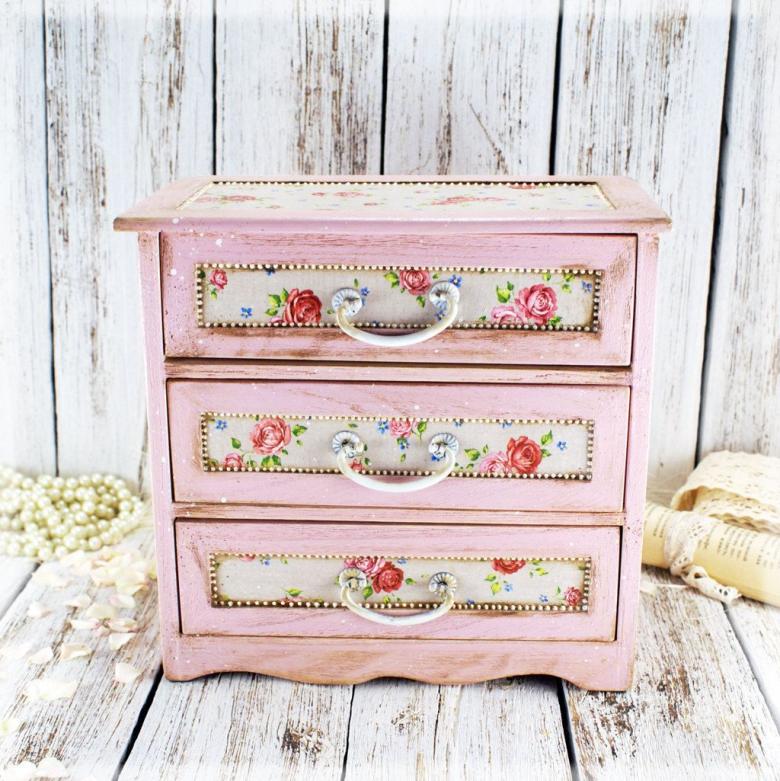
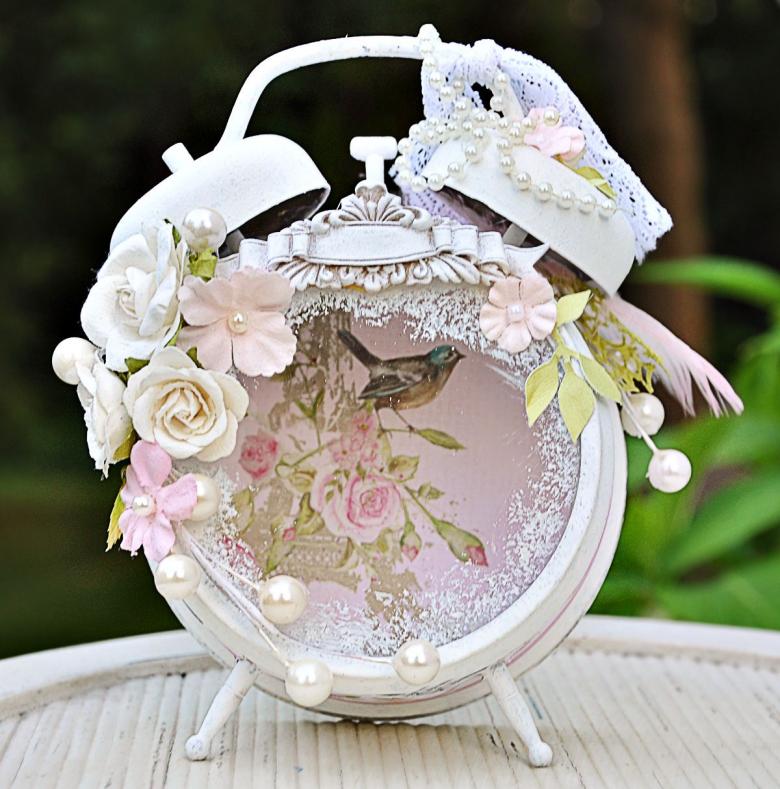
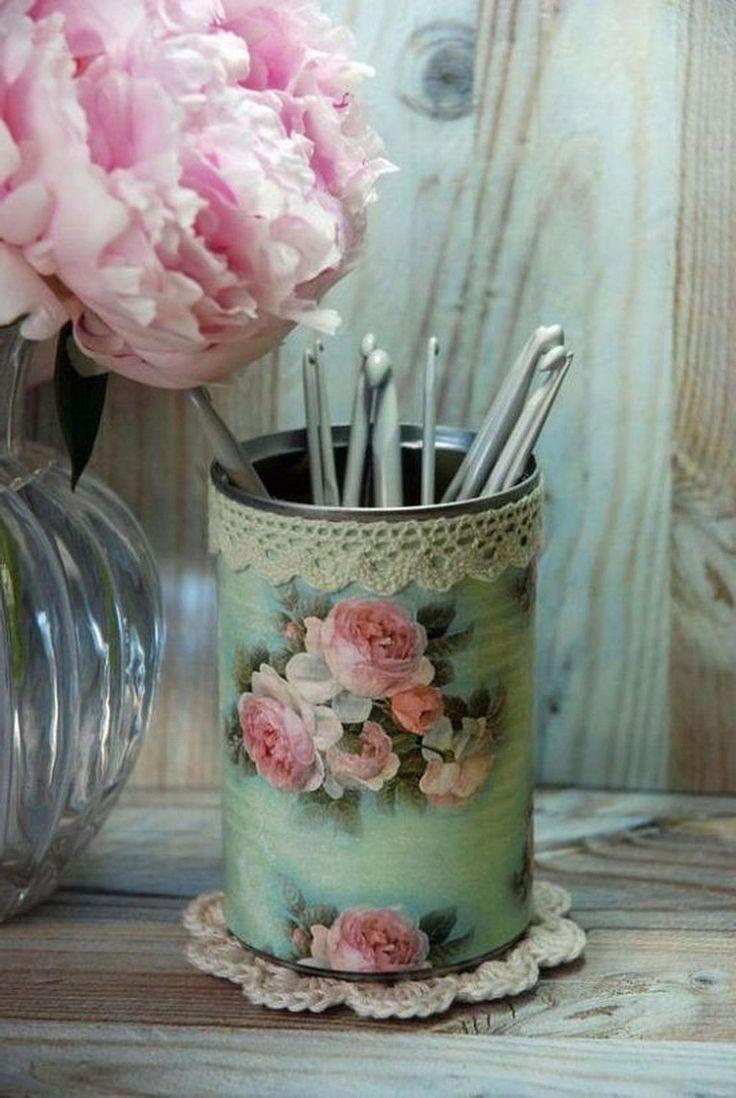
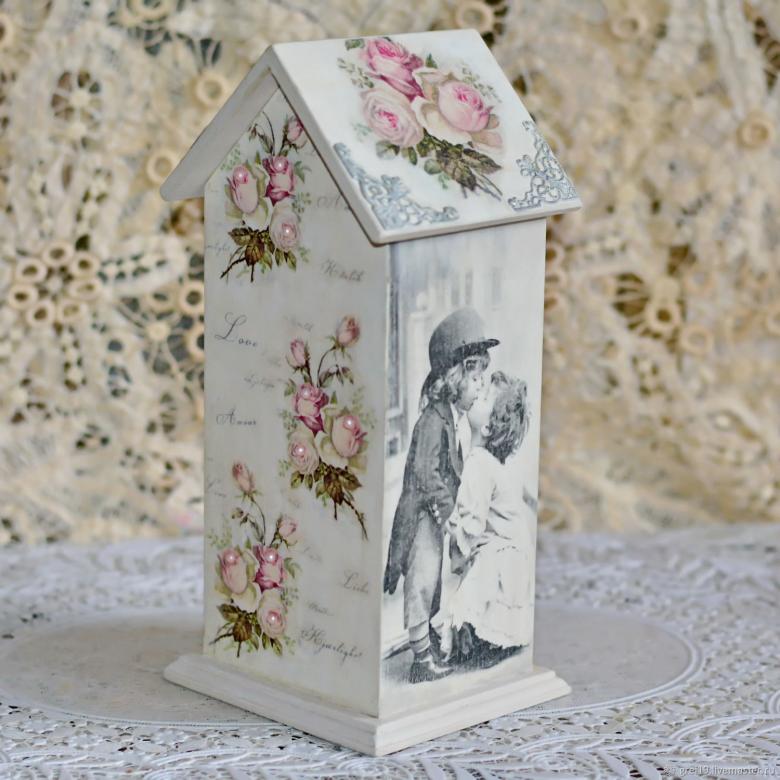
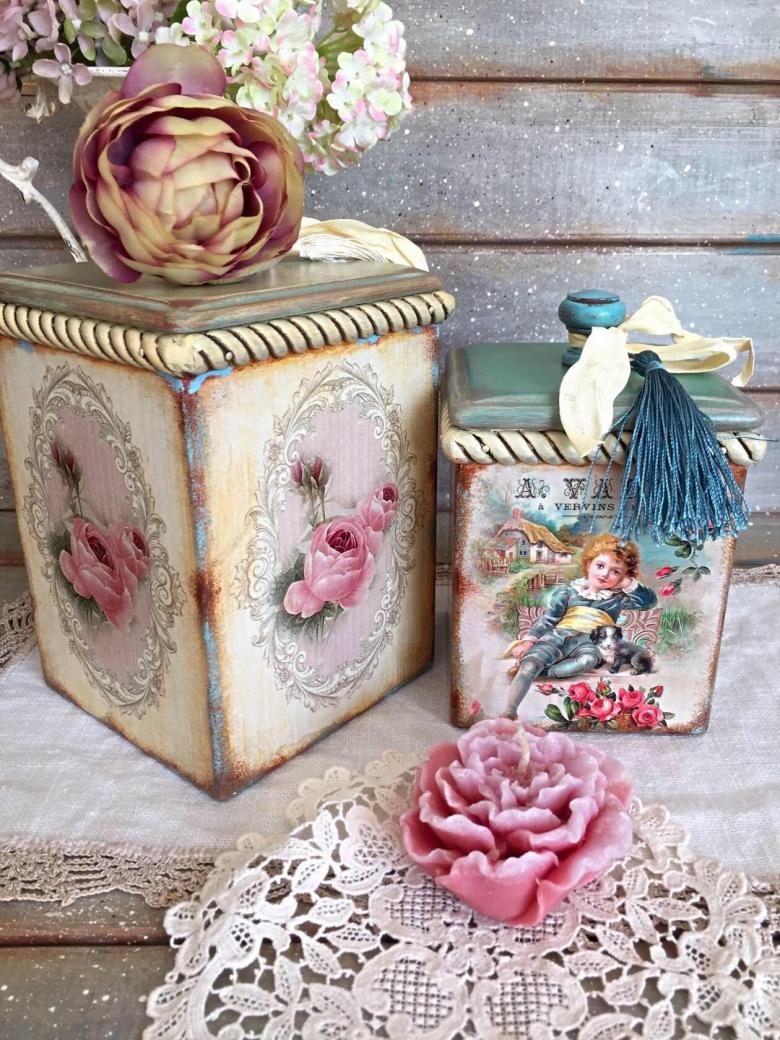
The design style of shebby-chic is very popular in decoupage. Decorating in this direction gives things vintage and sophistication. Shebby-chic can be literally translated as "shabby shine", which reflects its features.
A bit of history
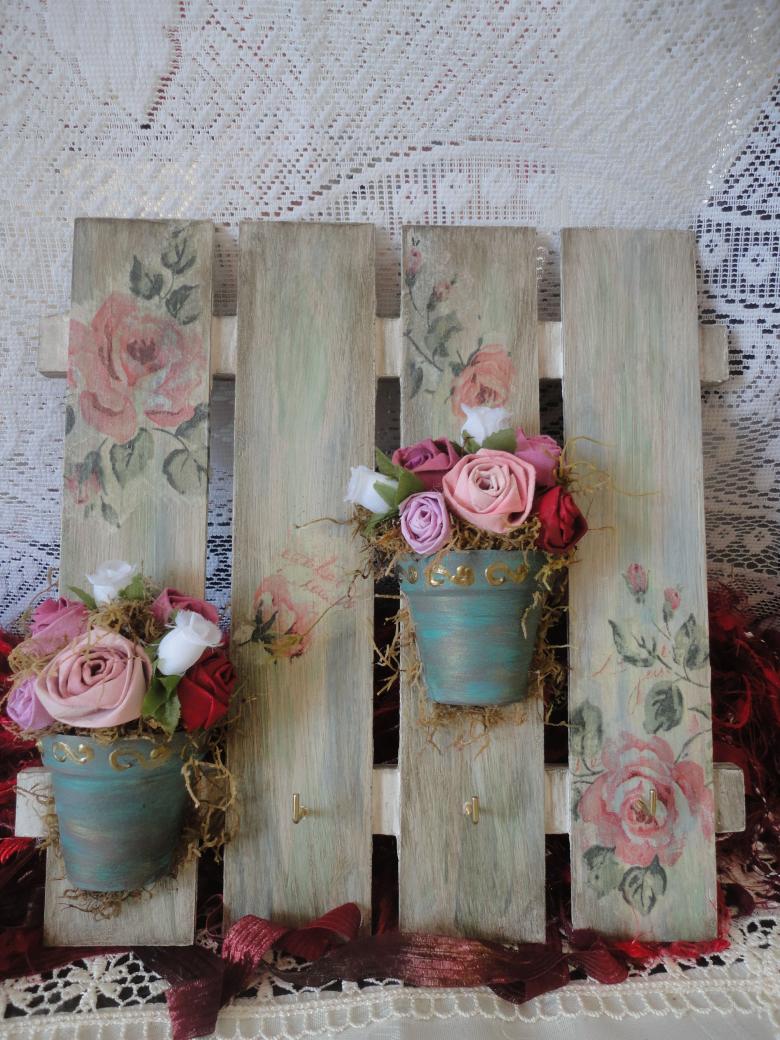
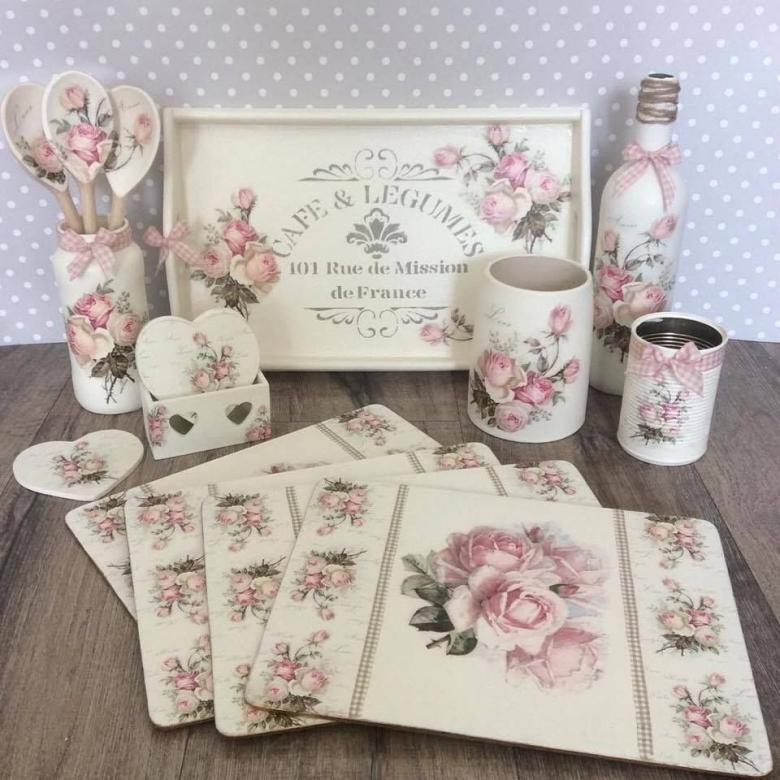
In the 80s of the twentieth century, an Englishwoman Rachel Ashwell engaged in the restoration of things that had lost their appearance, bought at the flea market. After her hands transformed them, unwanted old objects acquired a sophisticated, elegant look and new life. Her work was characterized by imitation of antique surfaces, a delicate combination of pastel colors, and the use of design elements from old England. At first Rachel only restored furniture for her home, but over time she began to sell it. Later she began decorating other interior items: caskets, dishes, wall panels, bottles, mirrors, trays, photo frames.
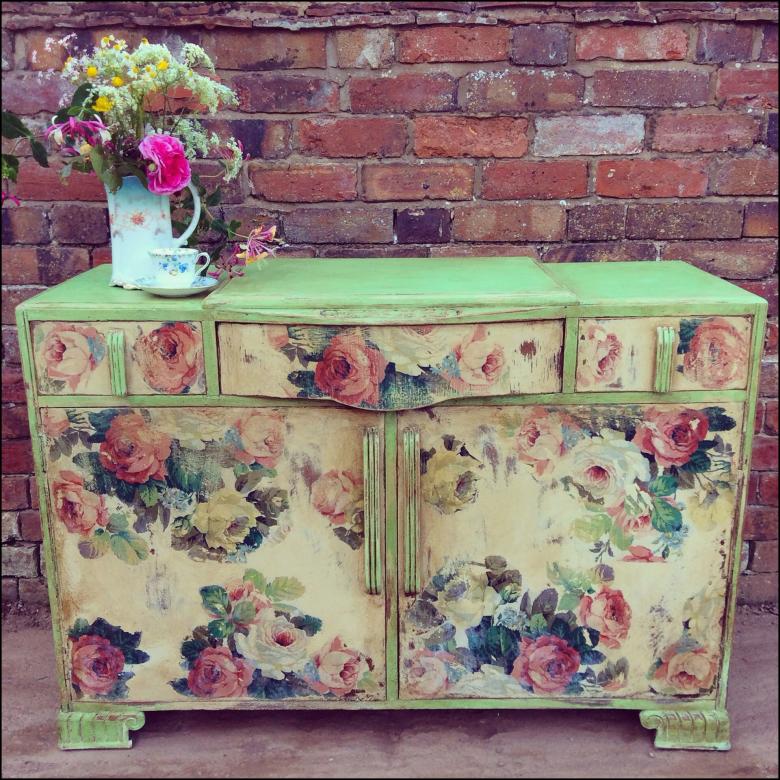
Not only the family old furniture and household items were decorated, but also all sorts of things from flea markets and sales. Not everyone liked this solution, so the idea was born to artificially create the effect of antiquity, which is called "chic chebby", meaning "shabby chic".

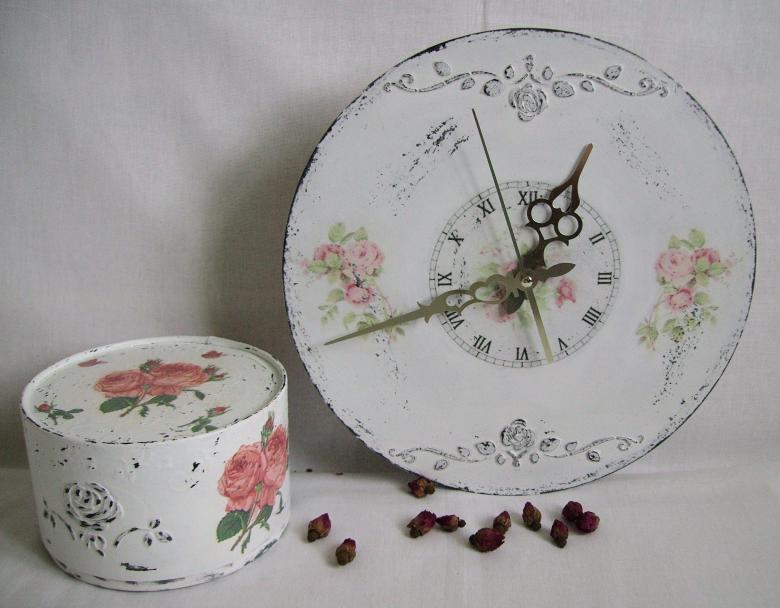
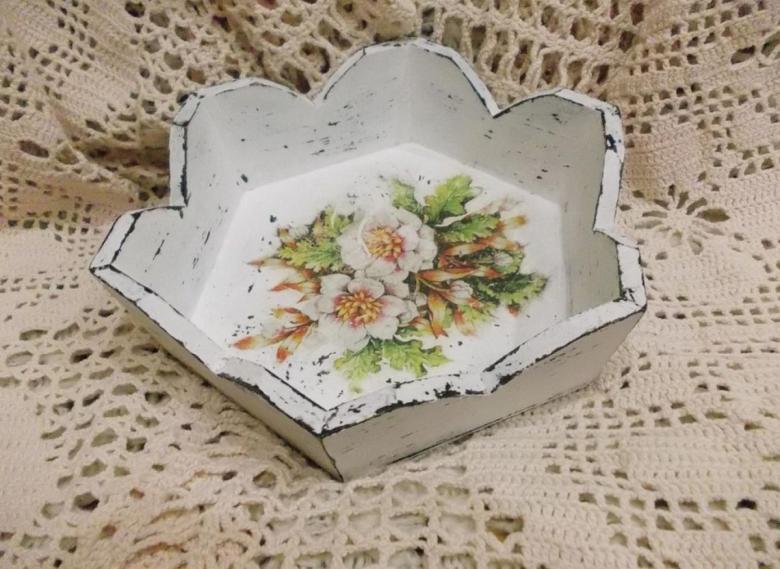
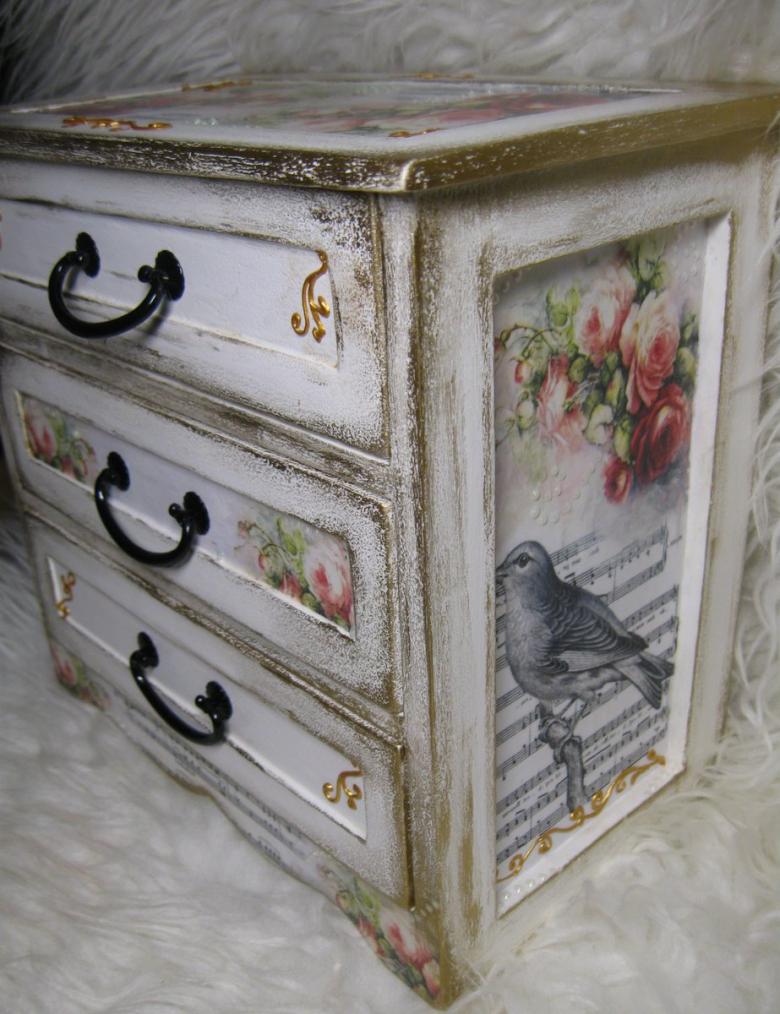
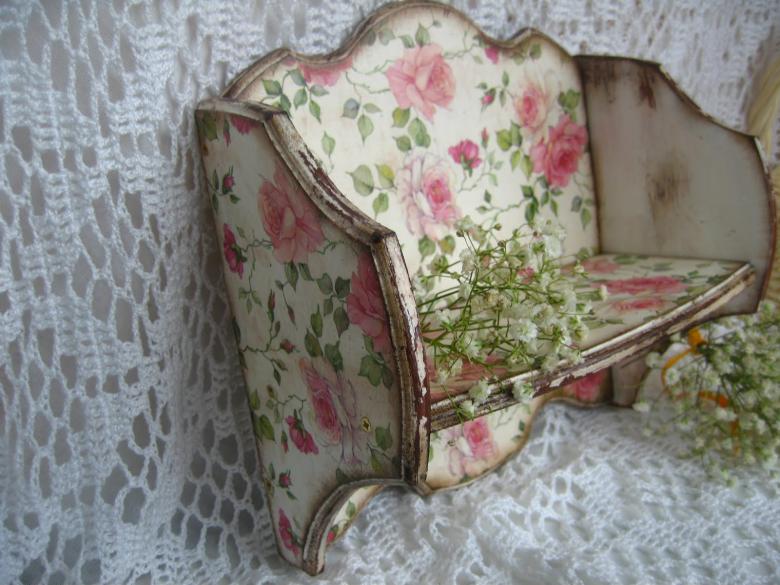
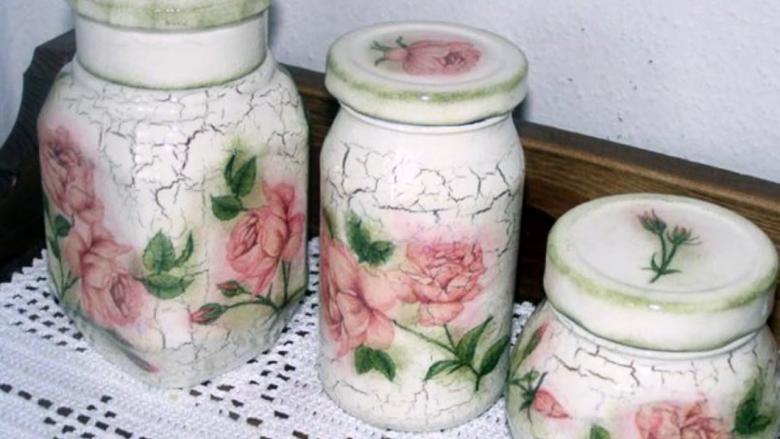
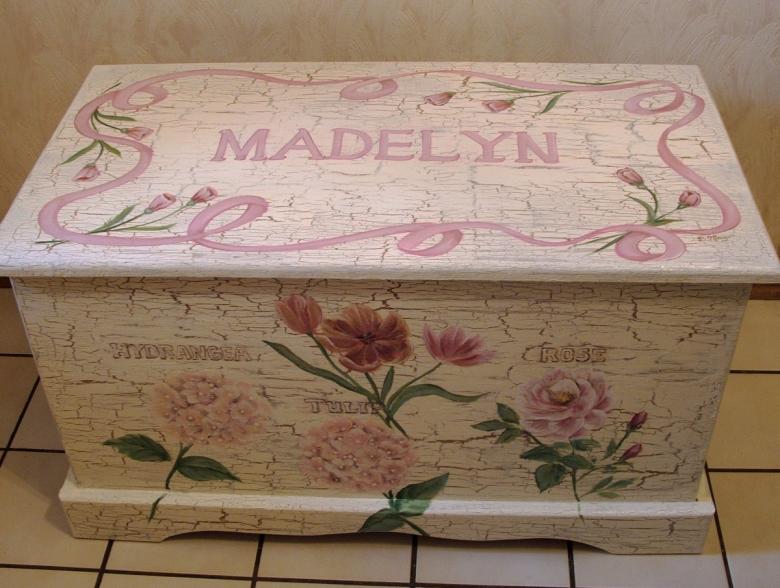
The style is very popular in decoupage. For decoration techniques are used aging and subsequent decoration, such as gilding, volumetric decoupage, gesso, smoky decoupage. But regardless of the method, the general design direction of chic chebby: pastel colors, tenderness, romance is preserved.
The basic elements of chebby-chic
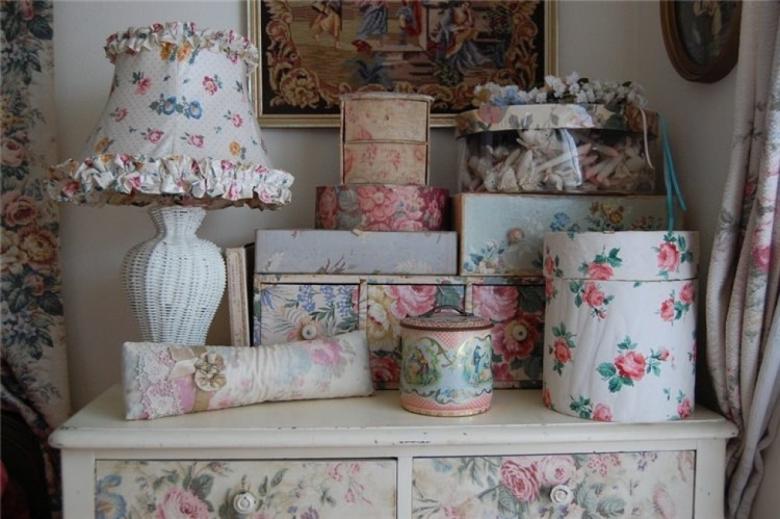
Updating a table, chair or grandmother's dresser allows you to change not only the object itself, but also the atmosphere in the room. You can completely update the design of the room, arranging it in the style of old England.

Distinctive features of the style:
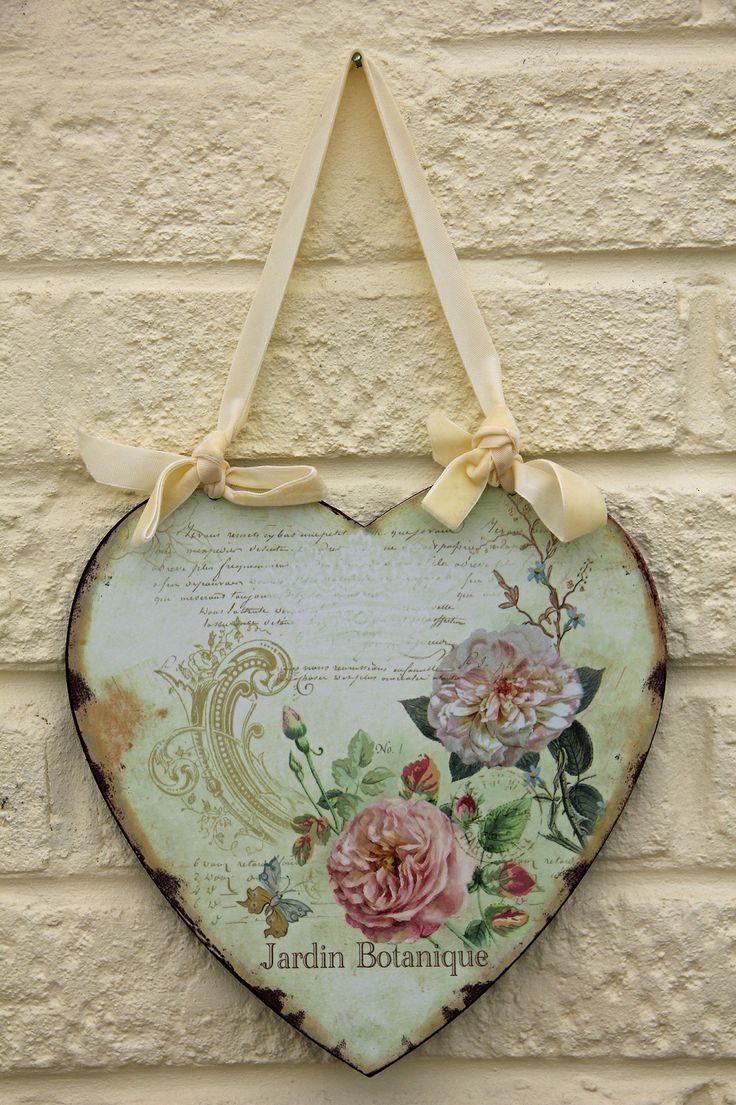
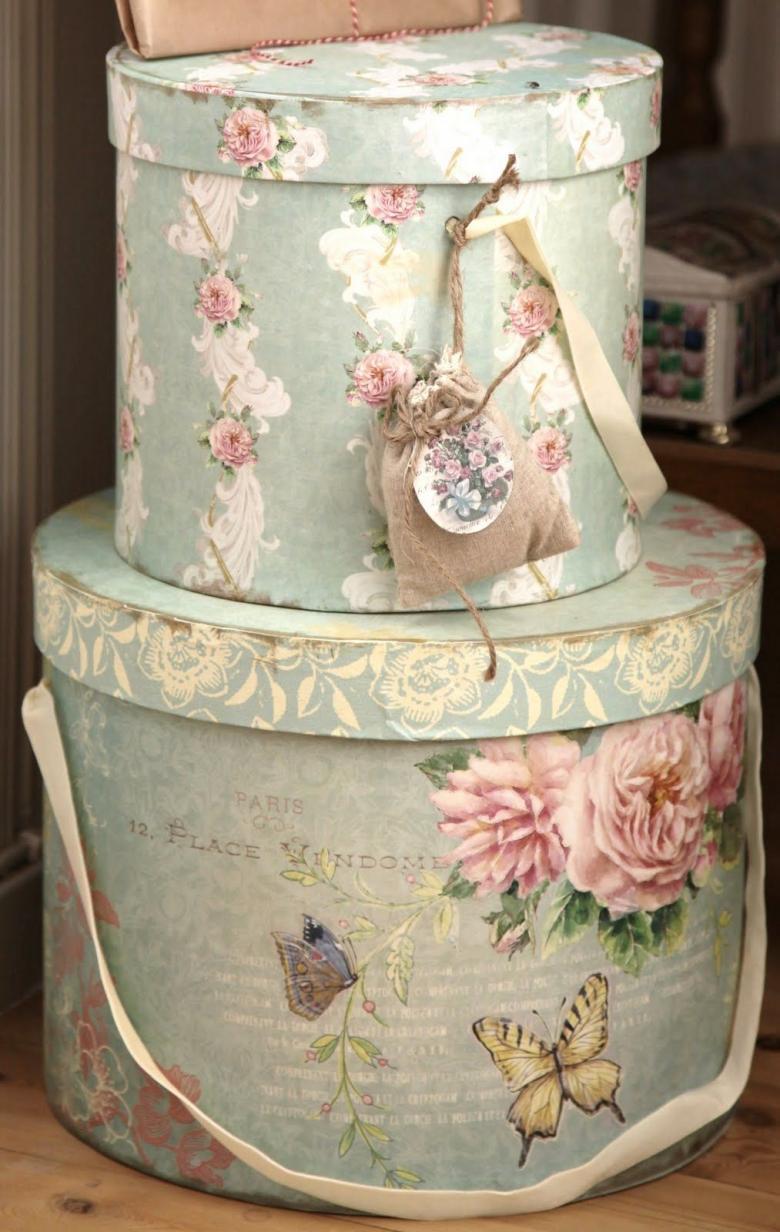
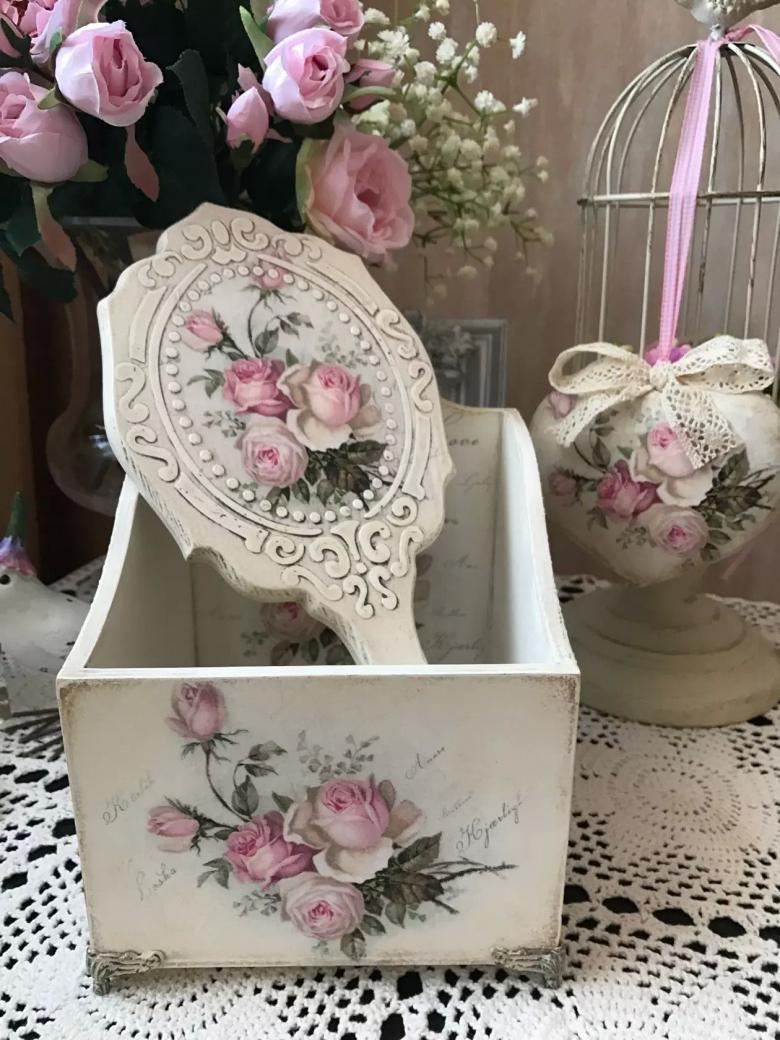
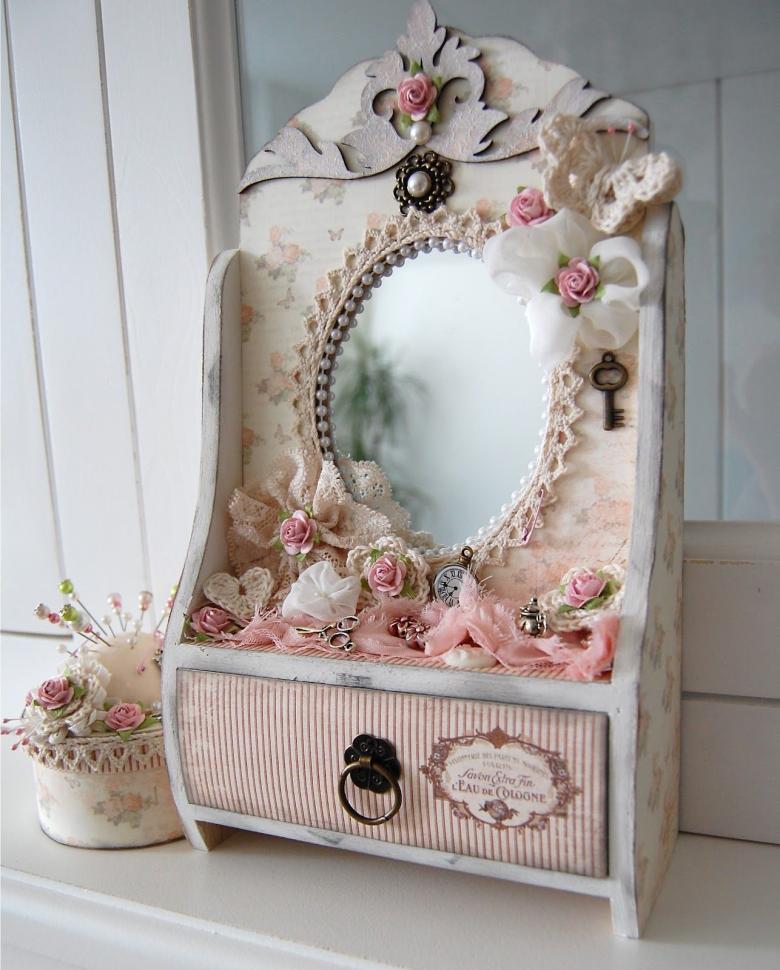
- Pastoral motifs are used as decor - birds, flowers, angels, lace;
- Pastel shades are used: soft pink, gentle shades of white, light blue, ivory;
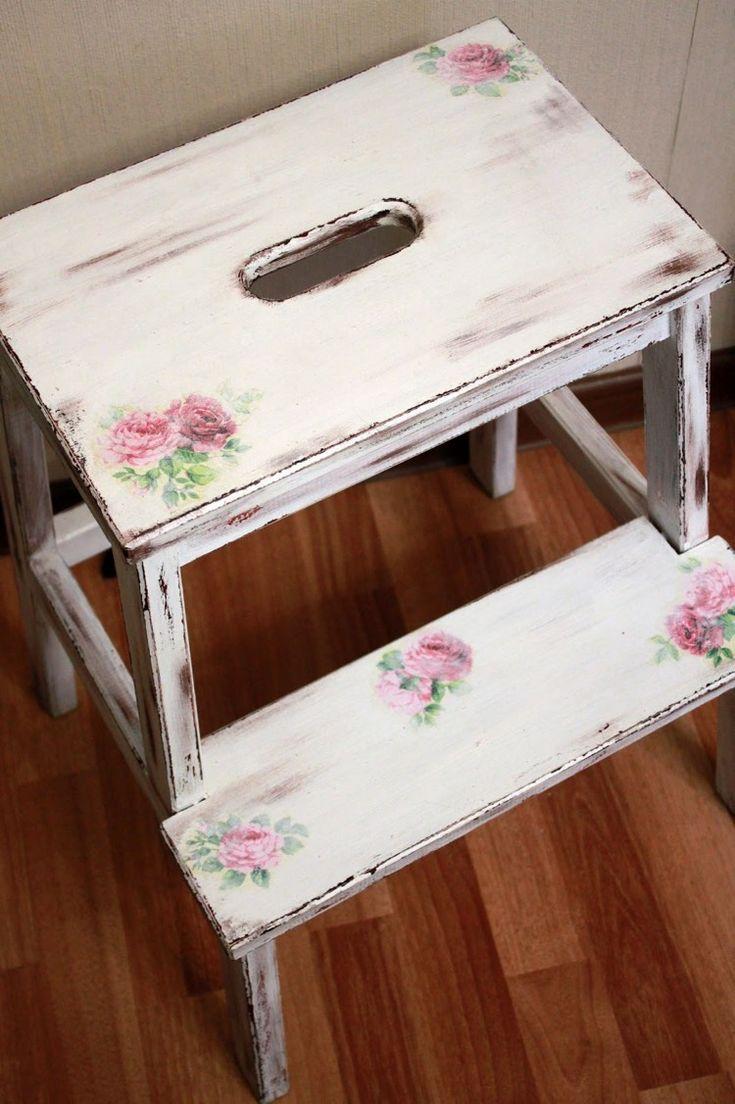
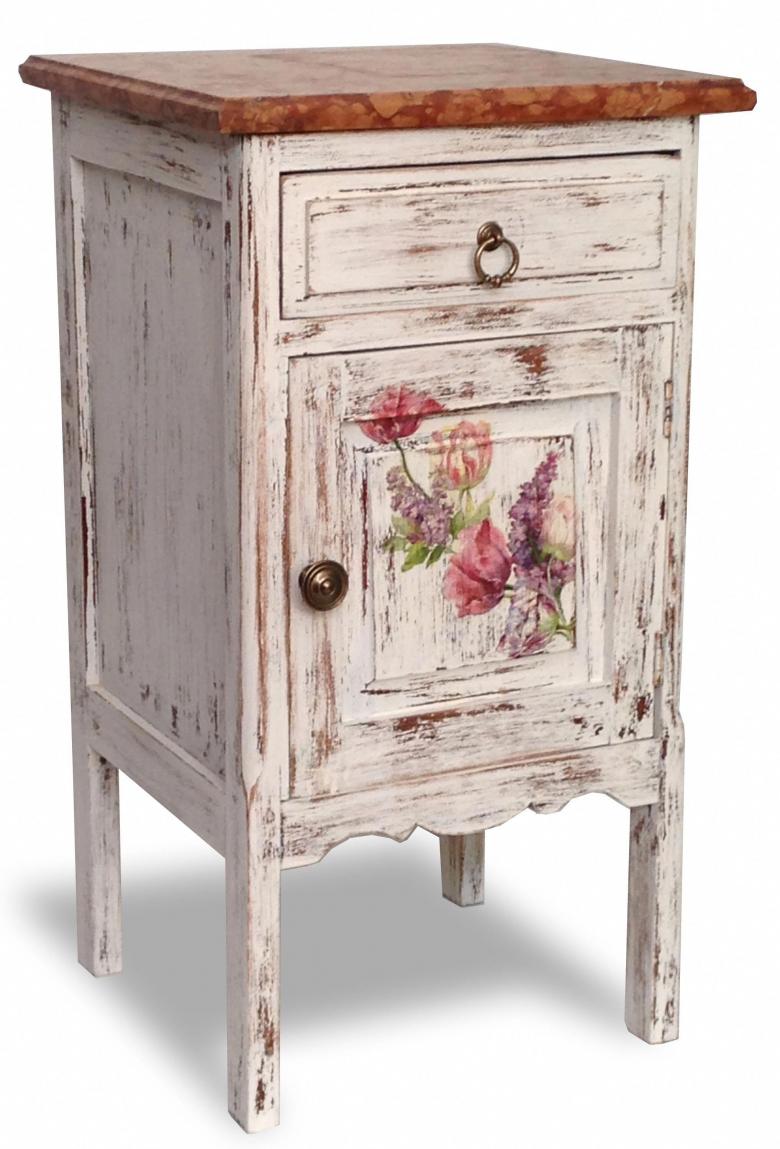
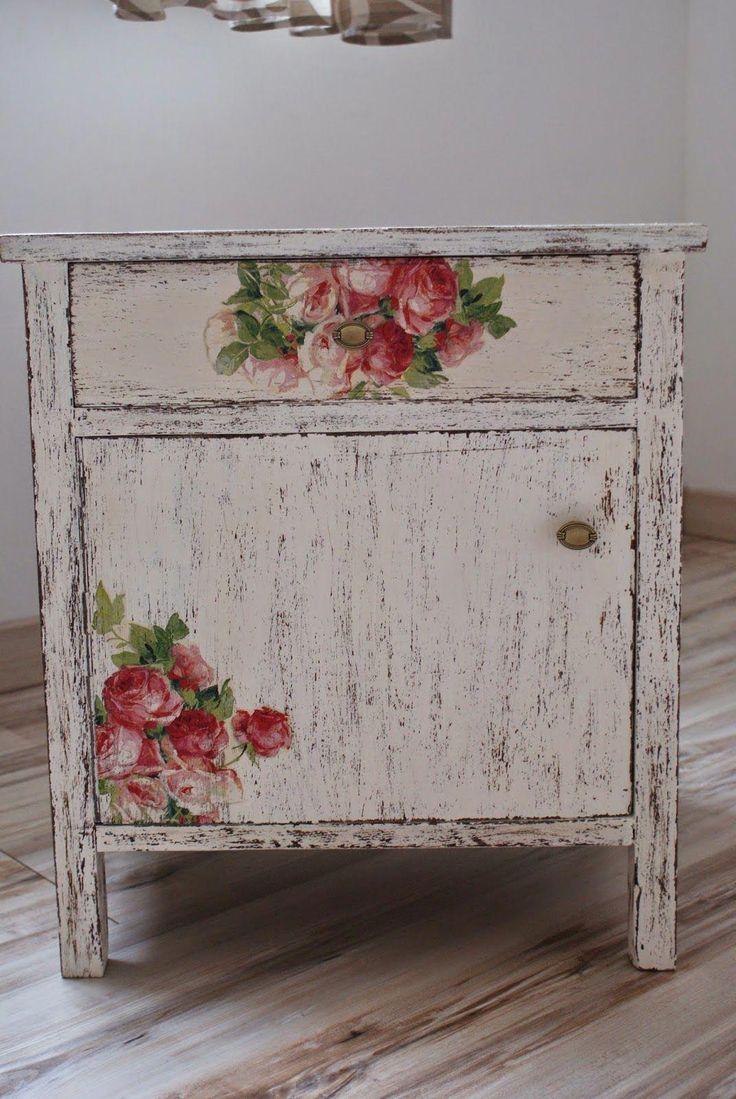
- Decorating with the creation of scuffs, the effect of old things. It should seem that the object was painted many times.
- Uniformity of style is important, you can not deviate in other directions.
- Do not use drawings with geometric figures for decoration.
We have prepared master classes for you on the decoupage of the chair and the casket.
Decoupage of a chair in chebby-chic style
For the process of restoration we prepare the following tools:
- The chair;
- Acrylic paint;
- Sandpaper;
- Brushes;
- Paper napkins with pictures;
- White spirit;
- Sponge;
- Burnt Acrylic Umber;
- Acrylic varnish;
- Acrylic sienna;
- Candle.
Step-by-step master class
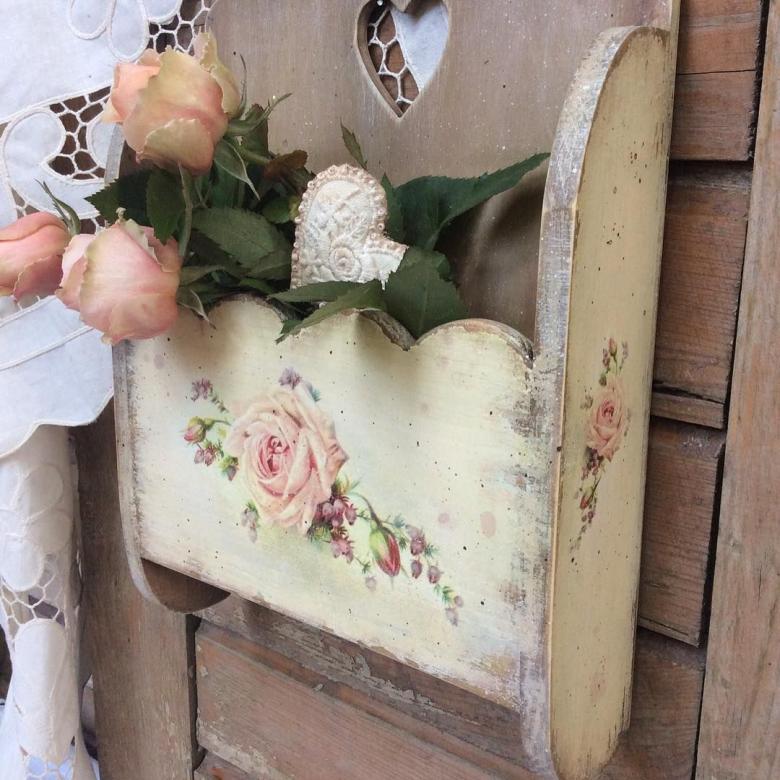
- Prepare the chair for painting. Remove layers of paint and varnish, clean up. The entire surface of the object should be smooth and minimally rough.
- Create abrasions. To give the chair a vintage style, paint the areas of future scuffs with burnt acrylic umber. You can also use other dark paint. When dry, rub with a wax candle. Remove the excess.
- Paint the chair. To obtain a coating of milk and cream color, mix natural sienna with white acrylic. Add PVA glue. Using a brush, apply the coating over the entire area. If necessary, you can apply several layers.
- Sand the surface. After drying, remove the roughness with a sandpaper.
- Decorate. Choose image locations. Varnish and then apply PVA glue. Immediately glue figures and patterns cut out of napkins. Smooth it so there are no creases, bends or dents.
- Coat with varnish. To fix the result and to prevent damage, we dab the entire chair with silk-macquer varnish.
There are many ways to restore and decorate a chair. We have given one of the simplest examples, so that even a novice craftsman can cope well with the work and be satisfied with the result.
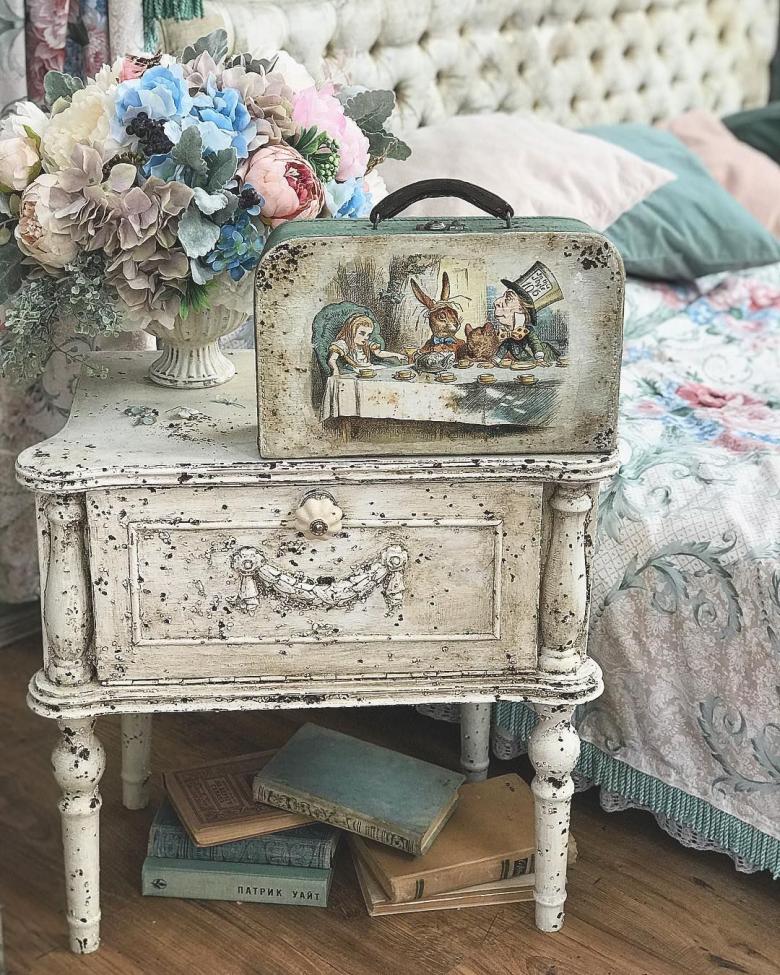
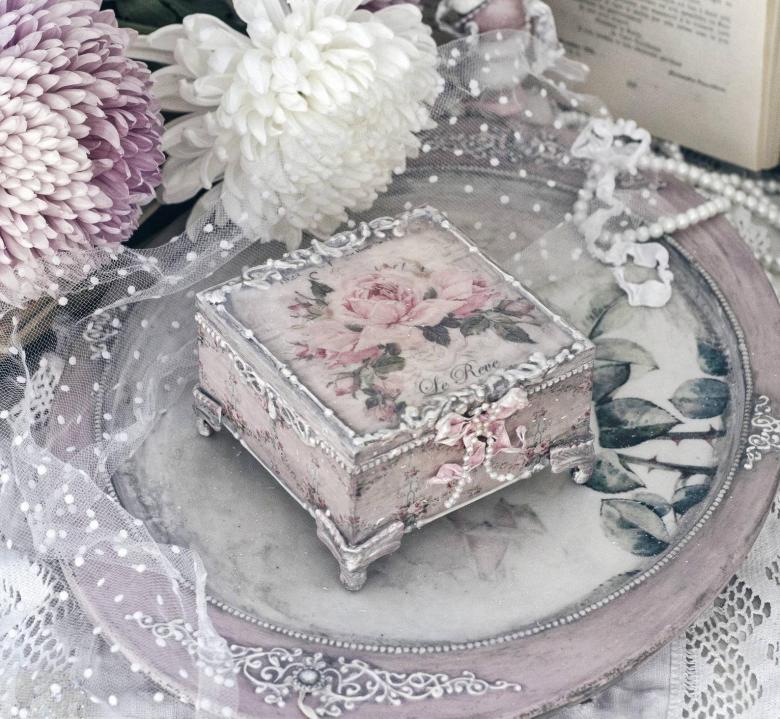
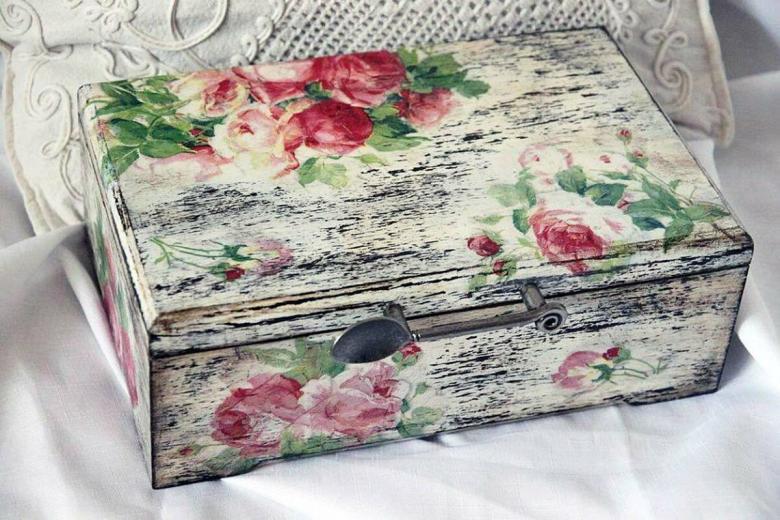
Decoupage of a chebby-chic casket
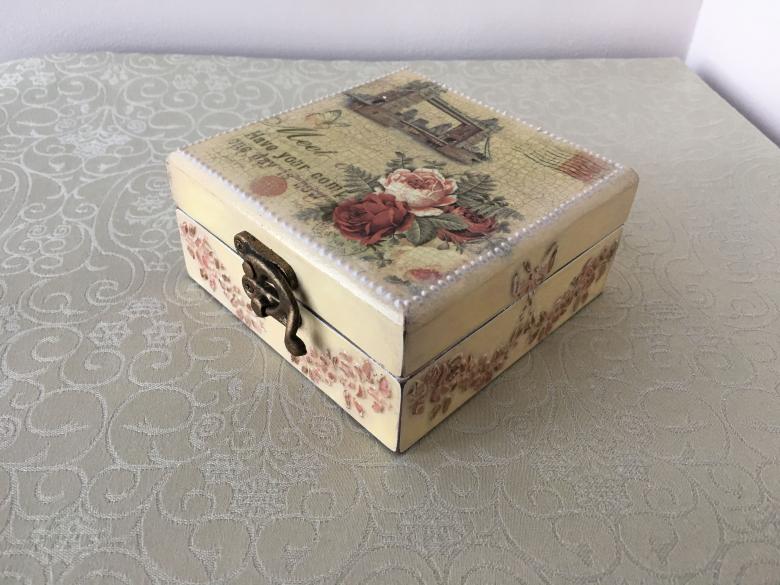
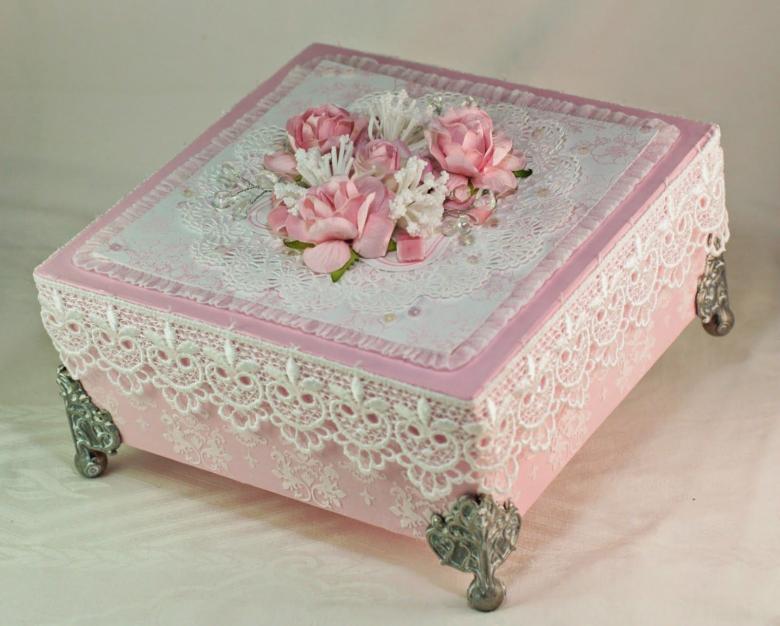
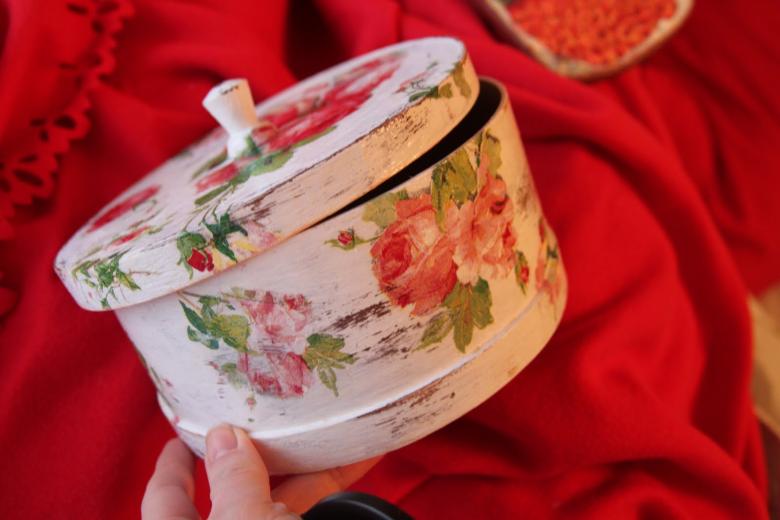
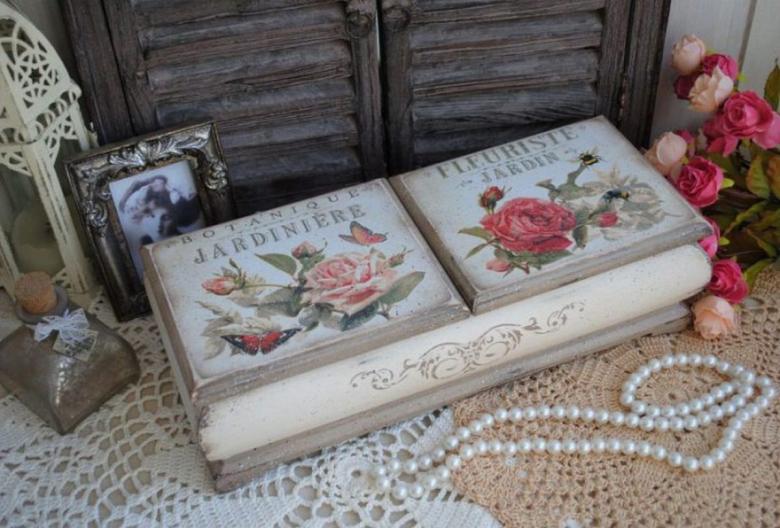
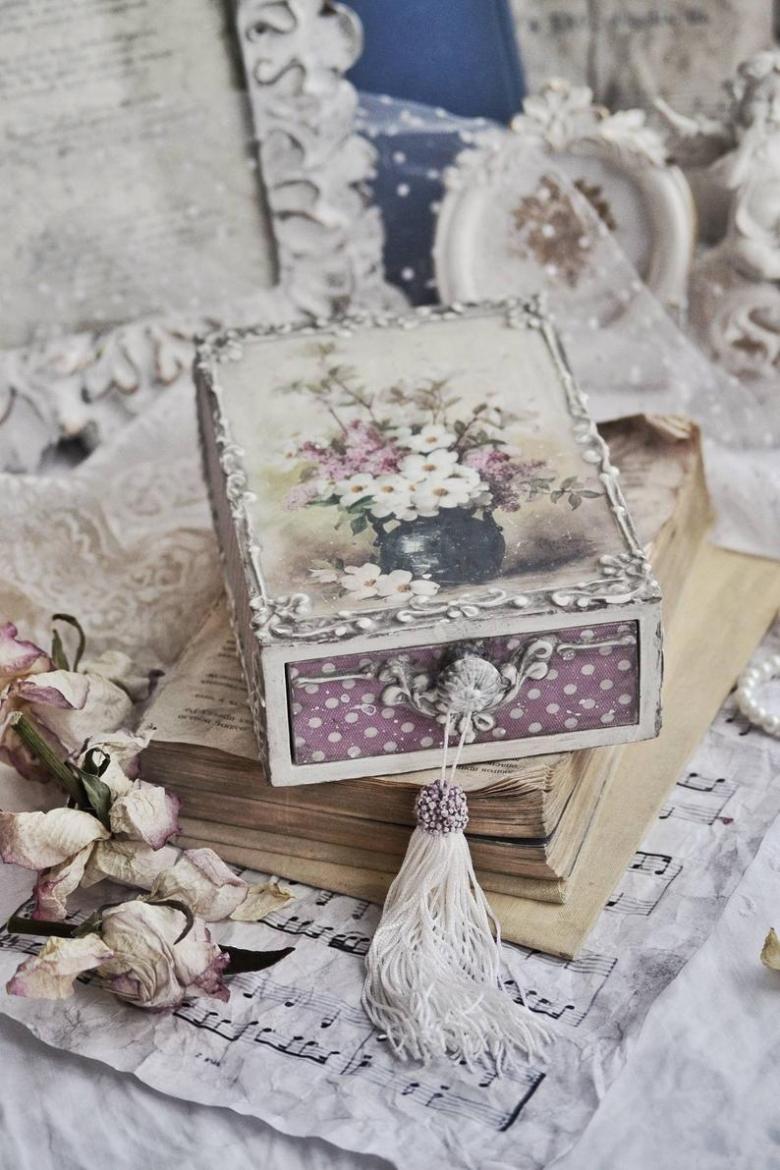
Decorated with decoupage casket is an original and beautiful version of a gift made with their own hands. The most unsightly box can turn into a unique vintage thing.
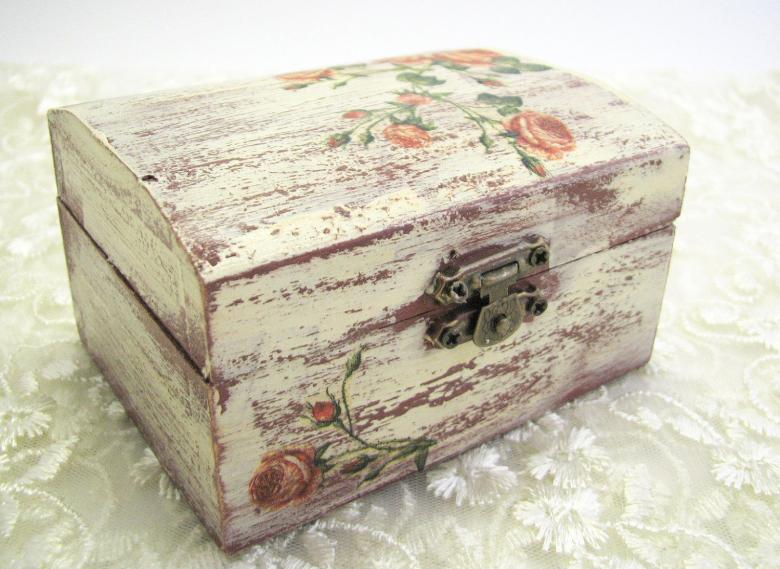
For the work we need:
- A casket (preferably wooden);
- A wax candle;
- Brushes;
- Varnish coating (water-soluble);
- PVA glue;
- Acrylic white paint;
- Burnt acrylic umber;
- Water sprayer;
- Sandpaper.

Master class
- Prepare the casket. Unscrew and remove all fittings: handles, hinges, screws.
- Create abrasions. As in the example with the chair, cover the areas of the alleged scuffs. The umber should be the consistency of kefir - adjust it by adding water. When dry, wax the areas with candle wax and remove the excess.
- Paint. Paint the casket with white acrylic paint, diluted with water.
- We sand it. Roughen the surfaces in the areas you've prepared with sandpaper until the primer shows.
- Glue drawings. Cut out images from tissues. Peel off the first layer, apply it to the pre-glued areas. Smear glue on top again. Smooth the paper so there are no folds.
- Apply varnish. Fix the result with a layer of acrylic varnish.
- Screw on the hardware. Put hinges, knobs and screws back in place.

The casket has acquired a new, sophisticated look that will not leave indifferent the connoisseur of antique culture.
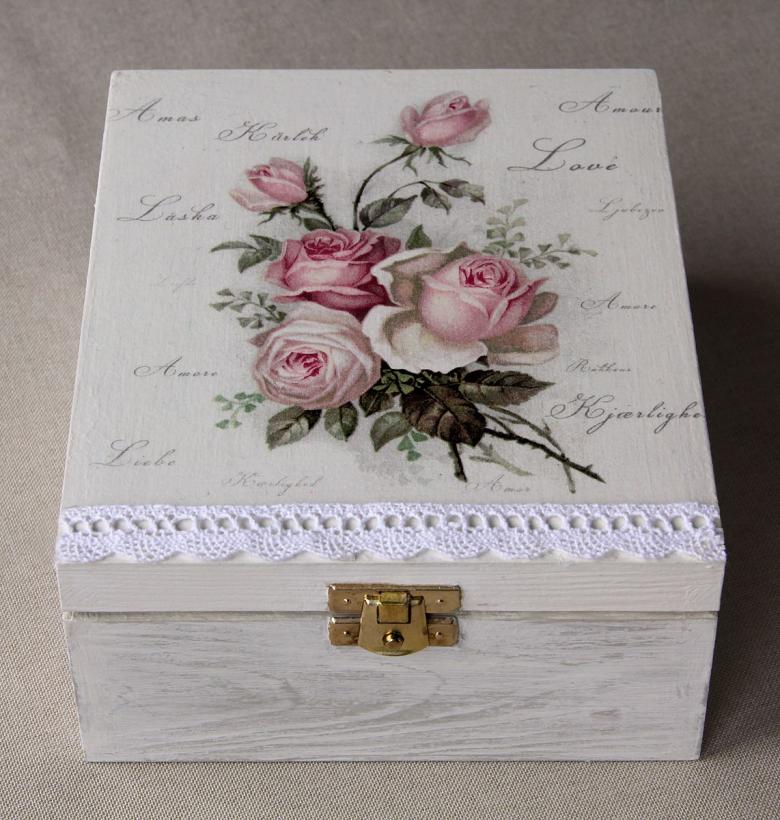
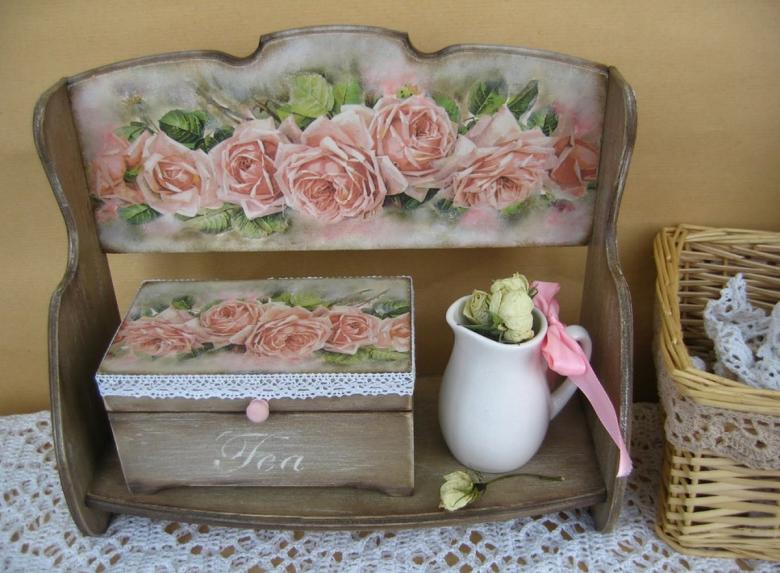
When choosing pictures for the decor, do not forget that the chebby-chic technique involves the use of only light shades of pastel colors and generally creates the impression of something light, romantic and light.
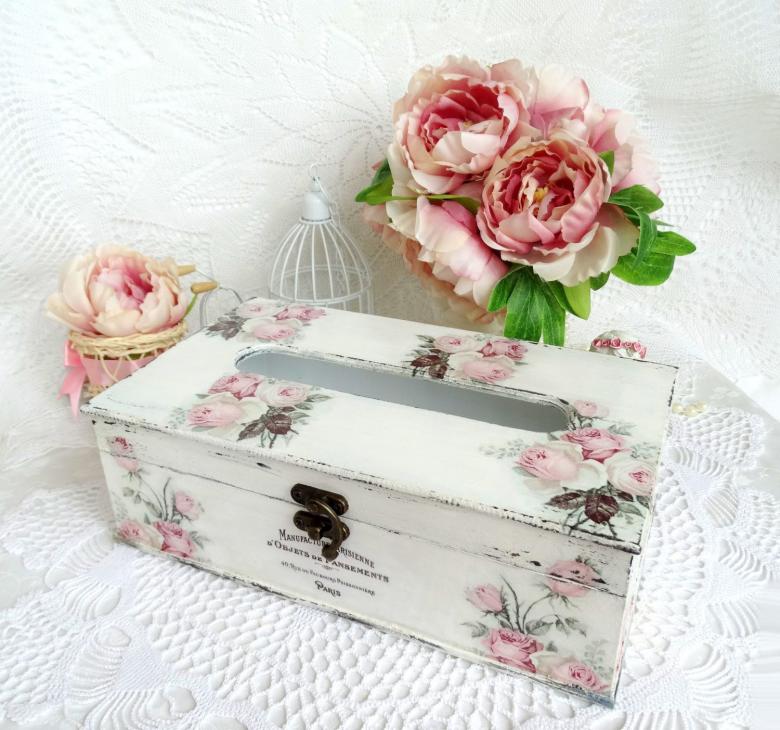
The design style of chebby-chic can decorate the interiors of any room. According to the belief of the creator of the direction Rachel Ashwell, it recreates the atmosphere of a warm, cozy, old house from the past, helping people return to good memories of childhood and relatives.

