How to draw a zombie step by step in pencil - easy master classes with photo examples and ideas
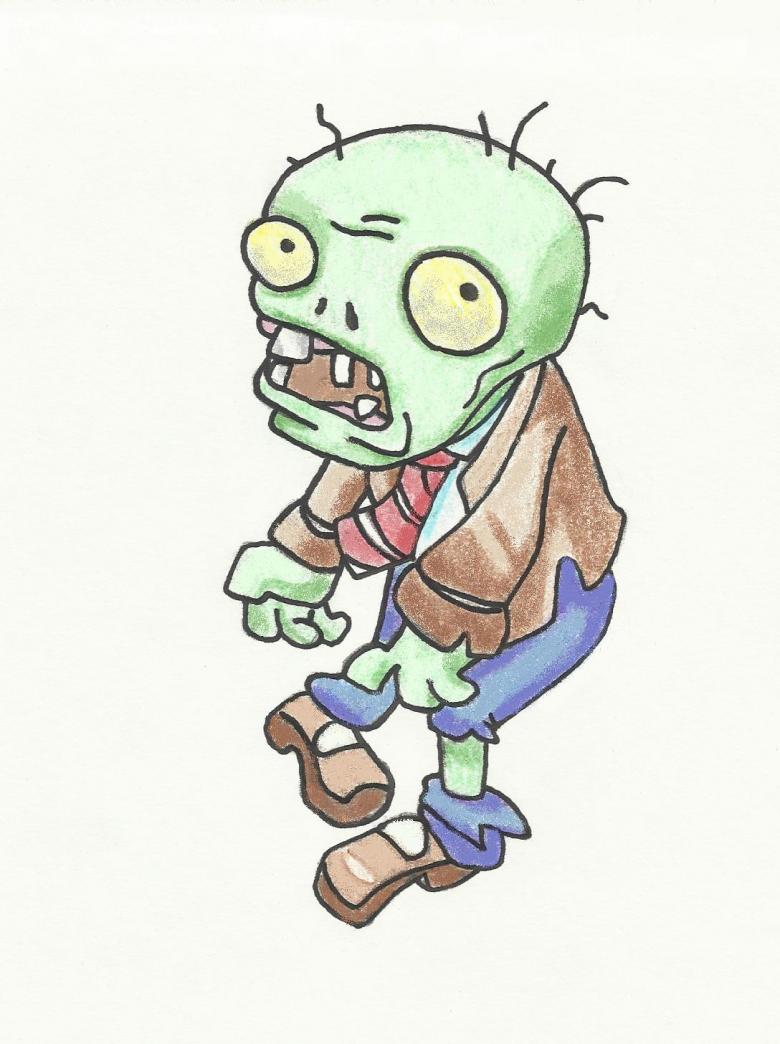
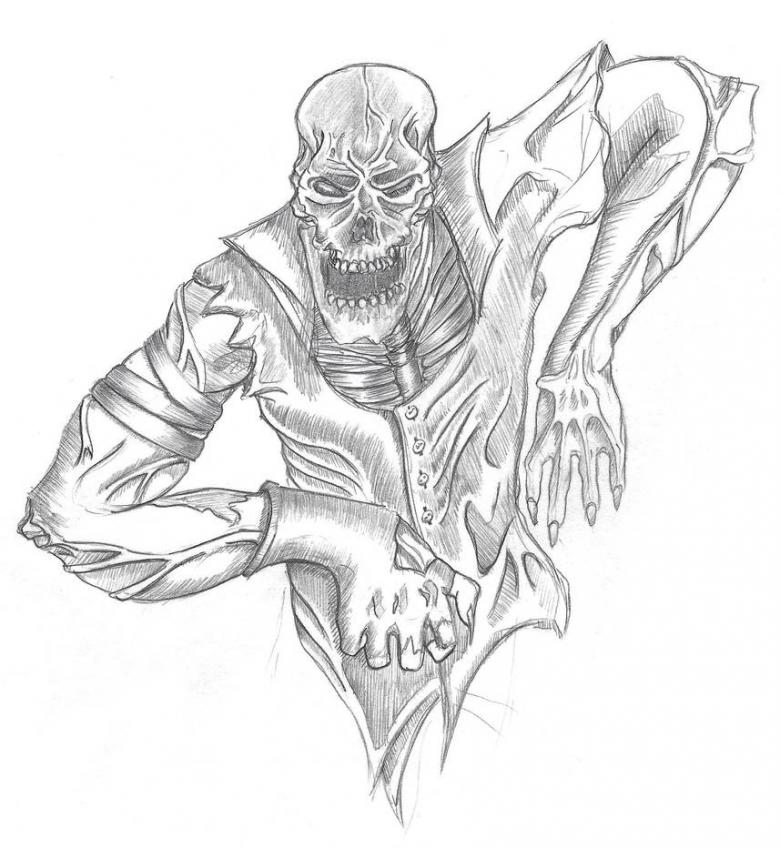
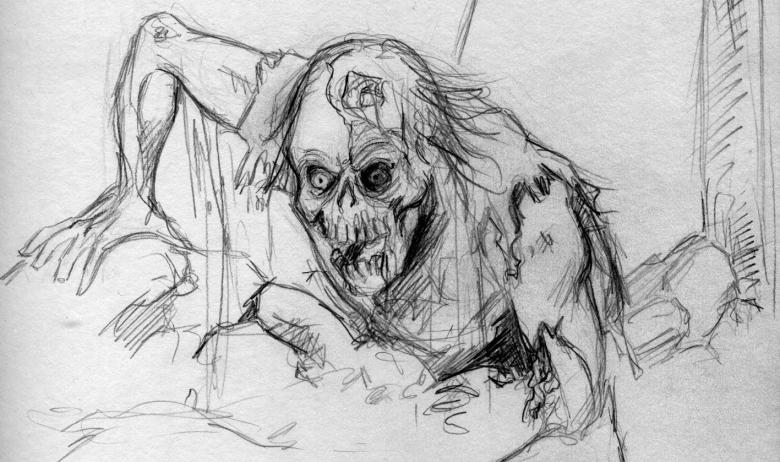
All children love zombie games and many want to draw their own cute monster. Drawing a zombie is quite difficult, it requires knowledge of basic proportions, and it wouldn't be bad to have experience drawing the human body. This article will help beginner artists to recreate the image of a computer game character. Below are three detailed step-by-step drawing master classes.
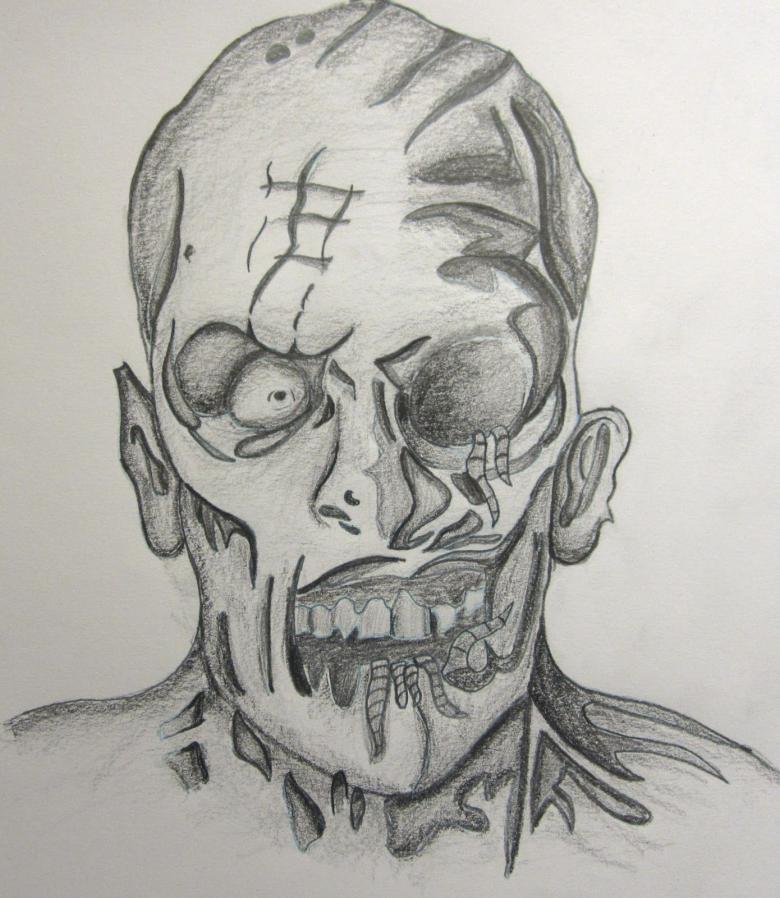
Zombies in plain pencil
For this drawing, you will need a blank sheet of heavy paper or Watman, and a simple pencil.
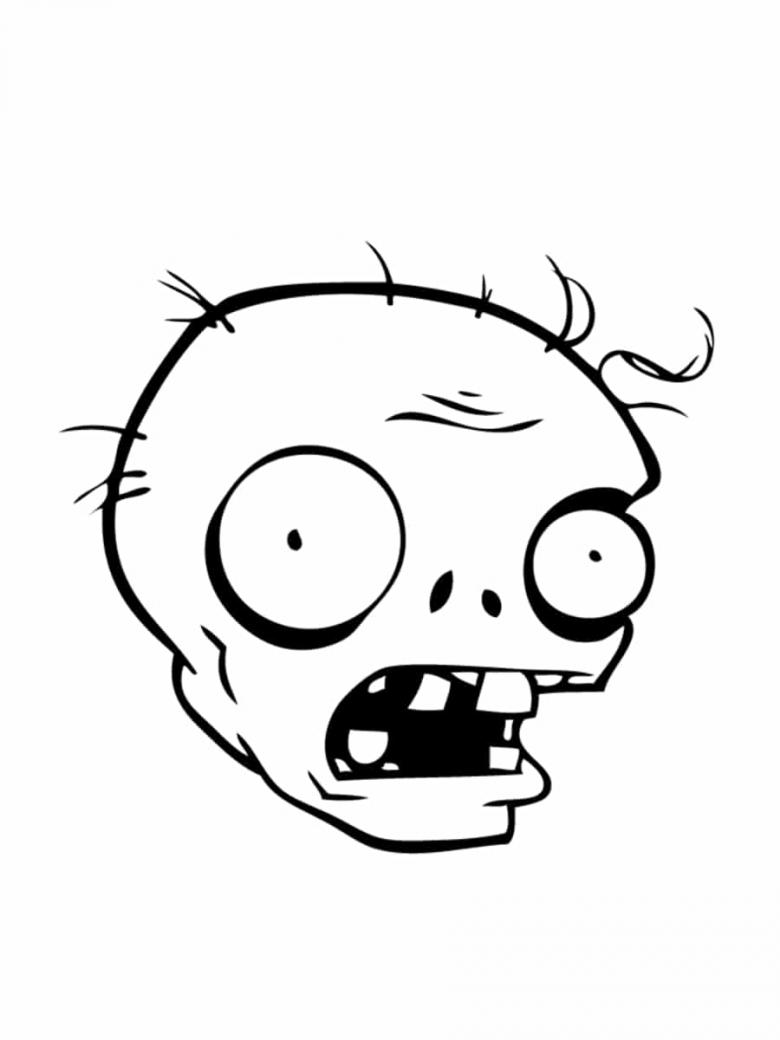
- To the right of the center of the sheet, draw a small circle up to 3 cm in diameter.
- To the left of the first circle, at a distance of 2 cm, draw a second circle, which should be slightly smaller than the first one.
- In the center of both circles we put big dots (zombie pupils).
- In the space between the eyes, we put two fat dots, compacting them a little at the bottom. It is necessary to achieve that the upper parts of the ovals were directed toward the center.
- From the eyes draw a line that would repeat their contour. Bring the line to the middle of the circle and stop.
- Above the left eye we draw a vertical line of 1 cm, and from it a small arc directed to the middle of the sheet.
- From the top of the line you draw, draw an arc that marks the oval of the future zombie's head. The end of the line is in the middle of the right eye.
- Even zombies must have hair, so we draw some wavy lines on the head, pointing upwards.
- In the middle of the forehead we draw a curved line.
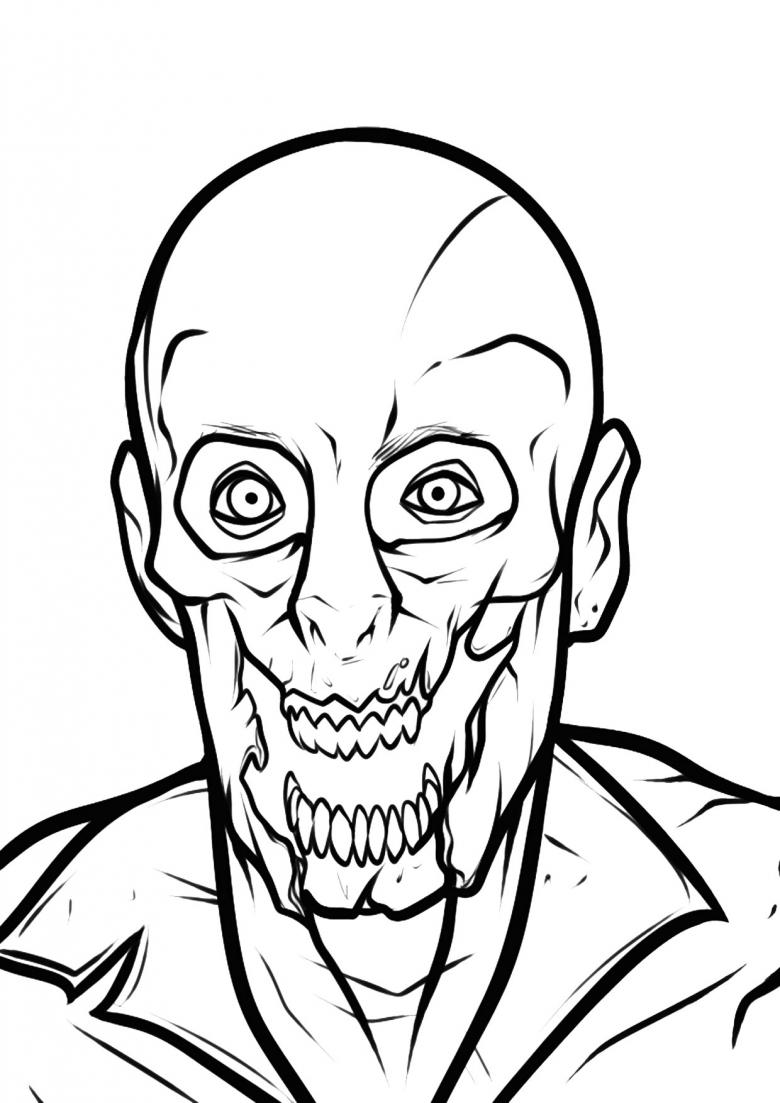
- Under the monster's nostrils we draw a small arc, slightly downwards. From it goes a small line. Repeat the second arc, parallel to the first, starting at the end of the line.
- In the mouth, draw two small elongated trapezes on the upper and lower jaw. Connect the upper left edge and upper right edge of the mouth with a convex downward arc.
- From the left eye draw a small line downwards, and connect it with an arc to the line of the upper jaw. The arc marks the tongue, and all the gaps are painted over.
- From the lower left edge of the mouth we draw a line down, then a horizontal line and bring it to the line of the right edge of the mouth. A small vertical line connects the chin line to the oval of the head.
- Under the right side of the head draw a strongly curved arc with an irregular outline.
- Connect the ends of the arc with a slightly convex downward line, going beyond the contours.
- At a small distance down draw a second arc parallel to the first arc.
- Connect their edges with vertical segments. At the bottom of the arc draw a curved line up so that its ends are slightly outside the arc, then lower the line down the side and draw a parallel curved line.
- Connect the sleeve to the head of the zombie with three lines. At the bottom of the arc draw a curved line upwards
- Repeat steps 14-17 for the second hand. Also connect the sleeve with the head.
- From the head draw an arc, bringing it to the edge of the sleeves.
- From the sleeves draw the arms with broken lines.
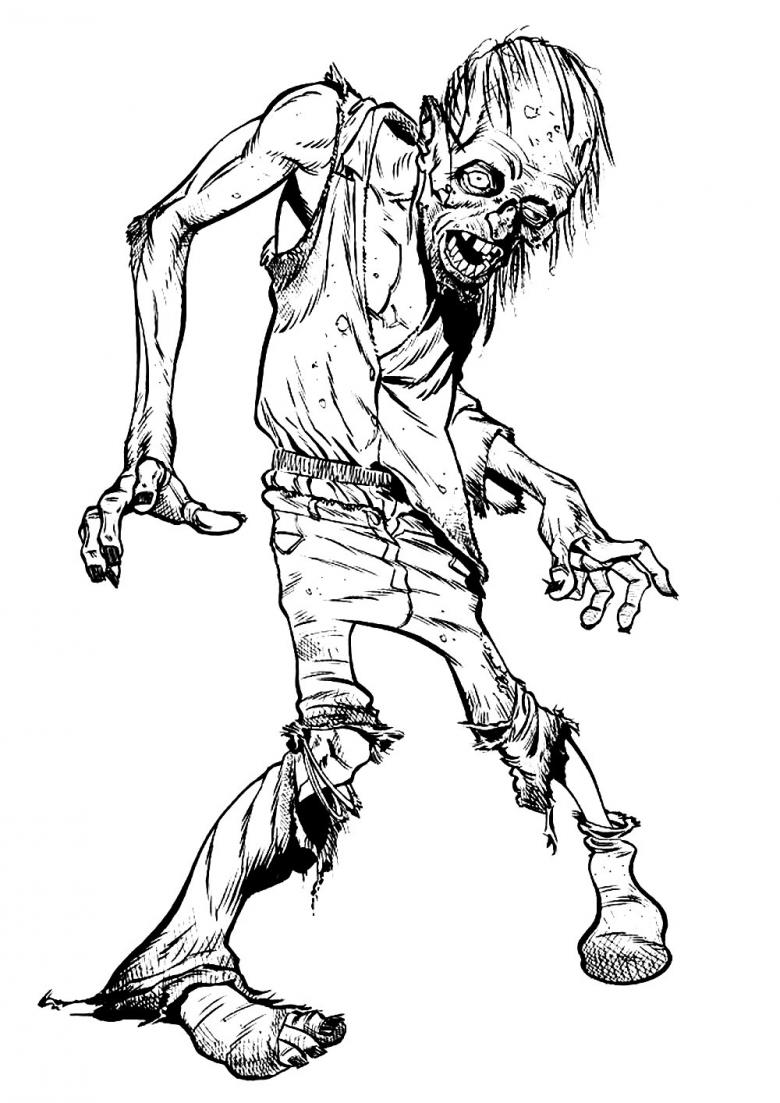
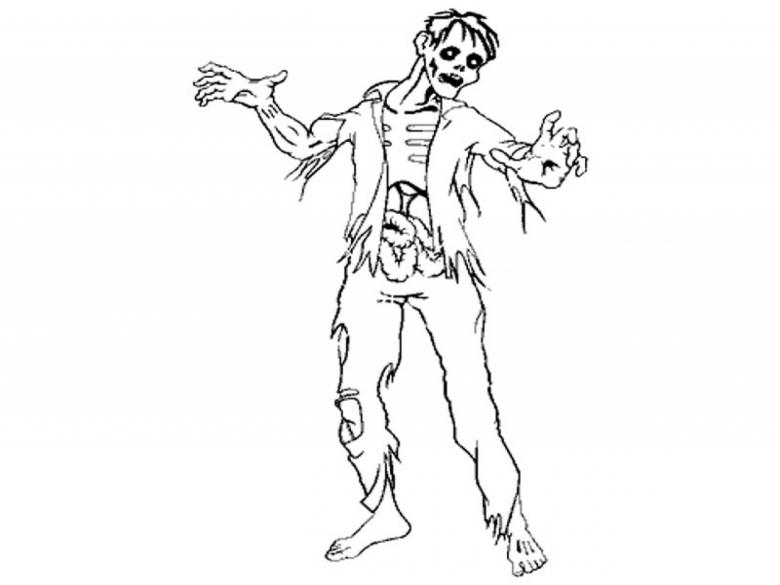
- Next, with the same jerky lines, draw torn zombie pants up to the knees, bare knees and legs. On the feet we draw large and massive boots.
- The drawing should create the effect of a square figure, sharp straight lines with irregularities. The whole figure of the monster should consist of geometric shapes of irregular shapes.
- If desired, patches and shoelaces can be added to the sleeve and shoes. More torn elements of clothing, sloppiness will add realism to the drawing.
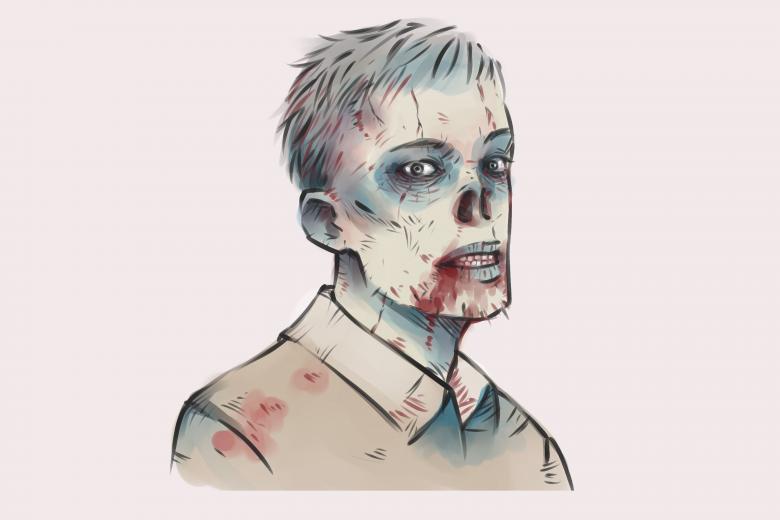
Realistic zombie in color
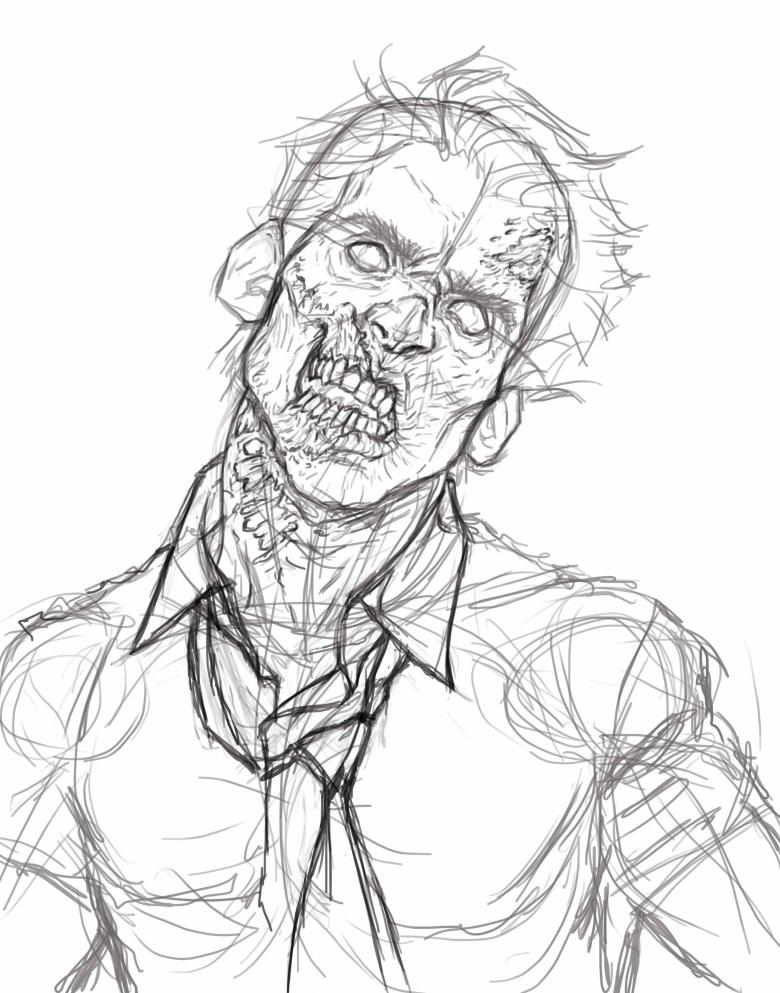
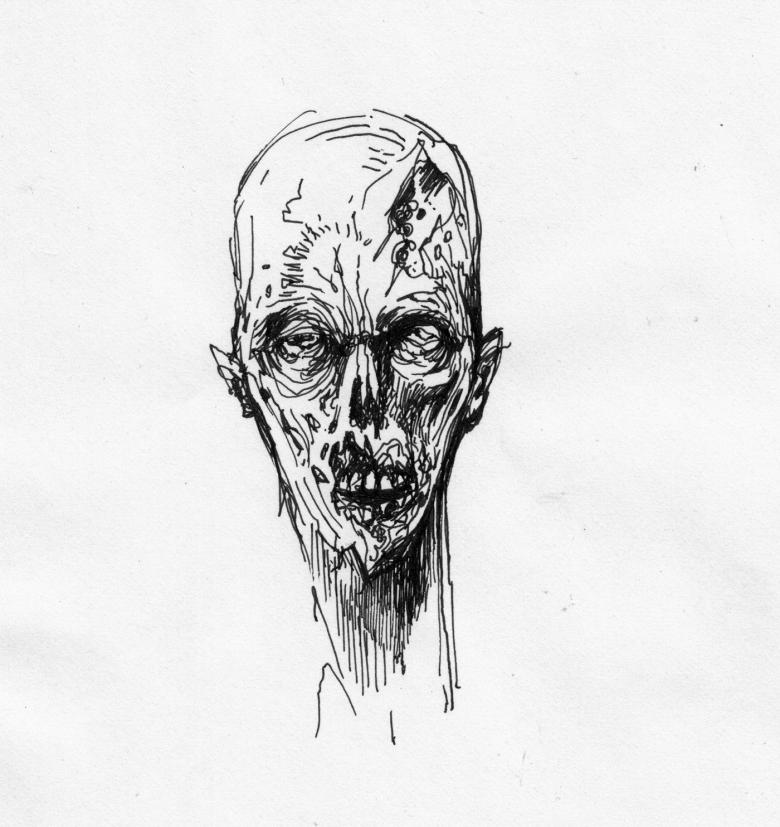
- The first step is to draw an approximate silhouette of a zombie in half-turn. To do this, draw an oval of the head with a line dividing it into two parts and a semicircle denoting the torso.
- To make the picture realistic, add coarse hair and stubble.
- On the face draw two rounded eyes with pupils, a broken nose.
- The next step is to draw the man's clothes.
- For greater effect, slightly darken the clothes and face with fine strokes.
- Let's get to work in color. For the drawing of a zombie, you should choose dark faded colors, which will give a sense of old age. Good for dirty green and gray colors.
- Darken some areas with black paint.
- Mark any hollows on the face with blue or blue. With this you can achieve a pale and intimidating look.
- For greater effect, add some red blobs to the monster's face and clothes.
A zombie from a cartoon with a pencil
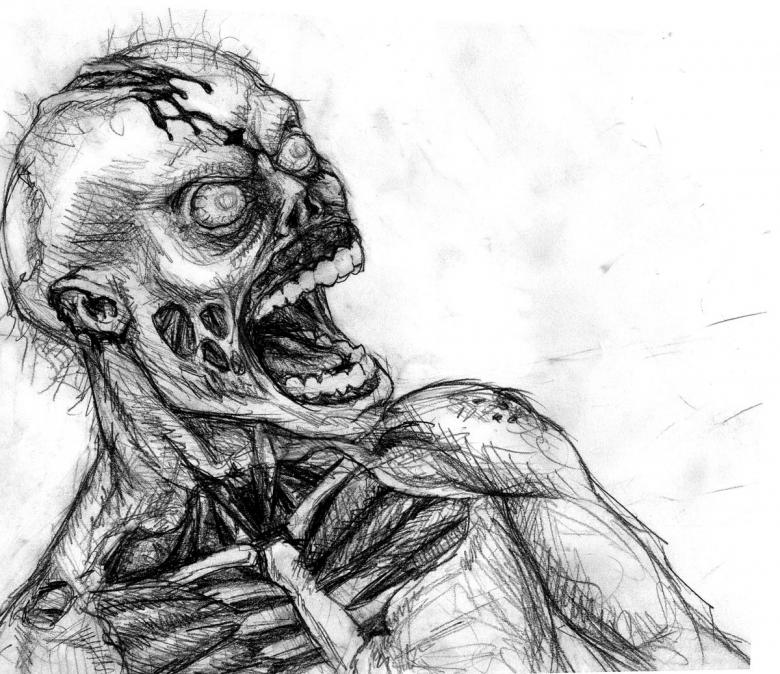
- The first step is to outline the approximate outline of the monster using geometric shapes. The head is conventionally marked with a circle, and a rectangle will denote the jaw.
- To create the appearance that the monster is trying to get into your window, draw the edges of the window.
- Draw a small curved lines coming from the head. These are the future shoulders.
- Palms mark two circles, from them sketch fingers grasping the window frame.
- On the face, mark rounded eyes, a broken nose, sharp cheekbones and mouth.
- Finish the image of the hands. Fingers should be long, angular.
- Draw torn zombie clothes. It can be a costume or ordinary casual clothes.
- Use eraser to erase unnecessary elements, outline the contour of the figure.
- If desired, you can paint the picture with darker colors for greater effect.
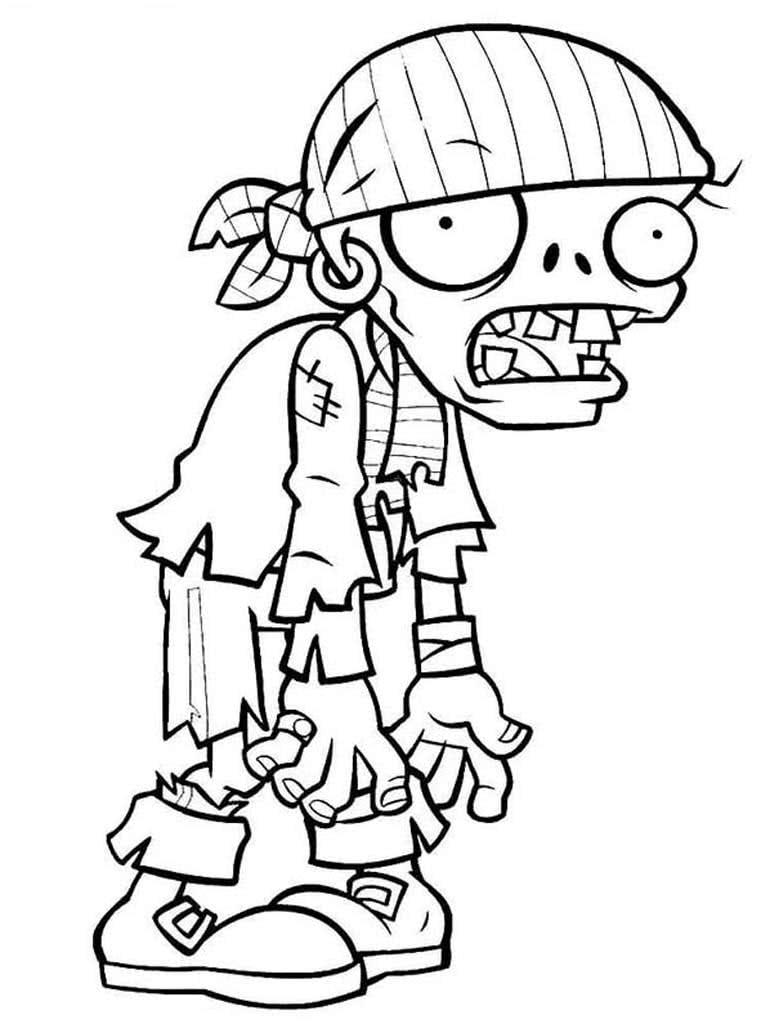
The drawing is ready!
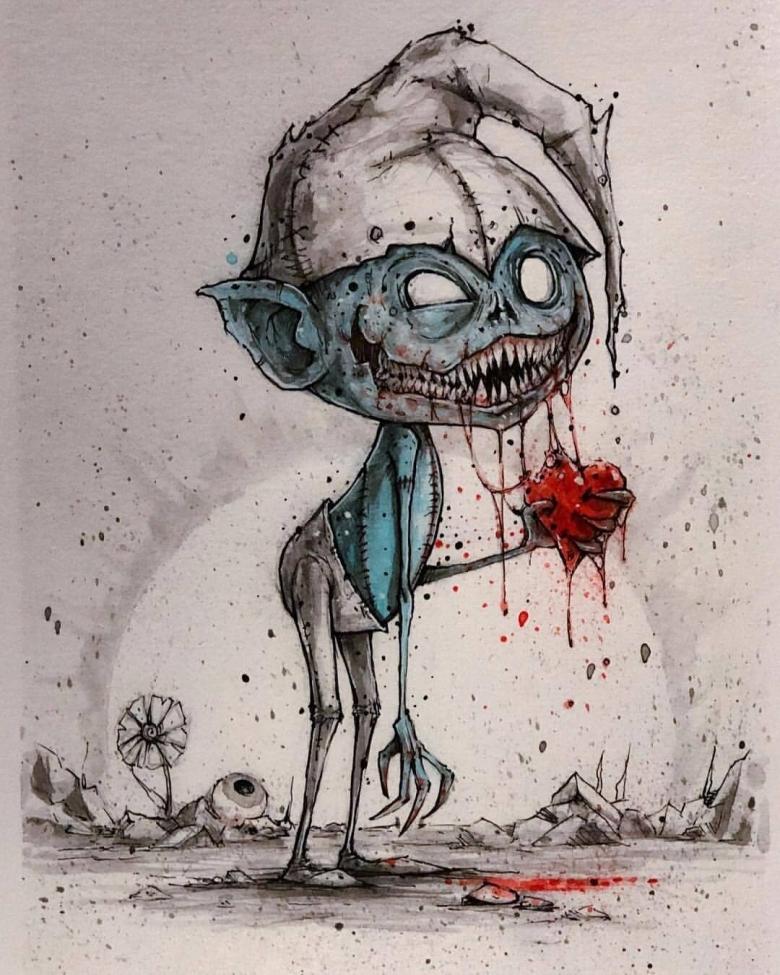
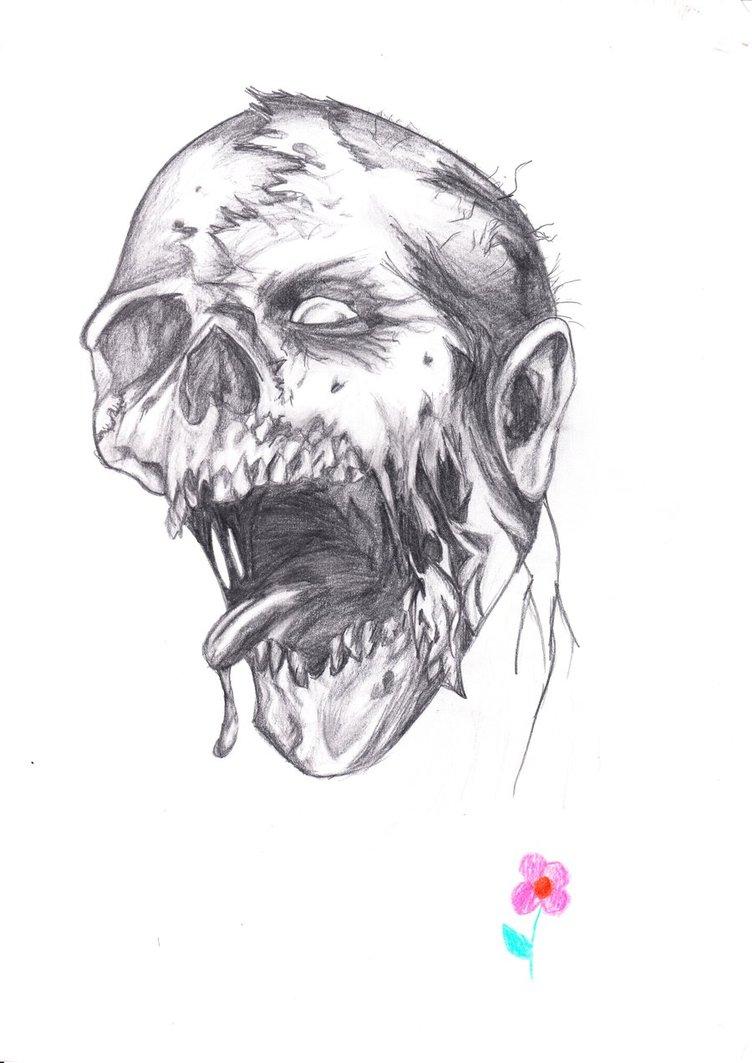
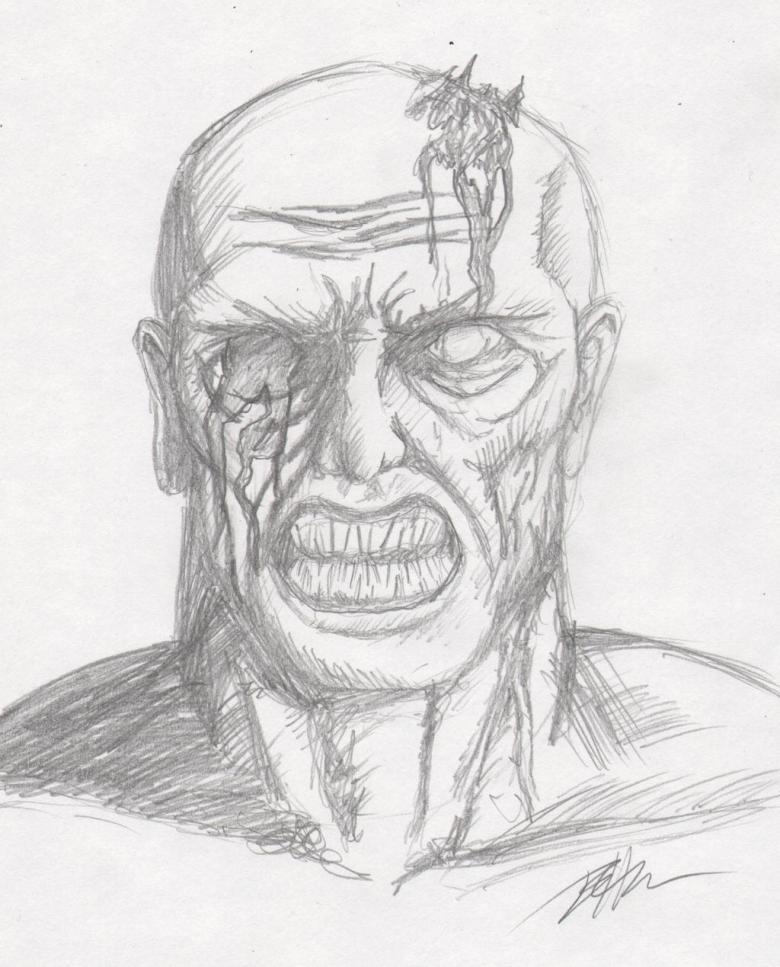
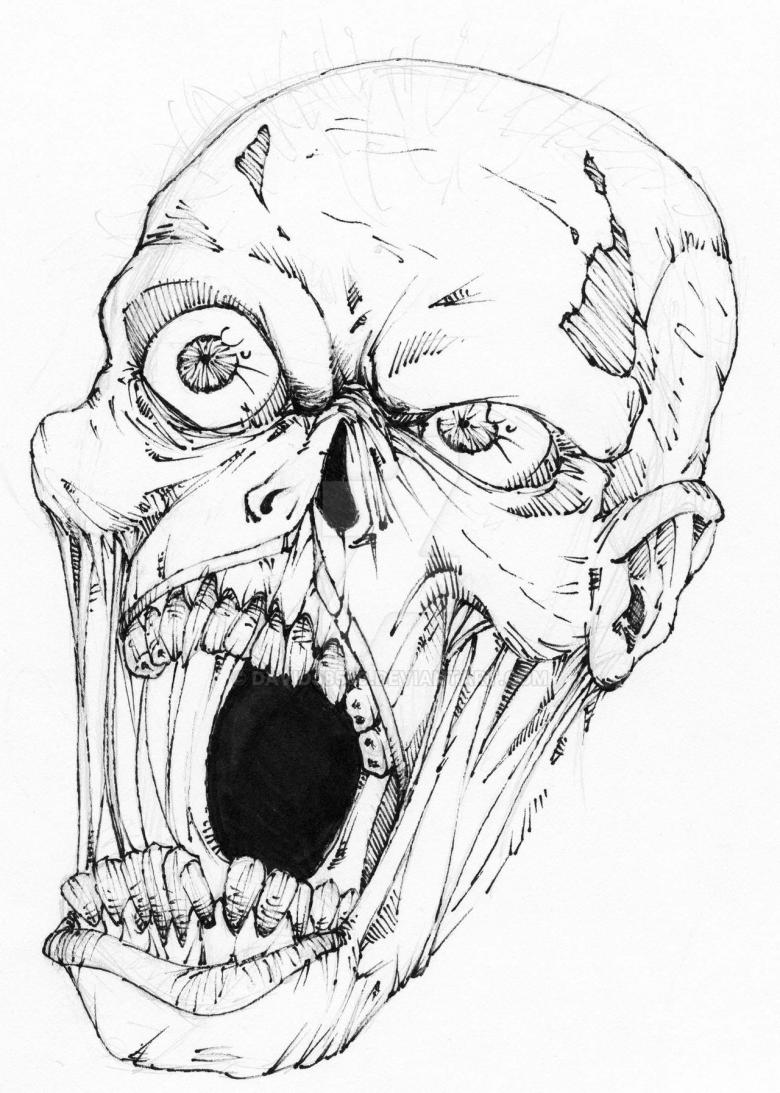
Photo ideas and examples for drawing zombies in pencil
Add a comment

