How to draw tundra - interesting places, ideas and images of tundra
In books, movies and songs tundra is often presented as a vast expanse of snow that indigenous people traverse on reindeer sledges. But the tundra is diverse, and the beauty of its landscapes at any time of year is breathtaking. Capture the incredible colors of the north with watercolors.
Materials you need
To draw the tundra, you will need:
- paints;
- pencil;
- palette;
- watercolor paper (minimum density 200 g/m2);
- eraser;
- brushes (column, synthetic or squirrel).
For a simple drawing, ordinary honey watercolors that are sold in all office supply stores and used by schoolchildren in drawing lessons will do. But if you want to create as many shades as possible, it's better to get a professional watercolor set.
Where do I start?
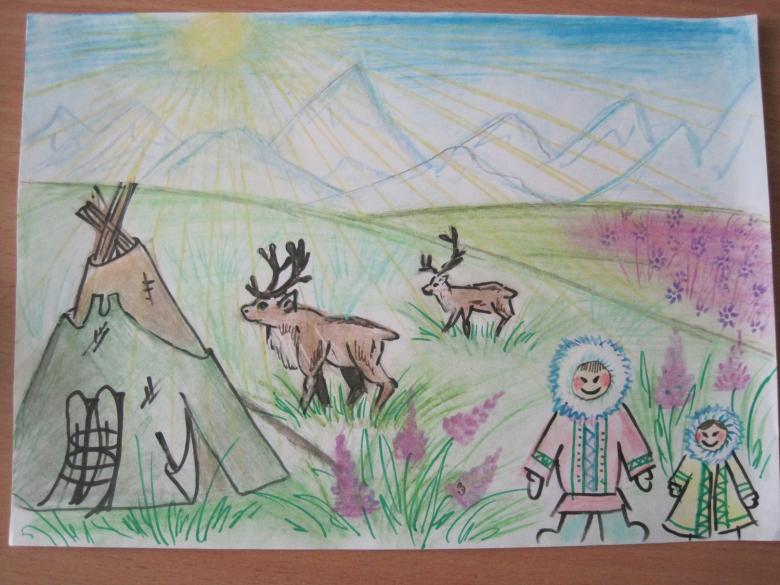
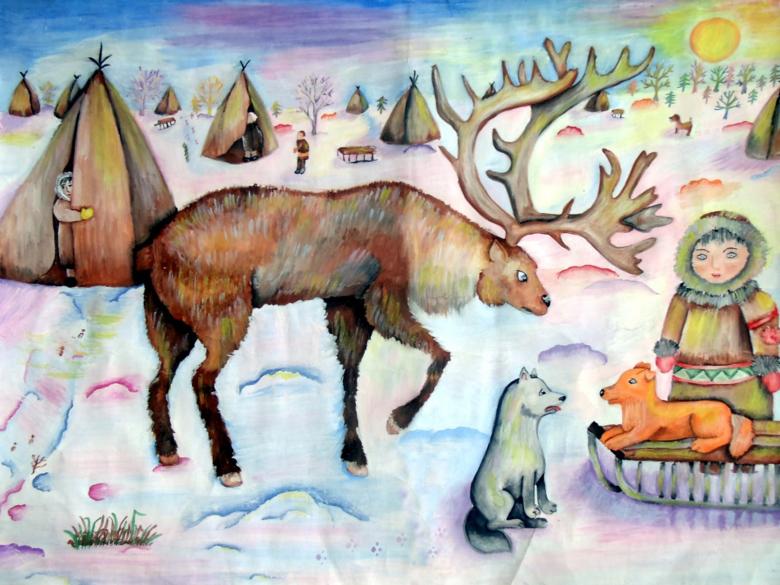
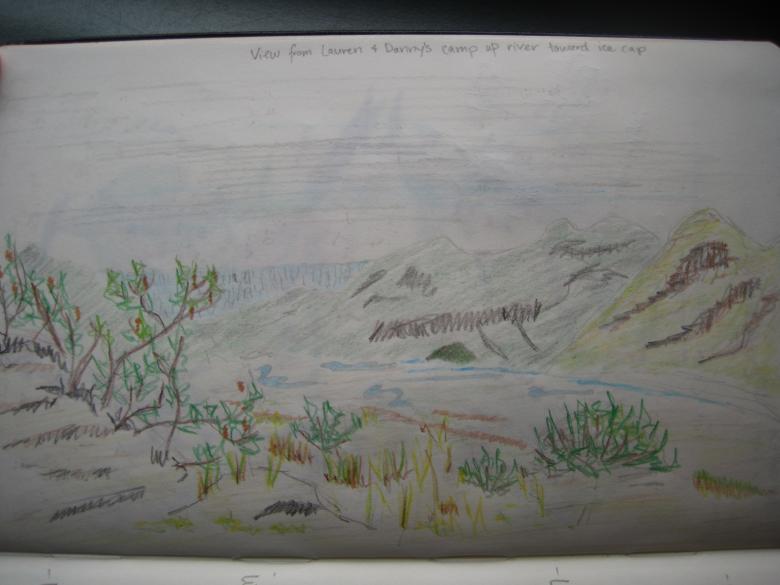
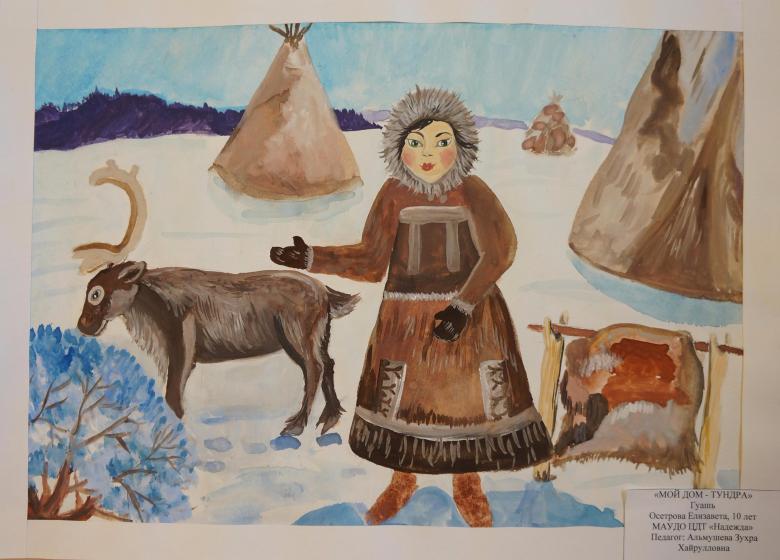
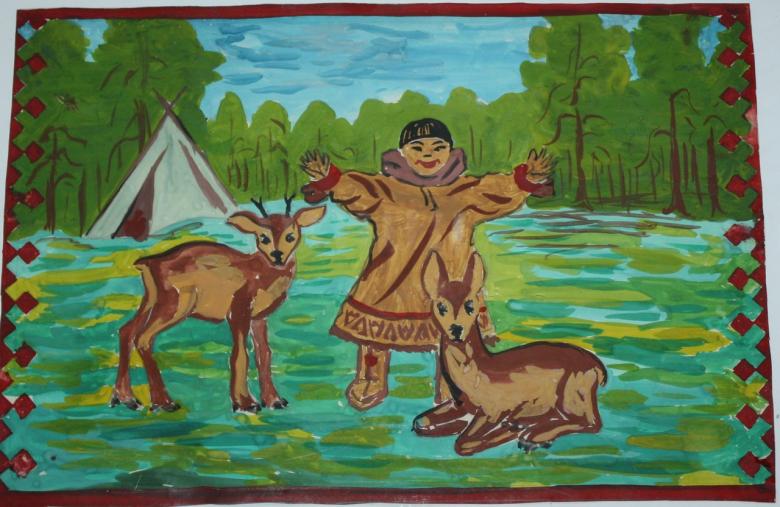
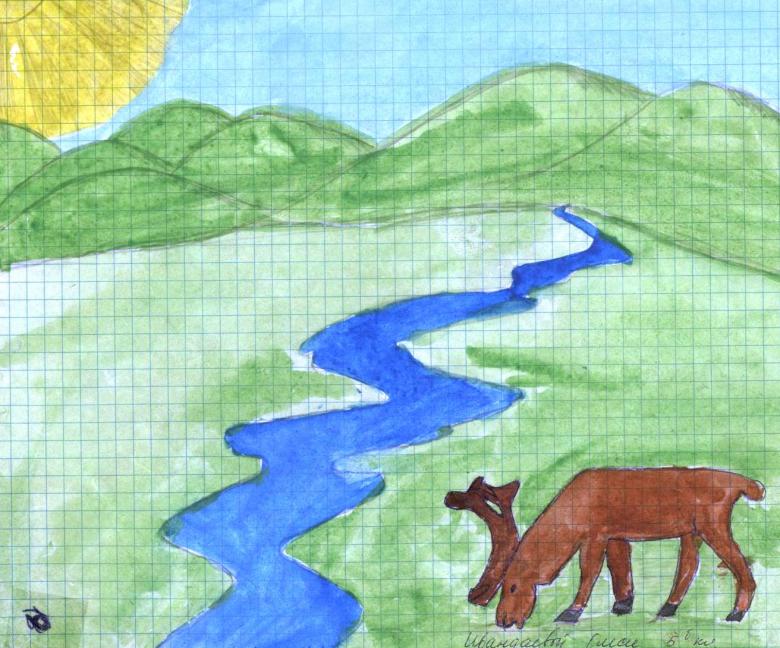
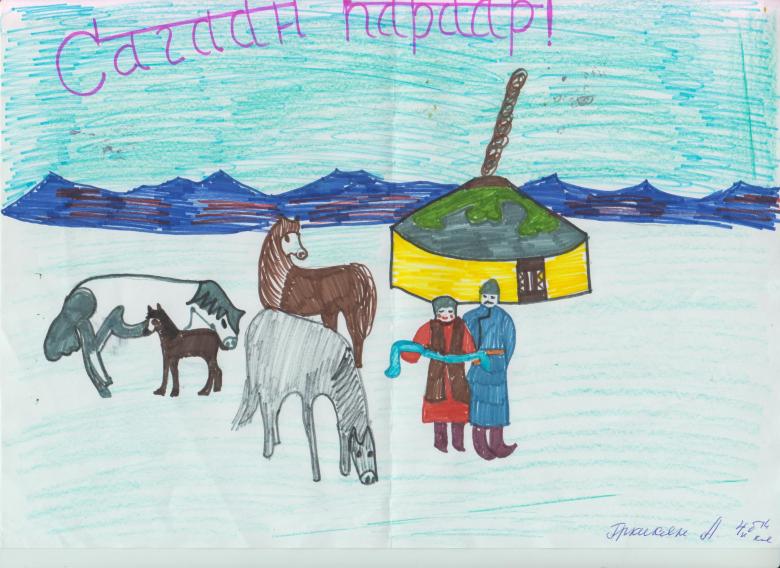
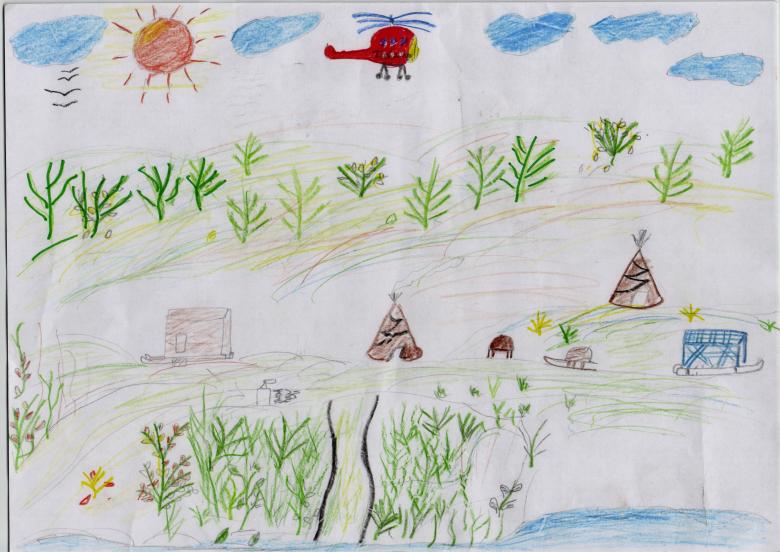
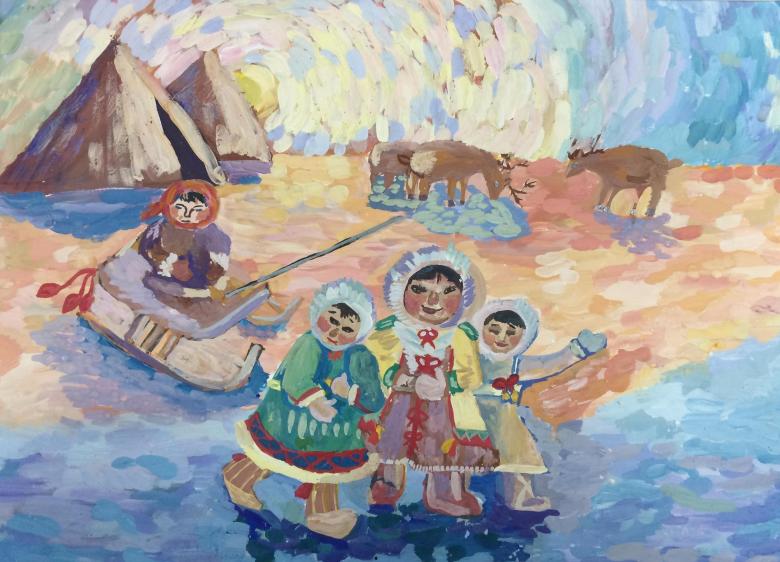
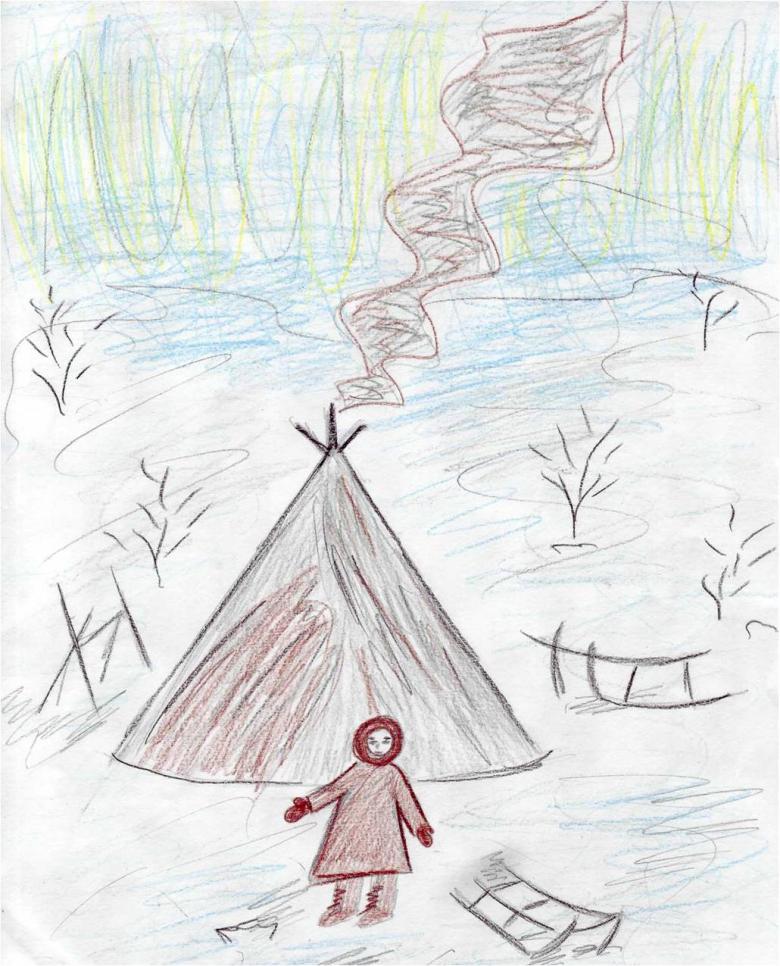
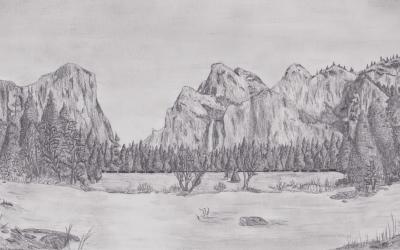
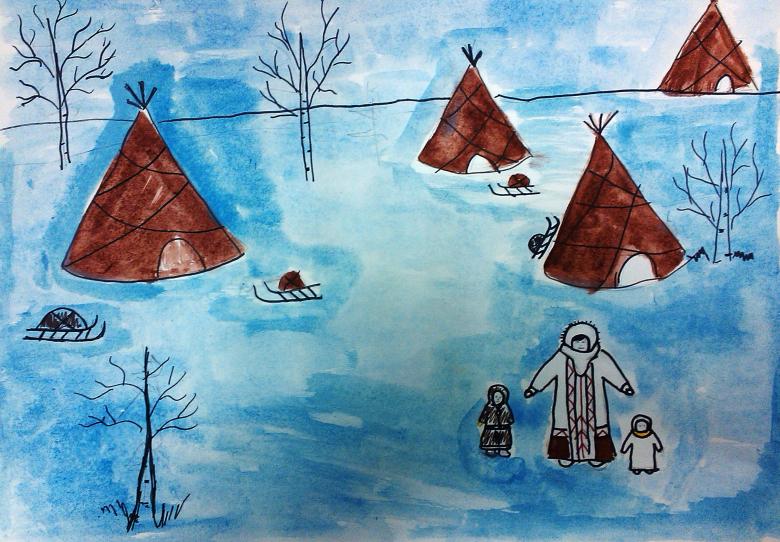
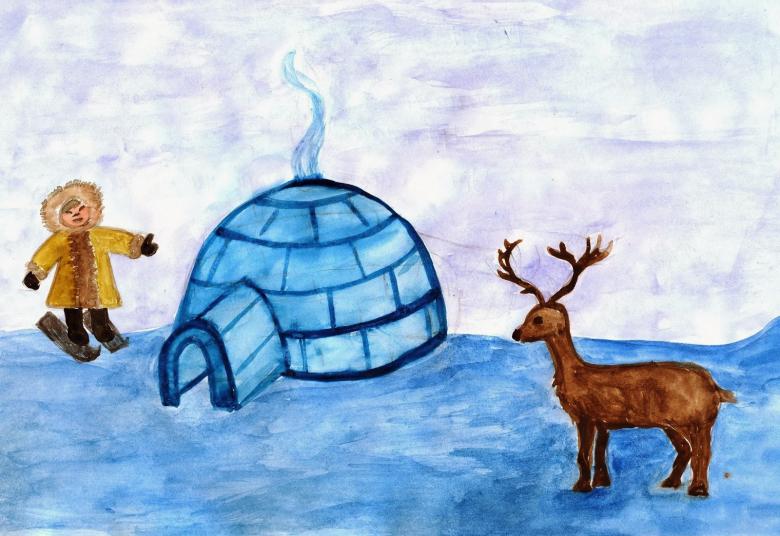
Before you start drawing, look at the photos of tundra, study the landscapes. They can be very diverse. Mountain tundras (alpine meadows) are covered with flowers in summer, while arctic tundras are characterized by sparse, monotonous vegetation. Decide if you want to include animals in the composition. These can be reindeer, polar birds, wolves. Also enliven the picture of water bodies, houses of local residents (plagues), dwarf trees.
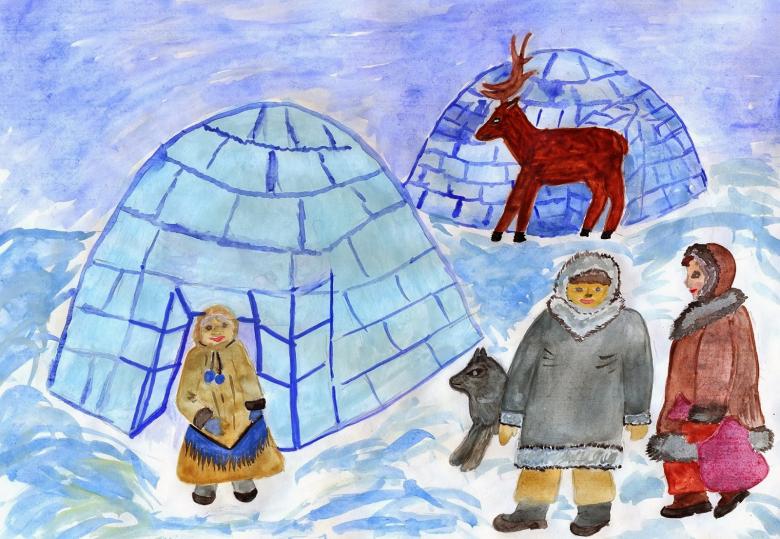
The landscape varies greatly depending on the time of year. The autumn tundra is especially beautiful and attractive to artists. You can also depict soft July mosses or snow-covered hills in February - choose the picture you like best.
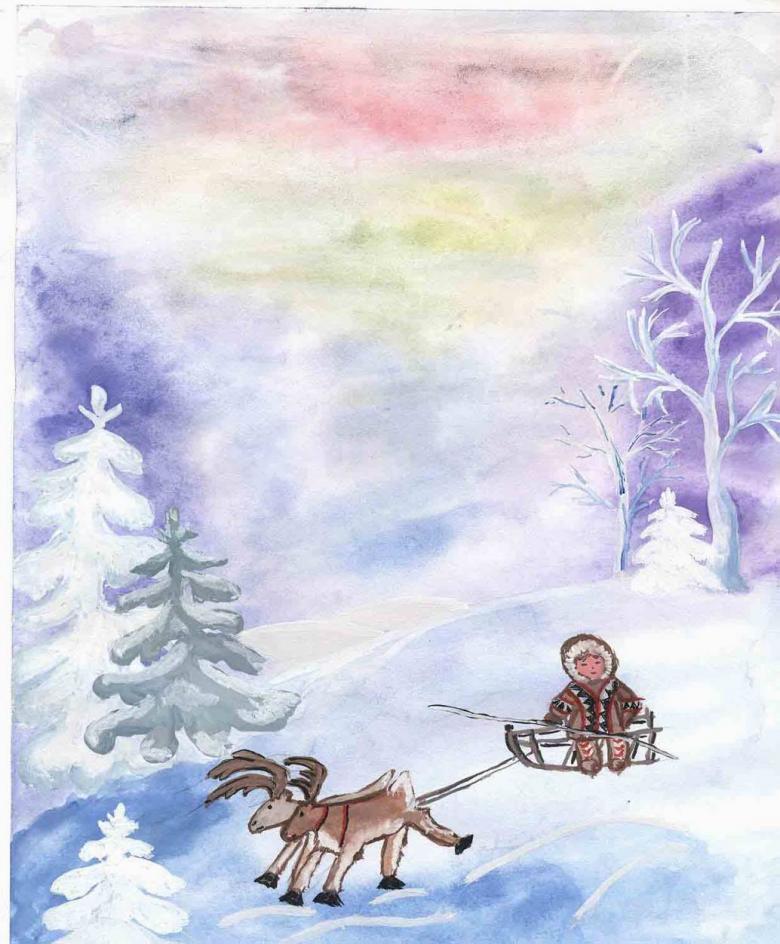
Try to imagine the composition of the picture in detail. If you have difficulty, draw the tundra from a beautiful photo.

Drawing the tundra with watercolors step by step - step-by-step master classes
You can draw in watercolor using the dry and wet method, as well as using mixed techniques. Beginning artists are better to try the technique of "dry", in which the paint is applied to a dry sheet of paper.

Conditionally drawing can be divided into two stages: work with pencil and work with watercolor. Before putting on a new paint layer it is necessary to let the paper dry.
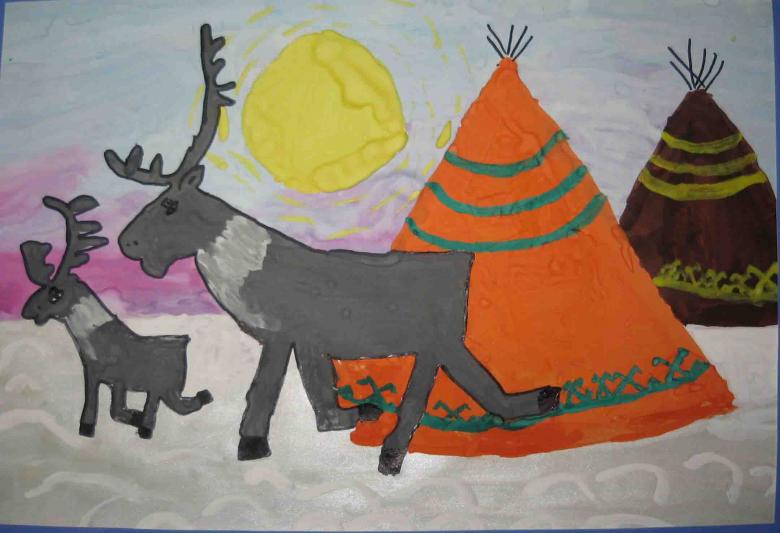
Working with a pencil
First you need to outline the main details with a simple pencil:
- Draw the horizon line. It should not be straight, as the tundra is characterized by hilly or mountainous terrain.
- Mark on paper the contours of mountains and reservoirs.
- Sketch silhouettes of animals, houses, or people. If this task is too difficult for you yet, skip it.
When you are finished with pencil, move on to paint.
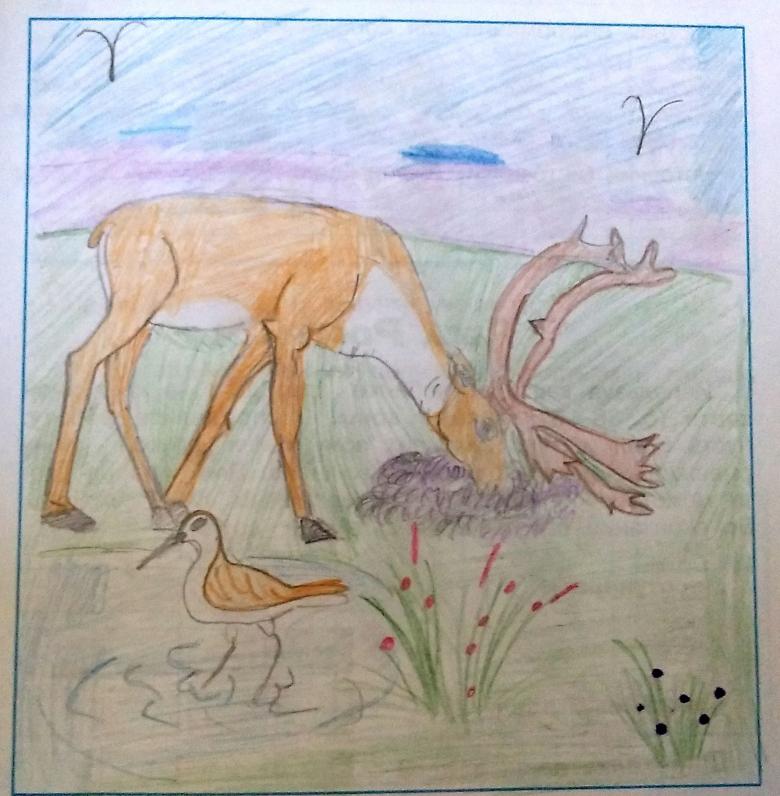
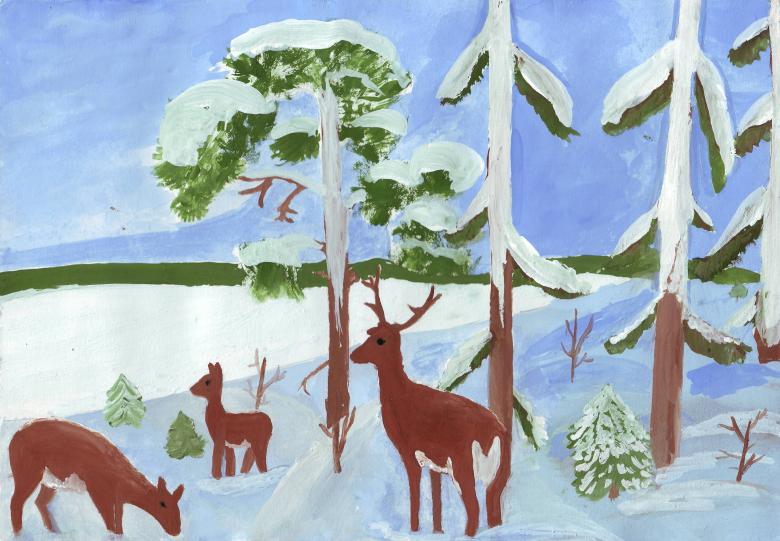
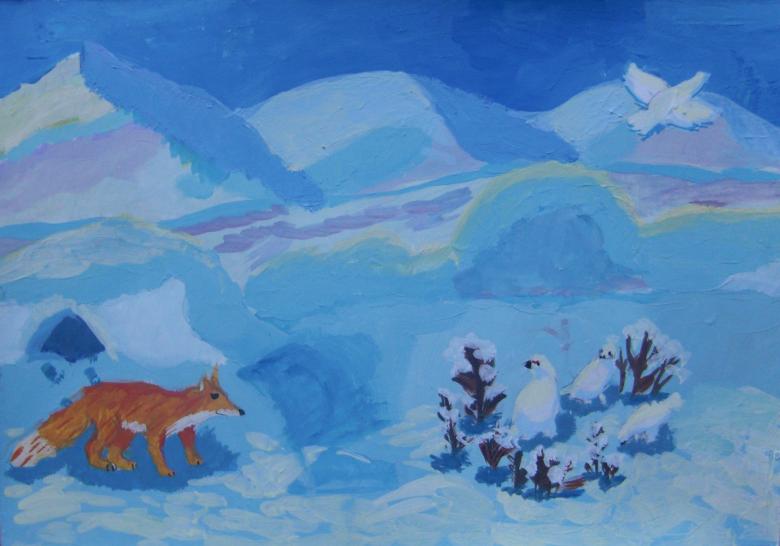
Winter Landscape
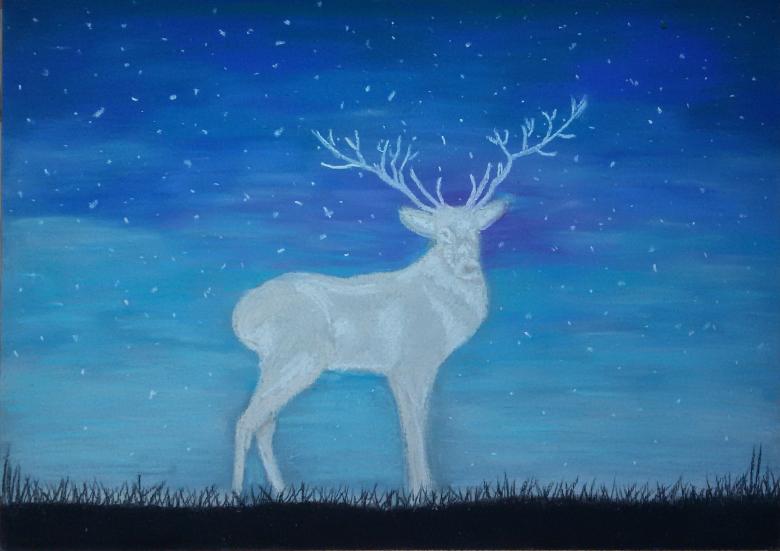
In winter, a polar night falls in the tundra. The day is short and the colors are muted. To convey this in a drawing, you need to:
- Paint the sky with gray-blue paint. To get the shade you want, try mixing the colors on the palette. Draw from top to bottom. The paint should be paler closer to the horizon.
- You can leave the mountains white or make them pale blue.
- Use blue paint to shape the snowdrifts.
- If there are animals or people in the picture, paint them.
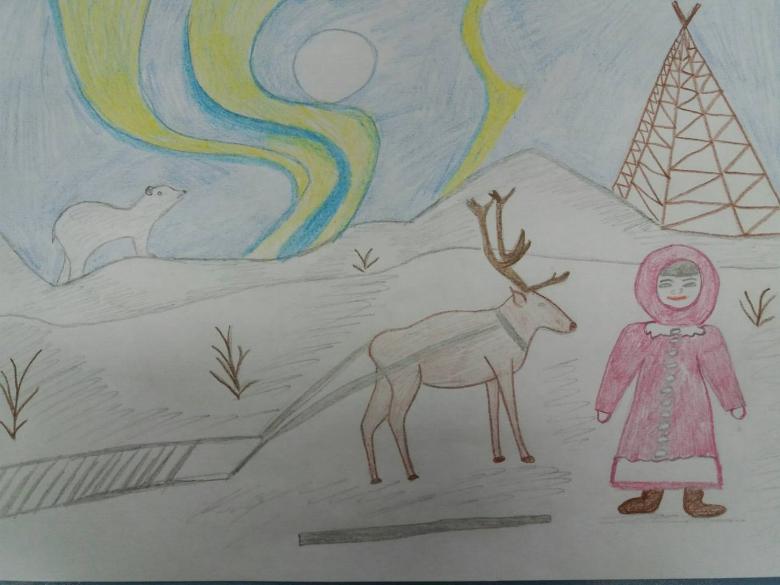
Do not paint over the snow completely. Try to leave more white space. If some mountains are closer to the viewer and others farther away, the background should be lighter than the foreground.
Autumn Tundra
The tundra is a veritable riot of color in the fall. Reds, greens, oranges, and yellows are present. This is particularly effective with watercolor.
- The sky in the drawing should be lighter than the ground. Fill it with blue paint, leaving white areas. This is how you will draw the clouds. Use bigger amount of water with a brush. Don't overdo it, or it will drip. If you make a mistake, you can fix it. Squeeze out the brush, and then use it to get rid of the excess color, gently blotting the spot.
- After the sky, go to the bottom of the picture. Depict the polar vegetation. It is not necessary to trace the details. It is enough to indicate islands of rosemary and moss with colored spots.
- If you want to draw the stems of plants, trunks of polar trees and other small details, use a thin brush. Try not to use black, otherwise there is a chance to darken the picture too much. Remember to change the water while painting.
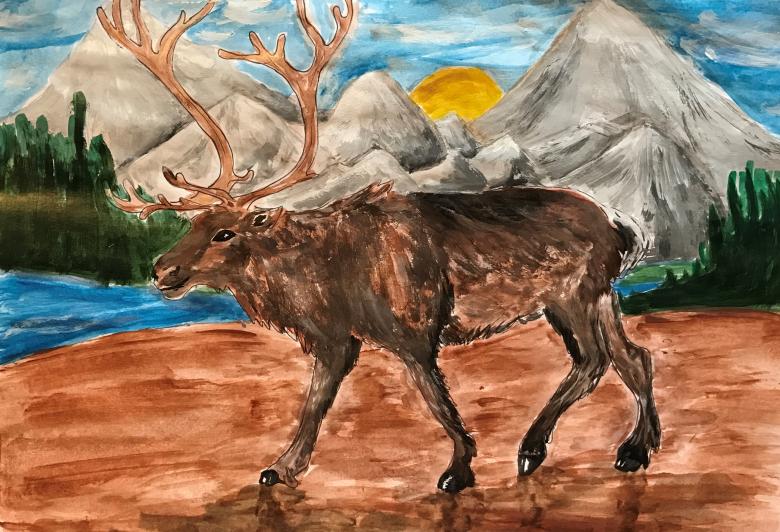
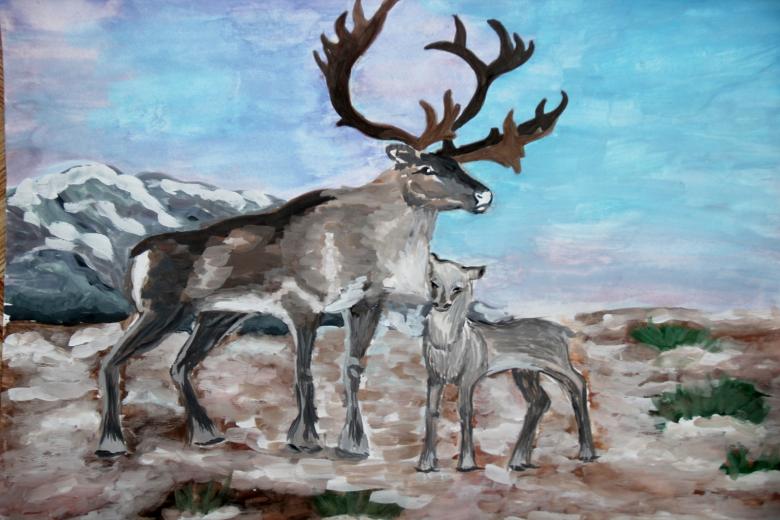
How to draw a reindeer?
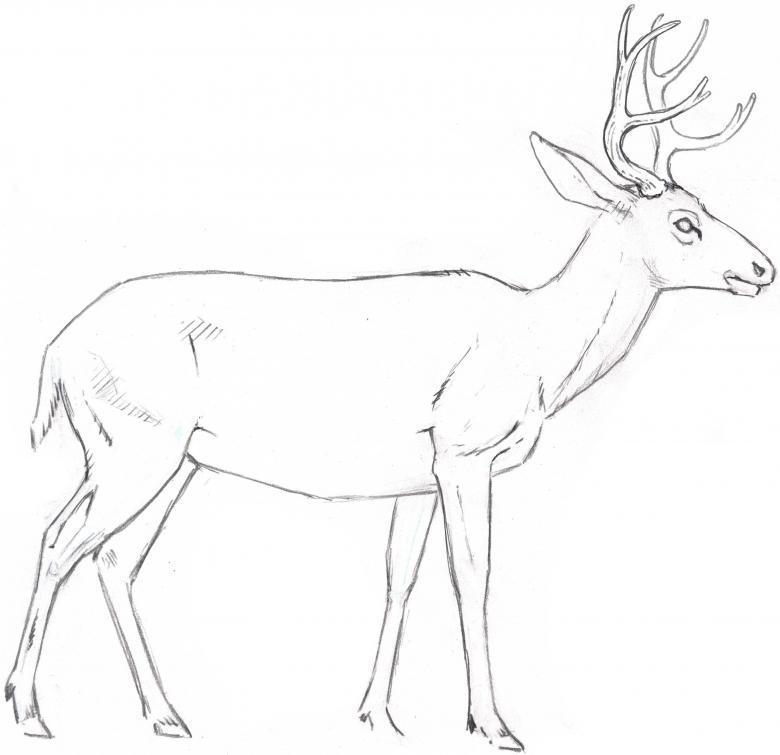
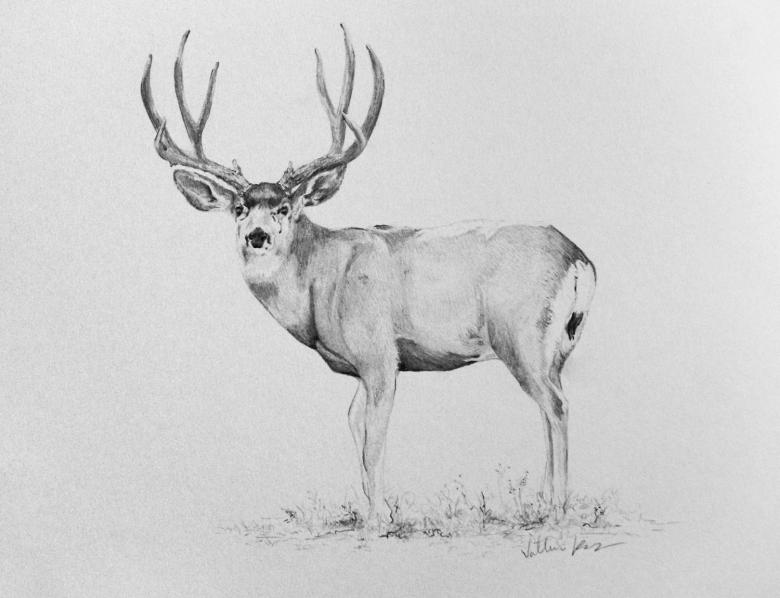
In the composition the reindeer can be both in the background and in the foreground. If in the first case it is enough to indicate the silhouette of the animal, in the second case you need a detailed drawing.

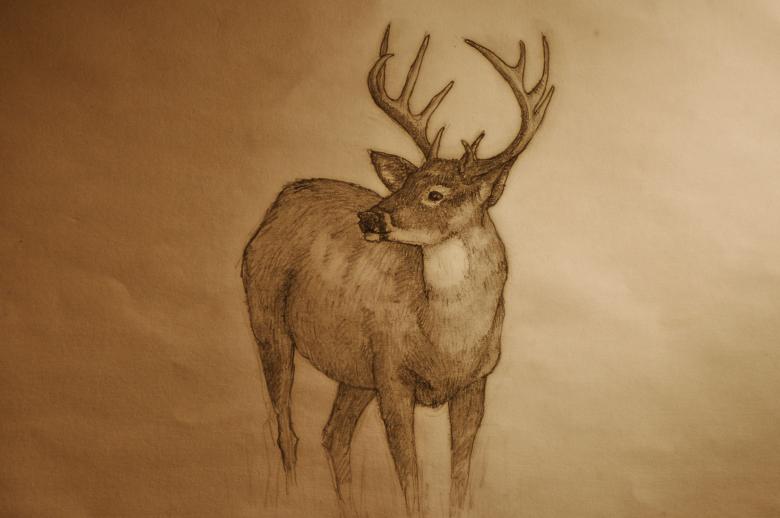
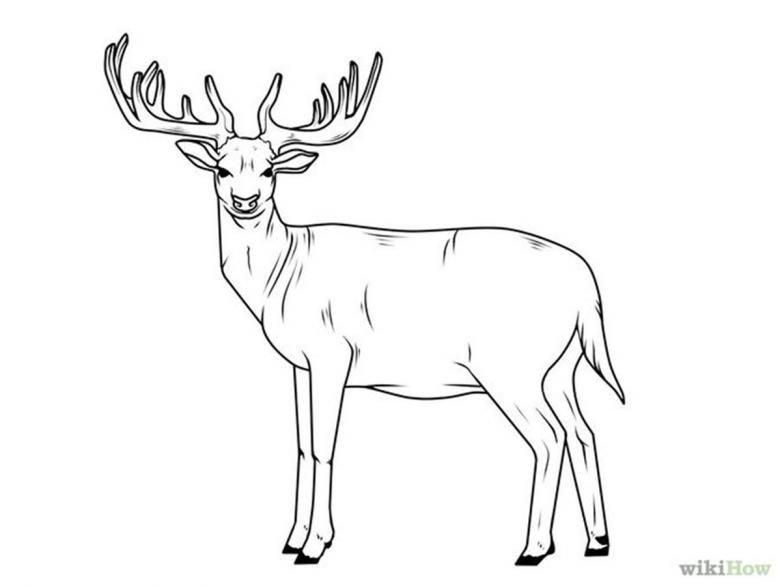
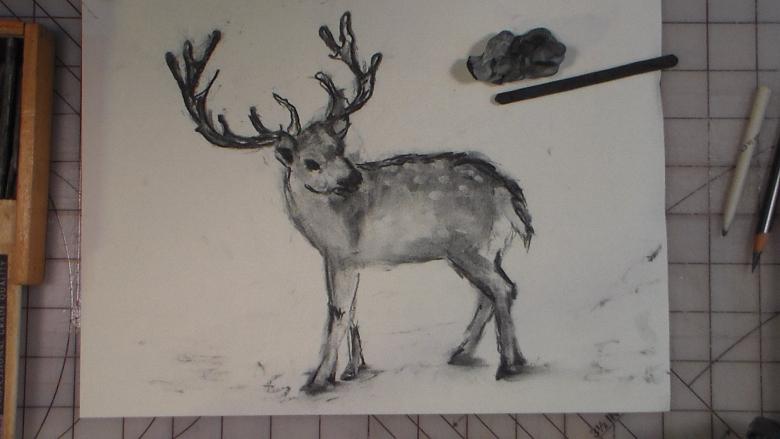
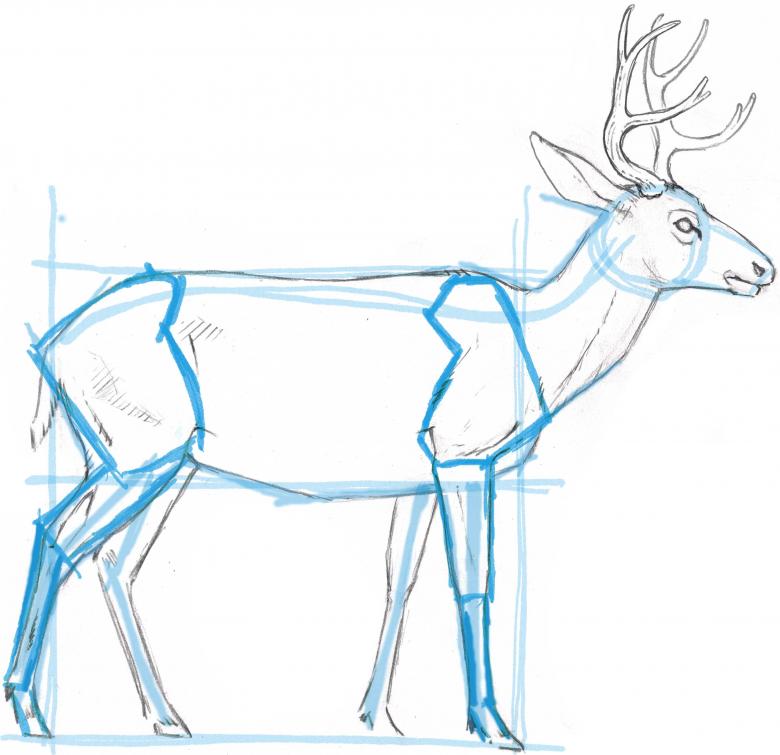
The deer has a stocky, powerful torso. Look at pictures of deer online - it helps to depict the animal realistically. Workshops on how to draw a reindeer step by step will also help.
- To get the shape right, break up the deer's body into shapes. Draw three circles with a pencil: one in place of the croup, another in place of the chest, and the third, smallest, will be the head.
- Mark the knee joints with small circles.
- Outline the contour with a pencil. Do not go into details, sketch only the main lines.
- Move on to paint. First paint the light areas, then the dark areas. Do not forget that the tail and the area under the neck of the reindeer is white. There is no need to paint over them.
Drawing nature is interesting for both children and adults. It helps us to learn more about the world around us, to see it from new angles. Even beginners can draw the tundra, and the process of drawing will bring a lot of positive emotions.

