How to draw a penguin step by step in pencil - helpful tips, workshops, photo examples and ideas
Despite the fact that penguins are not as common animals as, for example, domestic cats and dogs, but about them absolutely everyone knows, including kids, who are just beginning to learn the world around them. And the fact is that they are very interesting, funny, peculiar and memorable creatures.
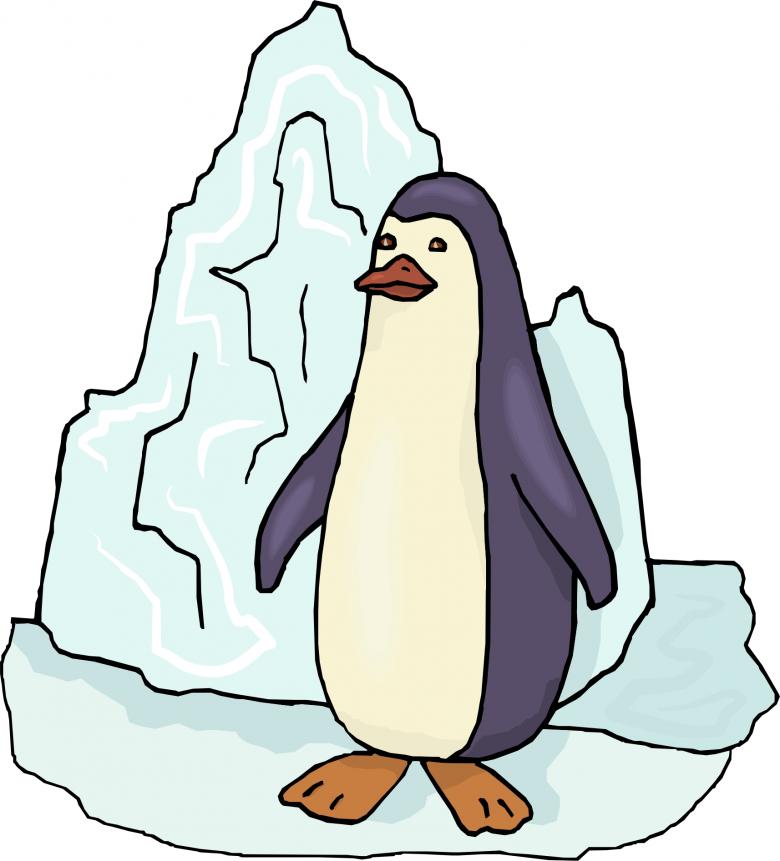
Penguins can be seen in various books, including as characters of fairy tales, on TV - where they gained particular popularity, being the characters of cartoons, and of course, the place where you can watch them live - the zoo. A child's own drawing on a sheet of paper should be added to the list above.
Preparing to draw
Be sure, difficulties in creating a picture will not arise for a three-year-old baby, and even more so for an adult. After all, this selection consists of several master classes of varying levels of difficulty, in addition, all the specimens in it are original, beautiful, and black and white birds are sure to cause emotion.
Before starting the drawing lesson, you should prepare the necessary tools and materials:
- An album or white sheet of paper;
- a simple pencil;
- eraser;
- colored pencils, felt-tip pens or paints (a container of water and a brush).
The first, test drawing of a penguin should draw yourself, so that from your own example it was easier to tell and show the child what he should get. And to do this, it's enough to follow the step-by-step instructions for drawing one of the options you like.
Learning to draw together
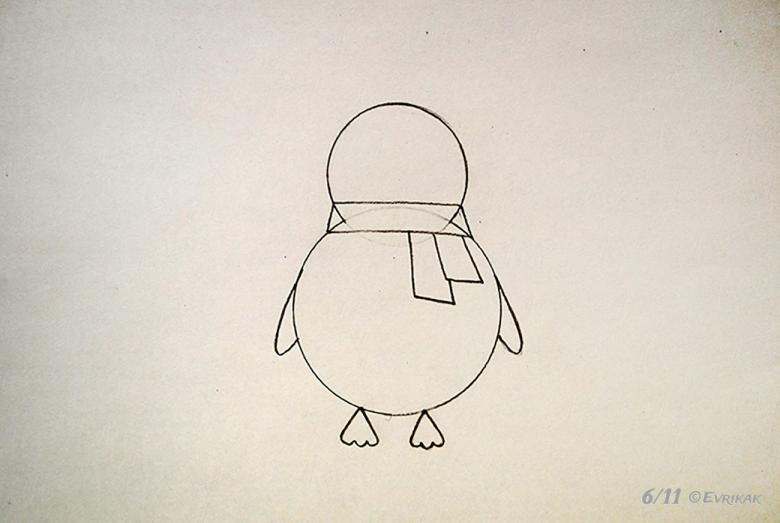
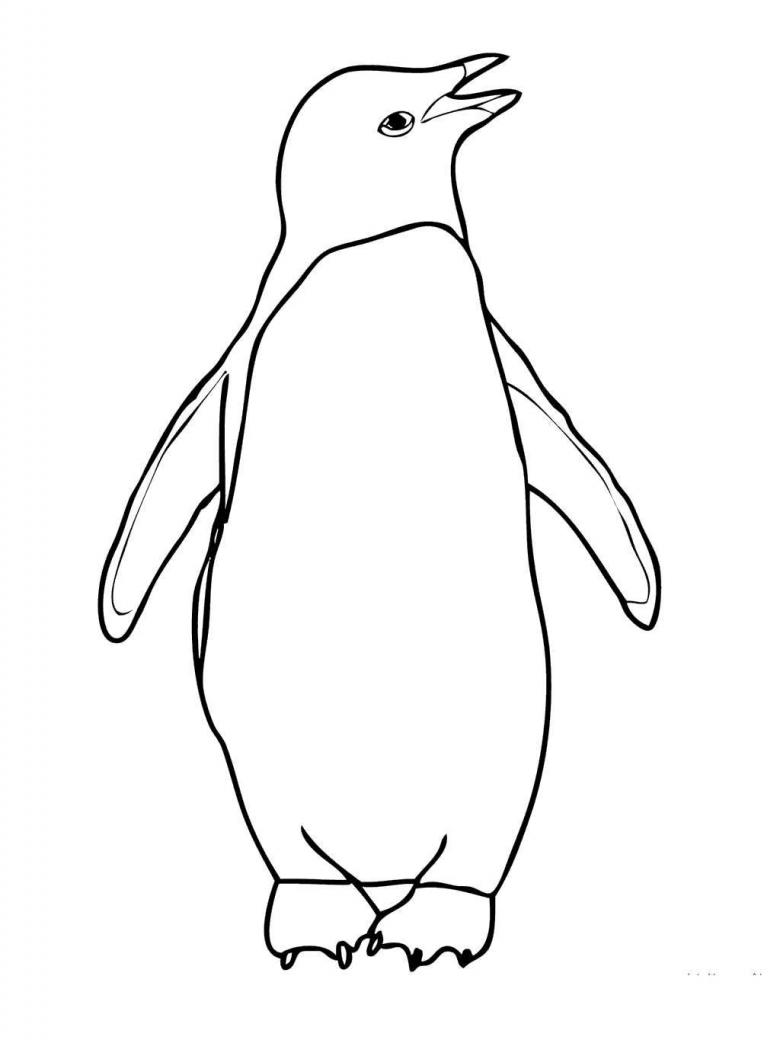
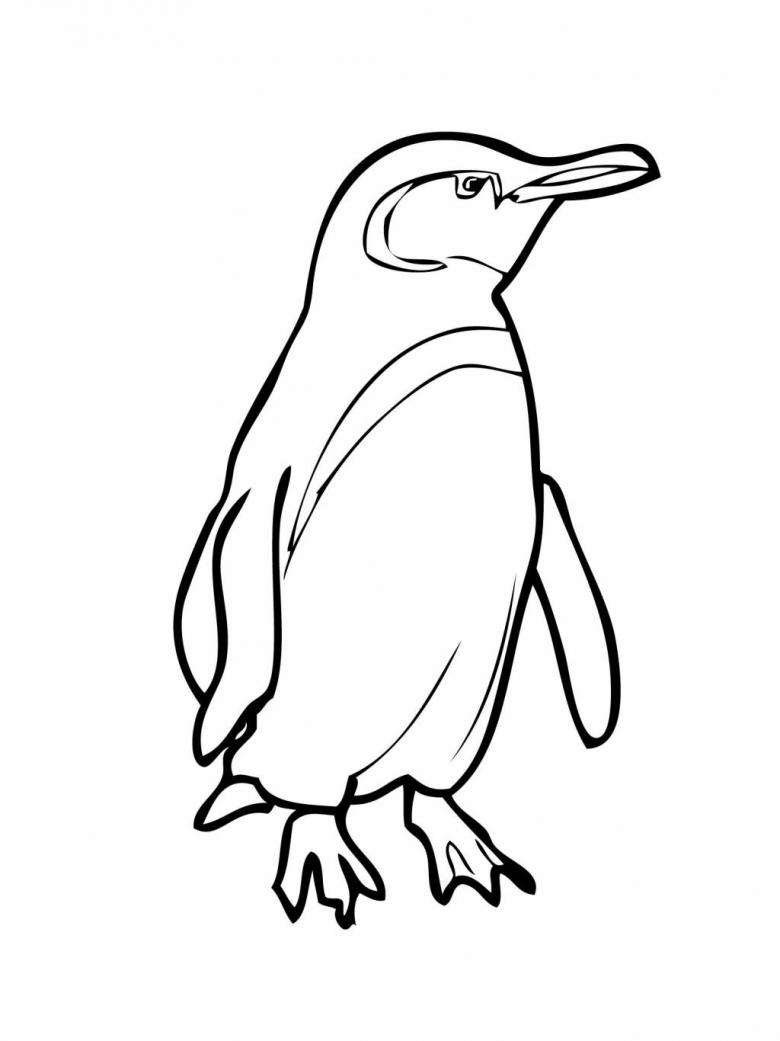
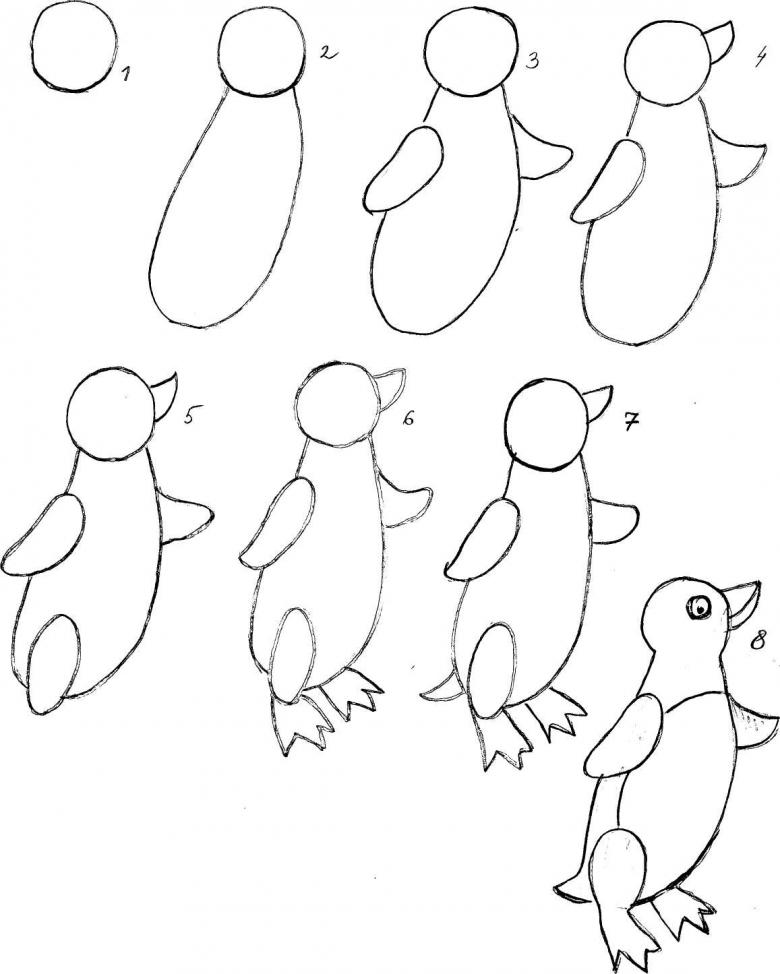
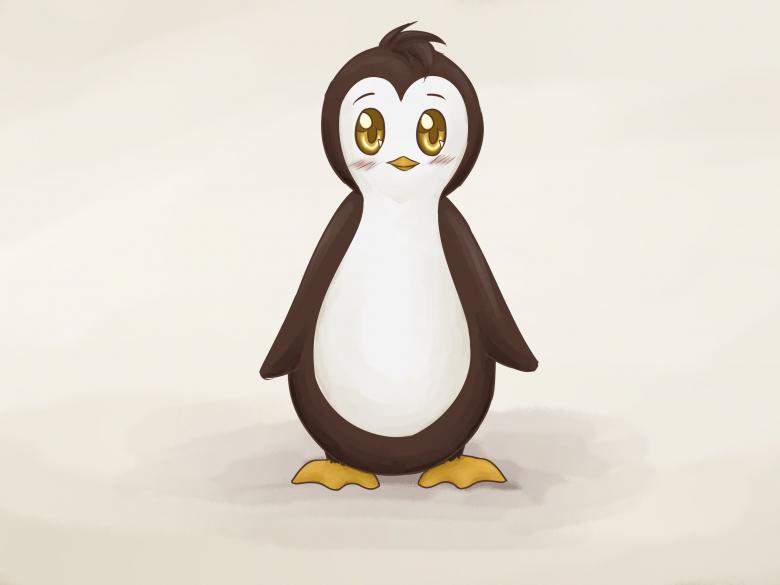
One of the easiest examples of painted birds is a penguin, the silhouette of which resembles a pear.
After preliminary preparation (choosing a workplace, selecting the right tools and familiarizing yourself with the sketch), you should begin to engage in creativity:
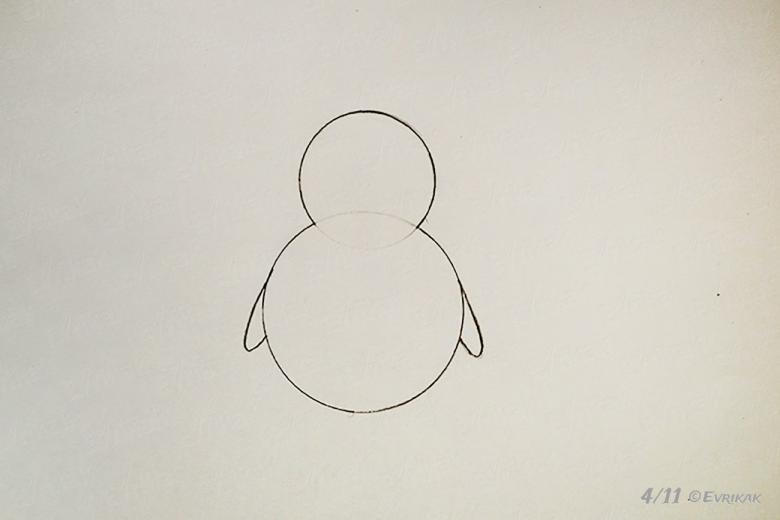
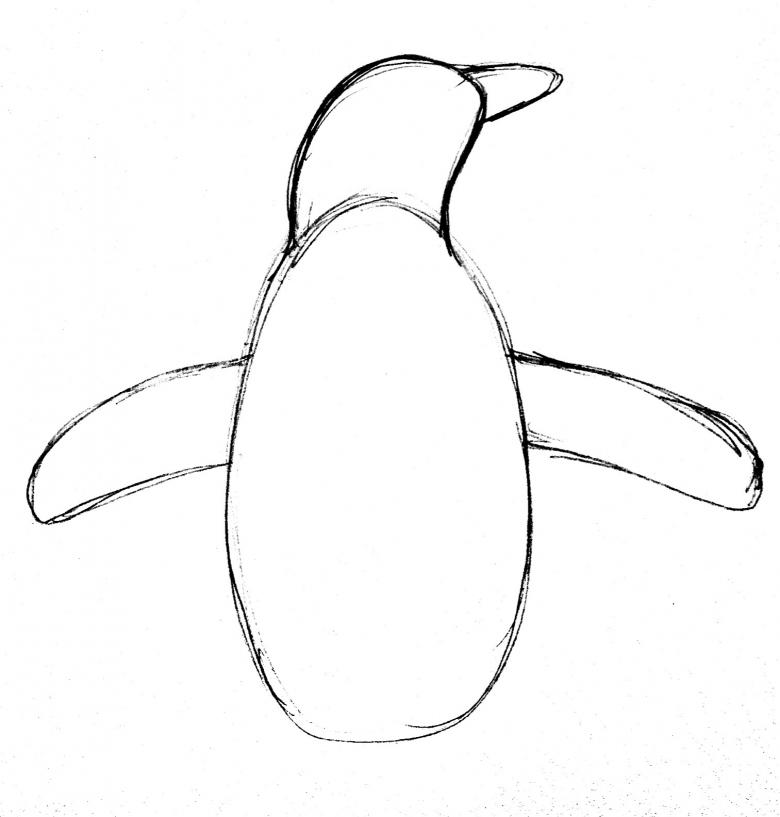
- In the center of the sheet with a simple pencil, draw the outline of the penguin, in the shape of a pear.
- On the sides add wings.
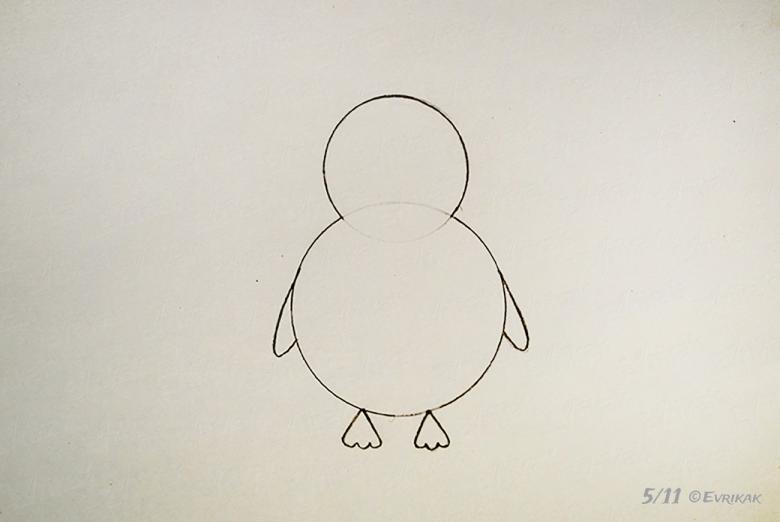
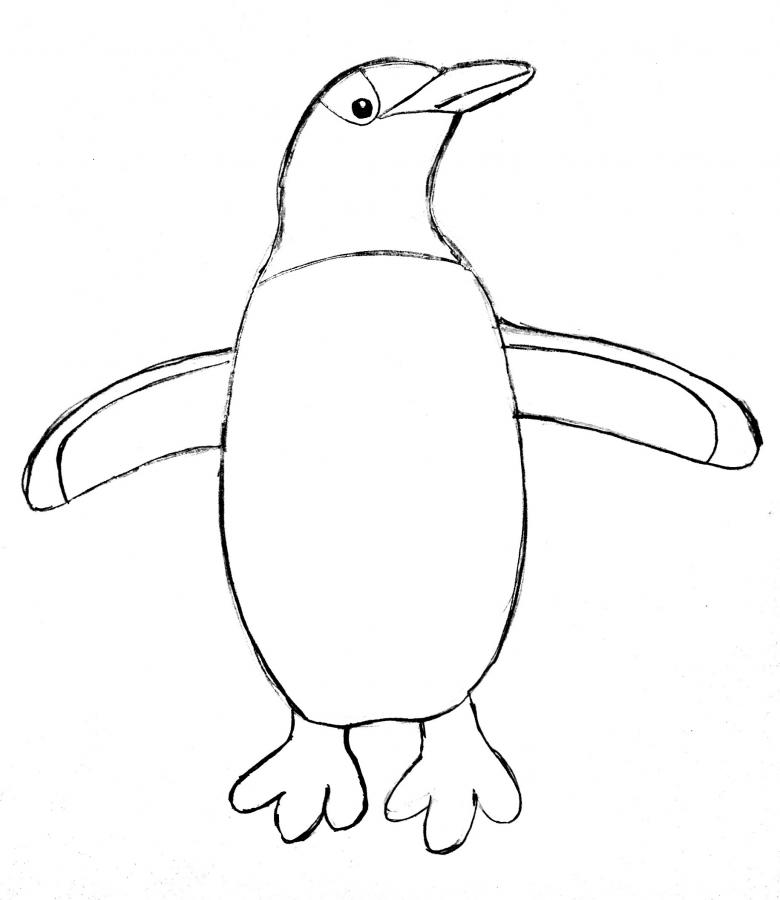
- Oval tummy should be drawn near the bottom of the silhouette where the paws should look out from.
- Paws - two limbs in the lower part of the chick. In nature, it is three fingers with webbing, but for children's drawings are suitable legs in the form of flippers.
- The penultimate step in completing the picture will be - drawing eyes at the top of a pear-like figure - two circles, in the center with eyes, as well as a beak, drop-shaped.
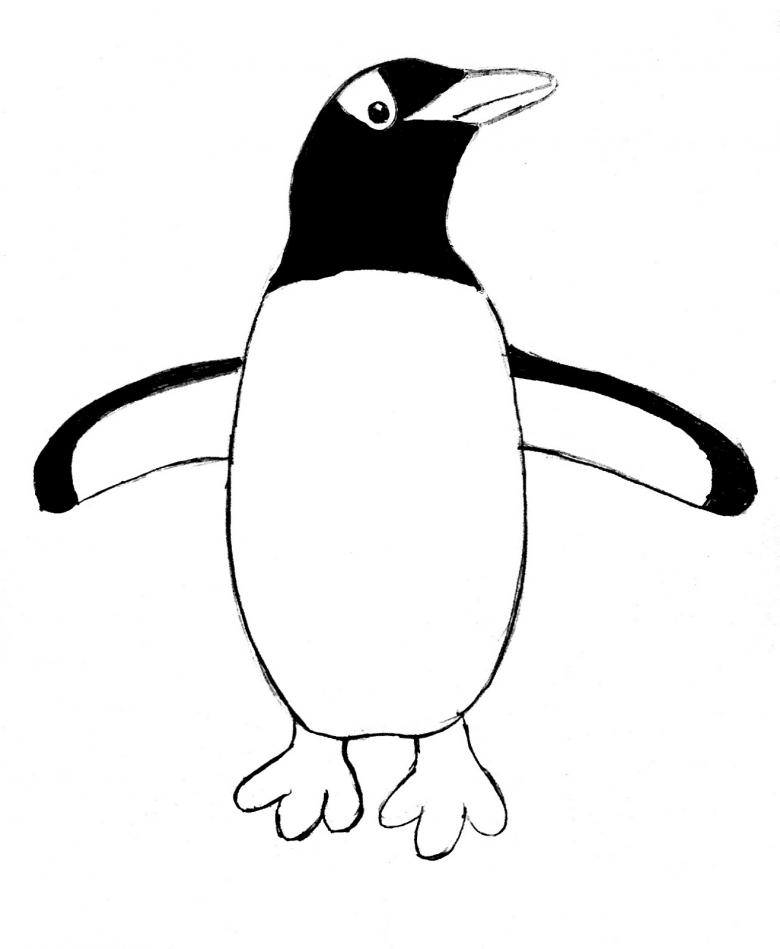
- The final step is coloring. Coloring of the penguin is not intricate, so it will be enough black for the whole body and red for the feet with a beak. The belly may not be painted over - it is white as it is.
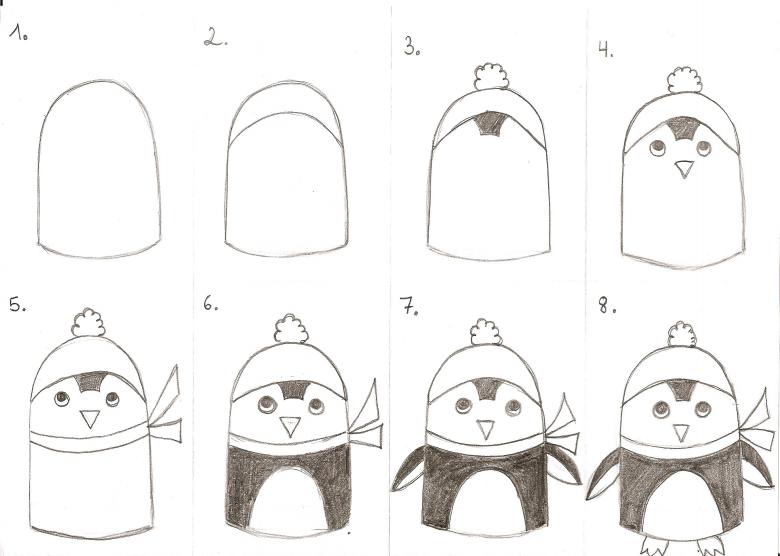
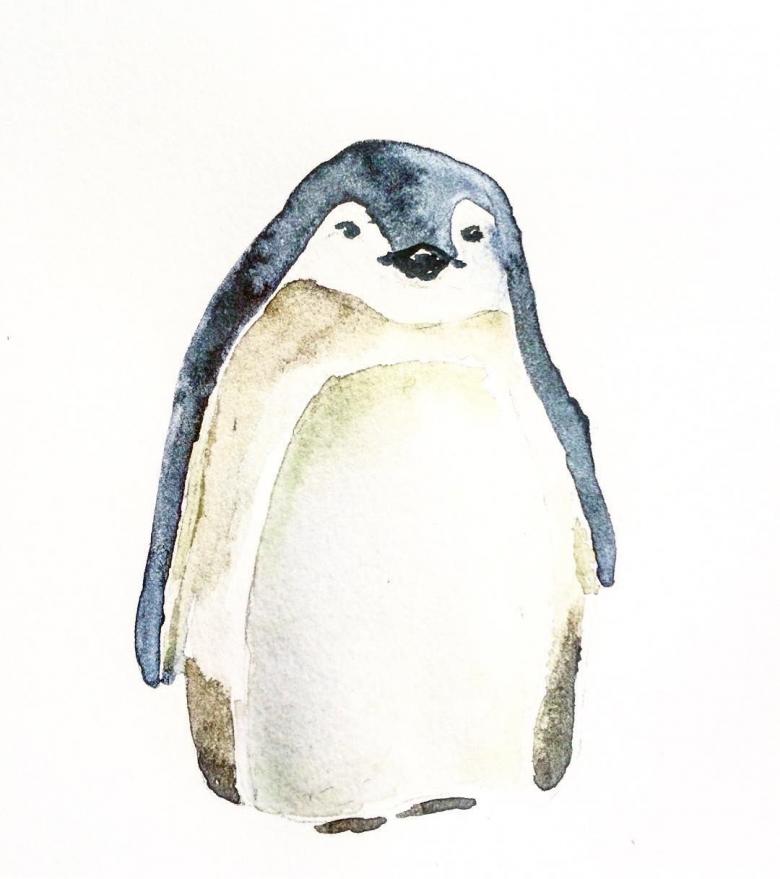
Chubby chick
The following, no less difficult, but quite cute penguin, will also be power even for a small artist. The technique and sequence of elements is different, but this does not affect the complexity:
- The drawing should begin with the image of the eyes - two small circles in the center of the sheet. Then it is necessary to add pupils, making small dots on a black background - highlights.
- The turn of the beak - two semicircles: one larger - the top, the second smaller - the bottom.
- Above the eyes, up to the beak line, draw a semicircle - the top of the head, and then draw a line of the lower semicircle, but it must be larger than the first, so that the whole muzzle with chubby cheeks turns out.
- At the end of the head, you should add two arcs above the eyes, they will create a clear boundary of the black and white coloration of the penguin.
- The torso - two ovals, one of which is in the center of the other, and smaller size - a white belly.
- Along the tanks are two wings - triangles.
- At the bottom of the torso - two paws, conventionally divided into three fingers.
- At the end you need to add a little, but bright colors in the form of black and yellow. If the drawing is painted with water paints, for the tummy and cheeks you will also need a white shade.
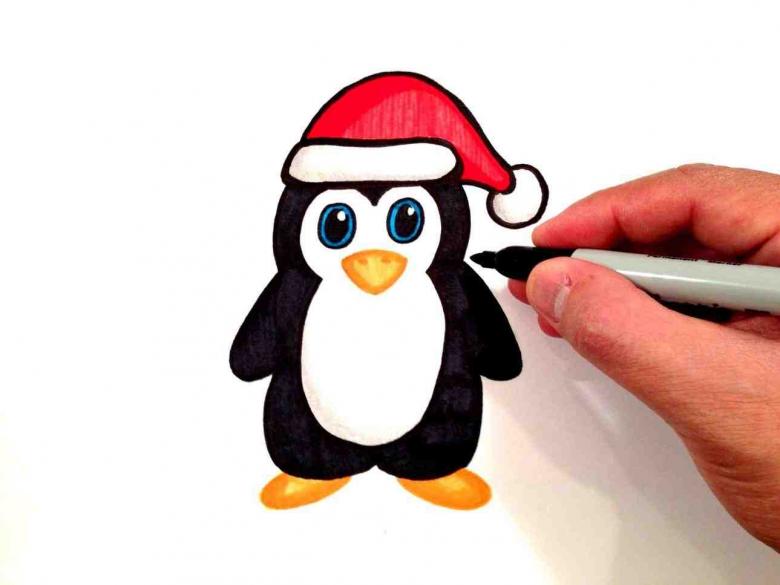
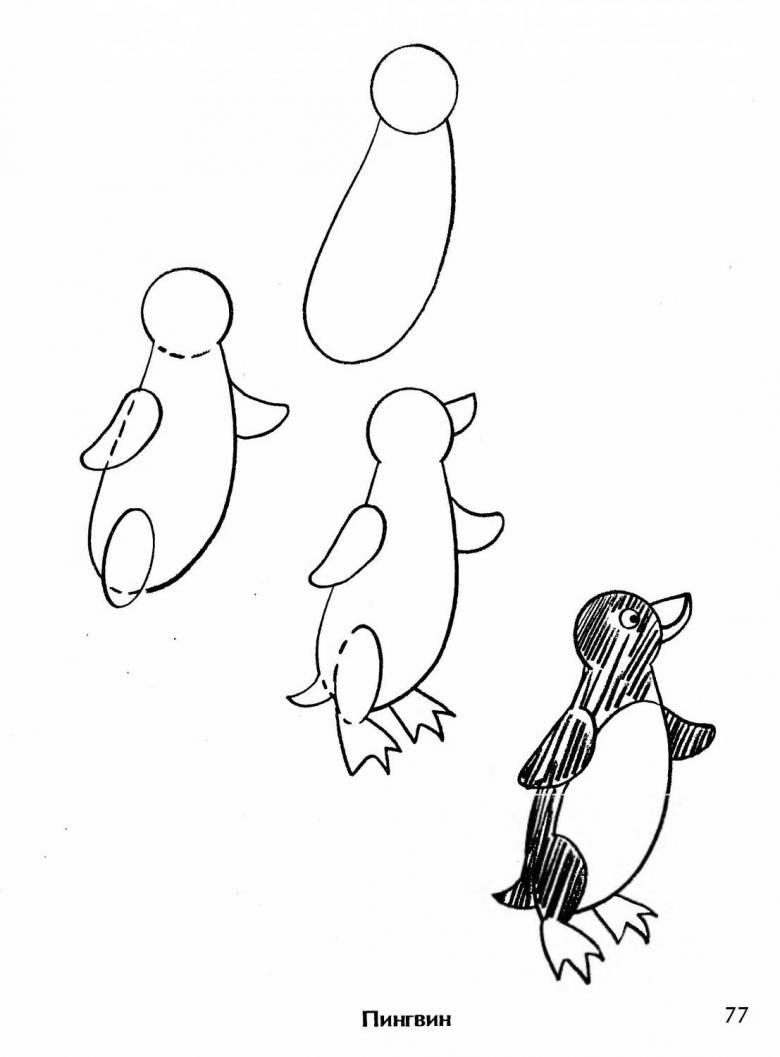
Penguin with ovals.
Almost all the main elements will be done in the form of ovals, but this should not cause difficulties, but only take a little more time because you will have to use an eraser more often to wipe away unnecessary lines.
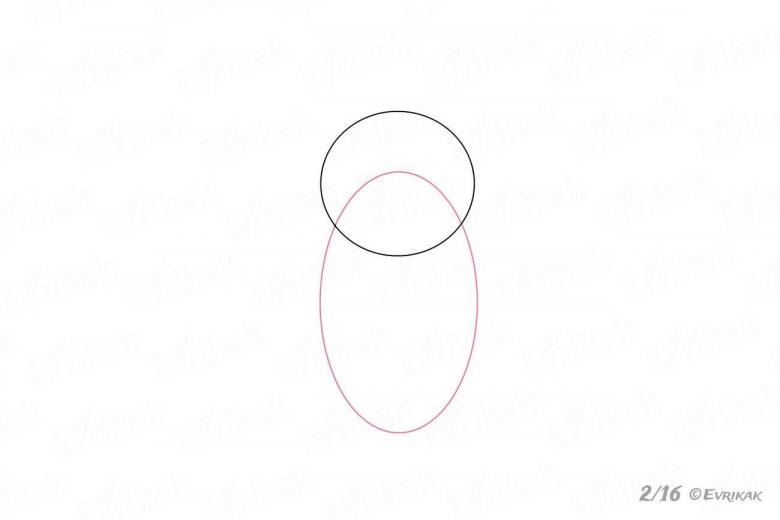
- On the sheet draw two ovals: one horizontal and smaller - the head, the second vertical, large - the torso. Erase the joint lines.
- The next step is the wings, they should start at the head and end in the middle of the torso.
- Then comes the turn of the coloring of the penguin, consisting of two colors. It is made in the form of an oval on the stomach and in the shape of a heart on the head. At the same time, all the lines of the joints and sealed figures are wiped out, leaving only the outline.
- The paws are also obligatory details.
- On the turn of the face - two small ovals with black pupils and a triangular beak underneath them.
- The easiest and most interesting part of drawing a penguin is coloring. In any technique, the coloring will be standard - black and white, changing, if desired, only the color of the beak and feet - red, yellow or orange tone.
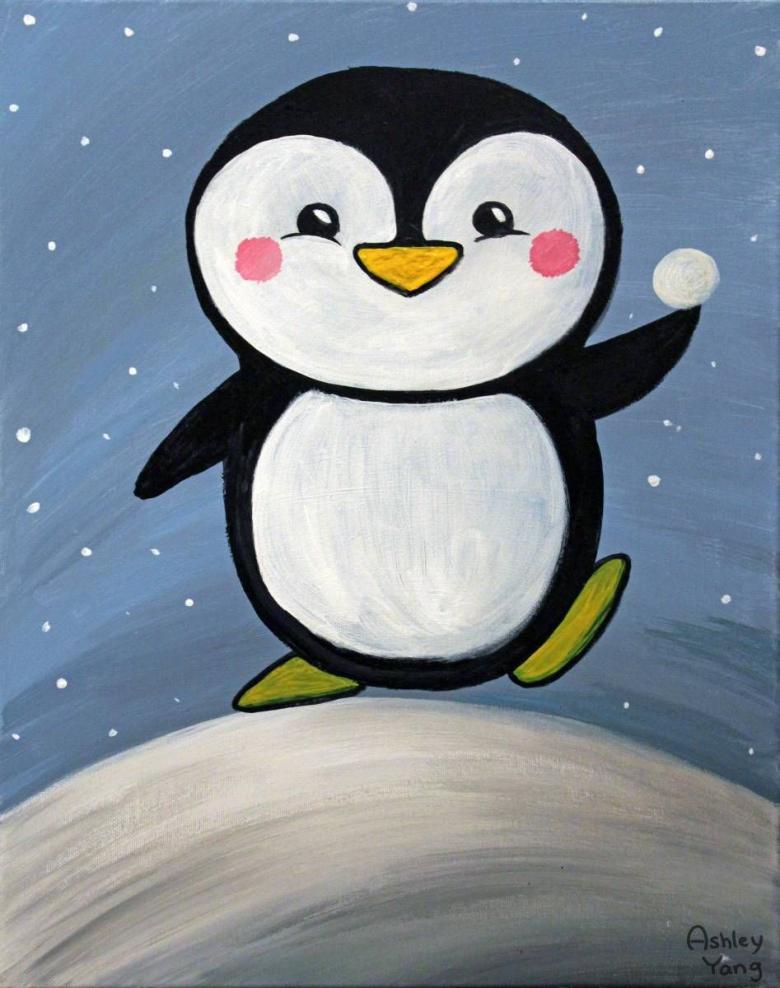
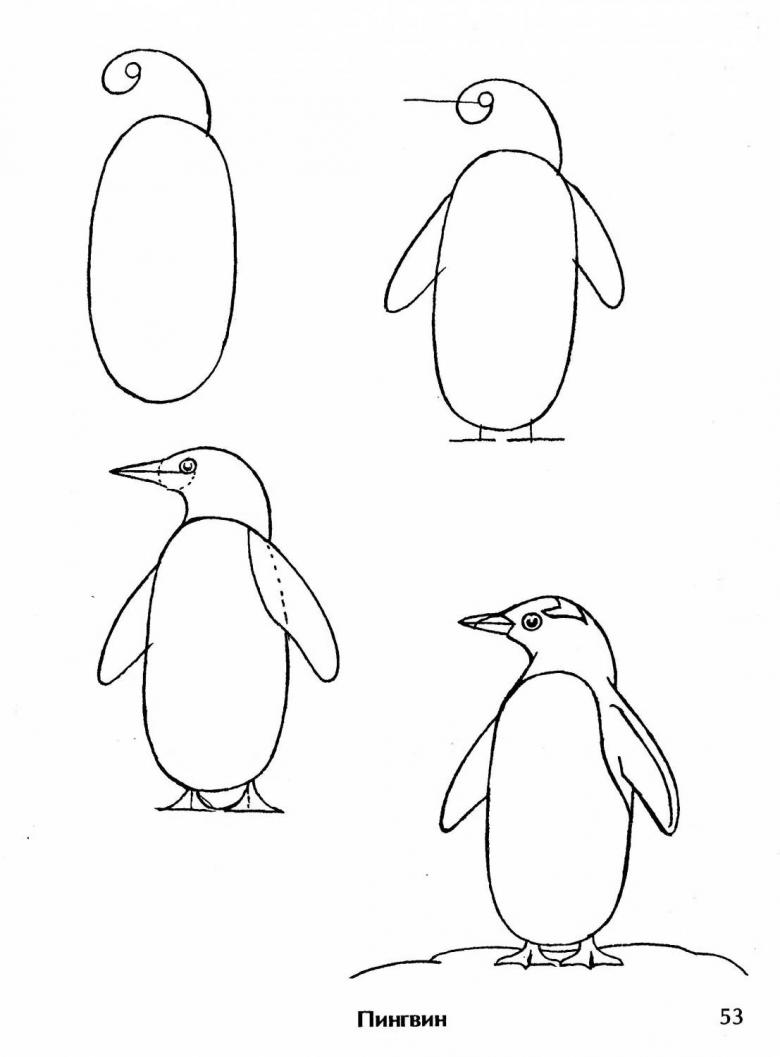
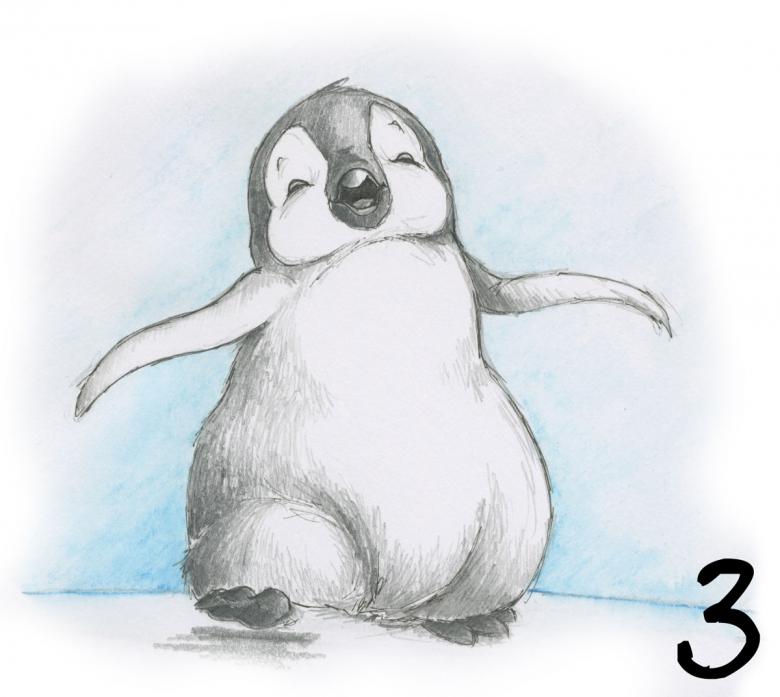
Penguin from number "3"
Another technique for drawing a penguin, which can surprise many, but thus does not create difficulties in execution, and the result will surpass all expectations.
- The performance of the picture is desirable to begin with a drawing of the beak - from it will go all the key lines and one small, horizontal dash, from which and need to start drawing a large number "3".
- Then, the second line will be a large arc that serves as a back. Its extreme points will be the edge of the beak and a large curl on the "3".
- Next, in a small curl of the figure should finish drawing the eyebrow and eye, and on the barrel of the penguin - a wing.
- Next, to create the full body of the chick, you need to finish drawing an arc-shaped line connecting the edge of the beak with the bottom point of the figure.
- It remains to add a wing on the left side of the tummy and two legs.
- Did you get it? Bravo! You can paint.
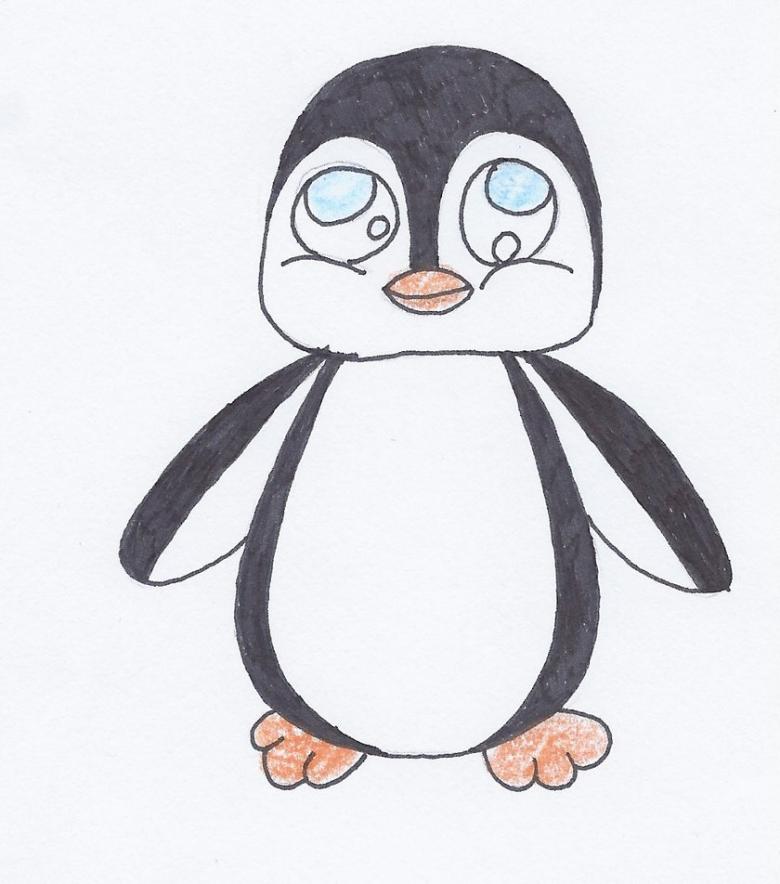
Options for decorating the picture
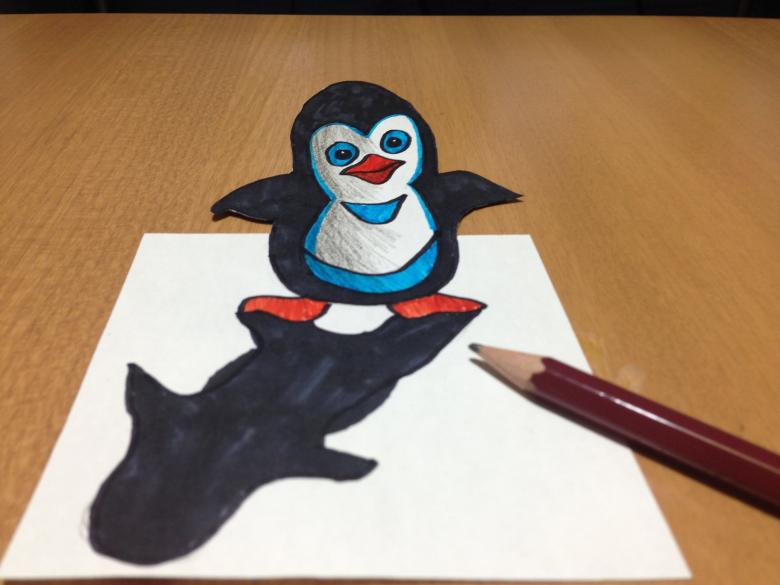
The fact that the penguin is the main character on the sheet is clear, but in order that the drawing was not boring and monotonous it is desirable to supplement it with other elements, so that when it is completed it can be called a full-fledged picture.
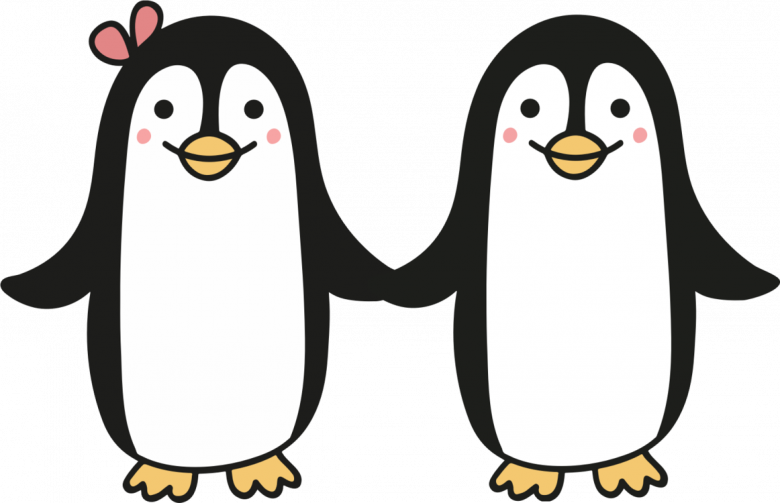
One of the options would be:
- falling snow on the background of a cheerful bird;
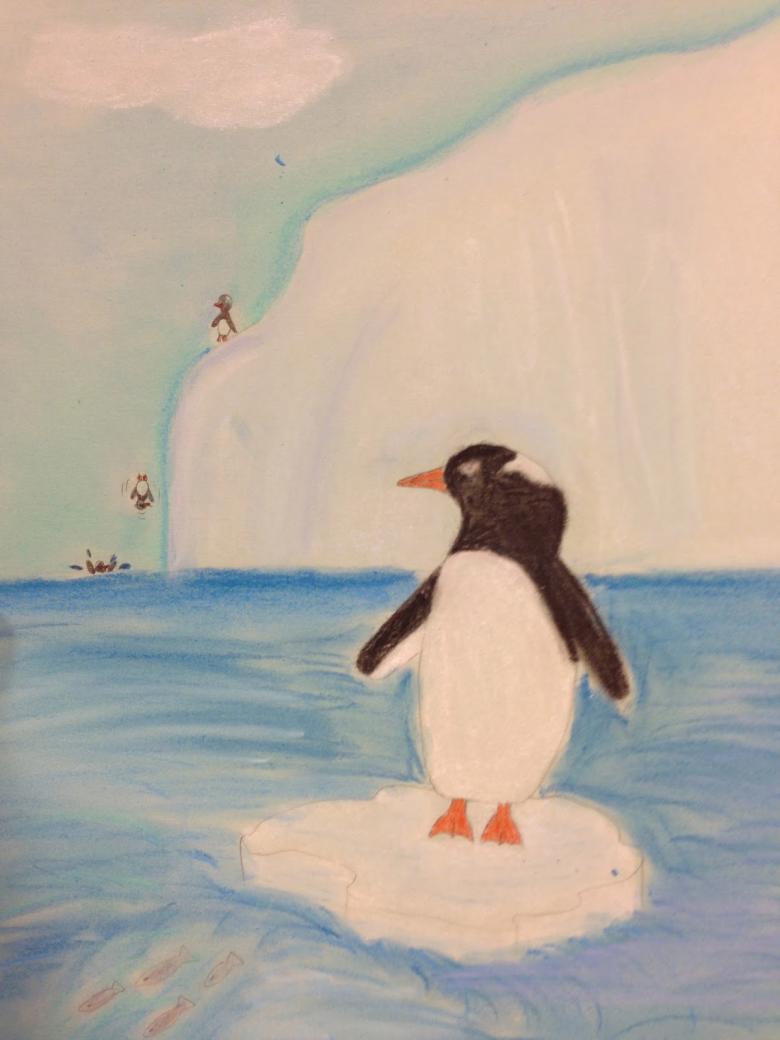
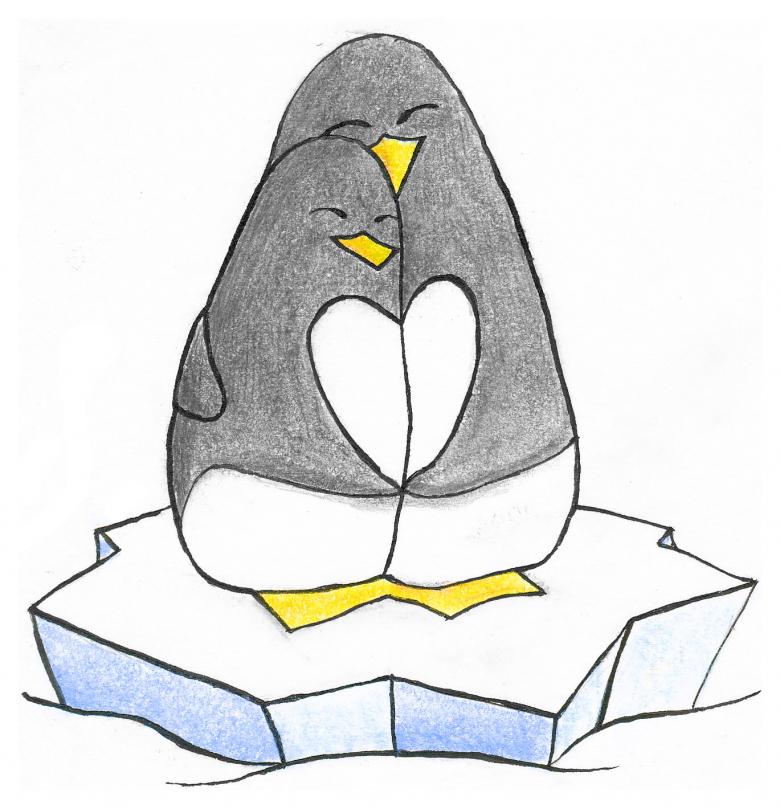
- a penguin on a floating ice floe;
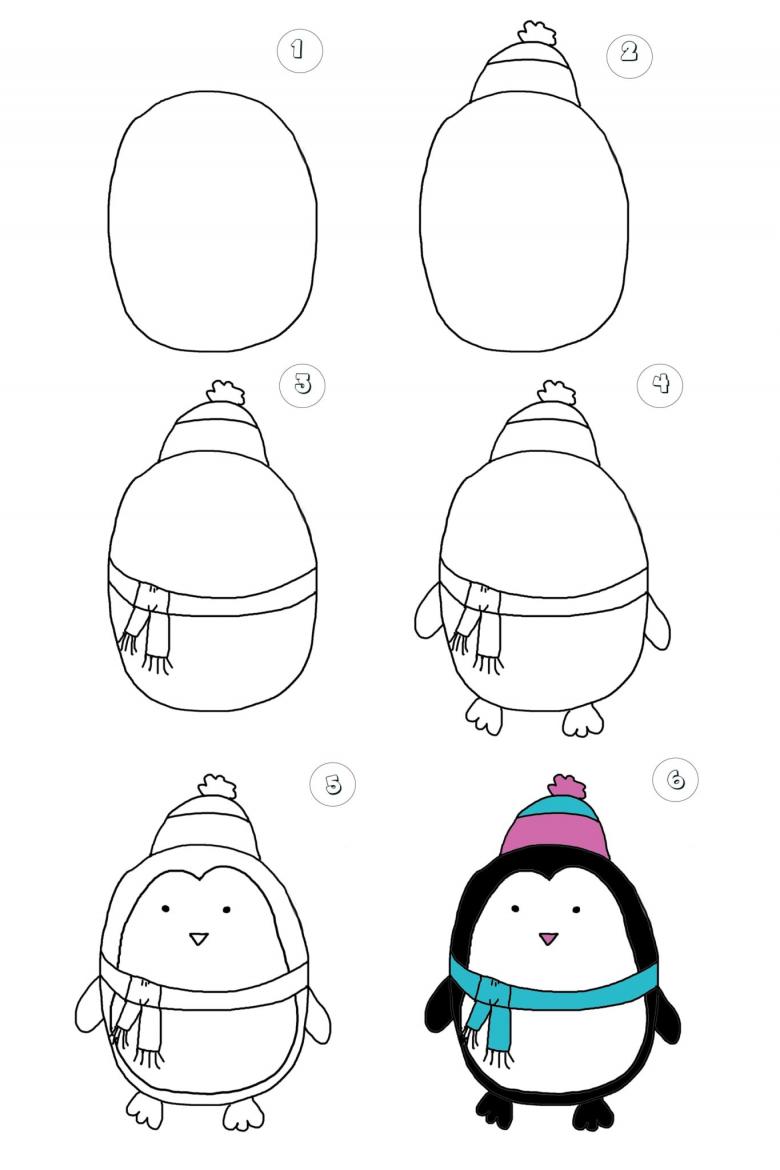
- a penguin with a scarf and warm headphones;
- a blue iceberg in the distance.
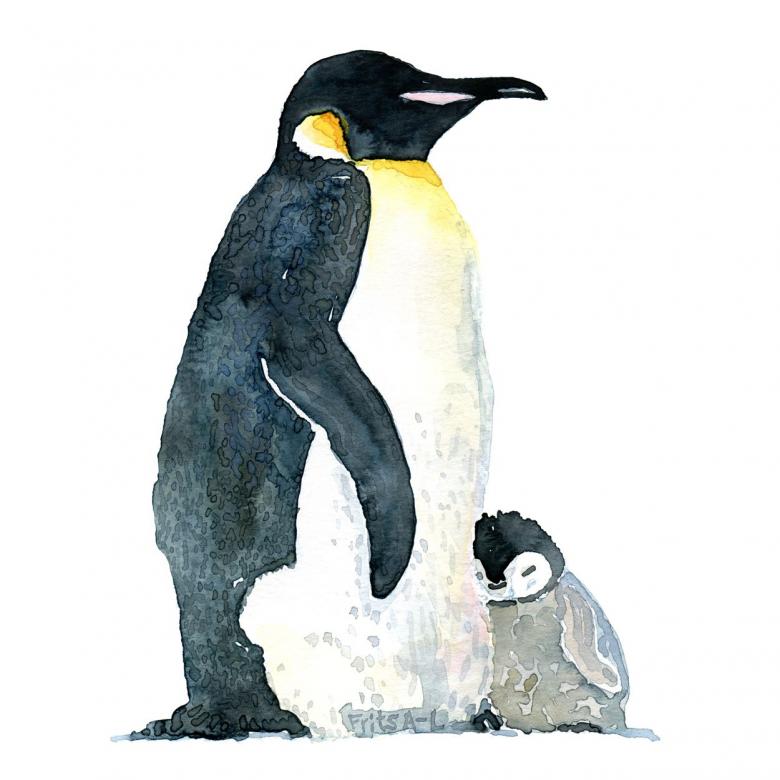
All of these do not require special skills or a natural talent for drawing, the only condition will be the obligatory use of a simple pencil and eraser to erase unnecessary details or wipe out unsuccessful lines. And coloring will bring a lot of fun, because with a black and white drawing and the same animal can get an incredibly bright, cute and positive picture.
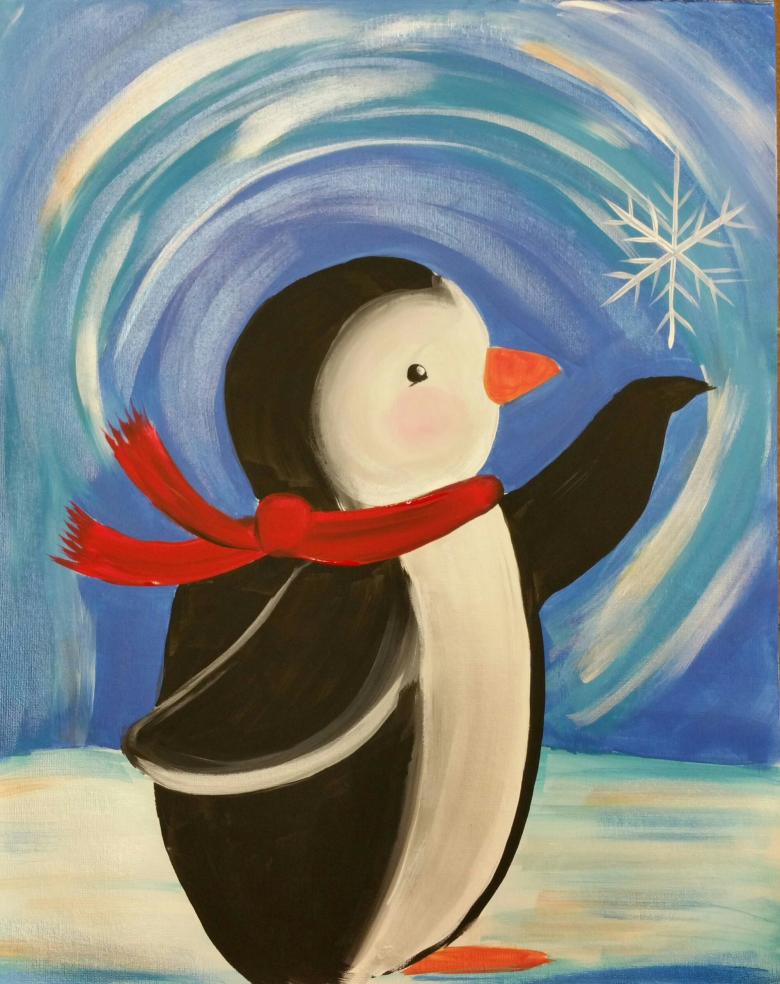
Cartoon characters
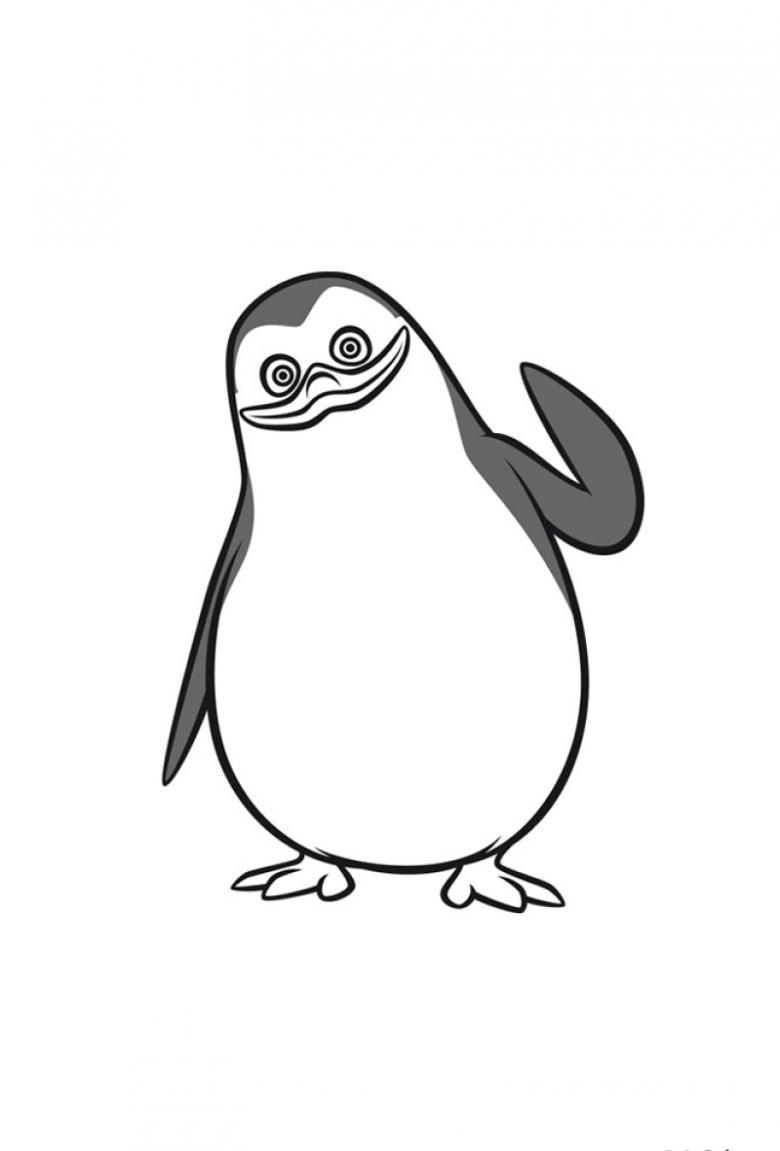
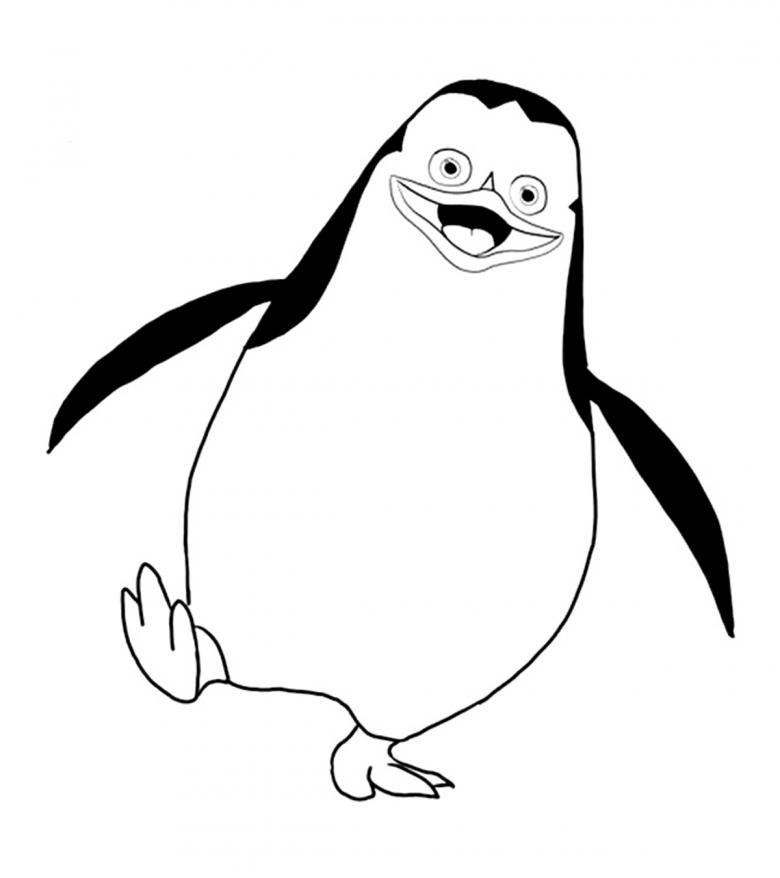
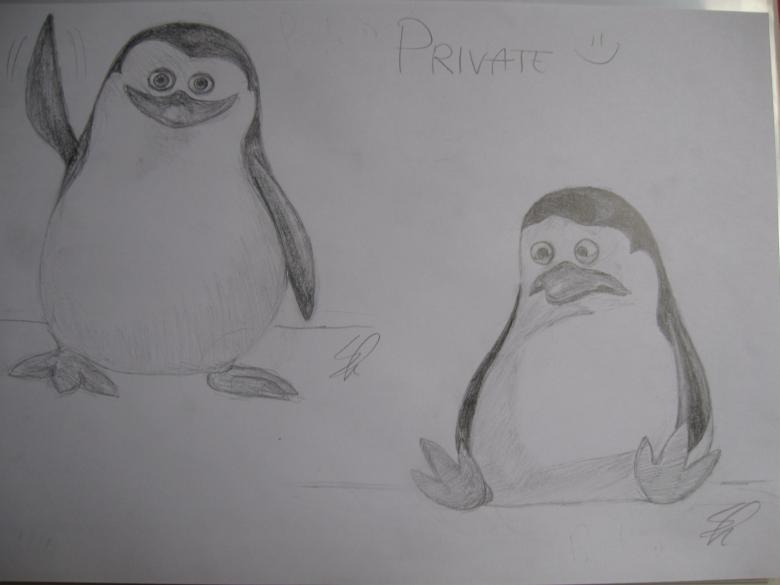
After learning to draw the easiest silhouettes, you can proceed to more serious and recognizable drawings of cartoon characters, among which children will be familiar with Skipper - the penguin from Madagascar and Pin from Smeshariki.
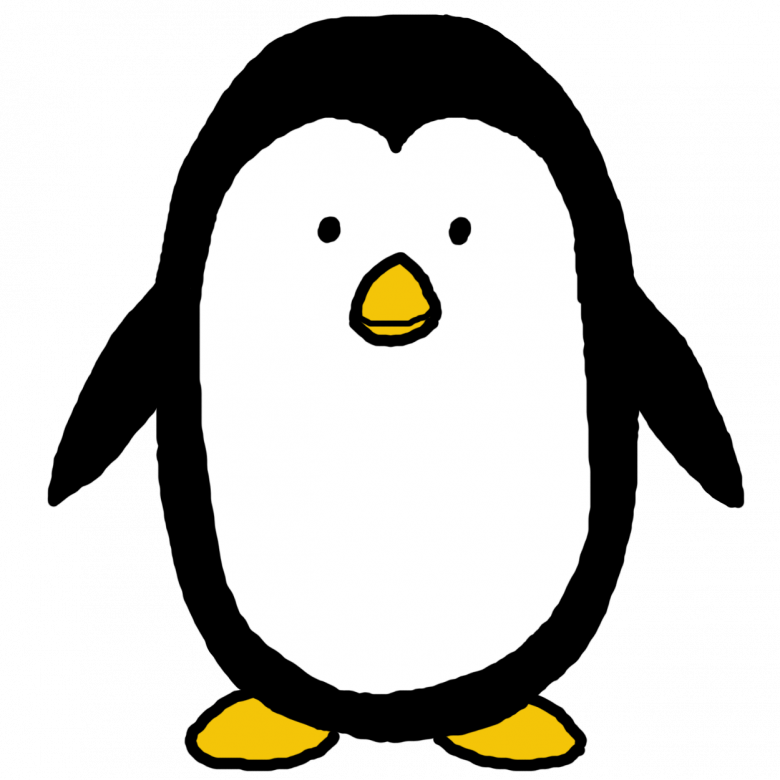
Drawing Pin
Good, but a little strange inventor, only at first glance it seems difficult to do, but it is far from it, and, in order to draw did not cause any difficulties it is enough only to understand the order of each element.
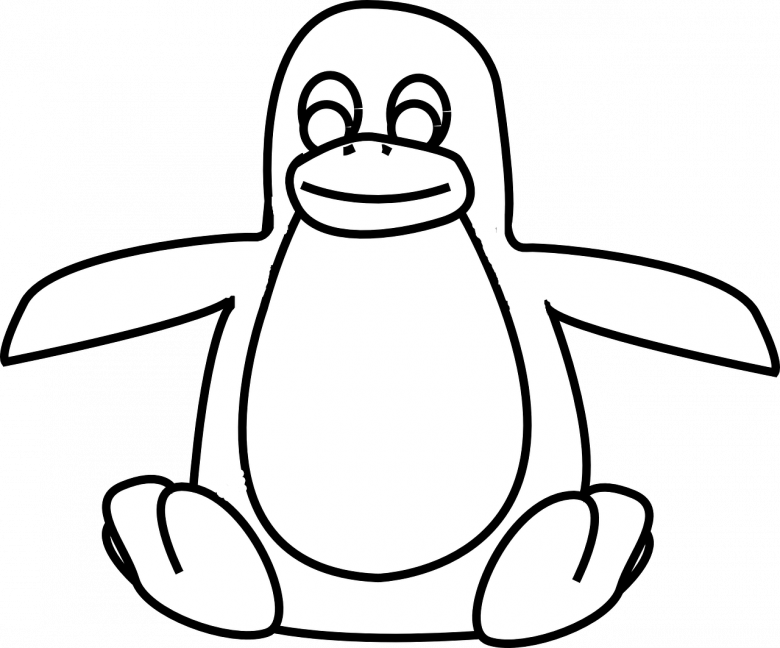
And so, the first thing to do - to draw the outline of Pin, unlike real animals, it will be round. For this, you can use a compass or a cup. Then add a tummy line, using an arc, at the bottom of the circle.
The next point is the face. Two identical circles with small pupils and tiny highlights in them. And also a beak above the stomach. It can be drawn with a horizontal oval, and then add a "spout".
The most difficult part of this drawing is the hat and glasses, but if you do it step by step, you won't have any problems.Finish the drawing by finishing Penguin with wings and two paws. And the final touch - painting, where the coloring of the penguin leave the standard - white and black, and a hat and glasses wish, or as in the cartoon - brown.
Skipper
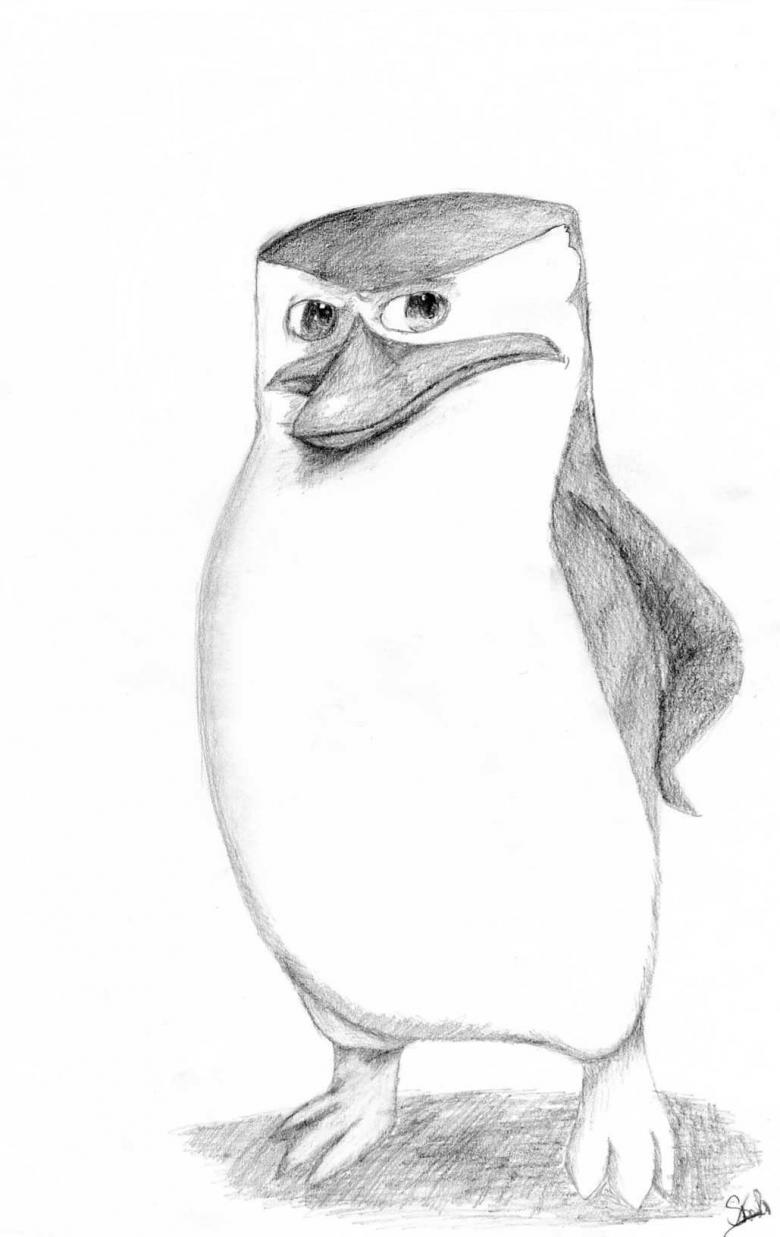
The suspicious, plucky, leader, and generally super senior penguin in the group of penguins from the zoo is Skipper. Sharp character and manner are clearly reflected in the appearance of the character, which can cause doubt in trying to portray a glorious cartoon character, and prompt the choice of a more simplified version of the funny bird, but if you started from the beginning of drawing lessons, so why not try and see progress in the ability to draw even such complicated episodes.
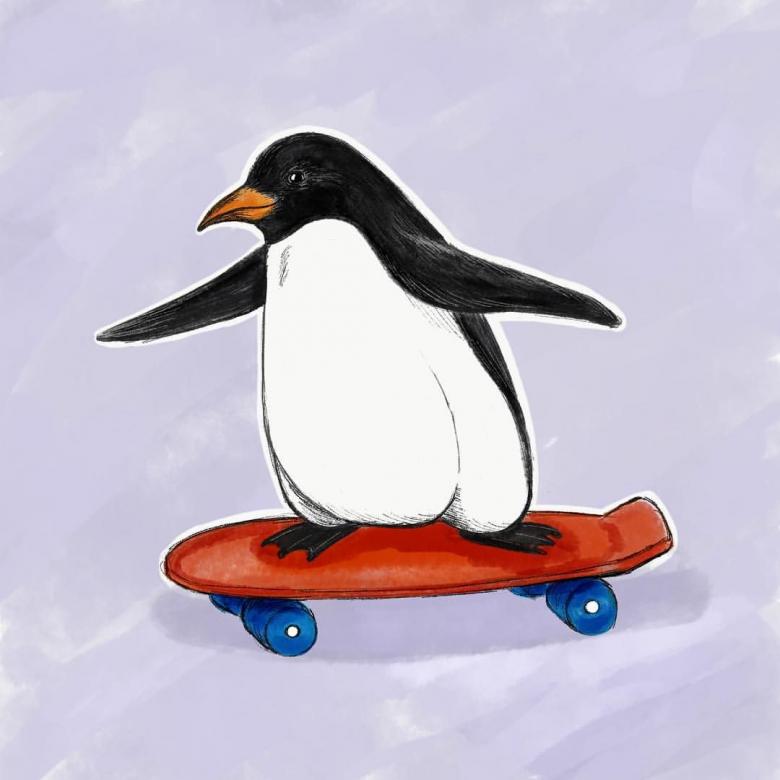
You should start drawing the character from the head: a tilted semi-oval silhouette with an arc serving as a forehead. Under which it would be appropriate to add a pair of small eyes. And under them a beak, similar to the rhombus shape, but with smoother lines.
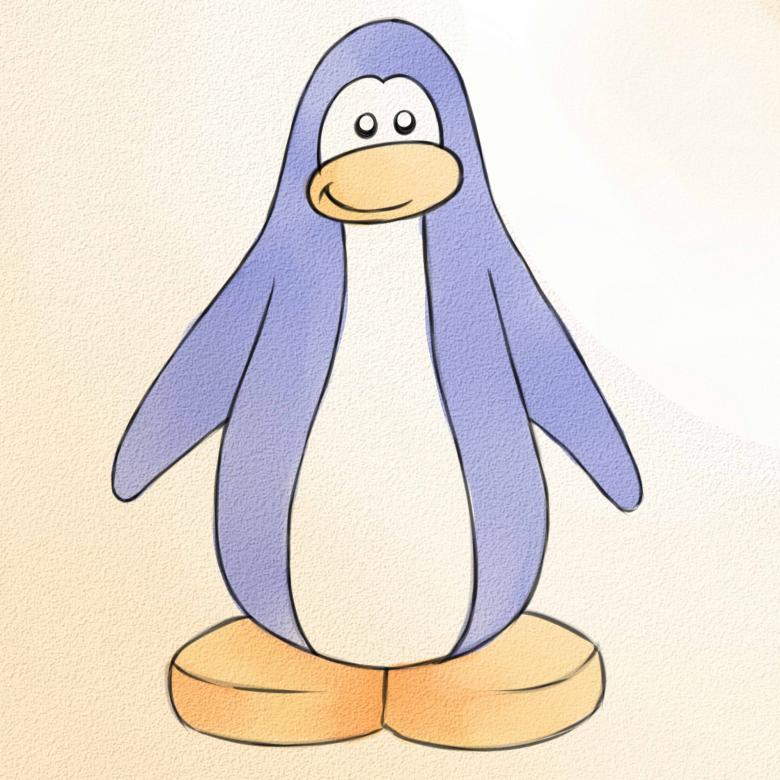
Then, on either side will be raised, to the level of the head, two wings, and already from them will go the rest of the contour of the penguin, connecting details into a whole silhouette.Since our Skipper froze in one with the hand-to-hand pose, the outline will not be symmetrical, and complemented by the lower paws in the appropriate pose.
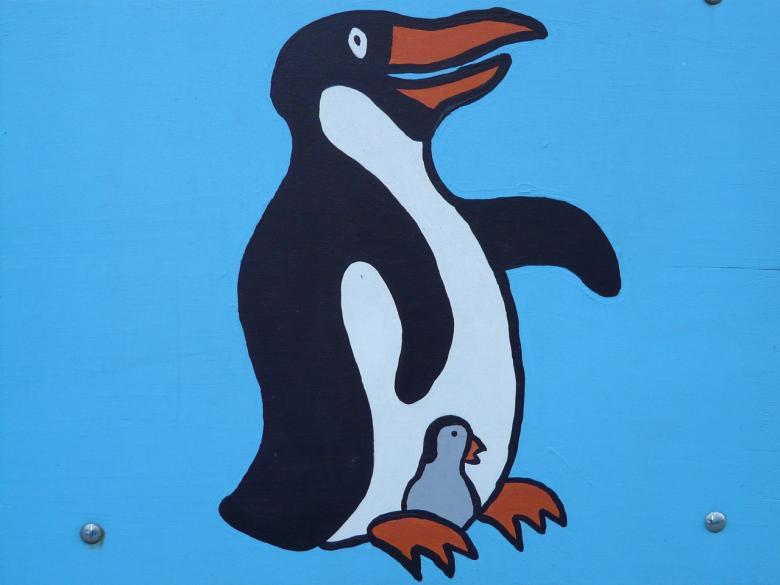
To complete the drawing and begin coloring need to finish drawing the internal boundaries of the body - the line separating the abdomen, black sides with wings and triangles on the cheeks.
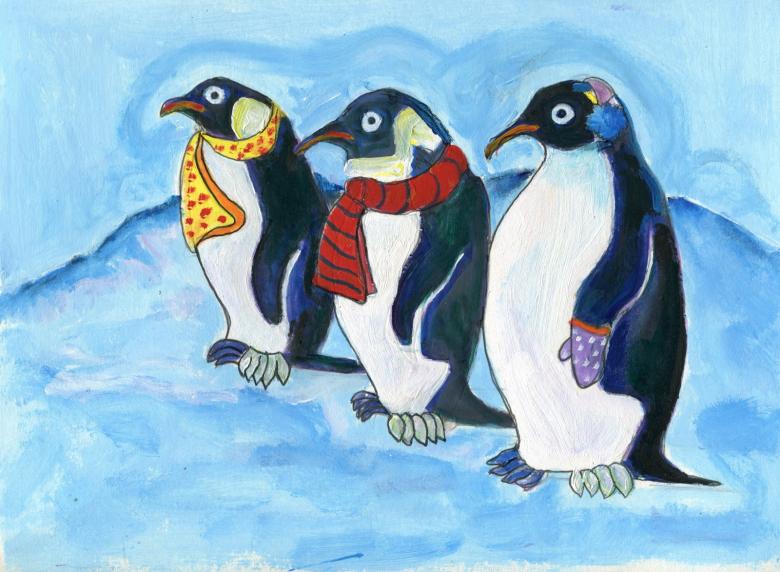
Favorite cartoon characters are ready! It was only necessary to make up your mind.

