How to Draw a Nose Step by Step with Pencil and Paint - Easy Master Classes for Beginners
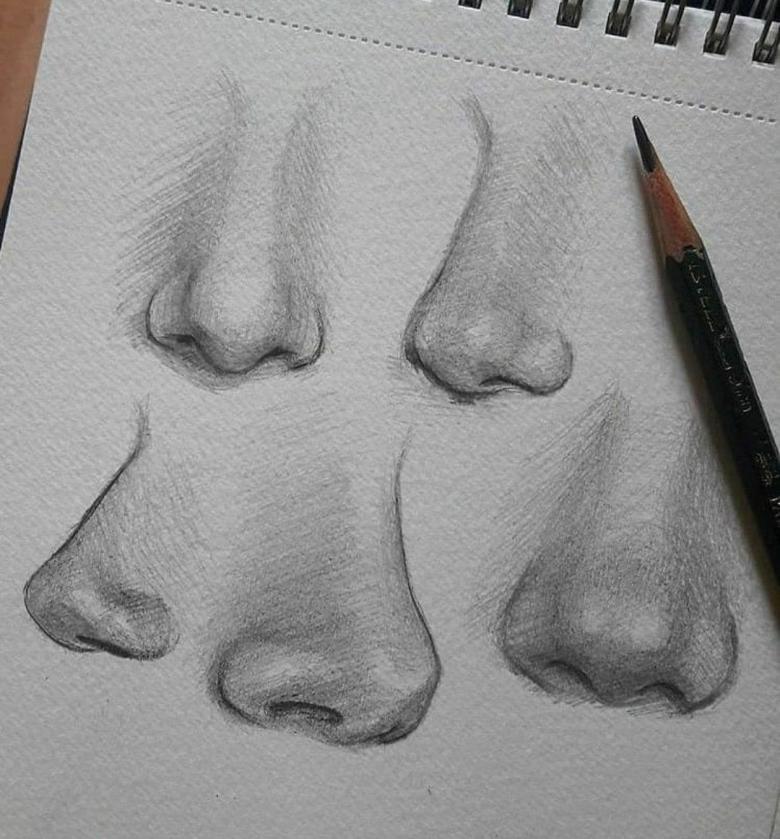
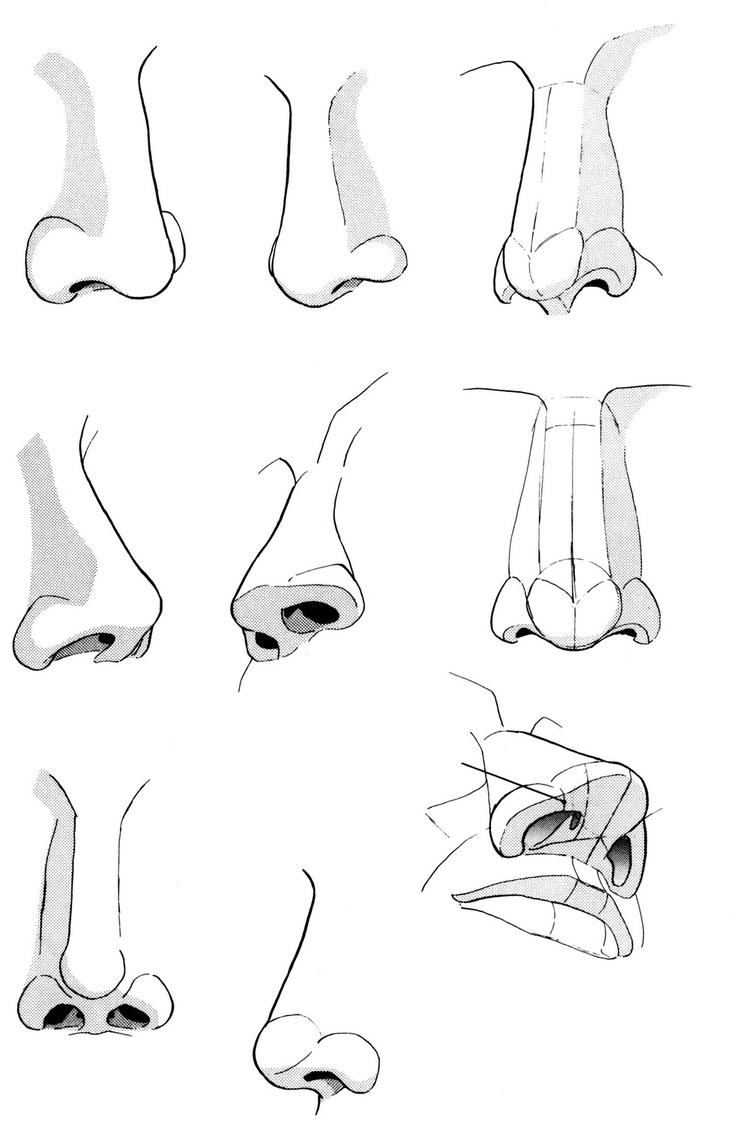
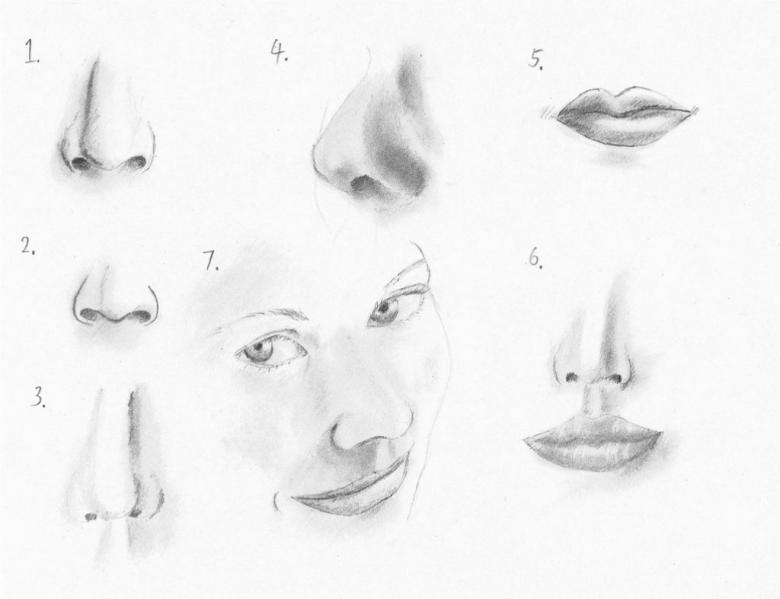
In the process of drawing a person's face, many novice artists often find it difficult to portray the nose. It is not particularly large, but a very important element when painting portraits or just capturing the whole person.

The nose as well as the eyes reflects a person's character, gives the face a "zest" and is always in the foreground. Therefore, showing it as believable as possible is a very important task. Many people think that drawing the nose is not so easy. However, it is not. Let's break down some lessons on how to depict a nose.
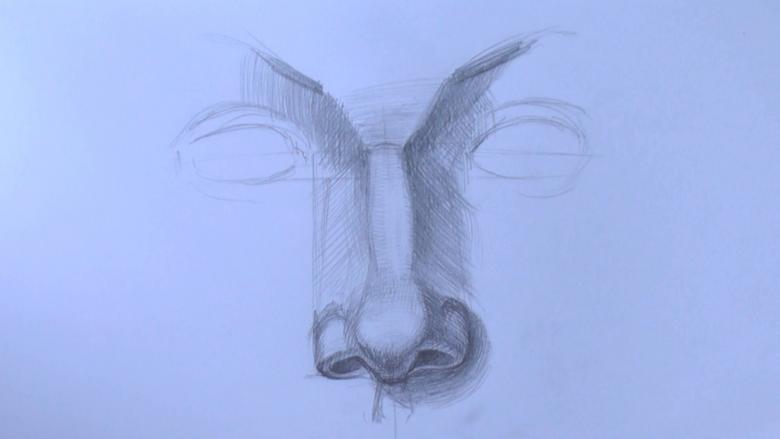
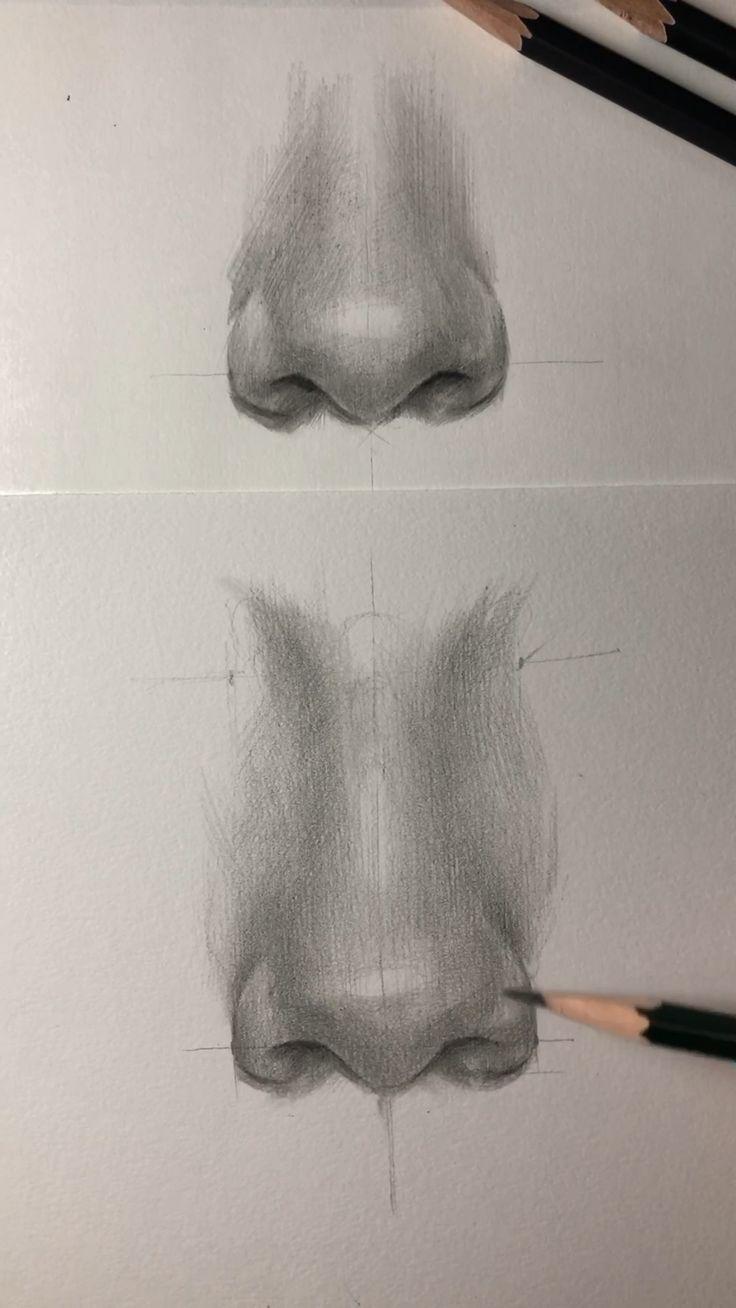
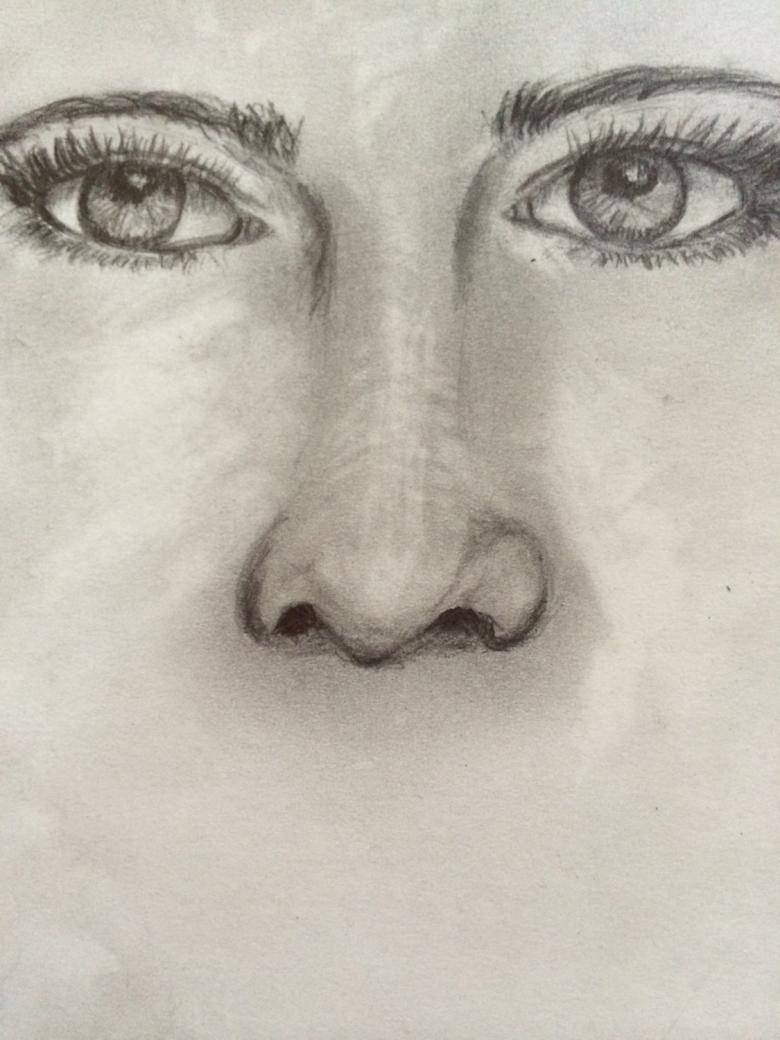
Lesson 1: Nose in full-face pencil
We will need:
- A sheet of paper
- A sheet of pencils of different stiffness levels
- An eraser

Sketch
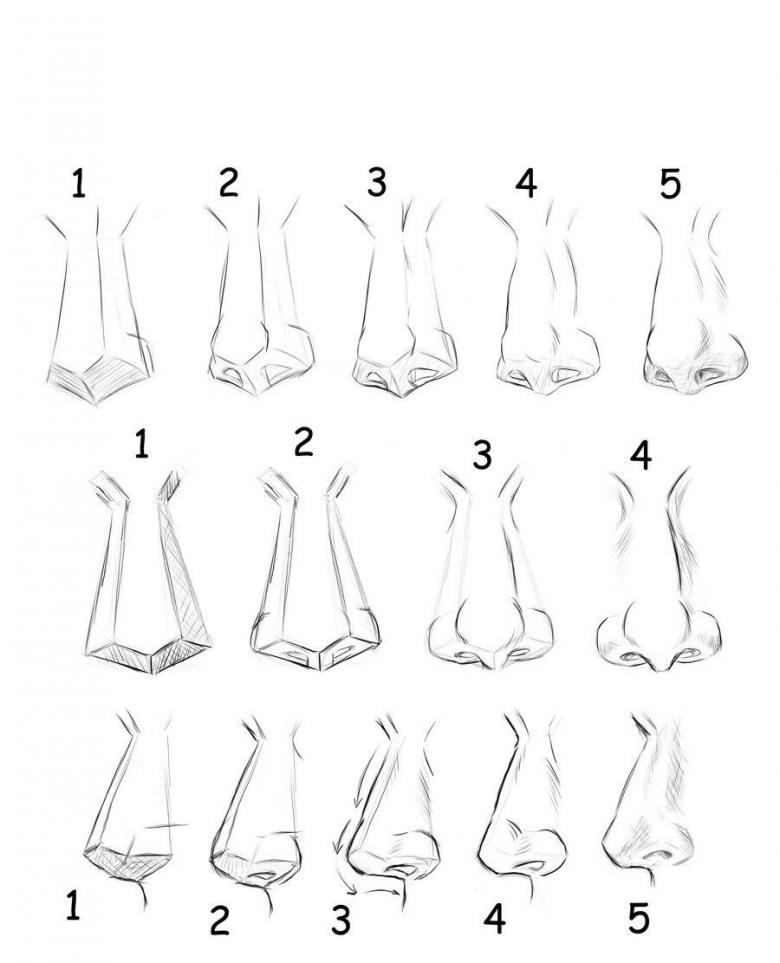
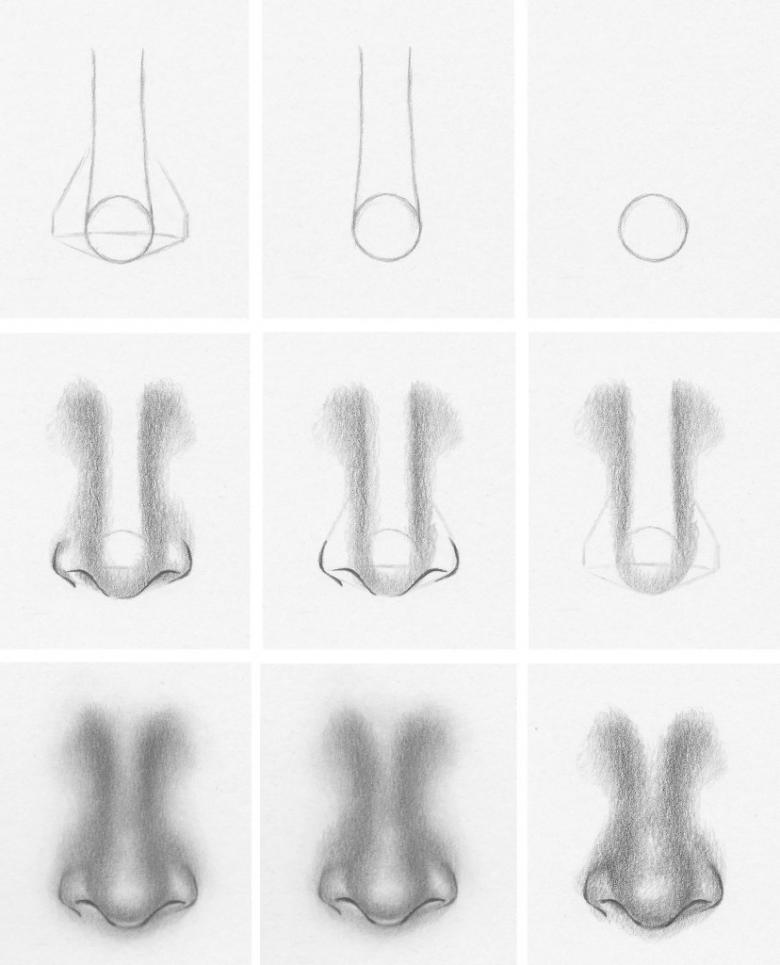
- Step 1. We need a basic vertical line that will represent the length of the nose. We draw it and "close" this segment with two short horizontal lines at both ends. These lines should be equal in length. Let's call the top line "A" and the bottom line "B".
- Step 2. From the upper line we indent downwards on the main axis of 5-6 mm and draw one more line. It should be shorter than the top line. Let's call it "B".
- Step 3: On the lowest horizontal line (B), we indent 2 mm along the edges and mark points. We draw straight lines from the upper smallest segment "C" to them. An elongated trapezoid shape should turn out (it extends to the bottom). Also by short straight lines connect the smallest segment to the edges of the uppermost horizontal line. Here, too, we have a trapezoid, but it is much smaller and flipped downwards with a shorter edge.
- Step 4: Designate the nostrils. Find the lowest horizontal segment and step back from it in different directions by 5 mm. We put points.
- Step 5. Now we have to find segment "B" - from it to segment "A" on the sides there are two short lines. On each of them you need to find the middle and put a point. From it pencil through the air a couple of millimeters to the side and put a point again. (Let's call these points "1" and "2").
- Step 6. we complete the sketch. From the outermost points on segment "A" draw straight lines to points "1" and "2", then connect these points to those which mark the nostrils.
As if continuing the main vertical line, step down another 5 mm. Draw straight lines from the nostrils to this point. The sketch is ready! The most difficult thing is behind.
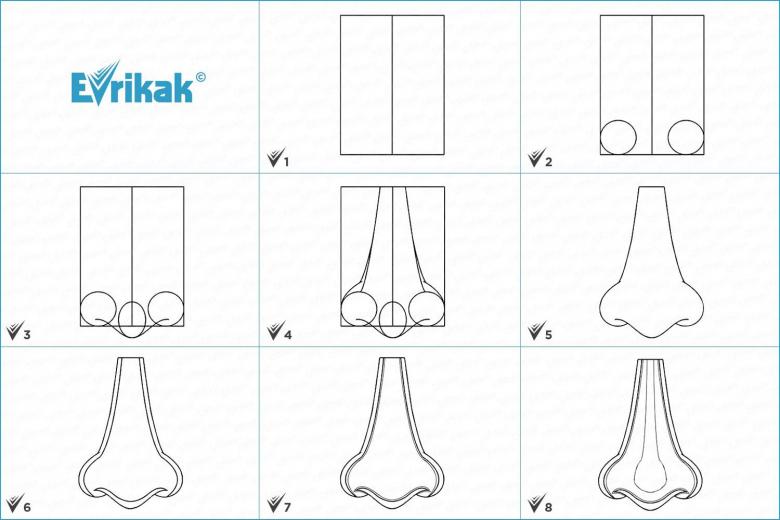
Drawing the details.
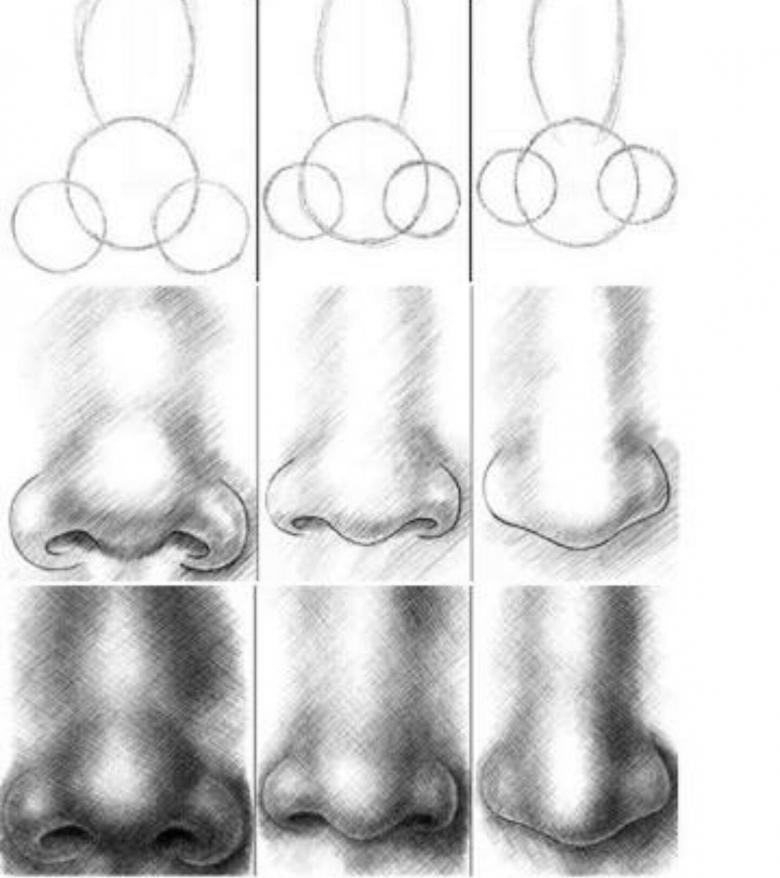
- Step 1: Let's make the wings and the tip of the nose round. Also make the bridge of the nose more streamlined.
- Step 2. Draw two hollows (nostrils).
- Step 3. Use the eraser to remove all the auxiliary lines. Refining the image.
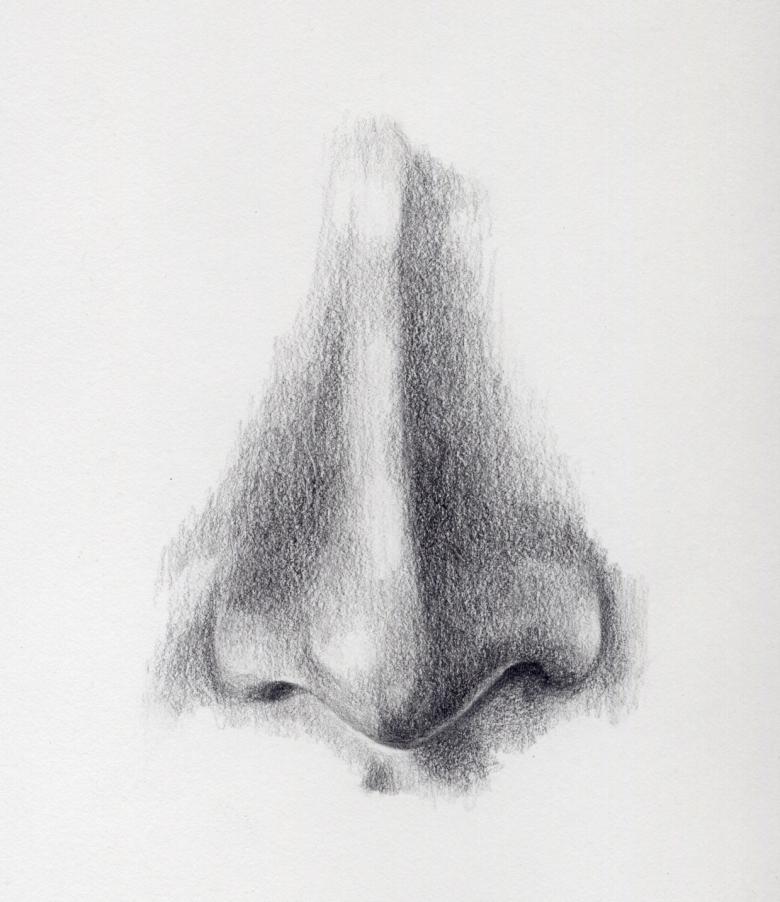
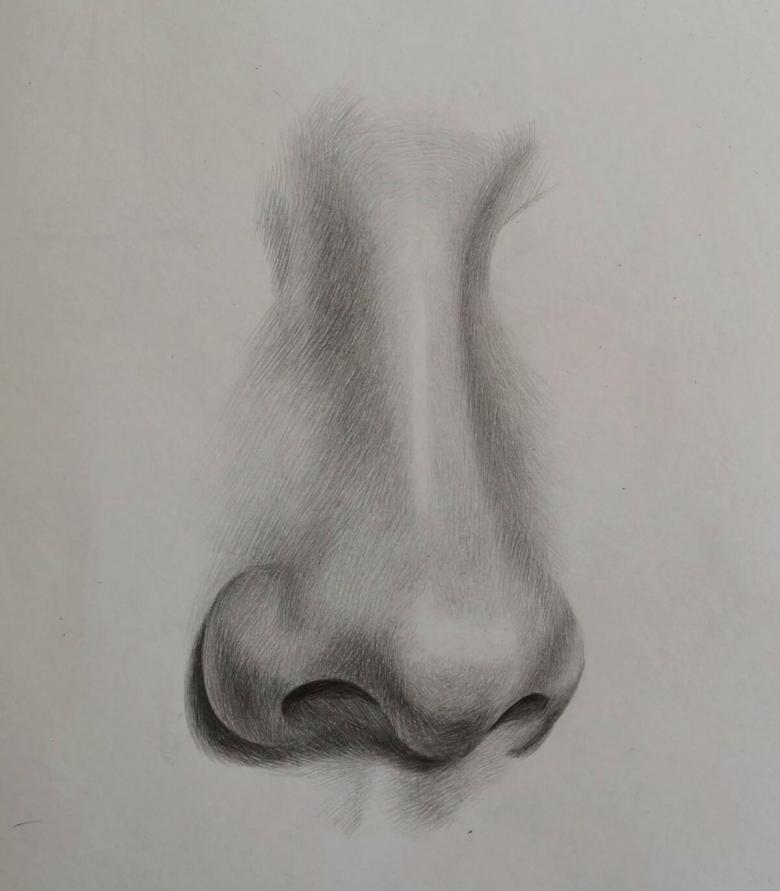
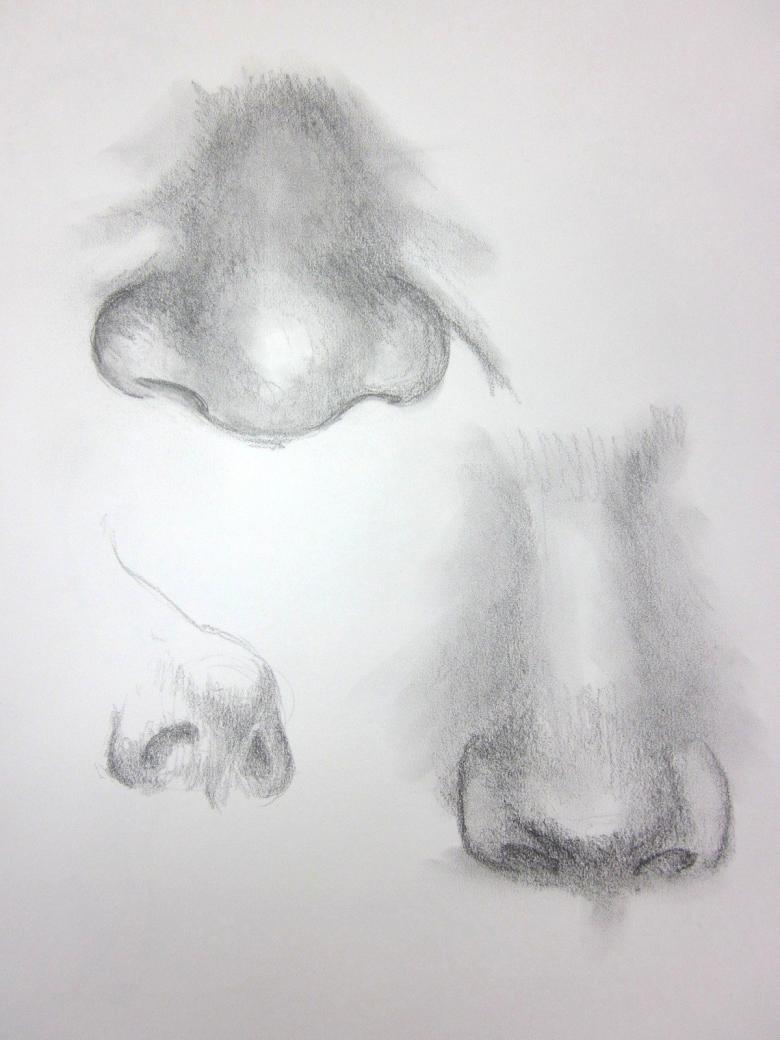
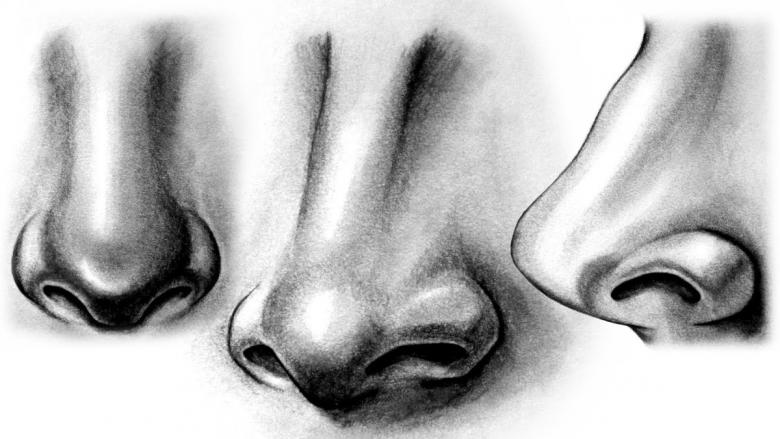
- Step 4. shading. Use a hard pencil without pressure to trace the entire nose. The strokes should be directed to the corresponding sides. In the area of the edge of the "wings" and the top of the nose bridge the hatches should be darker. To do this, go over these places again, using a softer pencil. Do not forget that the nose has a top, which should be the lightest. This will give the drawing more volume.
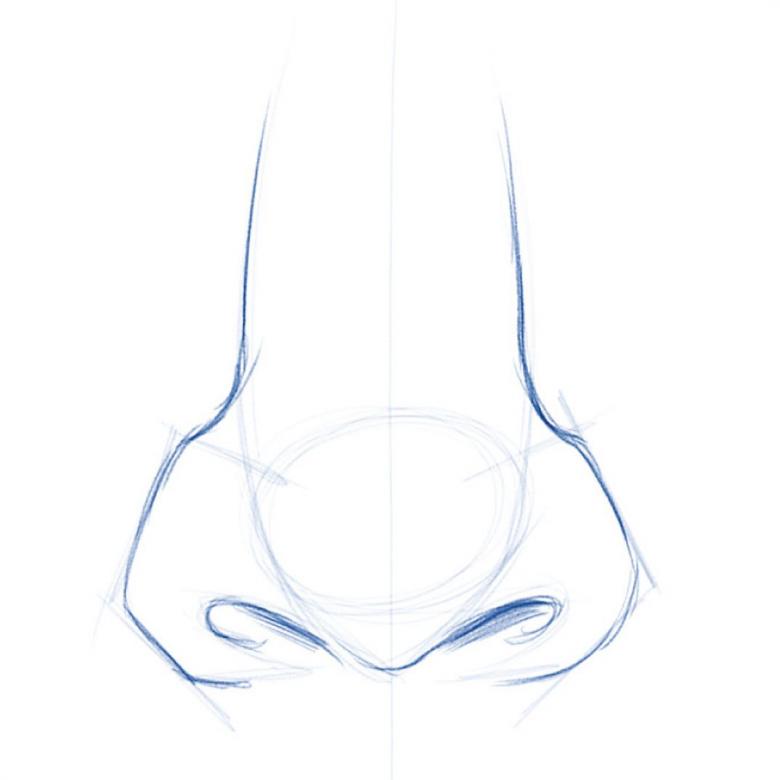
Done! If the sketch has been thought out, the image should turn out good, believable. As you can see, it is not necessary to know the proportions of the person and the body. A knowledge of some geometrical figures is enough.
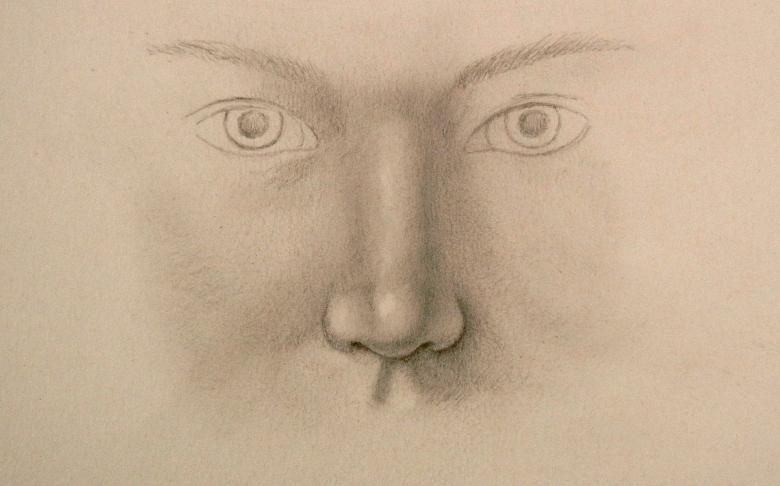
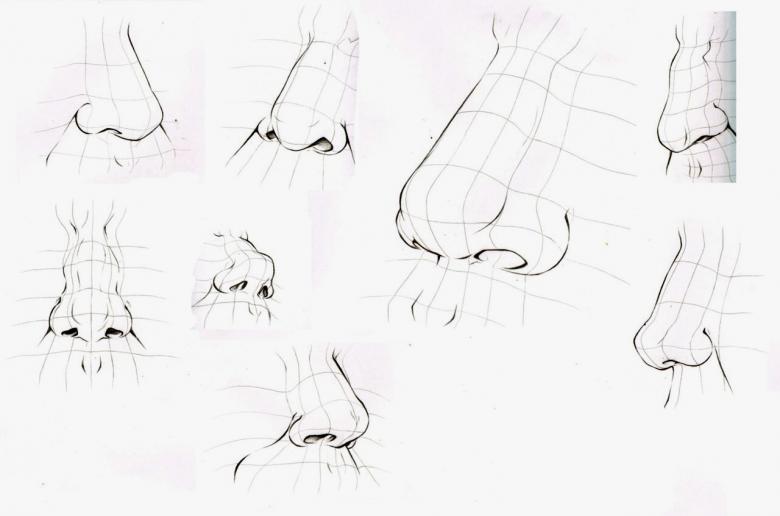
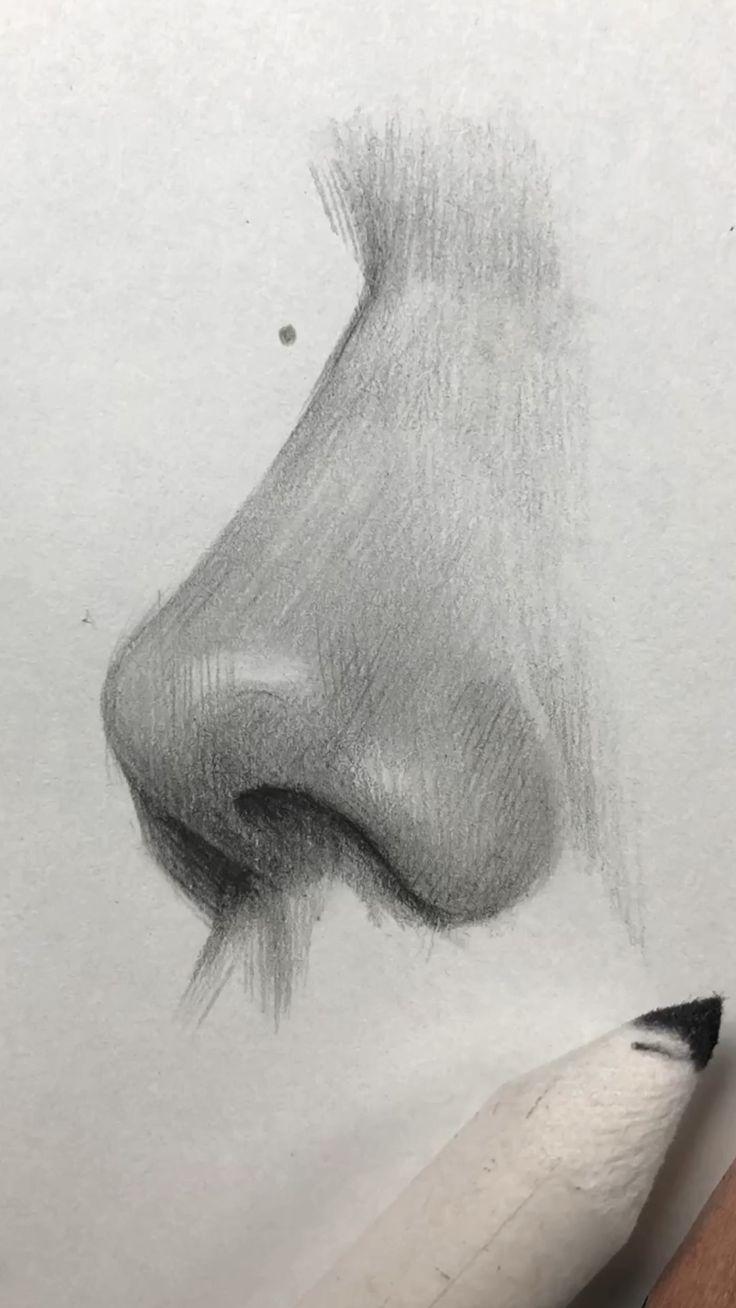
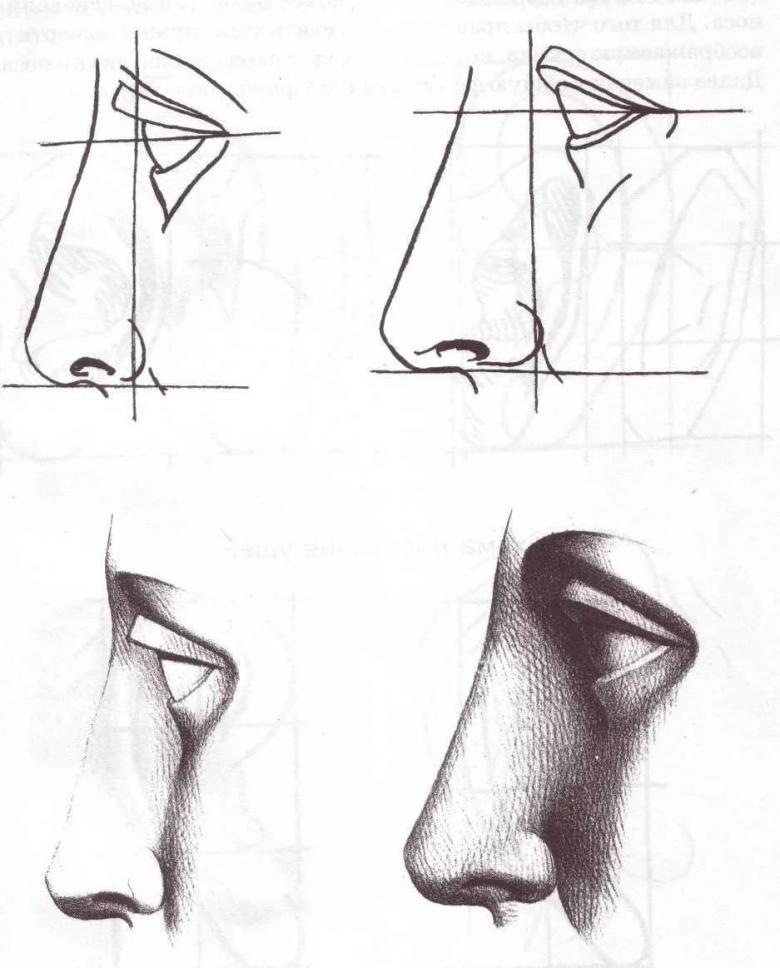
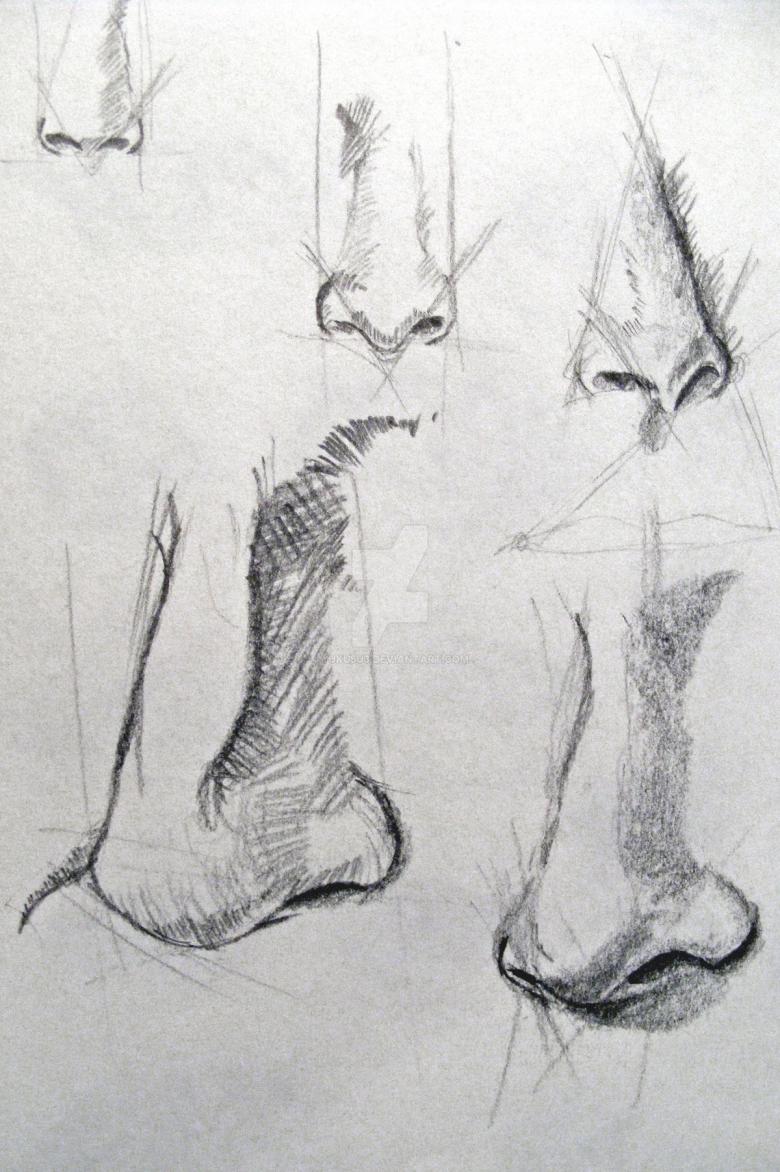
Lesson 2: The nose in profile.
- Step 1. make a sketch of the nose. To do this, we take a simple pencil and first outline the forehead and the place for the eye. These two connecting lines should be like a blunt corner of a triangle. Now the long, sloping line of the bridge of the nose. It should protrude much further than the forehead.
- Step 2. Next, the eye must be outlined. This is done so that the artist can understand the proportions of the portrait.
- Step 3. Now we outline the "wing" of the nose. For now it can be angular, irregular in shape. Later it will be possible to improve this part of the nose.
- Step 4. Now you need to indicate the cavity, the hole in the nostril. It should be small and have a shape very similar to a flattened oval.
- Step 5: we make the shape streamline, we round off the tip of the nose, we make a more realistic "wing". When we are talking about a girl's nose, most often the nostrils are drawn more petite and elegant.
- Step 6: Necessary to mark the tip of the nose. We do this with a small curved line, which is close to the recess in the nose. Here we can also mark the hump, if necessary.
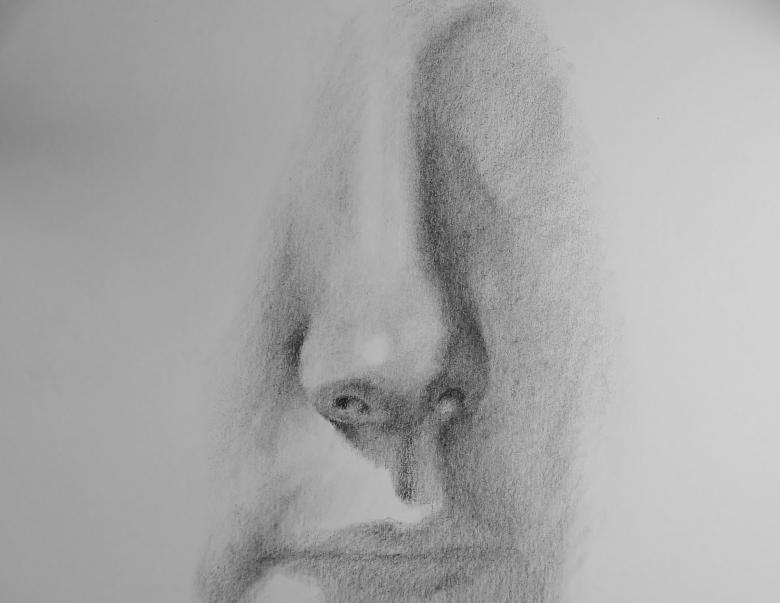
- Step 7: All that's left is to shade this part of the face. The pencil is drawn from top to bottom. We press on it in the beginning and make the pressure weaker to the end of the stroke. The bridge of the nose, the tip of the nose and the tip of the "wing" leave almost untouched by the stroke. So the drawing will gain volume.

Done! Most users can easily cope with the image of the nose, if they act slowly and in stages, as suggested by this master class.
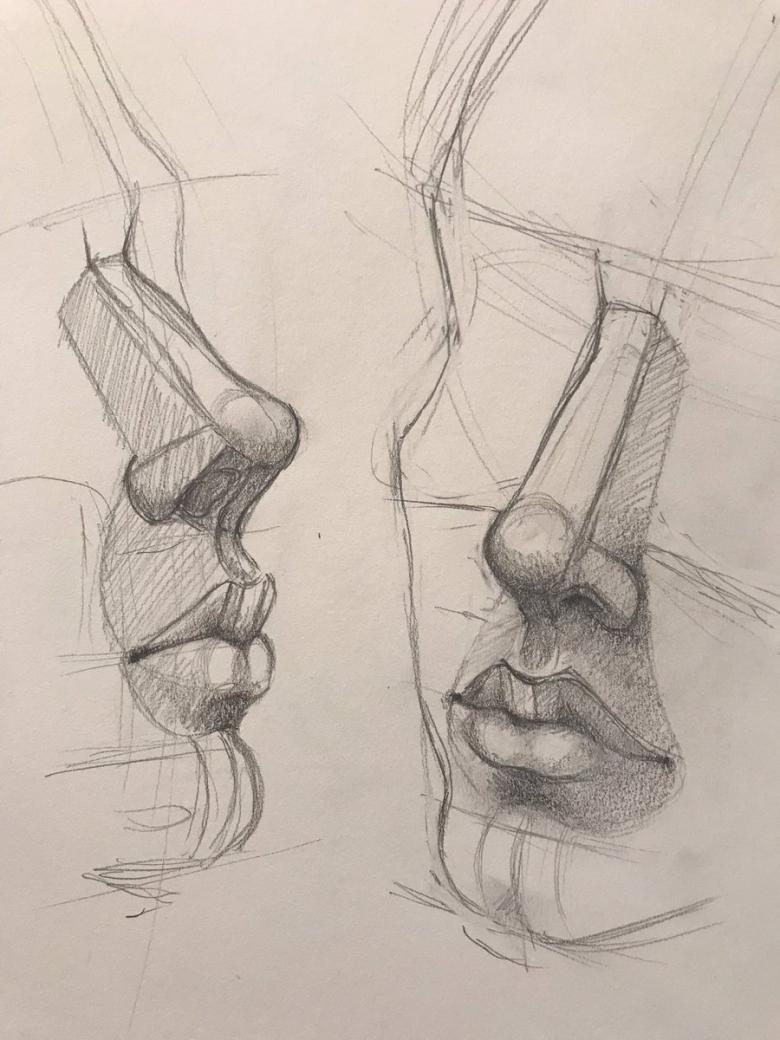
In this tutorial, you can paint your nose with paint.
In this collection of human nose painting tutorials, this master class is the easiest!
You will need:
- paper
- Colors: white, yellow, red, blue.
- simple pencil
- palette
- eraser
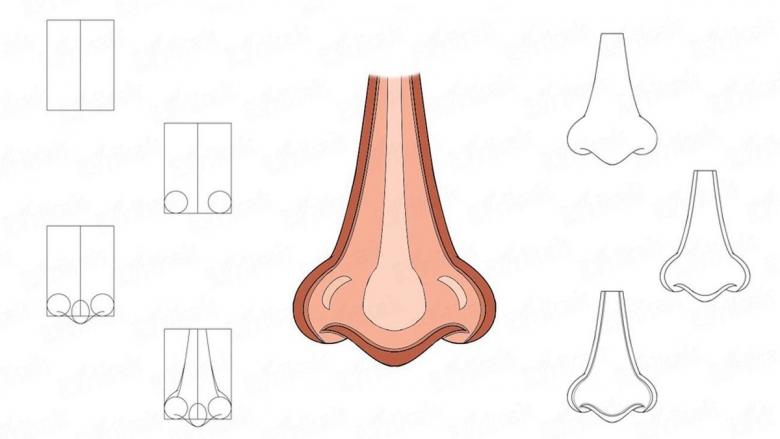
Step by step instructions:
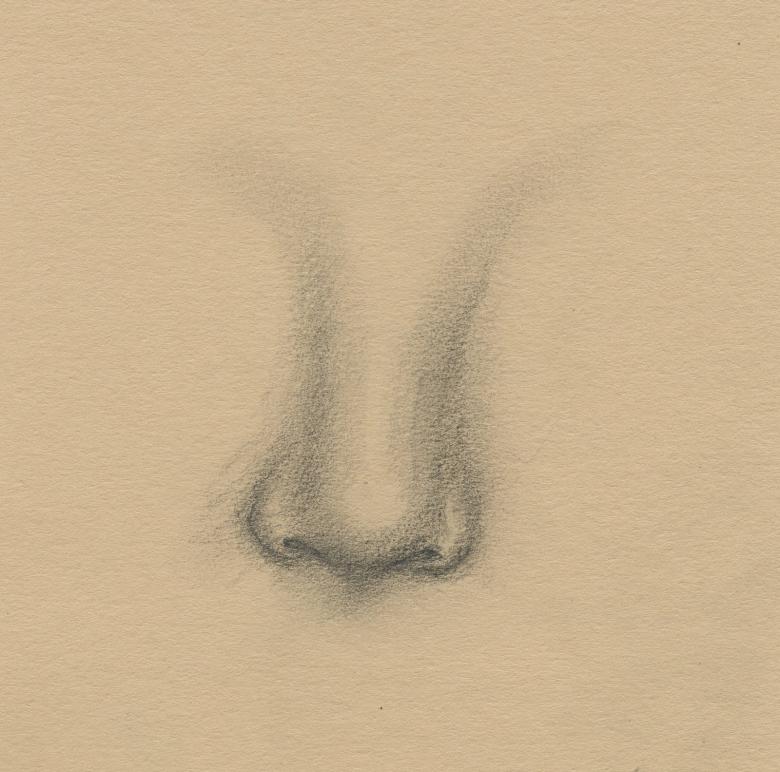
- Step 1. we will begin, of course, with a sketch. We want to represent on a sheet of paper the nose in full-face. The sketch should look like a kind of vase with a long neck. How to do this? Draw two arcs - the "wings" of the nose. Then connect them horizontally with each other with a slightly rounded line. Up from the same arcs lead curved lines, narrowing the figure. Sketch ready!
- Step 2. Don't forget the nostrils. They will be like two small drops.
- Step 3. we take a palette and mix yellow, red and blue on it, and that will make the skin color that we need right now. For this purpose, it is better to use acrylic paint. Continue to mix the colors until the resulting shade suits you. If you need a darker skin color, add more blue paint. For a nose with light skin color, you need to add some white color to this set.
- Step 4. For our nose, you will need both skin tones. Hereafter we will call them "dark" and "light". The dark shade will paint over the nostrils and the side shadow from the nose. Adjust the size of the shadow by yourself. The lines from the brush do not have to be crisp, precise. Let this process wear a trace of carelessness.
- Step 5. Add red and a little white. Draw the main central figure - the "drop".
- Step 6. We put a little more red on the palette and draw the sides of the "drop" and the tip of the nose with it.
- Step 7. We use it more on the bridge of the nose and on the tops of the "wings". And we use a little white in the rest of the canvas. By mixing pink and white, you can paint over the area around the nose.
Done! The picture is done.
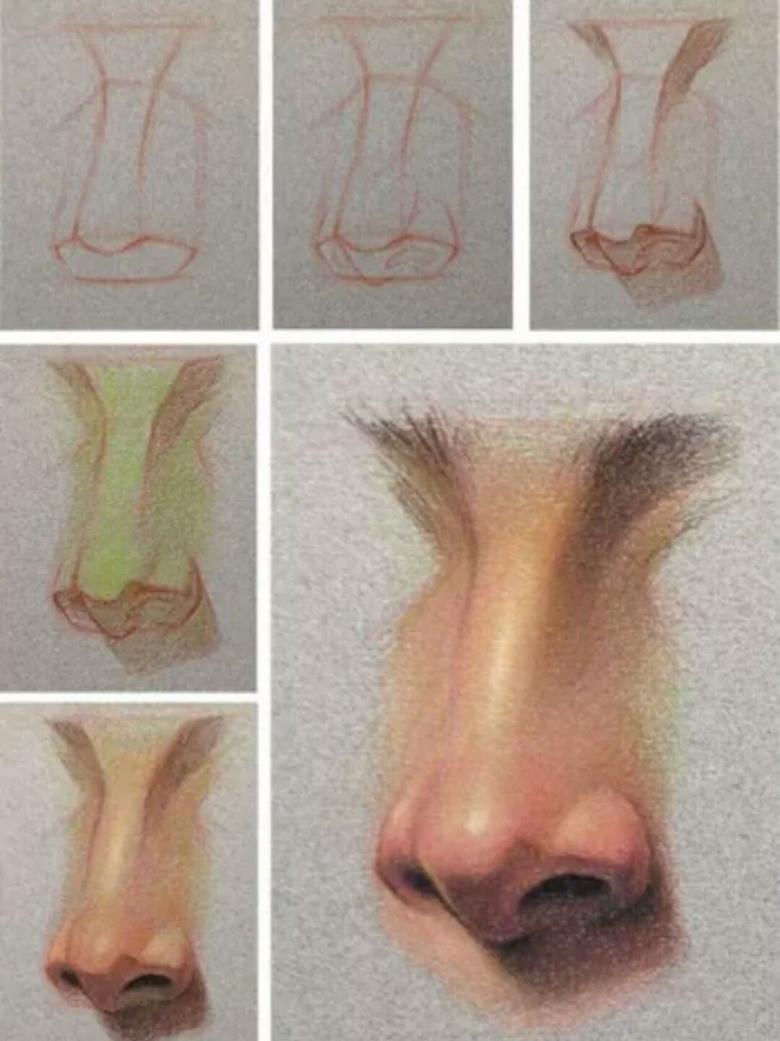
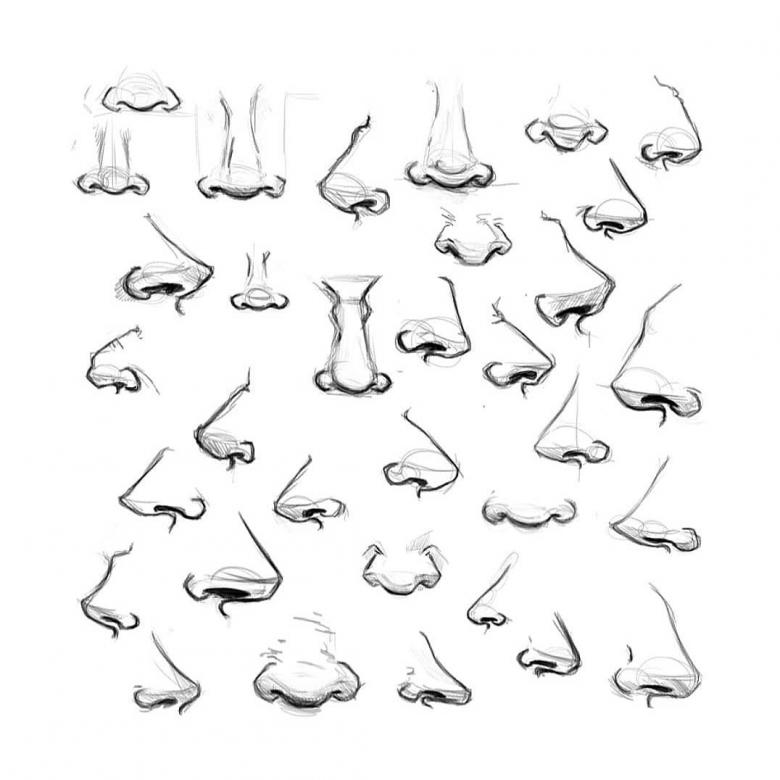
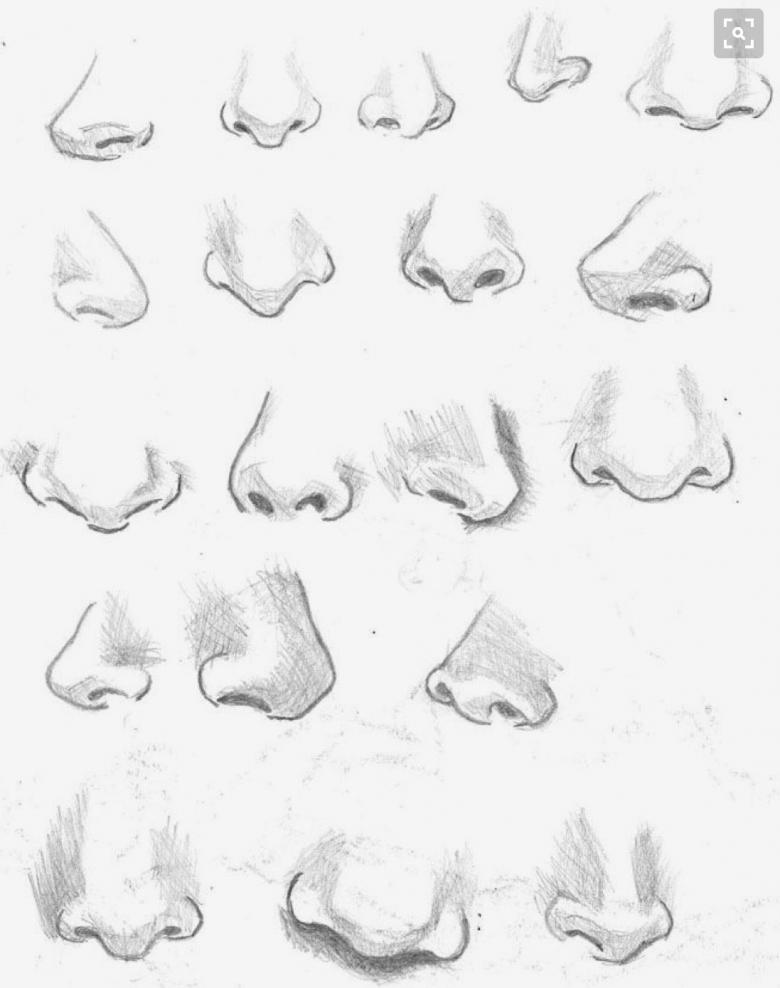
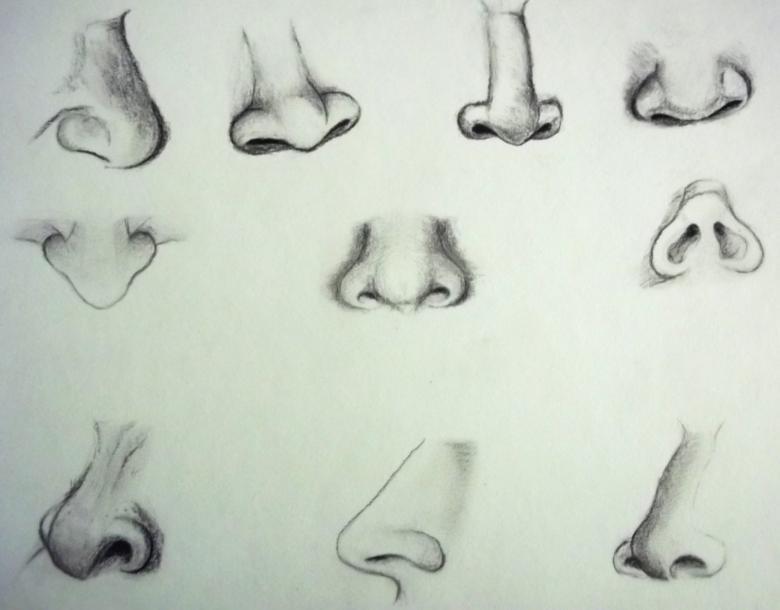
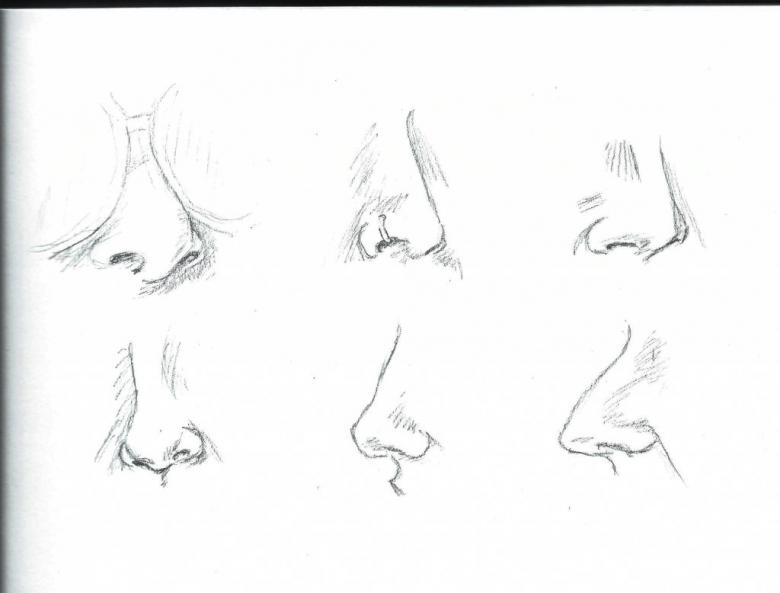
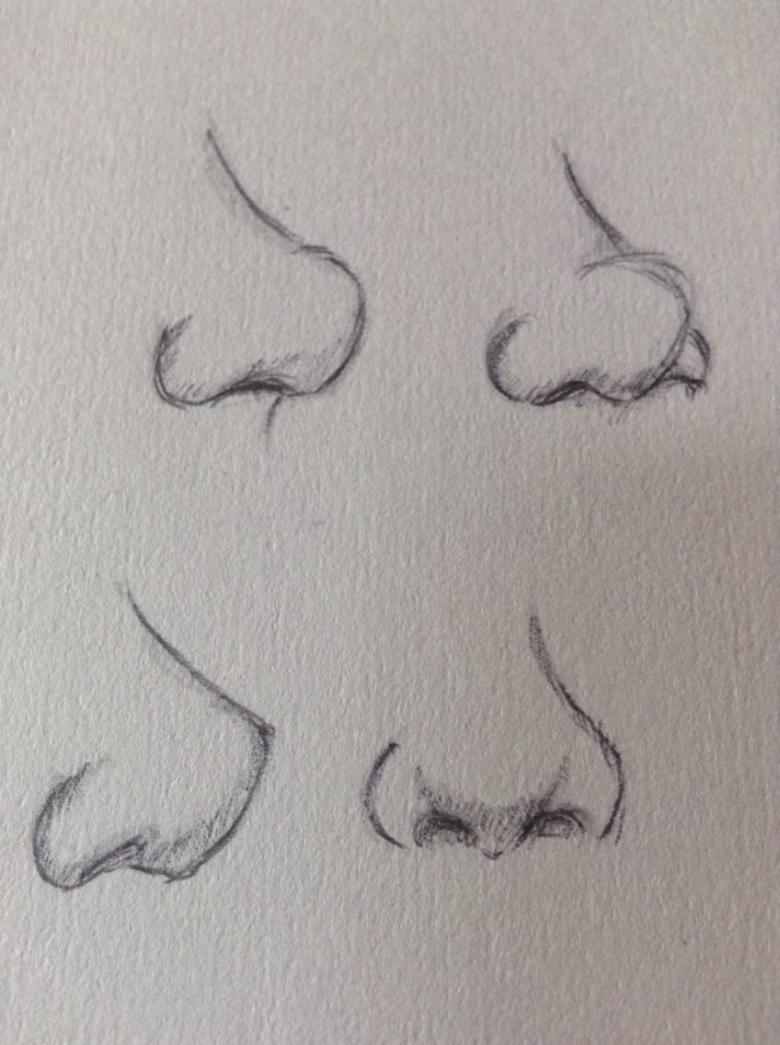
When you have learned the basics of the design and it is easy to work with a standard nose, you can start working on a model with a twist. For example, a pointed, upturned, cartouche, asymmetric nose, etc.

