How to Draw a Boy: Step-by-Step Drawing and Illustrations
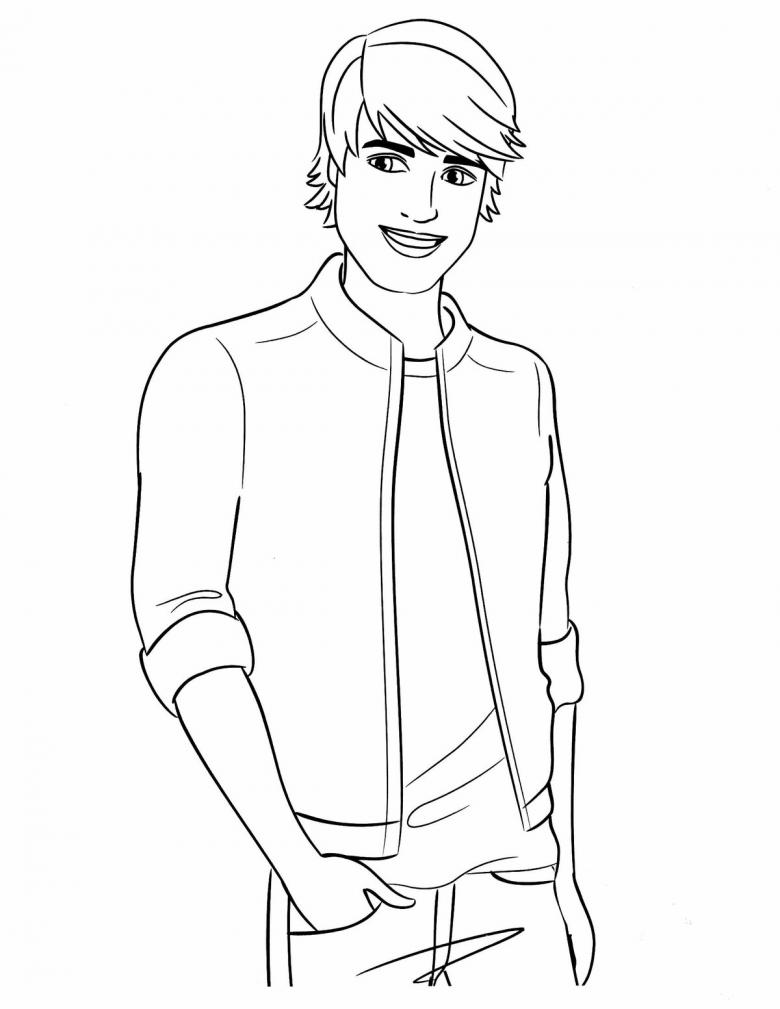
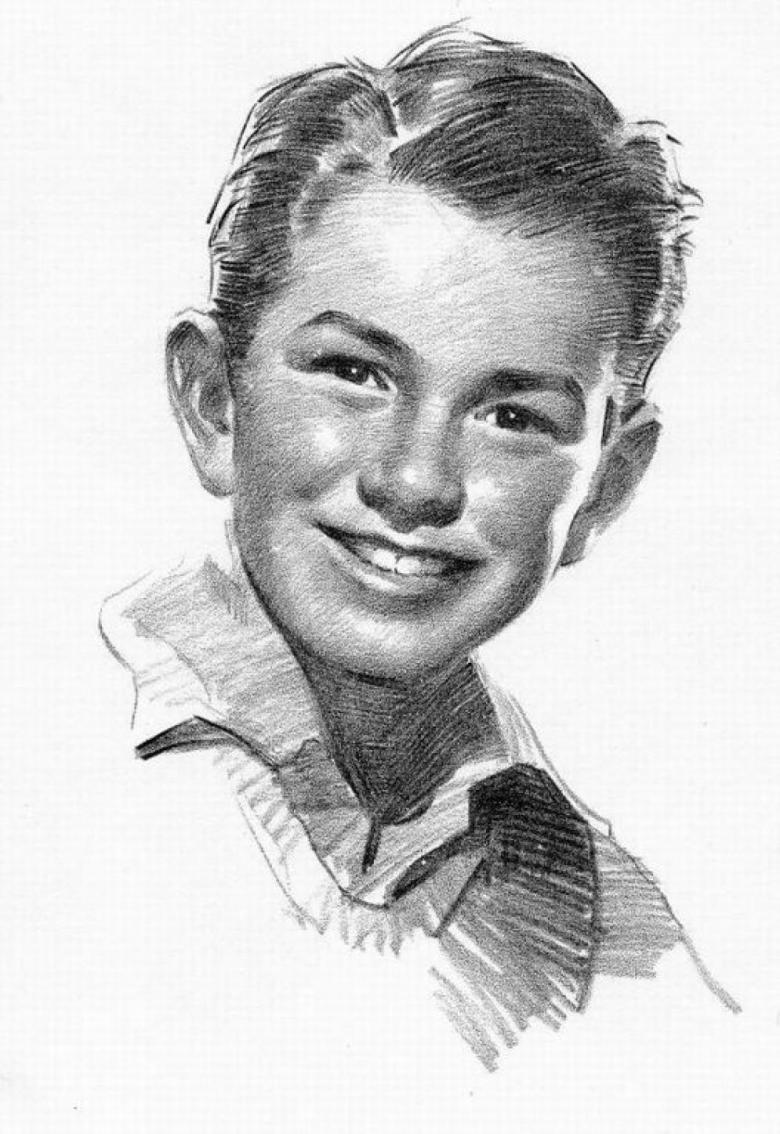
Everyone can draw. That's right, everyone! If there's a certain desire and consistency in the process, anyone can draw anything and anyone. And if we're talking about sketching - such an idea is sure to succeed. Drawing a person is a task that only seems difficult. This article will detail everything you need to create a drawing of a boy. Step by step, step by step, from simple to complex.
So! Let's equip ourselves:
- A simple pencil (especially brave artists can take a felt-tip pen at once)
- A sheet of white A4 paper (any other size will do).
Lesson 1. step-by-step detailed pencil drawing
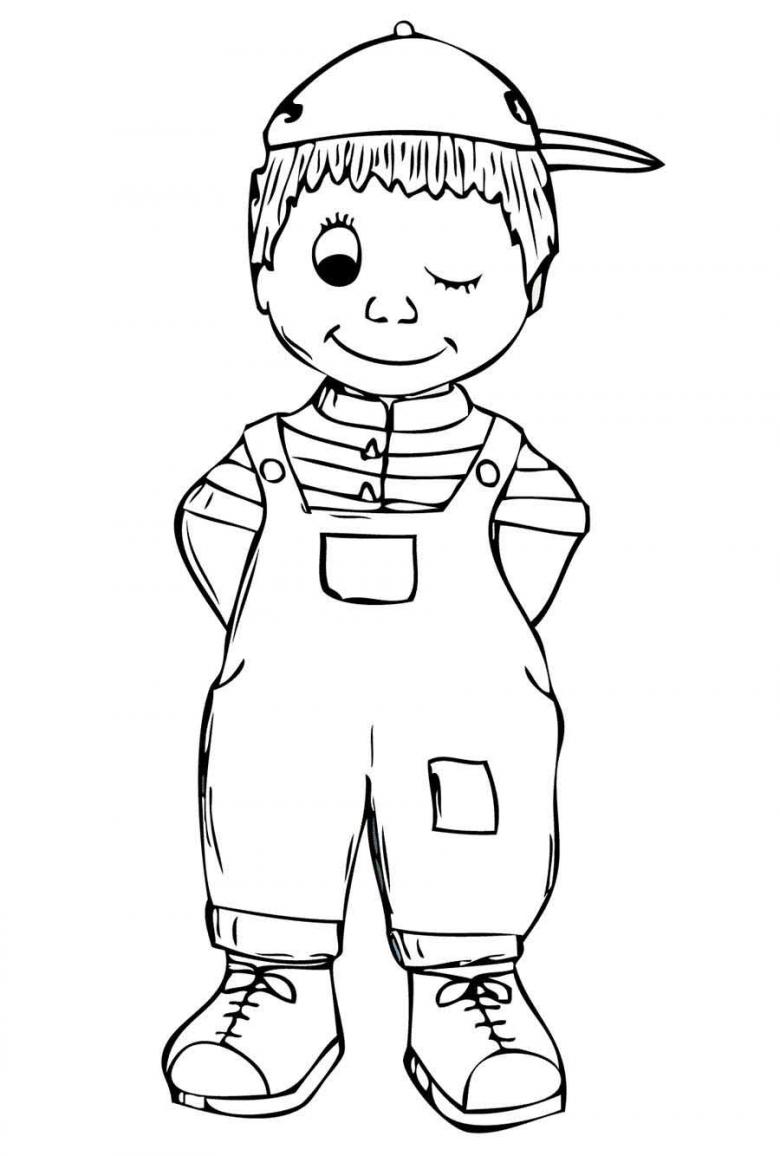
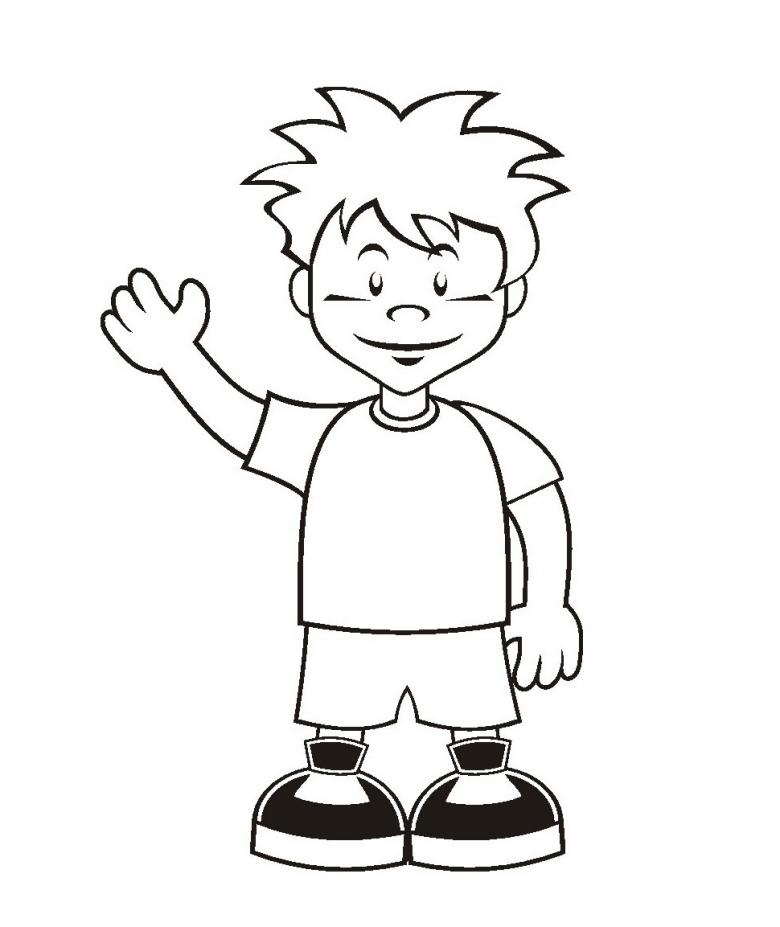
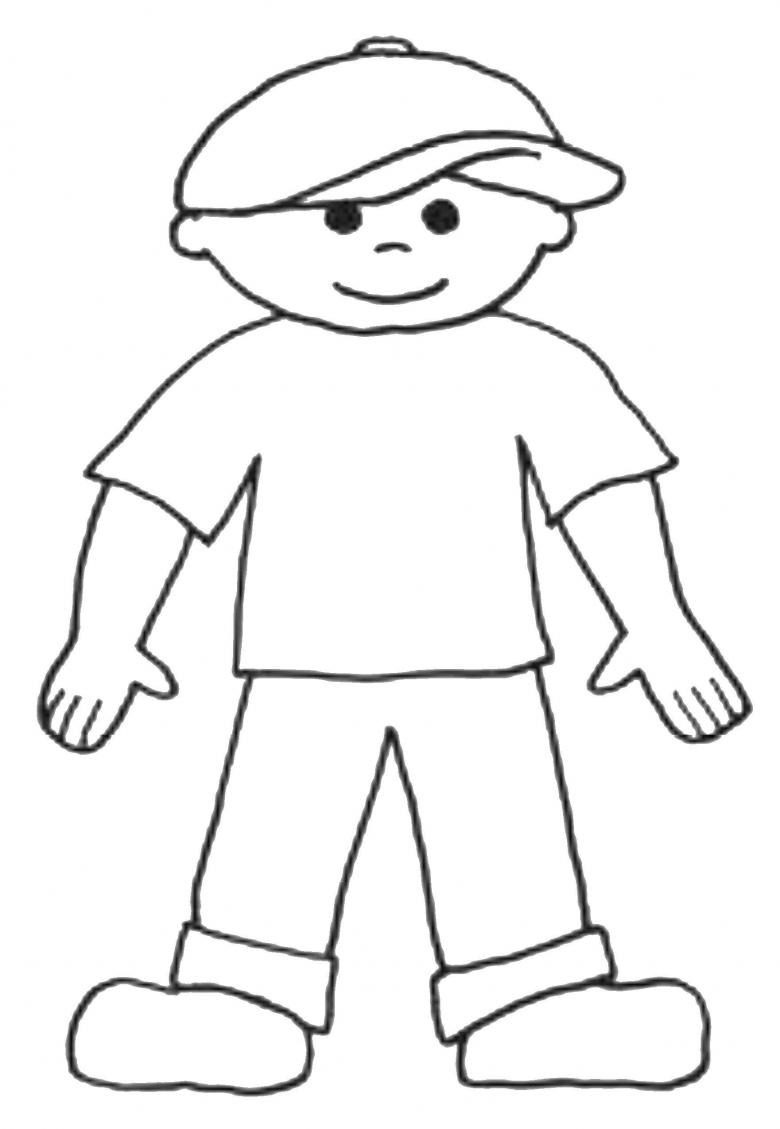
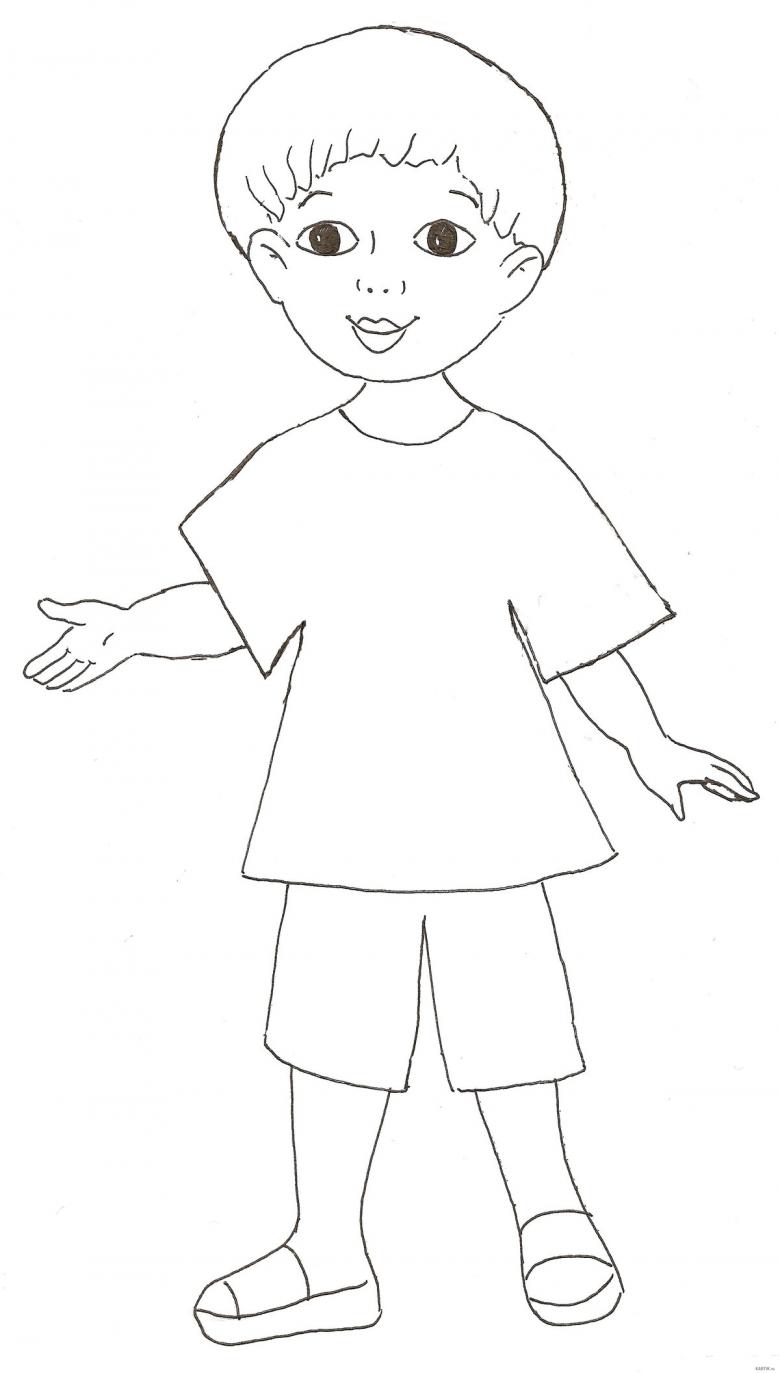
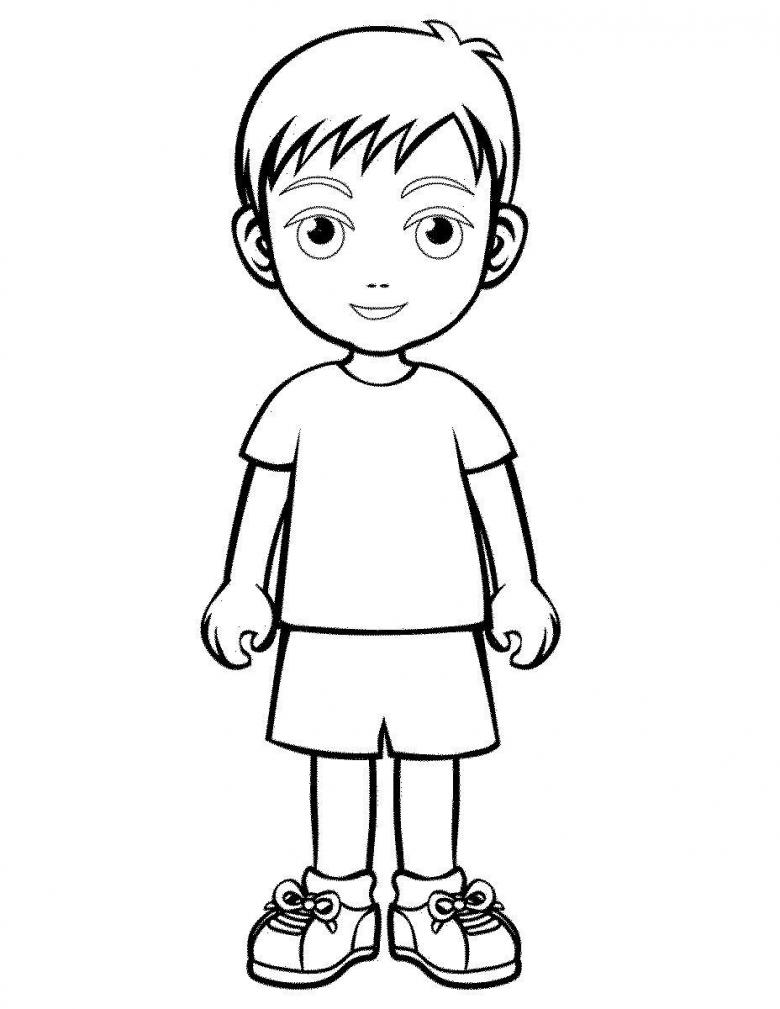
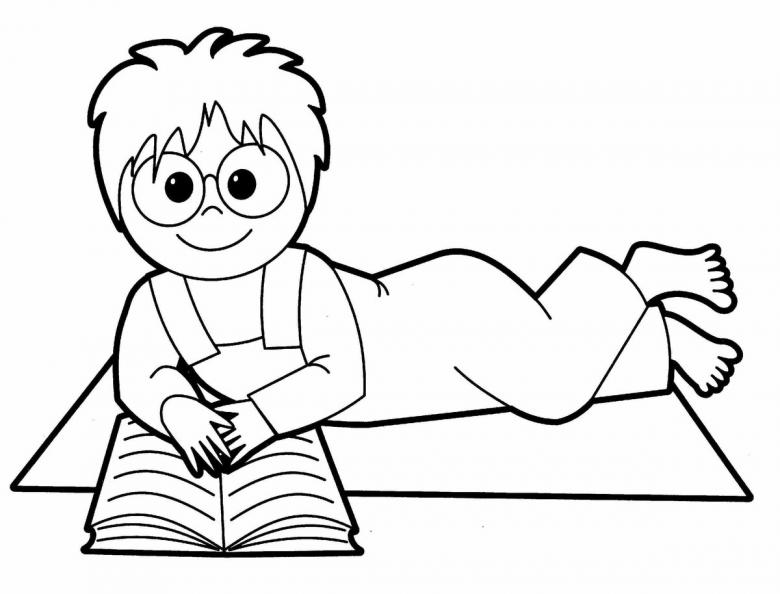
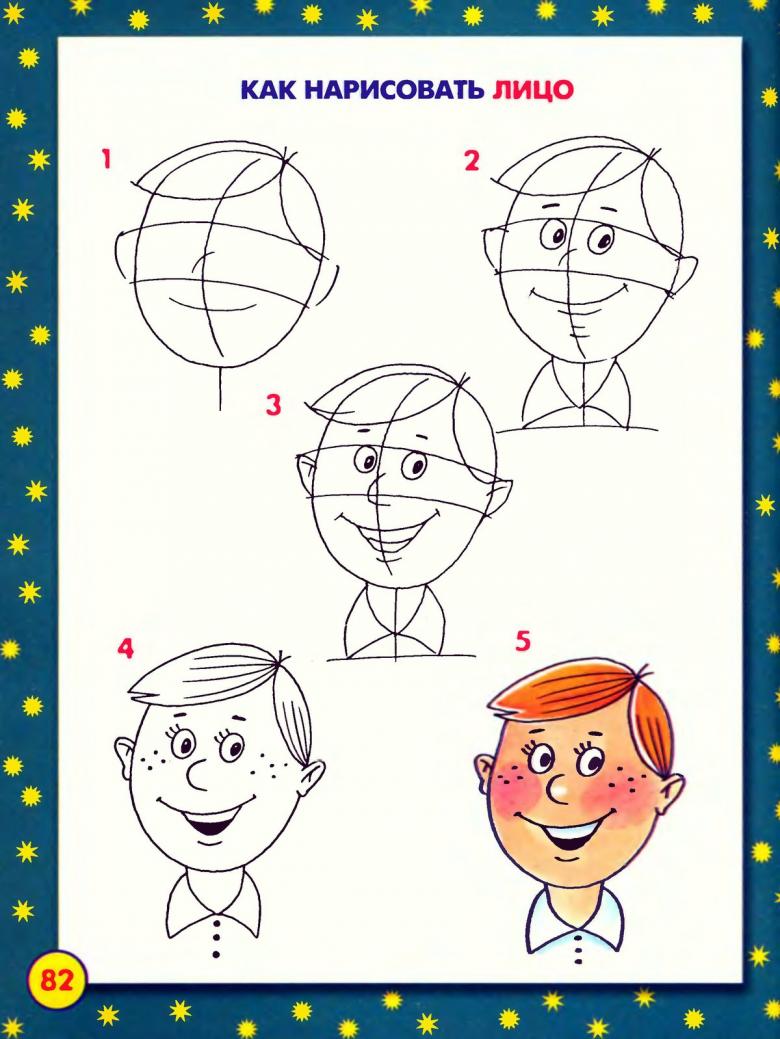
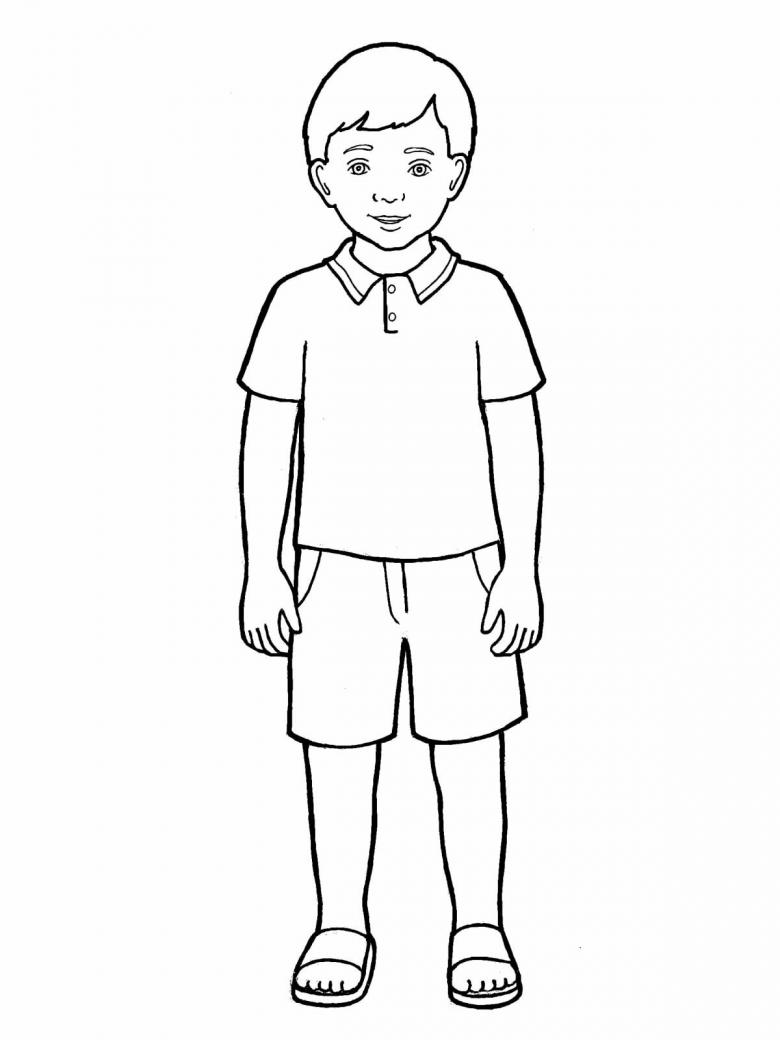
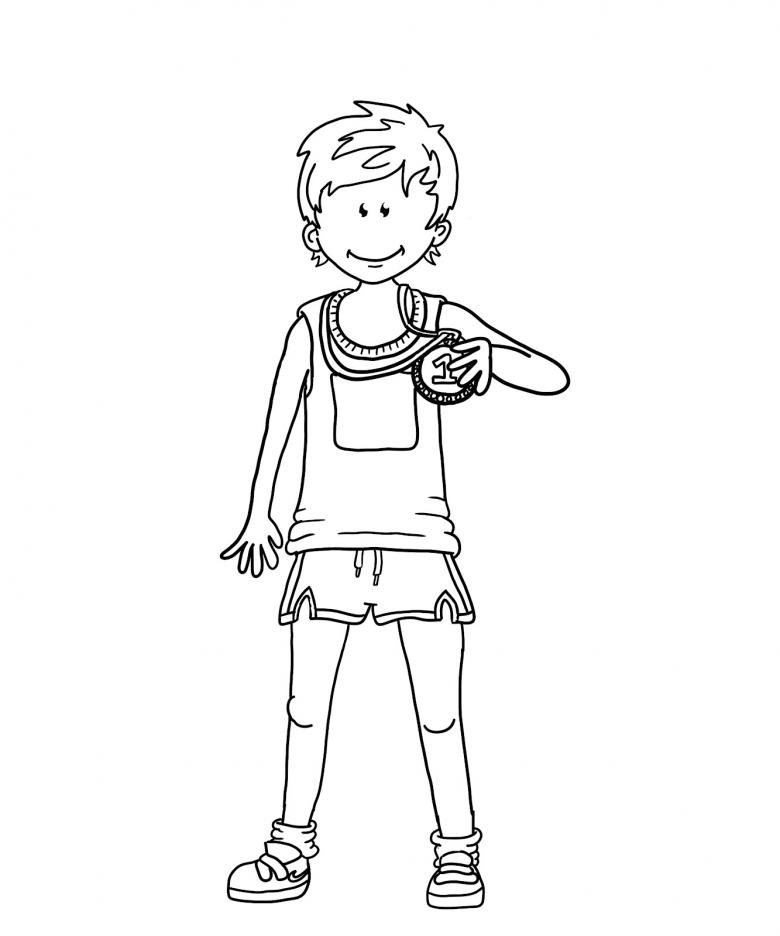
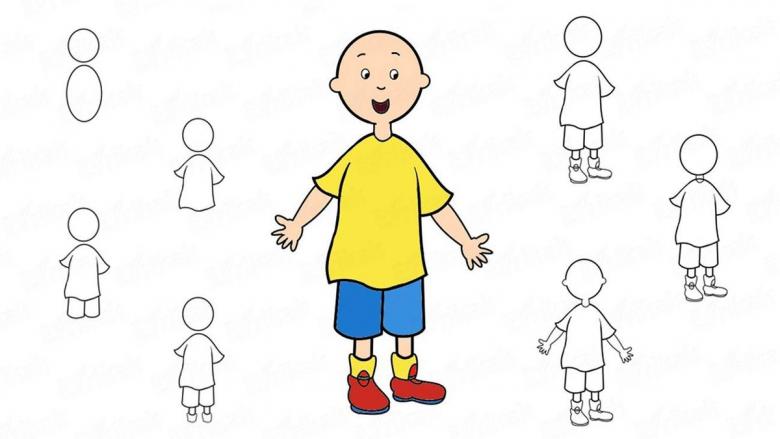
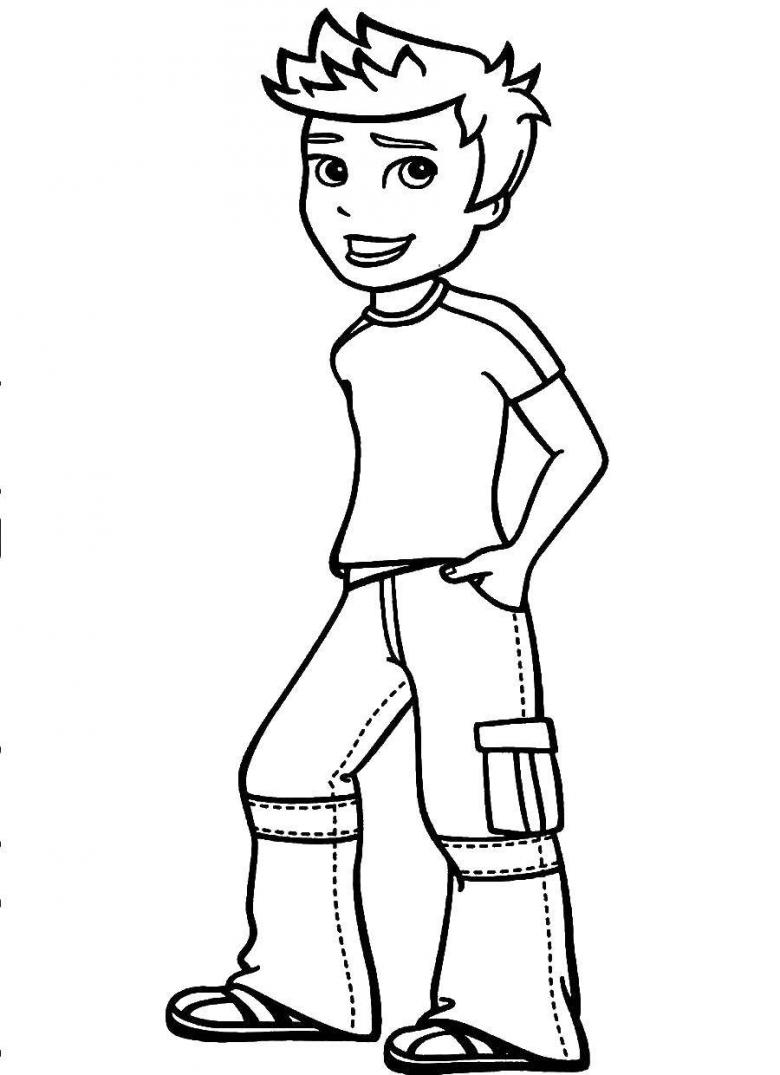
The first version of drawing a boy will be very simple and similar to how children look in cartoons. Here you do not need any preliminary actions - just boldly take up and draw. All the steps of the lesson can be repeated by both a child and an adult.
Head, hair.
- 1) Drawing a short haircut. For this, we draw a zigzag line at the top of the hairstyle with an imitation of the child's wavy frizz.
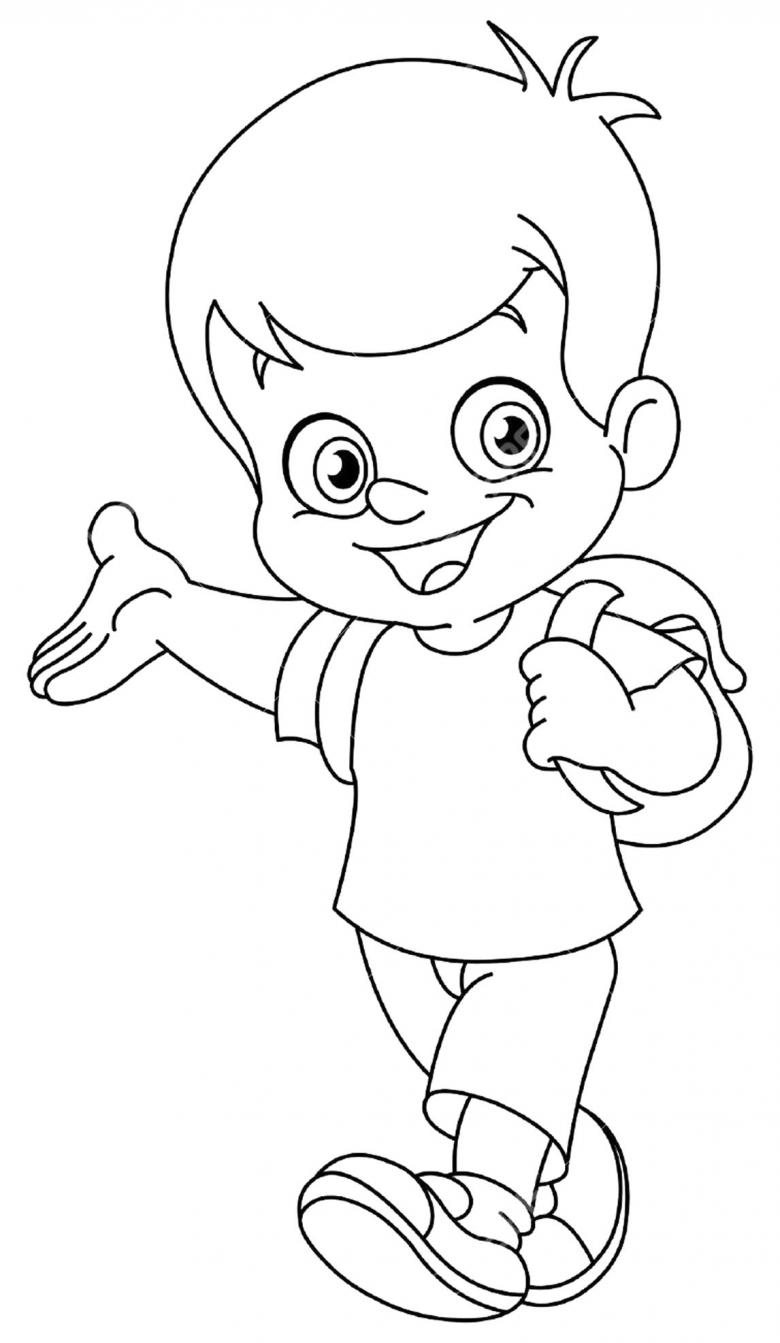
At the bottom, complete the oval of the face, without reaching the beginning of the line representing the hair.
- 2) Here, without taking off the pencil, we make a curl that looks like a small ear - it looks like a boy standing half-side up. He turned to us with his right cheek and ear.
- 3) Complete the outline of the hair with short concave arcs separating the face from the hairstyle. (about 3 arcs).
Clothing, shoes, limbs.
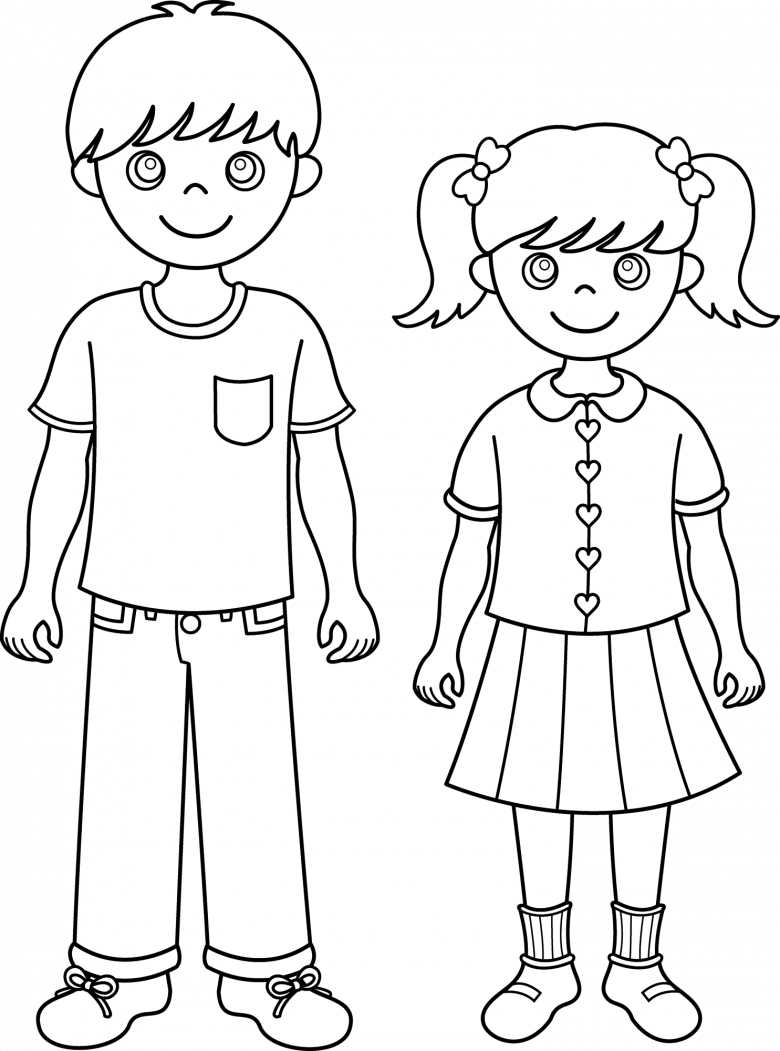
- 1) With two small arcs, draw the semi-circular collar of the shirt and the child's neck.
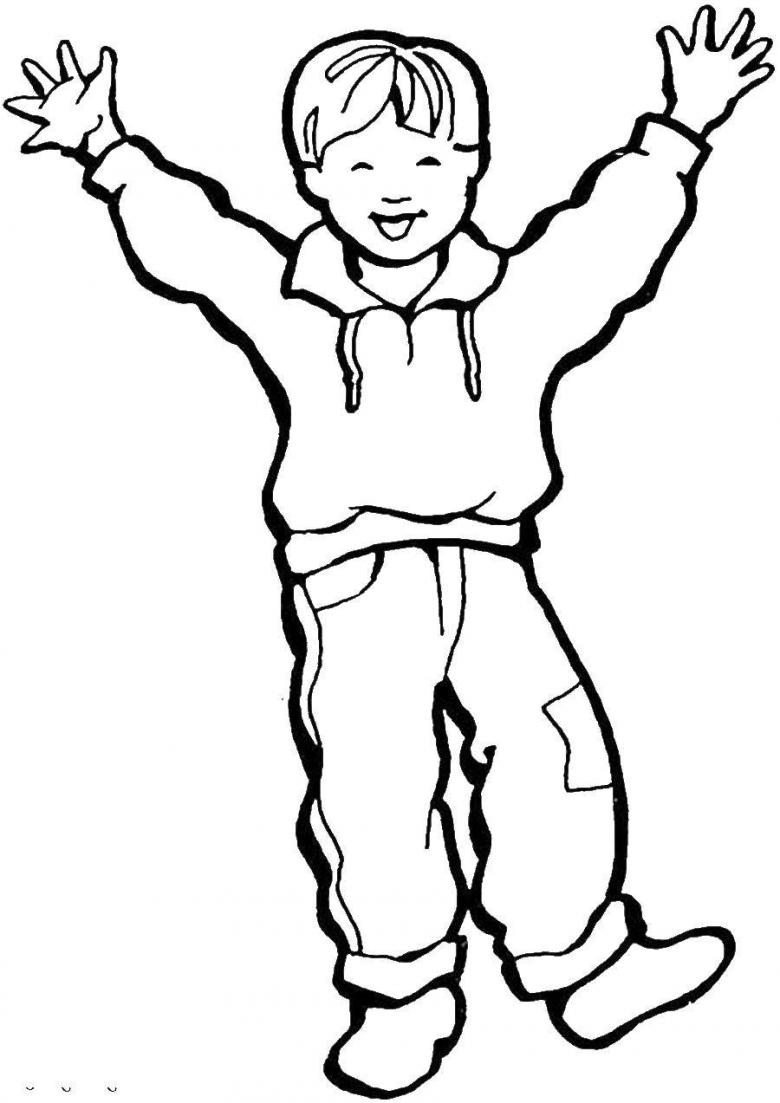
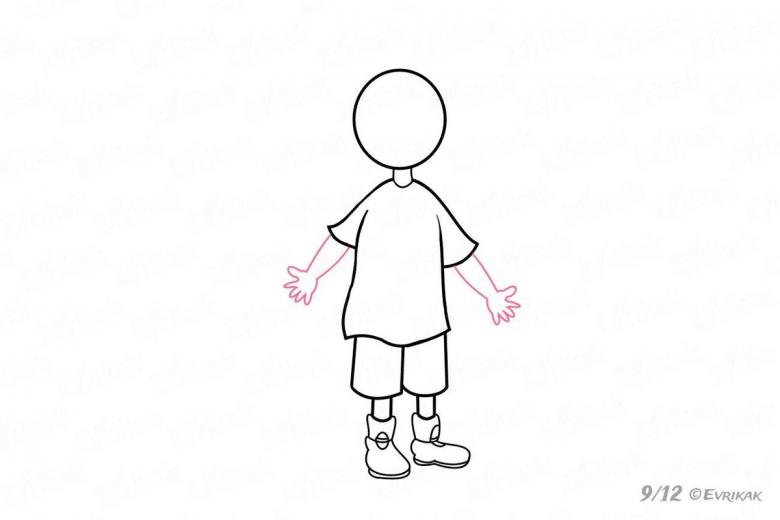
- 2) Next, the T-shirt itself. (Remember! The length of the sleeves should not exceed the length of the shirt, sweatshirt or shirt itself) The boy's arms will be spread out to the sides.
- 3) The bottom part of the look. Pants or shorts (Depends on the length. But if you still decide that it will be pants - the length of the pants must be longer than the length of the shirt sleeves!).
- 4) Shoes. The easiest way to draw closed shoes. Draw their outline and complete with a couple of loops - it will be an imitation of laces.
- 5) Now up to the sleeves we must add hands and short fingers.
Face. Here a lot depends on the artist's imagination.
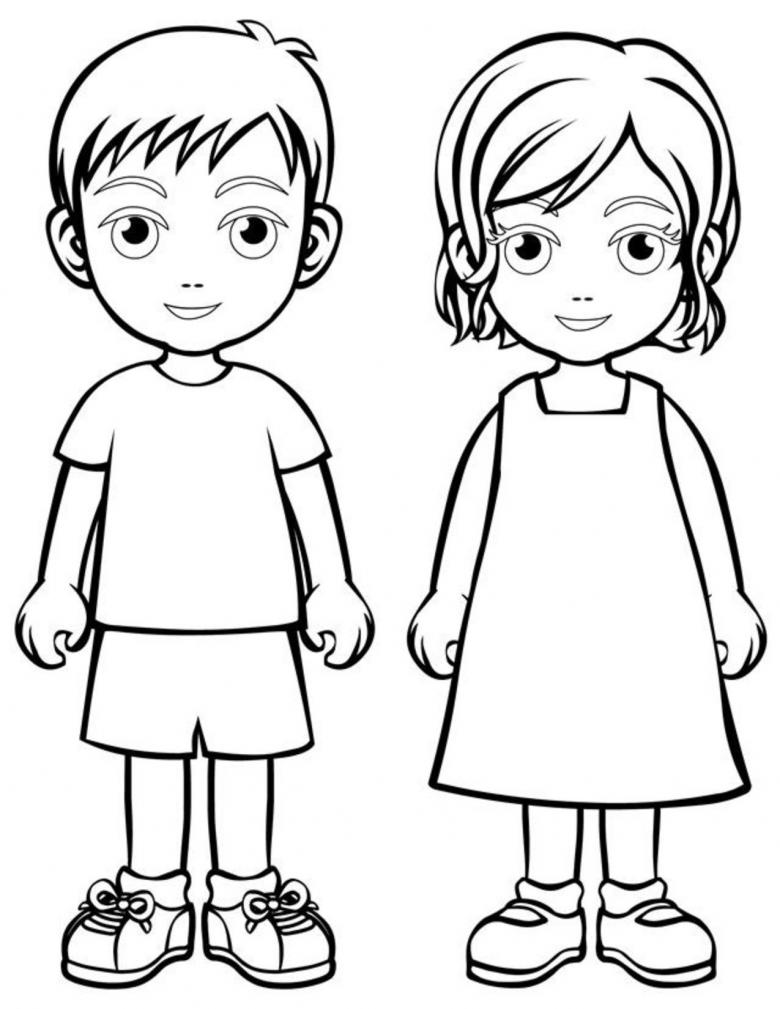
- 1) Eyes. Two small circles on a small distance from each other. (Attention! They must be higher than boy's ear!) It is also possible to depict a slight squint from a smile.
- 2) Low-curved eyebrows. They can be slightly raised.
- 3) A snub nose at about ear level.
- 4) A slightly curved smile line.
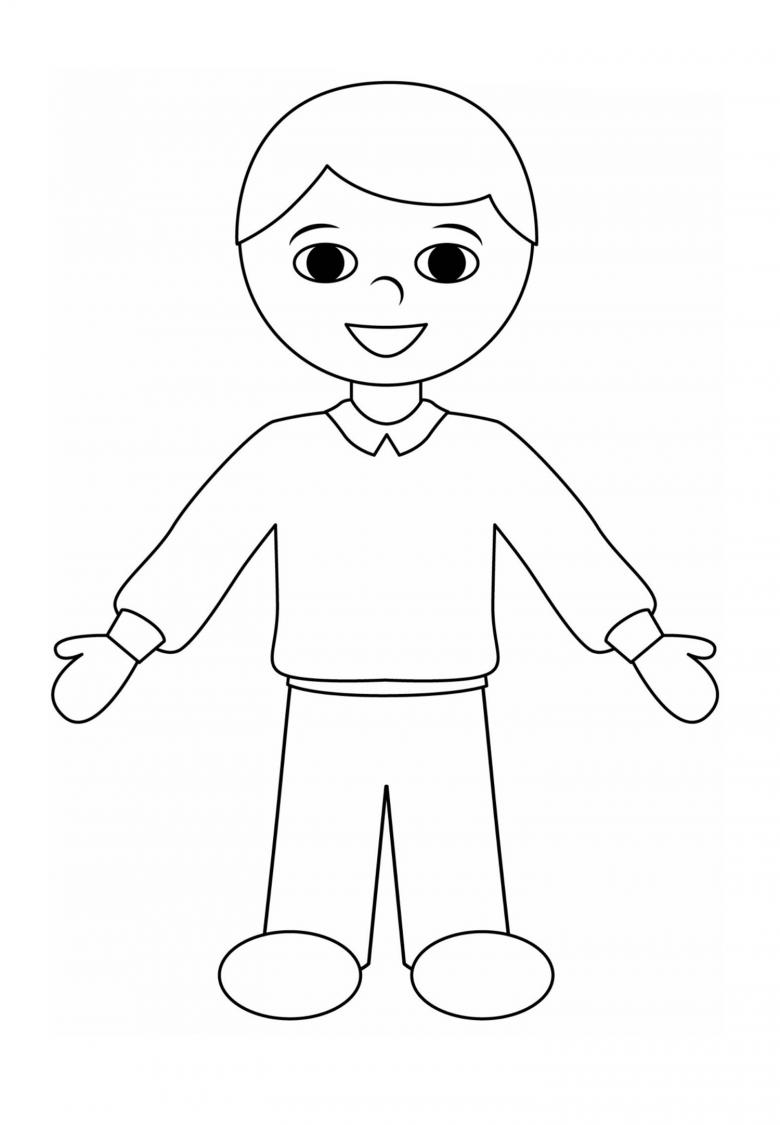
Now you can turn on the imagination and finish drawing details. For example:
- dimples on the cheeks;
- freckles;
- pockets on the pants;
- print on a T-shirt.
In order for the picture to look complete it should be colored and outlined with a thin felt-tip pen, and we recommend adding a picture of a car, ball, ball or any other toy.
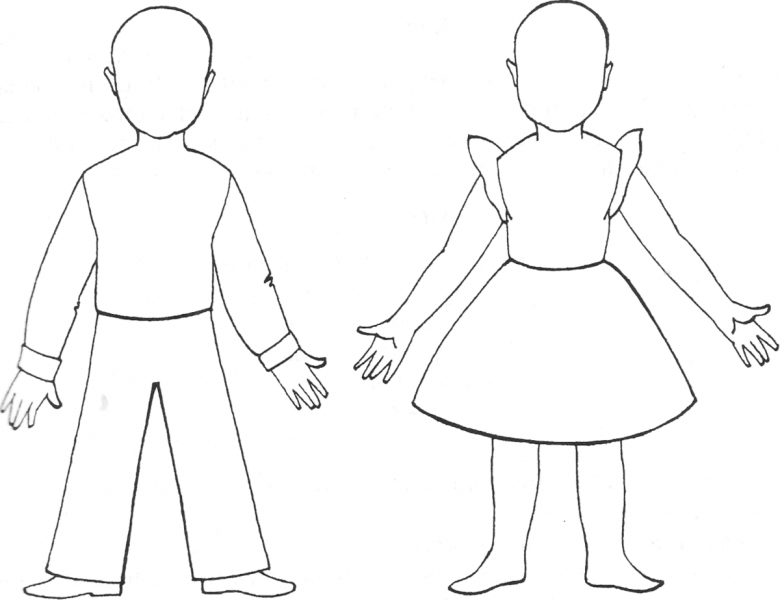
In the same way, you can also draw a girl, changing just the length of her hair and drawing long eyelashes.
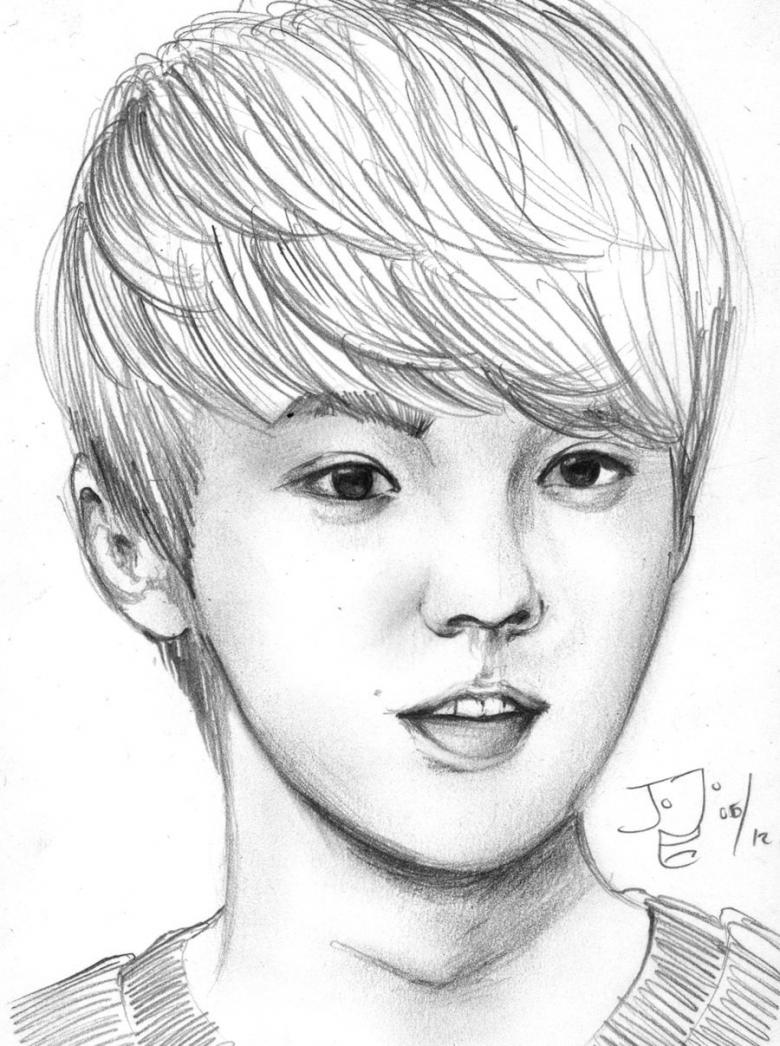
Lesson 2: Drawing a Teenage Boy
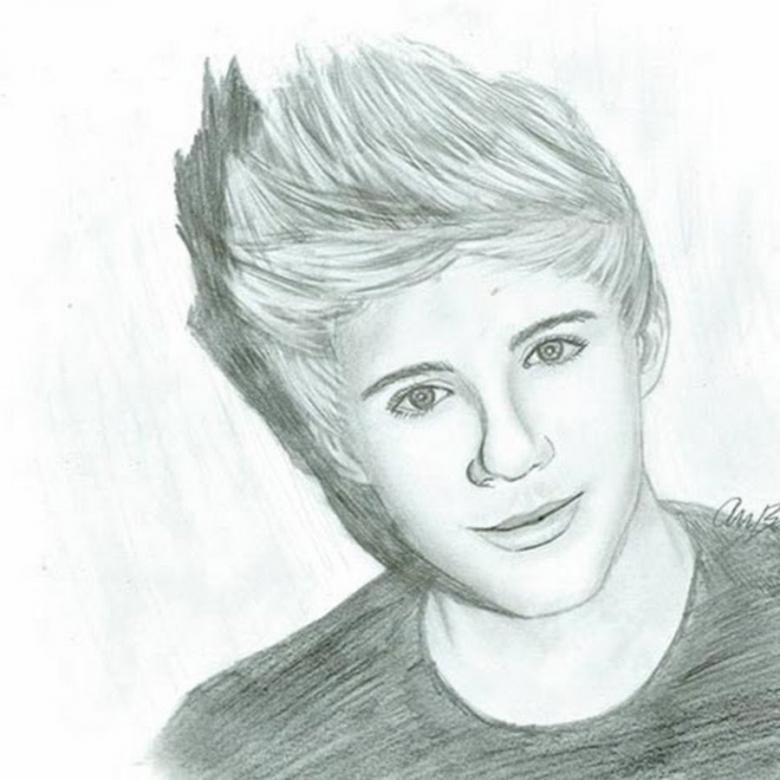
And now let's try to create an image of a teenage boy. This version is more detailed and allows you to master the universal technique of drawing a person. Here, in addition to paper and a simple pencil, you will need more:
- a sharpener;
- Cotton sticks.
The teenager will be depicted in profile, left cheek to us.
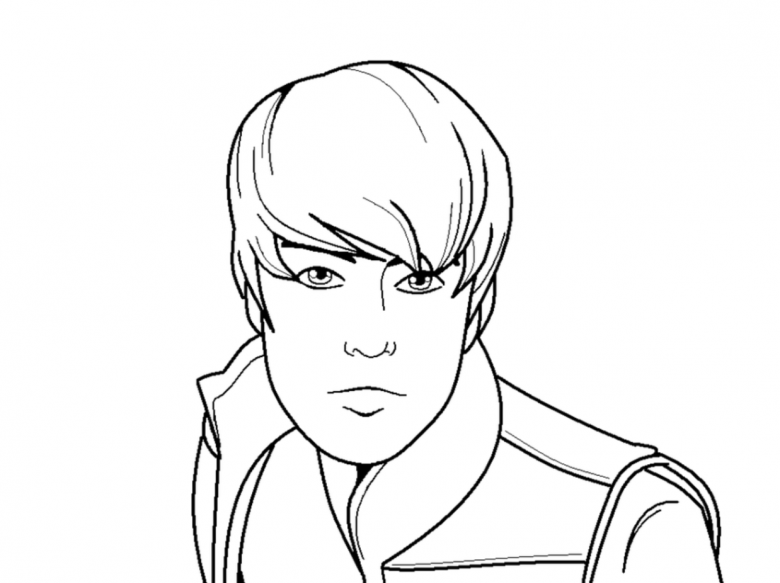
Face, head, hair.
- 1) Now we will start with the outline of the face. In a single line, draw a slightly sloping forehead, a small depression in front of the nose, the line of the nose, closed lips, and a clear islanded chin.
- 2) Zigzag left nostril, adding realism to the drawing. Draw a short line of the mouth, slightly going down. Above and below her - the lip line. (Puffy or more narrow - to be decided by the artist).
- 3) Draw almond-shaped eyes, a movable eyelid line on top, and a clear eyebrow. Attention! The eye must be in the area where the forehead meets the bridge of the nose. The expression of the face will largely depend on the shape of the eyebrow.
- 4) Continuing the upper line of the head, we draw a parting and from it we draw up several (10-12) interrupted, slightly bent in different directions lines. This is the hair. Now draw a short haircut on the left side of the head. Make the temple oblique. Do not forget to leave some space for the ear.
- 5) Next we make a medium sized ear. It should be at the same level as the bridge of the nose. We mark the furrows of the earflaps with a couple or three curved lines.
- 6) We step back from the guy's chin a little bit and draw the border of the wide collar of the coat. It is raised. If desired, mark the shoulder with the button and part of the sleeve.
- 7) Details! The last, but not least, point of drawing. It is necessary to shade with short frequent lines hair teenager. Attention! Do not forget that it is necessary to stroke along the hair growth line: the upper, longer part - upwards, the lower short part - downwards.
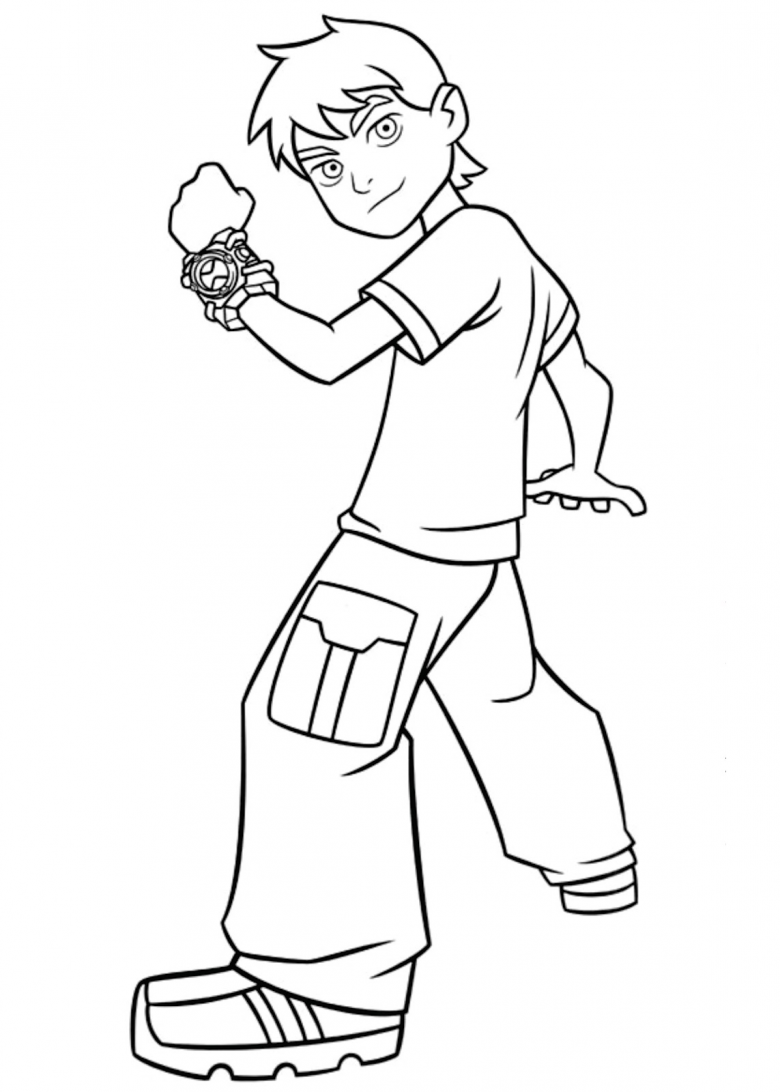
Now it's time for the sharpener and cotton swabs. We take a pencil and grind a small amount of lead. We get this powder on the stick and darken the ear lobe, lips, the area above the eye, the part of the neck under the chin and the edges of the collar.
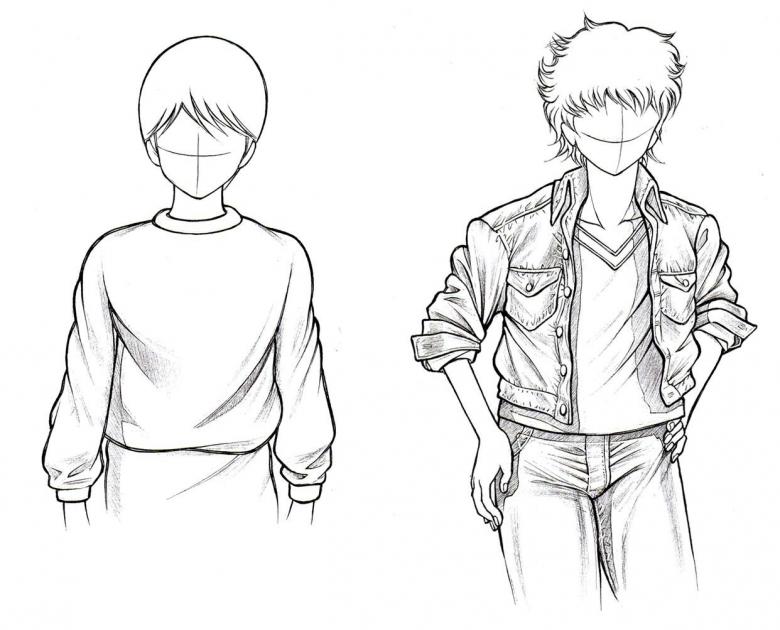
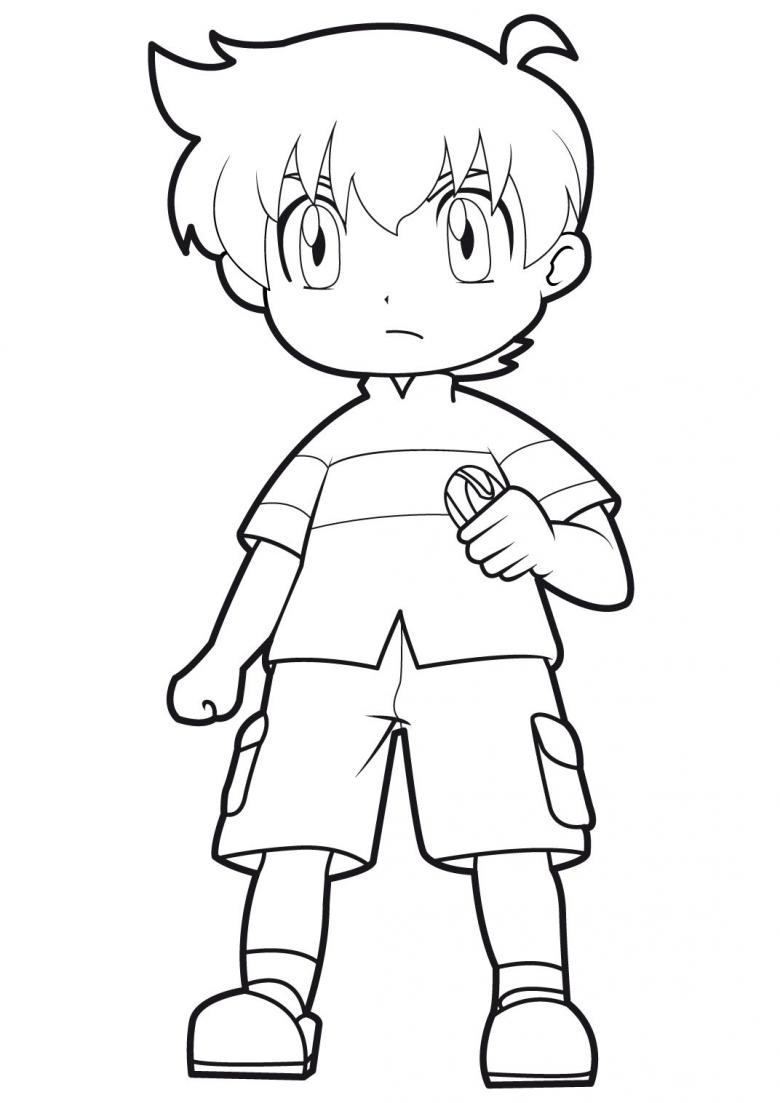
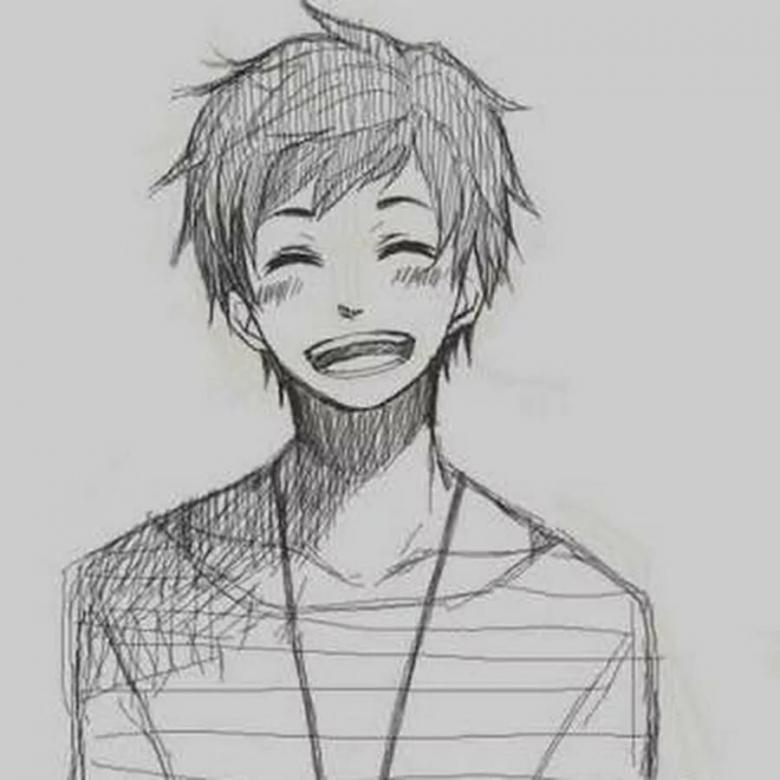
Done! Following these steps, you can draw a portrait of any person, a humanoid creature or even a boy from an anime - a new popular trend among creative young people.
Fine art is a great way to express yourself and relax. Try different techniques and get your hands on it. It's not hard! Everyone can draw!

