How to draw a swan step by step in pencil - easy and difficult step-by-step master class for beginners
The swan is a bird that attracts with its grace, unique charm and beauty. These beautiful creatures are found on lakes and in zoos, and are also present in many works or fairy tales and have always attracted the attention of creative people.
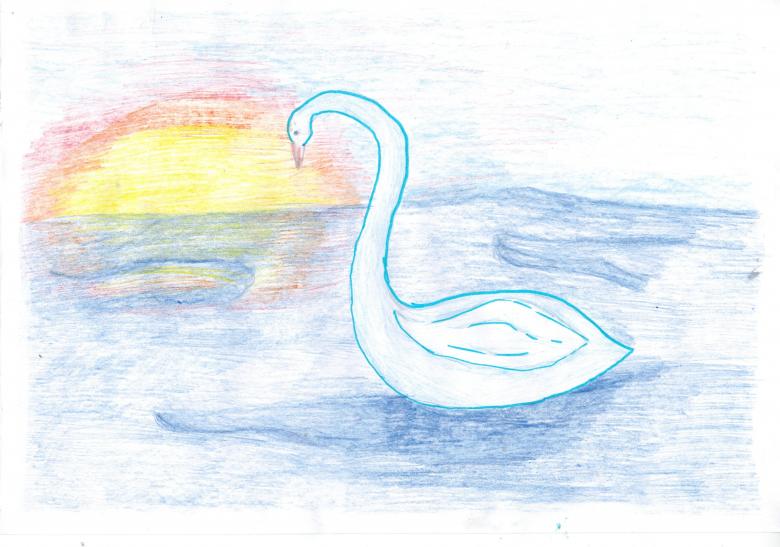
This graceful bird is not always easy to draw, but in this article a few step by step master classes, thanks to which you can learn to draw it yourself.
Materials needed:
- A simple pencil;
- Paper;
- Eraser;
- Colored pencils and gouache.
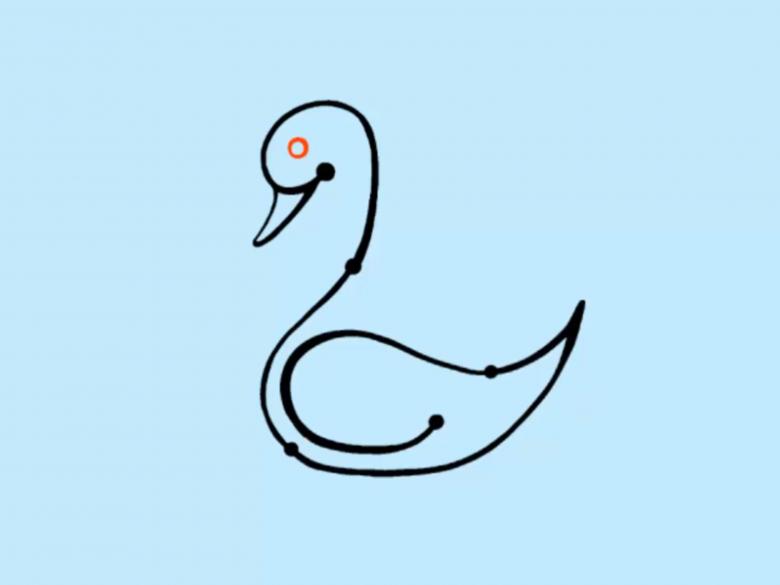
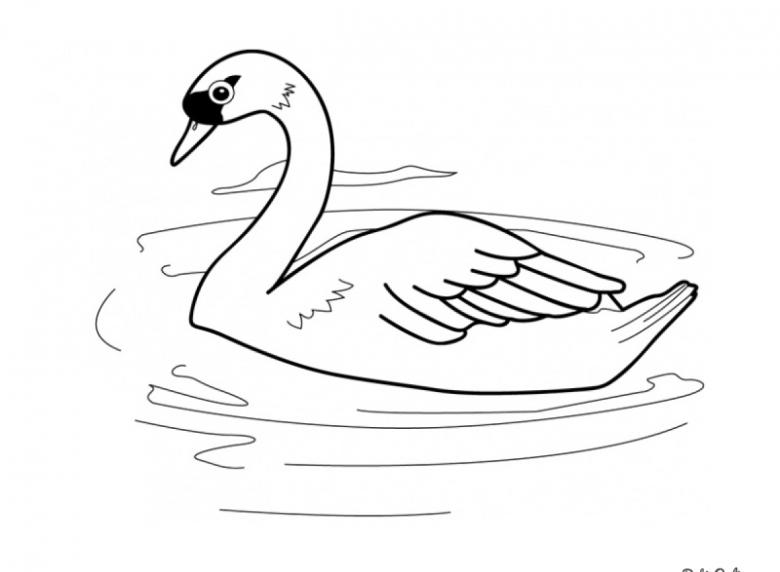
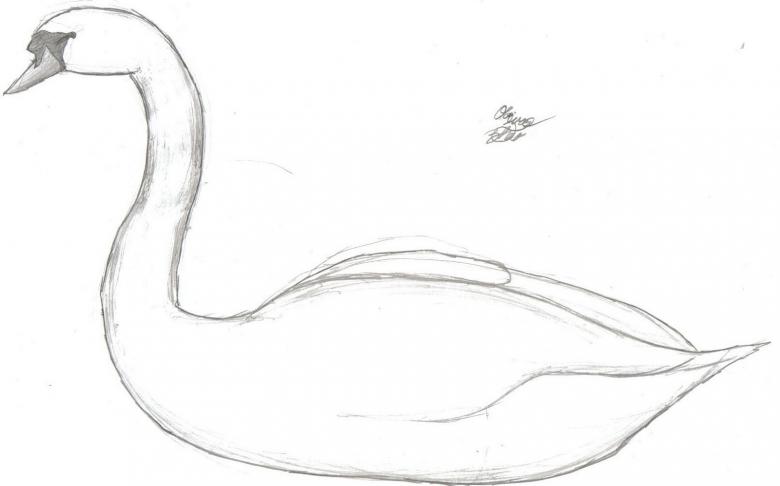
Easy version of a pencil drawing
Even an ordinary child can draw a swan in this simple way.
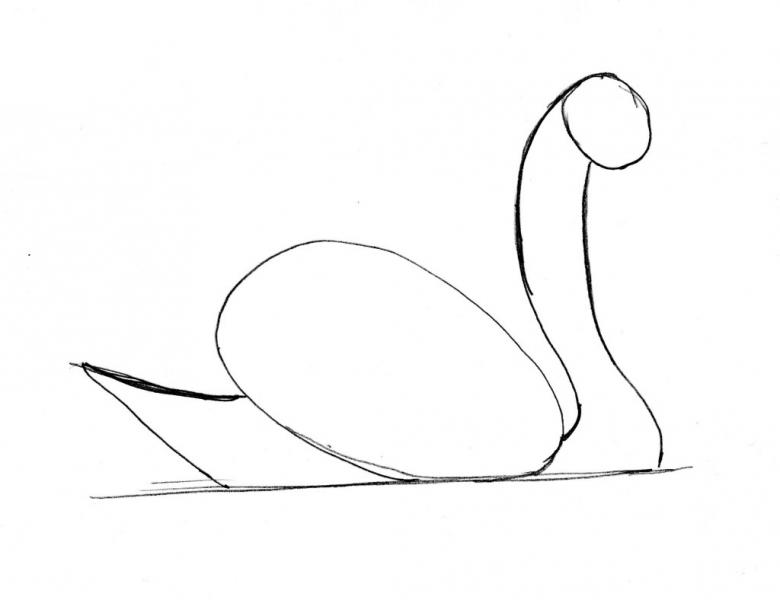
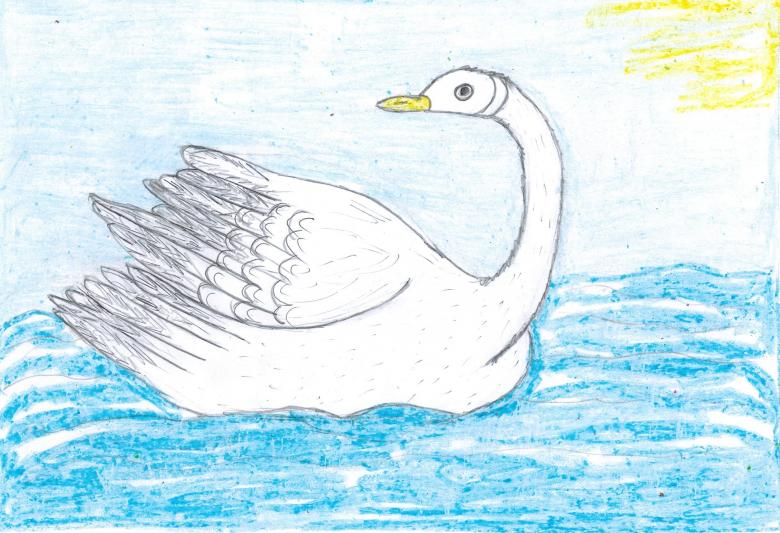
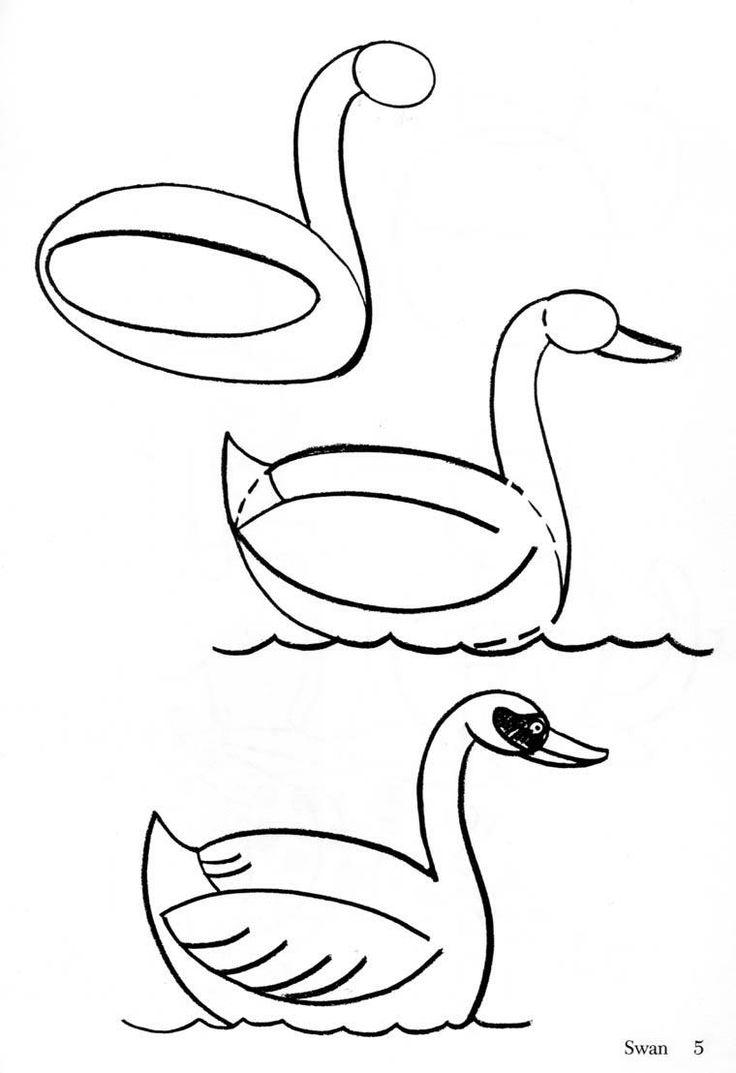
- The first step is to draw a small oval shape at the top right of the sheet. Then from the oval shape to the top side of the left edge draw a curved segment. From below it draw a horizontal line, raising it slightly at the end.
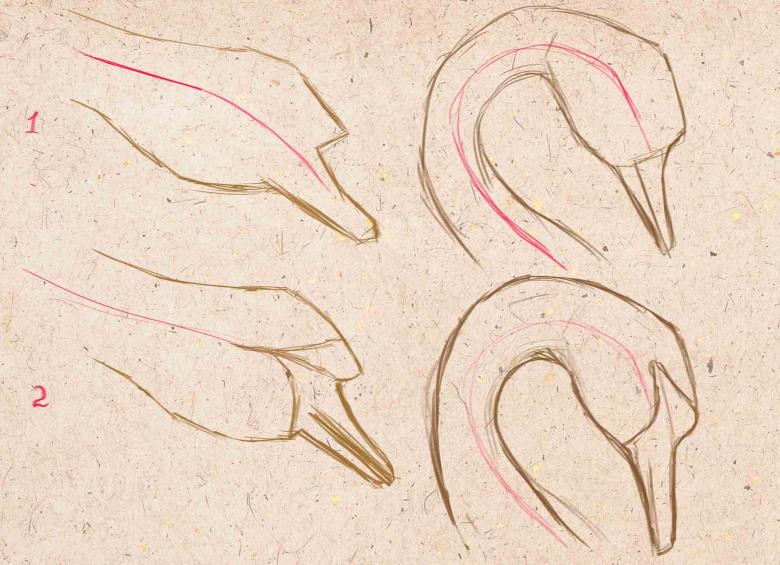
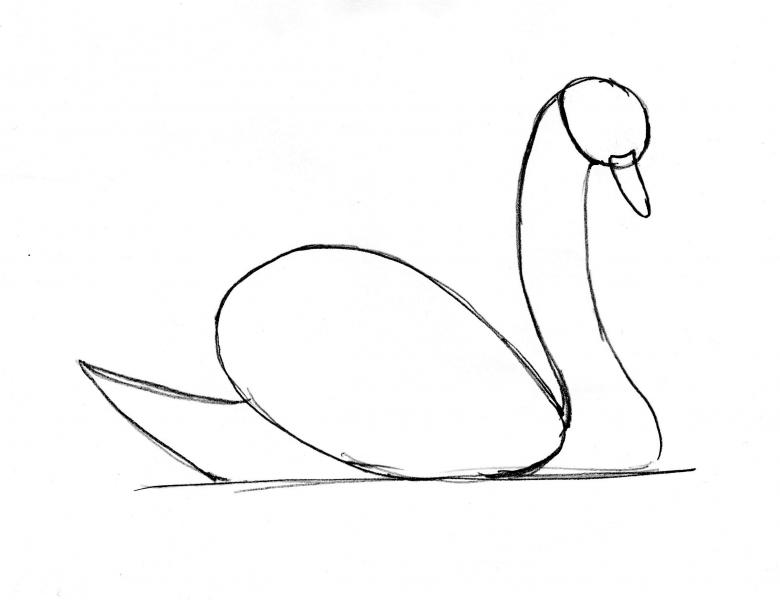
- Start working out the details. From the oval, draw the head, representing on it the eye with a glare next to it, then add a beak, consisting of two parts.
- Next start drawing the neck, at this stage you need to be very attentive as the neck is the hallmark of swans. The neck should be of suitable length and width with smooth curves.
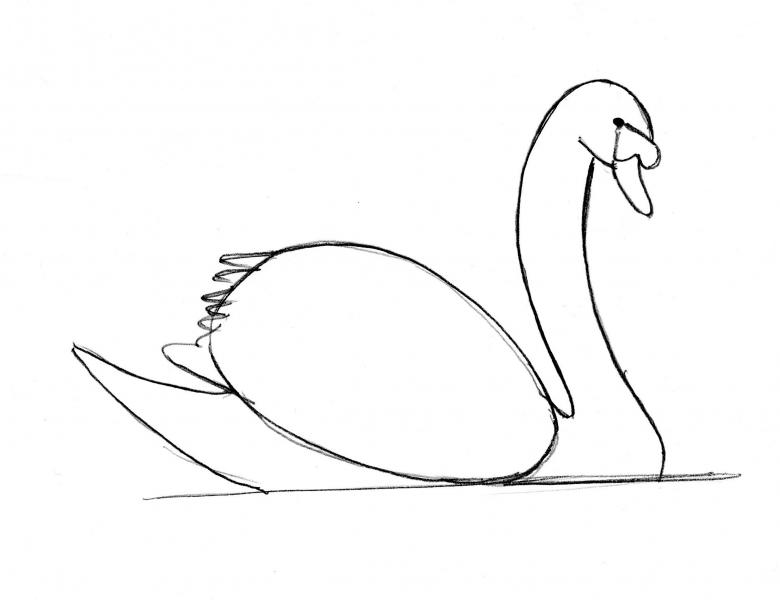
- Then draw the swan's wings with feathers and finish the tail.
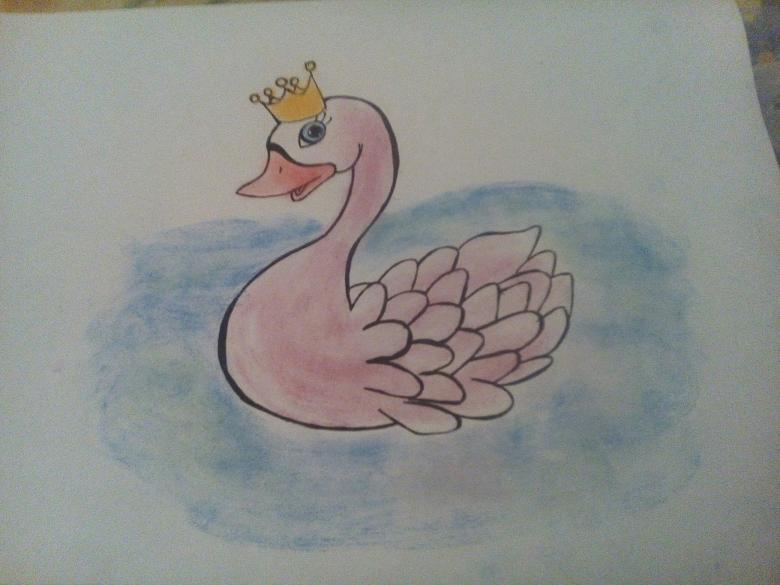
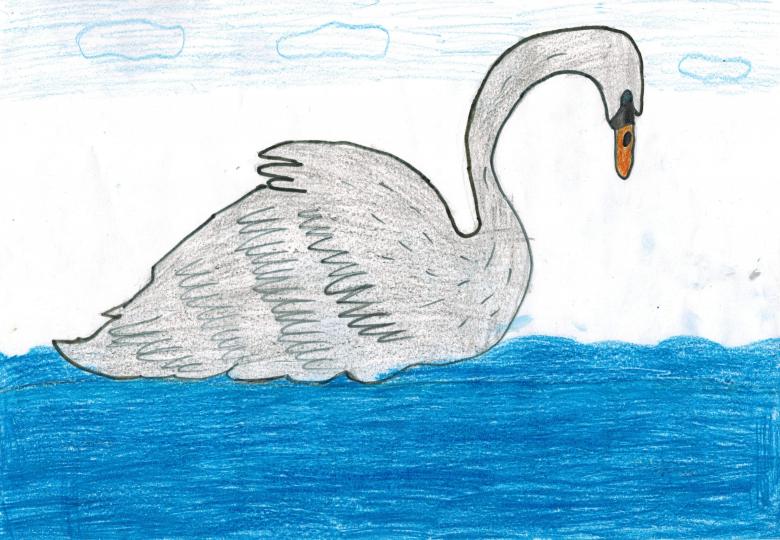
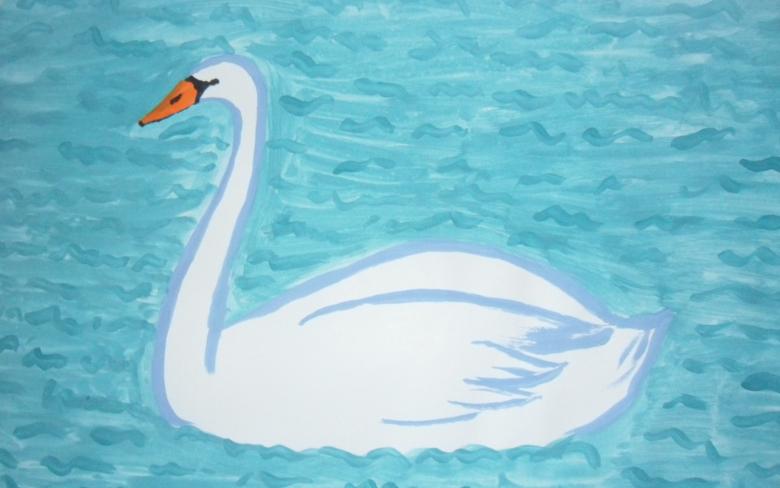
- At the end of the work the drawing of the swan can be painted if desired. Use orange for the beak and black for a small area from the eye to the beak. For the torso, you can use a little blue, adding some darker areas in some places.
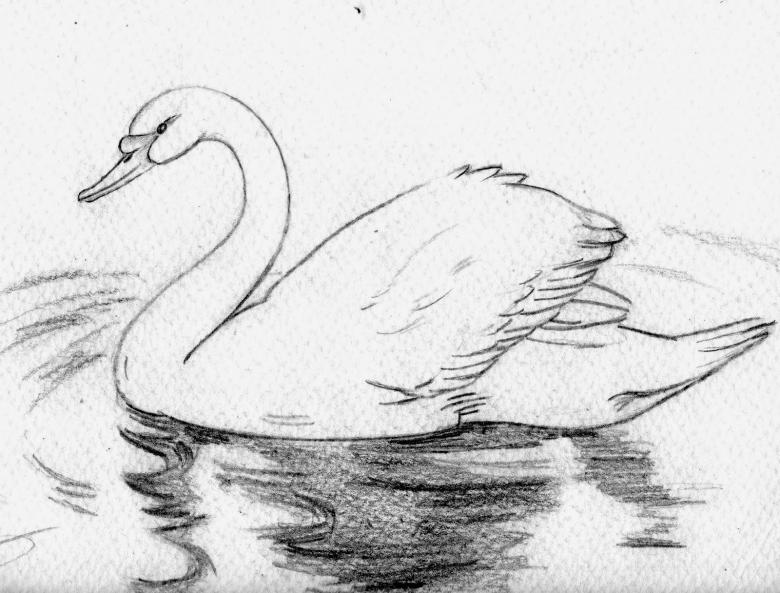
Swan on water
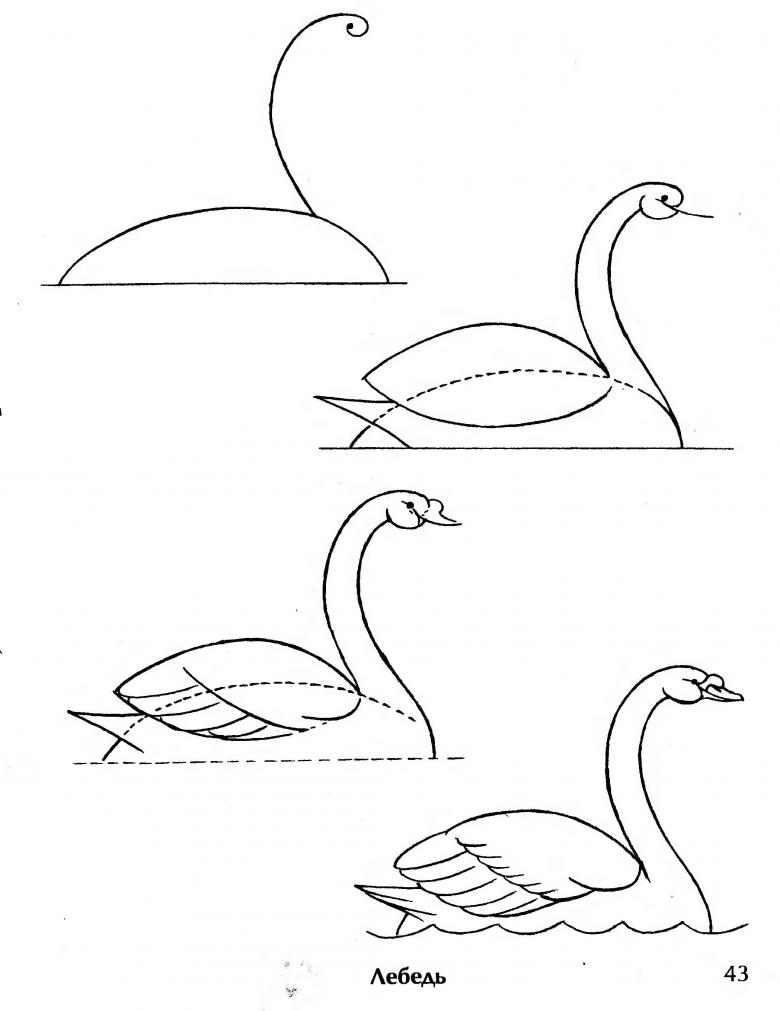
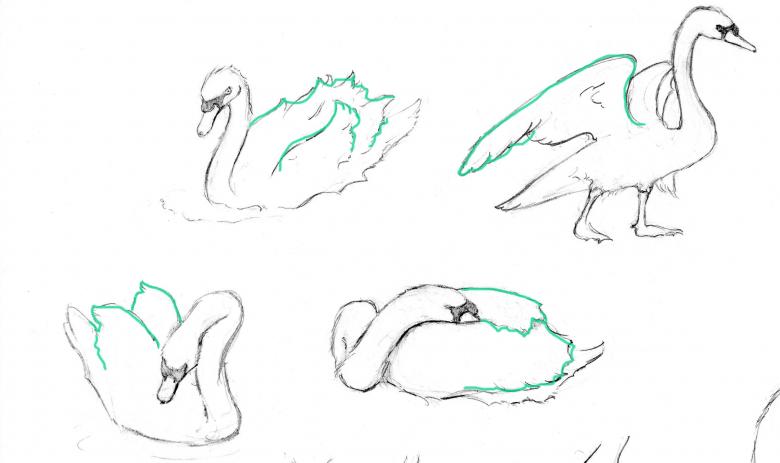
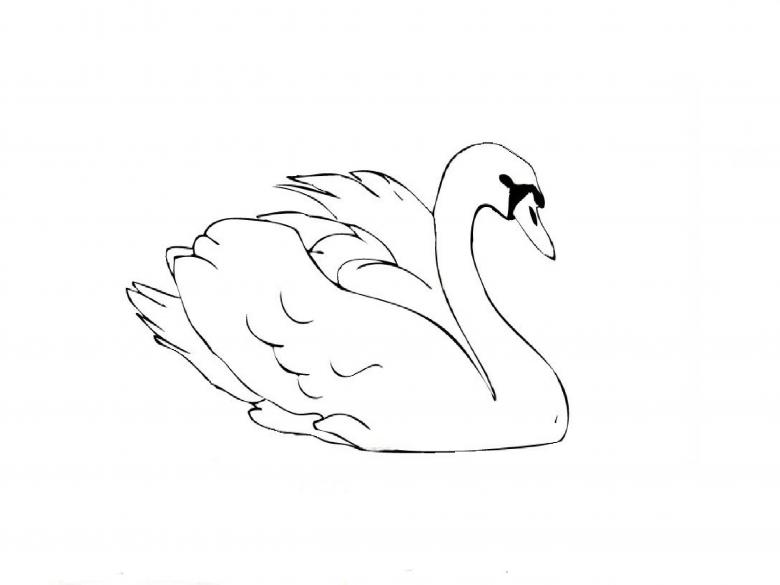
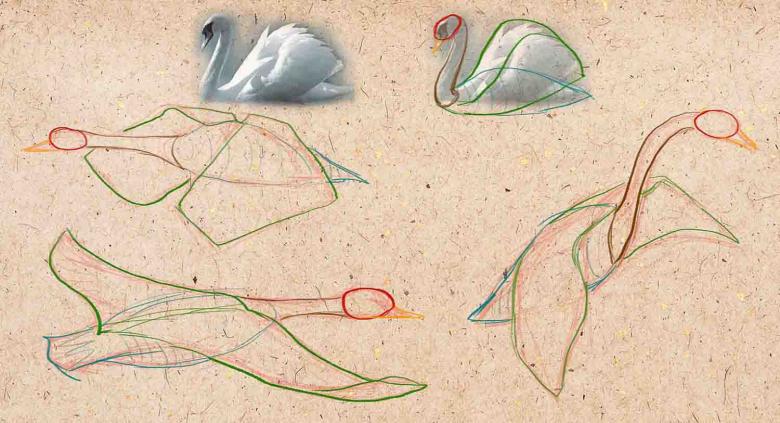
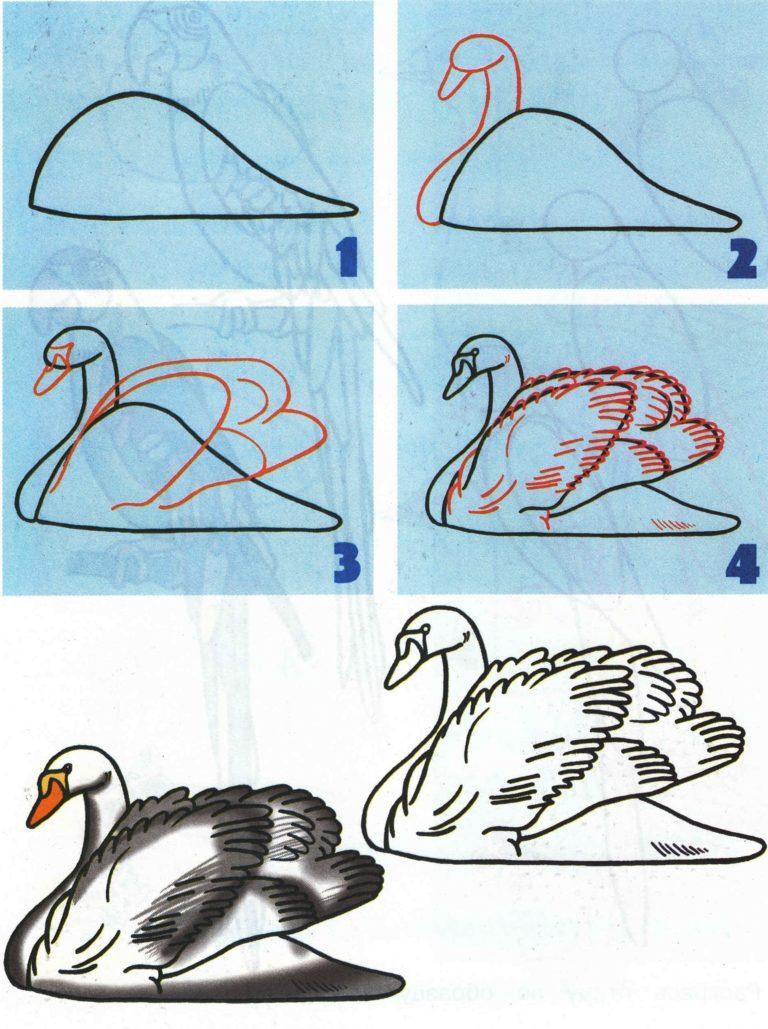
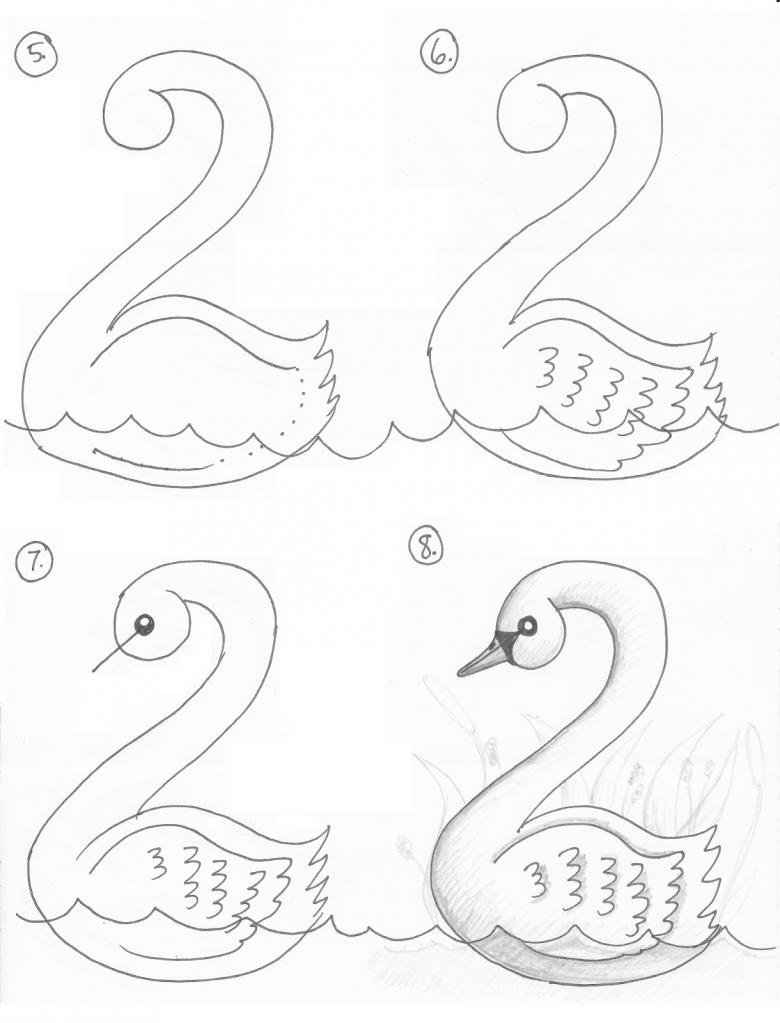
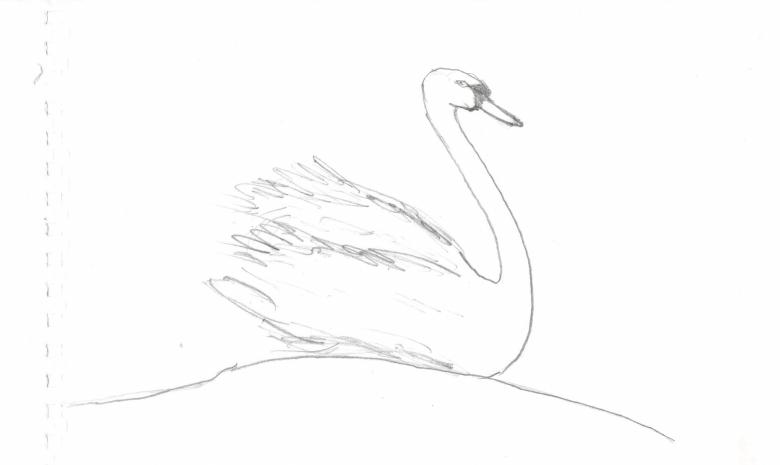
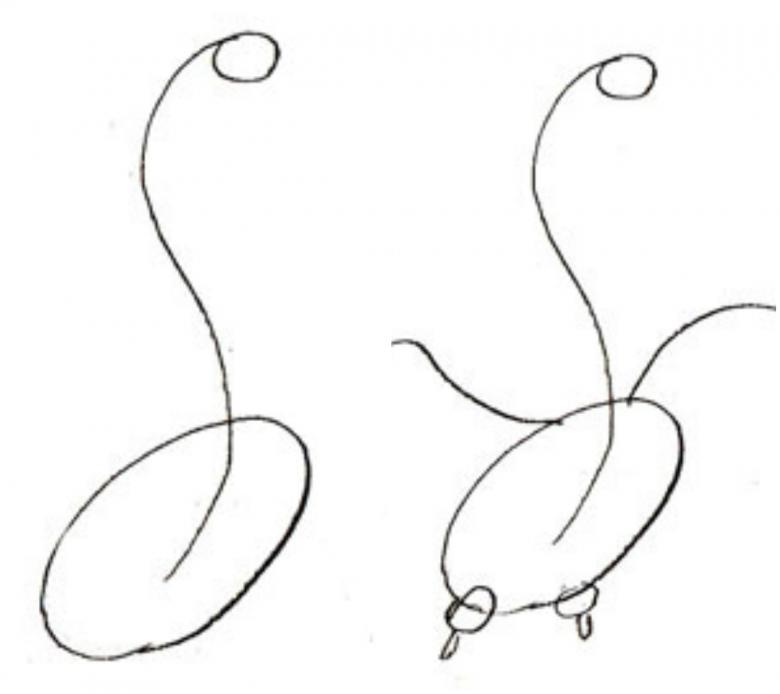
The swan's characteristic feature is the long, plastically curved neck, smoothly passing into a rather large torso. The whole silhouette of a swan resembles a number two.
- First, on a sheet of paper, we mark with short strokes the place where the bird will be depicted.
- Then thin short lines draw the main silhouette of the swan image.
- Now along the direction of the lines you need to draw the silhouette of the neck, not too wide and not too thin.
- The next step is to specify further outlines of the figure and in some places show elements of the swan's plumage.
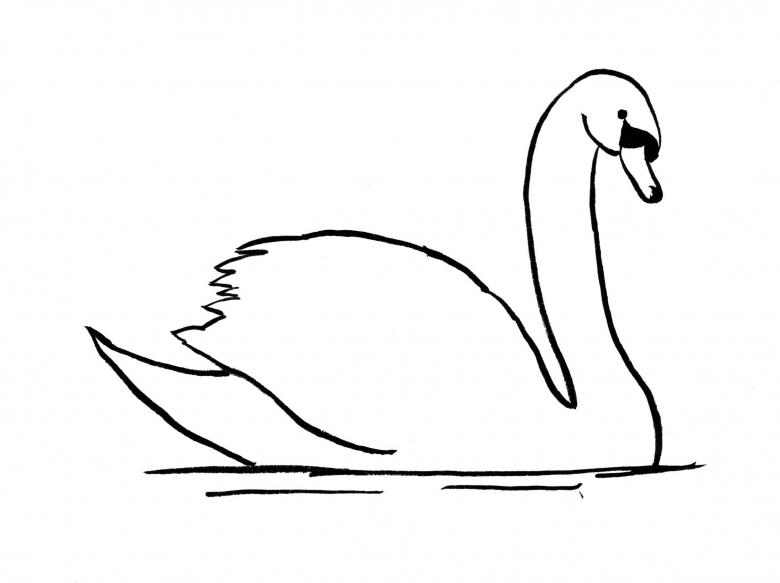
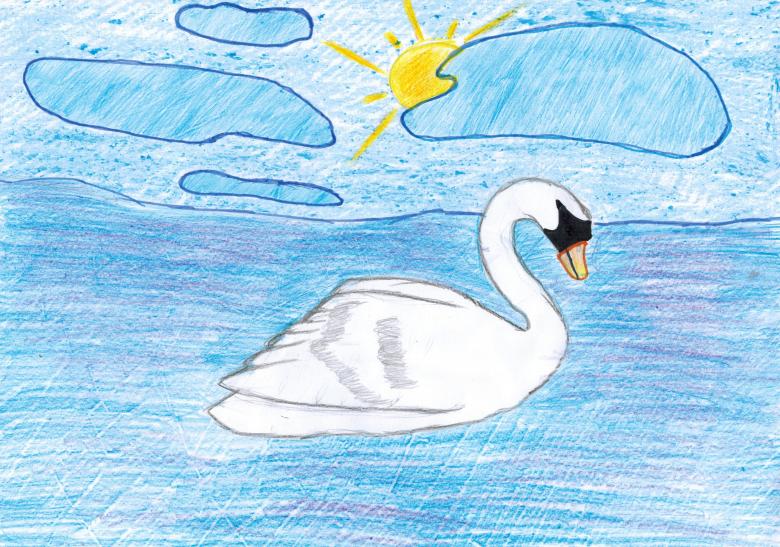
- At the end we finish drawing the bird's head to the end and make the outlines of the water surface.
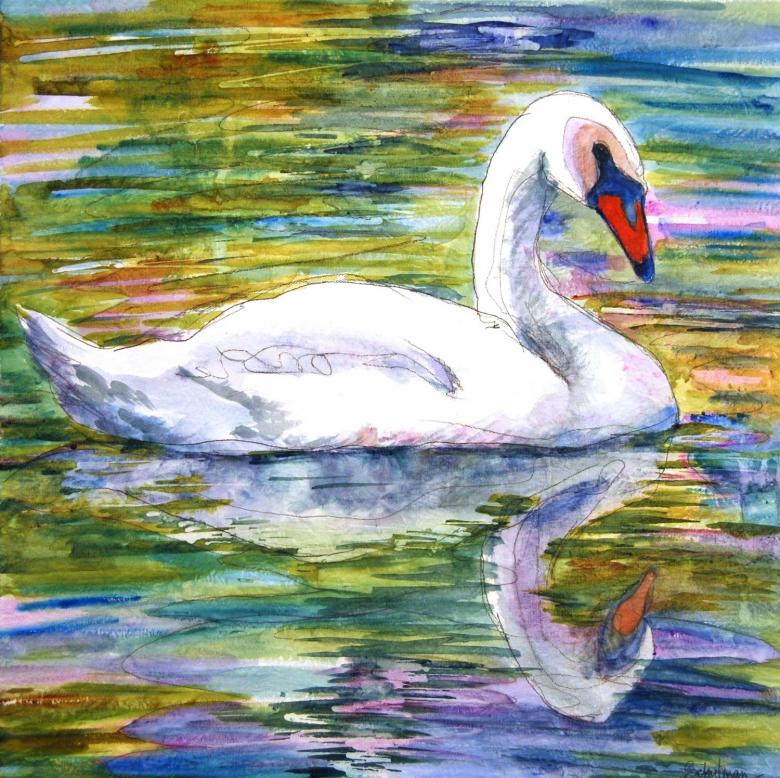
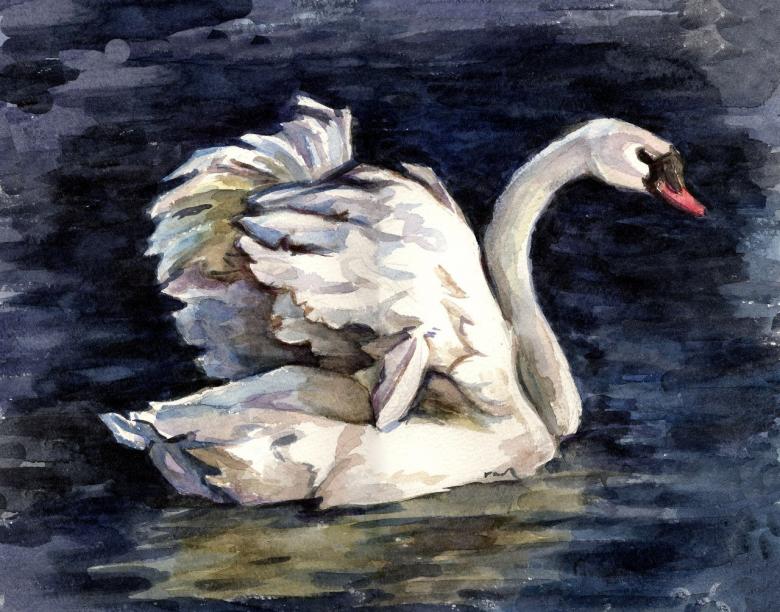
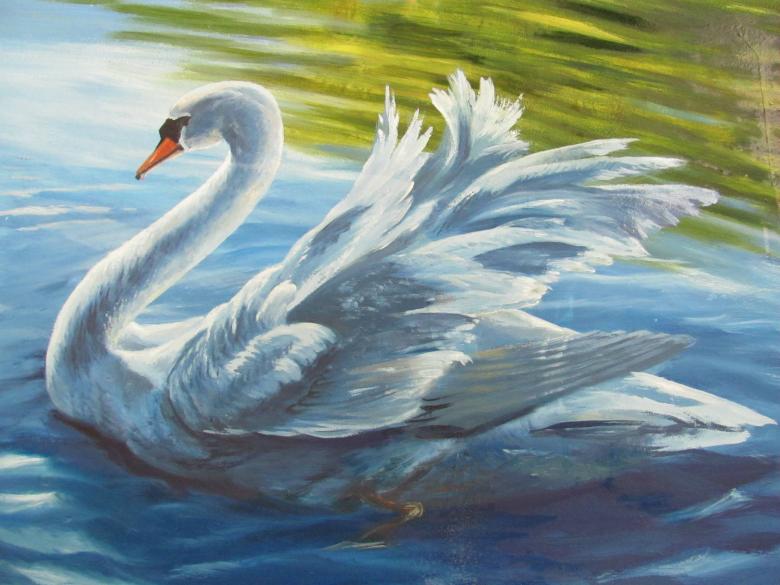
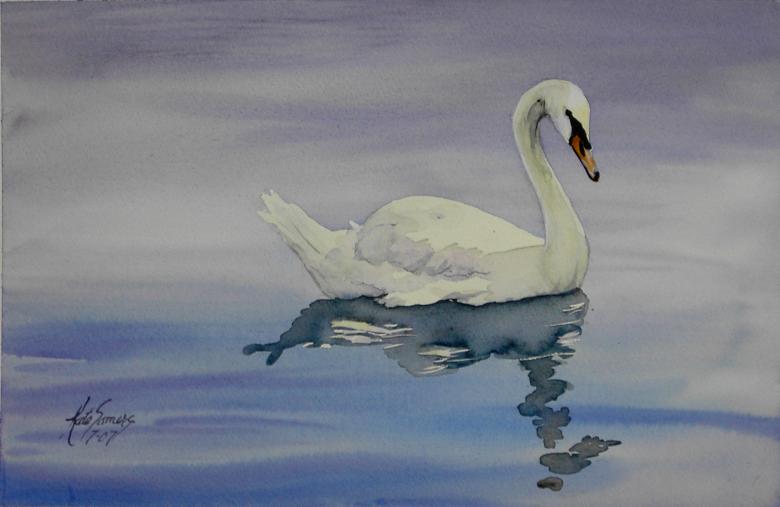
- Now, with colored pencils to create a color design. The main work focus on the image of water. For this we use blue, a little green and black. Drawing waves, make light pencil movements to make the illusion of a swan's reflection in the water, some places near it should be left unshaded.
- Take a dark blue color and with jerky lines make the elements of light and shadow, that is the effect of the volume of the waves.
- Body of the bird, work with a little yellow color. It will give the image a warm touch, as well as make the drawing more interesting.
- We are going to make the bird's beak orange with addition of red color.
- At the end with a black pencil (pre-sharpened) draw the outline of the silhouette, this will make the silhouette clearer. But drawing the outline, do not do it as a solid line, but slightly intermittently, so that it kind of dissolved in the image.
The same color can be used to emphasize the waves in some areas, this will give the effect of rippling water.
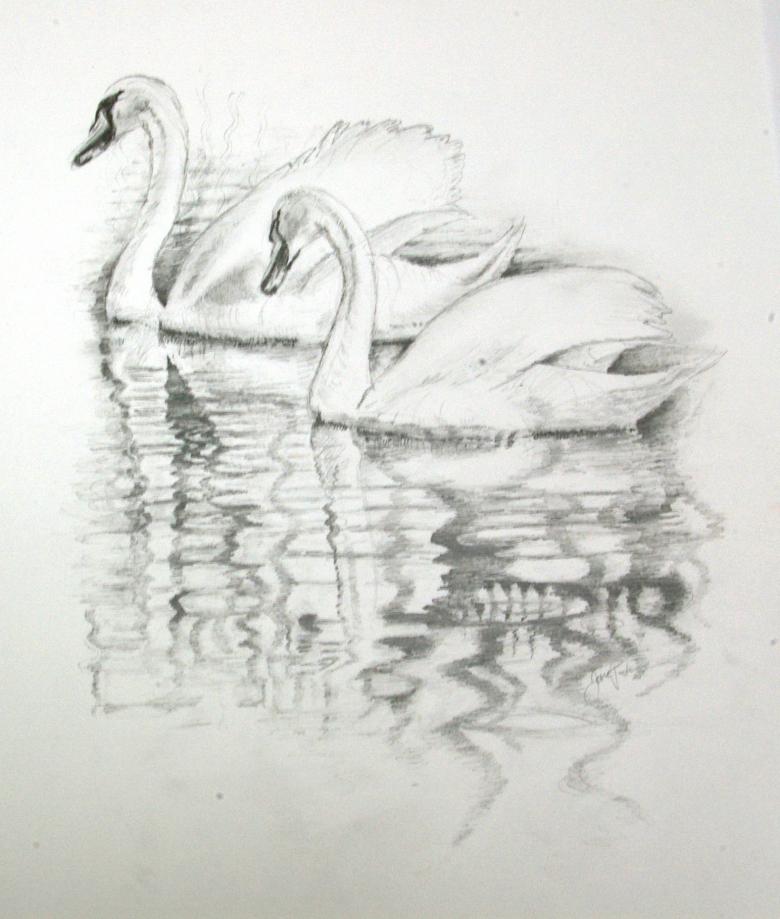
Drawing two swans in love
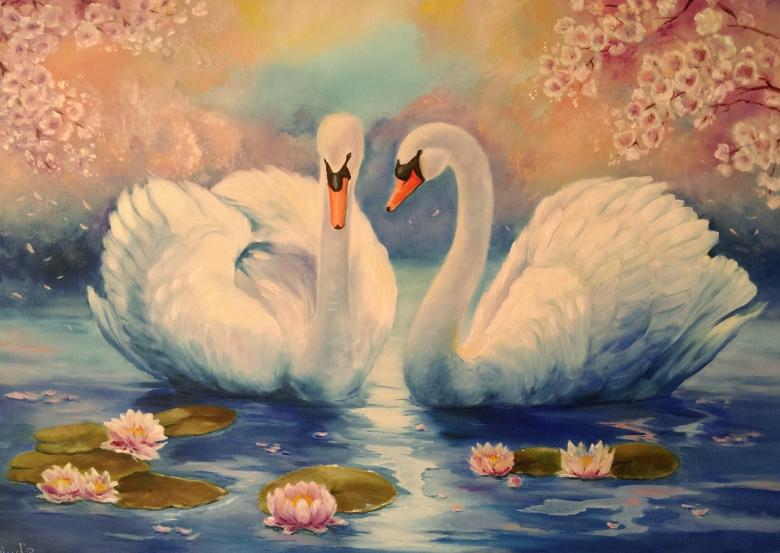
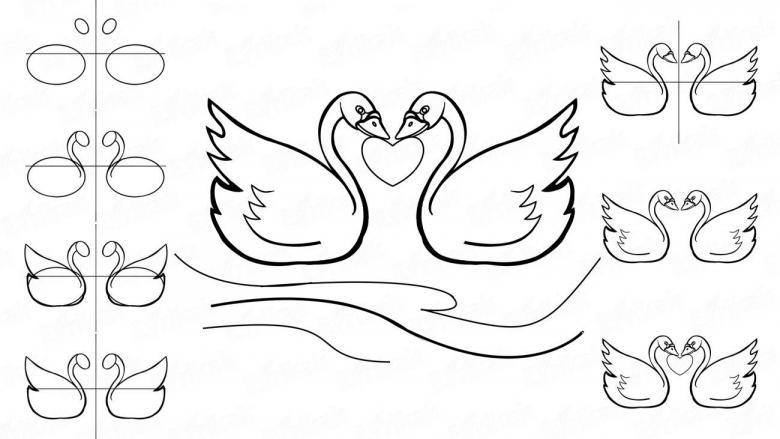
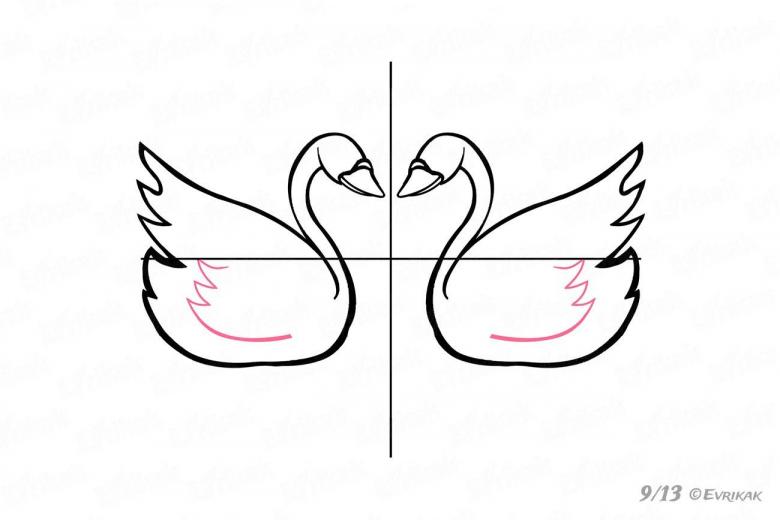
- Draw two ovals close together and use curved lines to depict the shape of the necks of the two swans, so that it resembles the shape of a heart.
- Draw the bodies of the swans, then the eyes and beak of one and the other swan and paint over the area from the eye to the beak with black.
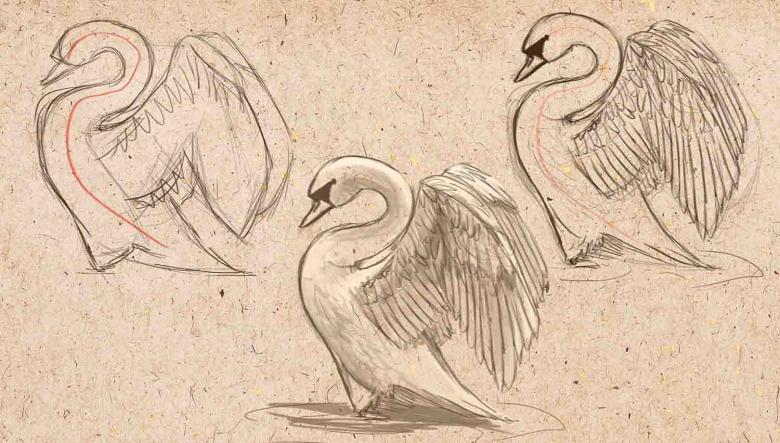
- Draw the swans' neck and plumage, and one swan on the left has a raised wing.
- Above, above the birds, you can draw an arch and depict flowers on it.
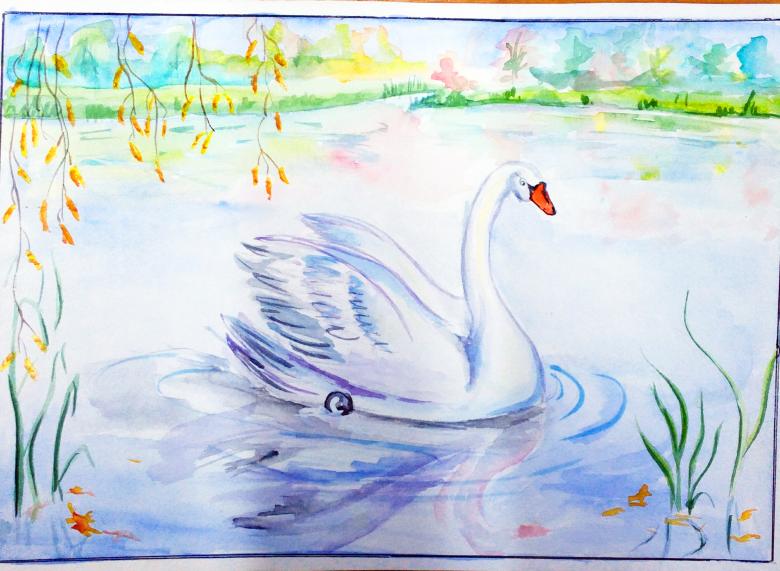
Painting a swan with colors
Painting a swan in paint is more difficult than painting it in pencil, especially for beginners. The tips below will help you master this creative process and teach you how to paint a really beautiful picture of a swan.
- First, you need to make a pencil sketch. To do this first of all draw a curved line similar to the number two and on the right side make it a little longer. From below it dostichivayu oval, making it pointed on the right side.
- Draw the swan head, beak and begin to deduce the neck, making it a little wider to the torso.
- Drawing the second swan, make a curved line and in the same way as with the first draw his torso. Next, finish all the details of the swan in the foreground, i.e. draw its neck, head and beak.
- Now draw both swans wings and make a horizontal line to separate the sky from the water surface.
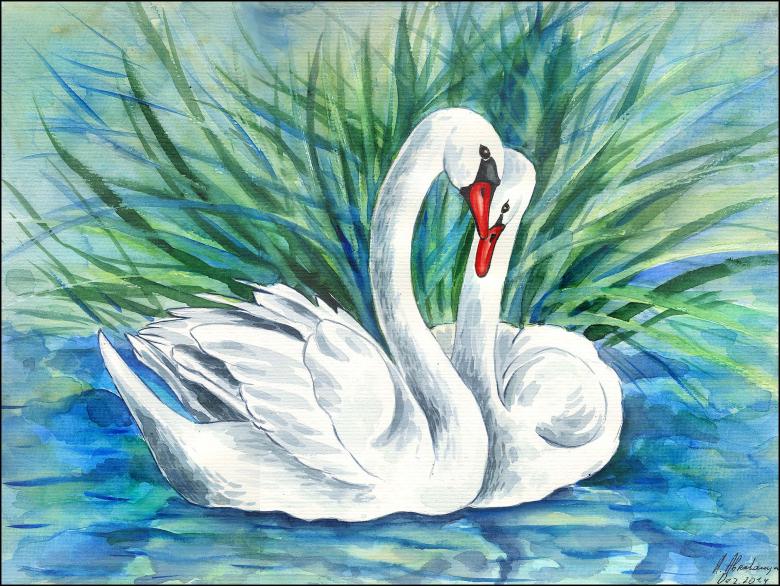
The sketch of the drawing is ready, then you need to paint it.
- Take yellow paint and draw the sun, half-hidden behind the horizon, in a fairly large size. Having washed the brush, take a pink shade, having previously mixed it with a small amount of white. Use this color to paint almost the entire sky, except only the corners. In the corners, work in a shade of a mixture of purple and white.
- The same pink that we used to paint the sky, work the top of the water above the swans. In the same place we use yellow color for the reflections of the sun. The rest of the water surface is painted in purple. In the far left side draw a reed in blue.
- Use blue and purple to make shadows on the swan, and pure white to draw the feathers on the image. Finish the second swan in the same way.
- Use darker color for eye and paint the top of the beak between the eye. Beak do a shade of orange.
- In conclusion of the gray color clarify the water shadows, and green in the lower corners of draw reeds.

