How to Draw a Whale in Pencil and Watercolor - Easy Master Classes for Beginners
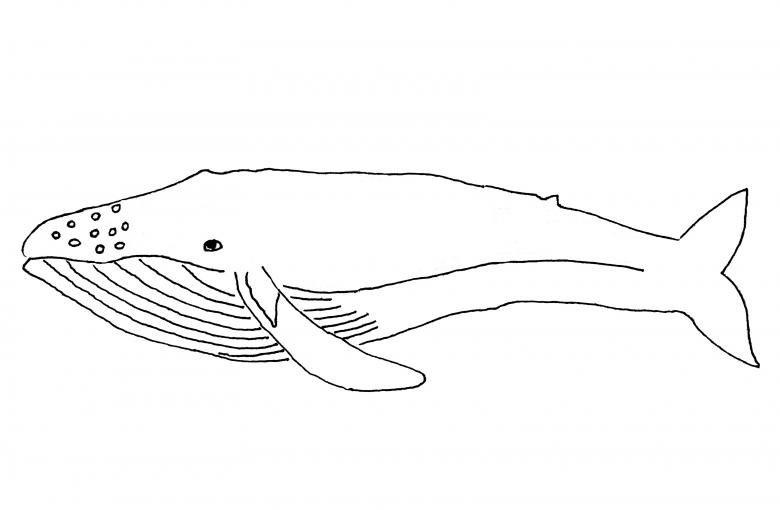
The whale has the largest size on the planet. Scientists speculate that they can surpass most species of dinosaurs. Children admire its size and grandeur, so they enjoy drawing it in different ways.
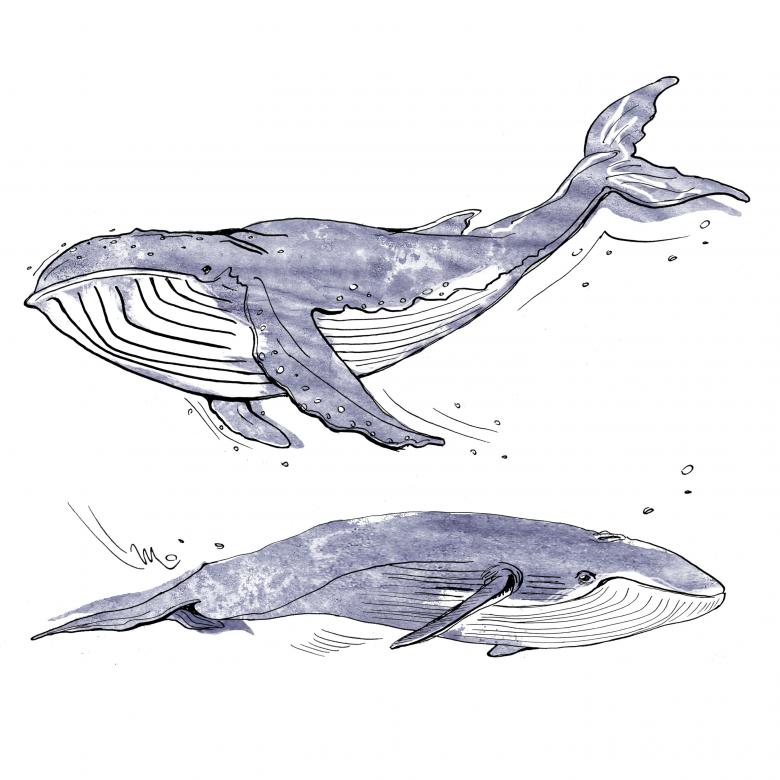
To feed the enthusiasm of kids, we offer a step by step look at several options for the design of this artwork. Masters have prepared for you interesting and accessible methods of depicting the whale on paper.
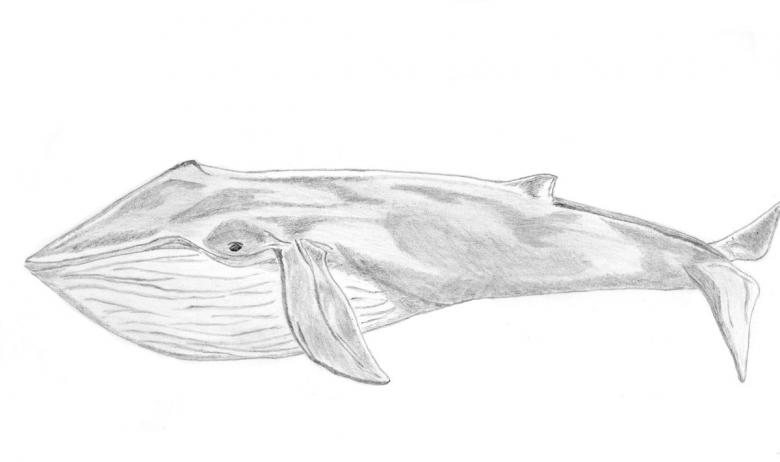
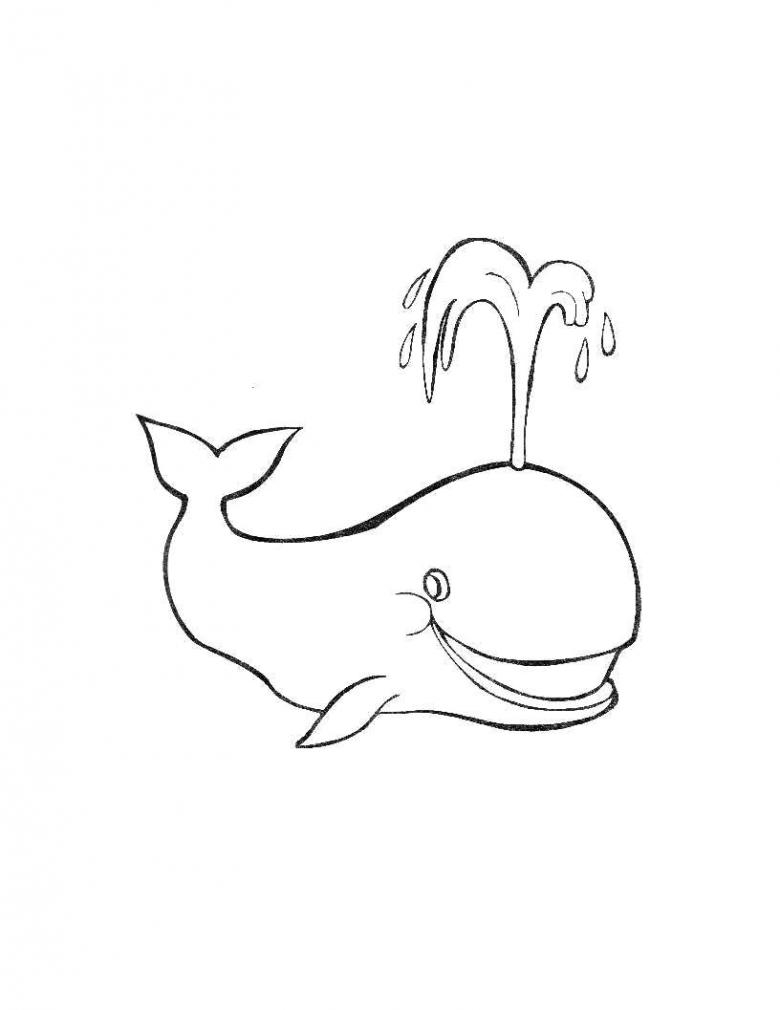
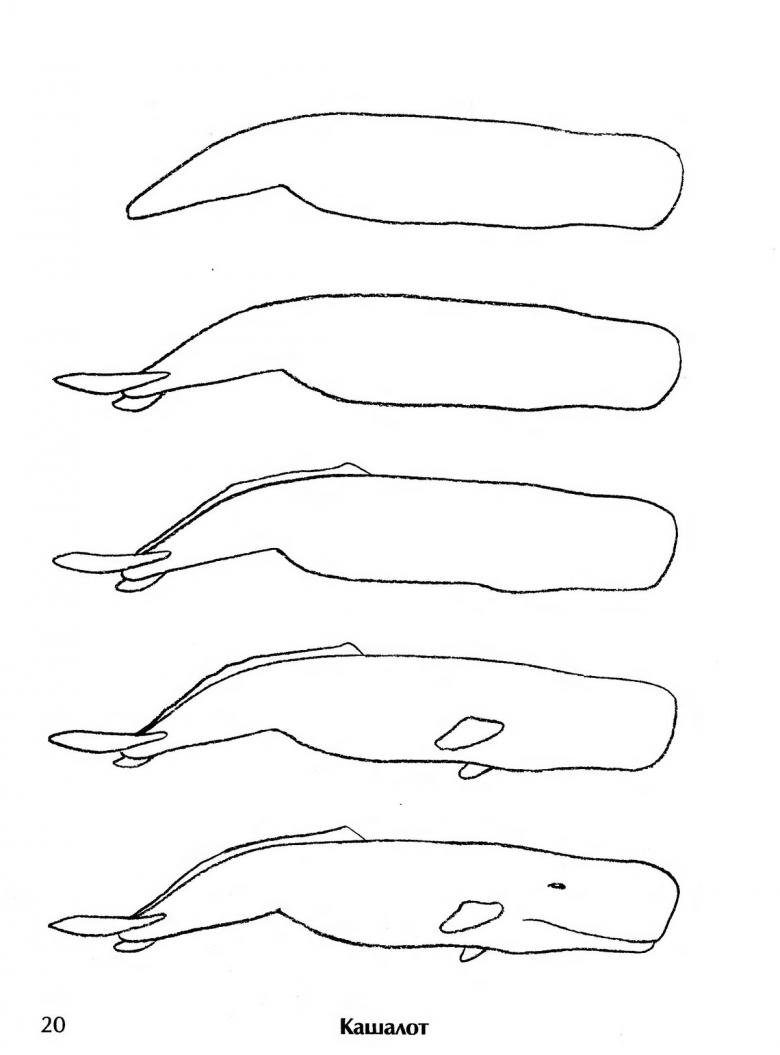
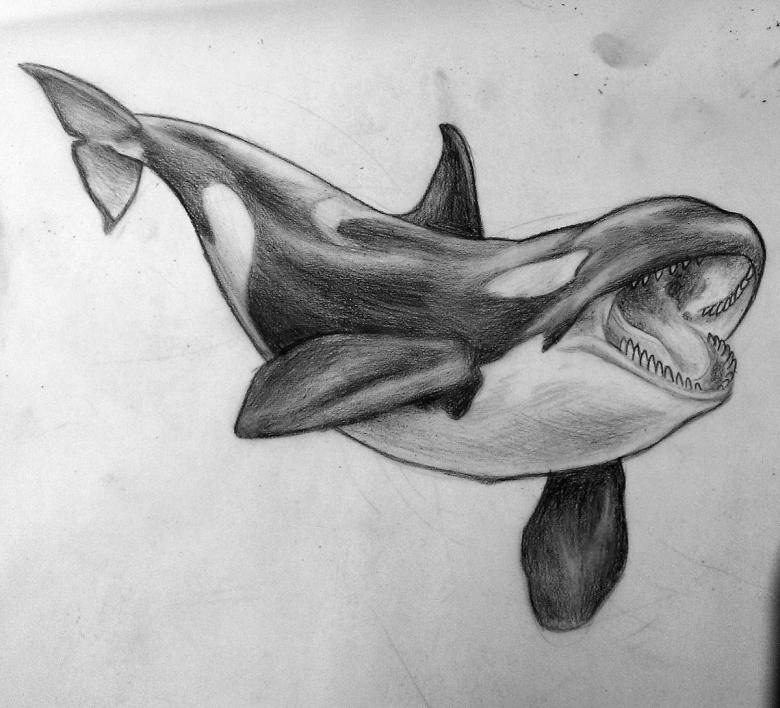
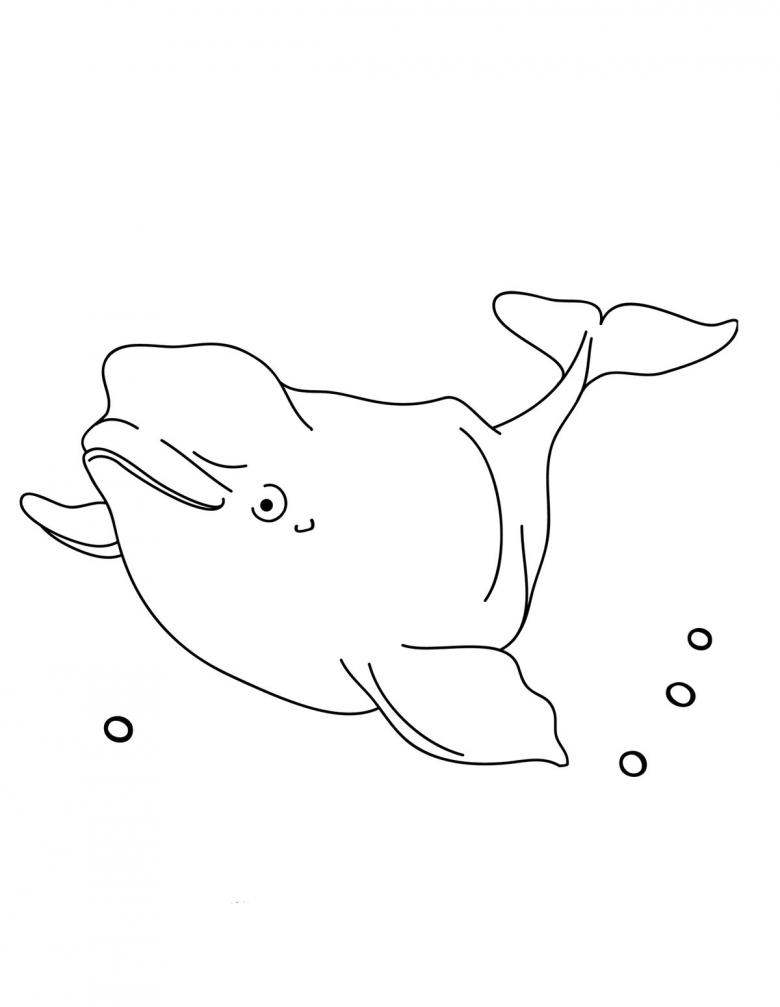
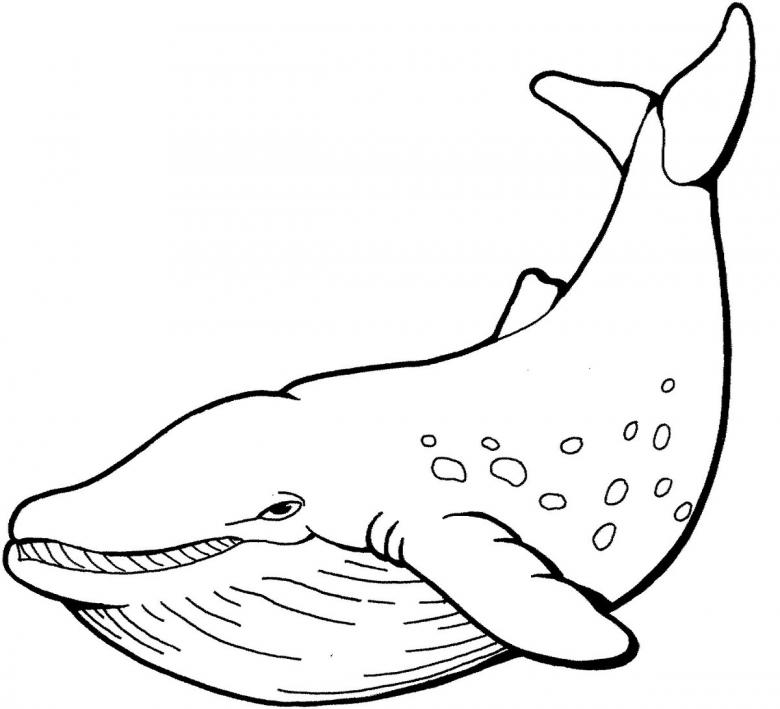
Paint a whale with pencils
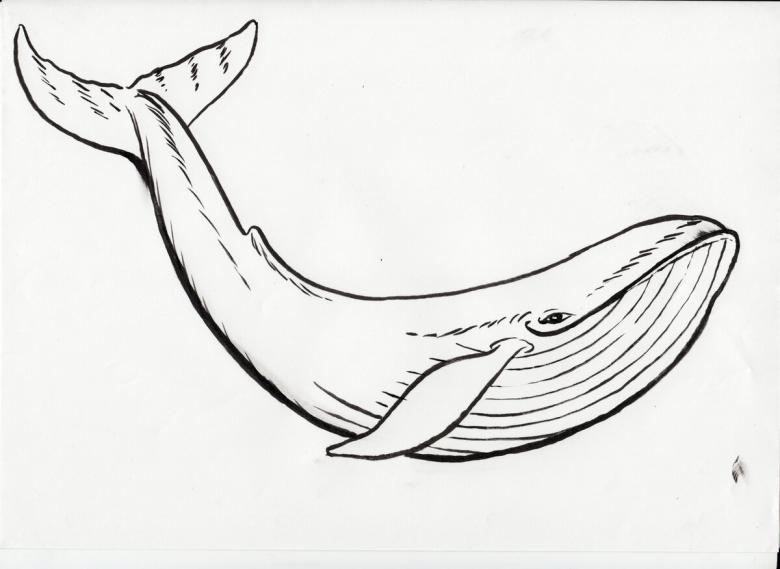
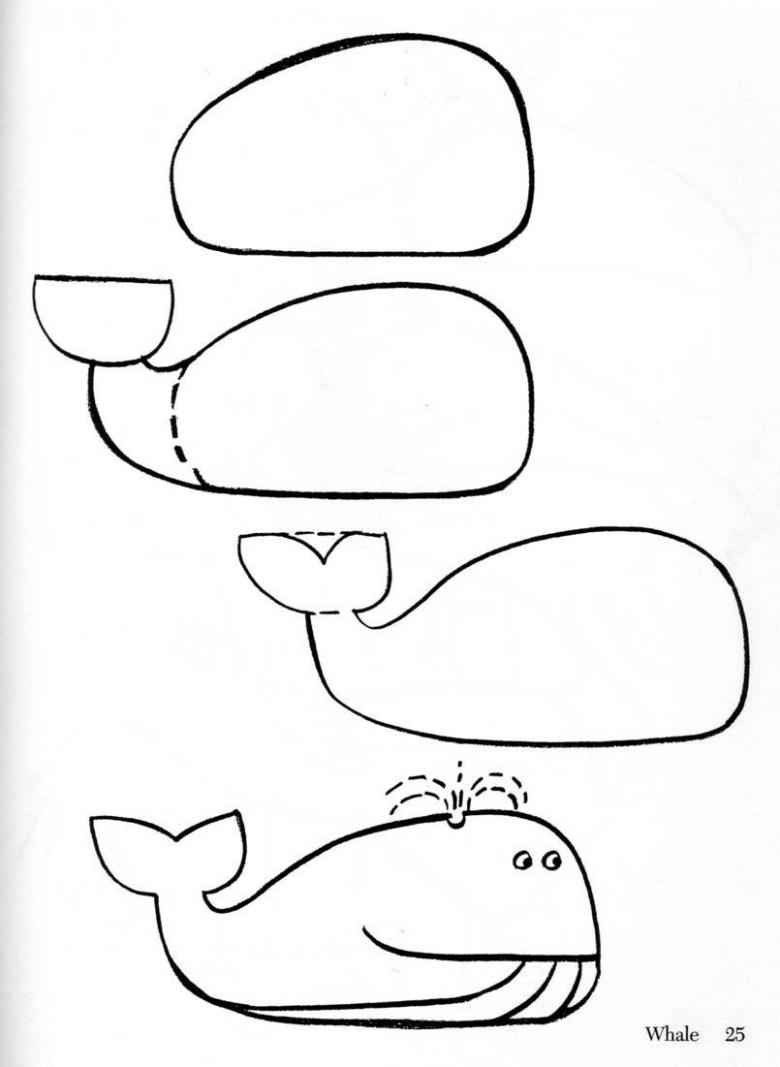
Fish are beautiful and graceful, so a variety of subjects are available for drawing. For the first lesson, use pencils to develop an awareness of correct drawing design. But this time it is allowed to use a marker and a black pen. Shall we begin? Are you ready? Unwrap the sheet of paper, because you can't wait to try out your skills based on the new theme:
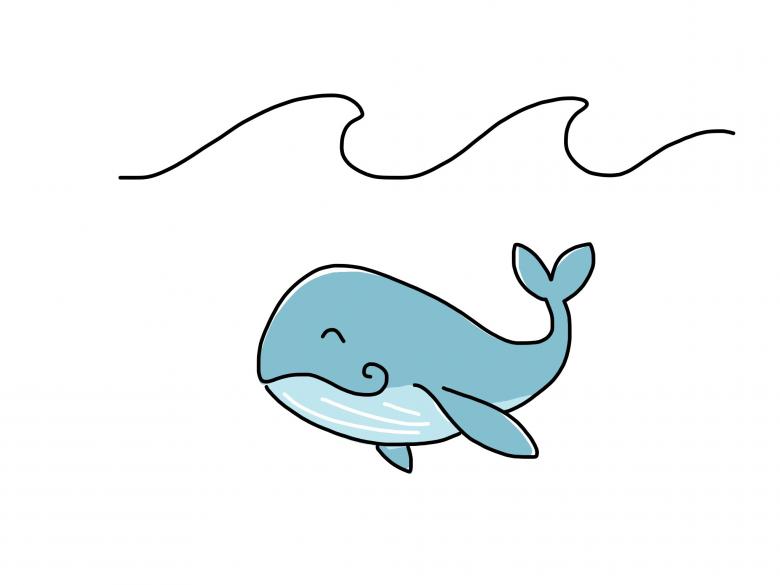
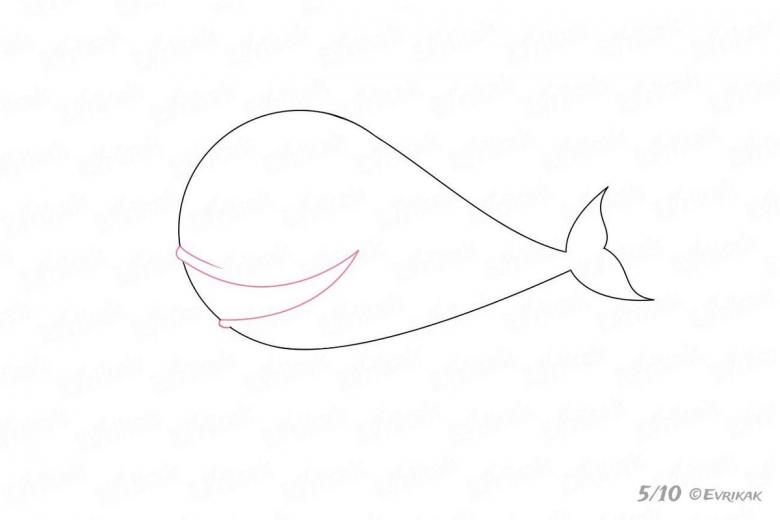
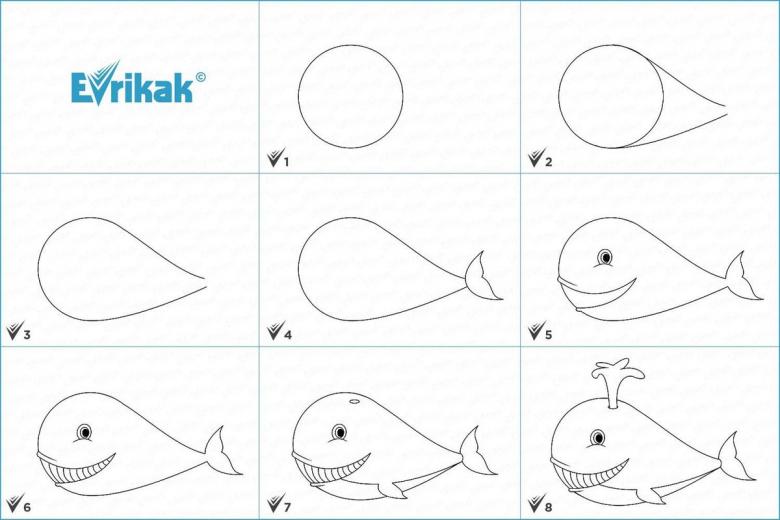
- Draw a large circle in the center of the sheet. It is acceptable to use a glass to increase the clarity of the geometric figure.
- On the left side of the circle form a tail. Draw a long and short lines as in the example. Erase the fringe of the circle. Add fins for the tail section. They should be similar to the leaves of a tree.
- Highlight the abdominal section, thanks to the long curved line at the bottom of the sketch. Add fins around the head and side of the whale's body.
- Need to indicate the oval eyes. Arc allocate the mouth of the animal.
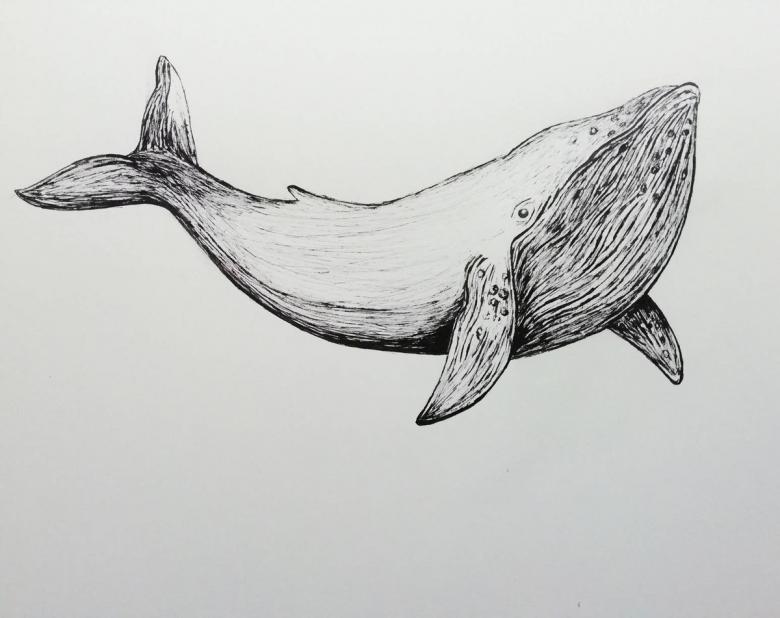
- Use a black pen to highlight the outlines of the drawing. Paint over the eyes, but keep the highlights. Use the blue pencil to hatch the belly of the whale.
- Draw shadows around the fins, sides and tail. Near the mouth we recommend keeping the highlights. Now cover them with pink pencil.
Any child can use this method, as this drawing is very easy to do.
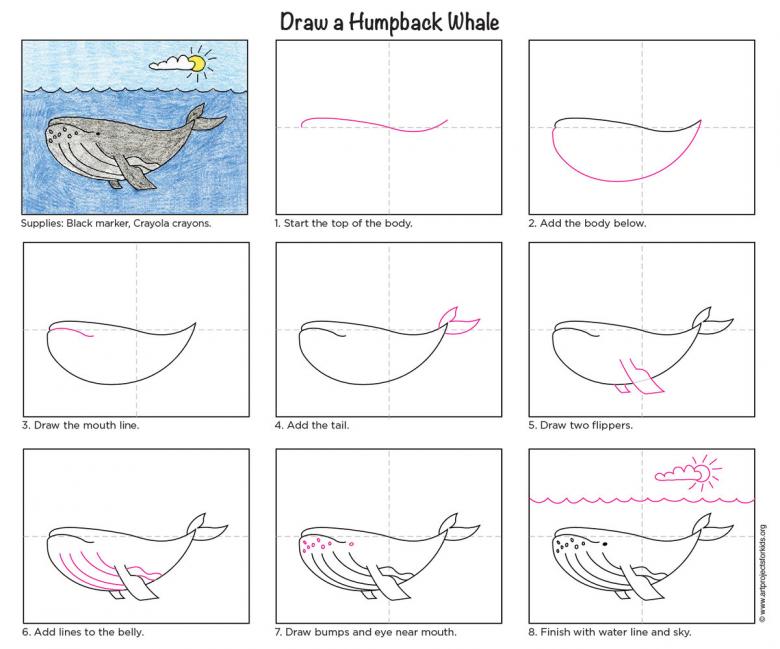
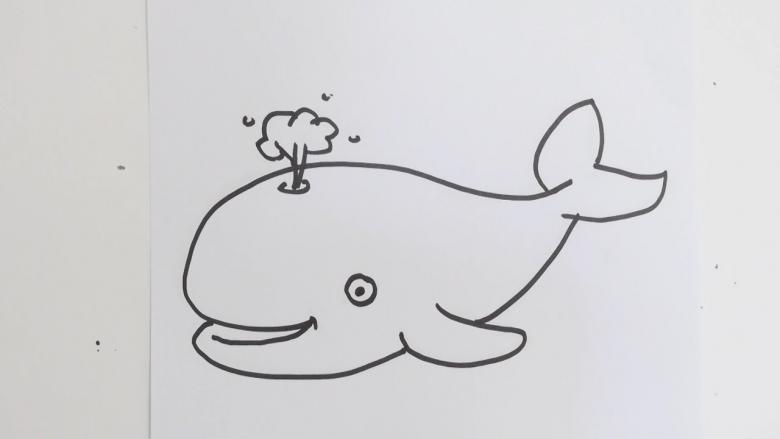
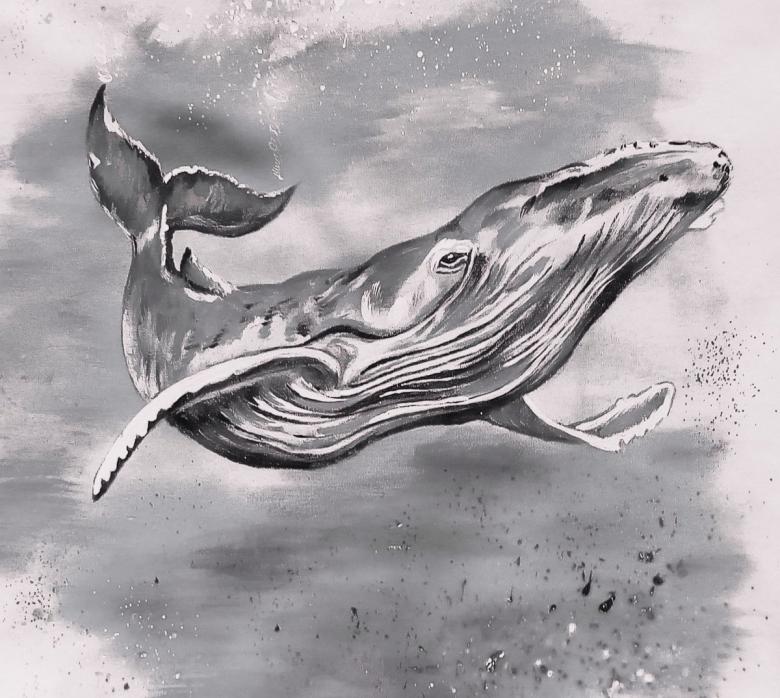
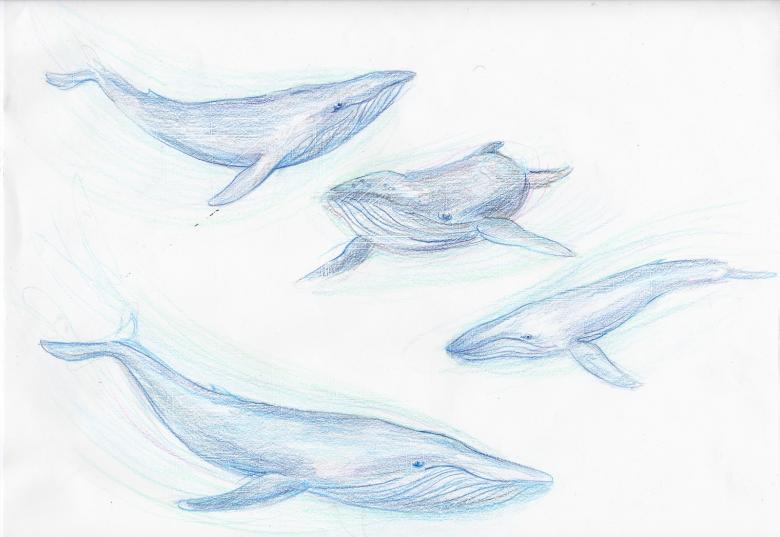
Let's draw a whale thanks to kraft paper
Why is it worth using this option? It is known that the Kraft paper drawings have an increased realism and brightness. So chase away your laziness and get to work. This time you can use different pencils. It will be your next step for acquiring versatile artistic skills. Hurry up and get started on the next stage of learning:
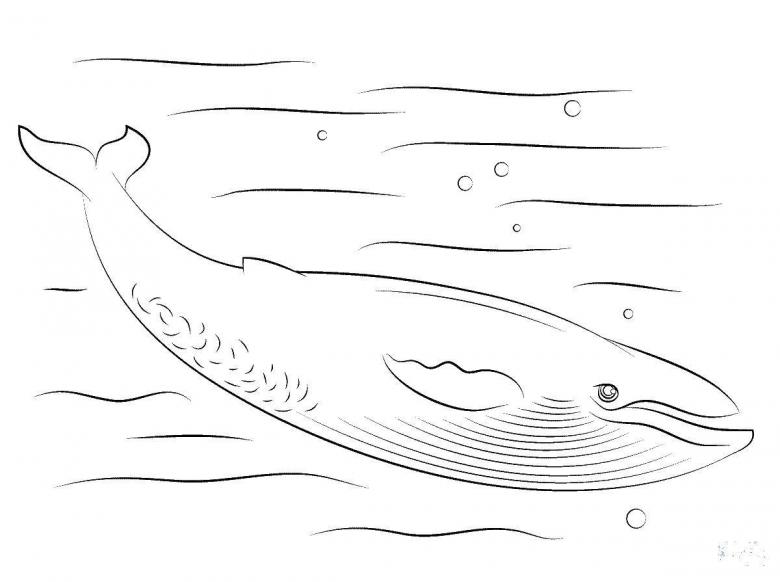
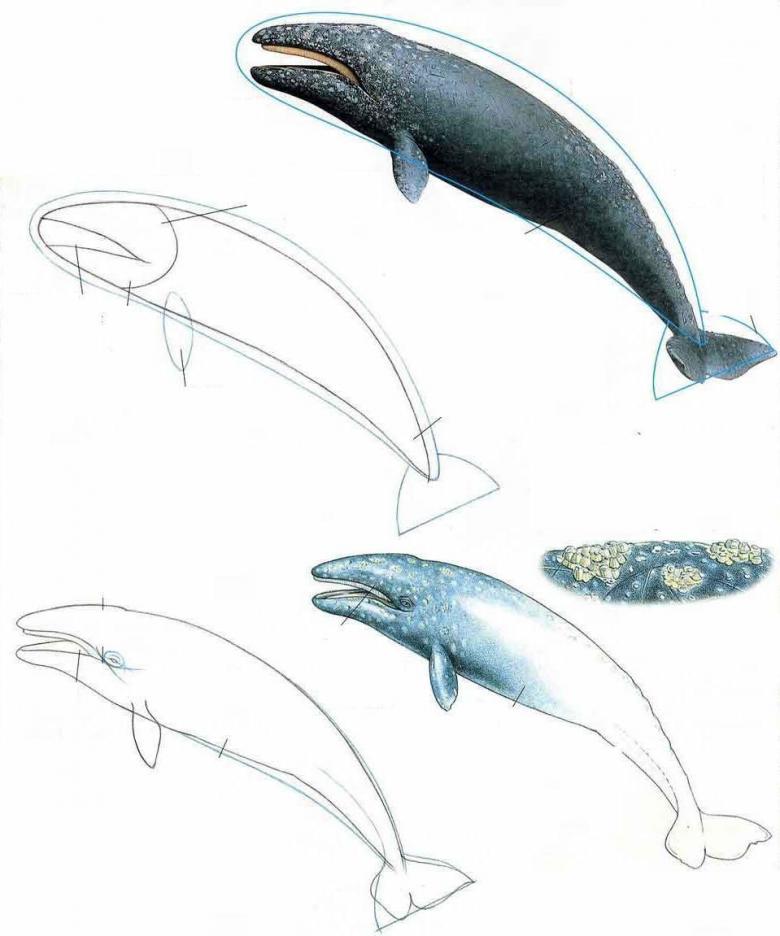
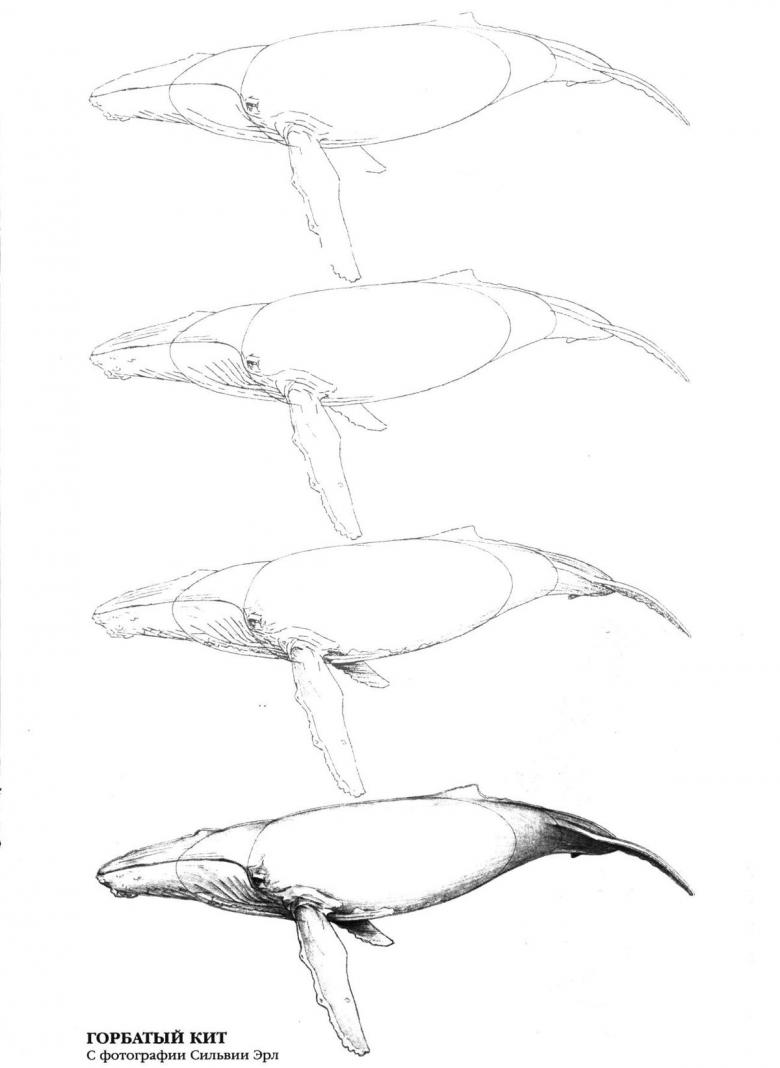
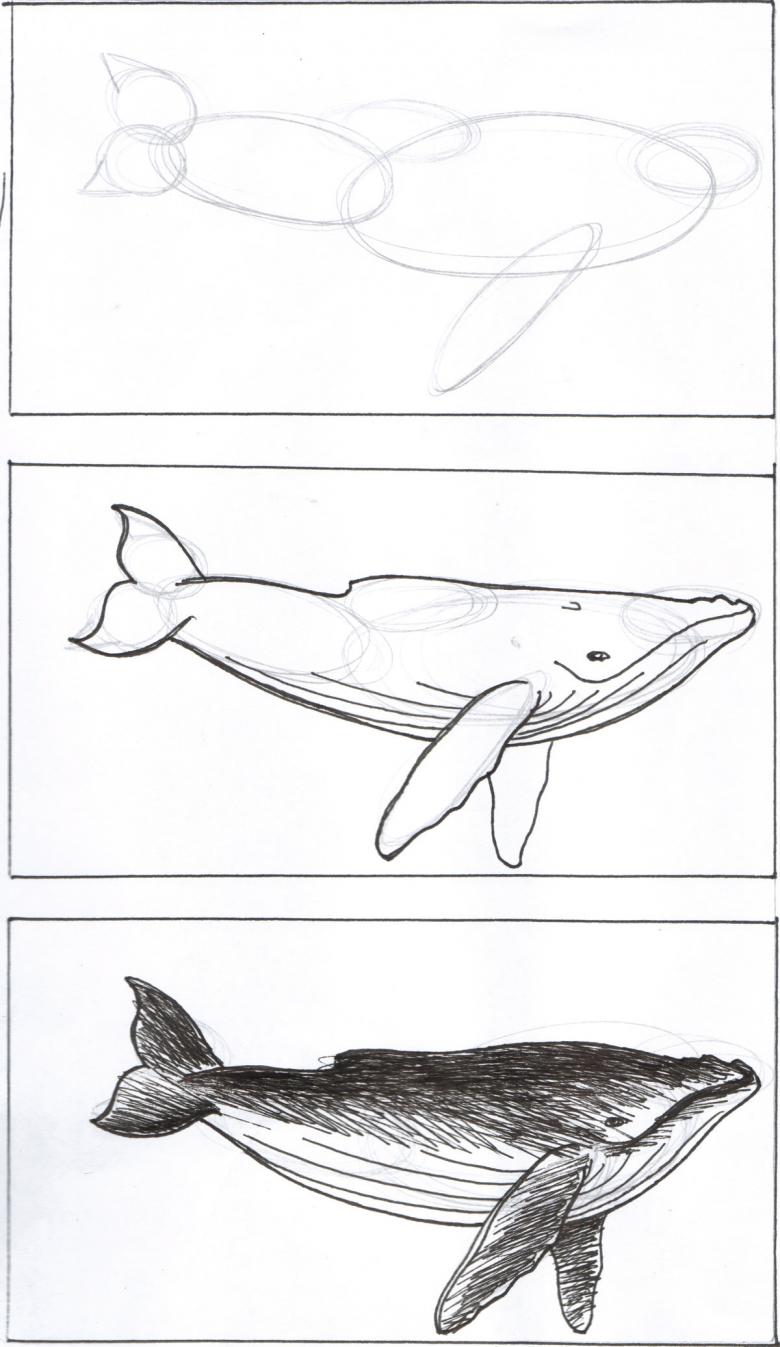
- Use a regular pencil. Use a large oval in the middle of a sheet of paper as your outline. Superimpose a long but narrow oval on top of it. They should be on top of each other.
- Make an overall composition out of the ovals. Use connecting lines to form smooth contours. On the right, create an image of the tail by adding two connected lines. Highlight the fins on the tail.
- Add fins on the sides of the fish. Draw on the wavy lines. Place emphasis on the front fin. In the background should not stand out too much. To highlight the belly, draw a line from the mouth to the tail.
- Erase unnecessary elements of the sketch. Highlight the little eye. In the lower part of the draw stripes.
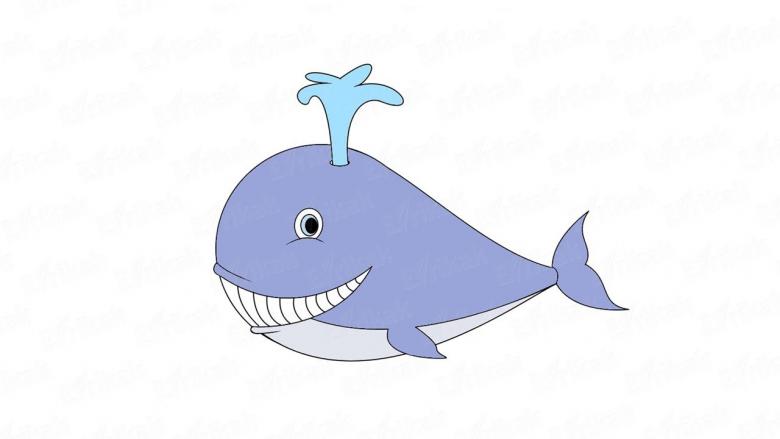
- Image animal successfully created. Move on to the use of colorful colors, as you need to enliven the image. Use a white pencil for quality highlights.
- For the most part, rely on the blue color. But thanks to the white highlight the highlights and draw the water. Let it flow freely all over the body of the whale.
- Do not forget the shadow areas. Use a black pen or pencil for highlighting.
You have managed to draw this version. Or, as the Americans say, you have drawn a good whale. Which means you drew a good whale another way.
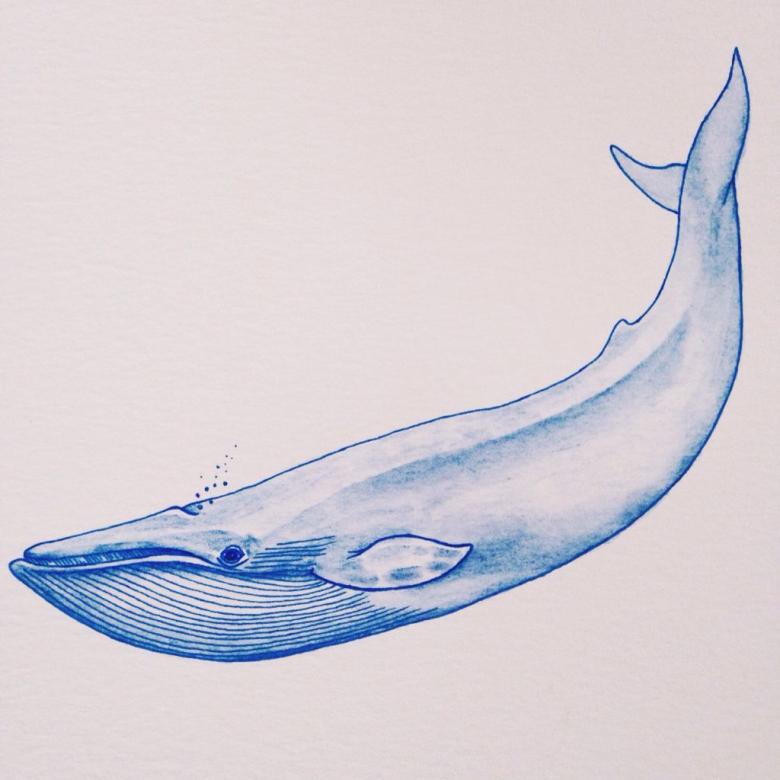
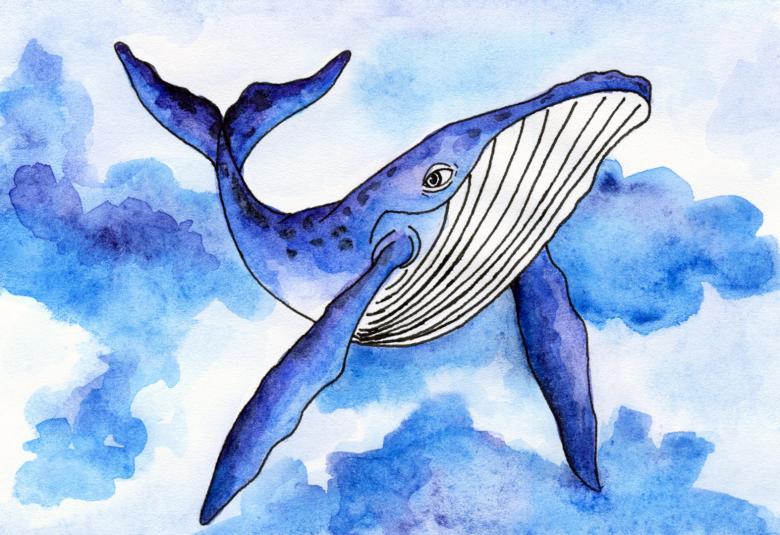
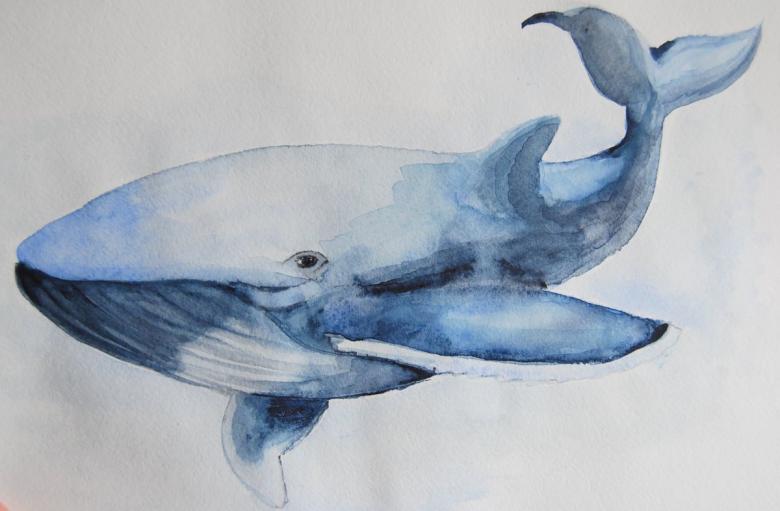
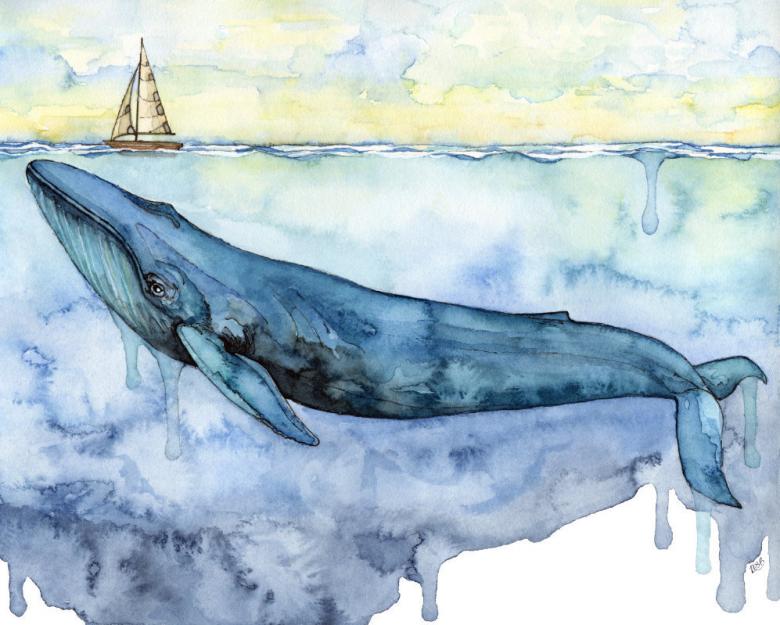
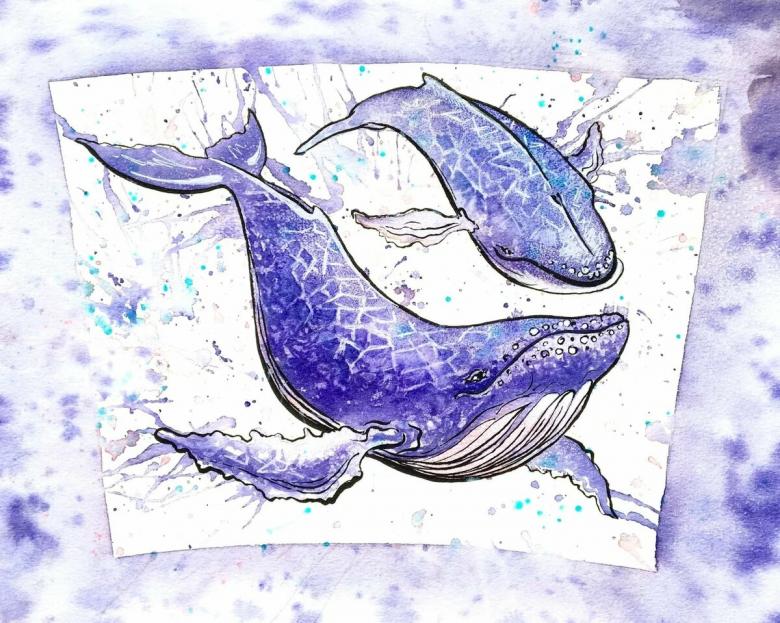
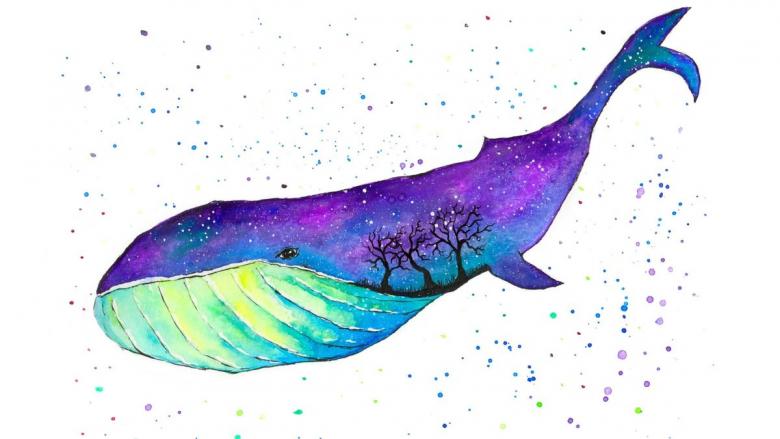
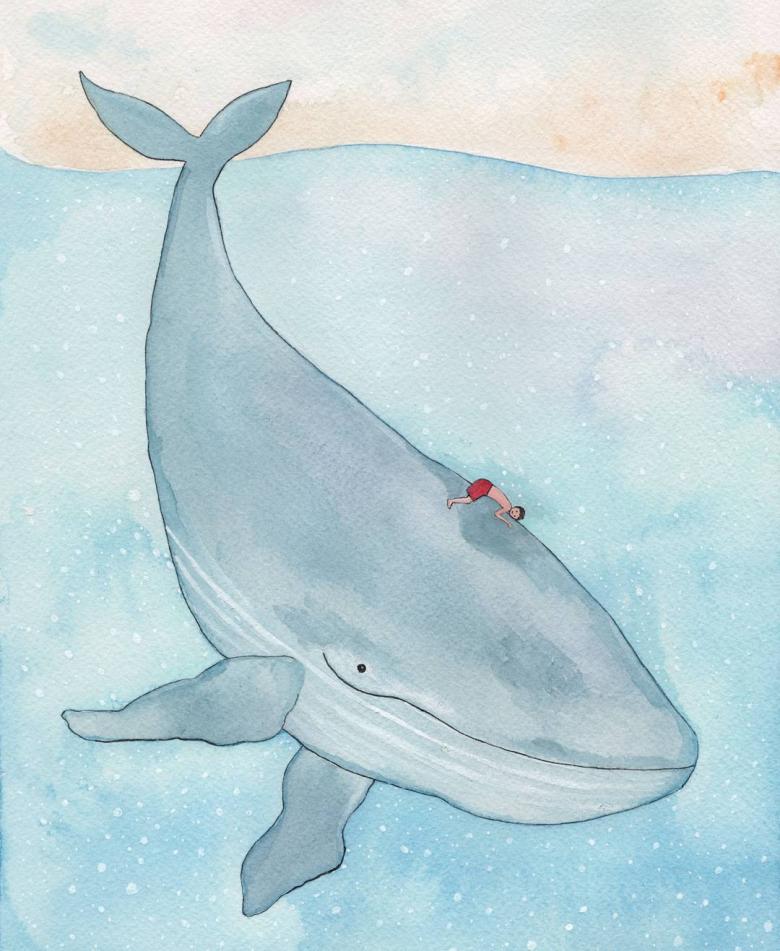
Painting a whale in watercolor
This method will interest beginners and experienced artists alike, because the fish will turn out especially beautiful. But it is necessary to use the right equipment:
- Watercolor paints based on turquoise, indanter blue, ultramarine, pane gray, indigo, ceruleum.
- Use Squirrel 8 or 5 type brushes. Based on a 30 mm flute. Synthetic 3 will do.
- Specialized paper for watercolor based on A4 size. Its density should be at least 200g/m2.
- We will need a palette for colors, a pencil equipped with an eraser, a tape, a pad, some water and paper tissues.
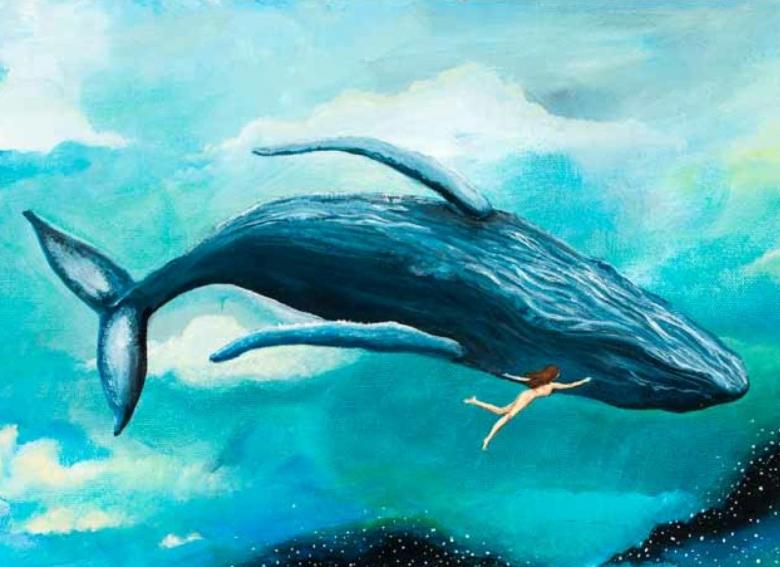
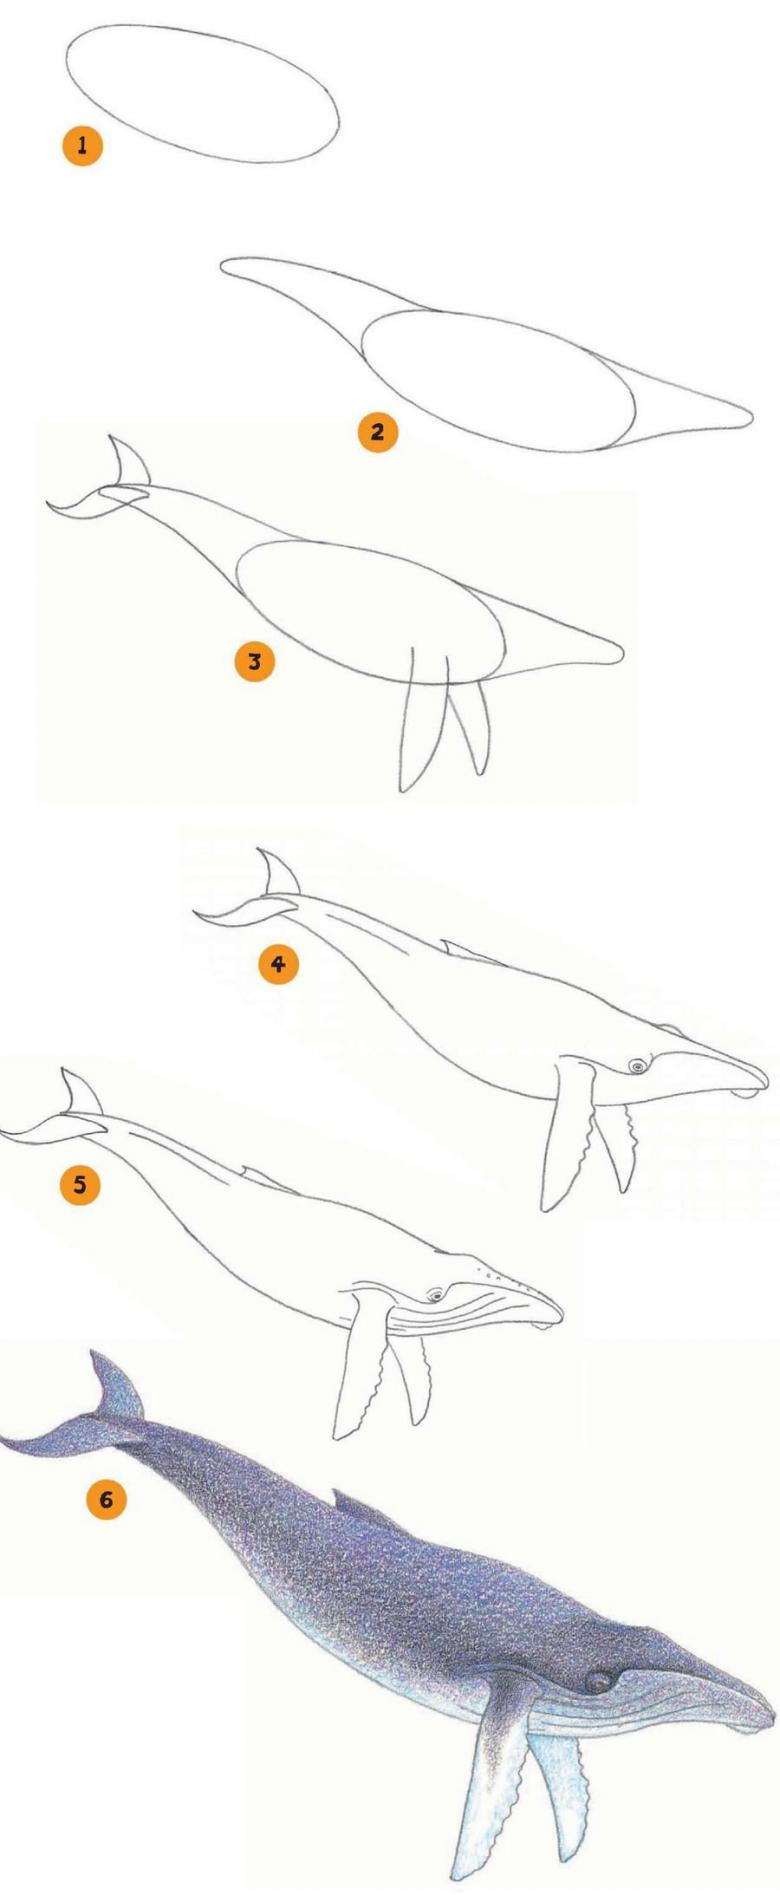
Do you have everything ready? Does the list seem too long? It can be shortened. But, if you plan to create a realistic painting, then you have to use all the suggested tools. Refer to the suggested sample as an example, as this will make your work easier. Good, then you can get involved in the creative process:
- Scotch tape is needed to secure the paper to the table base. This will prevent the paint from penetrating beyond the picture, and will maintain the integrity of its surface.
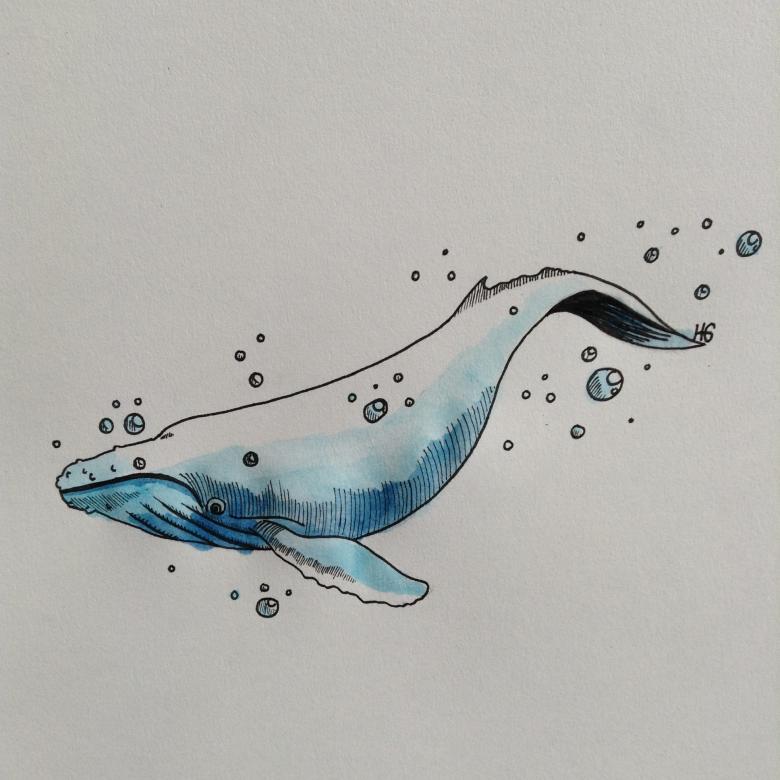
- Use the sketch to create the overall image of the whale. You should have the necessary knowledge to create it yourself. But do not put pressure on the pencil, as it is, sometimes, noticeable after the application of paint.
- Before you start coloring, identify the necessary tonality of colors, as this will more accurately convey the marine atmosphere. Practice on a separate sheet of paper. Use a mixture of different colors. Write down the most appropriate choices: indicate what proportions were used to form a good color union.
- Draw on the ultramarine paint. Use water and start in the corner of the right side. Don't be afraid to combine colors, because the whale should turn out in alliance with the water. This is the right approach to creating a quality painting.
- To create the water, use a darker version of blue. It's perfect for creating the top layer of water. Make the most of the pattern. Leave glare to convey the reflection of the sun on the water. At the bottom, make the picture a little darker.
- Dilute the ultramarine in the water to form a clear blue color. Use this to cover the whale. Add gray to the ultramarine to form volume, based on stains of different areas. Apply the spots from the tail to the head.
- Use the gray paint to highlight the shadows. They are conveniently applied to the tail, under the fins, the lower level of the head, and a little on the belly section.
- Highlight the light spots on the head and side fins.
- Apply the darkest shade to form the eye. Leave a nice glare, but let it be subtle, as it looks more realistic.
- Add fine stripes and fine details on the fins.
- To get rid of the borders formed by the paint, use a broad brush. Put it in water and go all over the picture without paint, just with water. This will merge the image into a homogeneous structure. You will get a professional result based on not noticeable transitions.
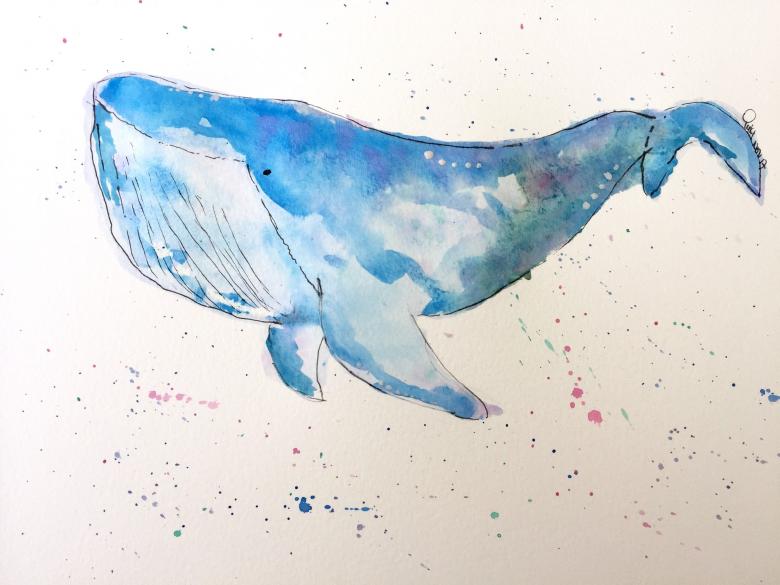
Naturally for the youngest this option will be too difficult, but they are happy to spend time watching the work of an adult artist. Because they can get the necessary experience with paint.

