How to draw an oak, pine, maple - step-by-step master classes on drawing with pencil, gouache, paints
Do you love the landscape genre but don't excel at drawing vegetation? We teach you how to draw all kinds of trees - easily, elegantly, and beautifully. Use our step by step drawing schemes and you'll get it right!
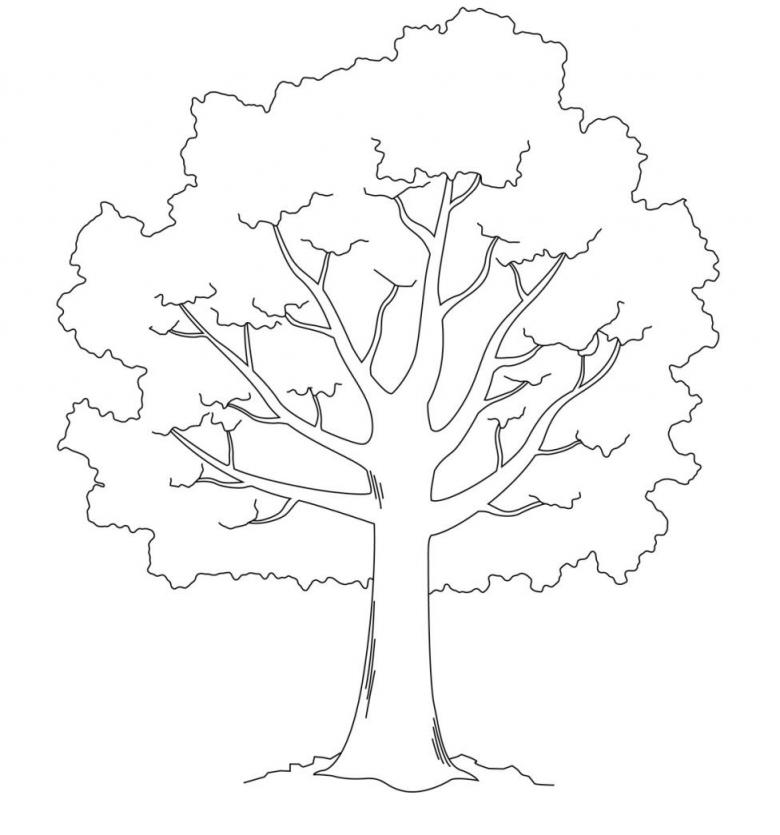
Every kind of tree has its own peculiarities - just choose the most appropriate drawing method. Take into account the structure of the trunk, the type of leaves, the shape of the crown. Often you can notice that trees in nature have their own mood! You can give the drawing object a special character, emphasize its individuality - and your drawing, even a child's drawing, will turn out very spectacular. Use pencils, watercolors, or other materials of your choice for the lesson.
The oak tree: the secret of drawing
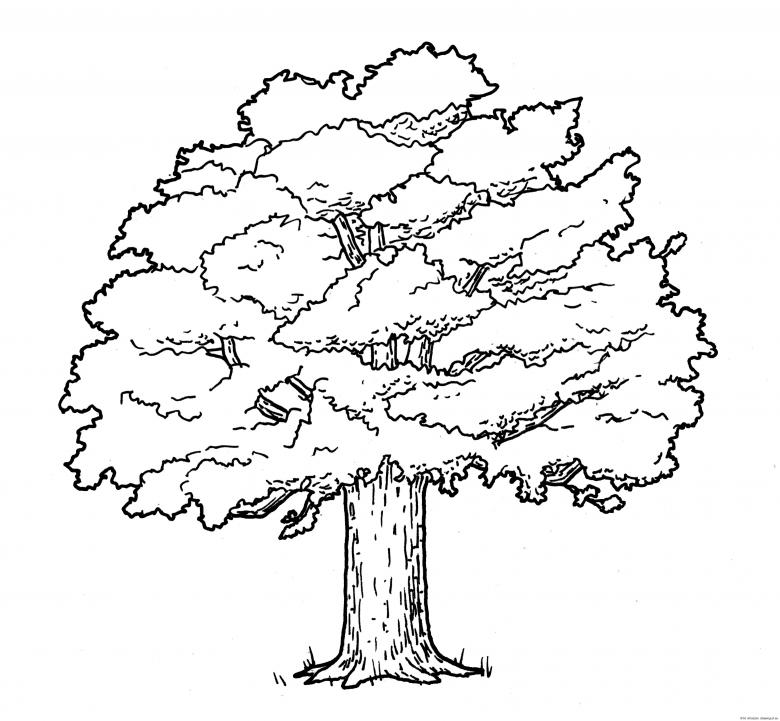
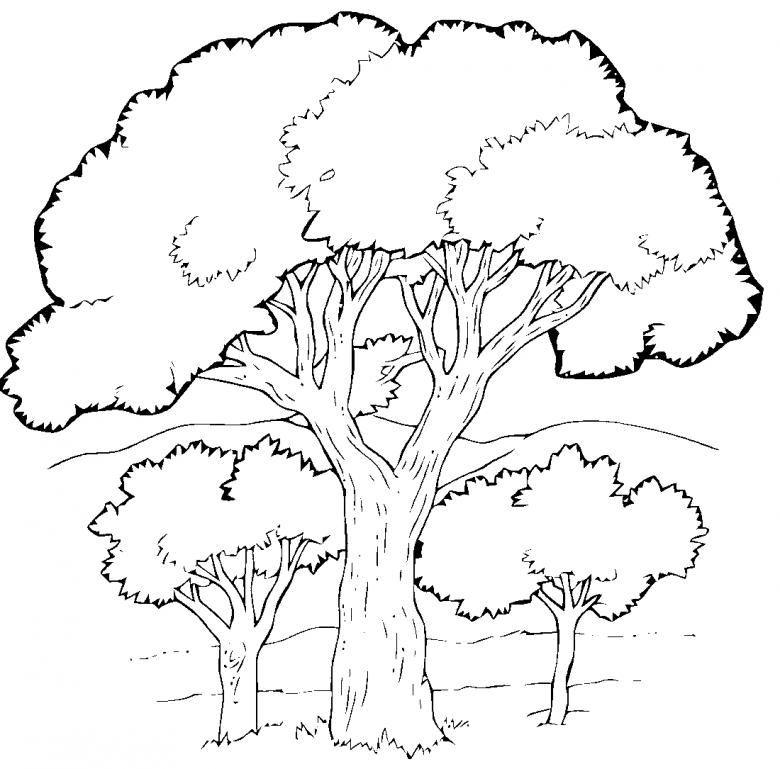
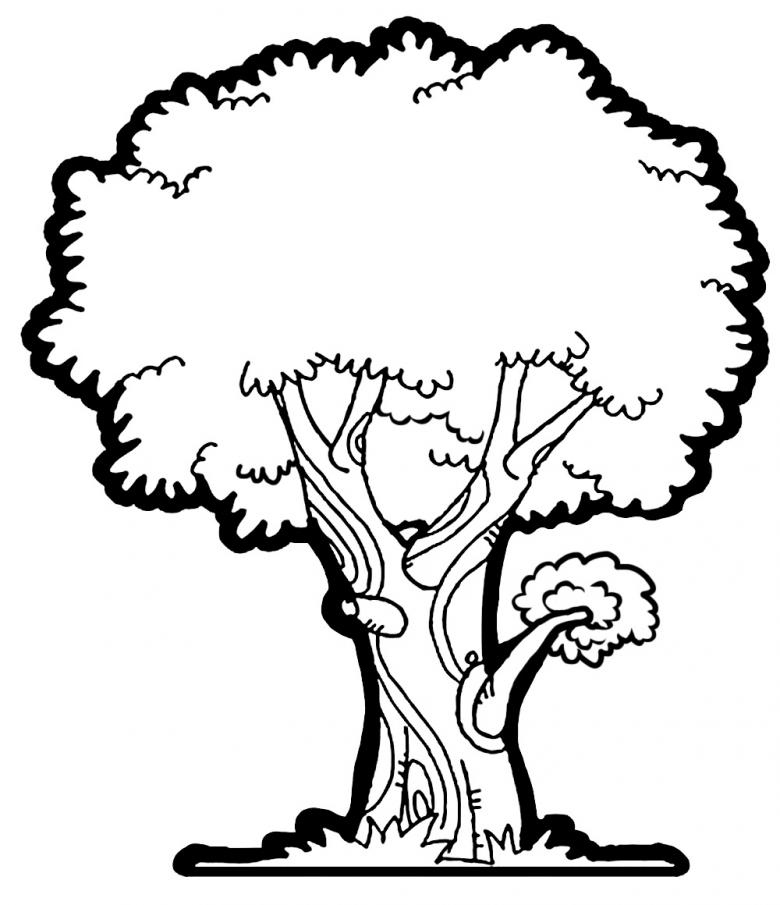
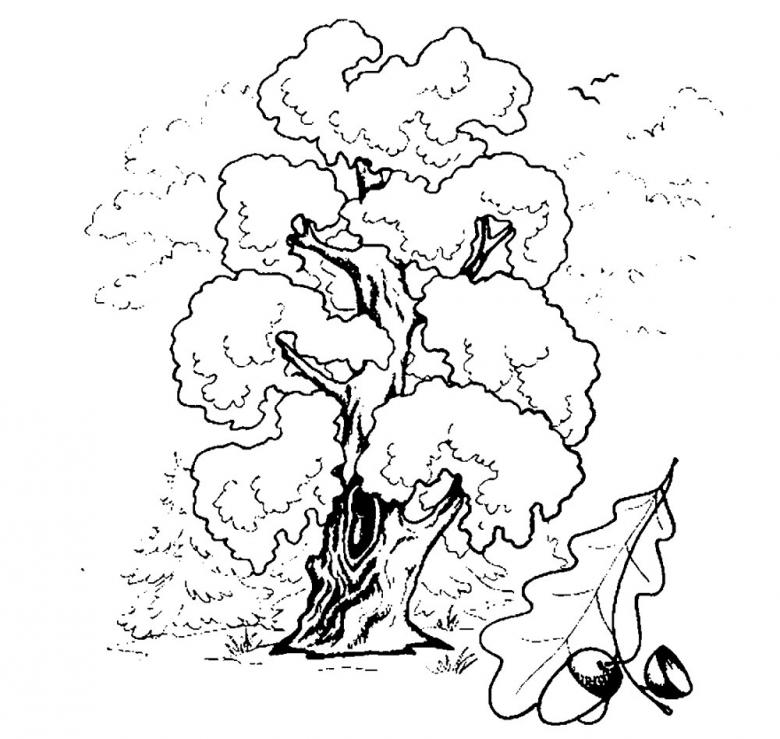
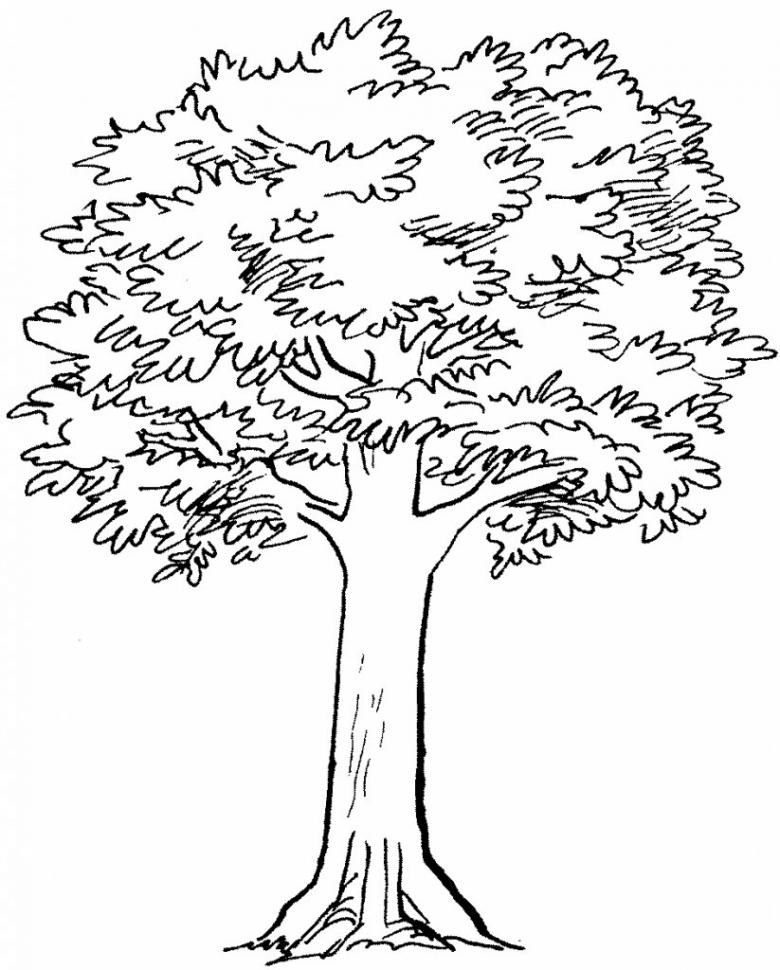
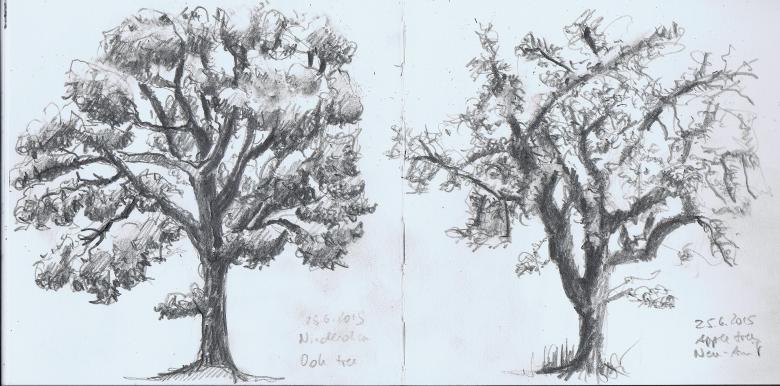
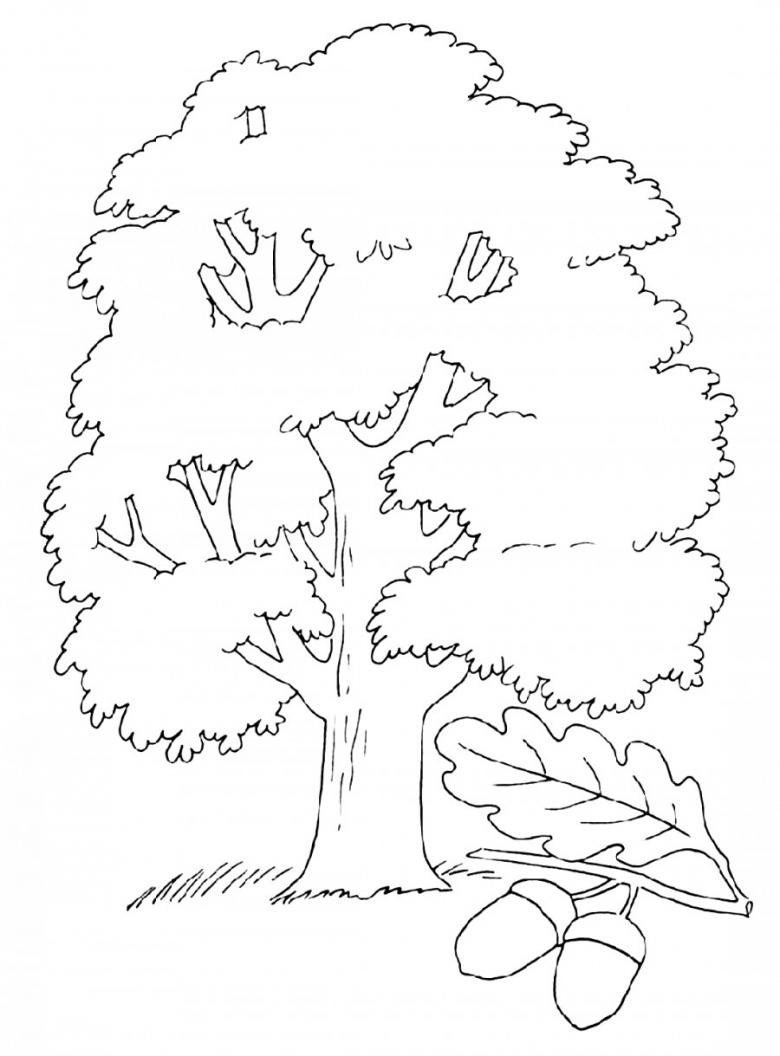
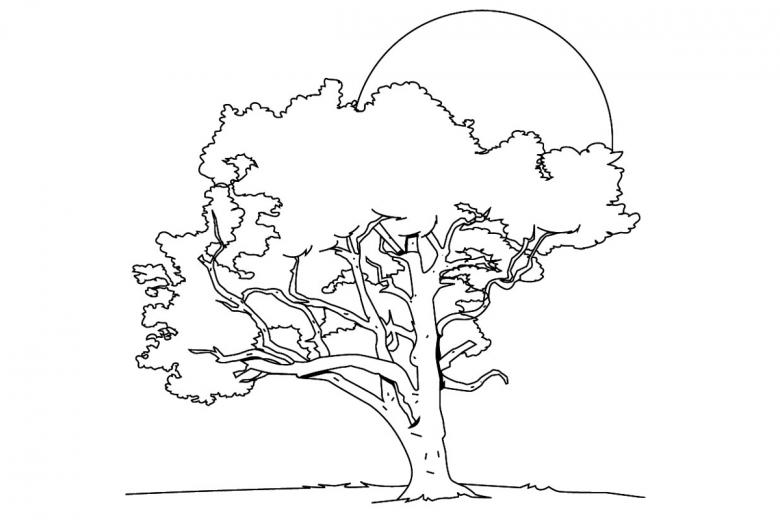
Beautiful, powerful and, as a rule, an old tree always attracts the eye, asks for an album. The king of the forest - so called the oak from ancient times, and it deserves a high-quality drawing. The main secret is to pay attention to the powerful trunk as well as the lush crown, these are the main indicators of a good drawing.
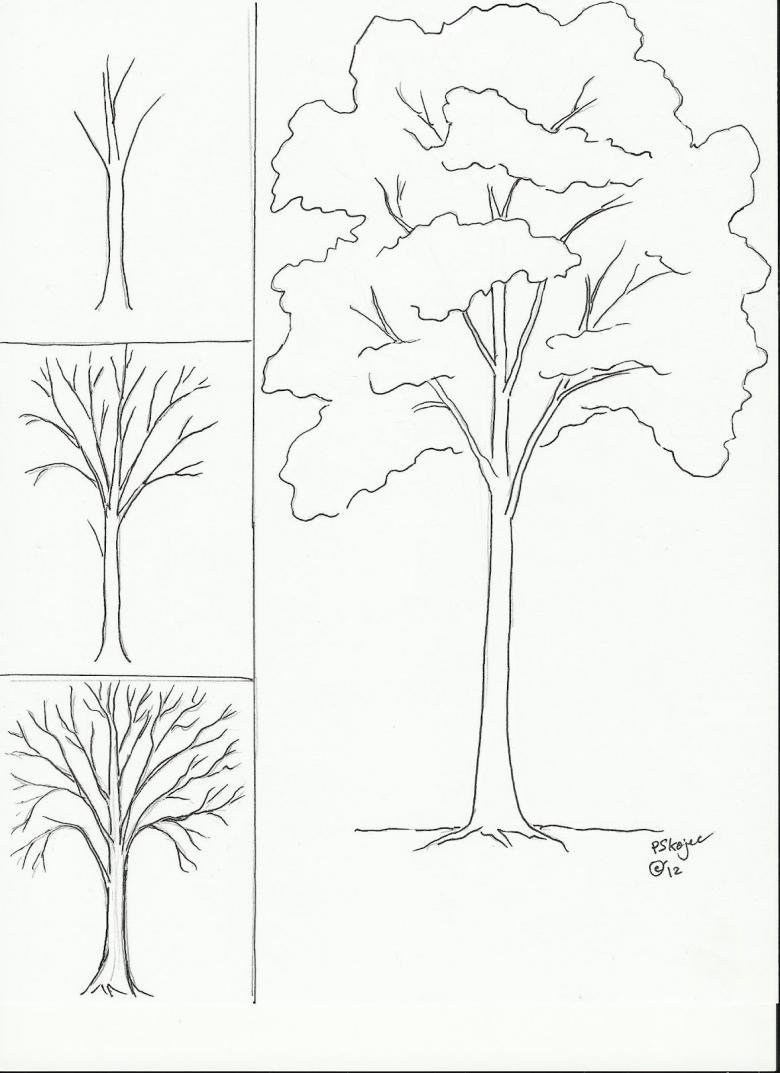
- Determine on the sheet a place for the base, mark the lower and upper edge of the image.
- Connect the points with a vertical line - this segment will be the reference point for symmetry.
- Draw a strong trunk, with an extension for the roots at the bottom.
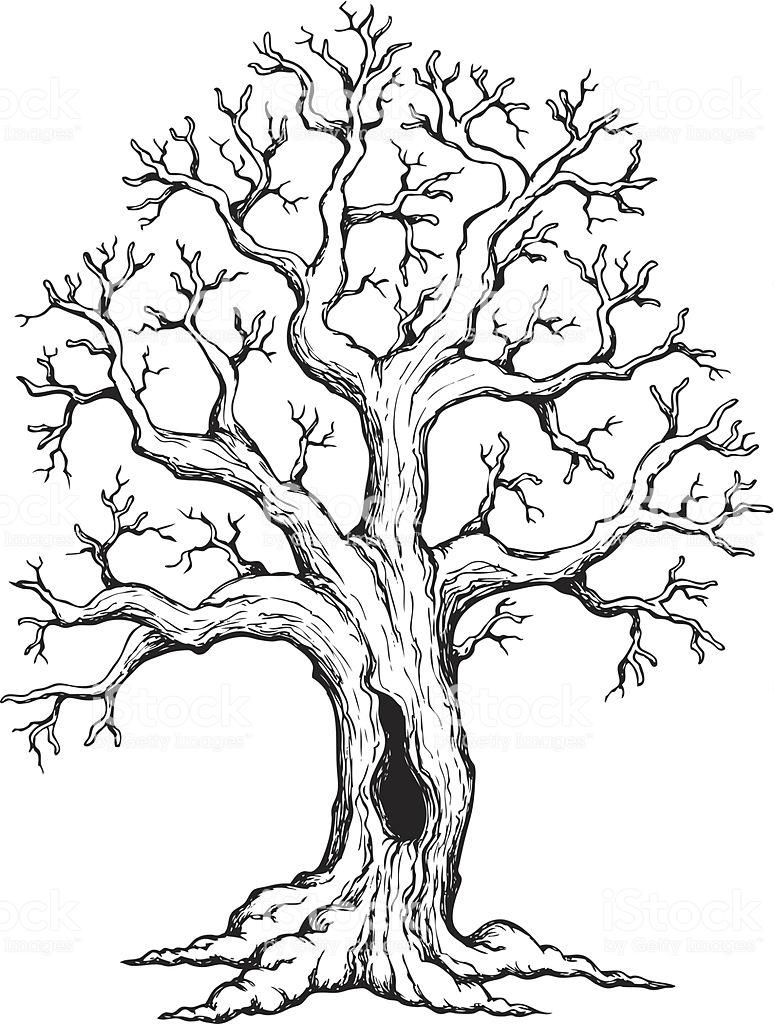
- Draw branches of varying thickness. They will be partially covered by the crown, so you can make the ends airy, little noticeable.
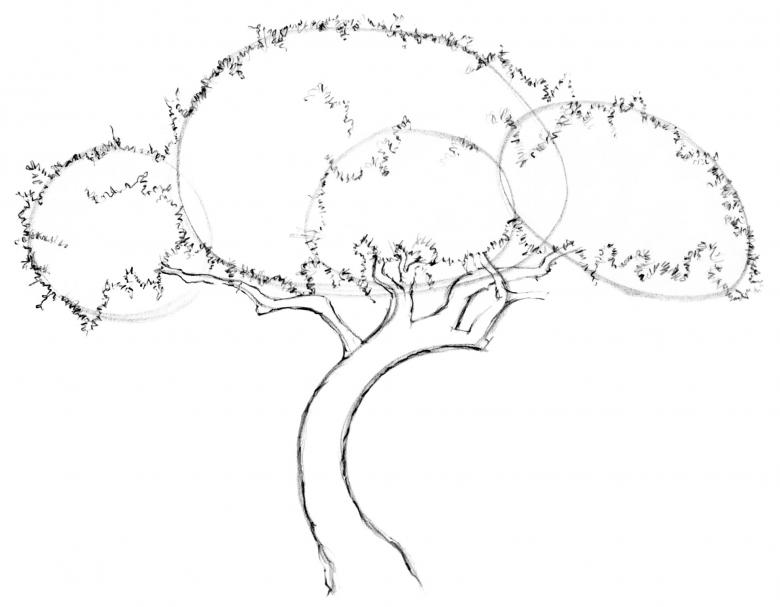
- Mark conditionally the limits of the crown, add details for volume - clouds, small twigs peeking through the mass of leaves.
- Use colored pencils to give the necessary shades to the drawing - pay attention to the crown with green paints, and to the trunk with black, gray or brown.
- Foreign objects - a bird on a branch, other plants nearby or in the background - will well emphasize the power of the tree.
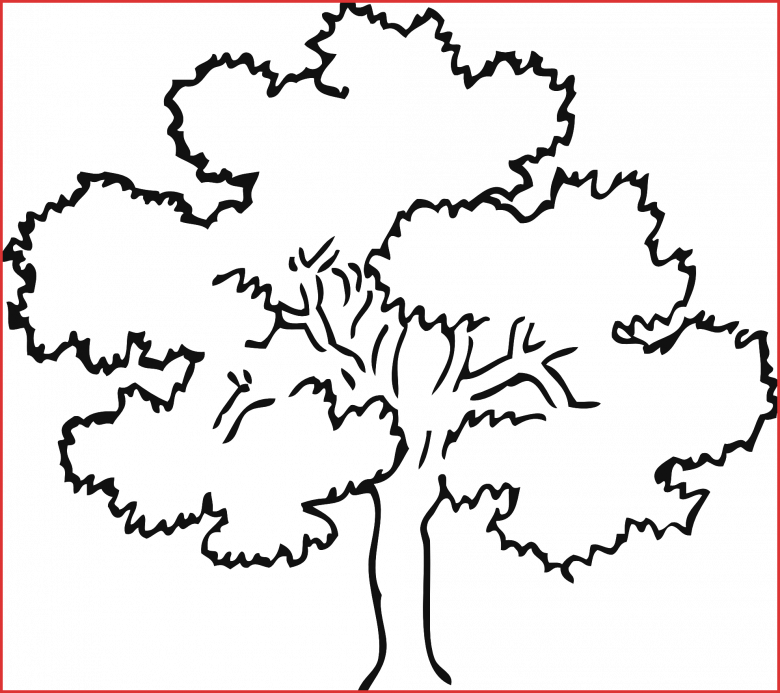
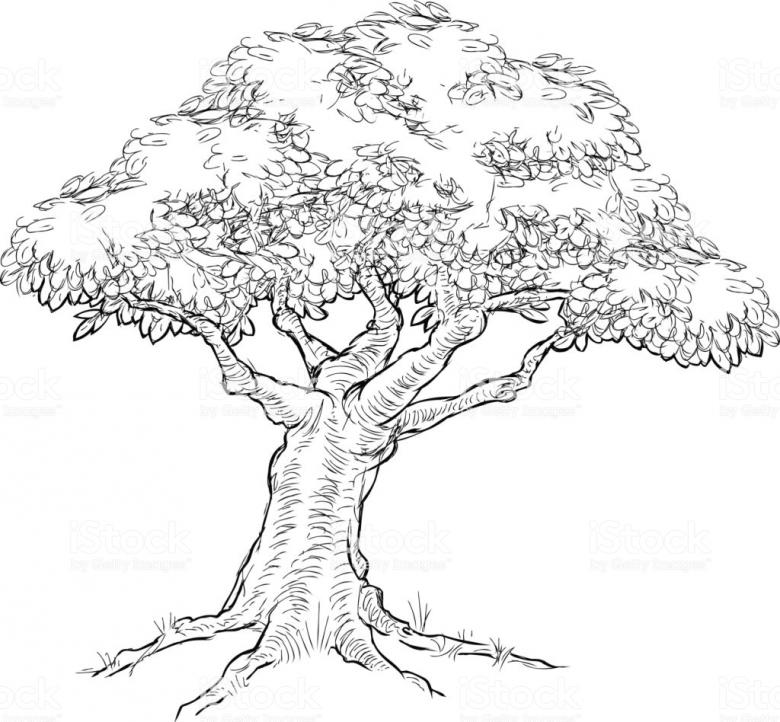
Large tree with pencils
Stages of drawing:
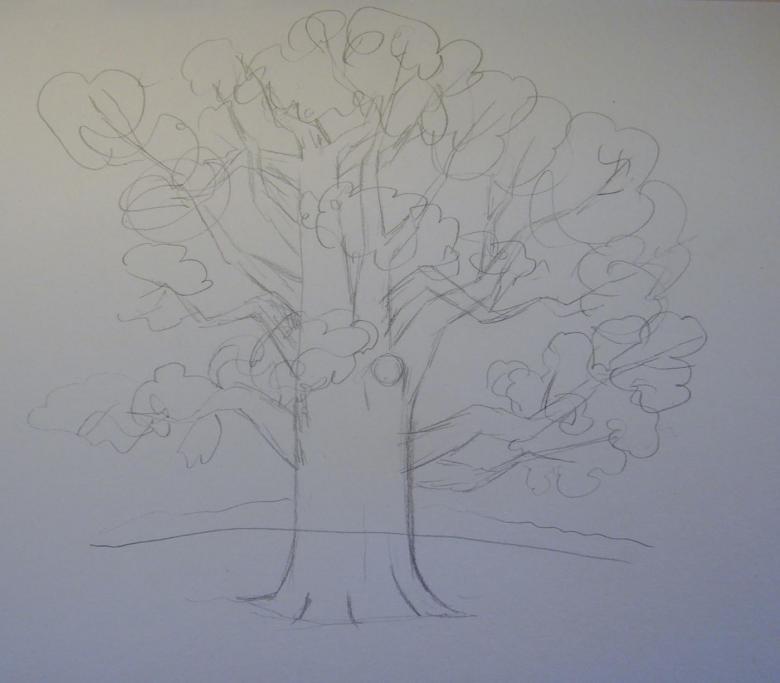
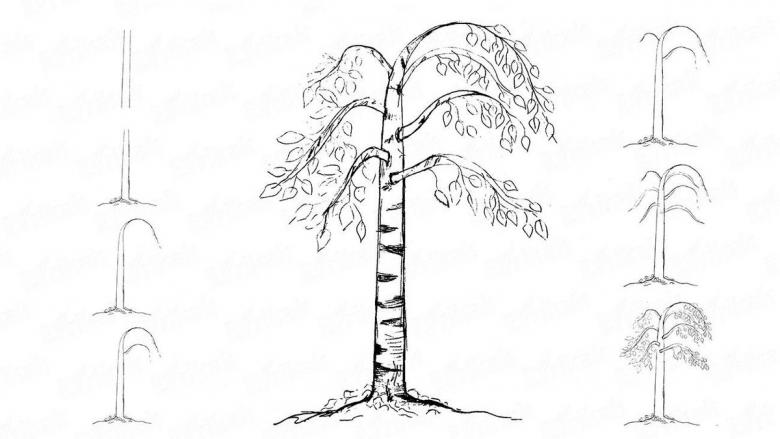
- Draw a traditionally vertical stripe as the central axis of symmetry of the entire image.
- We add above and below the horizontal axis, for the crown and the ground.
- On the sides of the central axis we draw auxiliary lines - sketches of the future crown from the sides.
- With broken lines we mark the root mass going into the ground.
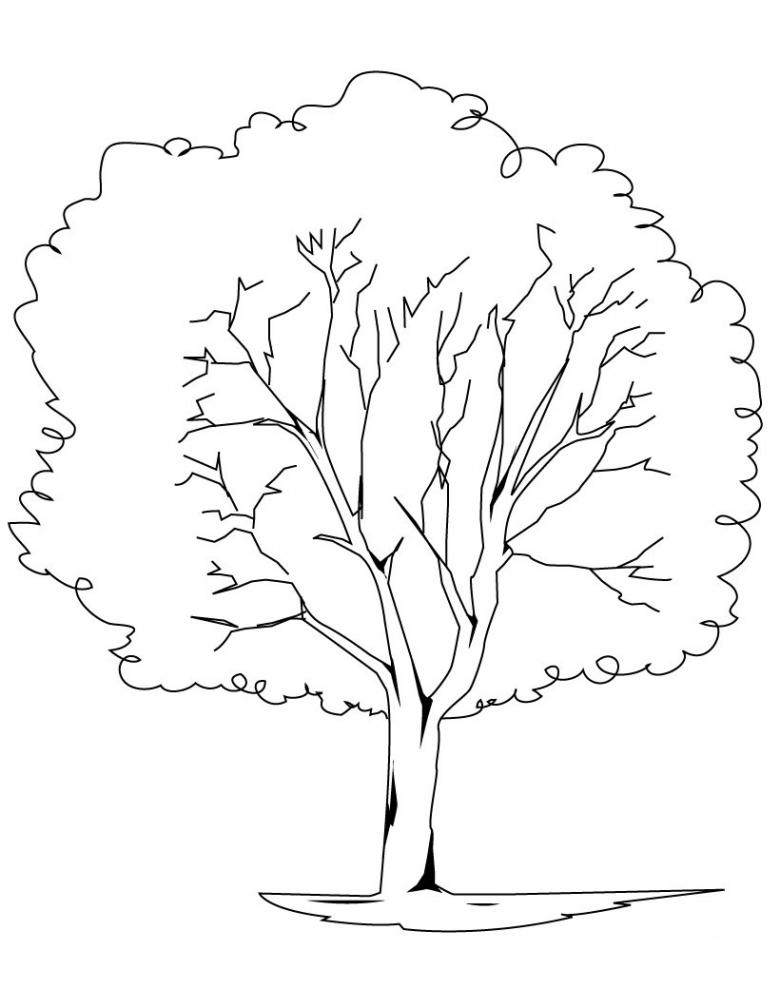
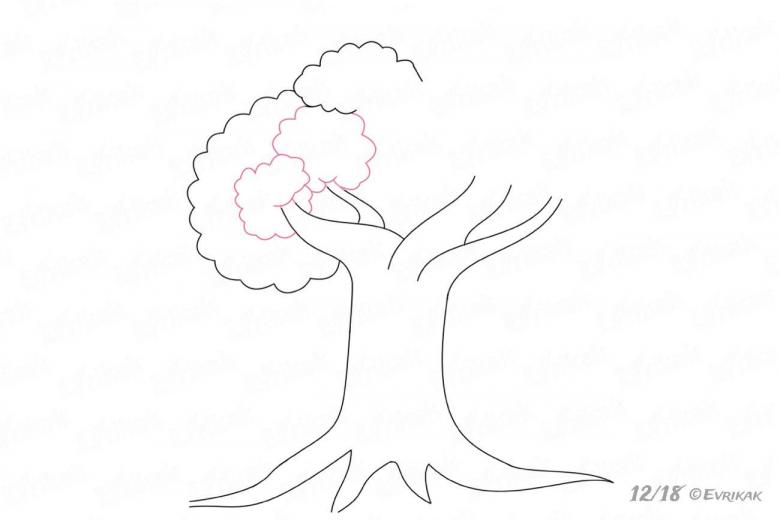
- Draw up a wide trunk, add branches and leaves.
- We outline the crown and the whole tree with small details, build up the details and fill in the drawing with shading.
- Erase superfluous lines, paint and tint drawing, add shading.
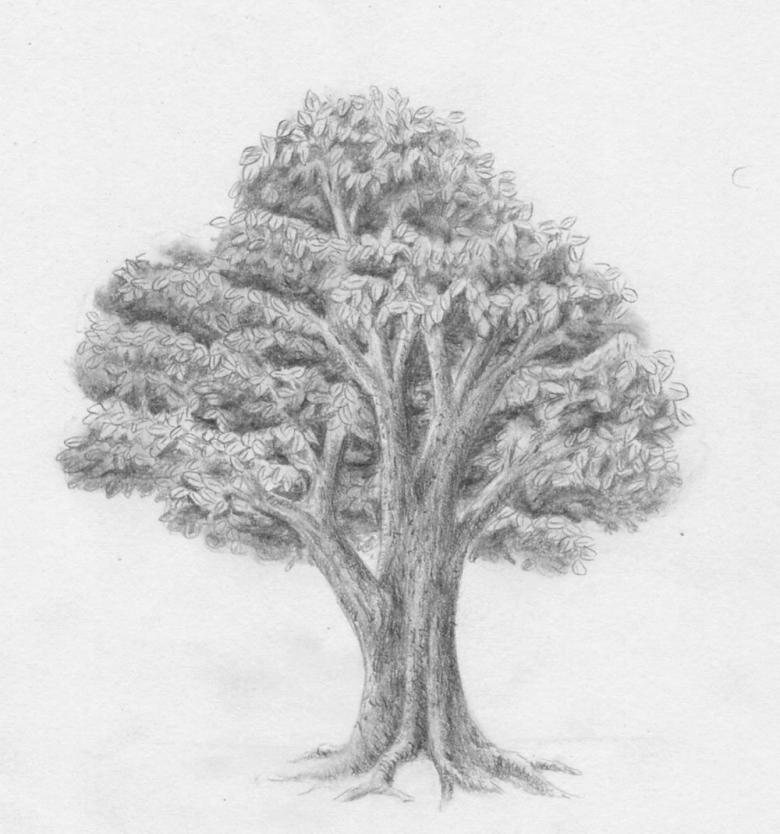
How to properly color trees with pencils
A few tips to improve the quality of coloring:
- It is better to paint the foliage and start with light green tones. With each step, choose a darker shade to get rich green foliage.
- Branches should be stroked with brownish hues. You can experiment with the pressure, the direction of the lines. Achieve volume, smooth tonal transitions. Trunks and roots are painted the same way.
- The naturalness of the leaves can be obtained by adding yellow shades, ochre spots, brownish shadows.
- In the final place accents, trace the contours of the leaves, so that the drawing has a complete look.
Painting an Oak with Colors
A realistic drawing of an oak tree is easy to do, even with watercolor. You will need the following materials:
- a set of watercolor paints;
- A simple pencil;
- eraser;
- heavyweight paper;
- a black gel pen;
- brush with synthetic pile rounded;
- water.
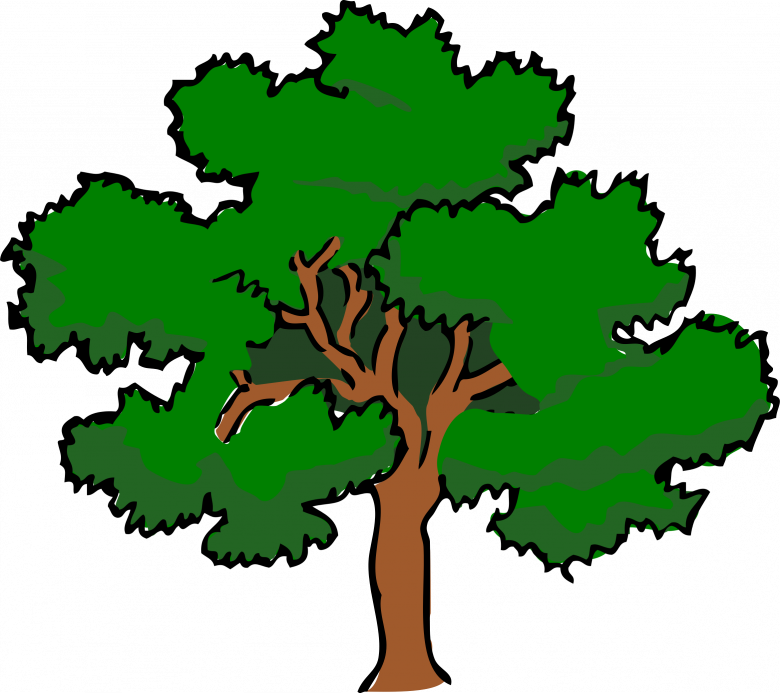
Let's start creating a landscape:
- We make a sketch - draw a horizontal line, strokes mark the trunk. From the trunk draw branches, schematic and uneven, curved, intersecting.
- Outlines trace with pen, erase unnecessary and auxiliary lines.
- Paint the trunk with a brown shade, with short strokes on the roots. Above, first paint the branches and wait for them to dry.
- While the branches are drying, use green colors to color the grass and forest on the horizon. To emphasize the horizon, you can mix a bluish-green tone.
- Dilute blue paint, paint the sky.
- Again we do the crown: we paint the foliage with a mix of yellow and green.
The same principle can be used to try drawing other kinds of trees: palm trees, birches, pine trees and Christmas trees.
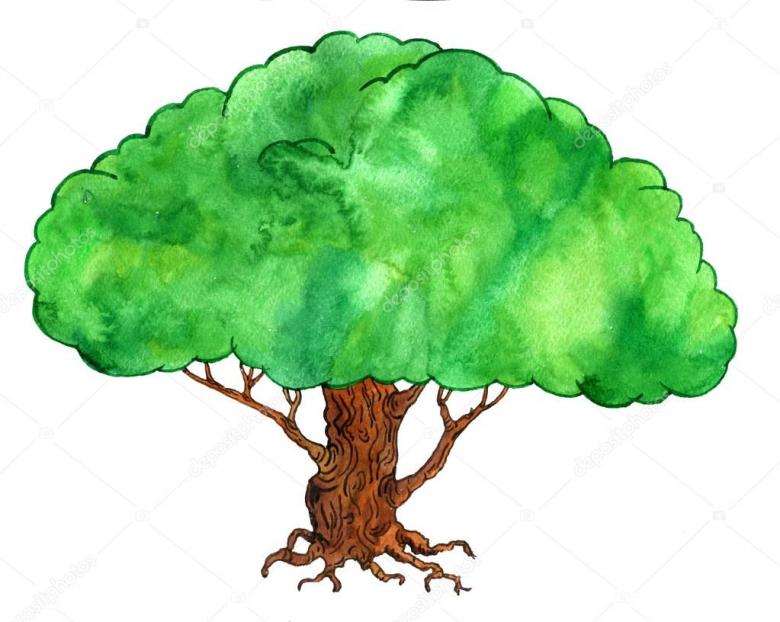
Drawing Pines
Since pine is a conifer, it has needles - but it is difficult to draw them, it requires time and a fine tool.
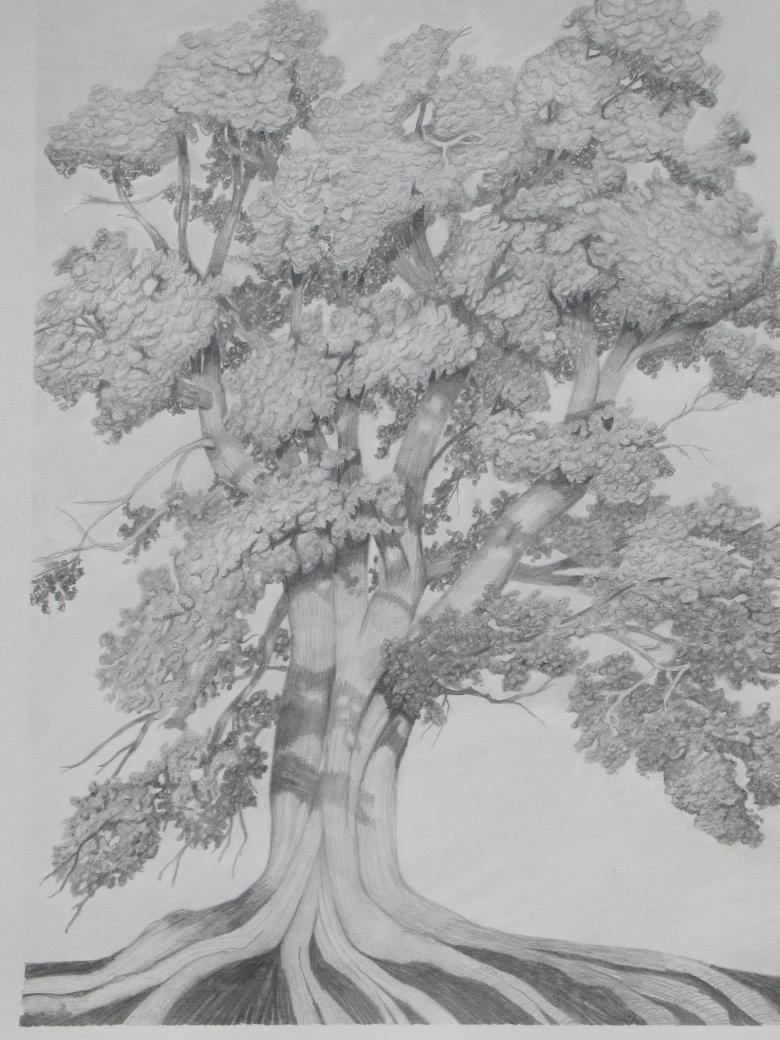
Tip: Drawing is relevant if you need to depict a single twig. The needles are not visible on the scale drawing, our eyesight will only distinguish the outline of the tree.
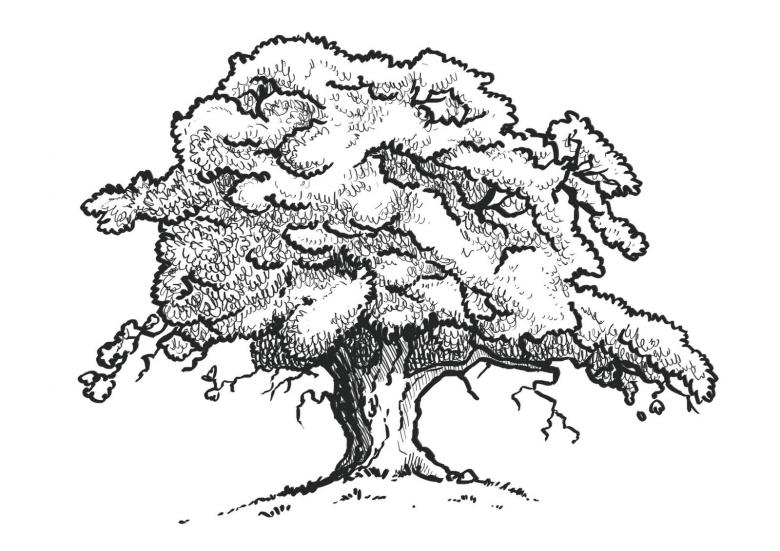
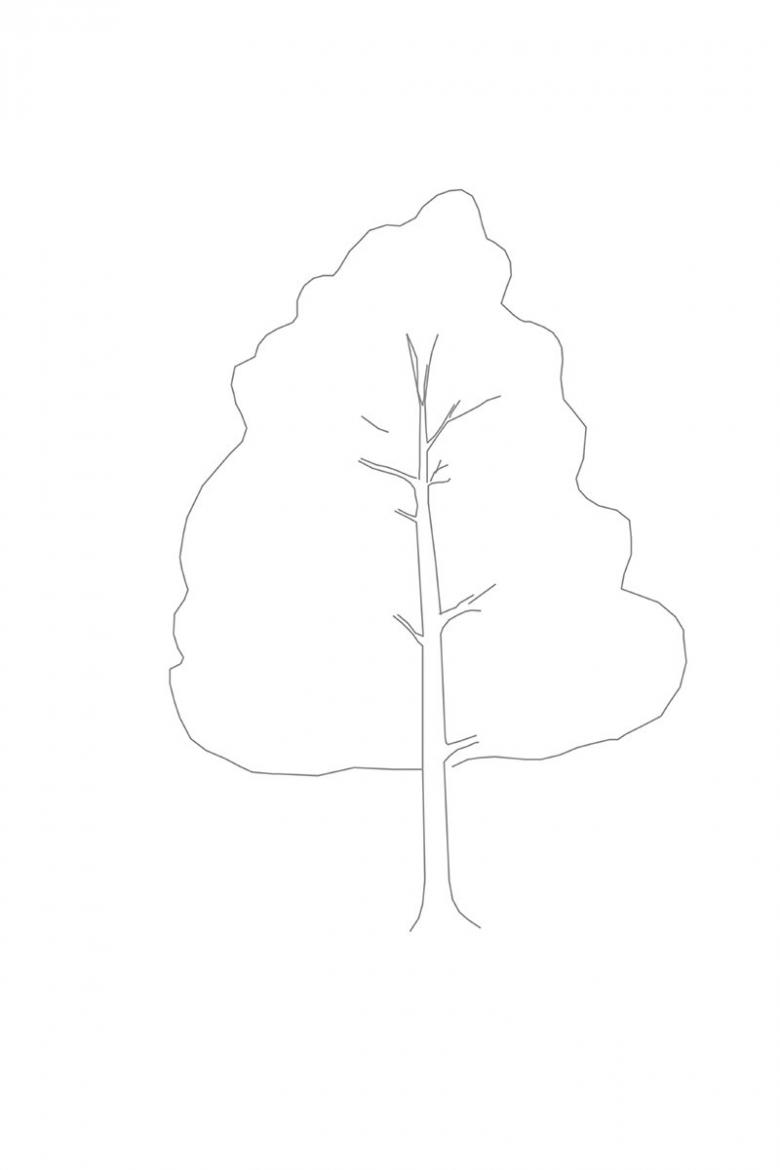
- We outline the bottom part of the pine tree: the trunk is wider at the bottom and very narrow at the top. Sketch a cluster of needles and rounded inflorescences of branches.
- Draw the "foliage". The greenery of the crown resembles clouds, needles are not marked, only the general silhouette of the branch.
- Bring the branches to the main trunk, at the end they are thin.
- We give fluffy needle areas, add shadows.
- Staining with pencils - green and yellow, brown.

Pine with watercolor.
As for the oak, drawing a pine in watercolor will require a similar set of materials, only you need to add a few different brushes to it. All the steps are simple, you can get the job done quickly:
- You can start drawing right away with paint, without a sketch, especially if you have experience. You can make just a few lines.
- Mix the colors green and yellow. Draw the greenery of the crown in small strokes. Outline a few inflorescences of needles with gaps between them.
- Leave room in the center for a thick trunk. Unwind the brown tone and draw the trunk - it's broader at the bottom, narrower at the top.
- Add dark rhizomes, paint the grass layer around it in lettuce tones.
- You need to add volume, a mix of yellow and green tones will help. Draw small shadows on the branches.
- Before the layer of paint dries completely, you can add a third layer of green, the final and pure green.
- With a thin brush in the green crown, mark thin branches in brown and add shadows.
The watercolor landscape is ready, it remains to add interesting details - grasses, thin needles in places (to outline with a pen), a squirrel on the branches.
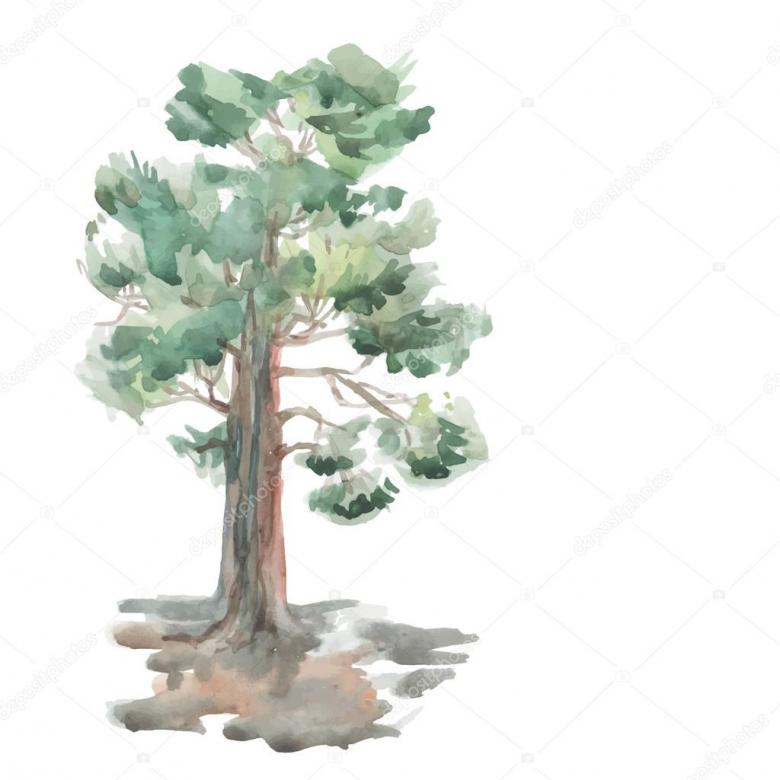
Drawing a maple in gouache
The silhouette of the maple leaf is striking in its elegance, and the color of maple trees in the fall is just beautiful, real gold. Let's try to create a tree and a maple leaf in gouache.
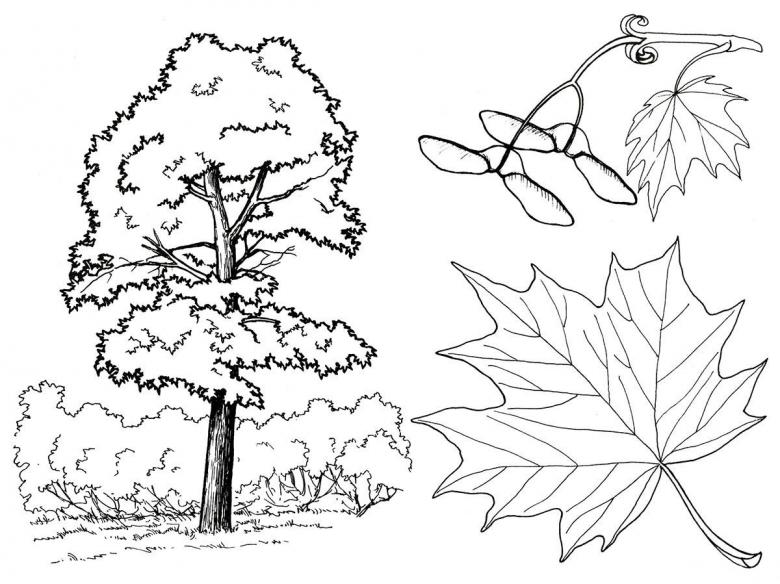
Materials:
- maple leaf;
- a black pencil with eraser;
- a set of gouache;
- palette;
- brushes of all types;
- water.
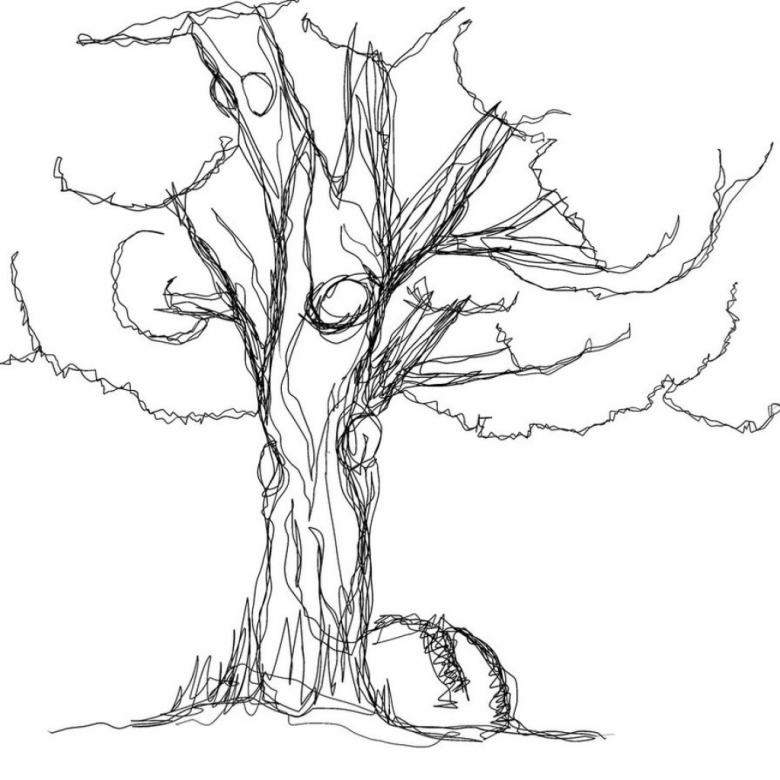
Step-by-step instructions:
- Prepare a sketch, determine the place of light and shade.
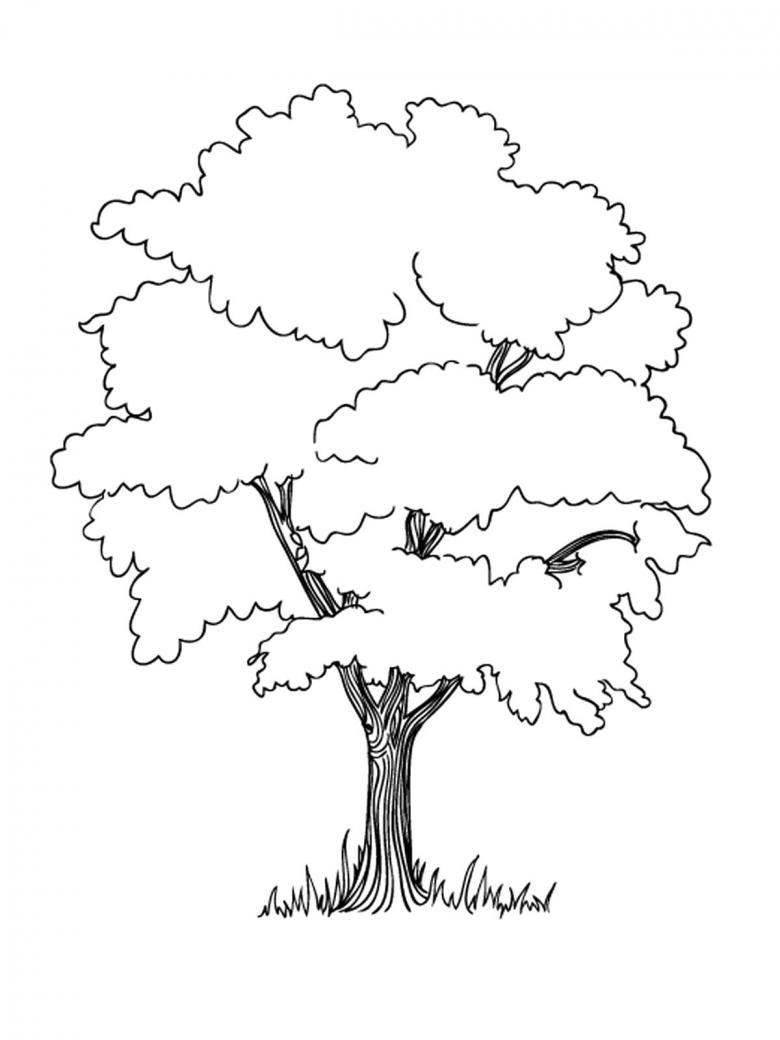
- Paint the trunk dark brown, add branches - they stretch upwards, the crown resembles an egg in shape.
- Create an autumnal set of hues on the palette - yellow, orange, red. Apply leaf paint dotting - so the leaves get volume, texture will appear. Refine the contours of the crown and add thin twigs.
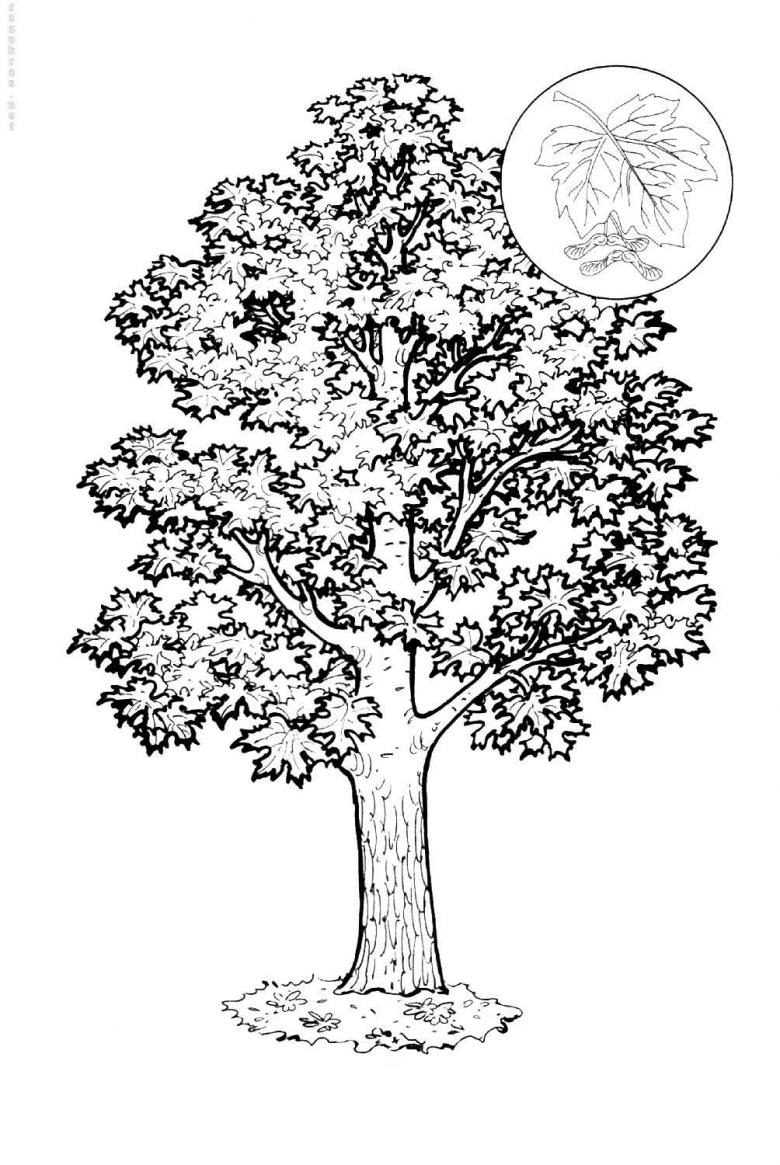
Tip: If the colors seem dull, add whitewashing to them, this will freshen the shade.
- Paint the leaf - it should have dark and light sides, paint them in shades of green.
- When the paint dries, draw sharp corners and thin lines of the "skeleton" with a pencil, repeating the silhouette of the tree.
Use these tips to draw an aspen grove, a park landscape, birch trees, or an orchard. Even a child can do it here. Small birds and animals, especially seasonal ones, will be interesting details. For example, the winter version of the picture is good to paint with a lot of whitewash and with black, with contrasts, add snowfinches.

