How to draw a clock for beginners - easy step-by-step master classes, tips, photo examples and ideas
The clock is a thematic symbol of time. The plan of creative activities for children necessarily includes the image of clocks: hourglass, wristwatch, wall models. Drawing a clock face is a must for teaching a child to understand time and space. For drawing, the novice artist will need pictures of clocks in different variations, ready-made sketches, and detailed instructions with a description of the work.
Drawing Clock Drawing Techniques
Drawing a clock is not always a picture of a dial, but also sketches of sand models, and the display of London's famous Big Ben. The best drawing techniques for the beginning artist:
- Initial sketching of a clock using simple pencils. This technique allows you to teach your child to clearly depict the lines of the dial, the position of the hands on the scoreboard, the fine details of auxiliary elements (the strap for the wrist model).
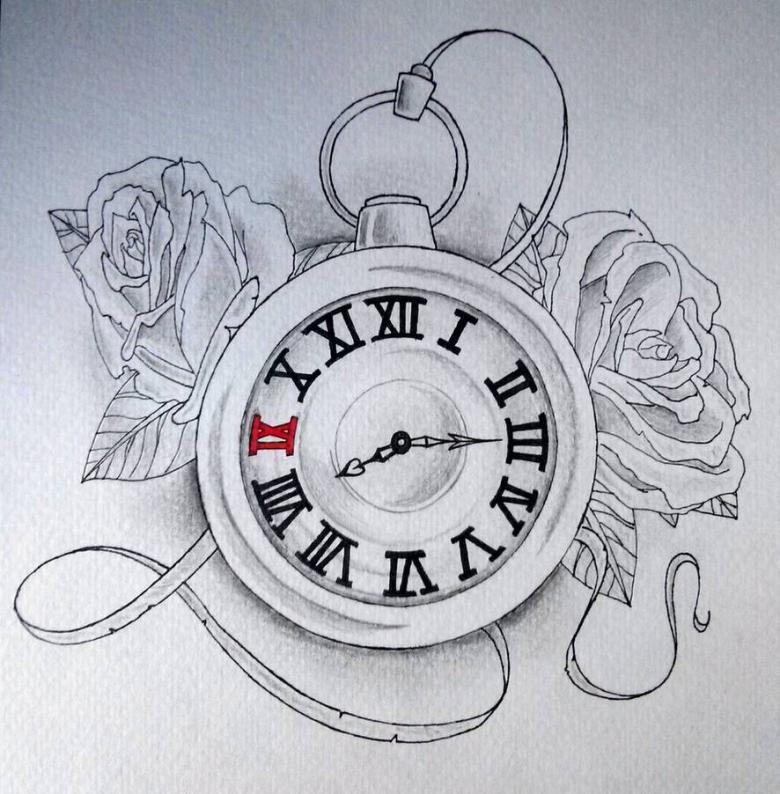
- Drawing with pastel crayons. Pastel allows the artist to depict models that are as close to the actual look of the product.
- Watercolor or gouache. For a child's drawing for which there are no strict requirements for attributes (numbers, position of hands), you can use water-based paints. The only rule is that heavy paper should be used as a base for the drawing.
Many other techniques, such as painting on canvas with oil paints, are complex techniques that require constant training and experience on the part of the artist.
Materials for master classes
The key to quality training and a good image - it is an organized workplace, a sufficient level of lighting, the presence of the necessary tools. Before starting work, the following set should be prepared:
- Drawing albums or other paper.
- Simple and colored pencils.
- Pastels (optional).
- A set of felt-tip pens.
- An eraser.
- Paints (watercolor and gouache), brushes.
All tools should be within easy reach, and photos and ready-made sketches will help make the creative process easy and pleasant for master.

Master Classes for Drawing Clocks
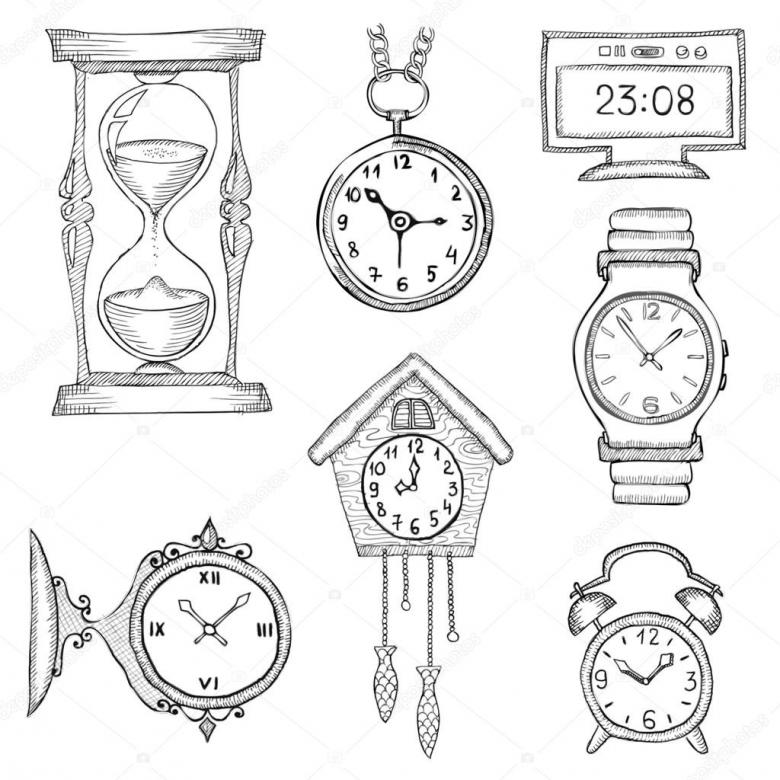
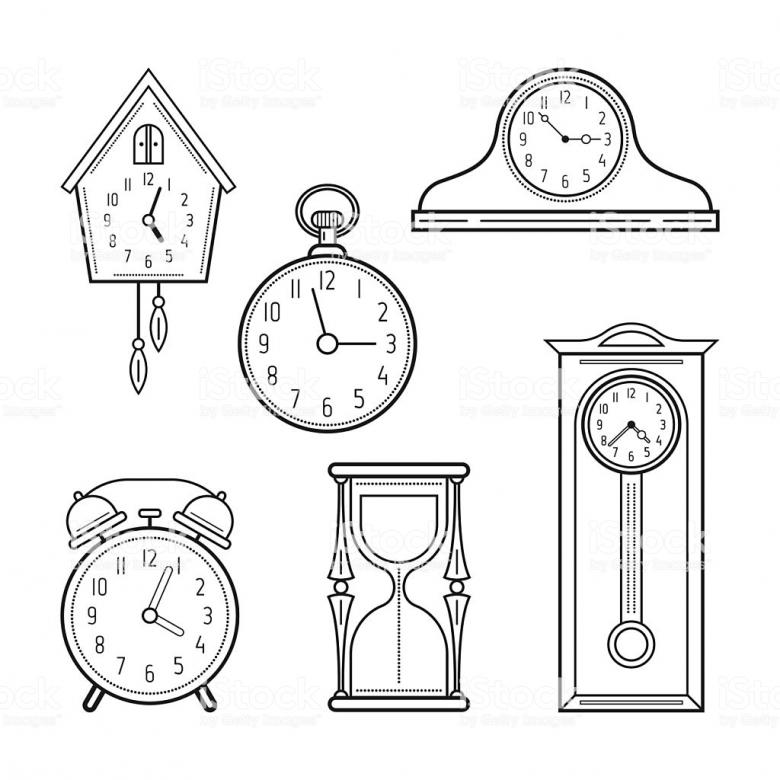
Clocks can be depicted in several variations:
- A wristwatch dial.
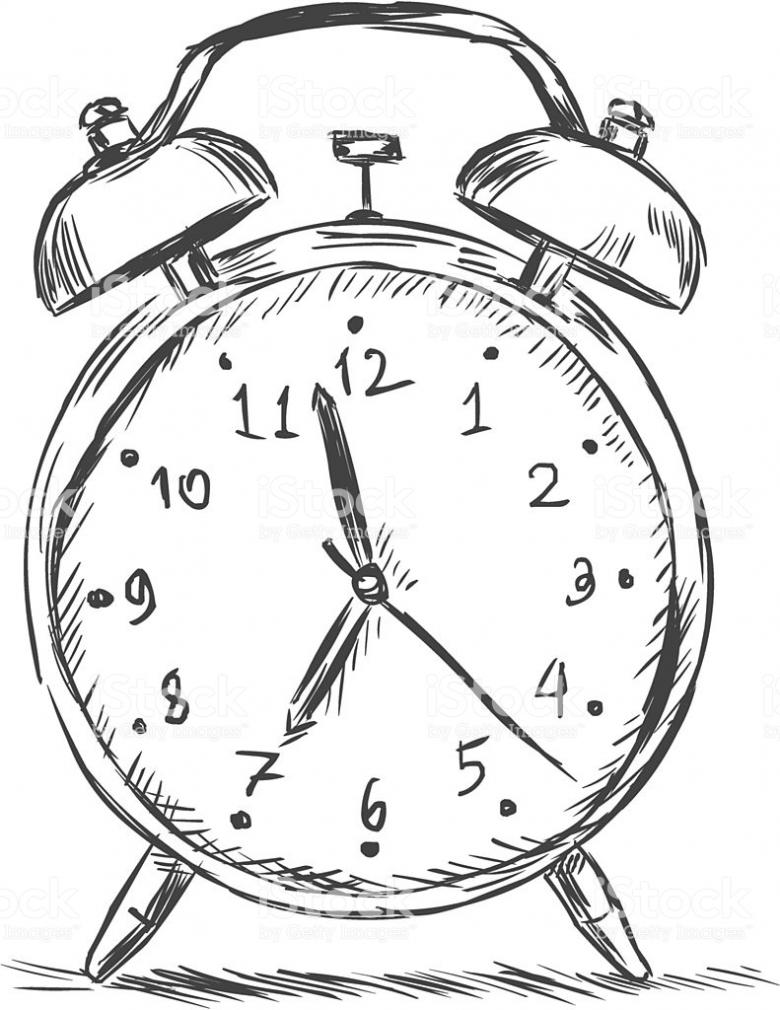
- Large wall clock.
- An hourglass on a table.
All models will be drawn only in straight projection, as side projection requires experience and certain artistic skills.
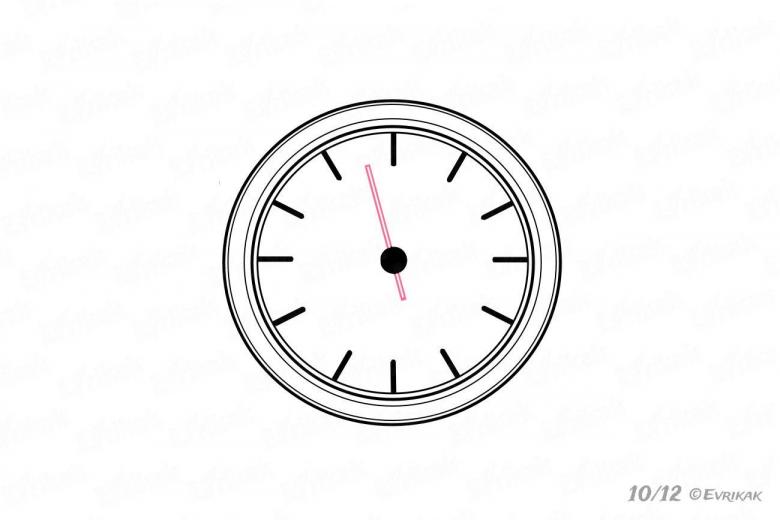
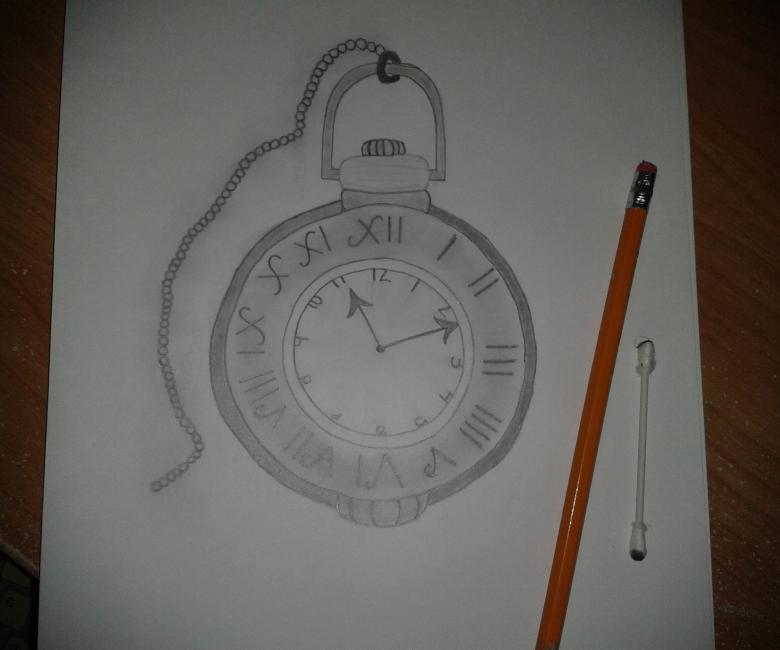
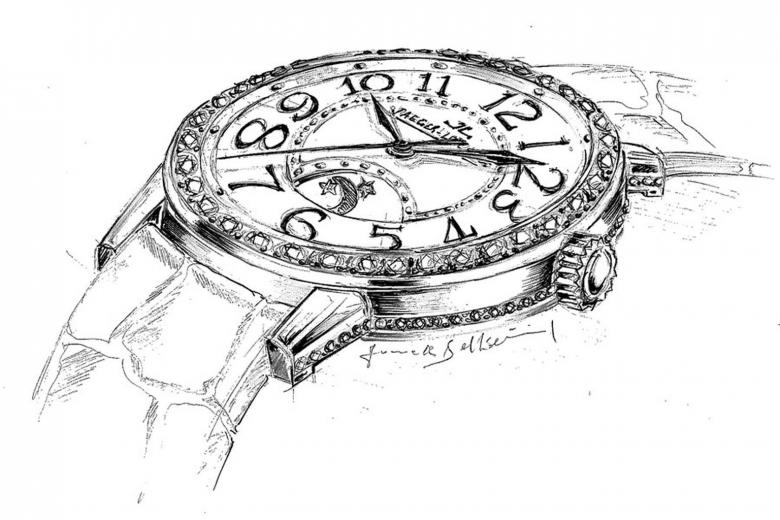
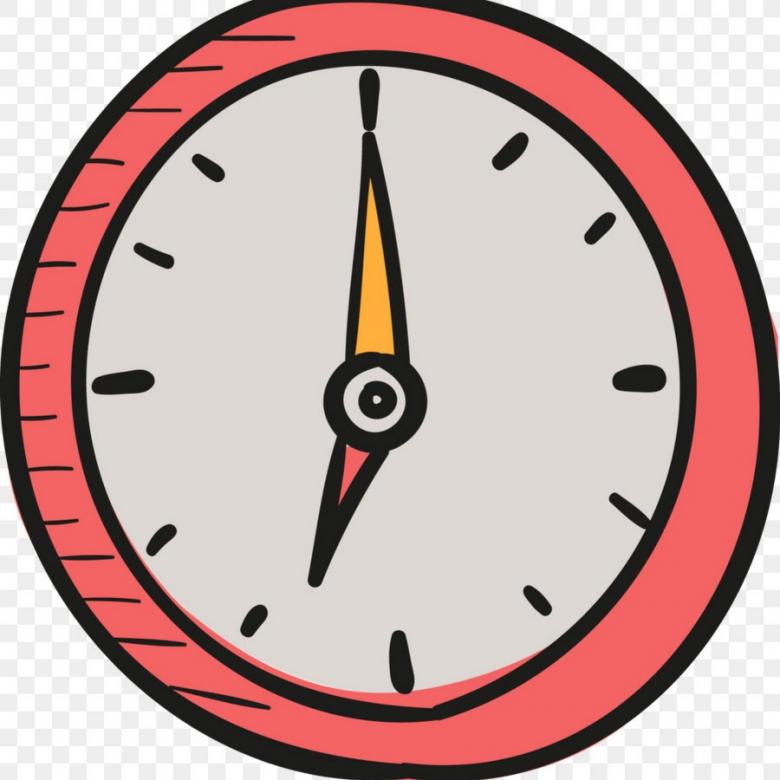
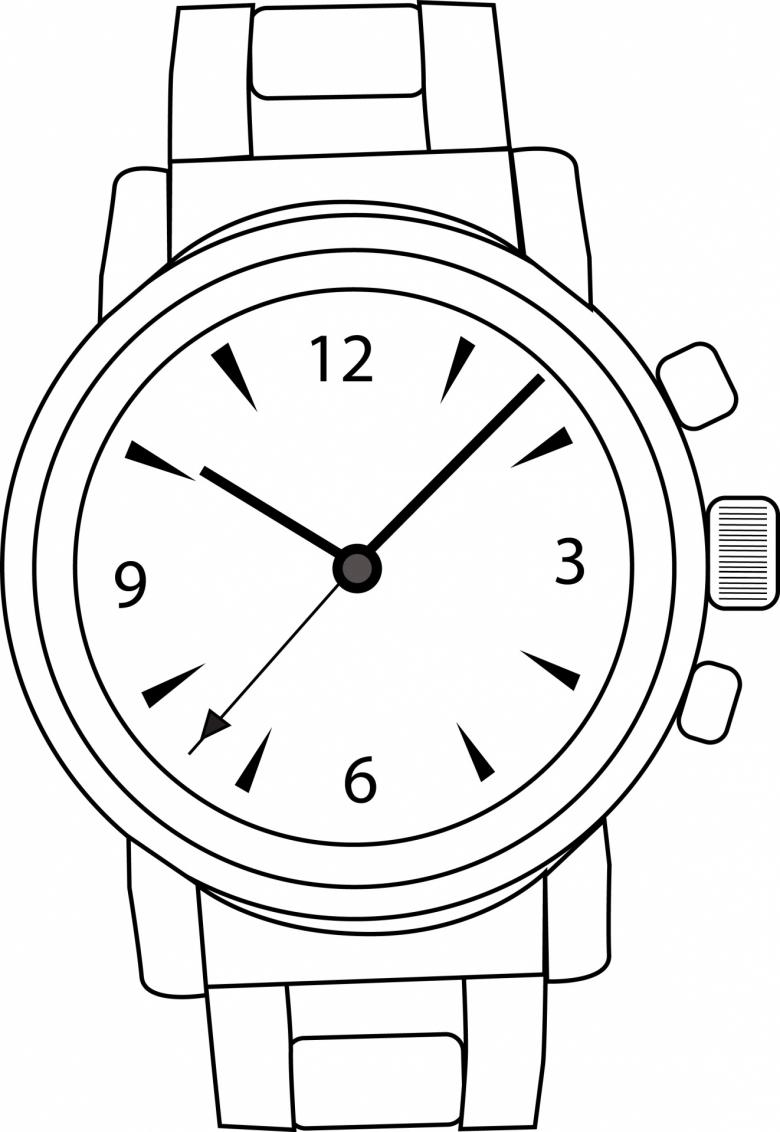
Drawing a wristwatch
The main detail characteristic of this model is the dial, the position of the hands, the features of the contour of the clock. For work it is necessary to prepare the following materials:
- Simple and colored pencils.
- An eraser.
- Drawing album or sheets of A4.
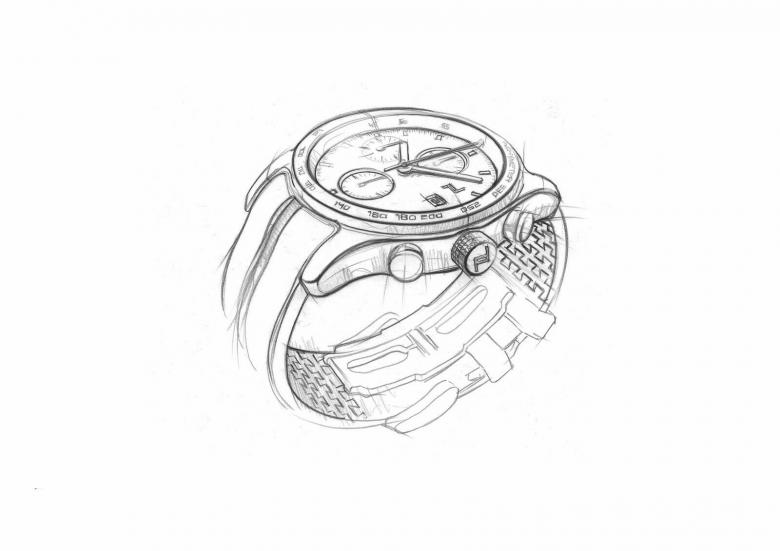
The master class should be carried out according to the following instructions:
- On the sheet draw a circle, for which you need even neat outlines.
- On both sides of the circle draw two wide strips - future straps for the wrist.
- The pattern on the straps can be made in any variant: paired metal strips, staggered arrangement of strap blocks, individual ornaments.
- Much more attention is paid directly to the dial.
- On the circumference finish the second contour, showing the watch glass.
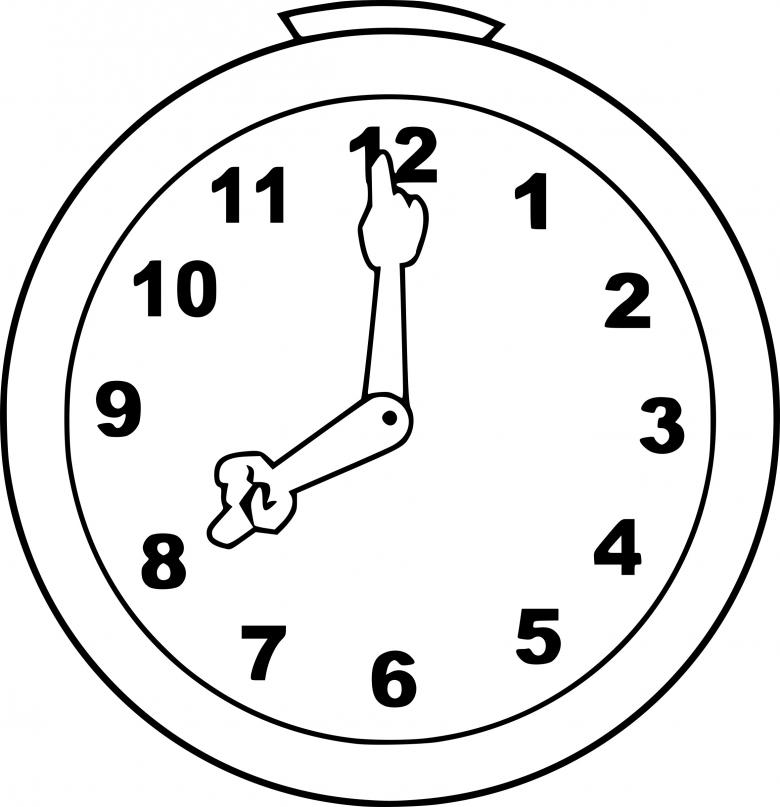
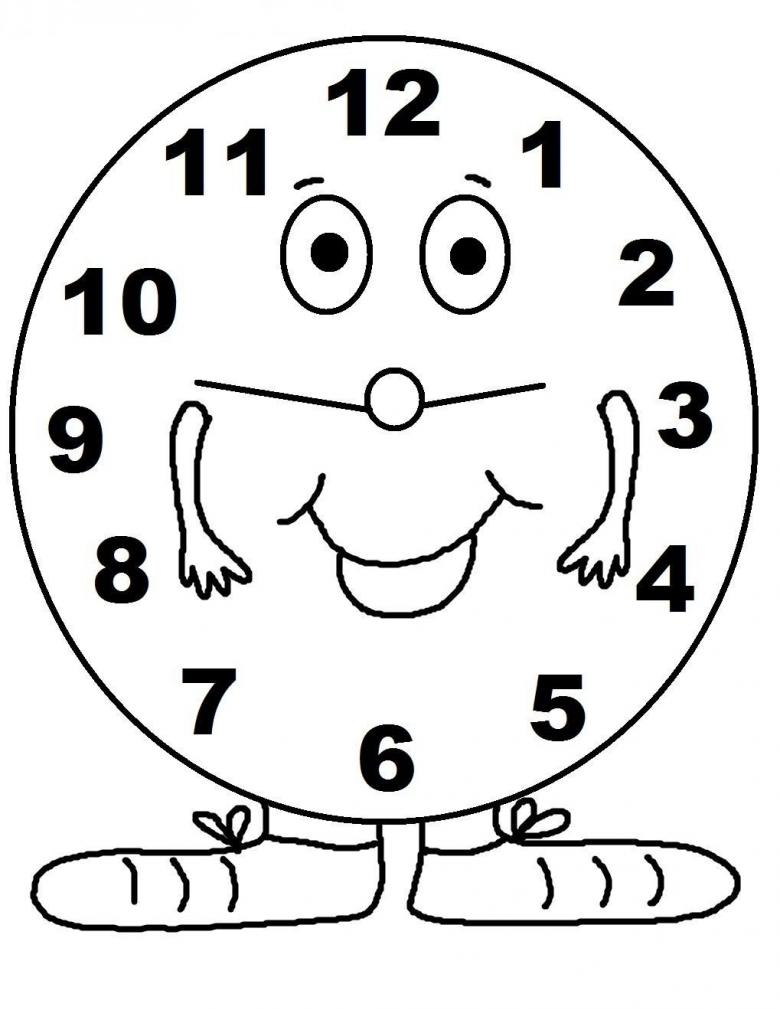
- Complex dial designs should not be taken as a model for drawing. It is better to start creative lessons with simple models: a single scoreboard, two hands, 12 digits on a circle.
- Strictly in the center of the circle draw a small circle.
- From it originate two arrows of different lengths, stopping at any chosen time.
Colored pencils create a background for the dial, set the coloring of the numbers themselves, as well as the hands.
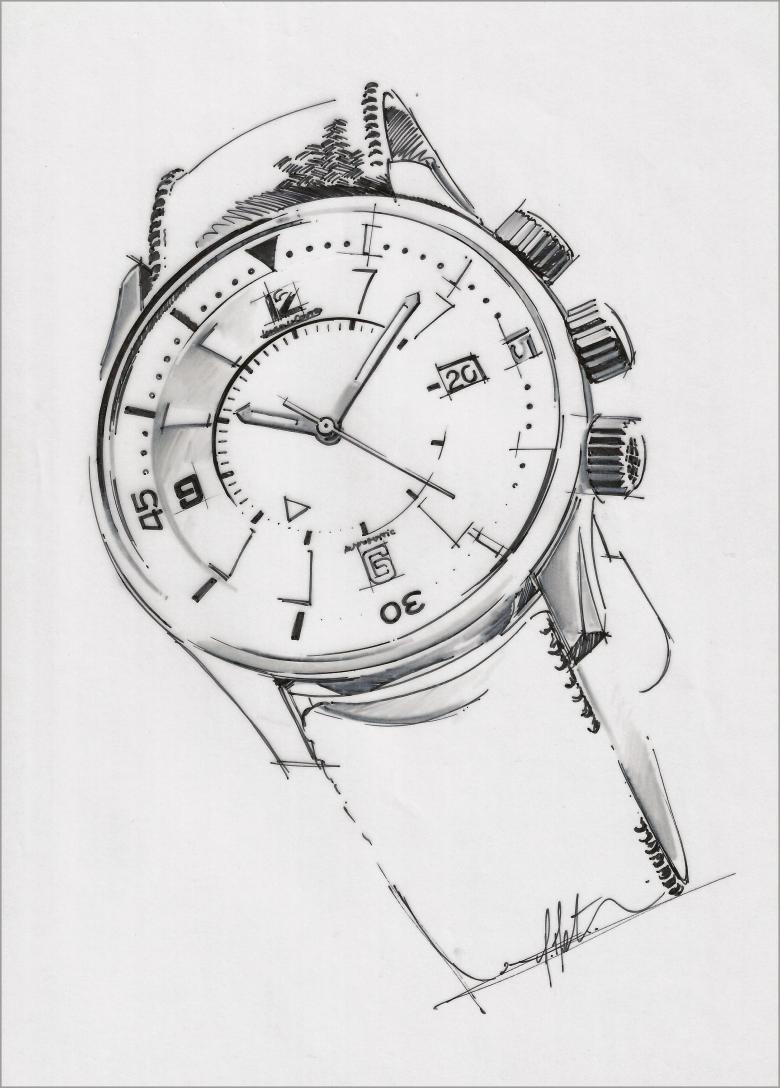
Drawing wall clocks
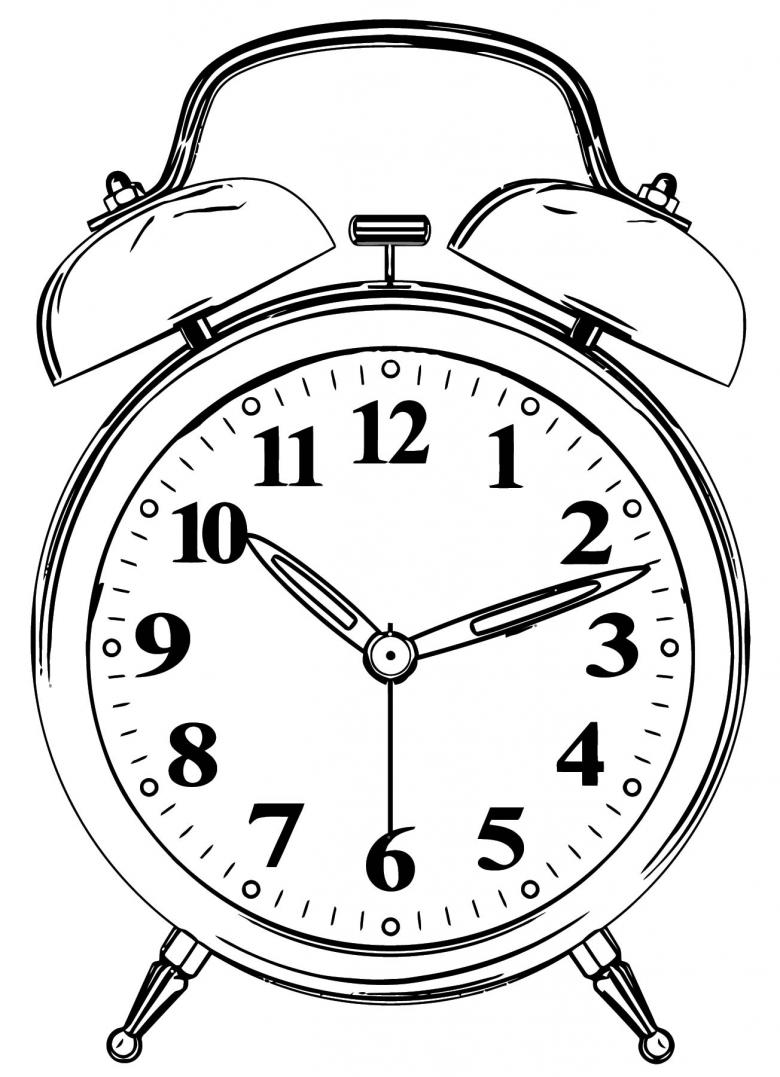
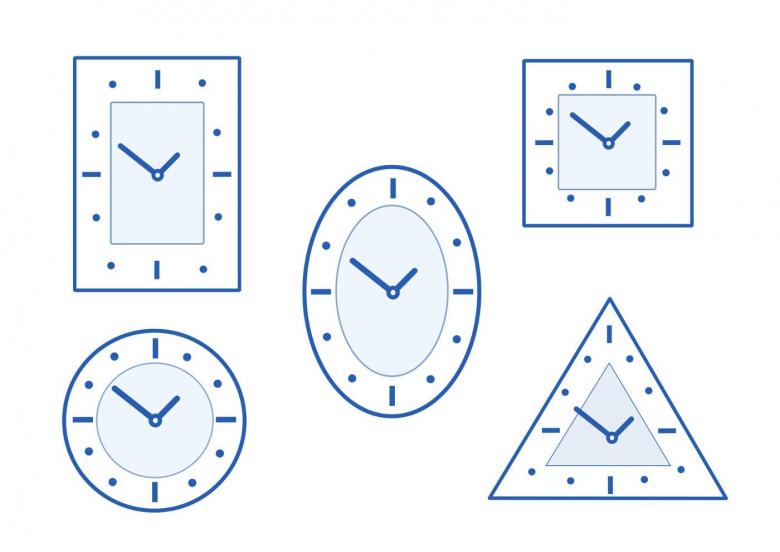
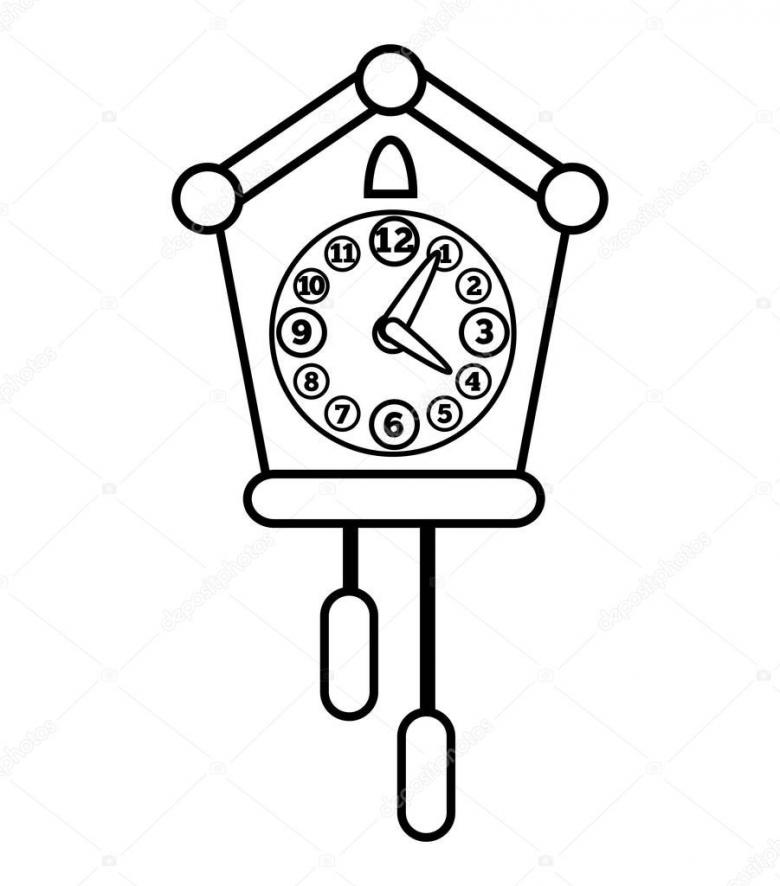
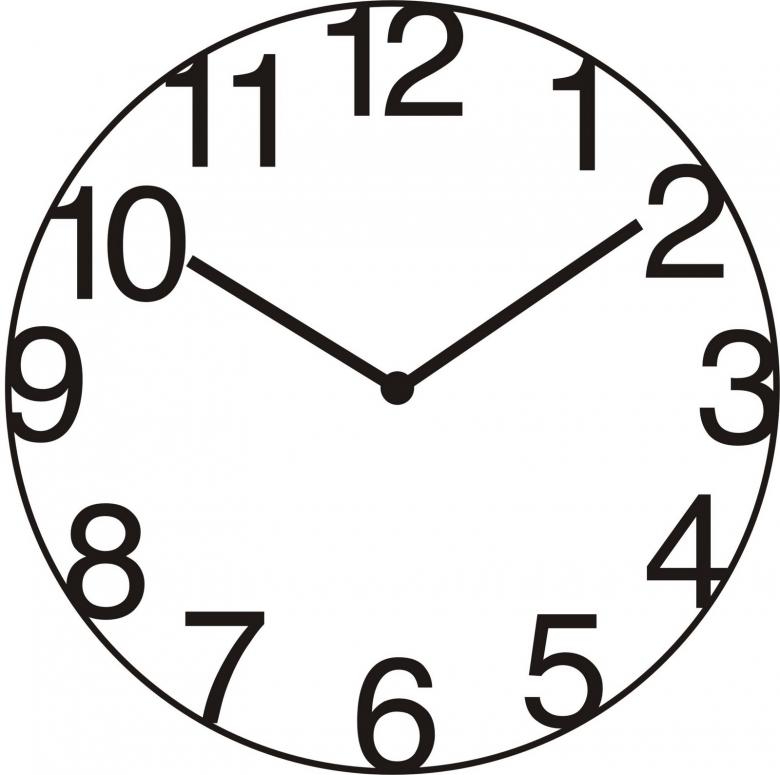
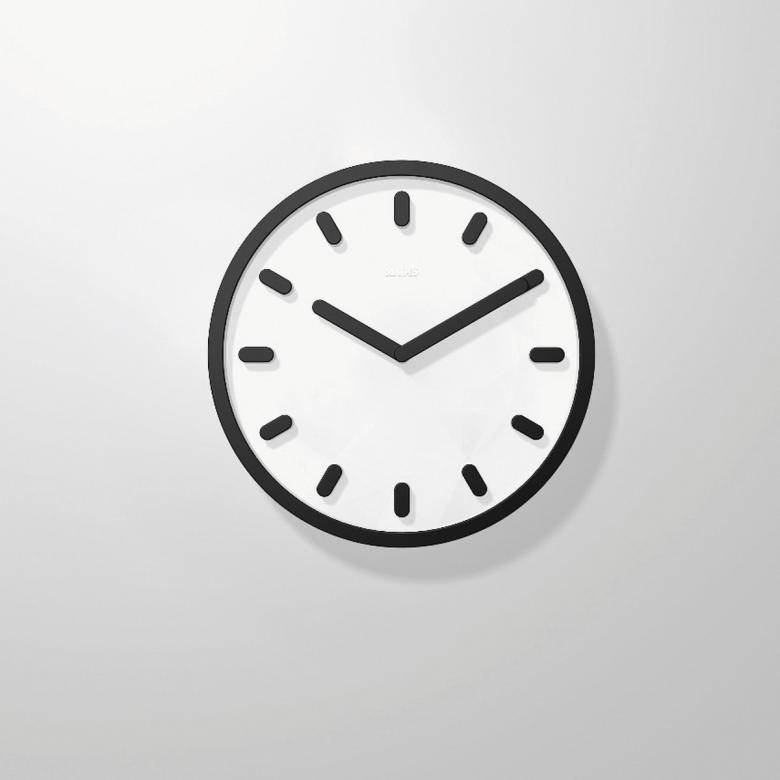
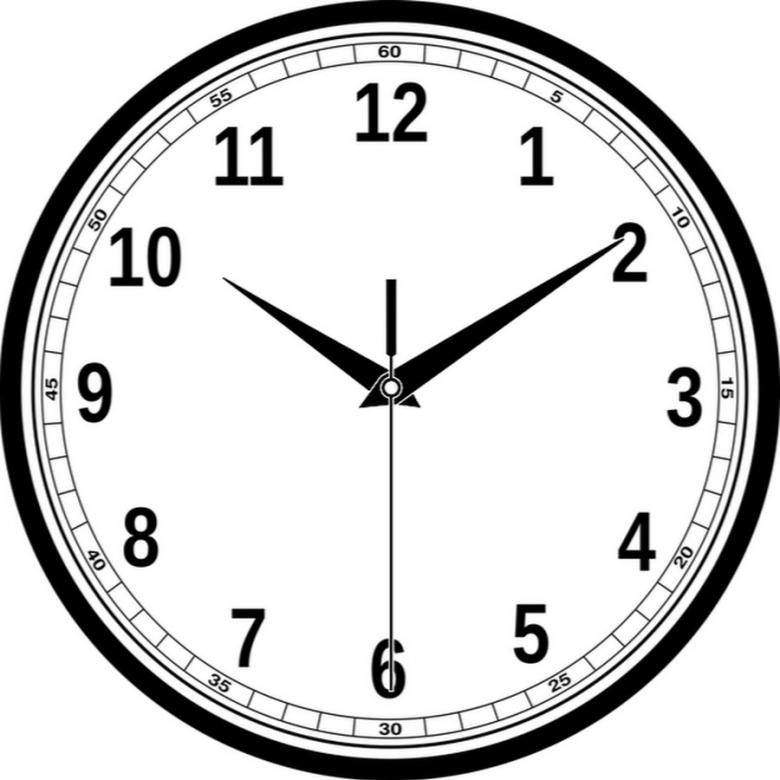
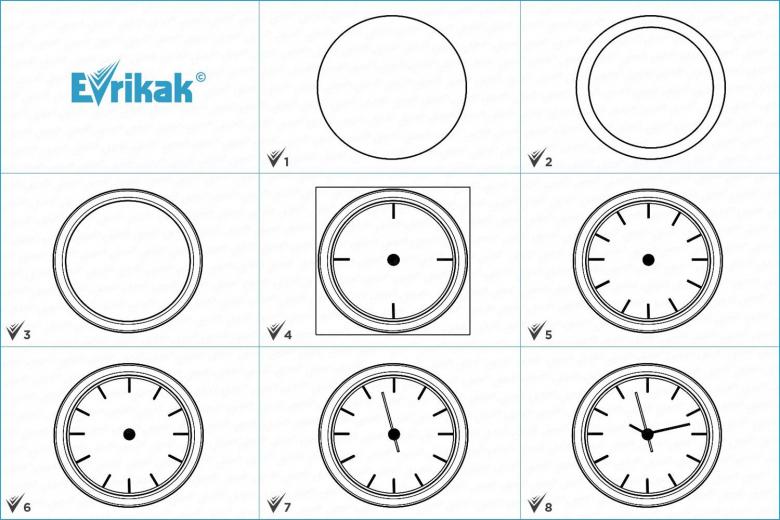
Models of wall clocks can be very many: with a square case, with a triangular case. But for a training lesson it is better to take the classical rounded shape of the body and the dial. Drawing should be done according to detailed instructions:
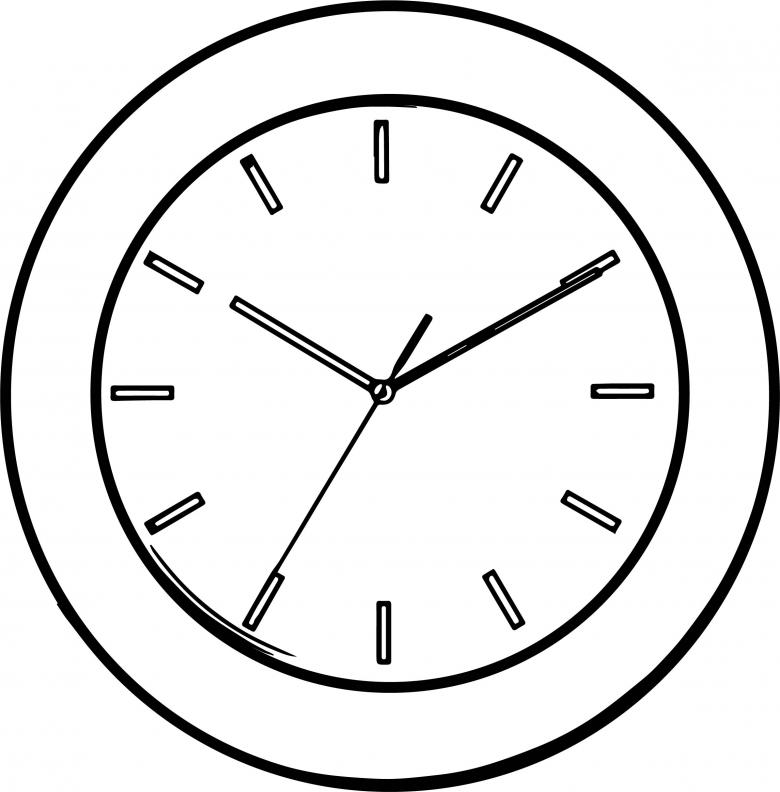
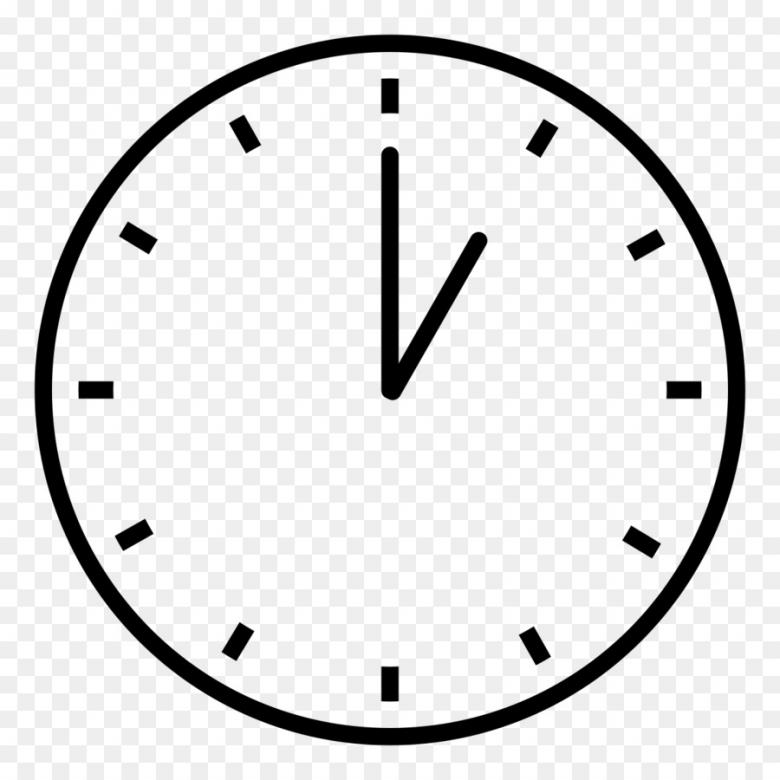
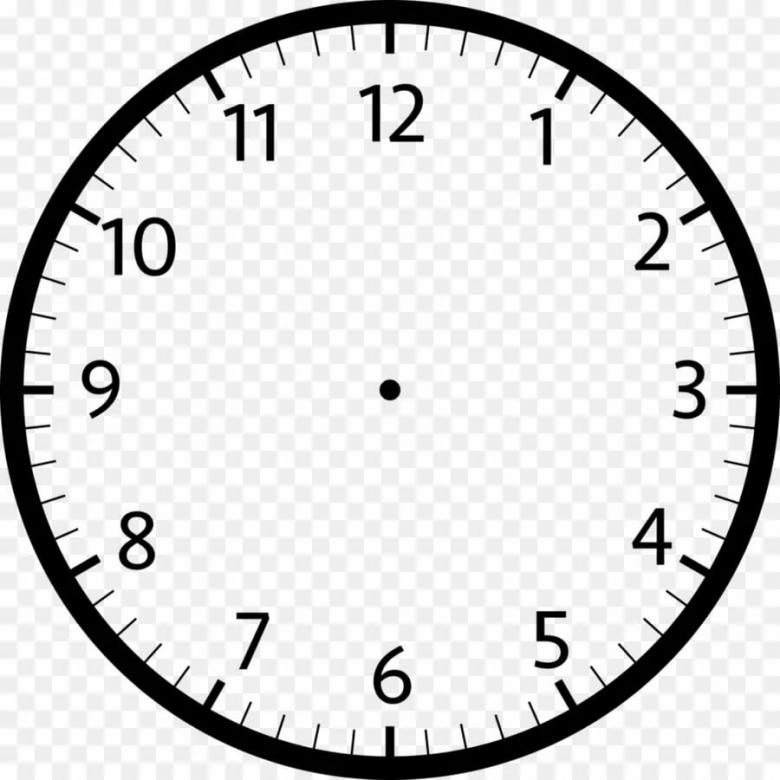
- On a sheet of paper, a circle of sufficient diameter is drawn. In the center, finish drawing a small circle or square, depending on the wishes of the master.
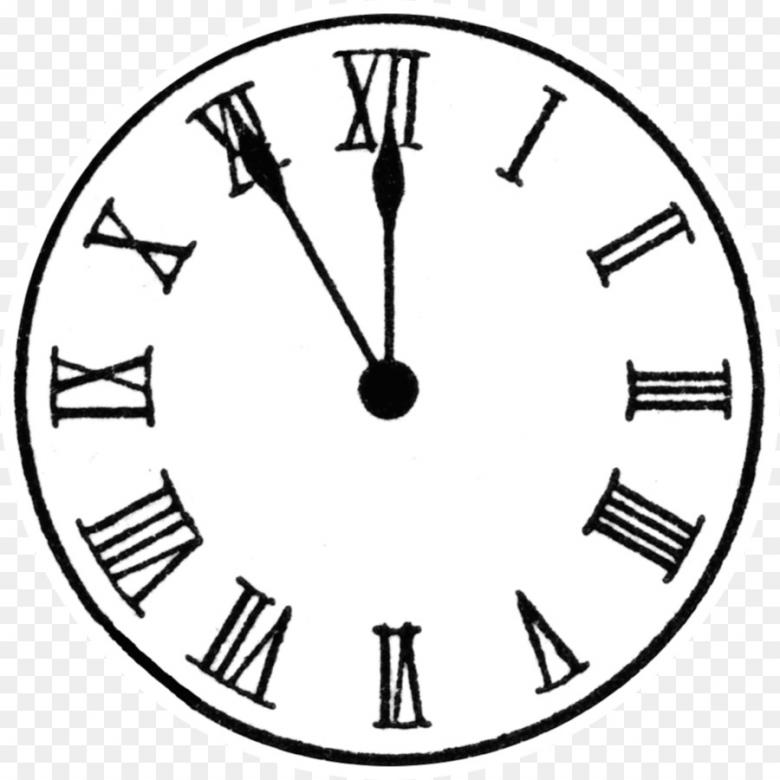
- The hands are drawn in the form of long narrow strips with rounded ends.
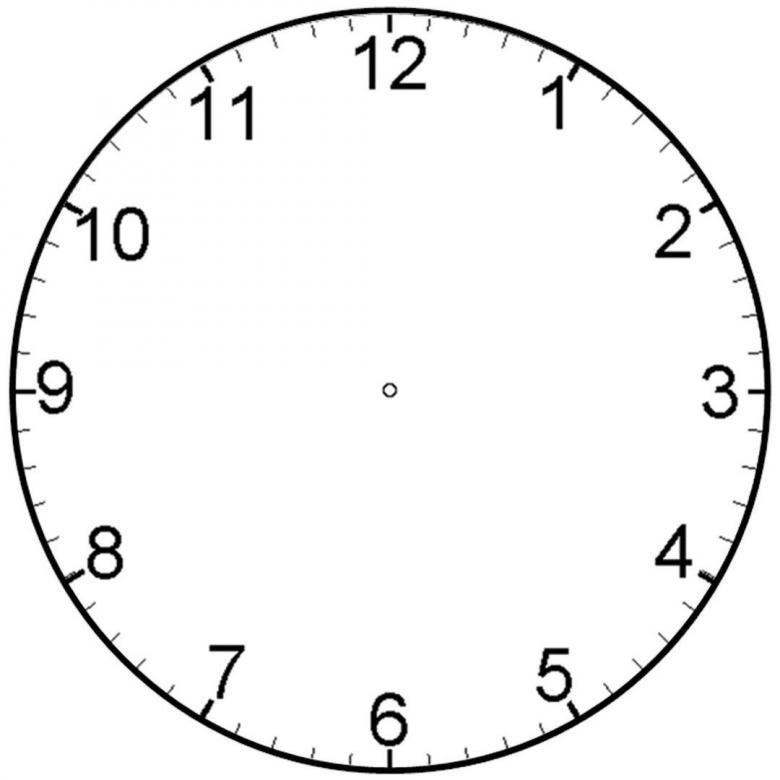
- Before you put the numbers on the scoreboard, it is better to make a preliminary marking on the future dial.
- If desired, you can give the numbers a volume by drawing the side contour.
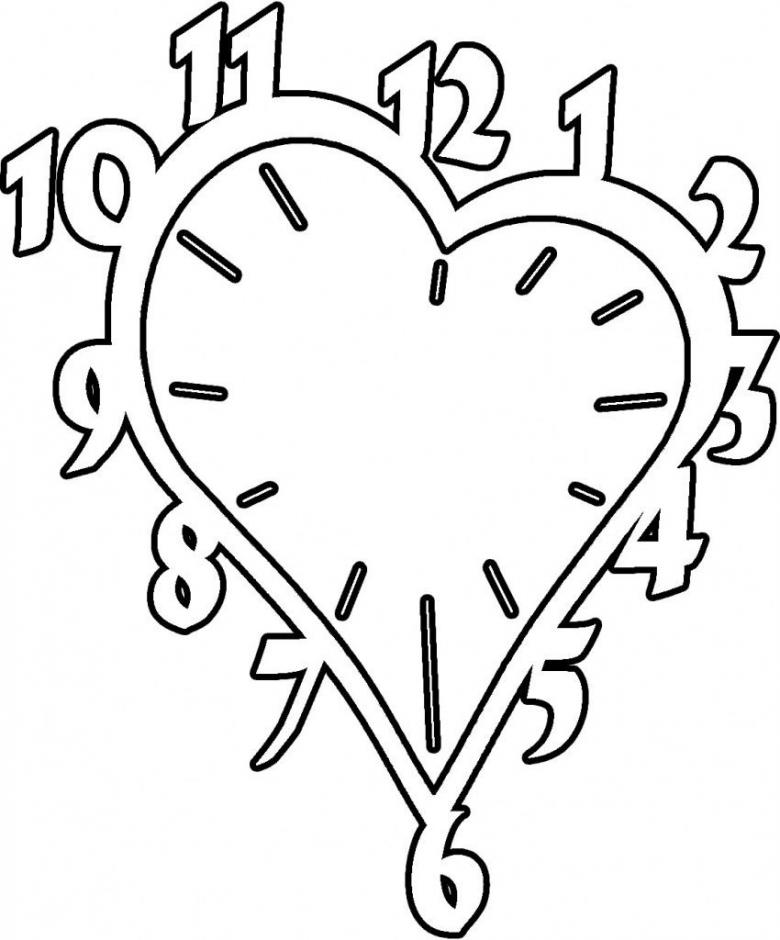
The clock on the drawing, the hands of which cast a shadow, looks original. The shadow lines are drawn more clearly and the outlines should be made in lighter tones.
Hourglass on the table
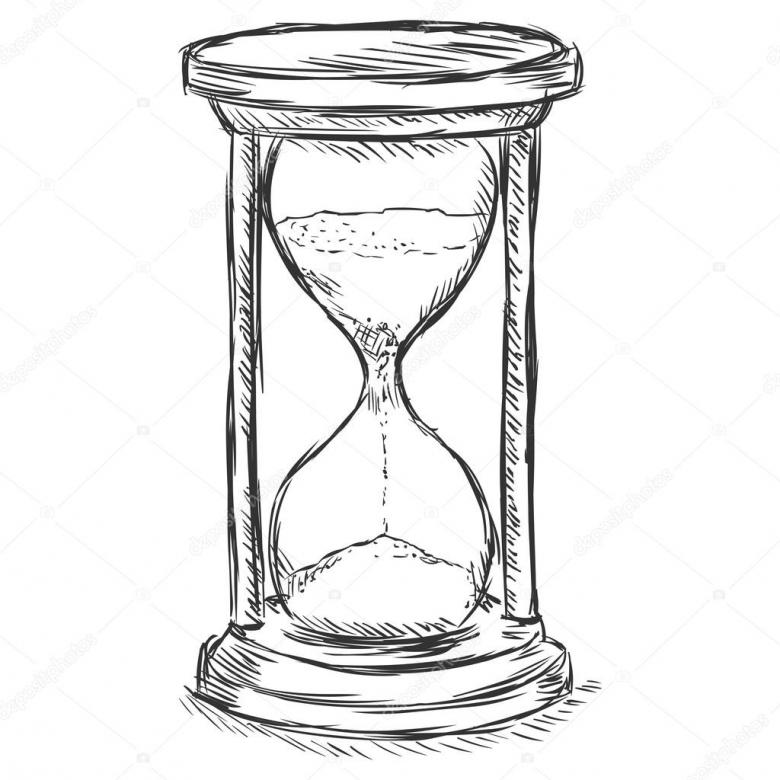
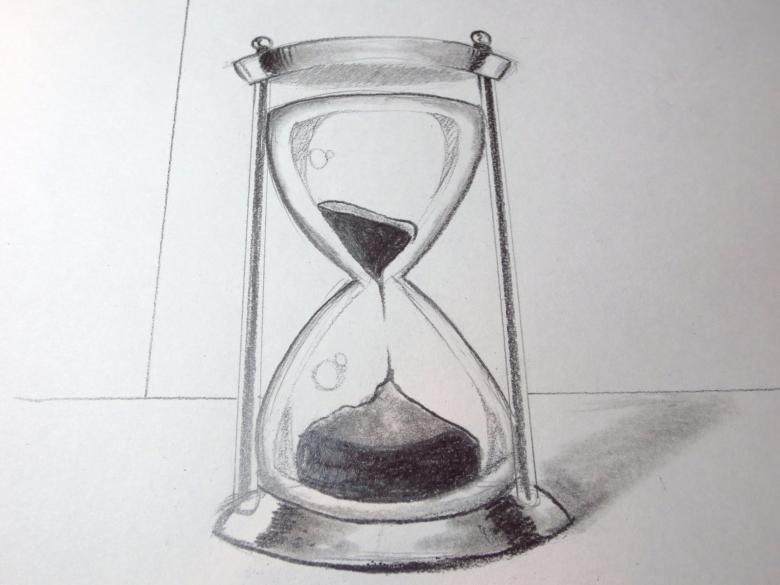
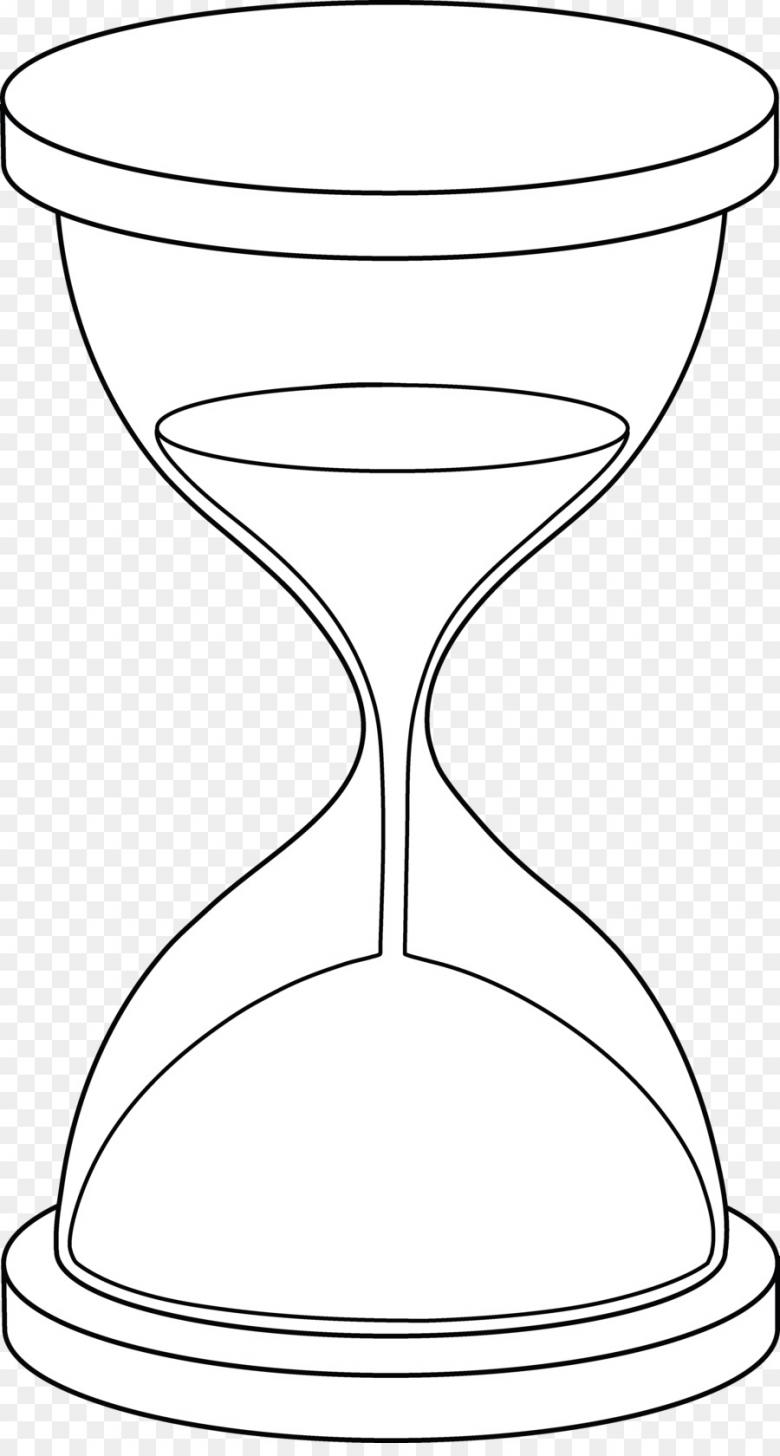
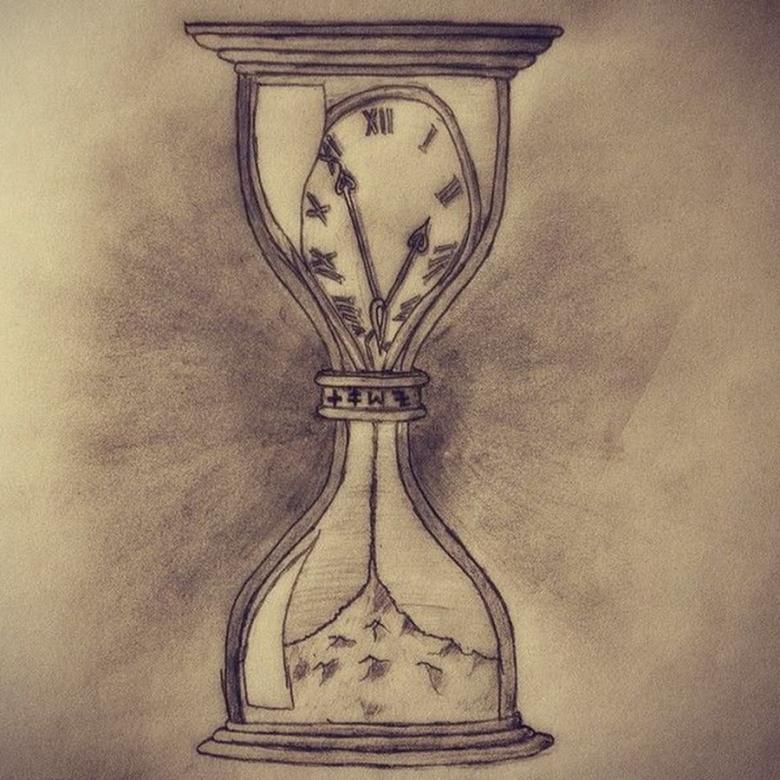
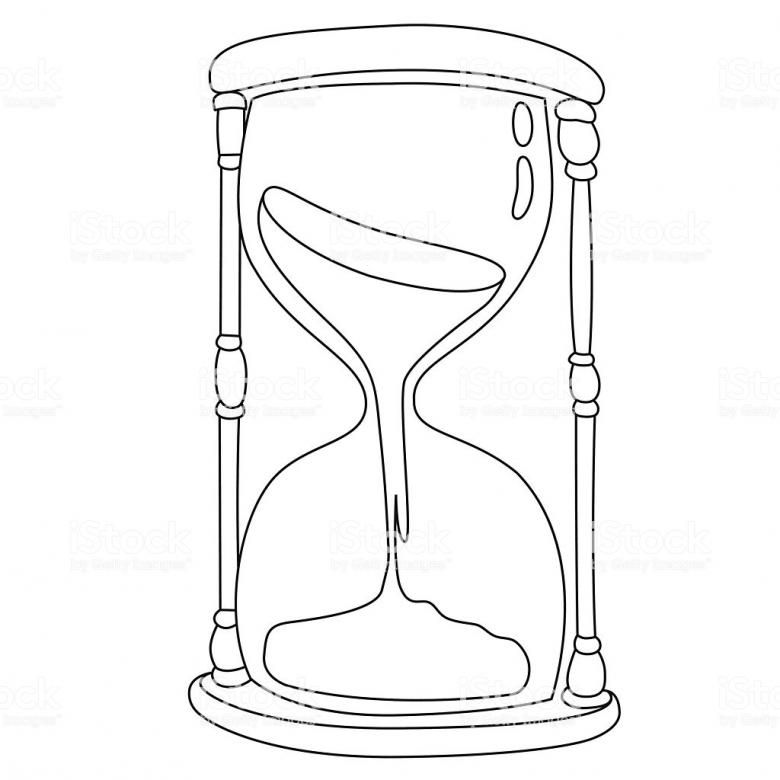
Hourglass is an interesting attribute that often complements a vintage interior, used as a fashion accessory on a bookshelf. The model is a glass vessel consisting of two volumetric flasks and a narrow isthmus. The entire glass construction is framed by a decorative frame according to the technology. Draw an hourglass according to the following instructions:
- On a sheet of paper, draw a rectangle arranged vertically. A ruler is used in the work.
- Two rectangles are placed on the upper and lower contour of the central figure.
- Through all three figures draw a thin vertical line.
- Another line - this time horizontal - is drawn strictly in the center of the figure.
- Two smooth lines are drawn with a pencil, focusing on the guide bars (rectangles and axes). The figure obtained on paper should resemble a figure of eight with the base and top cut off.
- Eraser remove all unnecessary strokes, but leave three rectangles.

Rectangles can serve as an external framework for the hourglass. At will of the master, they can be left untouched, or they can be decorated with some kind of ornament, pattern, additional bars.
The image of the clock, any model thereof, does not require any special skills from the novice artist. However, the main task for the master should not be forgotten - all watches have very clear lines and symmetry of proportions.

