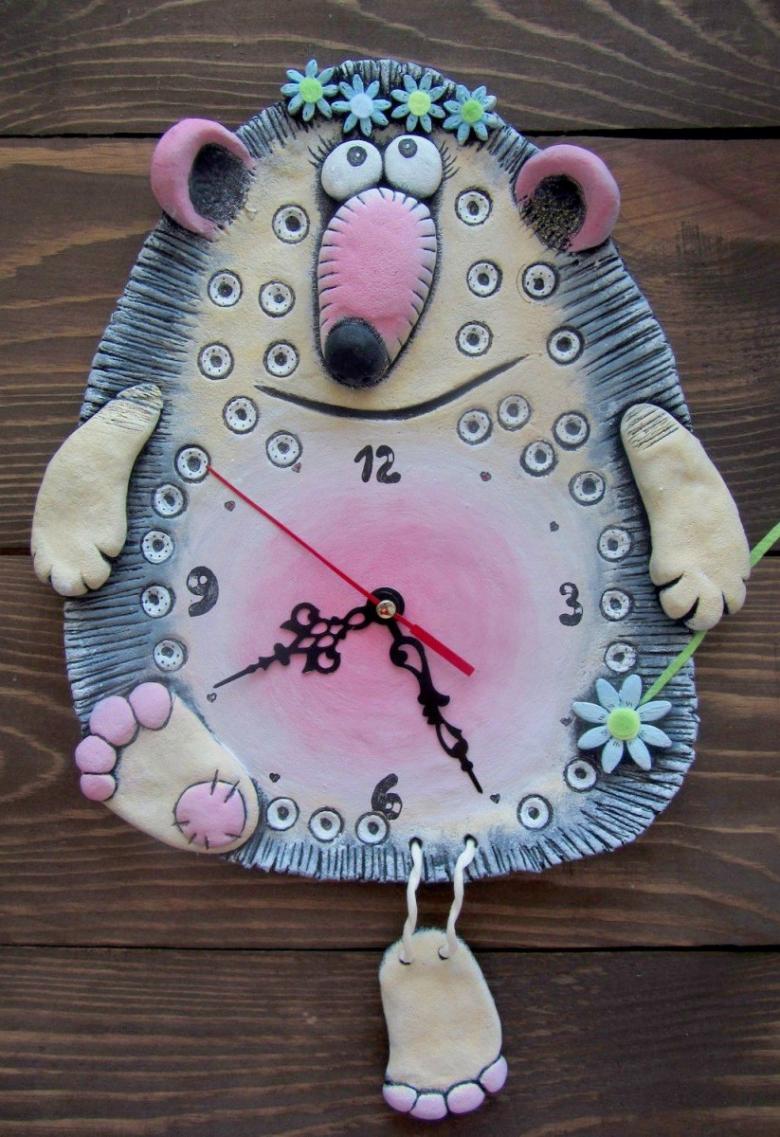
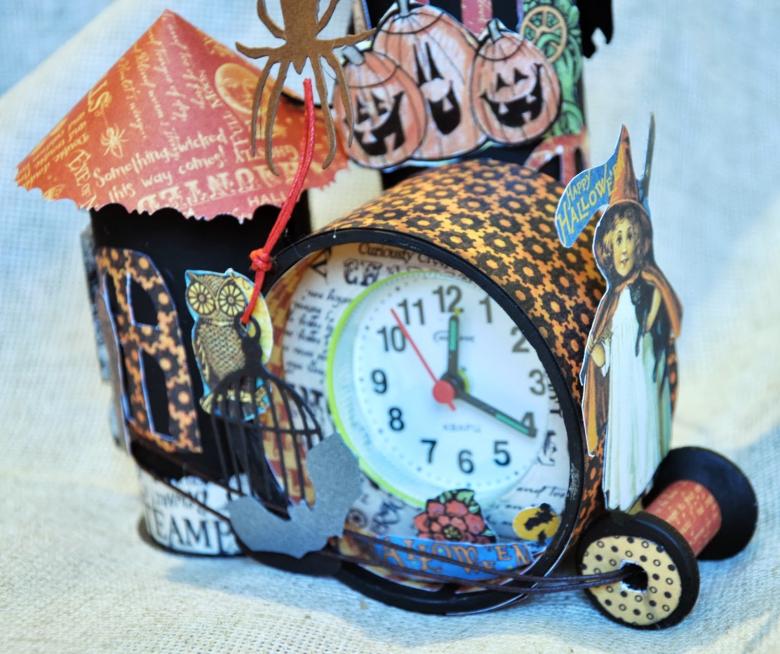
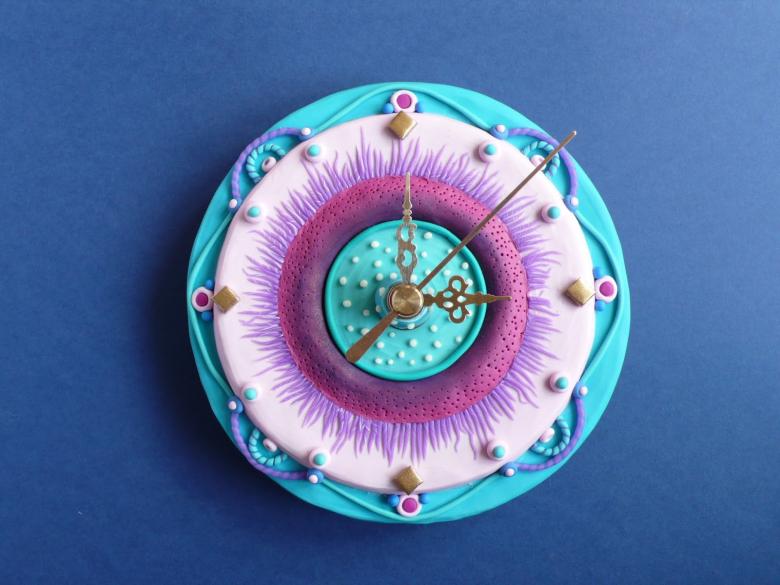
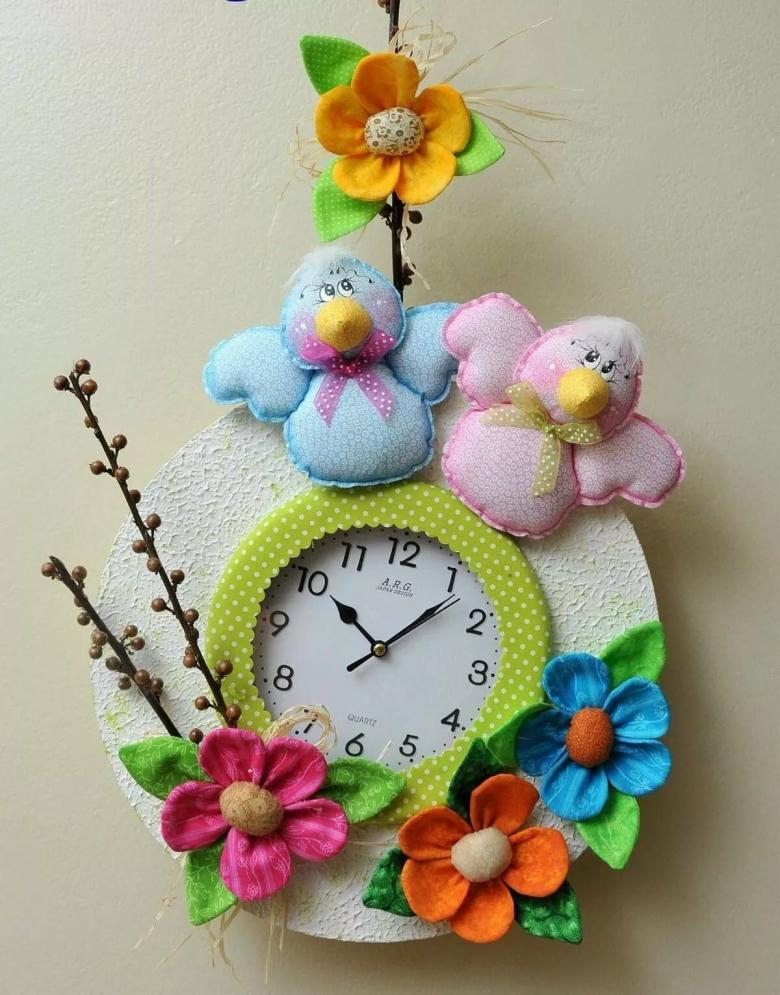
Handmade clocks - a selection of master classes on making toy and real products
Clockmakers are highly qualified specialists. However, even kindergarten students can make clocks with their own hands.
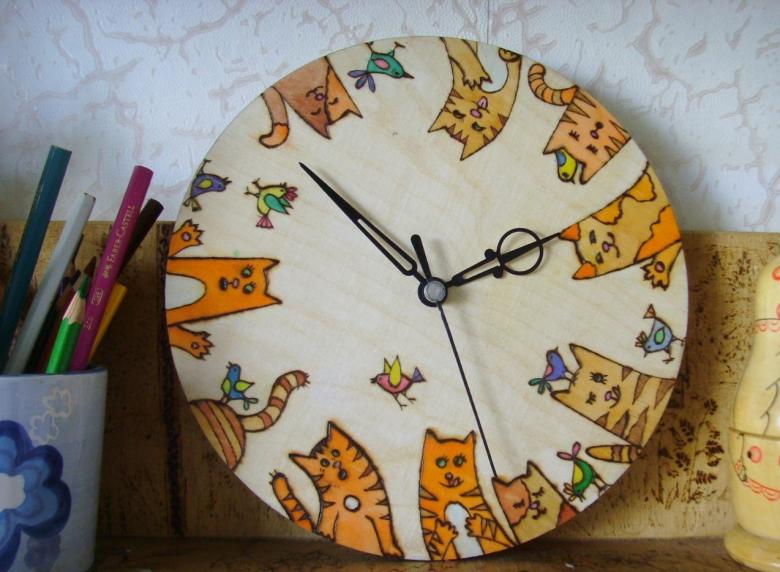
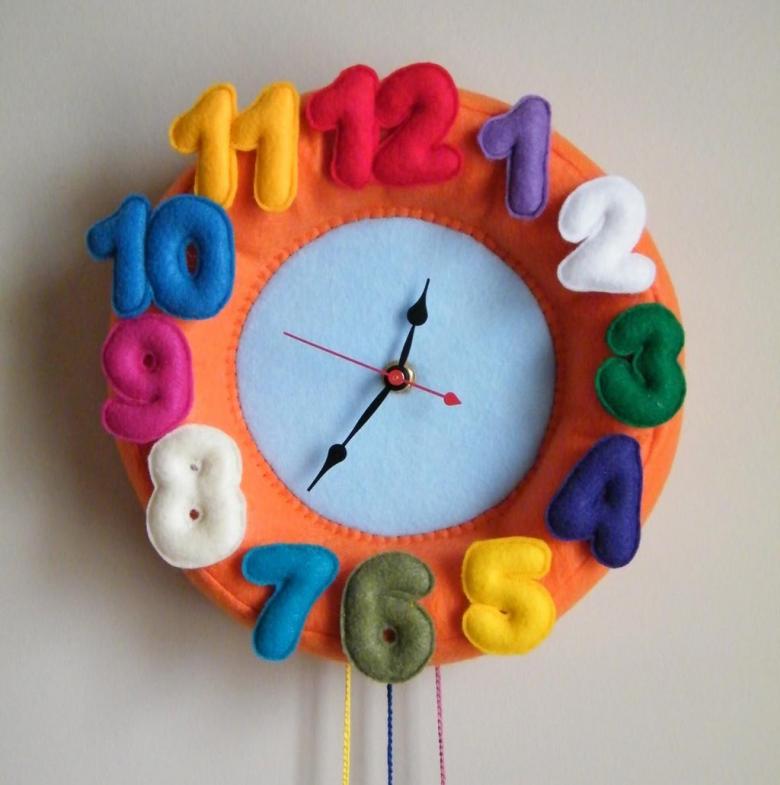
The "Clock" craft will not show the exact time (or rather, recalling the old riddle: it will, but only twice a day), but it is still useful: in the process of making it, children are guaranteed to remember how to "read" the clock correctly. And a teacher, educator, or mother will have a great opportunity to talk to the child about the transience and value of time.
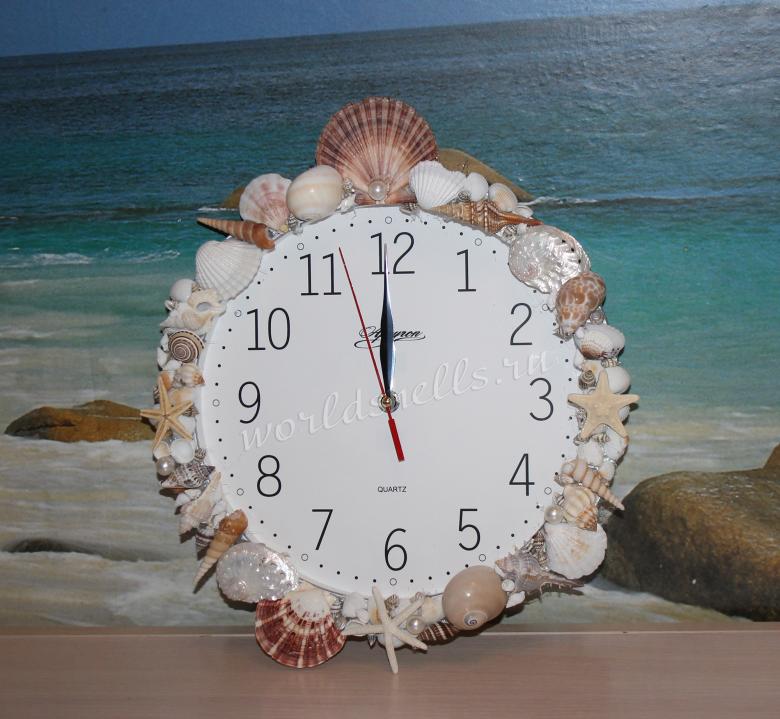
Older children and adult handmade enthusiasts can also make real, running clocks. It will take a serviceable mechanism and imagination.
Toy clocks
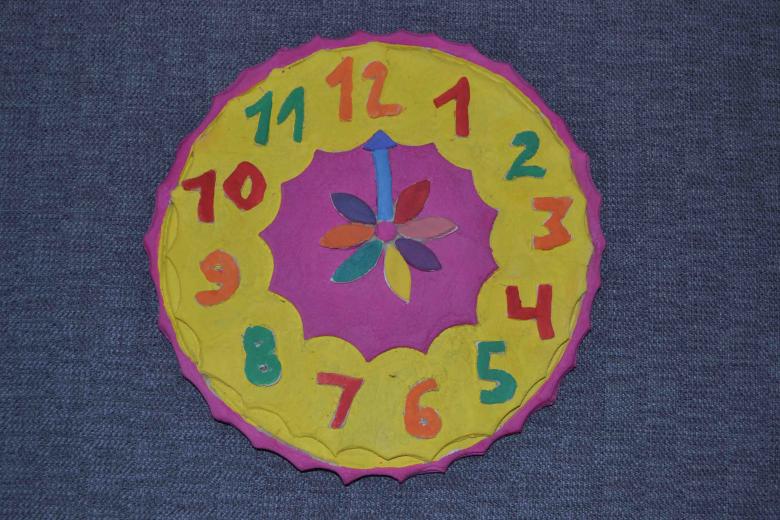
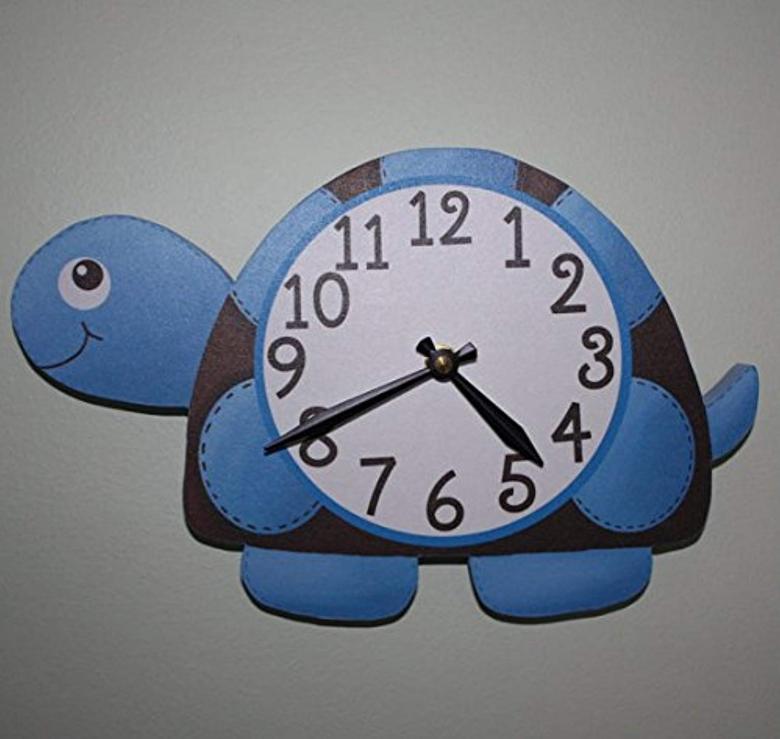
They are made according to the same principle, although the handicrafts turn out absolutely different. The result depends on how you make it:
- dial;
- numbers;
- hands.
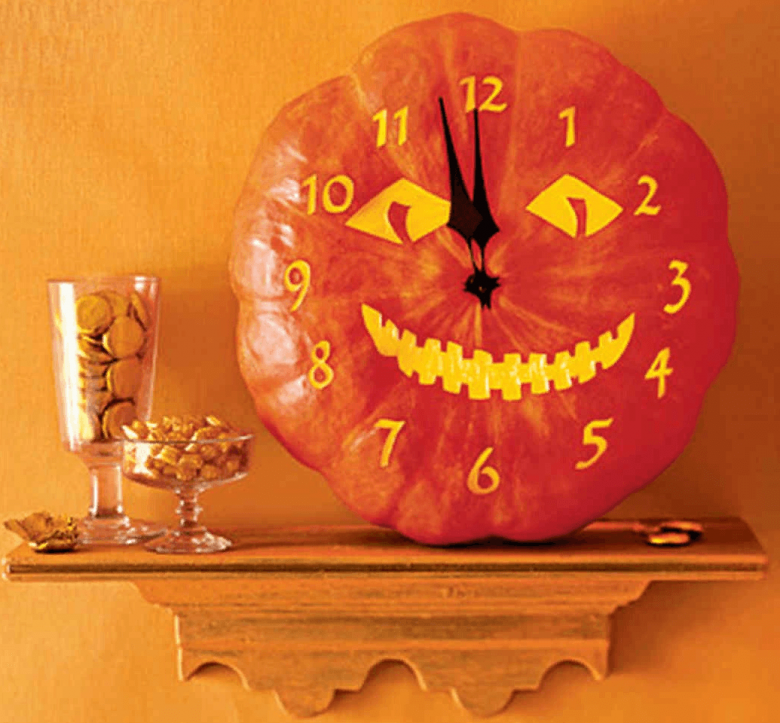
In addition, the clock can be made:
- with a double row of numbers, separately - hours, separately - minutes;
- With covered minutes, hiding behind a "curtain" of paper or cloth;
- without figures. Instead of them, you can glue whatever the child likes - small toys, cars, dried-up small flowers, funny drawings;
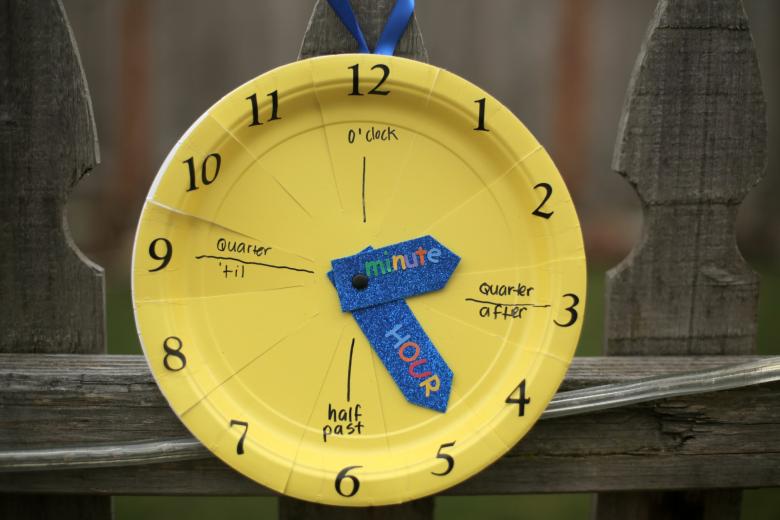
- with signed hour and minute hands. Not all children are quick to distinguish them;
- with moving or stationary hands;
- with a panel made of fabric and a set of numbers on velcro, from which you can lay out the "alarm clock" time, etc.
On the Internet you will find several more ideas and photos of the process of their implementation.
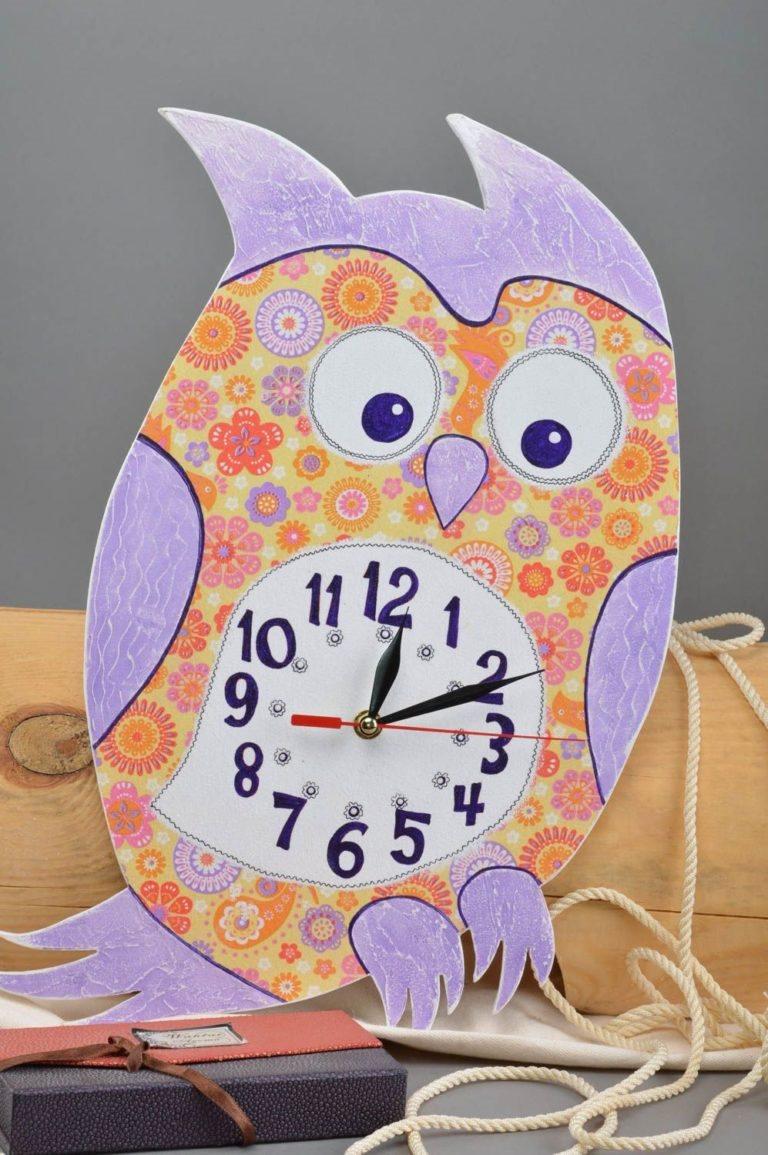
For the dials and hands of homemade children's watches usually use cardboard or fabric. The box can also be made from a hot food stand.
Cardboard clock in 8 steps
This is a simple craft, on the example of which you will understand how to make a wall clock, and then you can repeat the process together with children.

Preparation and materials
You should prepare in advance:
- scissors;
- a sharp object (scissors with sharp ends, an awl, a nail);
- glue;
- press (a stack of books);
- colored cardboard of at least two colors (if the cardboard is dense, wrapping, it can be used in one layer, and thus glue is not needed. But colored paper will be needed);
- A compass (or a plate and ruler). The compasses are more convenient - you won't have to look for the middle, it will already be marked with a puncture;
- a simple pencil;
- nut, bolt.
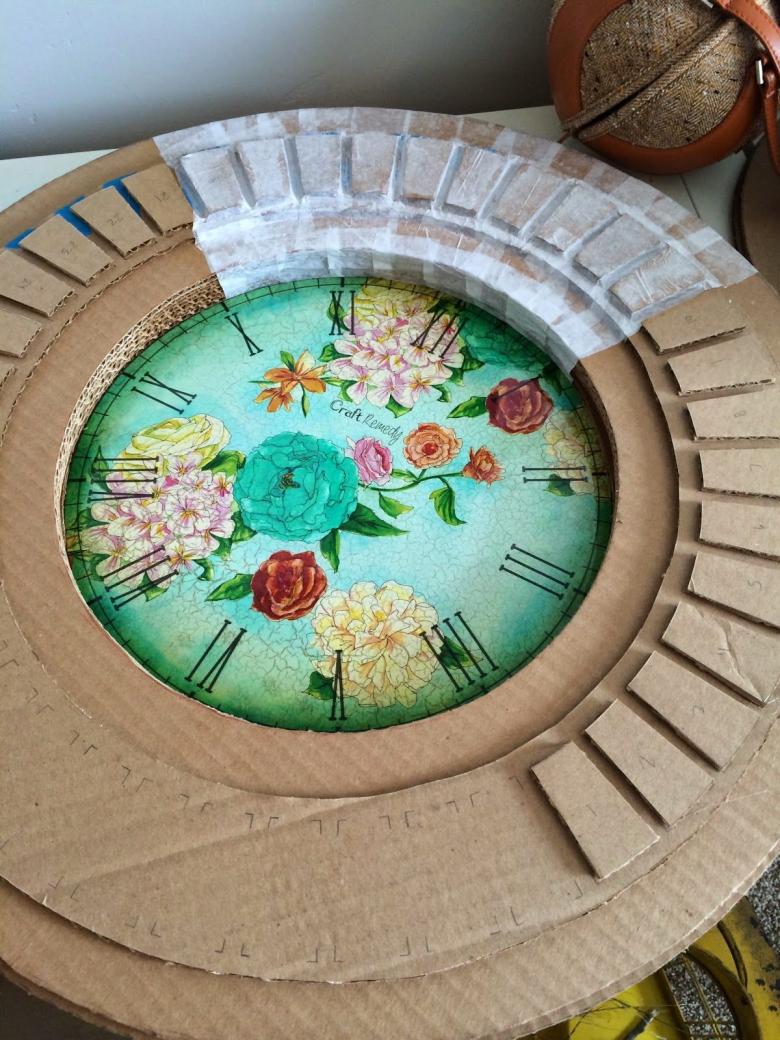
Master class:
- We take three sheets of cardboard and draw an equal circle with a diameter of 20 cm on them with a compass. If you don't have a compass, put a plate on the sheet and trace it with a simple pencil. Determine the center of the circle by drawing two lines on a ruler - a horizontal line and a vertical line. Mark the point of intersection.
- Cut out circles. Glue them together. For glue to adhere firmly and the workpiece will remain flat, put it under the press.
- On two more sheets of cardboard, in a different color, draw identical hands: a longer one for the minute and a shorter one for the hour. Glue them together in pairs.
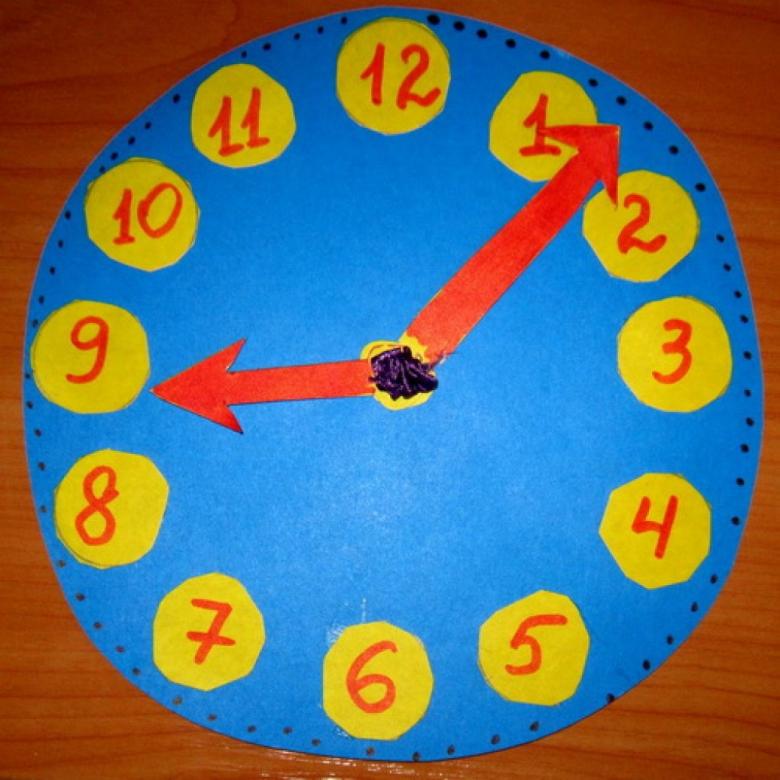
- Take a new sheet of the same color as the hands, draw circles in them, place numbers. Cut them out. Now you are ready to assemble the clock.
- Take a sharp object and make a hole in the cardboard dial exactly in the middle. Use scissors, awl, screwdriver. Children in kindergarten should not be trusted with this work - it is dangerous.
- Mark the place where they will be adapted circles with numbers, and glue them.
- Use the same sharp object to make holes in the base of the arrows.
- Align the holes in the hands with the hole on the dial, insert the bolt and tighten the nut. But not too tight - the hands should rotate.
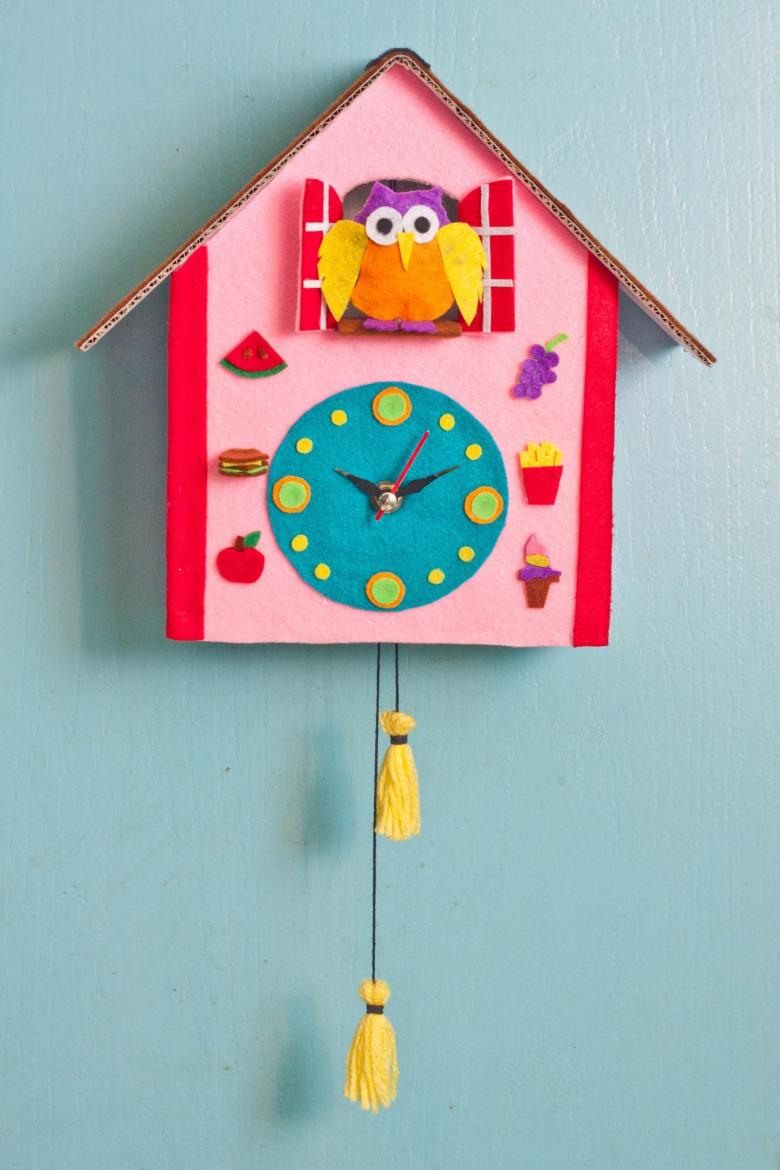
If you made a handicraft not from colored cardboard, but from ordinary packing cardboard, then when you took the workpiece out from under the press, do not forget to cover it with colored paper. Bare cardboard looks opaque.
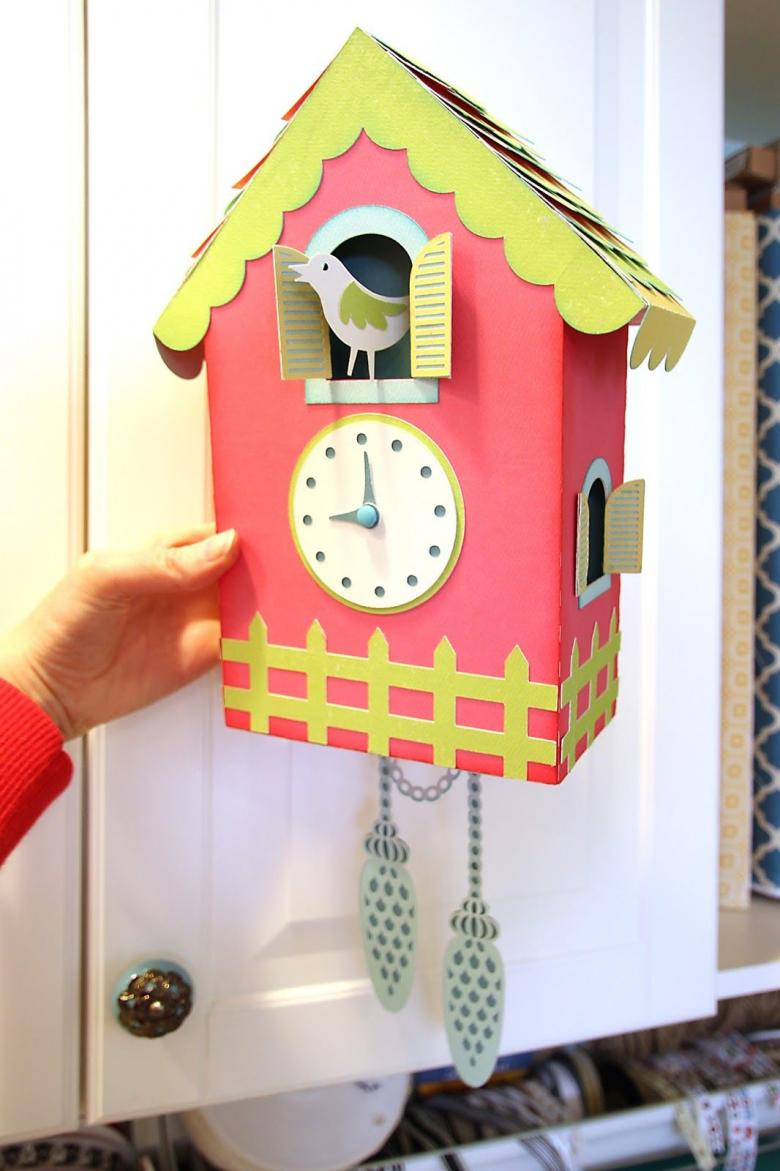
Pay attention! If you are not sure of your artistic talents, you can find a lot of templates with numbers for gluing on the dial on the Internet. They are usually enlarged by clicking and can be printed.
Clock made of fabric in 5 steps
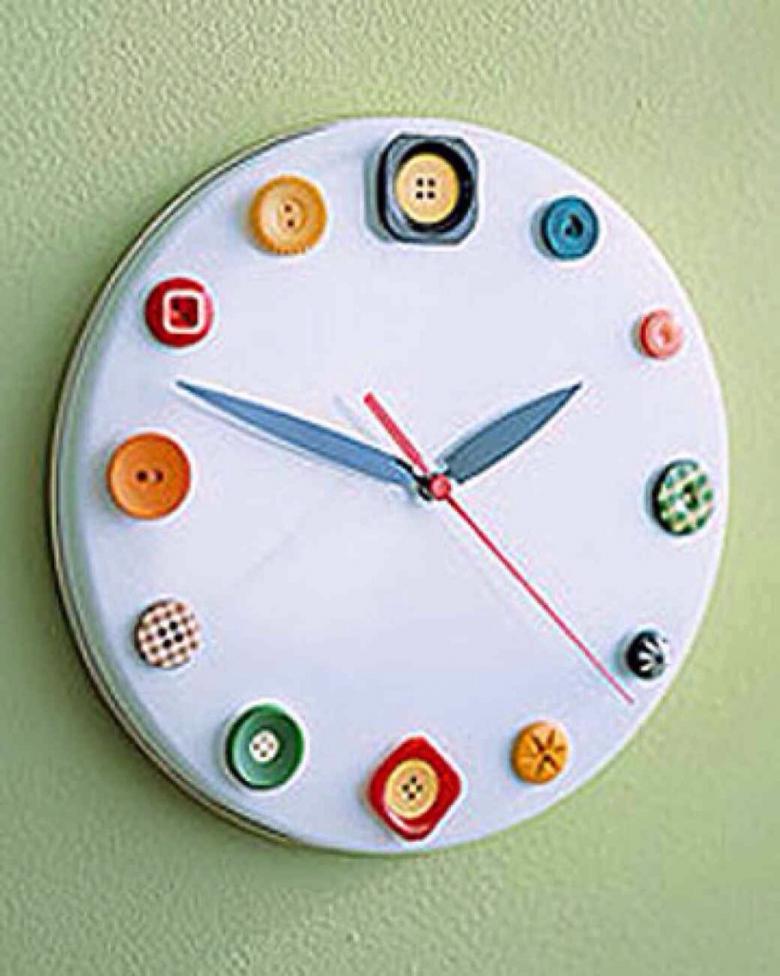
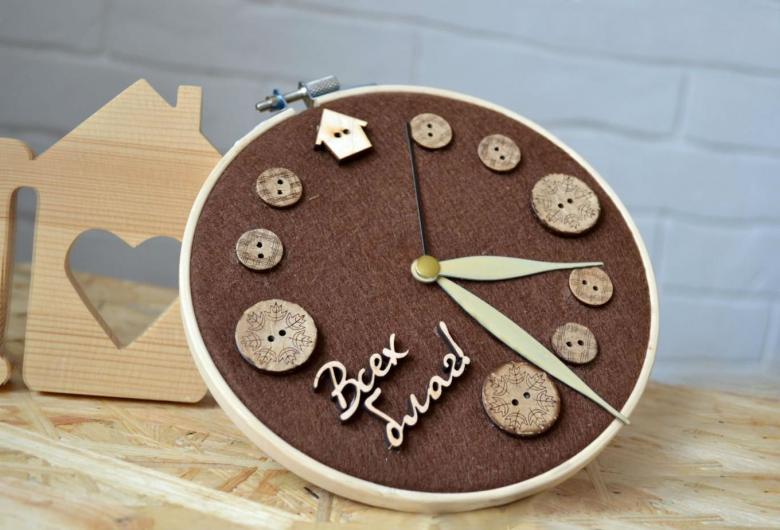
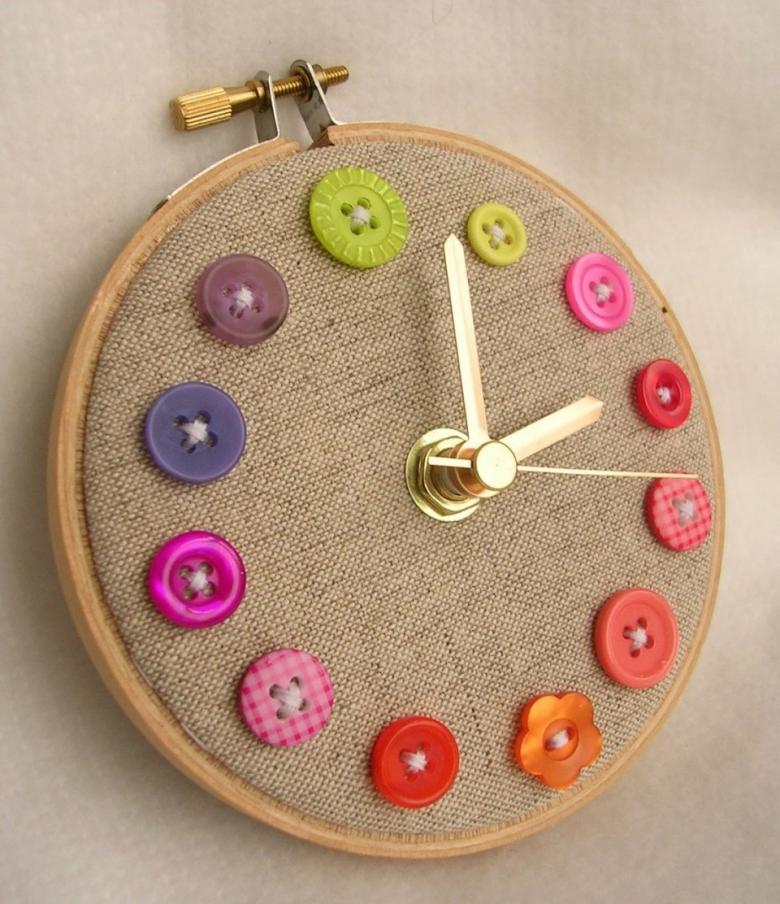
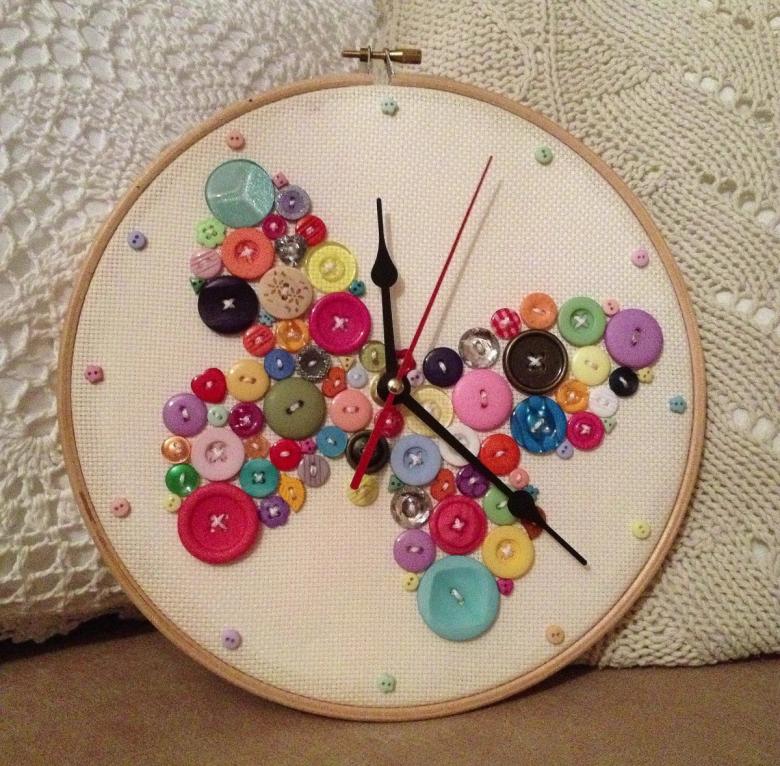
An interesting and uncomplicated option for girls who already know how to confidently hold the needle is a clock made of fabric stretched on a hoop.
Prepare:
- A piece of fabric in white or any other color, but preferably light;
- hoop;
- 12 large bright buttons;
- cardboard or colored paper;
- scissors;
- needle.

Instructions:
- Stretch the fabric over the hoop.
- Determine the locations of the buttons and sew them on instead of the numbers.
- Draw arrows on paper or cardboard, cut them out;
- Sew the arrows with the base in the center. For a better hold, tack a couple of stitches in the middle. Choose a thread to match the arrows so that they are not conspicuous.
- You can trim excess fabric to the edges of the hoop:
- trim it, leaving a small decorative allowance;
- bend to the back side and fix with threads;
- leave it as it is.
The clock is ready. Keep in mind that it will be impossible to remove the handicraft from the hoop.
Wrist Watch
This too is a simple handicraft, but children really like the final result. With such a clock they feel almost like adults.
Prepare in advance the materials and tools:
- decorative scotch tape;
- colored cardboard;
- felt-tip pens;
- double-sided adhesive tape;
- awl;
- threads.

Step-by-step algorithm:
- We take colored cardboard and cut out a circle from it. The size of the dial is limited only by your imagination.
- We measure the thickness of the child's wrist. Cut a strip 3 cm wide. Determine the length of the bracelet according to the formula: wrist circumference + 2 cm.
- Decorate the bracelet with colored tape.
- Determine the center of the bracelet, step aside 1.5 cm on each side, fold. From the edges of the bracelet measure off a centimeter and cut across the cardboard 1.5 cm, from one side up to the middle, from the other side down to the middle. You get an improvised lock.
- Draw the numbers by hand, the arrows can be cut from cardboard.
- Sew the bracelet, the dial and the hands together with an awl. Sew the parts together with strong threads.
The watch is now ready to be worn on the wrist.
Real Watches
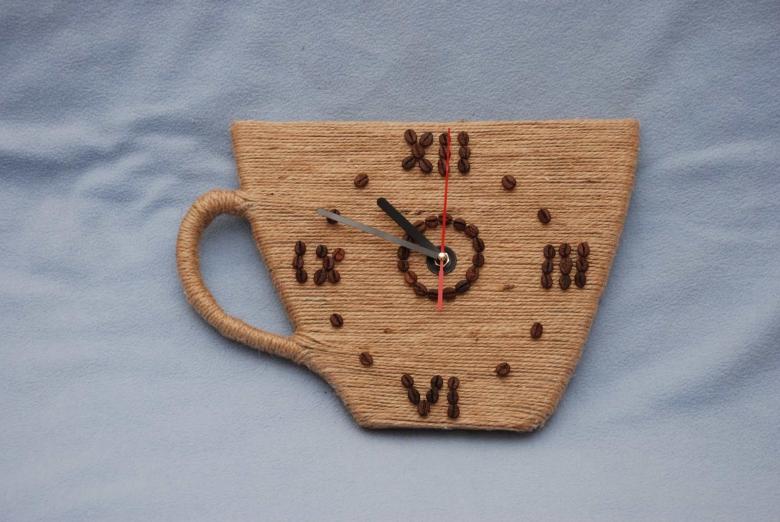
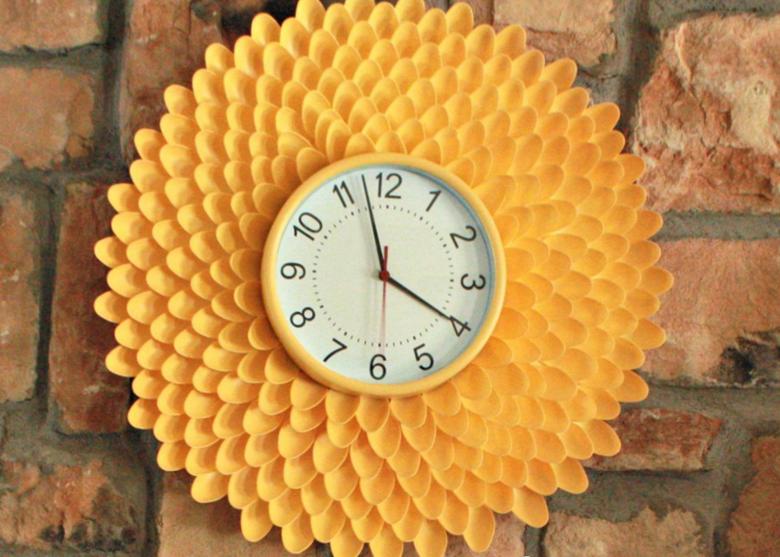
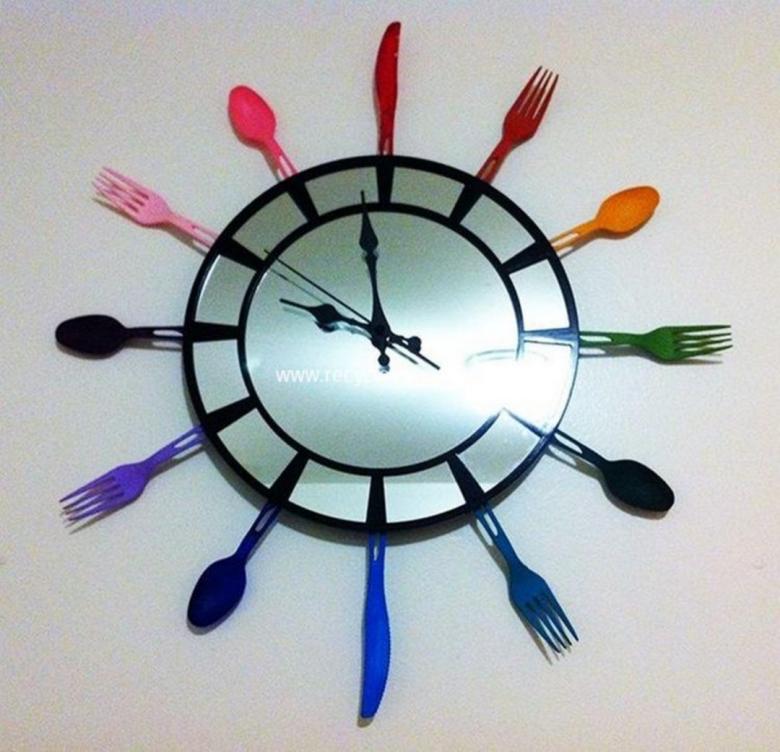
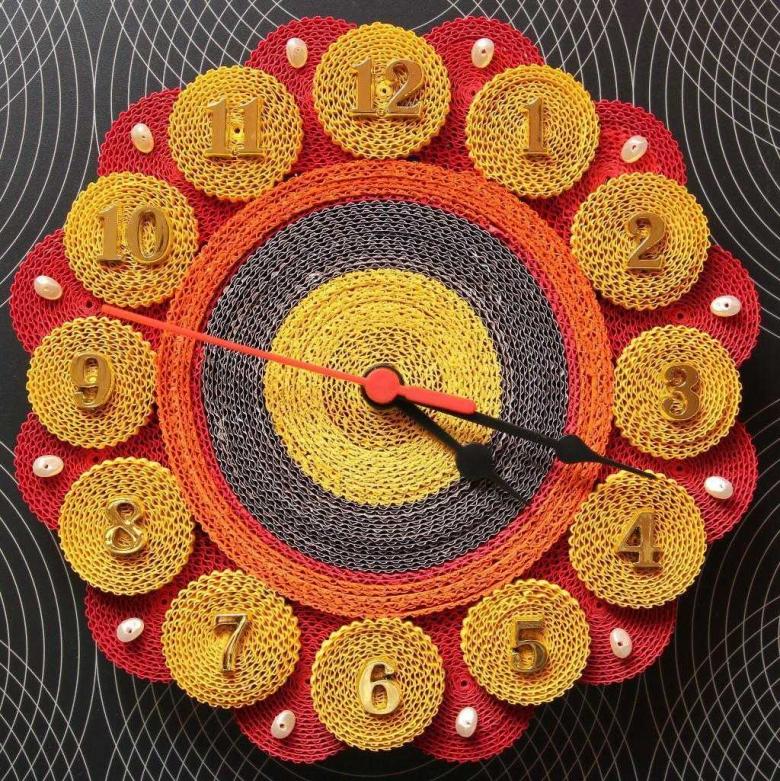
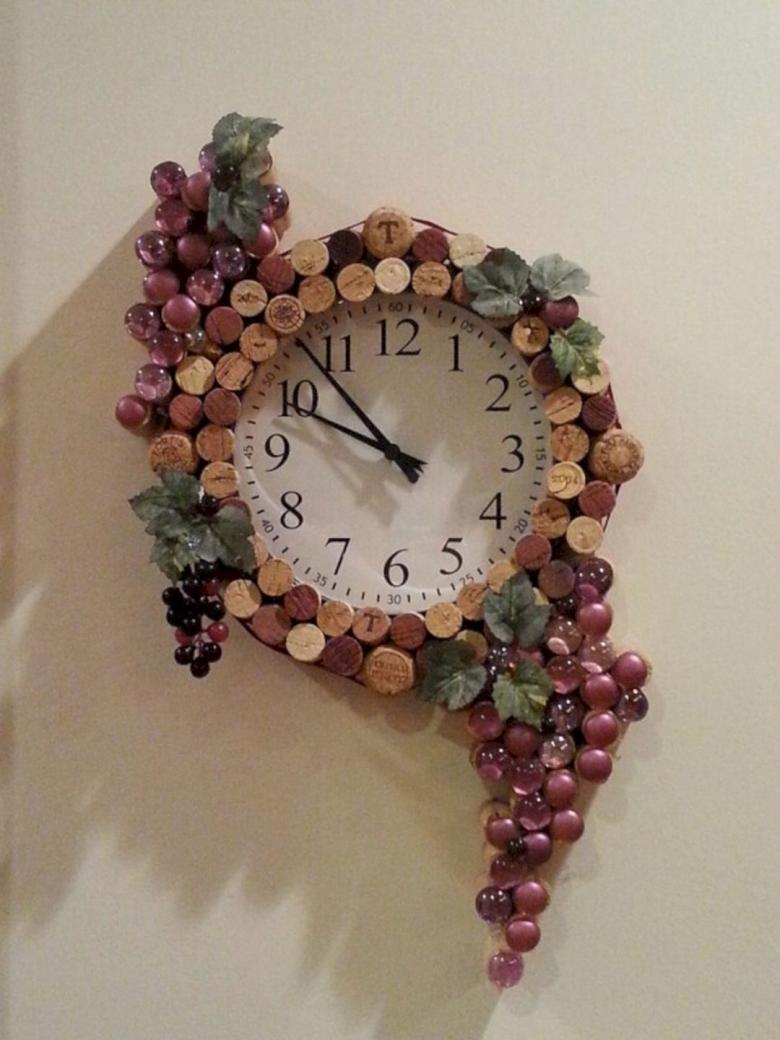
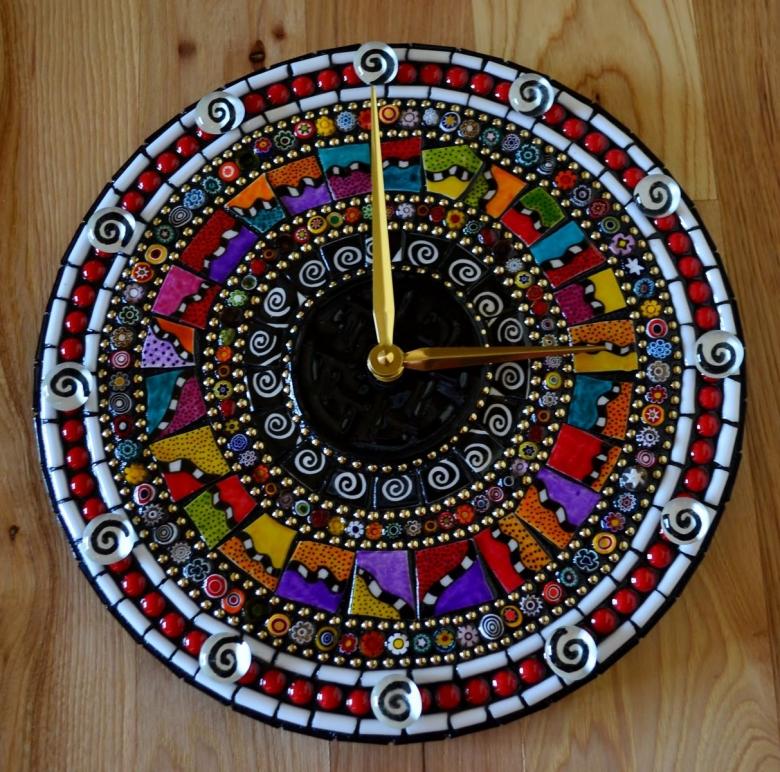
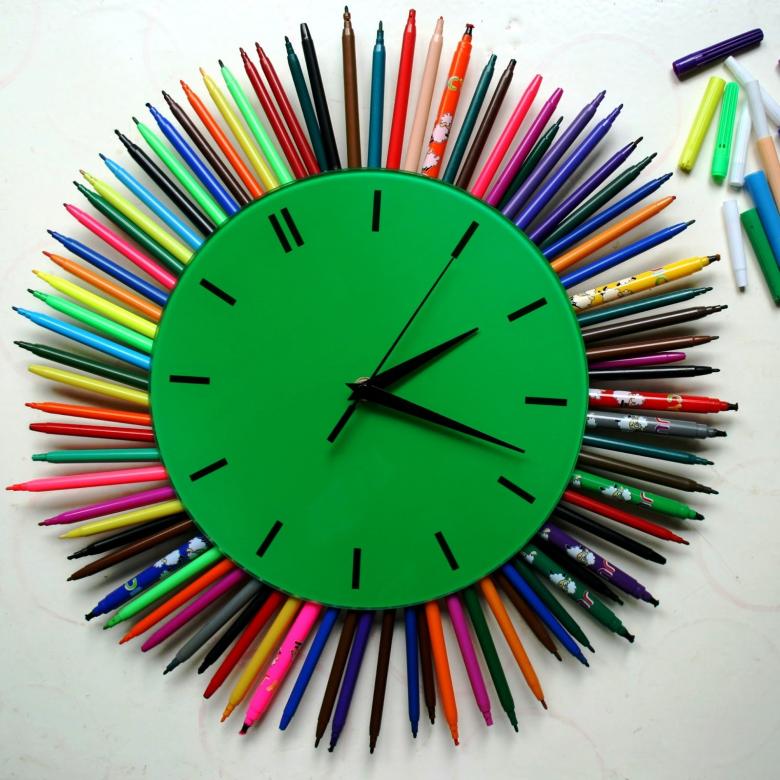
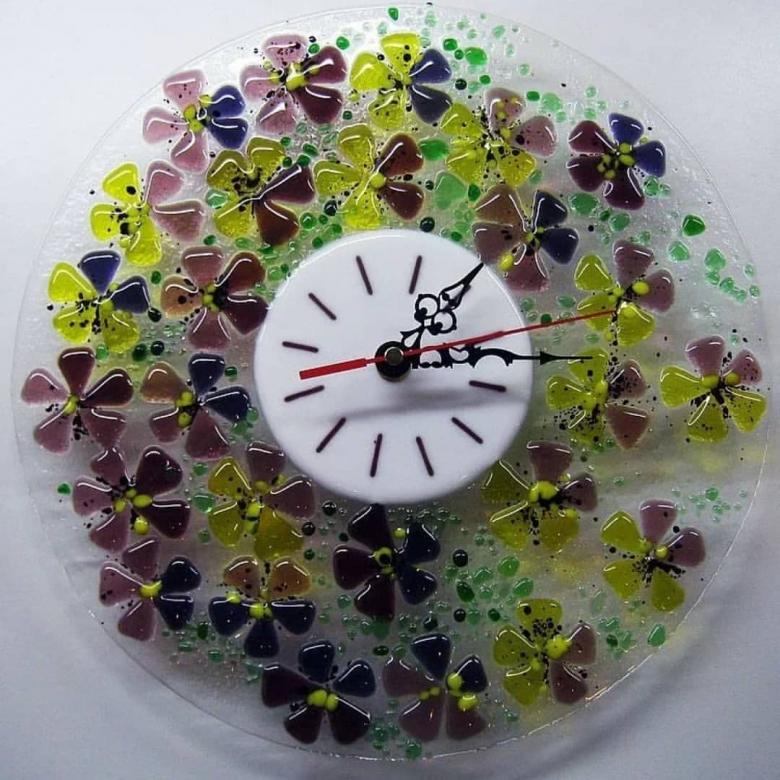
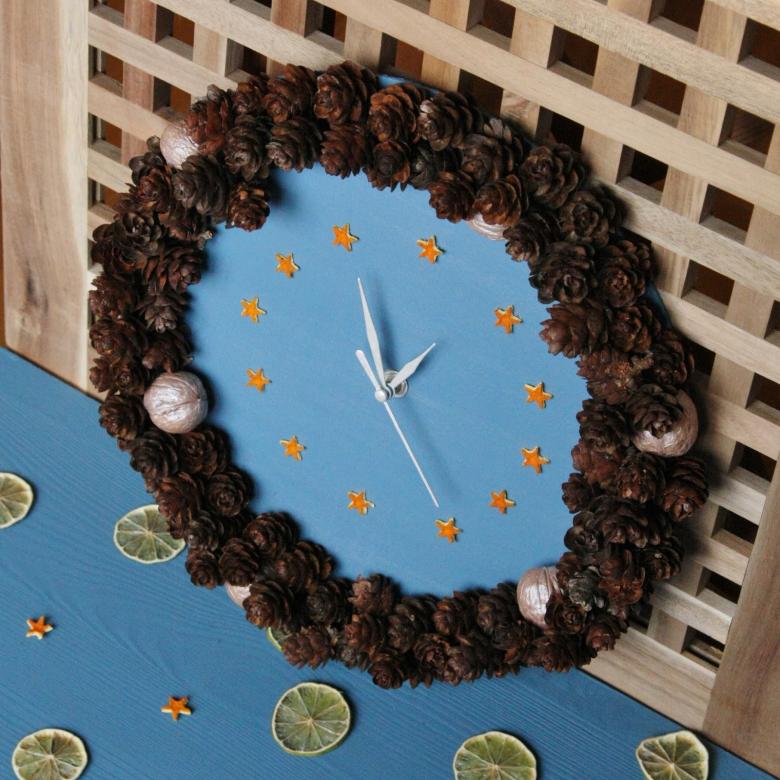
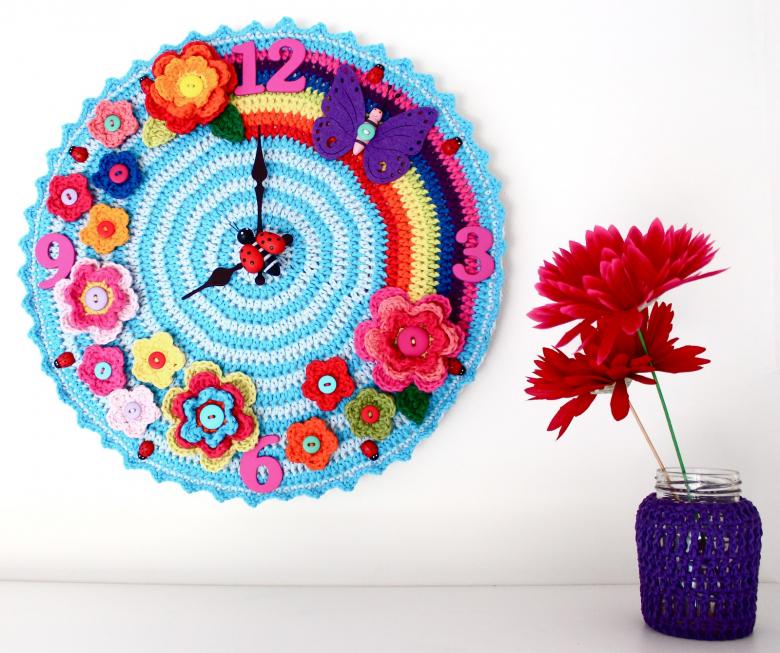
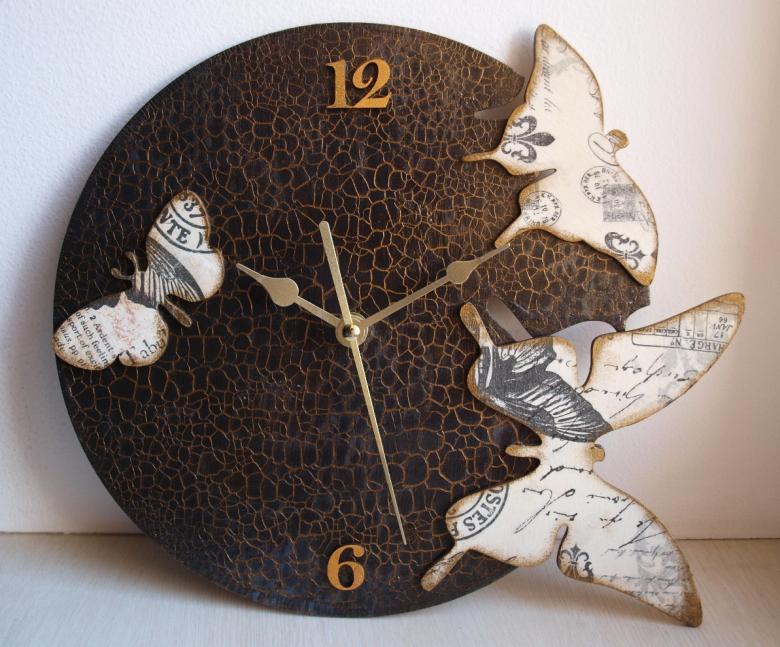
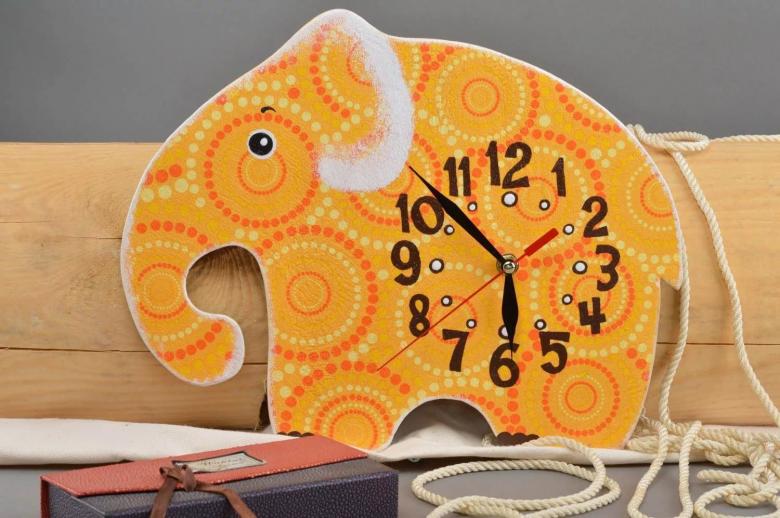
Experienced craftsmen can easily create a working clock that will perfectly fit into the apartment interior, thankfully there are a lot of options. For making and decorating dials use:
- coffee beans;
- playing cards;
- photos;
- clippings from newspapers and magazines;
- wood;
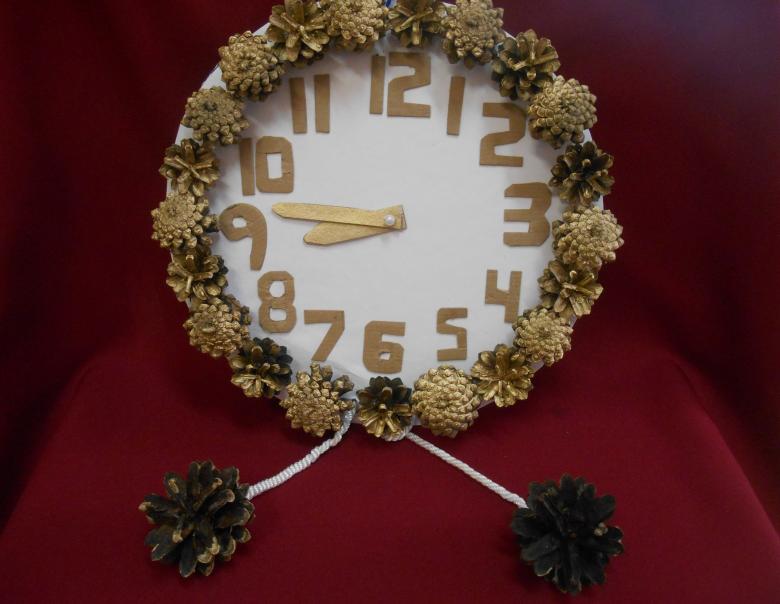
- natural materials (branches, flowers, leaves);
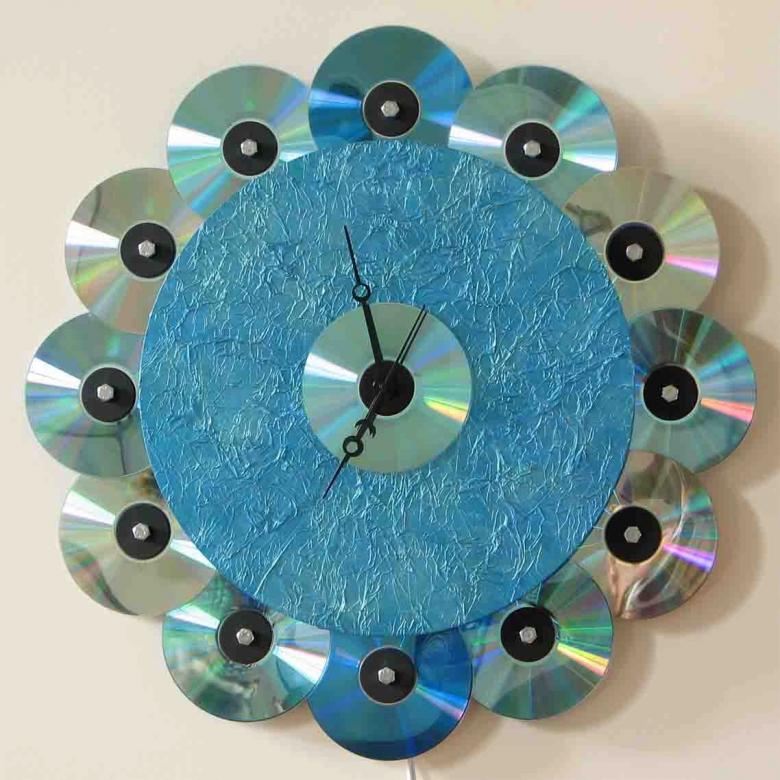
- old records or CDs;
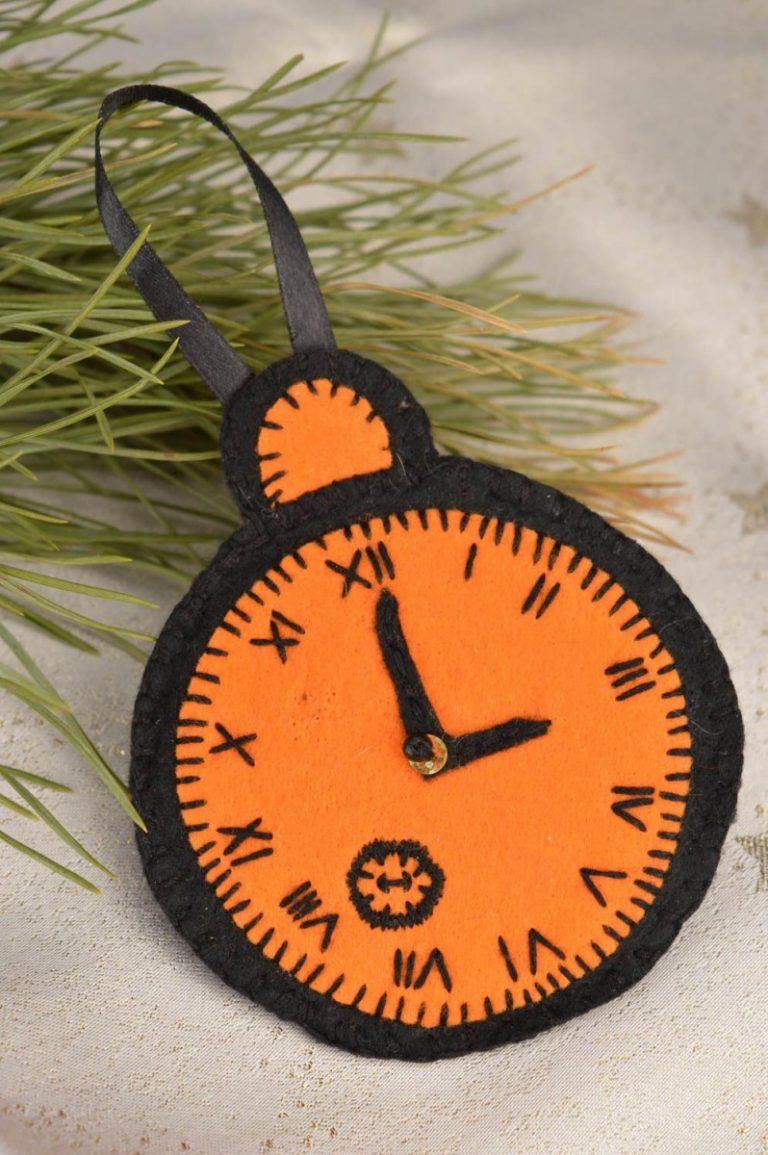
- cloth;
- Cloth-covered plates;
- plywood;
- woven napkins.
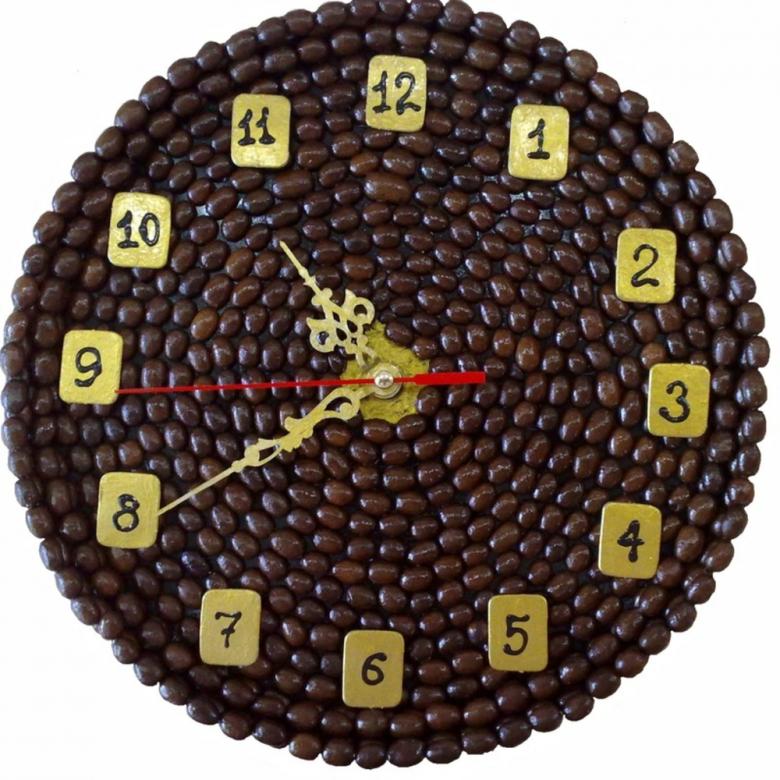
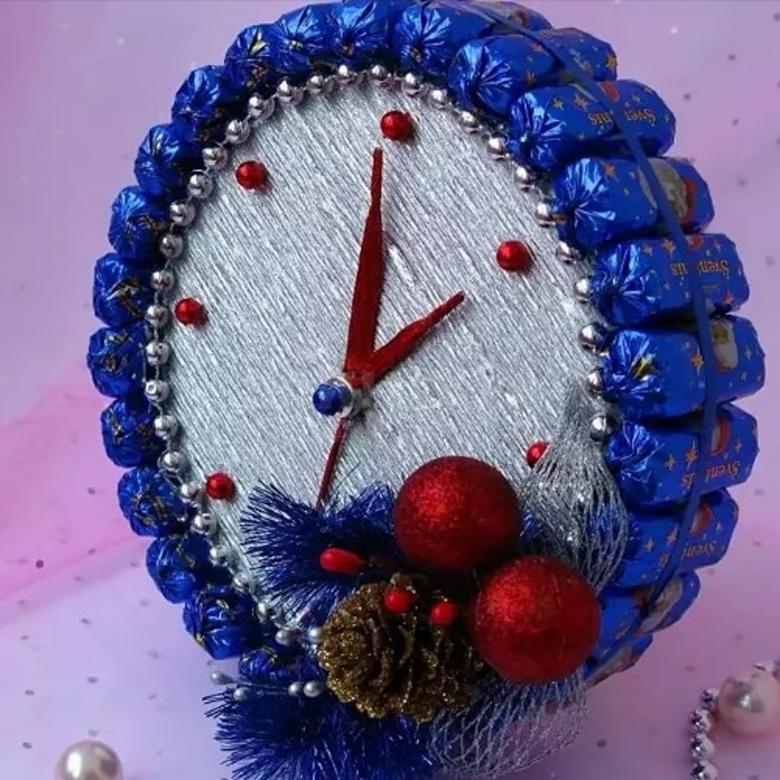
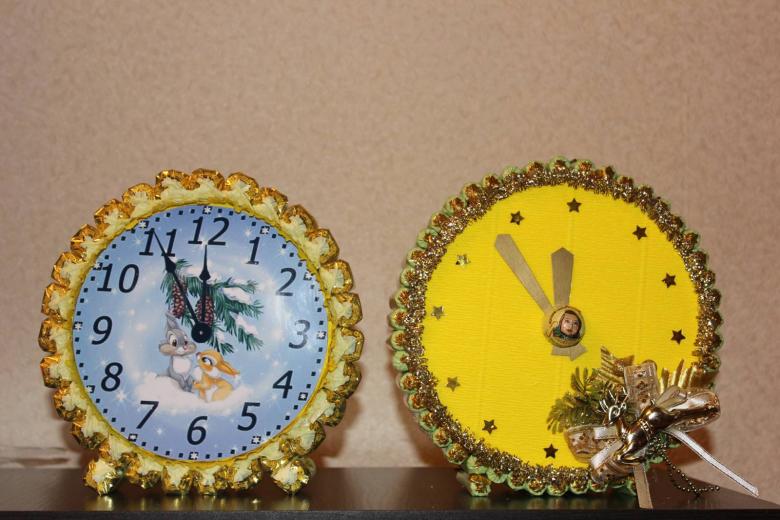
This list can go on and on. With any of these materials the craft will be original and bright. Some homemade clocks are more like works of art and are best suited for New Year's gifts. The main thing is to observe the stylistics.
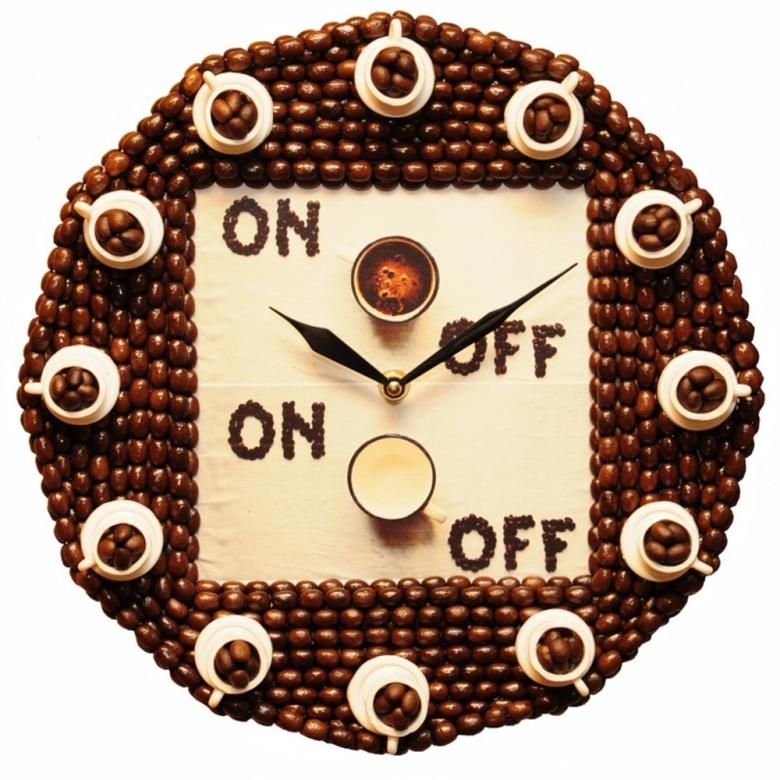
The first thing will be to choose a clock mechanism. They come in:
- mechanical;
- quartz.
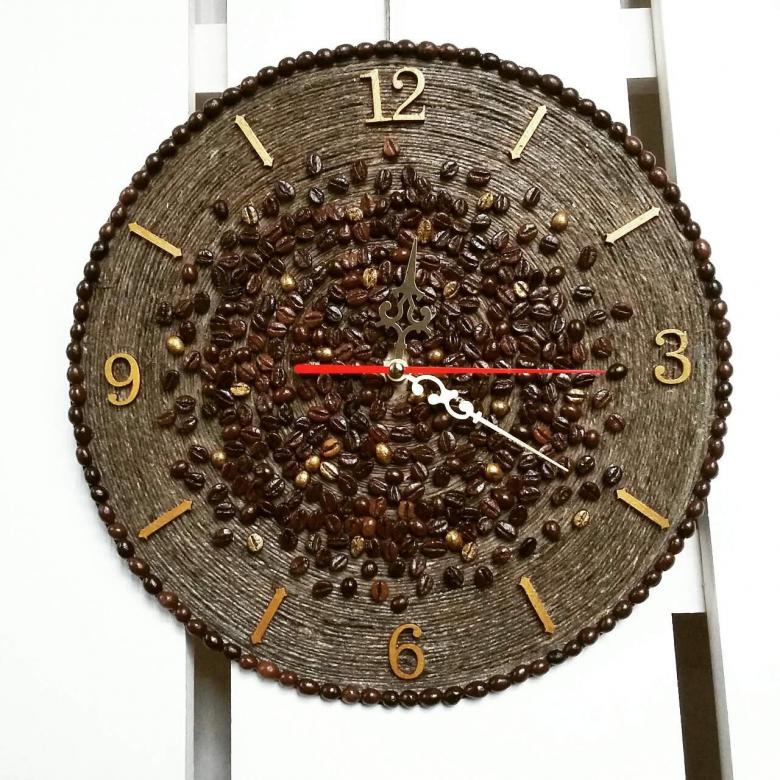
You can distinguish them by eye. The mechanical watches have a smoothly moving hand, while the quartz ones have a jumping hand. For making crafts, quartz movements are better suited: they are inexpensive, not too capricious, maintainable and sufficiently (although not ideal) reliable. But they run accurately, and it is not necessary to wind them every day. The watches are battery powered and can run for a year without replacing the cell.
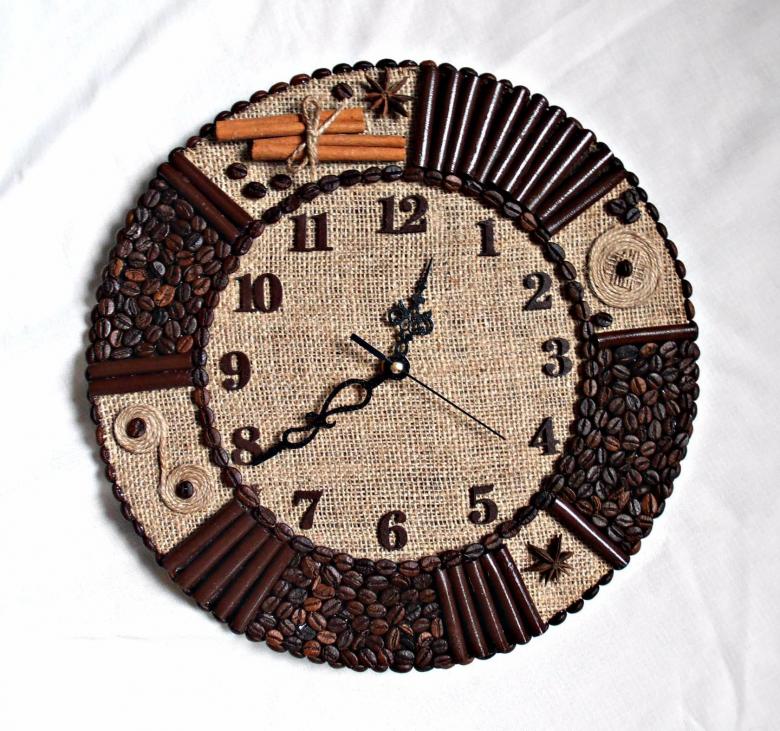
When you have found the mechanism, decide on the base - it must fit the thickness.
Consider the décor. Look at photos on the Internet, and you'll find a lot of interesting ideas.

And one last tip: be careful when attaching the hands. They are arranged in this order: hour - minute - second. They must not touch each other, this will prevent the clock from walking.

The clocks, made by your own hands, will decorate any house and can be a great gift. After all, the master himself determines how and in what style to make them, and can take into account the tastes of the person to whom he prepares a gift.


