How to draw a birch tree step by step in pencil and paint - interesting master classes, photo ideas and examples
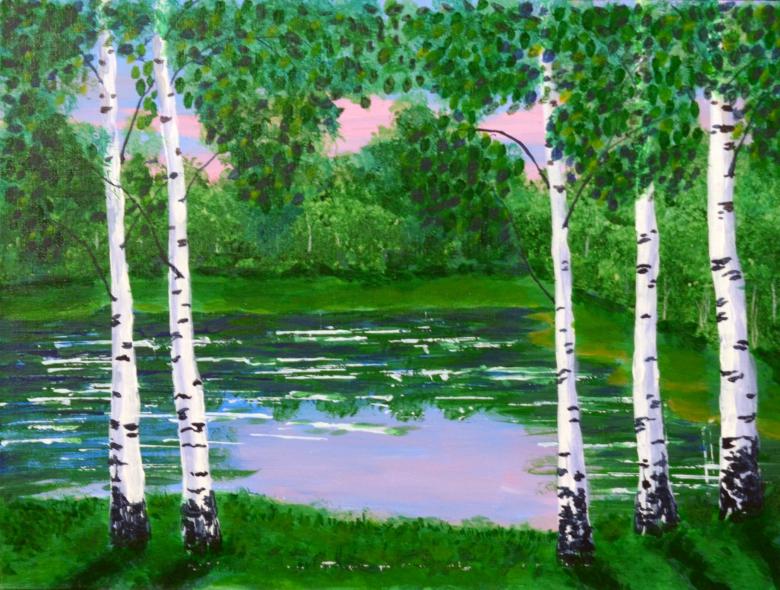
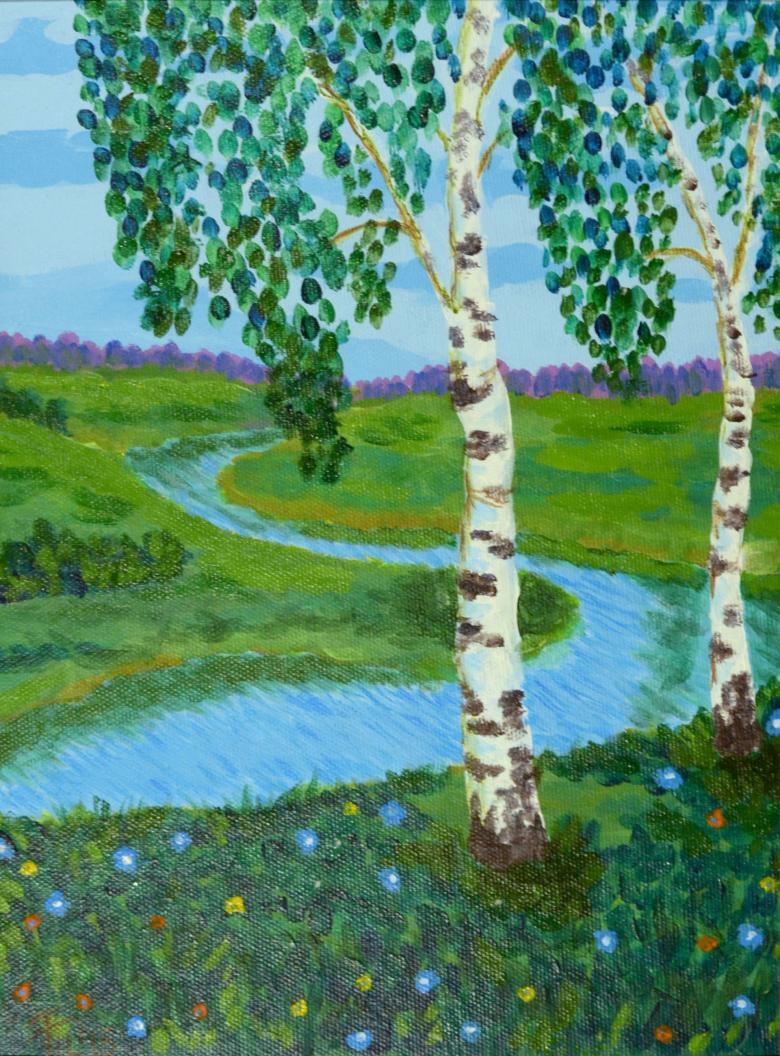
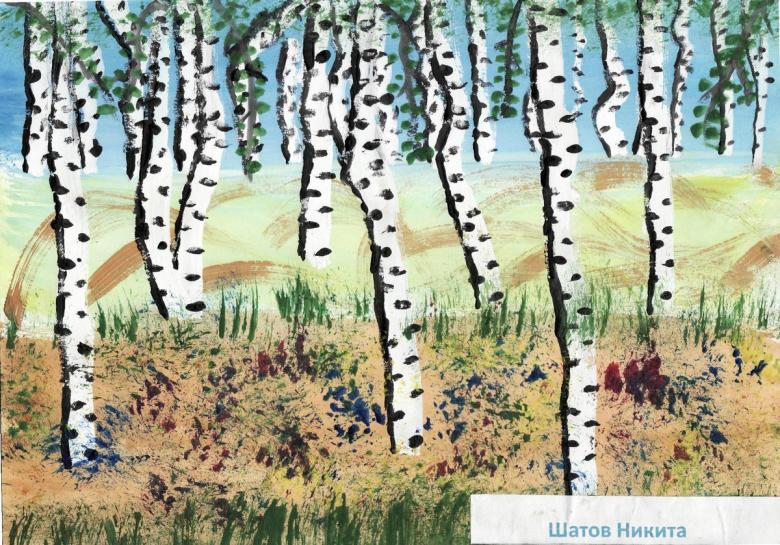
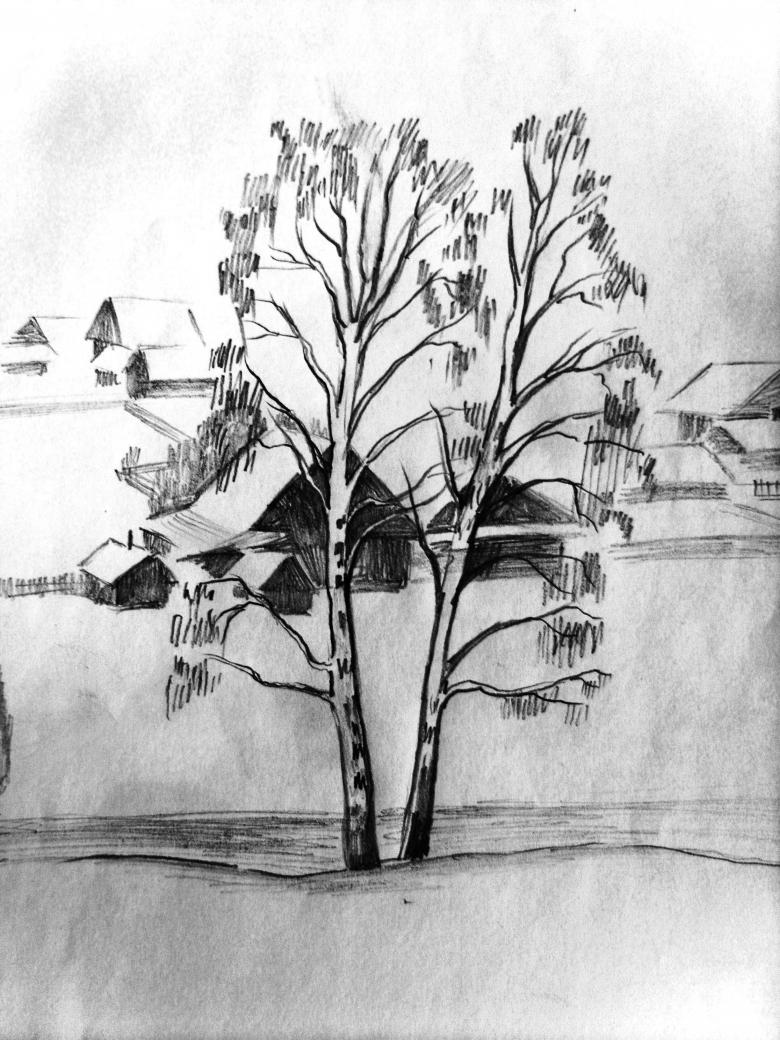
Being fond of drawing, there comes a period when there is a desire to create a landscape on paper. To portray it beautifully it is necessary to understand the technique of drawing trees. The most inspiring is the birch. That is why it is worth taking as a basis.
Simple drawing
In fact, drawing a tree is not difficult. You should start with the simplest version, designed for children. Also find a master class that reflects the whole process step by step. Having mastered the basic skills, it is possible in the same way to teach the possession of a pencil and a child. For work you will need:
- A piece of checkered paper;
- eraser;
- A sheet of paper with squares, an eraser, pencils and colored pencils;
- felt-tip pens.
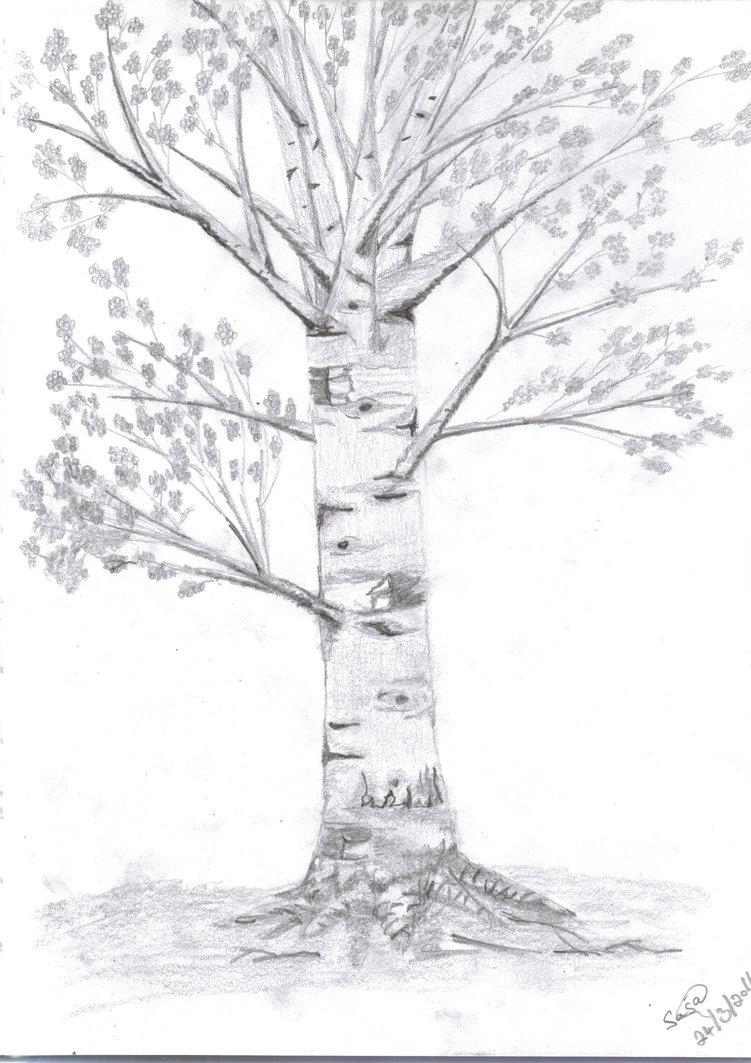
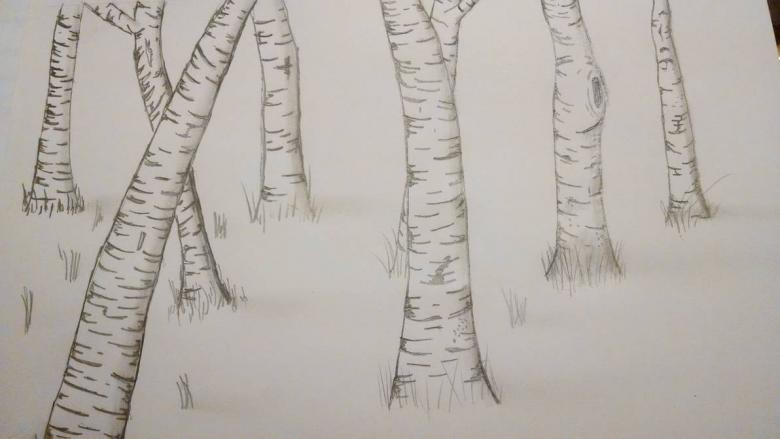
For the beginning it is desirable to use a simple pencil of medium hardness to be able to correct any mistakes. The process itself is as follows:
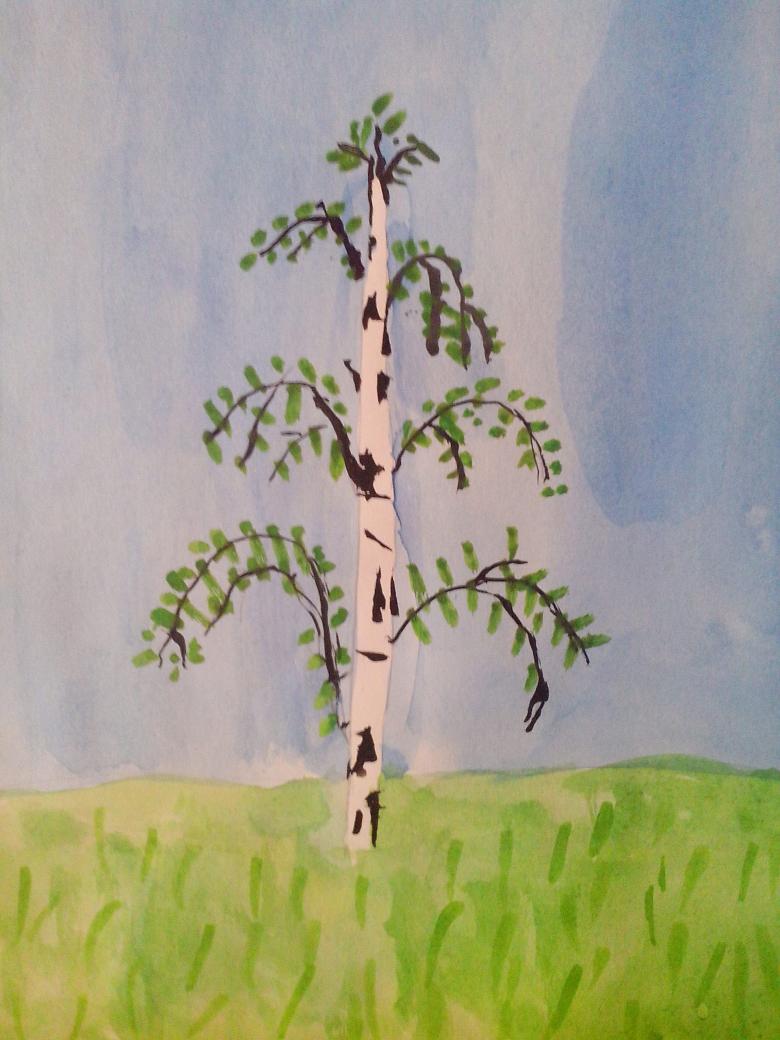
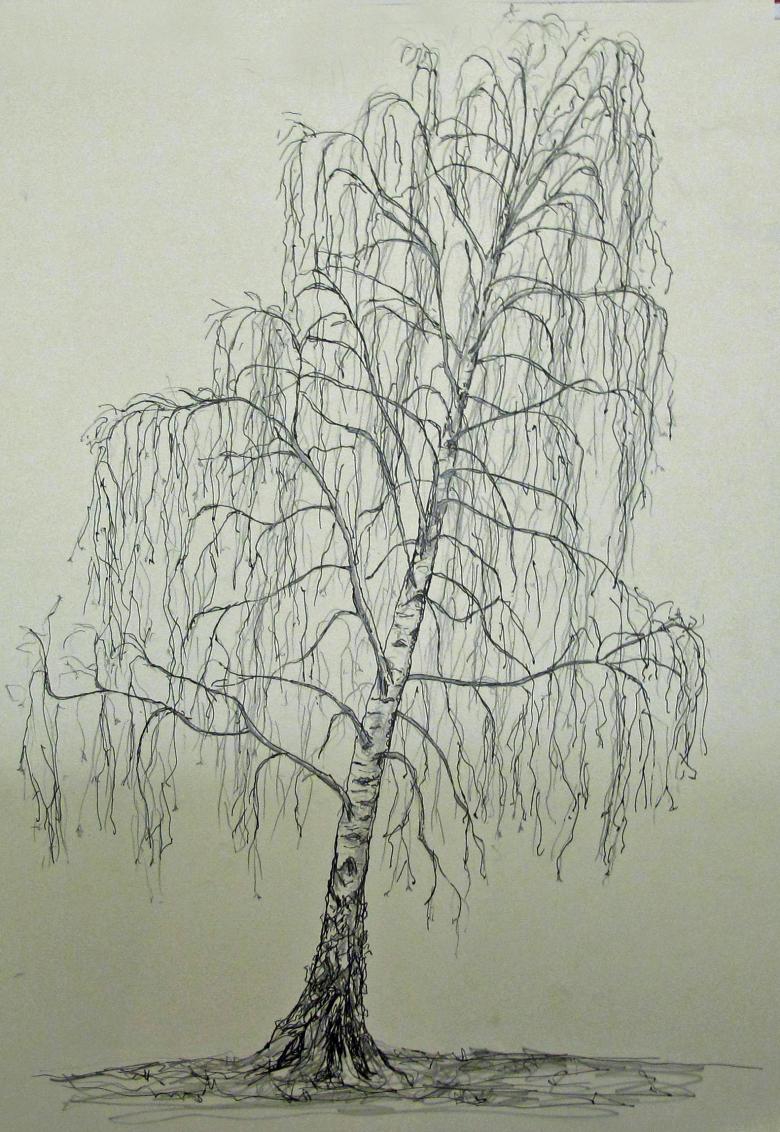
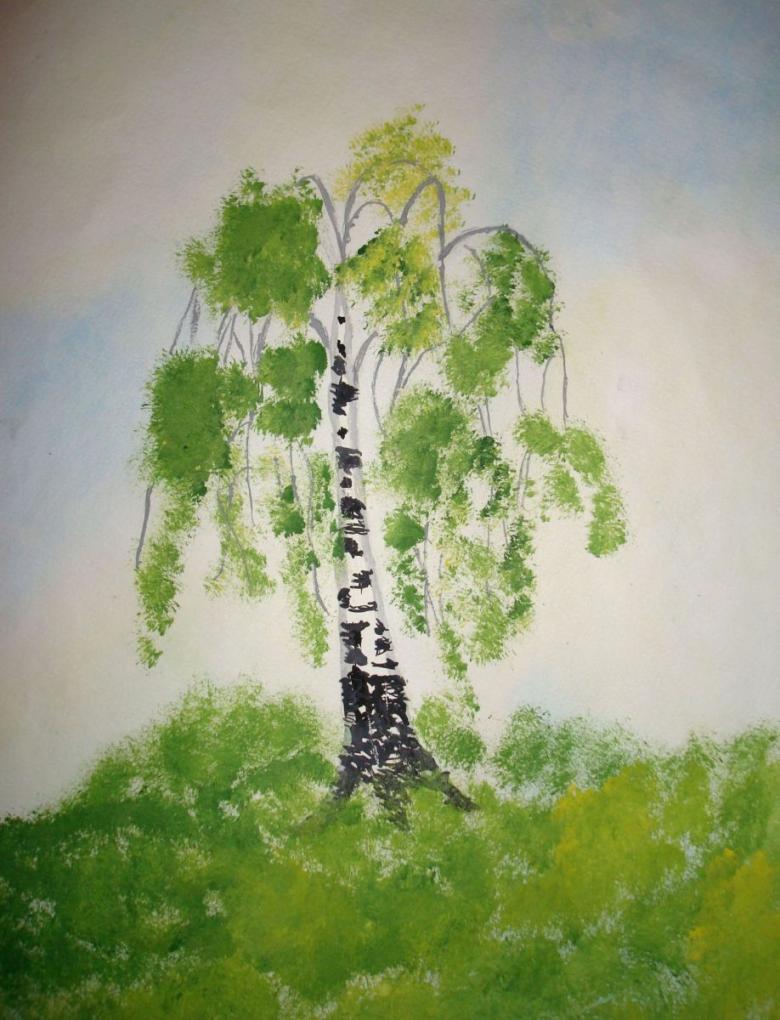
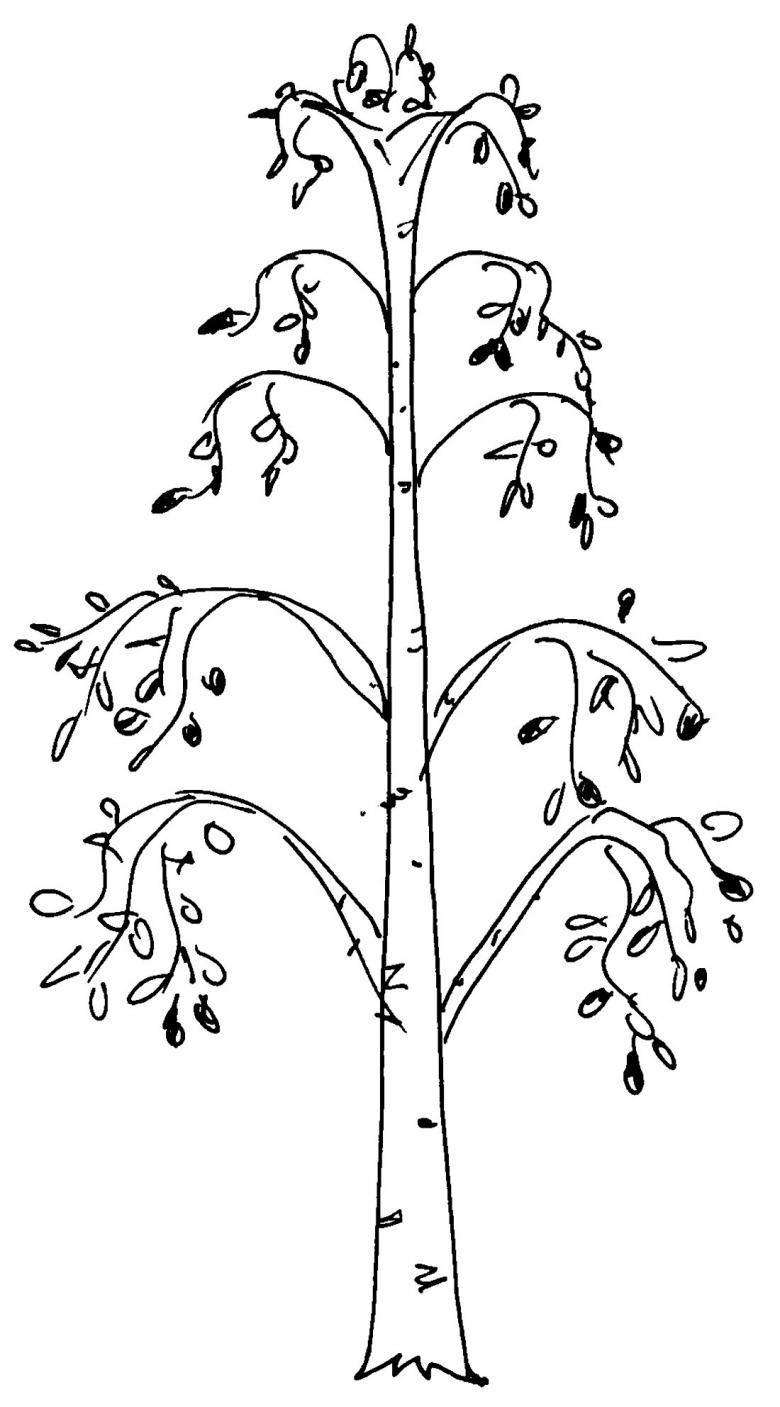
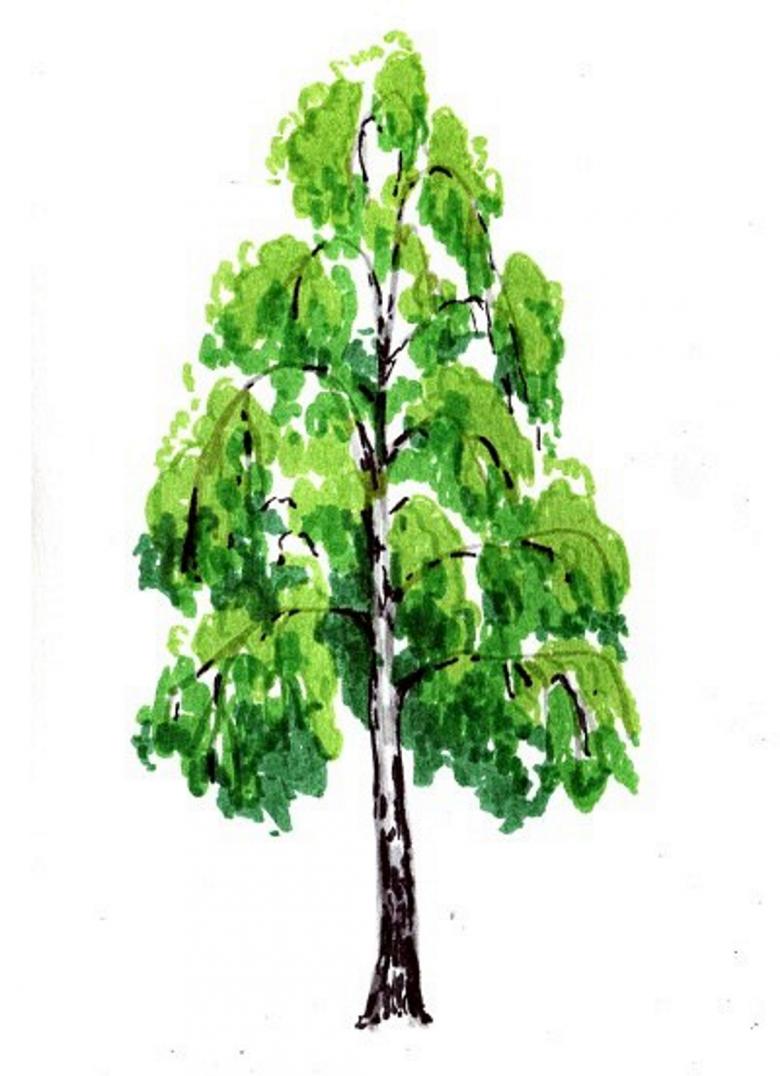
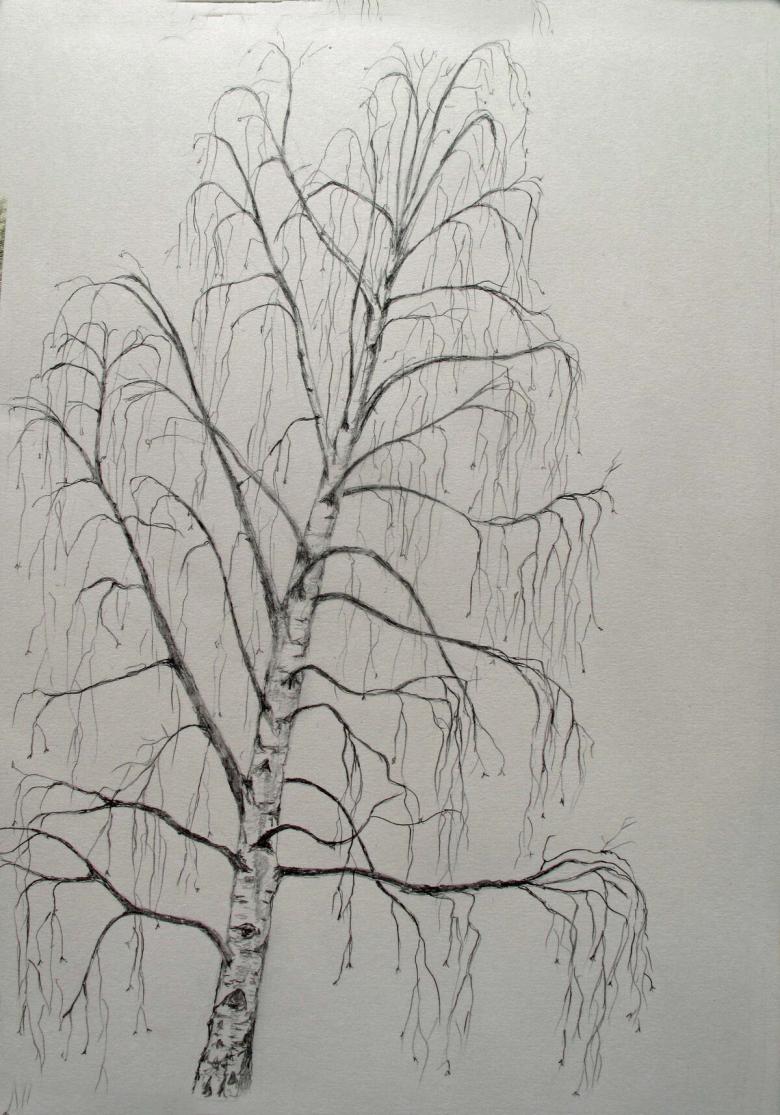
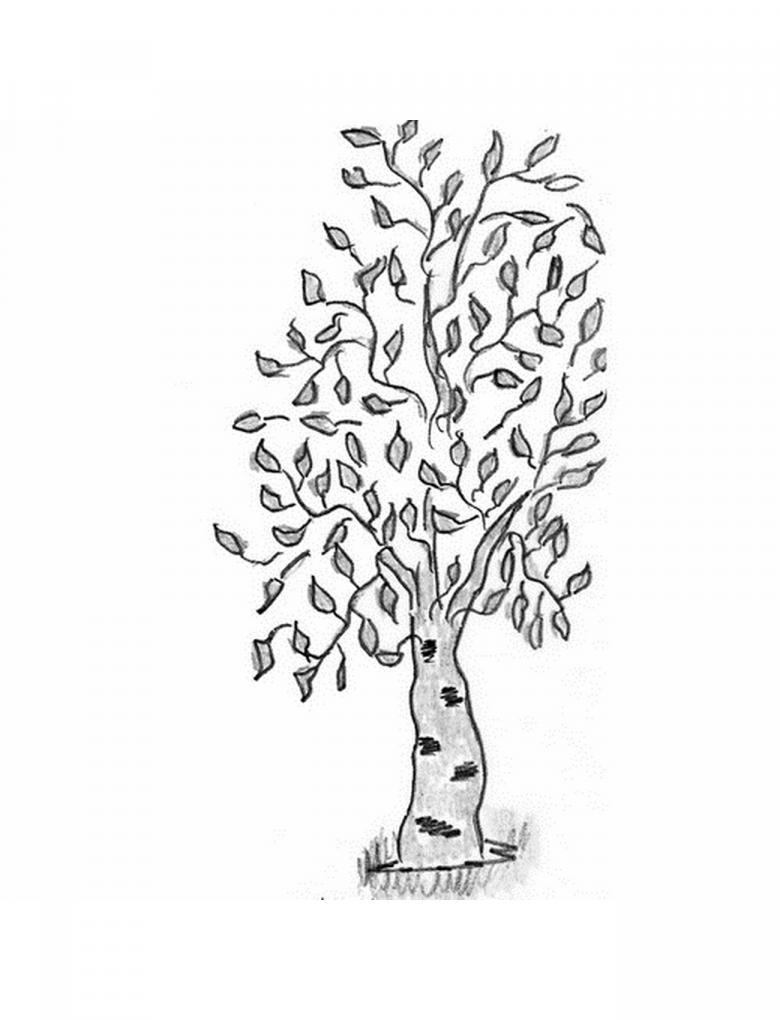
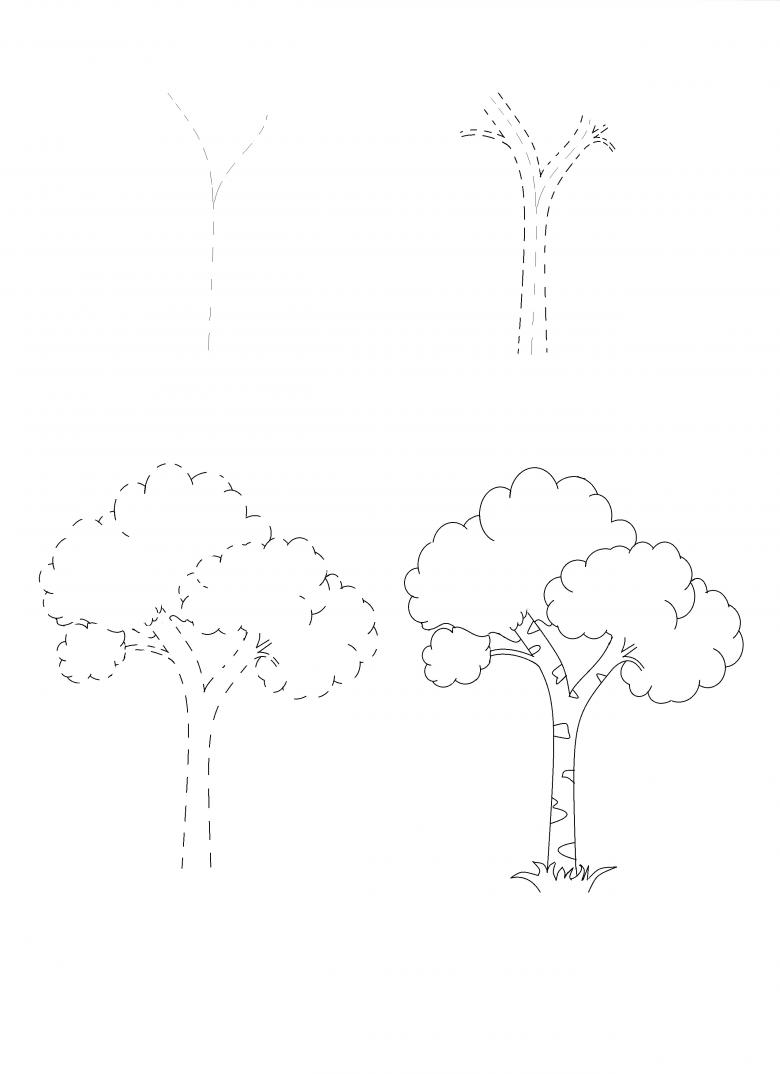
- To depict the trunk, for this you need to draw two vertical lines, rounded at the top at different levels, this will be a branching. The size and contour of the line is made depending on the conceived image.
- Make a branched part of the trunk, which is higher. Give the contours a thickness.
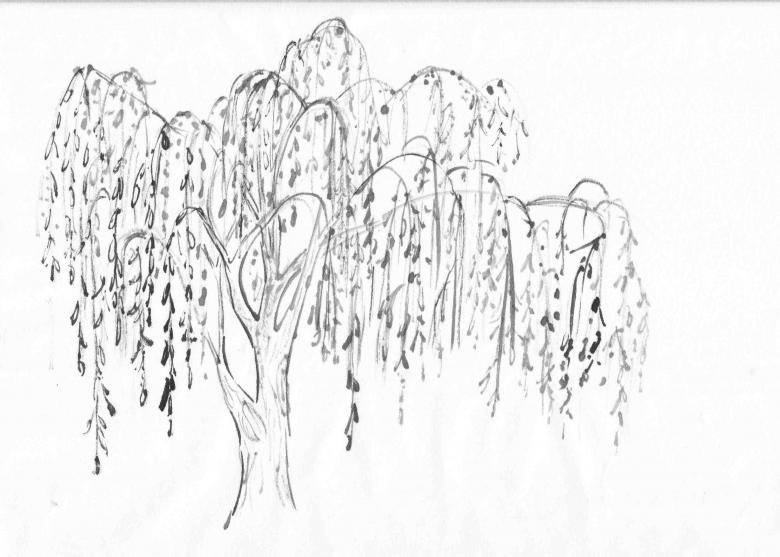
- Fine lines sketch small dangling branches, so that it was a fluffy tree.
- Draw four or five wavy sections to each twig, which will give the birch even more lushness.
- On the sides of the trunk, finish drawing the black spots inherent in the birch. Make small strokes on the three main branches.
- Add a patch of grass under the trunk in the form of several irregular triangles.
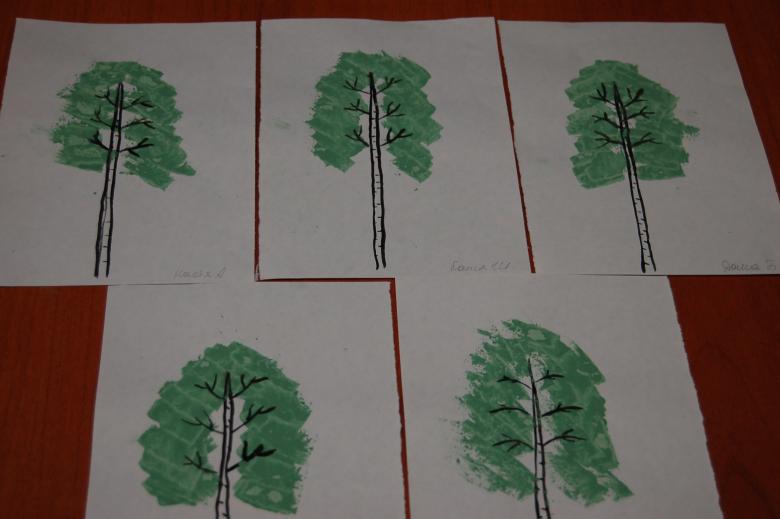
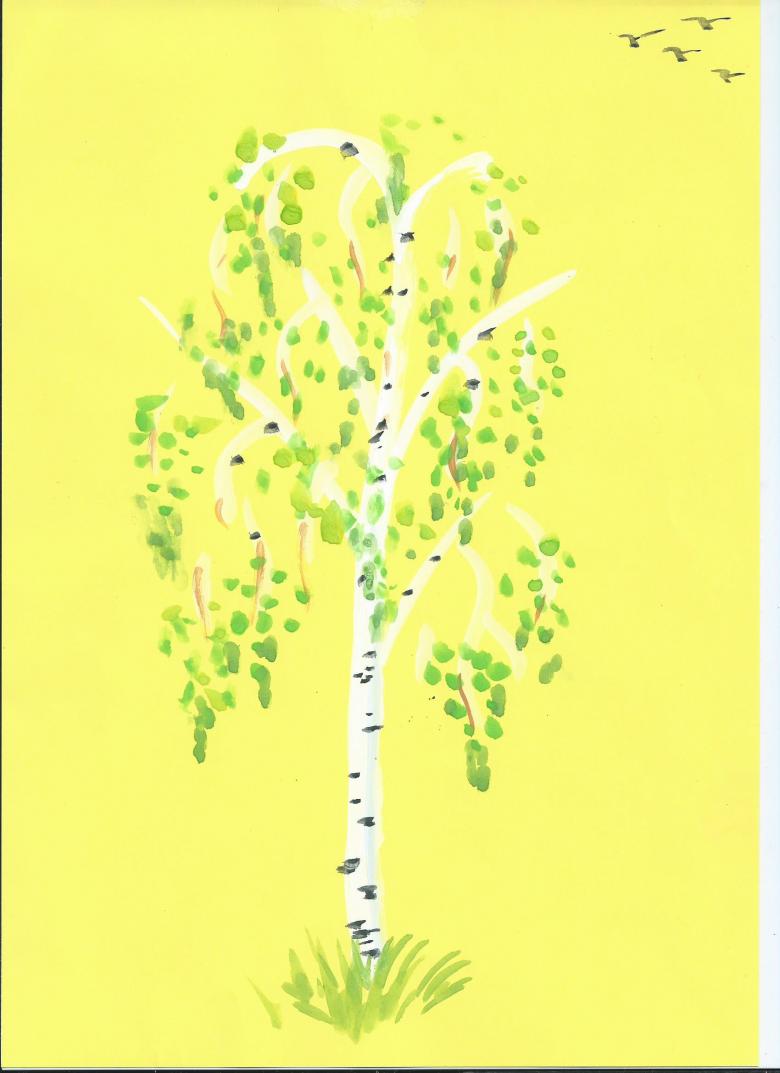
- The diagram of the tree is ready, you can start drawing. Paint the grass in green and trace the outlines of small twigs.
- Place leaves on the branches in the form of green hearts. Place them as close to each other as possible. For this, it is better to use a thin felt-tip pen.
Painting with gouache
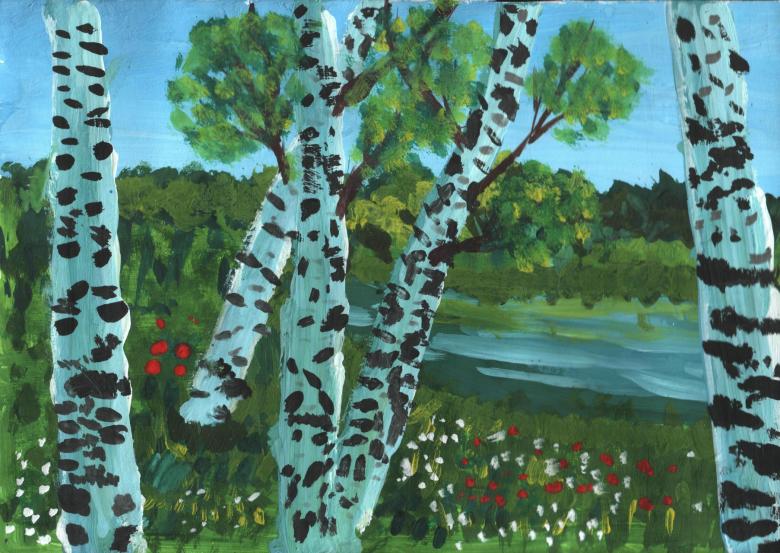
It is possible to depict birches by an interesting technique. Here you will need more accessories, some of which are not quite usual:
- A circle made of a sheet of paper;
- scissors;
- narrow painter's tape;
- a card made of plastic;
- gouache;
- brushes of different sizes;
- water.
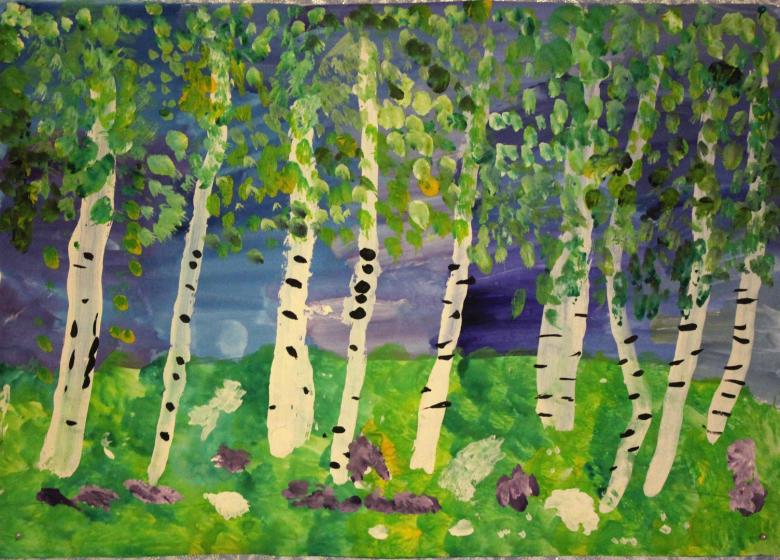
The creation of the landscape is done in stages:
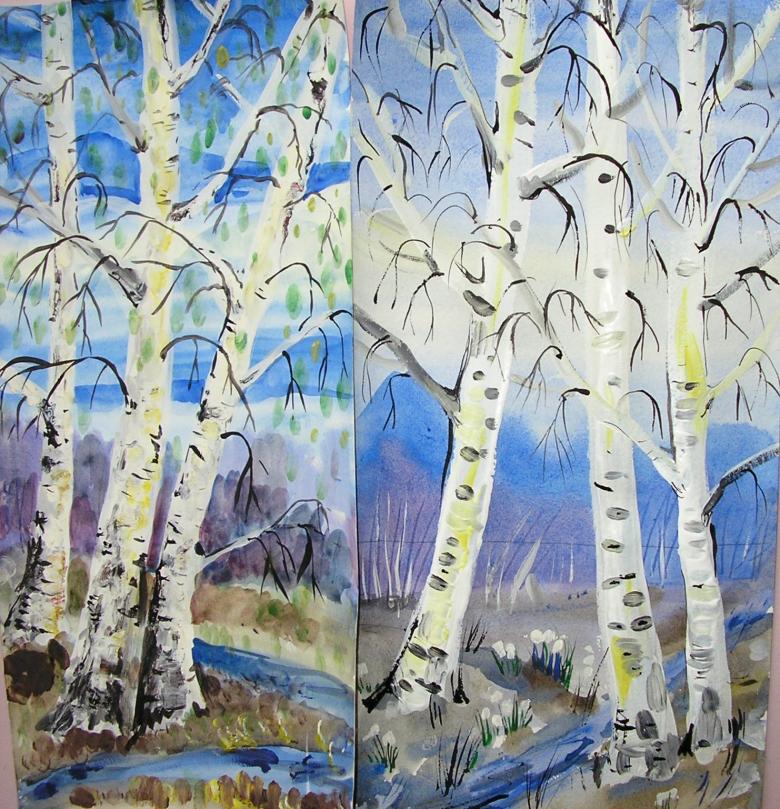
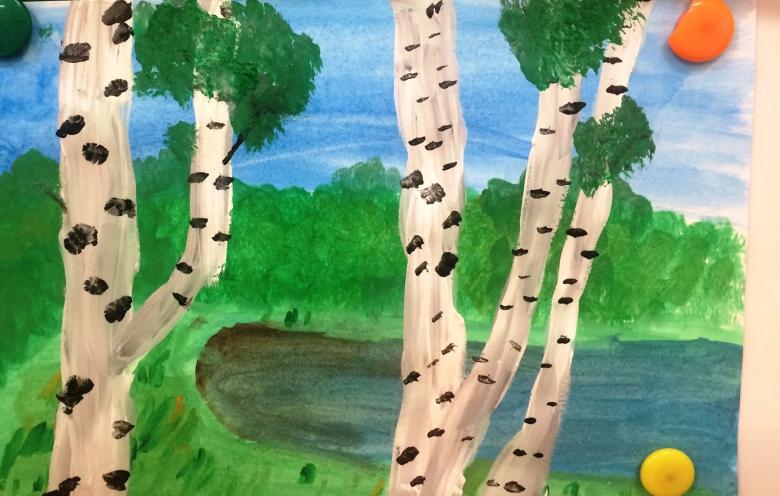
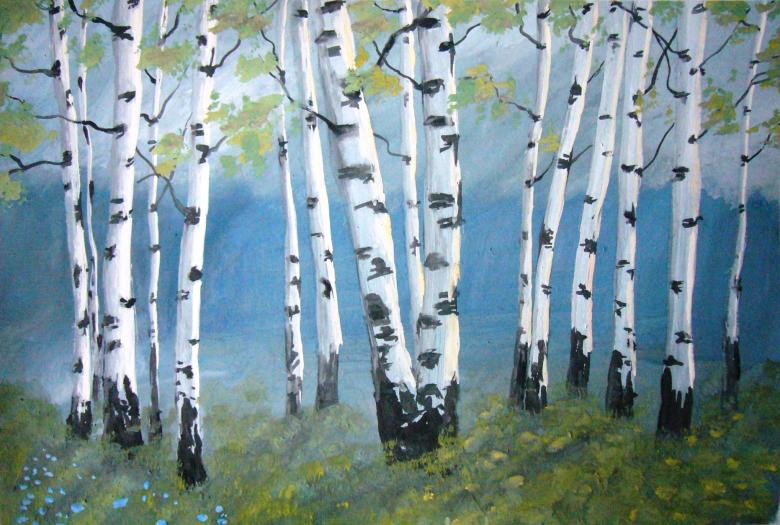
- Cut strips of scotch tape to the size of the circle. With a slight slant, glue about six strips onto the paper circle. Do not press down hard. Cut off the excess with scissors.
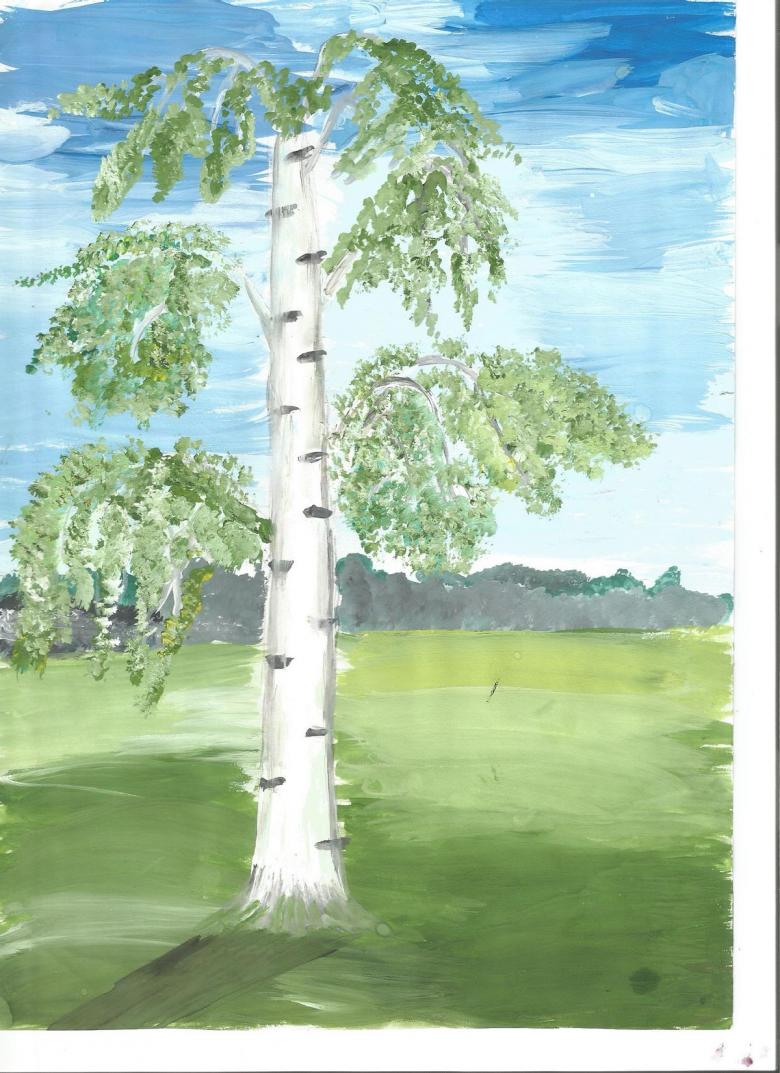
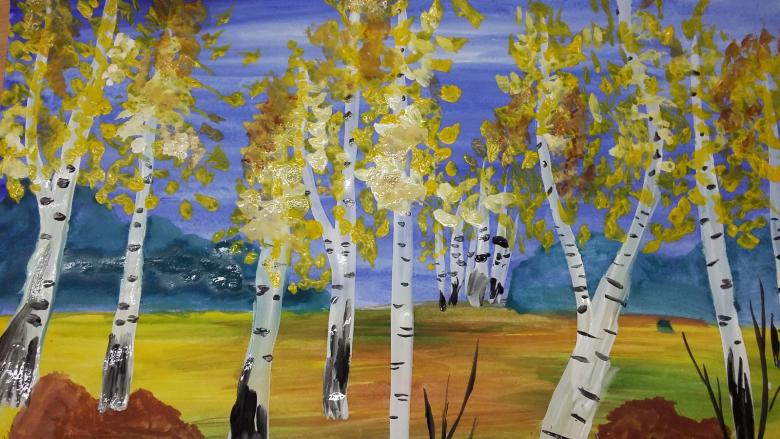
- Using a medium brush, dot the sky with blue gouache. Make it darker on top, the bottom - the lightest area. You can add white - a semblance of clouds.
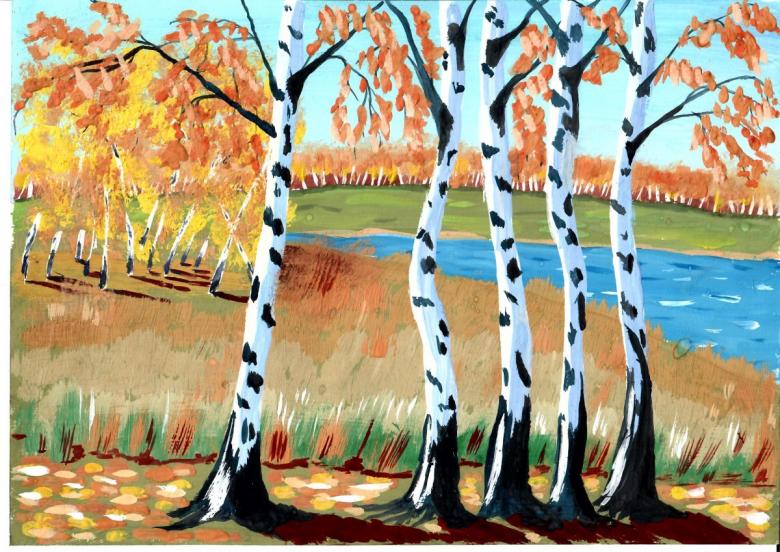
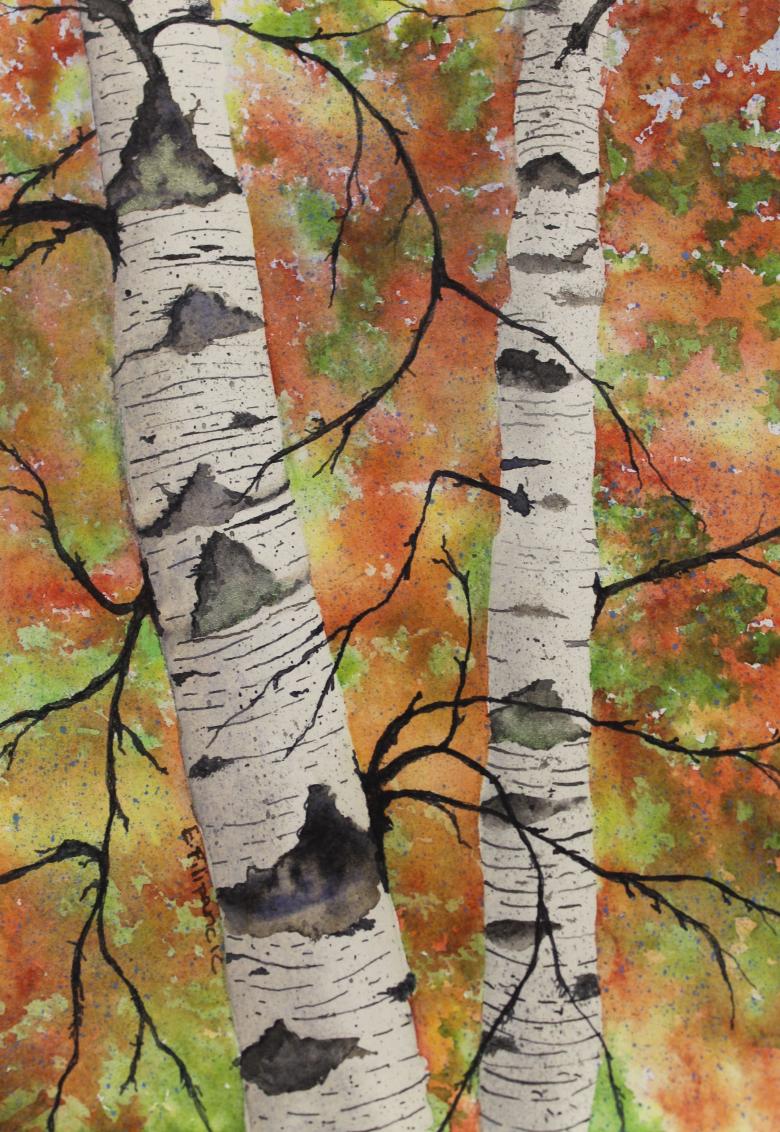
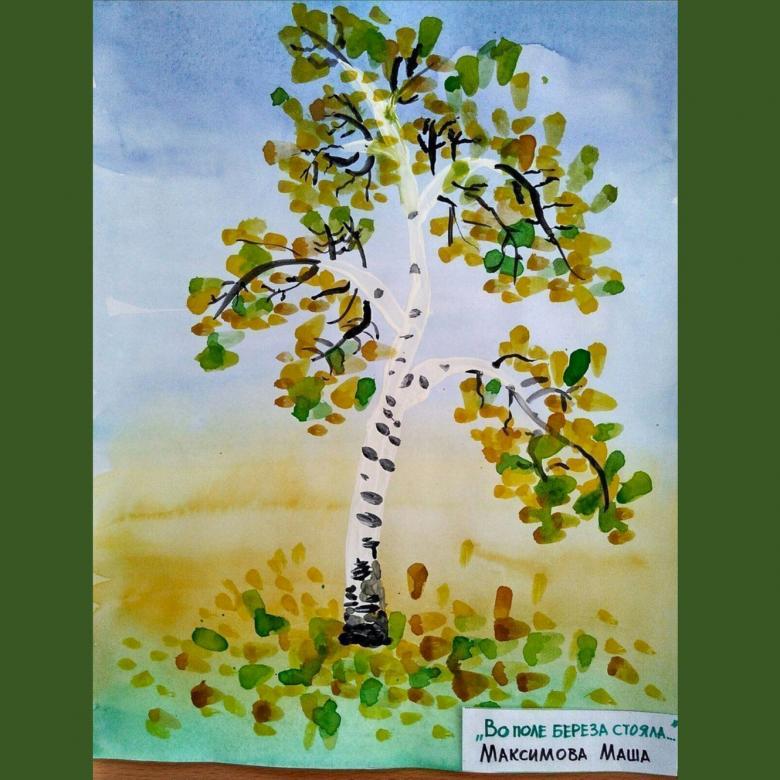
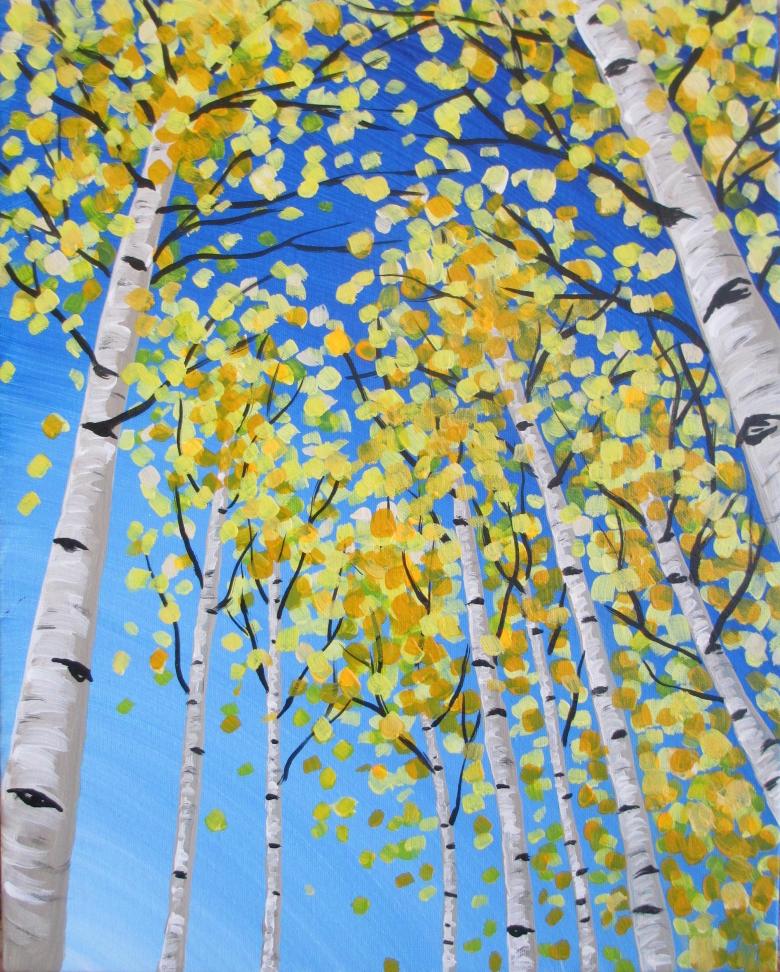
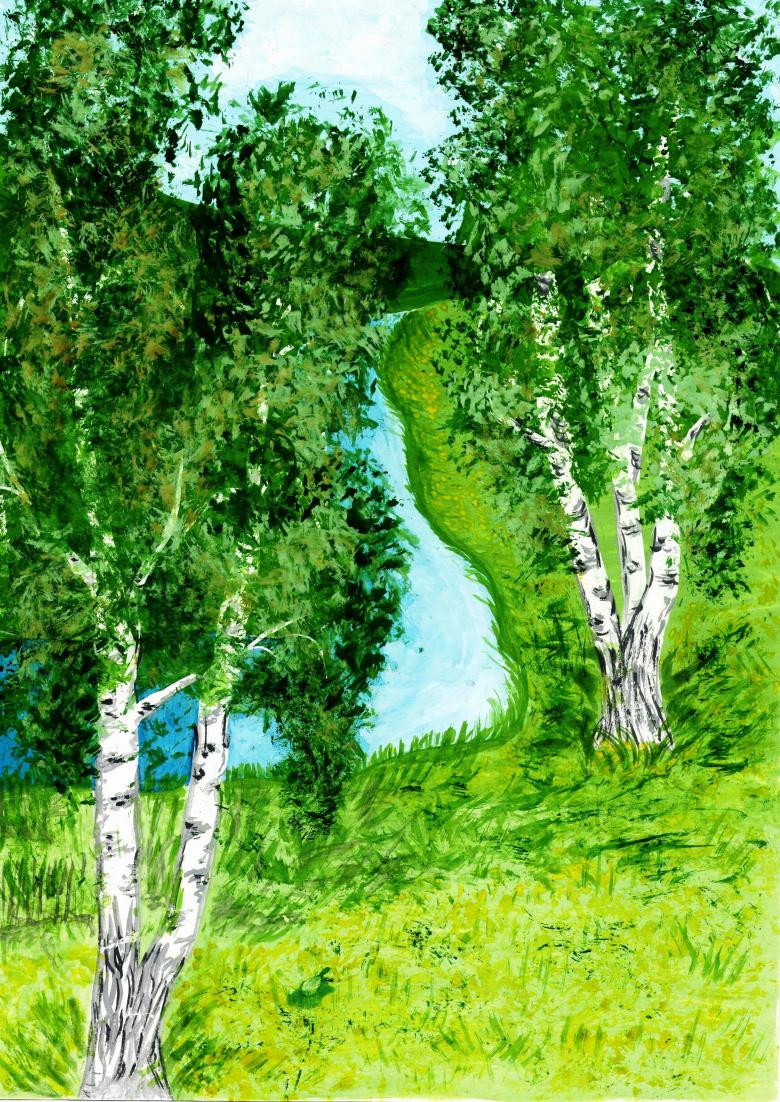
- Mix green, yellow and white. Paint the leaves of the future birches. Apply the paint in the same way - with dotted strokes. Add orange gouache to the resulting color to diversify the colors of the leaves. Paint the bottom part of the birch leaves in deep green. Yellow and red flecks may be added if desired.
- Carefully remove the glued strips of tape. These empty spaces will be the base for the tree trunks.
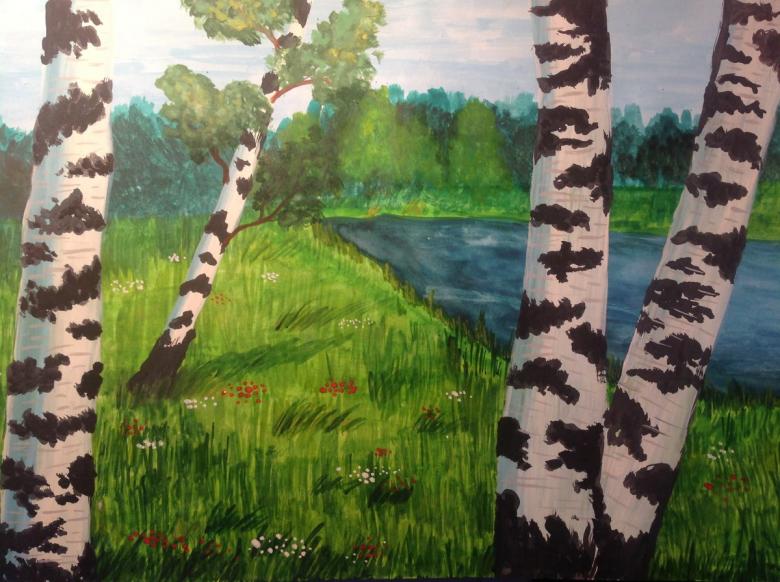
- To make stripes on the trunks as follows: Apply black paint to the edge of the plastic card; put the card to the edge of the trunk; carefully pull the card to the opposite edge, you should get not a continuous black stripe, but intermittent lines, similar to the texture of the birch bark; duplicate the action with all trunks.
- To depict the shadows cast by the birches. With a small brush, gently blur the bark spots on one side of the trees.
- Equip the crowns of the birches with thin twigs. Decorate them with orange and green leaves. The more dots you apply, the more lush the birches will be.
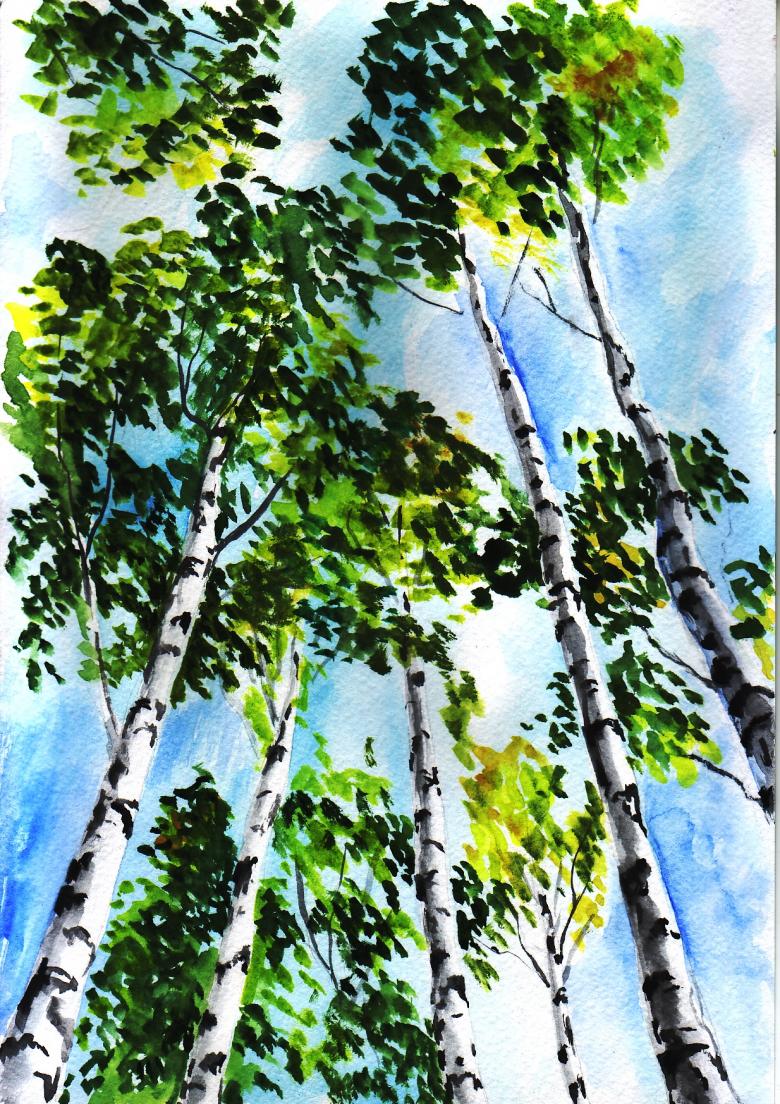
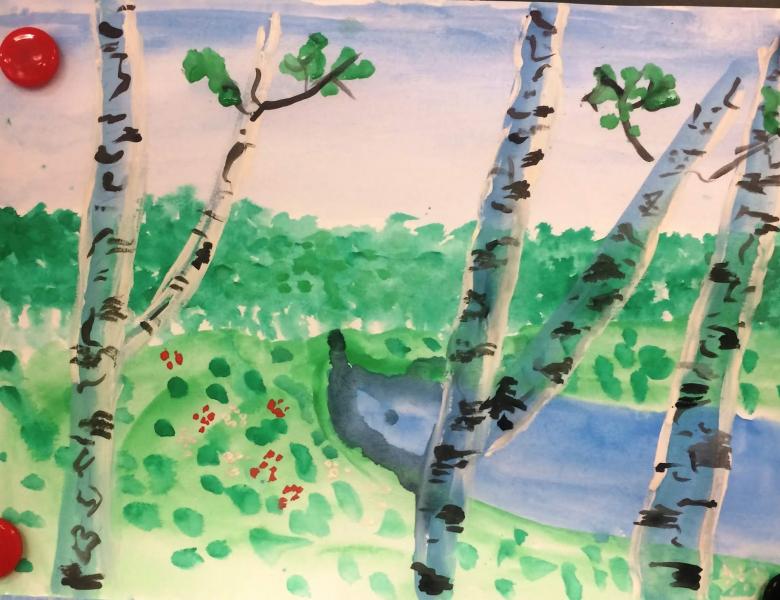
In the picture you can make any additional natural elements, for example, you can depict birds in the sky, mushrooms or berries in the grass.
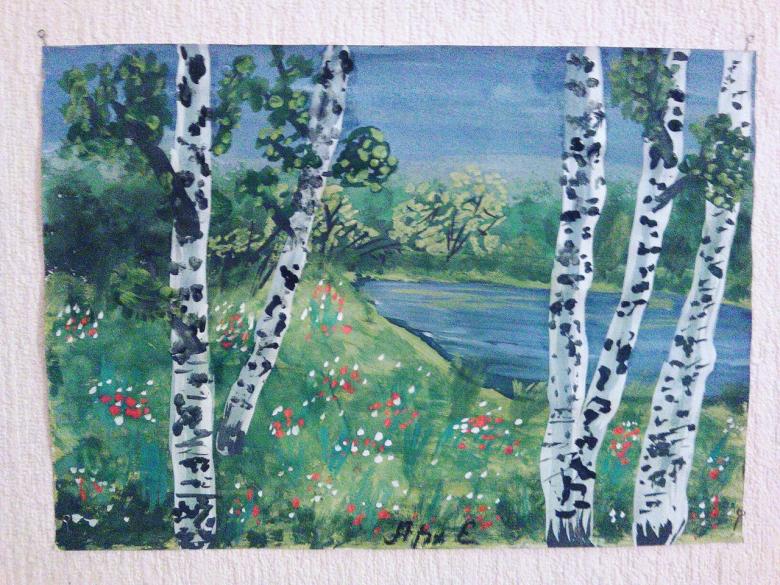
Winter landscape
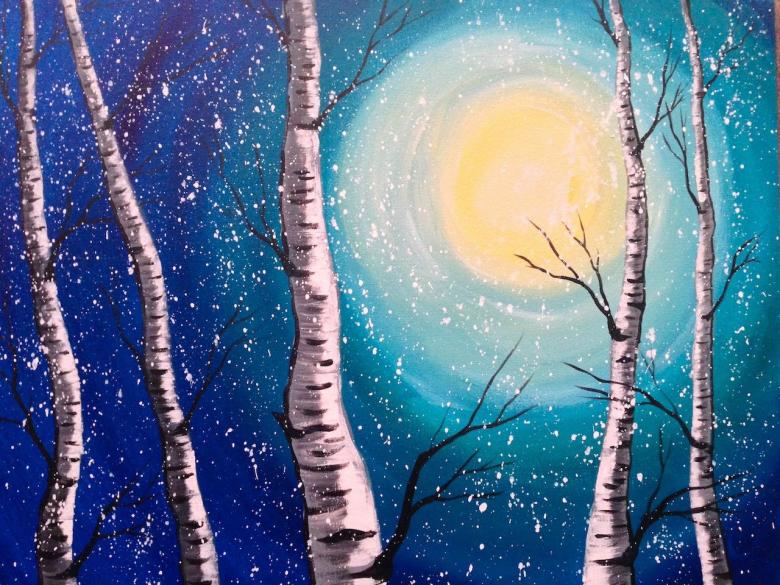
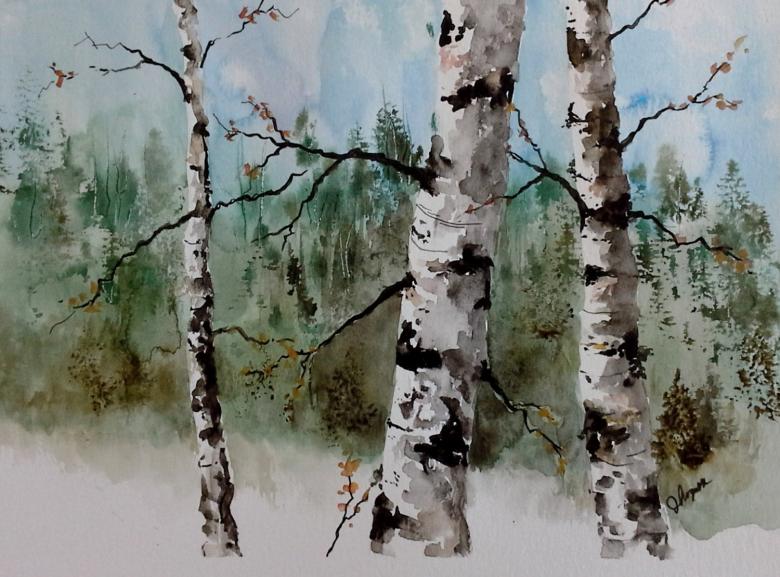
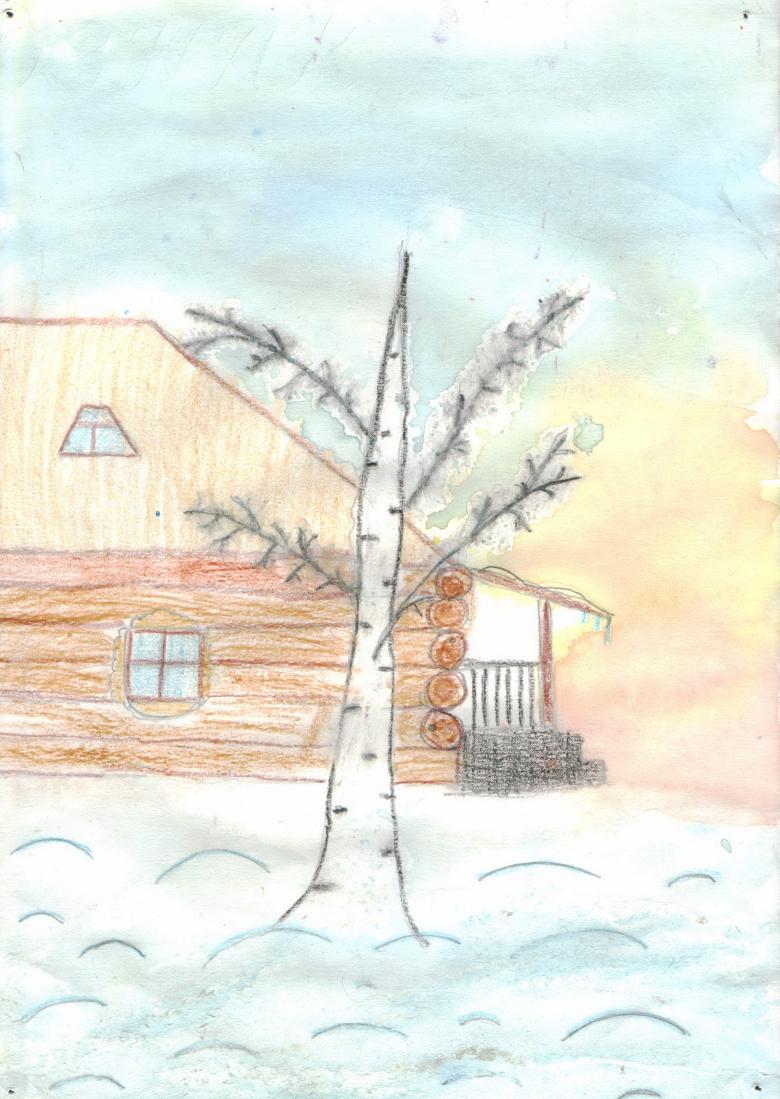
The birches look especially beautiful in winter. Therefore, the lesson of depicting a winter landscape is simply not to be missed. Before starting work, you need to prepare:
- watercolors;
- Watercolor paper of format A5;
- brushes of different sizes;
- water;
- plastic card;
- duct tape.
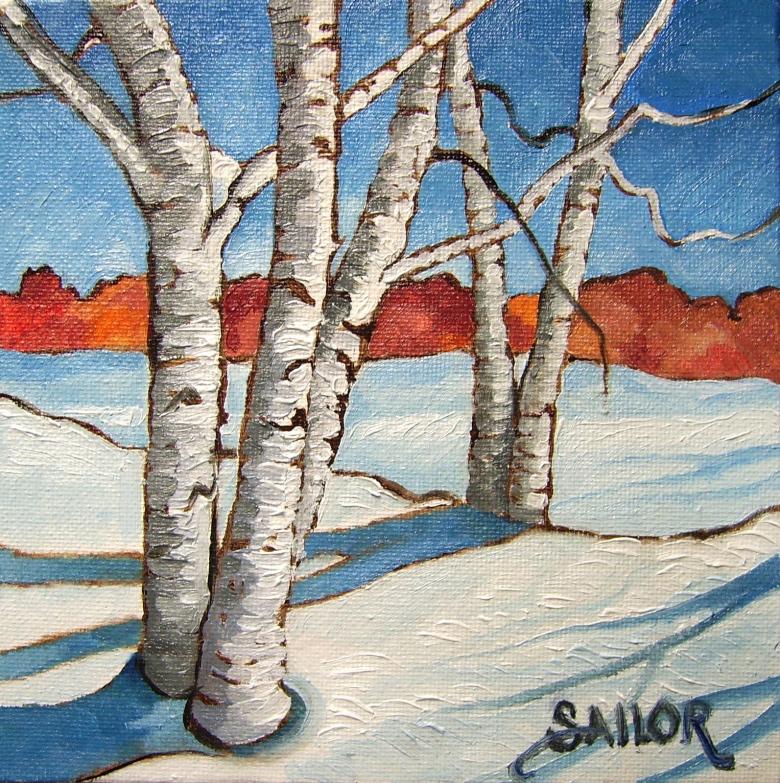
The technique will be similar to the previous one in performance. To create this beauty, you need:
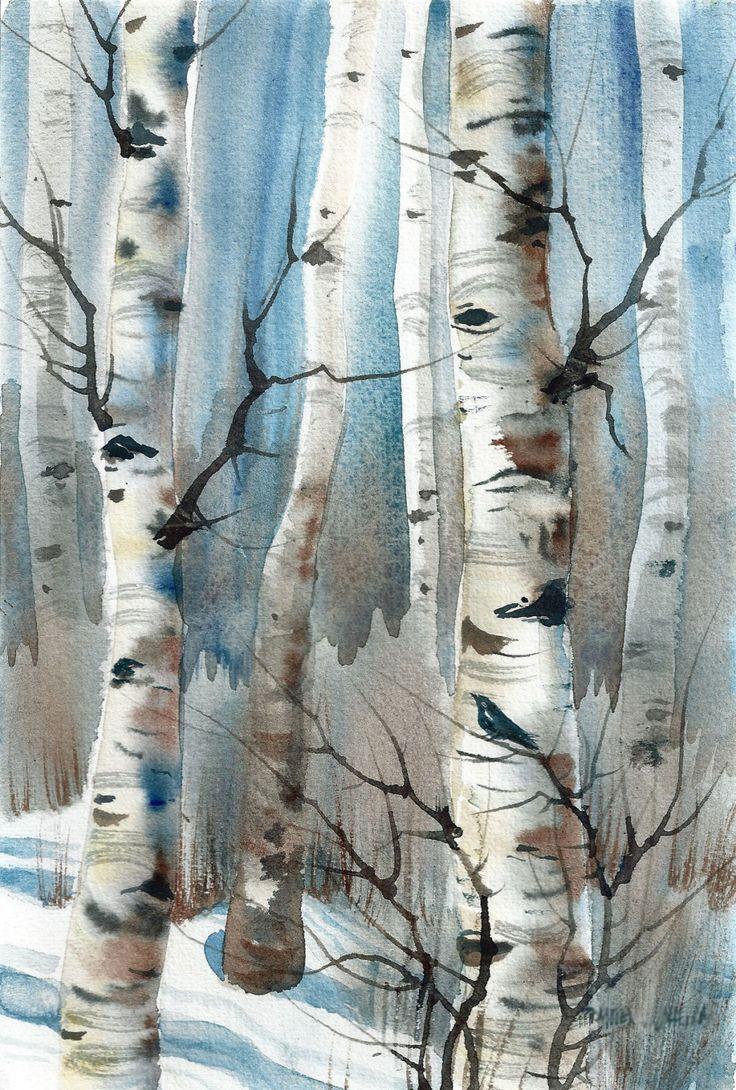
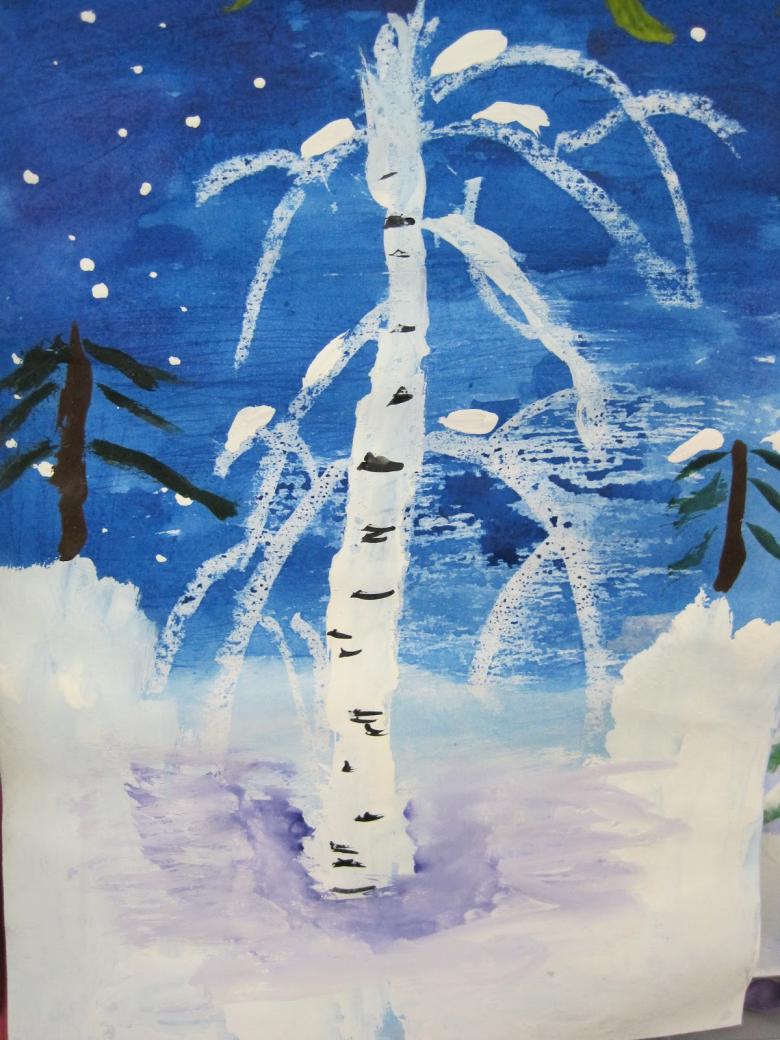
- With the help of scotch tape fix a sheet of paper on a flat surface. With a broad brush, gently moisten the top of the sheet.
- Mix the blue and brown colors to create a light gray paint. Paint over the moistened part of the leaf.
- Make the outlines of the trees in the background. To do this, use blue with the addition of brown paint, which is gently applied strokes in the upper left corner. In the corner of the other side of the sheet, draw wavy lines. Draw the nearby trees in darker color. Use zigzags to mark the outlines of the trees, and a few dark lines to mark the outlines of individual trees.
- Allow the paper to dry for about a minute. It is not necessary to wait for complete drying, otherwise you will not be able to form the trunks of the birches.
- Use the edge of the plastic card to gently run across the background. Removing a layer of paint, create silhouettes of birches, leaving gaps between the trunks. In doing so, make the trunks themselves different in shape and thickness.
- Hook the edge of the card with dark paint and apply birch bark texture on the trees, in the above way.
- While the top is drying, you can draw a stream. Moisten the area designated for it, make a gray-blue paint. Paint the channel with it, adding a few darker spots in the reflections of the birch trees.
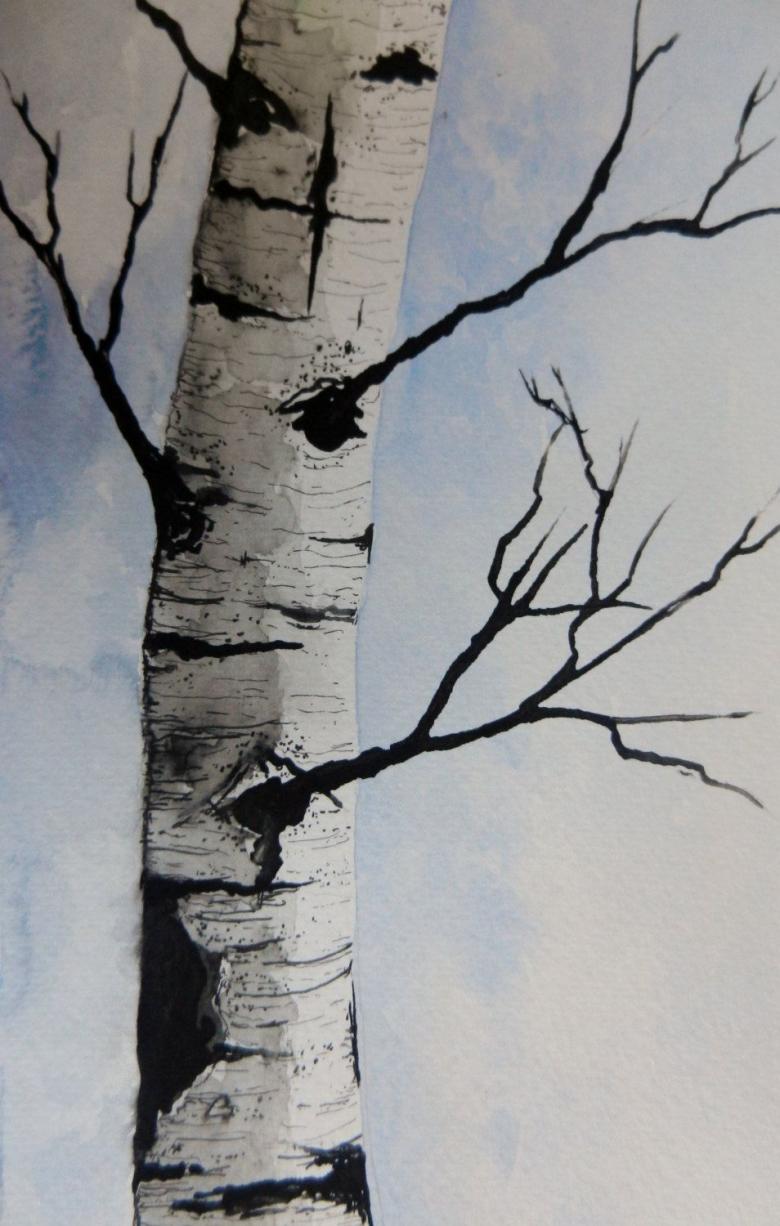
- In the upper area of the picture, add sprigs of gray paint with a thin brush. To give the trees a volume and warm hue, apply ochre to the areas of the trunks.
- Paint the areas with snow with bluish strokes. Paint over darkened, misted grass. White strokes to depict the going snow with a thin brush.
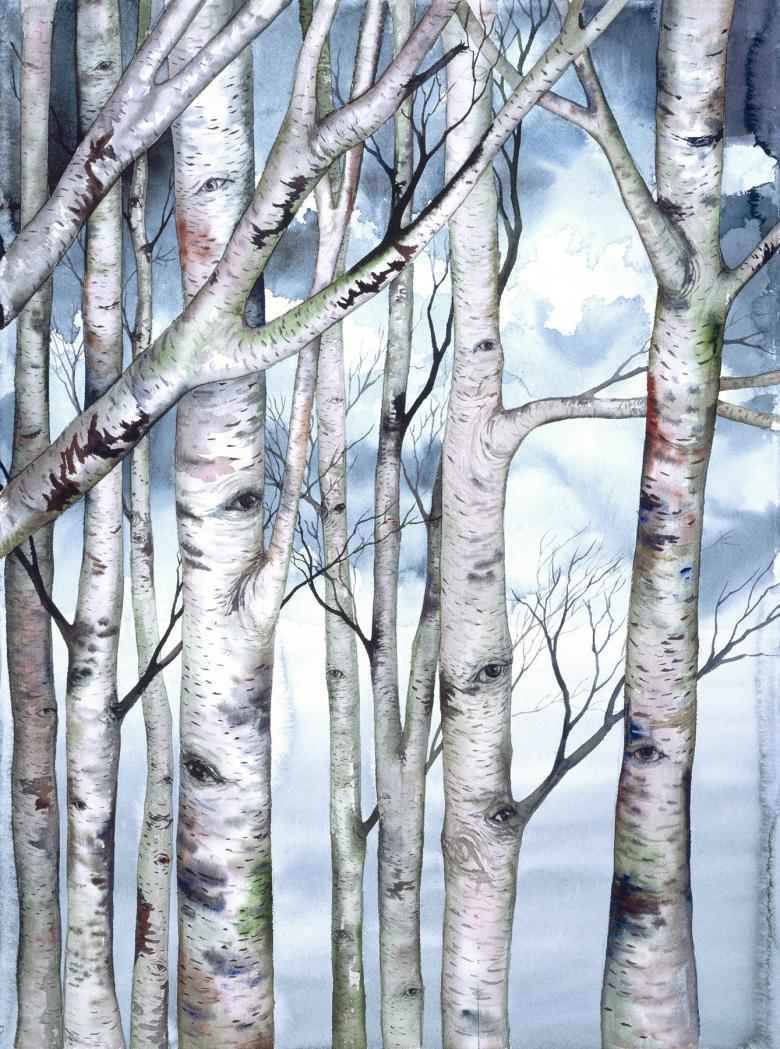
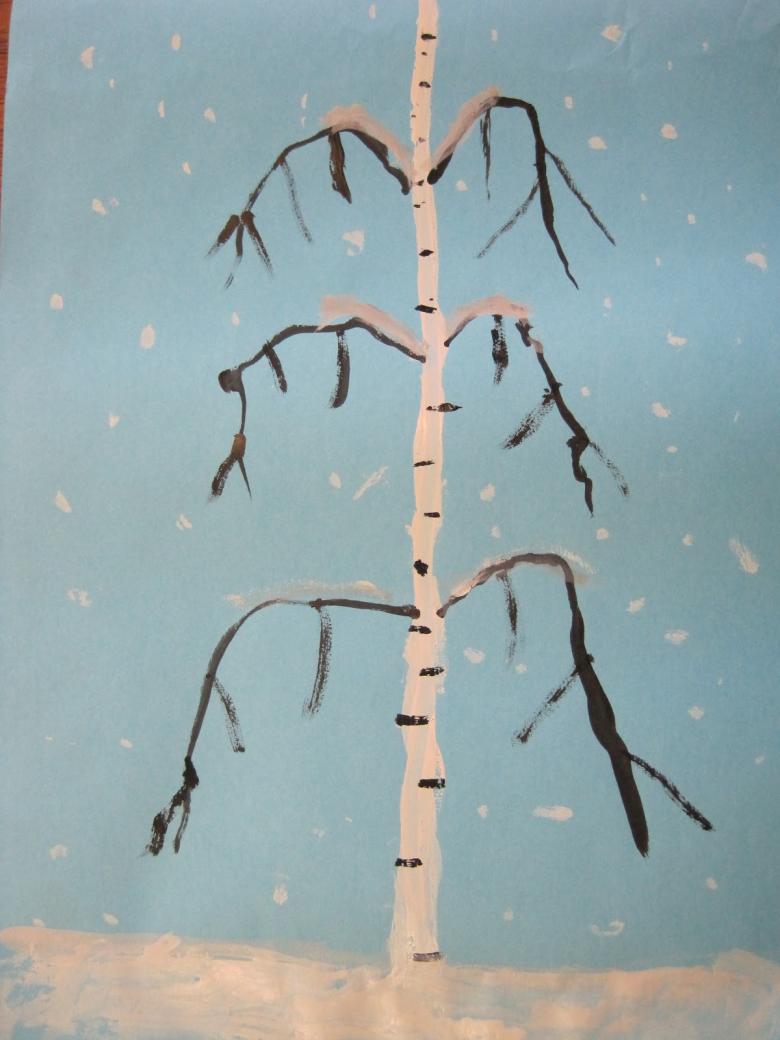
You can portray sitting on a tree, bullfinch or other elements of nature inherent in the winter period.

