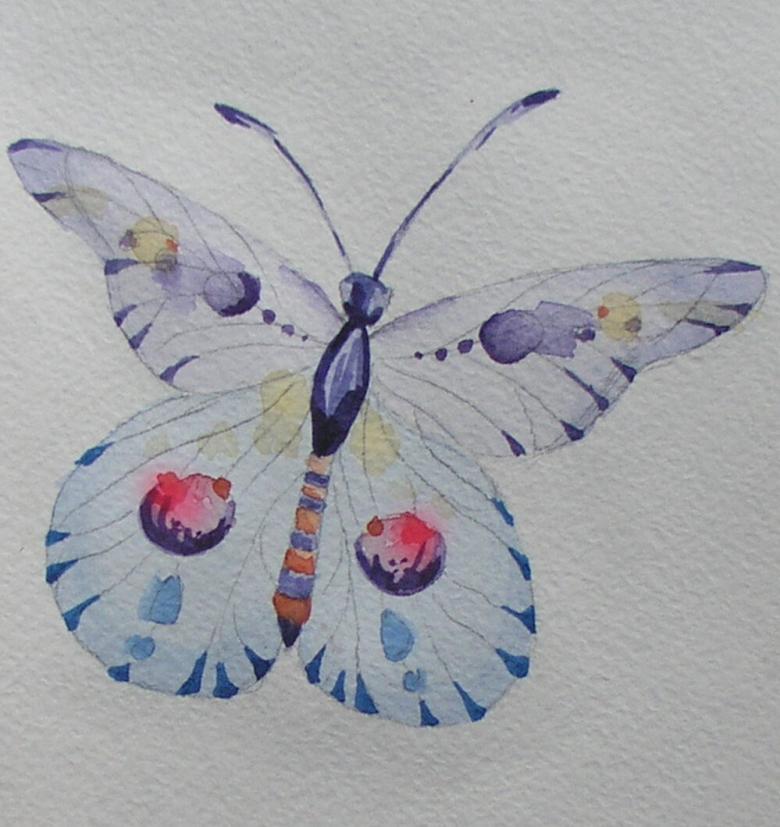
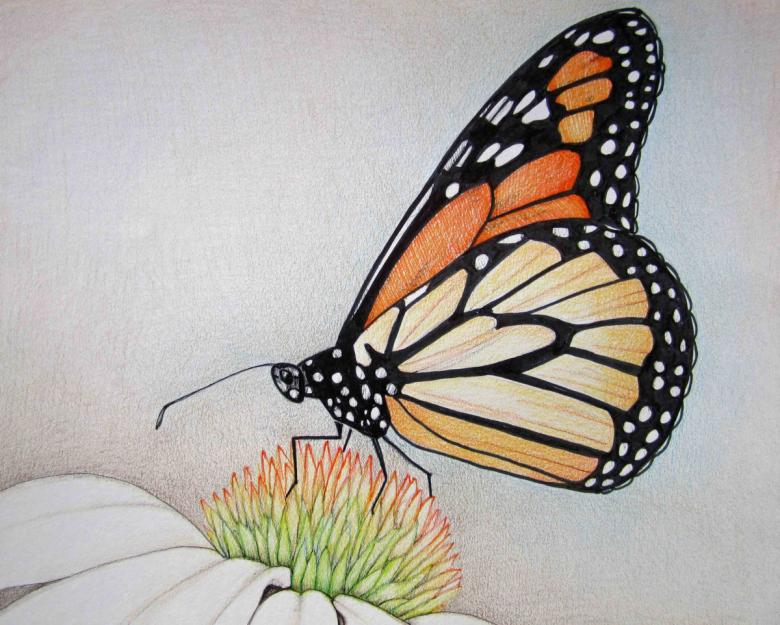
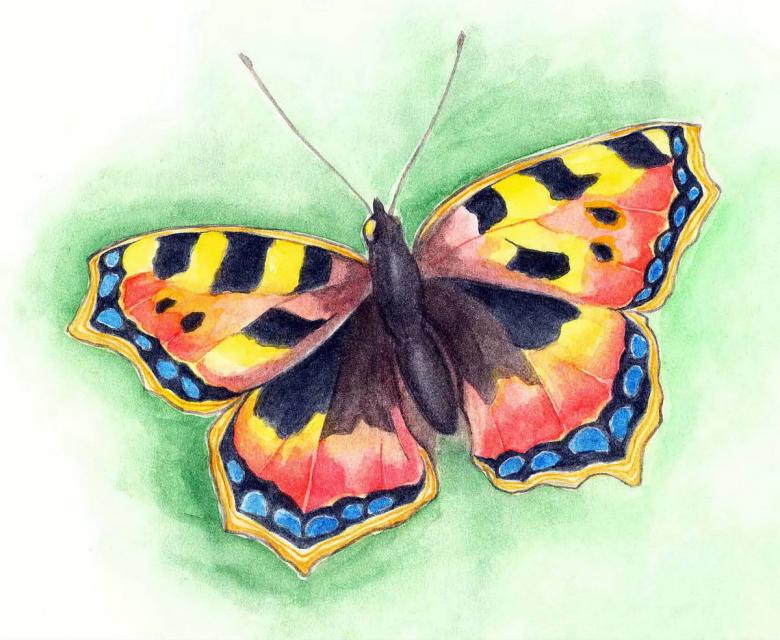
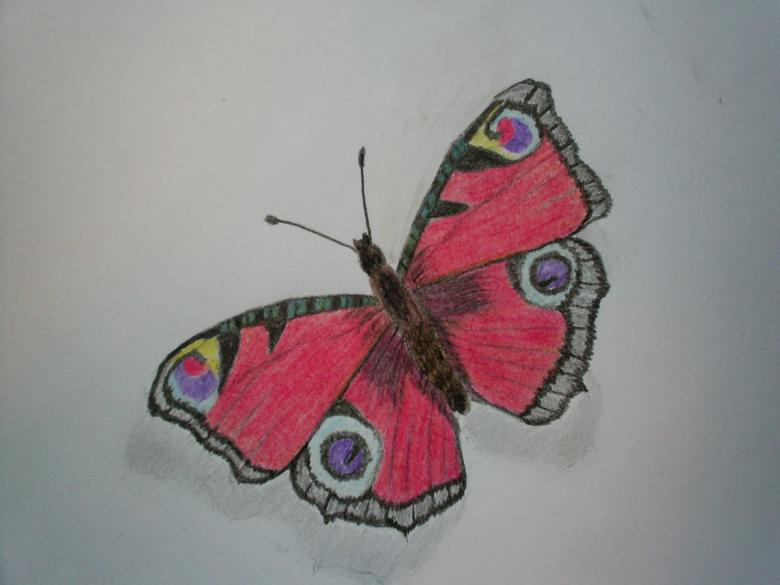
How to draw a butterfly step by step with pencil and watercolor paint - master classes for beginners, photo ideas, tips
There are times when you need to express your feelings on paper - a drawing. When a pleasant, sublime state overcomes, we want to write smooth beautiful lines, but often we get something incomprehensible.
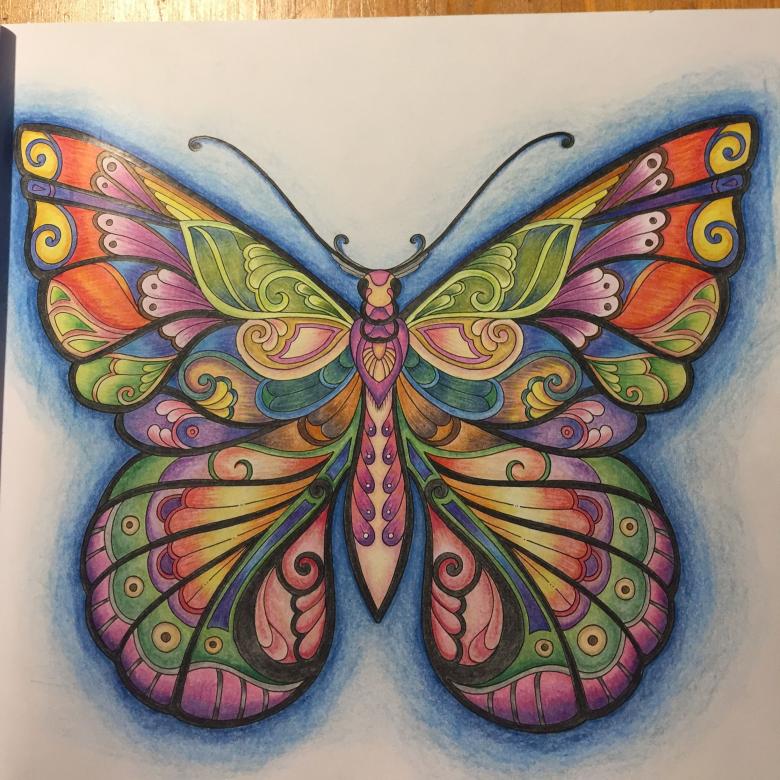
A butterfly is a great option for any technique, which does not require sketching from a photo from the Internet or complicated preparations. In this tutorial you will learn how to easily draw a butterfly.

The most important thing is to observe the proportions of the animal's torso and its wings: you can create both a realistic version of this exquisite insect, and fantastic, magical ones.
- The only thing that will be needed for the drawing:
- Sheet of paper
- Pencils or paints
- Eraser
- Ruler
Drawing a butterfly for children
Kids love bright coloring, and if you make it yourself, it will be even more fun to work.
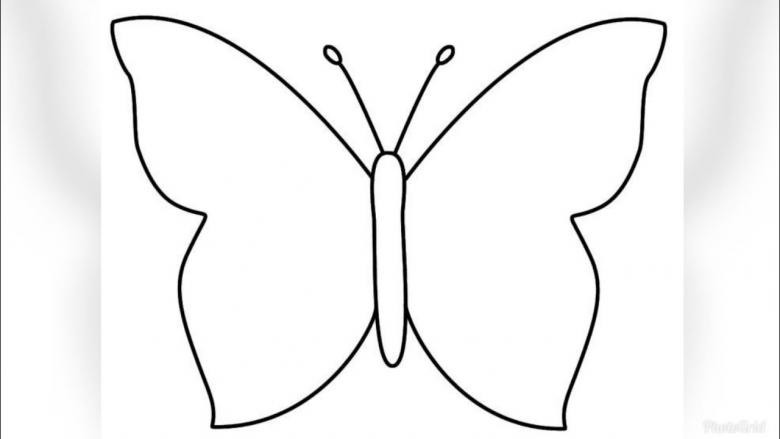
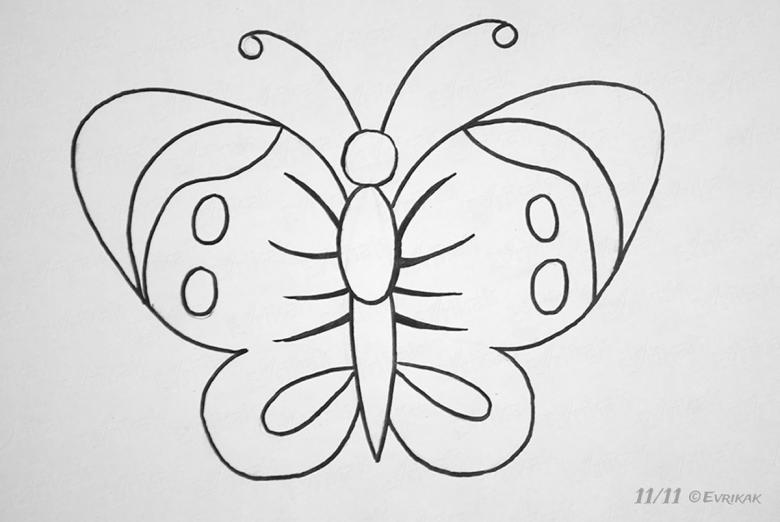
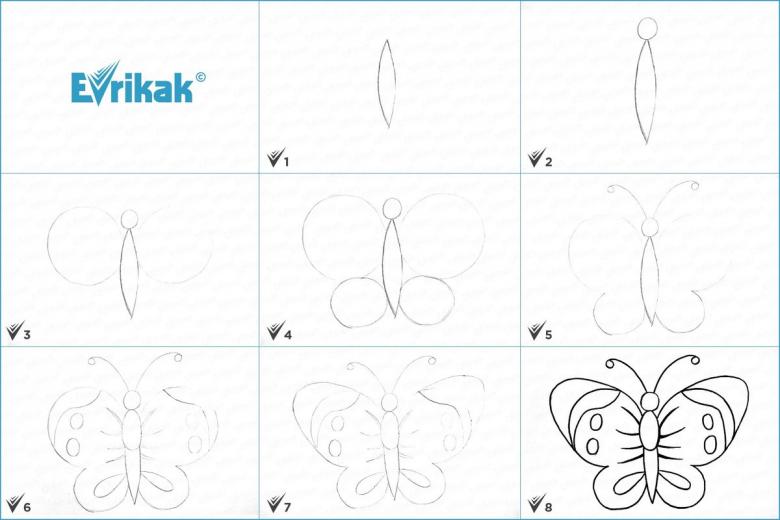
- Start with a simple vertical line - it will be the basis of the future drawing.
- Create the body of an insect from a large oval, a circle - from the top of the oval, and two small semi-ovals from the bottom. Add a circle of antennae - the body is done.
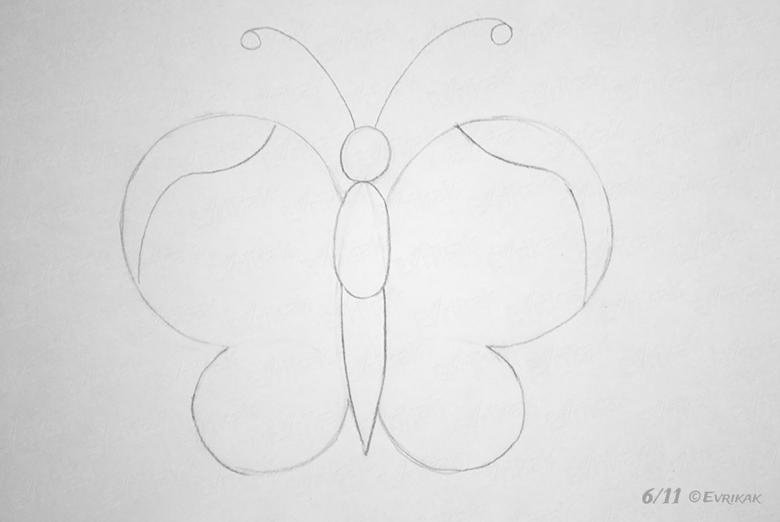
- Perpendicular to the vertical line trace horizontal, that properly arrange the wings. From the torso spend on the right and left two arcs upwards. From extreme point draw a curved semicircle, then connect it to the point from which you started. You should have the top of the wings.
- The lower parts of the wings can be drawn in a similar way, or you can use more round and wavy lines. In this case, the butterfly will turn out more voluminous, but less refined.
- To give the butterfly a realistic look, draw some wavy straight lines in the extreme line of the wings.
- Decorate the inside of the wings with hermetic shapes or stripes - at your discretion.
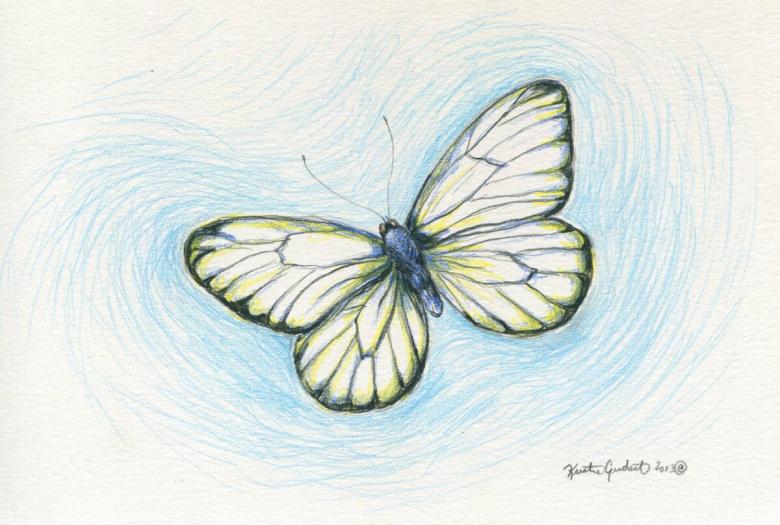
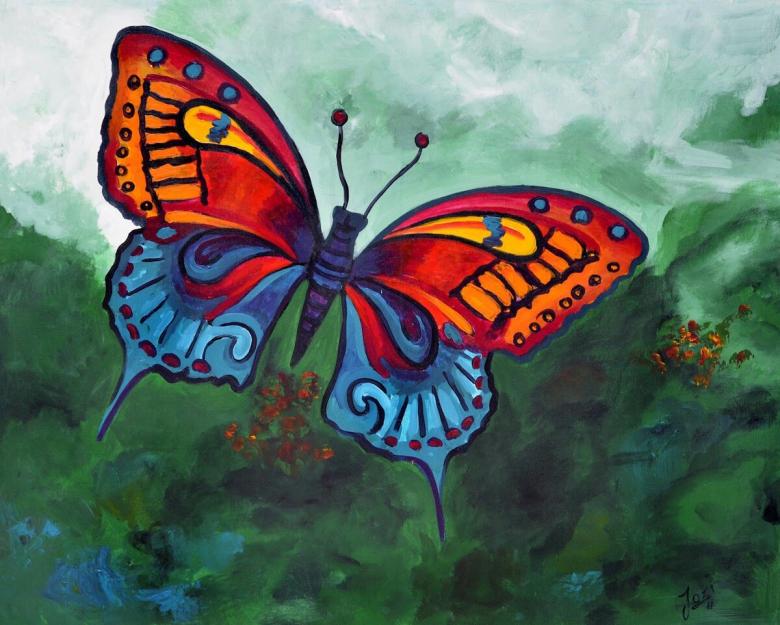
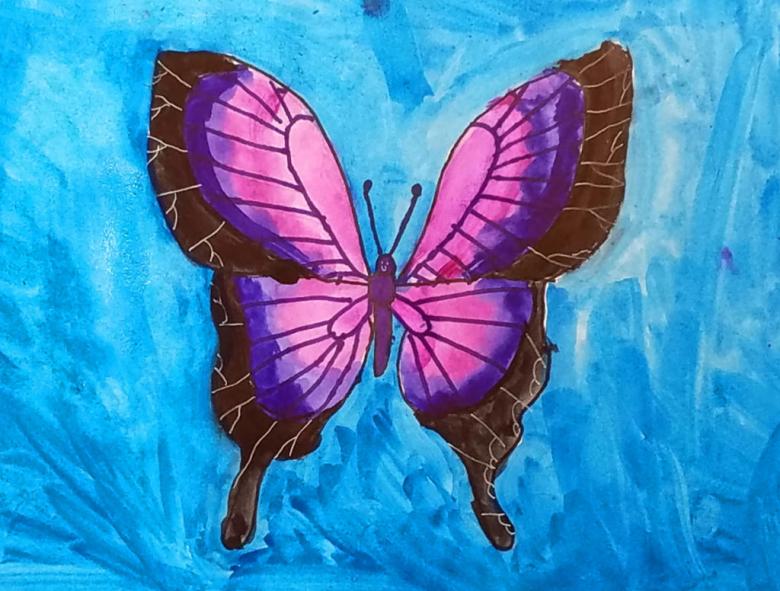
- Once the pencil sketch is ready, it's time to use pencils or paints. Try to go with the same color scheme. If you want to create a calmer drawing, stick to blues, purples and other dark and muted colors. The same goes for most pastel shades. For a brighter pattern, use sparkling red, yellow, orange, green. You can add glitter if desired.
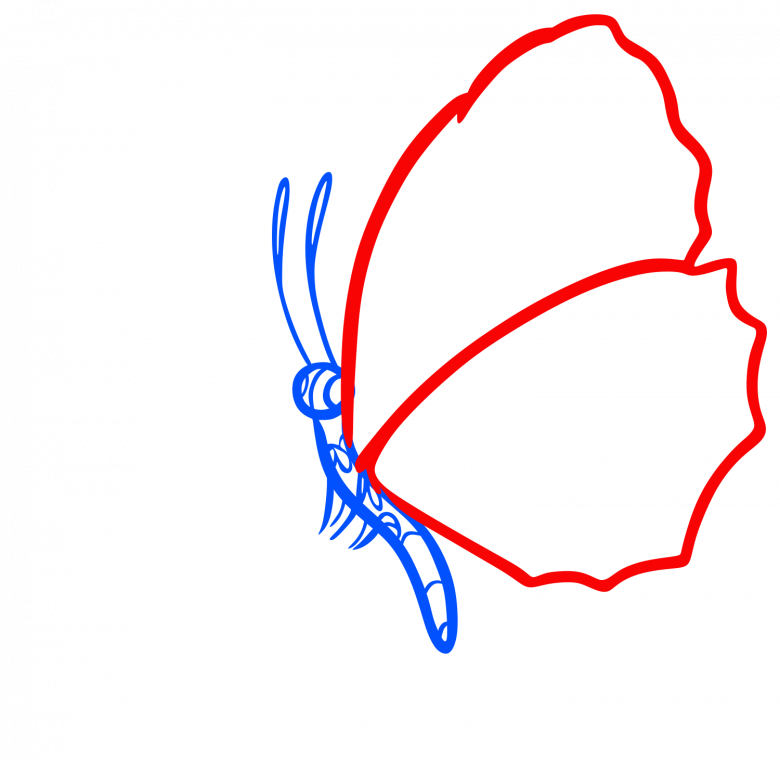
Butterfly with the help of pencils
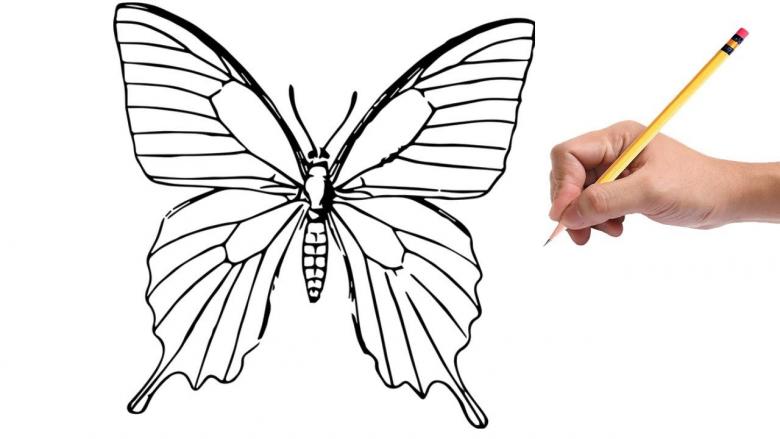
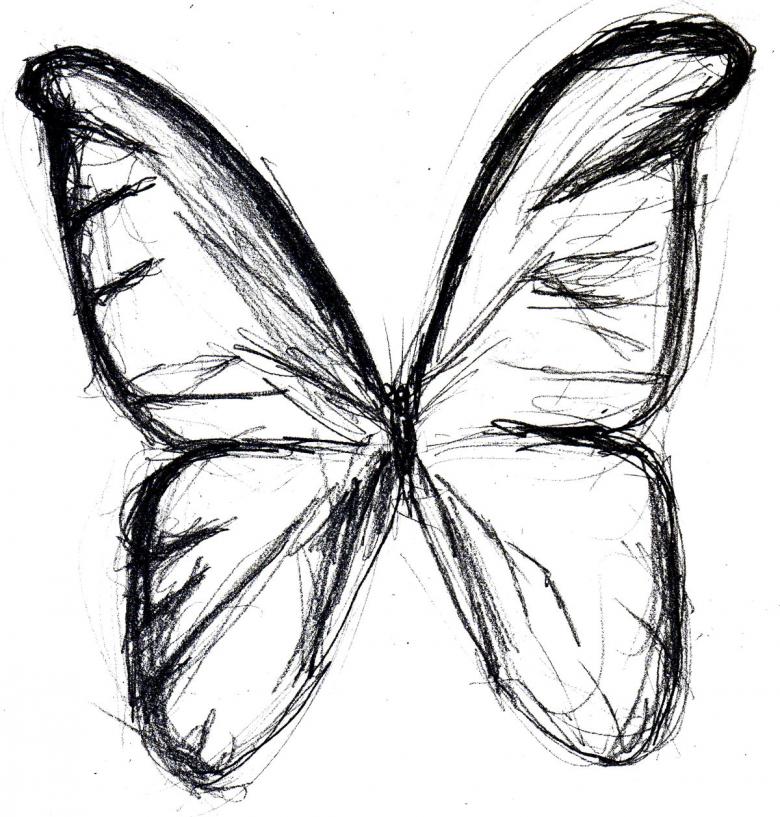
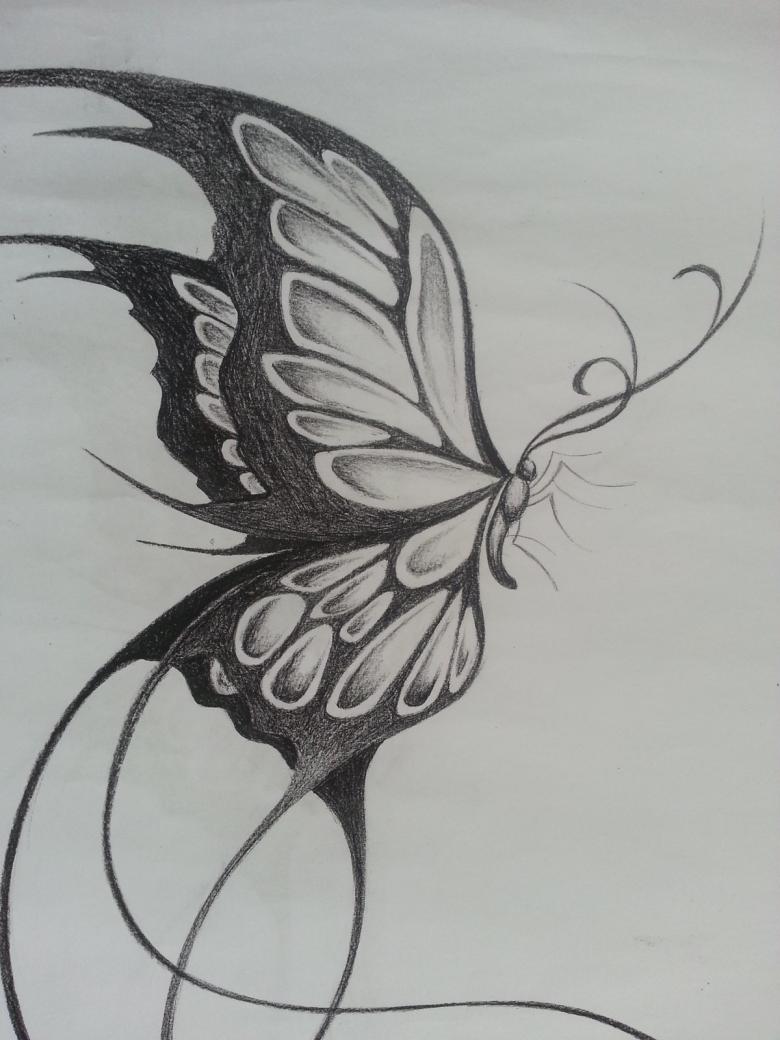
The second option involves using only medium-hard (HB) pencils and an eraser. It is better to start the work with the wings.
- Draw a figure of arbitrary shape, which will resemble a butterfly wing - it will be the front wing, as this time the butterfly itself will be located in profile.
- Doris torso, consisting of an oval and a circle, tendrils, legs.
- Already have the basic outline, draw a second wing - a little smaller than the first, as if the leads for him.
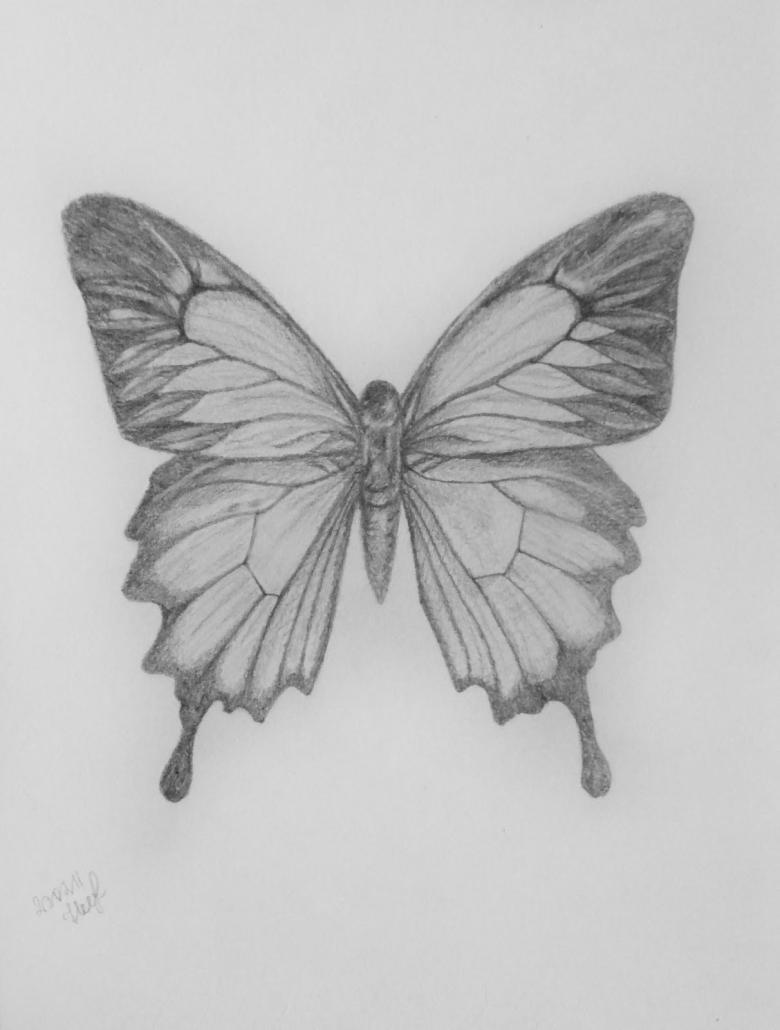
- Apply patterns, wavy lines to give the drawing a volume effect.
- Trace the outlines, and then paint the pattern in the colors that feel right for you. Combine shades as you like, depending on your mood.

Wing patterns for butterflies
The butterfly theme pattern is clear, but with the wings, questions often arise. What pattern to choose? What figures for it will do? How to make the pattern on the wings realistic and proportional?
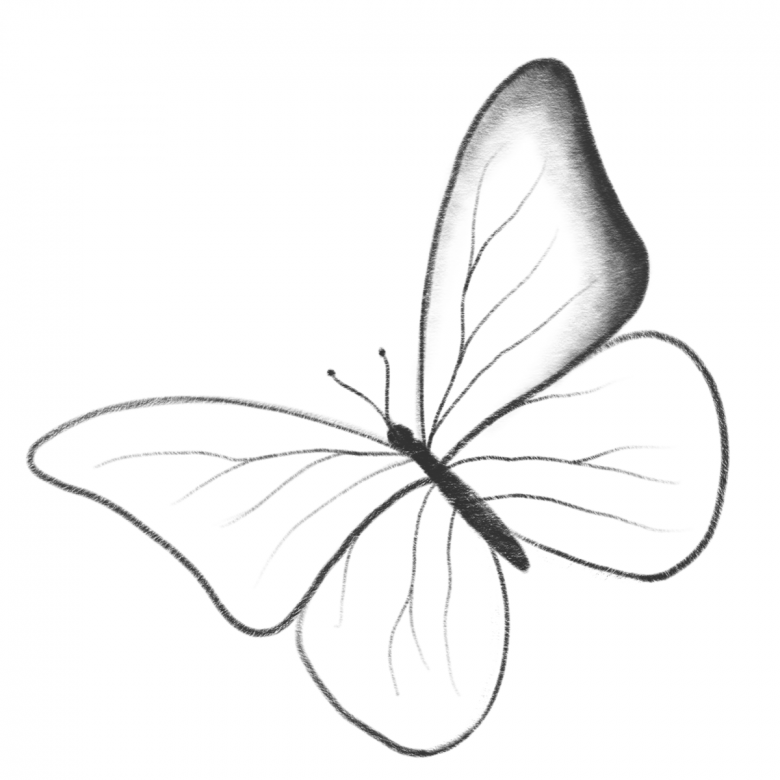
There are a few universal tips that are based on space allocation.
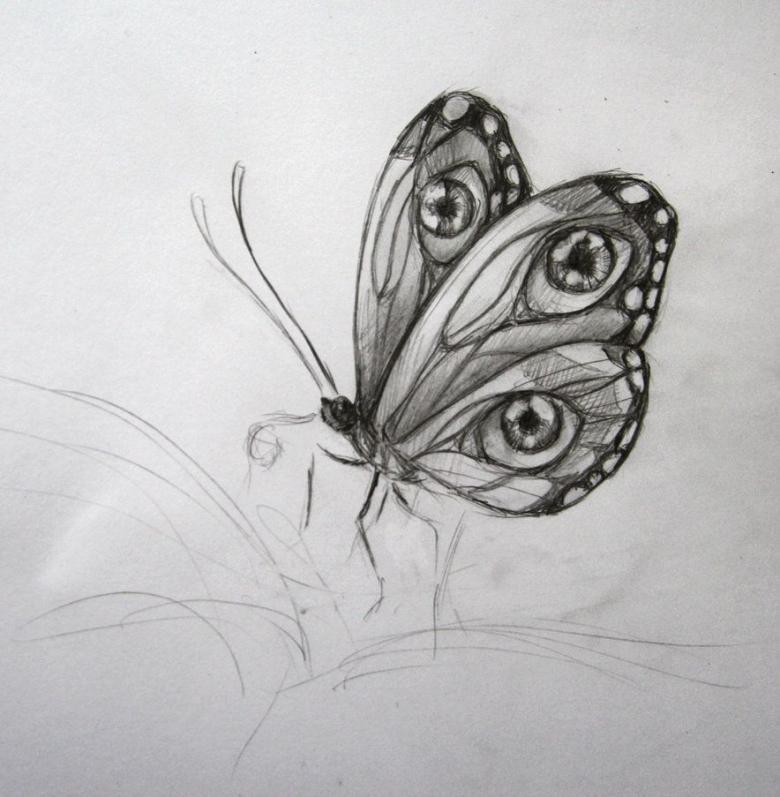
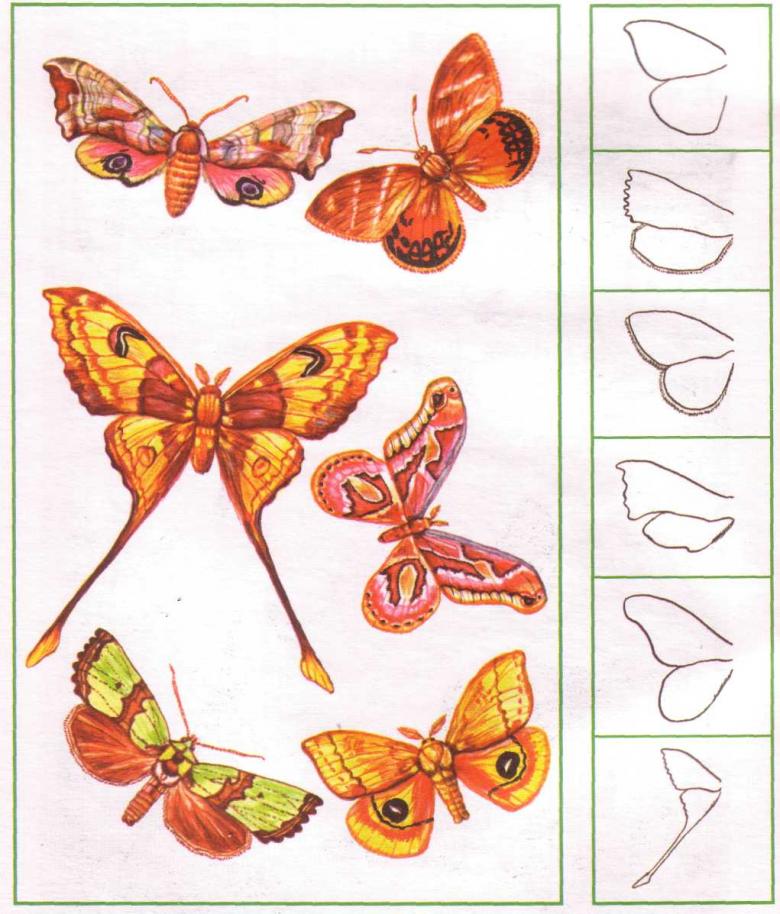
First, decide on the number of wings a butterfly has. The most common number is four. However, in the drawing there may be two or six. Next, pay attention to size: if the upper wings of your butterfly are very different from the lower wings in size, then the pattern should be accentuated in the upper part.
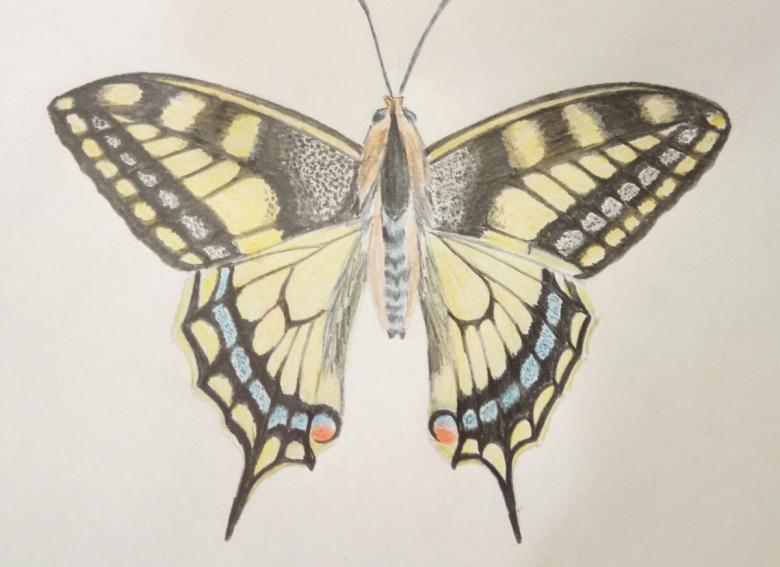
- The easiest place to start is on the upper right wing - it's the largest, and the pattern is the best. Mentally or with a pencil divide the wing into three equal parts: draw three rays from one point on the body of the butterfly at the edge of the wing.
- It is better to draw several small circles and ovals along the edge at once. Some should be quite like dots, others - a little larger.
- According to the shape of the wing draw a rectangle with rounded edges - vertical. From him already placed horizontally two or four rectangles. Their number depends on the size of the wing.
- The work is almost complete. If there is a lot of free space - fill it with arbitrary round figures.
- Repeat the scheme with the other wings.
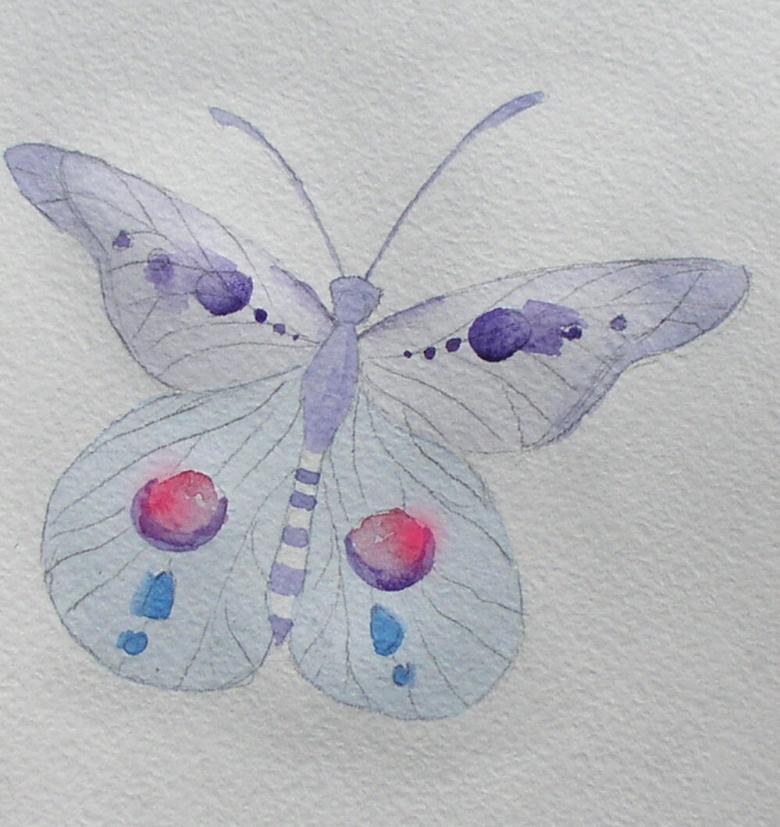
Butterfly with watercolors
This work is already a certain complexity, so it is necessary to prepare for it. In advance, make a familiar drawing of a butterfly in pencil, pressing lightly. The drawing should be large, so that later it will be easier to paint it.
Prepare the following tools:
- Drawing paper
- Brushes
- Paint water.
- Palette
- Watercolor

Remember, keep control of your surroundings! Don't get your hands dirty, as this can ruin the drawing.
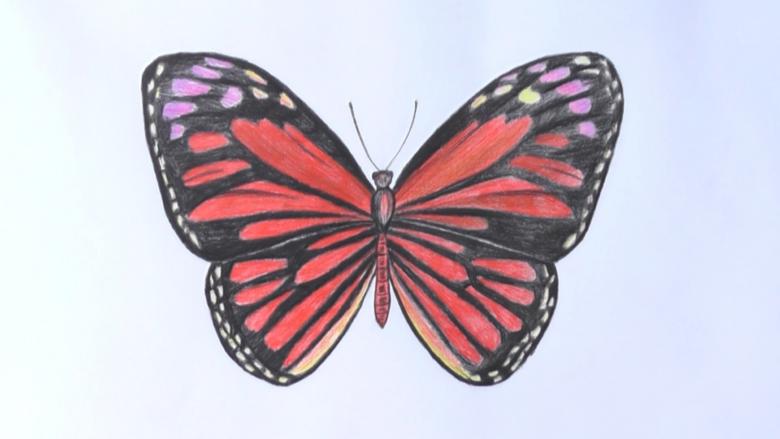
- Choose a base color for the drawing, usually red or yellow.
- With smooth strokes from the middle to the edge, draw a few smooth lines that imitate wings. Sometimes just four strokes are enough.
- It is not necessary to wait for complete drying of the previous word, if you choose a darker shade for an outline of wings. Black, blue, and purple will work for this. Circle the edges of the wings, pressing more on the center of the wing, not the center of the wing. Try to create a smooth blur from dark to light color closer to the middle.
- Leave the paint to dry, and prepare a thin brush. Use it to apply graceful patterns in random order. It is better if it is pointed closer to the body and free at the outline.
- For brightness, make small accents with white paint on the pattern after it dries. This will give the butterfly a finished look.

