Kanzashi handmade crafts - step by step master classes, tips, photo examples
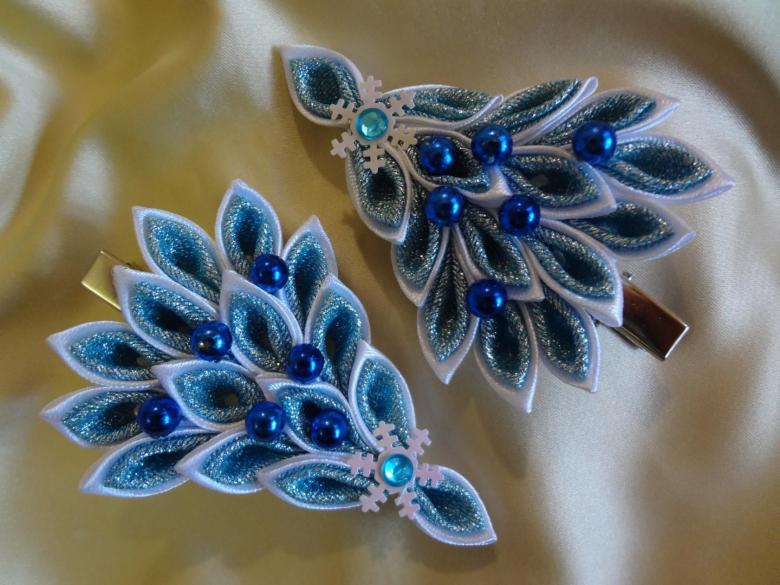
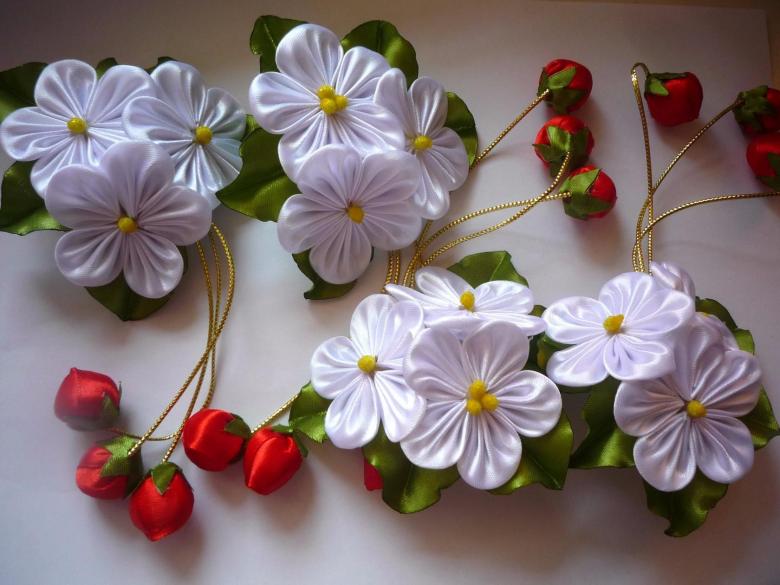
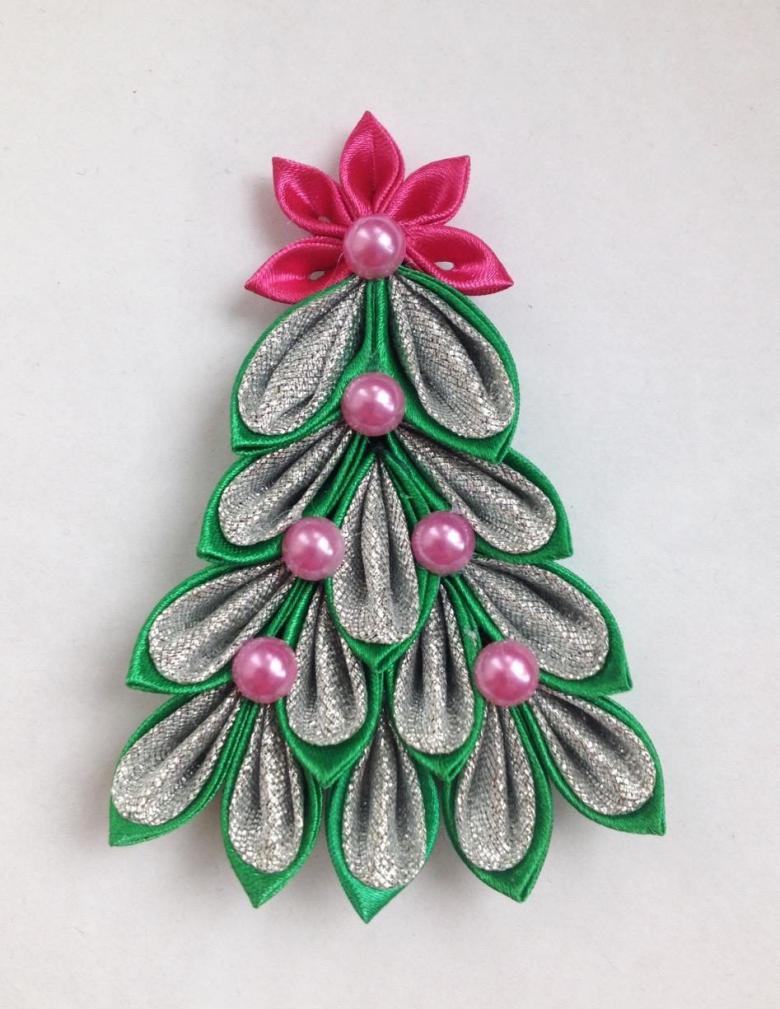
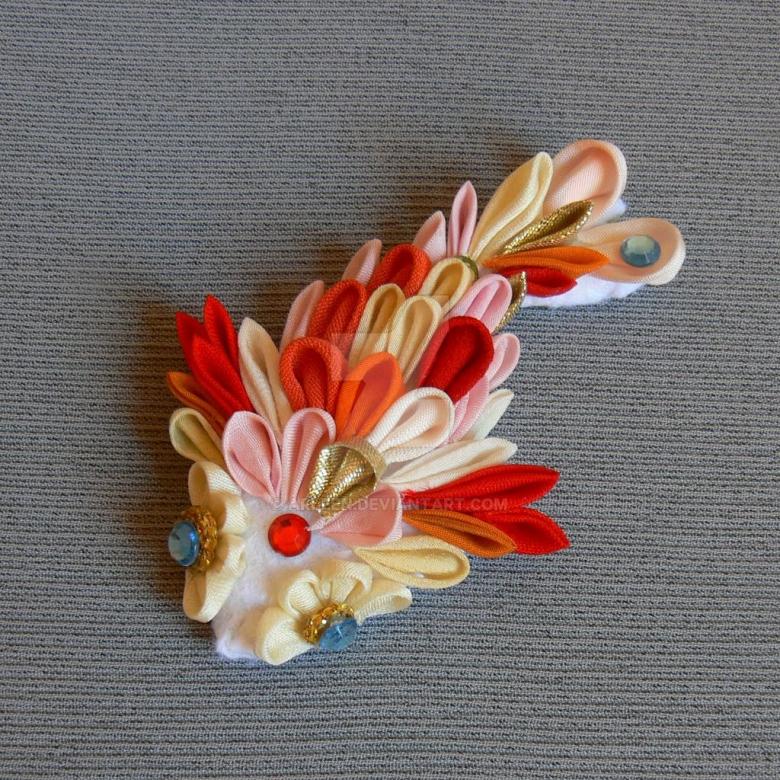
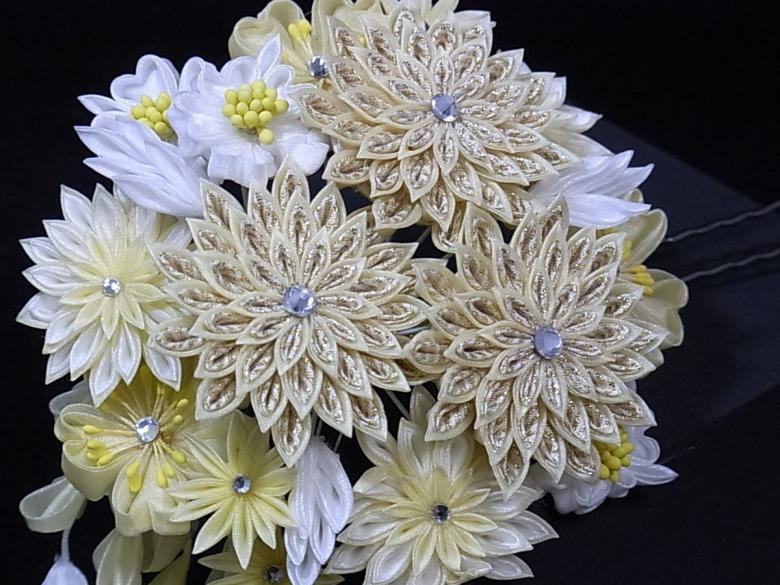
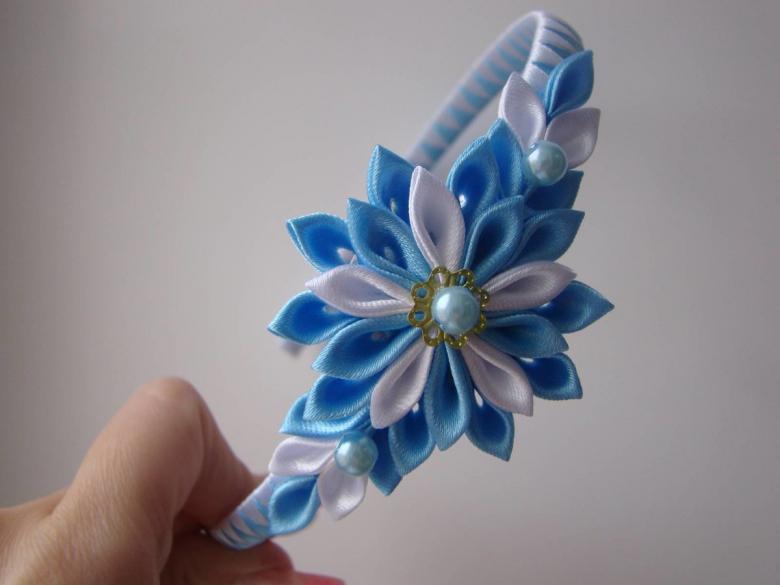
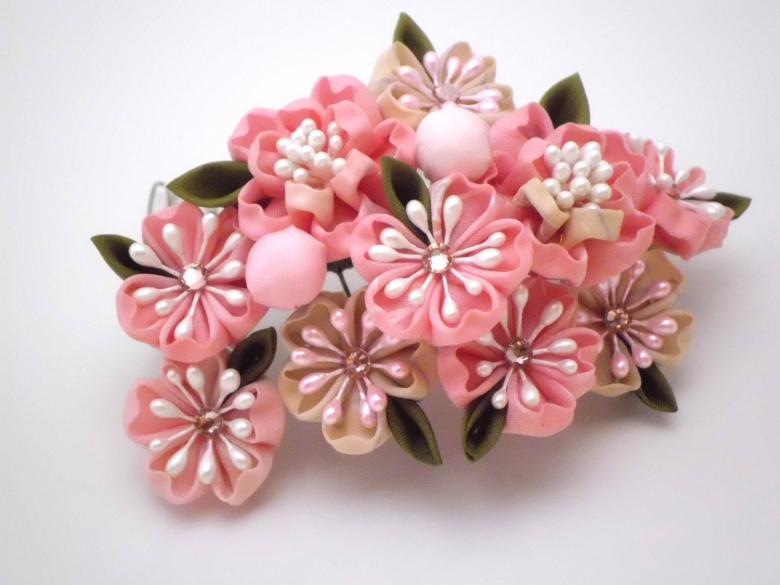
The technique of decorating objects with flowers, made from pieces of colored ribbons, is called kanzashi. It came to European countries and Russia from Japan, where by such technology fabric flowers are made to decorate women's hairstyles, combs, hairpins, hairpins.
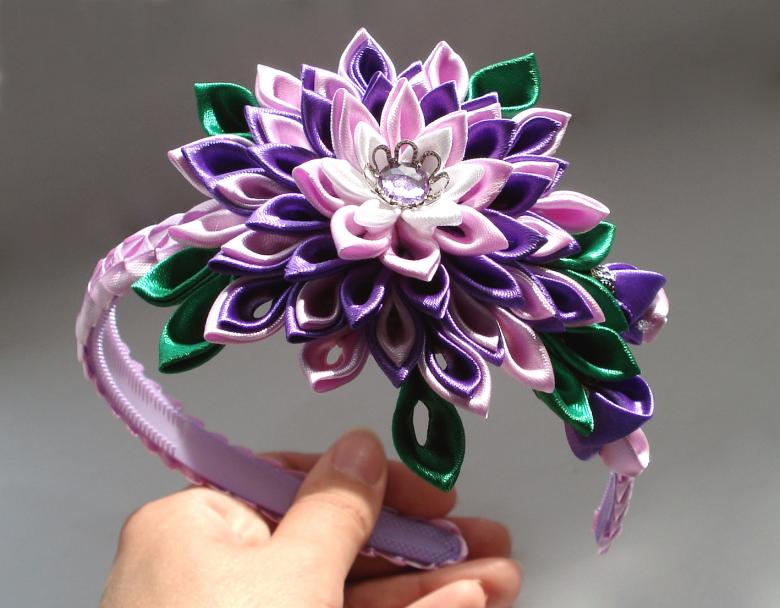
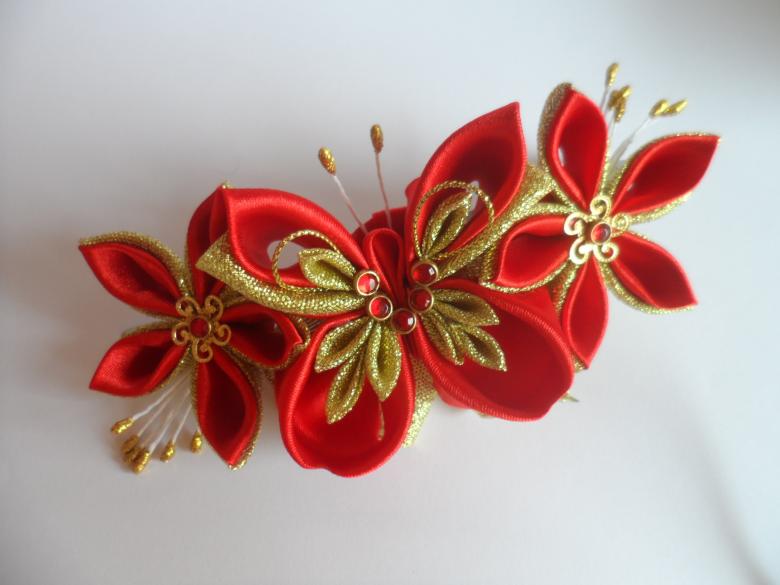
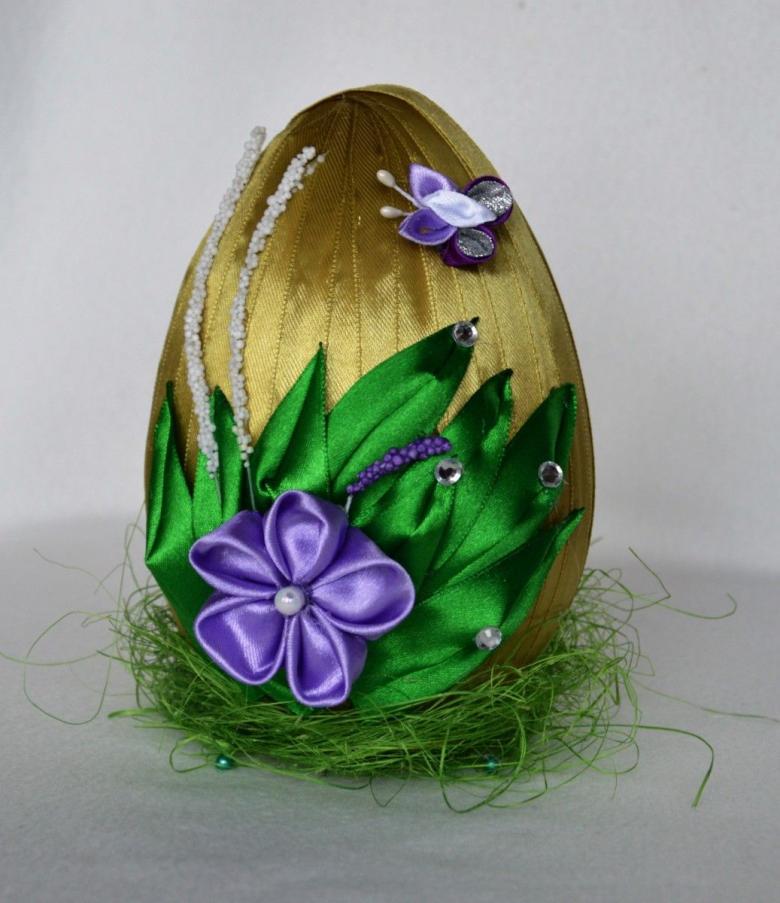
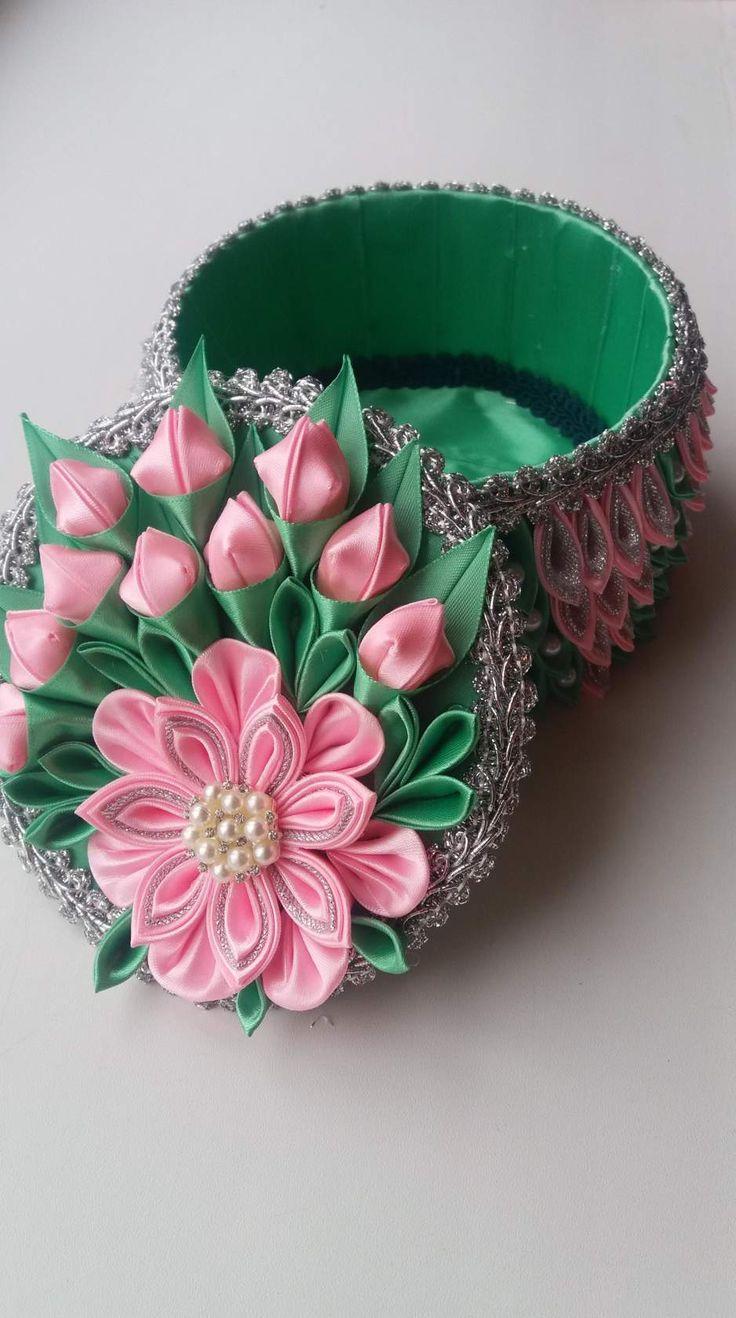
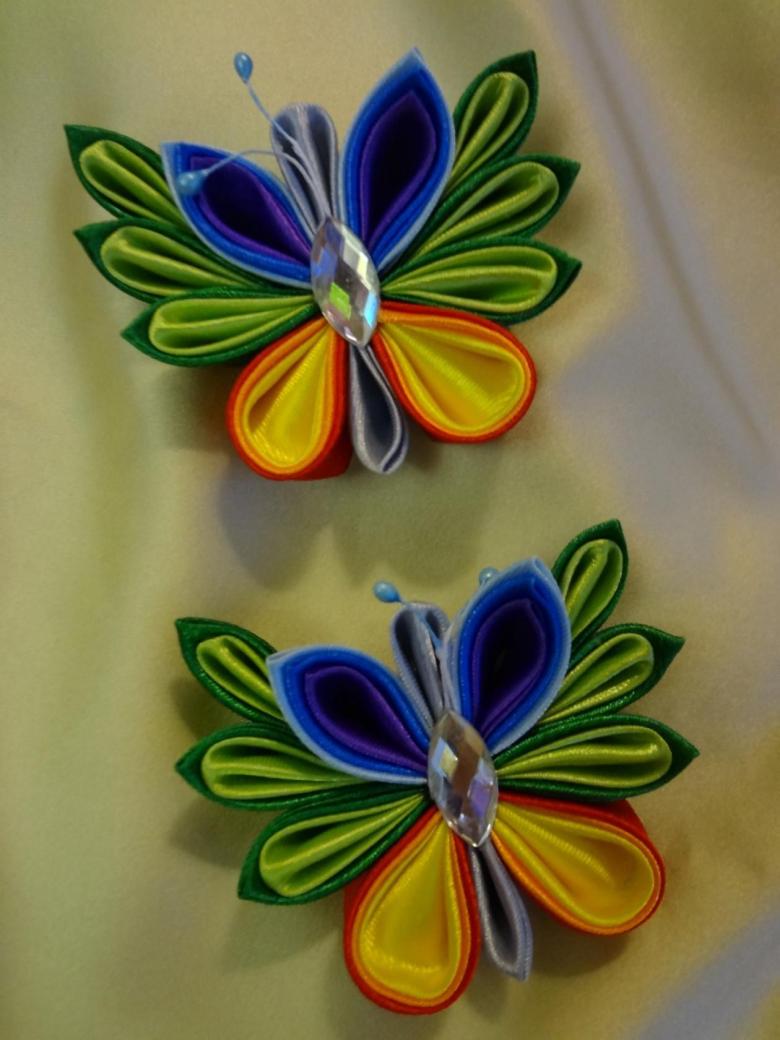
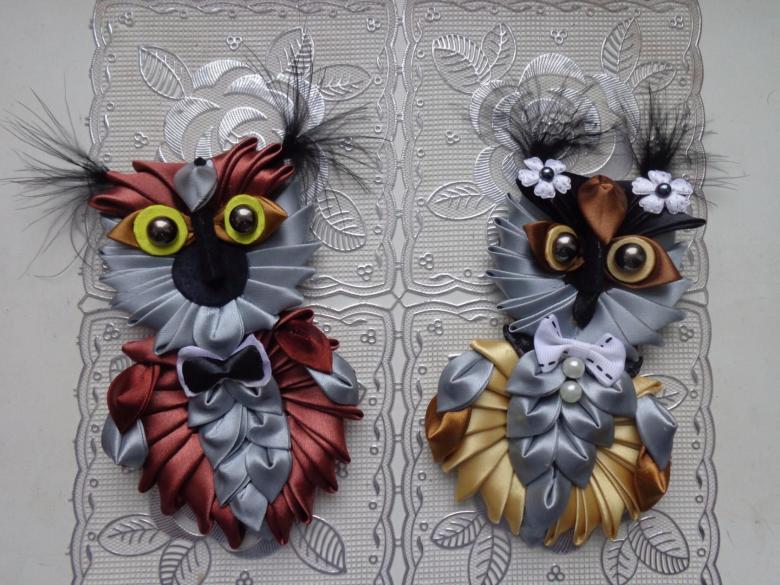
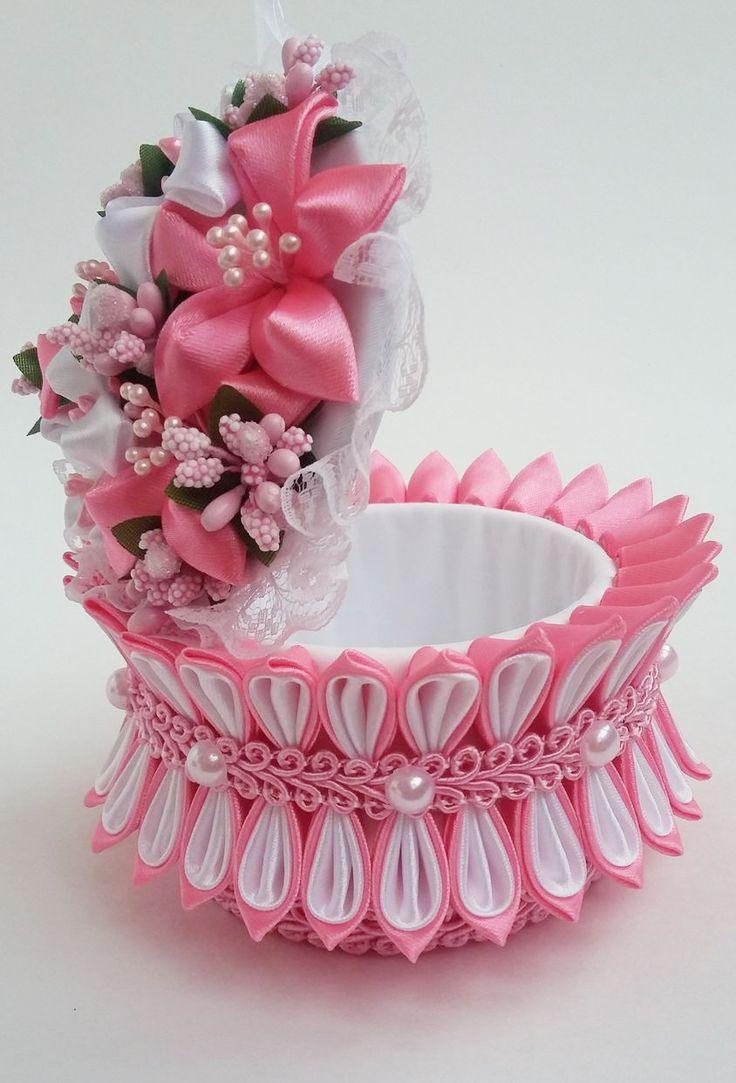
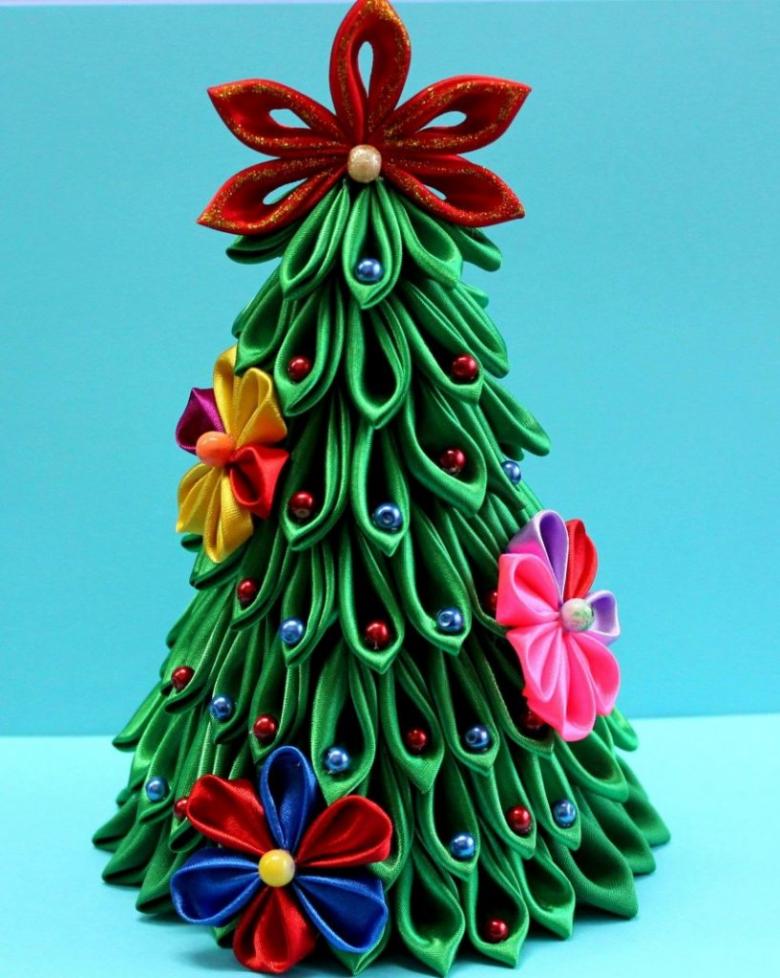
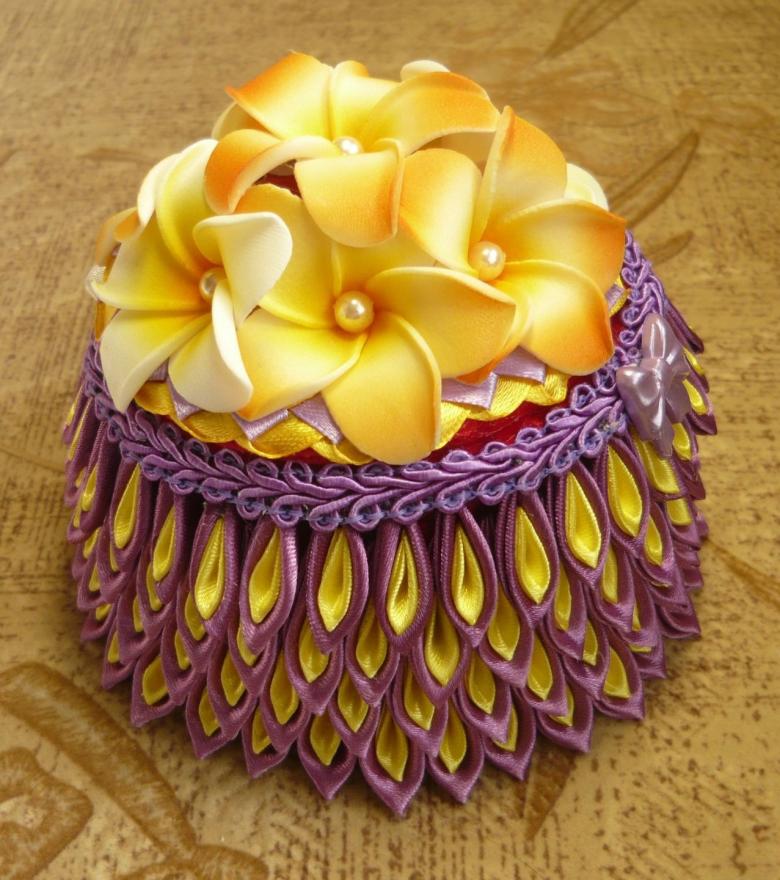
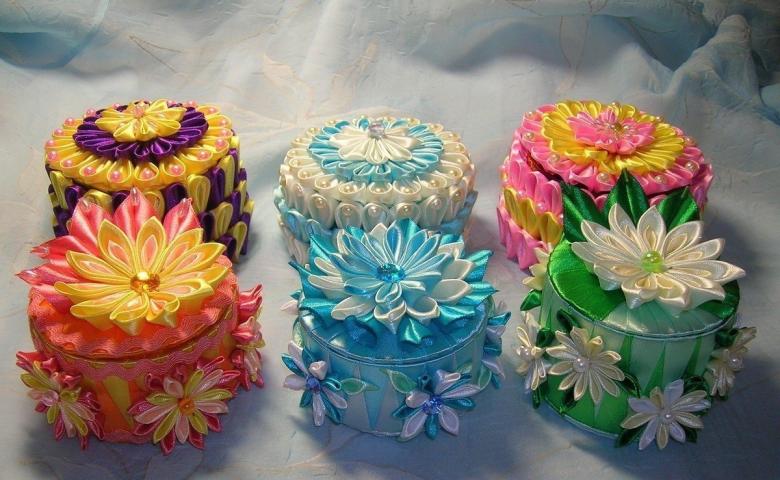
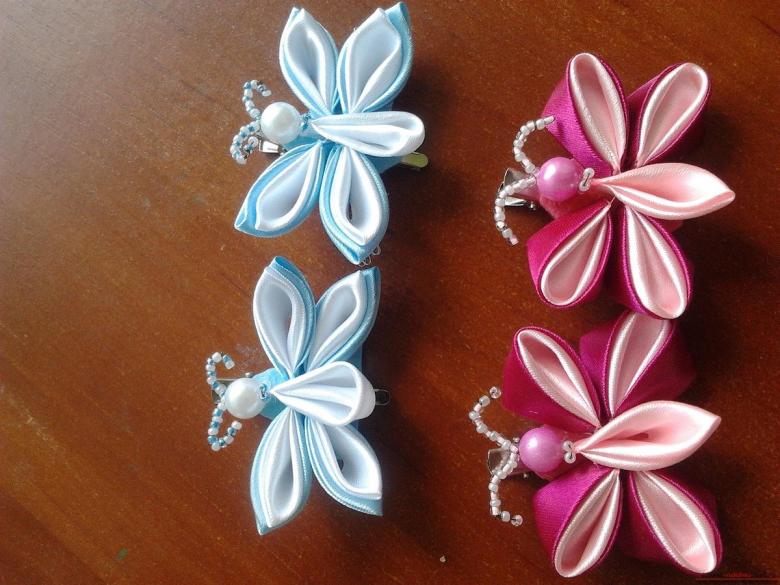
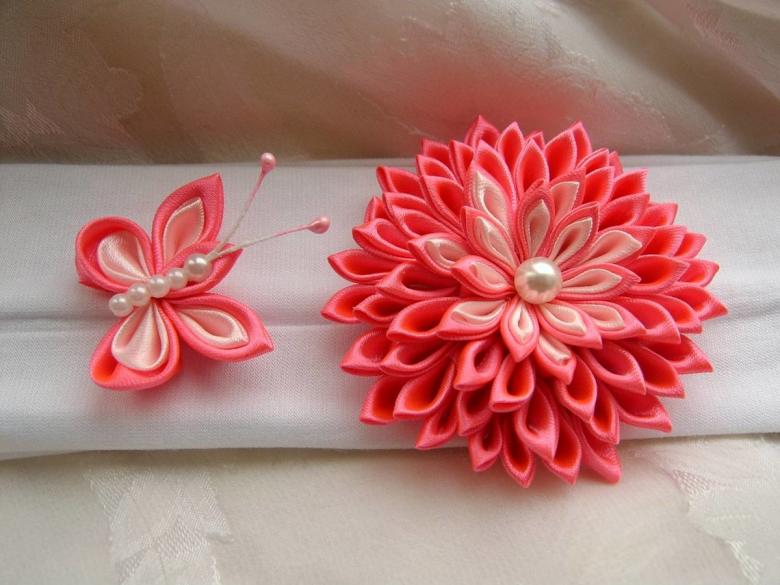
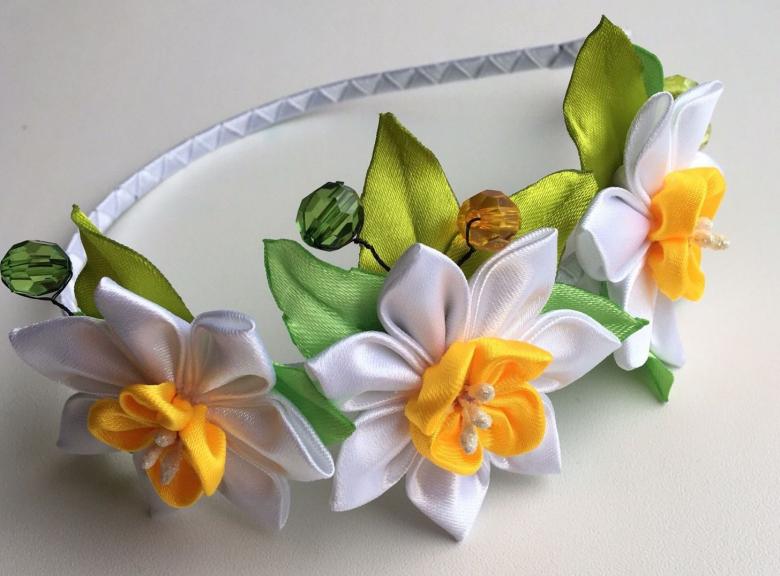
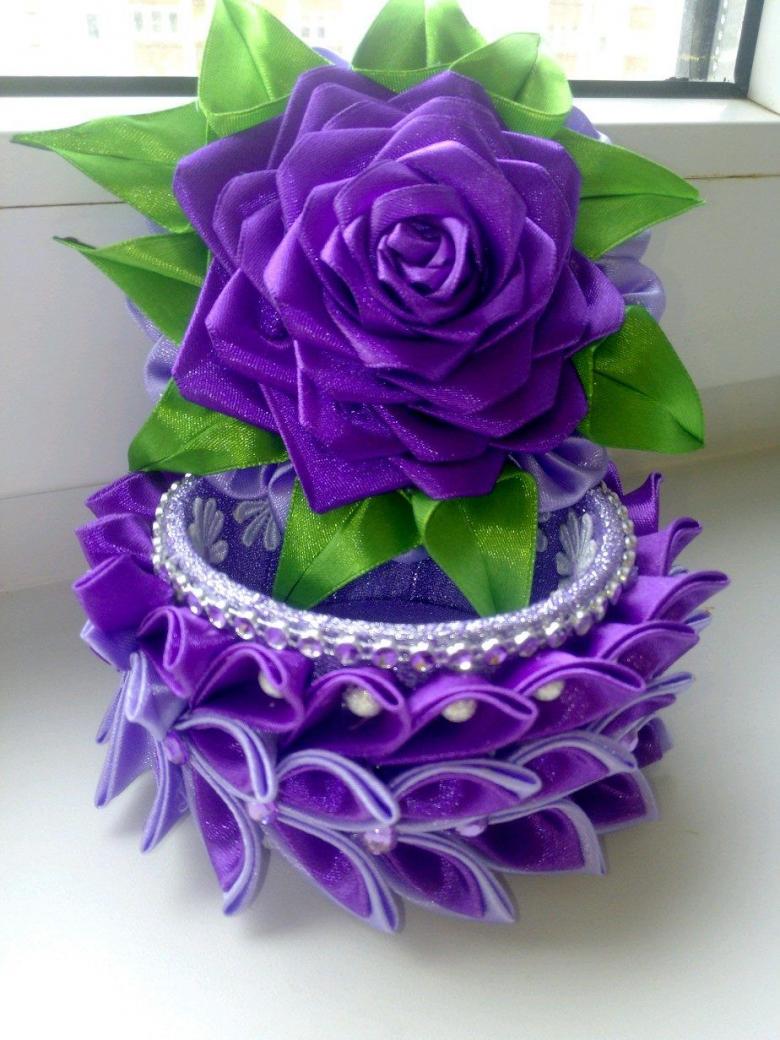
Today this needlework technique became very popular and is widely used by craftswomen not only for the decoration of women's hair accessories, but also for decorating almost all items of women's closet. It is suitable for decorating hair bands, headbands, hairpins, handbags, cosmetic bags, caskets, pillows, etc.
Kanzashi technique: knowing how to fold satin ribbons correctly
The secret of such needlework is the ability to fold the pieces of satin ribbons correctly, treat the workpiece in a certain way, and then assemble her flowers. Having made the blanks of petals, skilled worker begins to create the main decoration, stacking one another's petals of different shapes, colors and sizes so that to get a three-dimensional flower.

Materials .
For the work it will be necessary to choose the right fabric. Experienced craftswomen use:
- satin ribbons of different sizes and colors;
- organza:
- rep material;
- lurex;
- dense silk;
- lace.
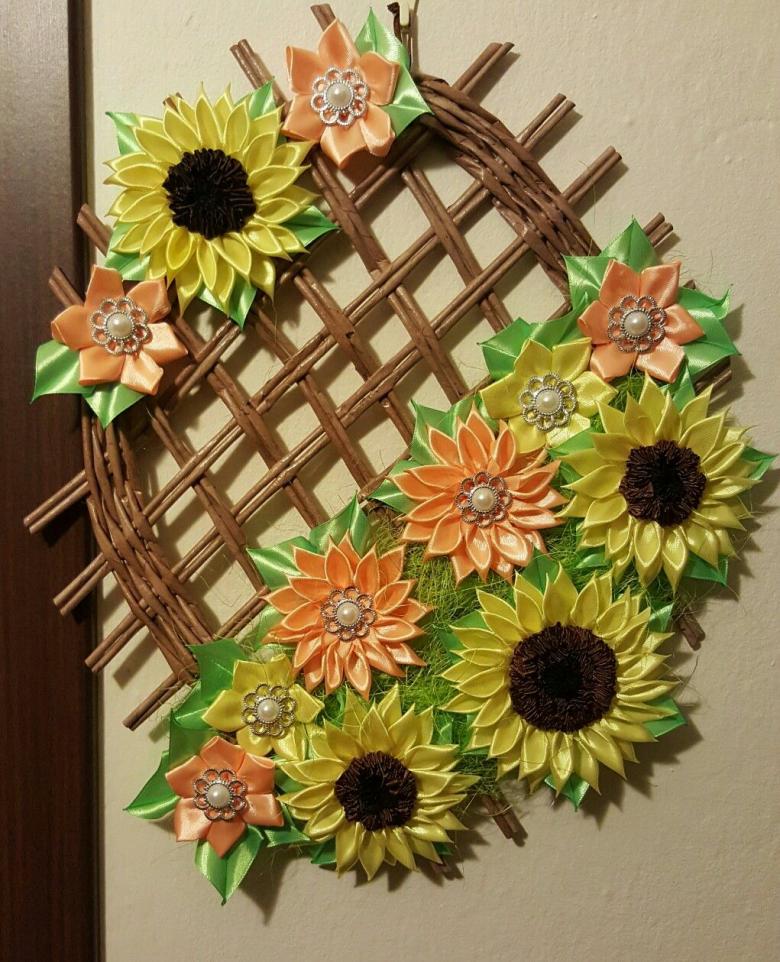
You can use any material that has a good density, but to start mastering the technique of kanzashi it is necessary to use satin ribbons. They are cheap and come in a variety of colors and sizes. Other types of fabric can be used as additional decoration for the craft.
Tools for work
To create beautiful ornaments from satin ribbons will require a large set of tools, which can easily be found in every home:
- ruler;
- scissors;
- lighter;
- glue gun with glue;
- gel glue "Moment";
- thin metal tweezers;
- soldering iron or wood burner;
- working board for working with the soldering iron and gluing the satin decor elements;
- thread and needle;
- beads, rhinestones, paetki.
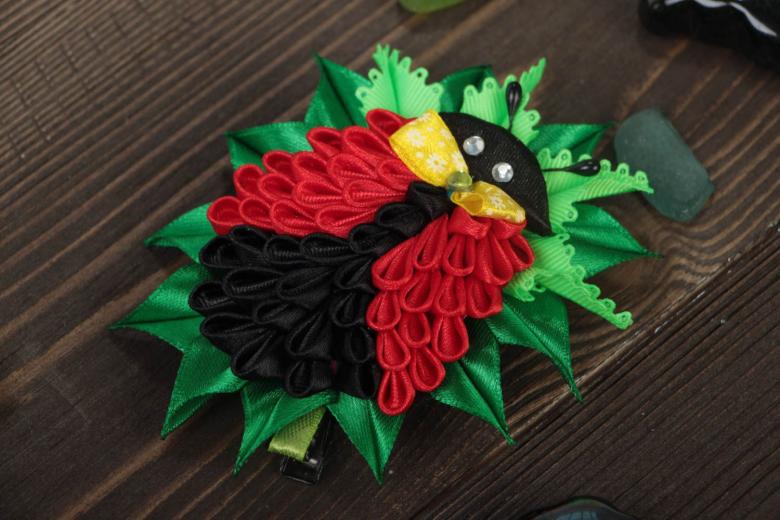
Beginner needleworkers will need to learn how to cut satin ribbons not with scissors, but with a soldering iron or a device for burning. In this case, the cut will be even and the material will not crumble.
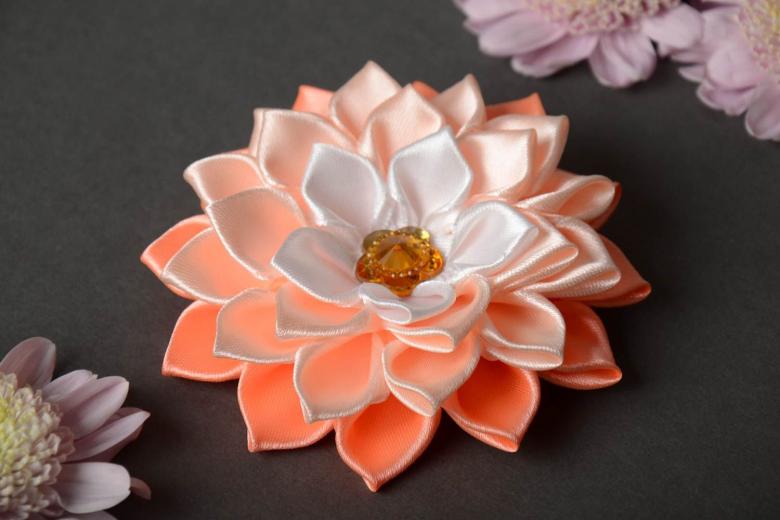
To work, you should choose a glue-gel that will not spread and be absorbed into the fabric.

A variety of petals in the kanzashi technique
A novice craftswoman should first master the technique of making various petals, having watched a preliminary master class on the video. Then you can begin to make elements of such decor, which can be narrow and round. Changing the size of the blanks from satin ribbons, you can create complex compositions, putting into each other petals narrow and round petals of different colors.
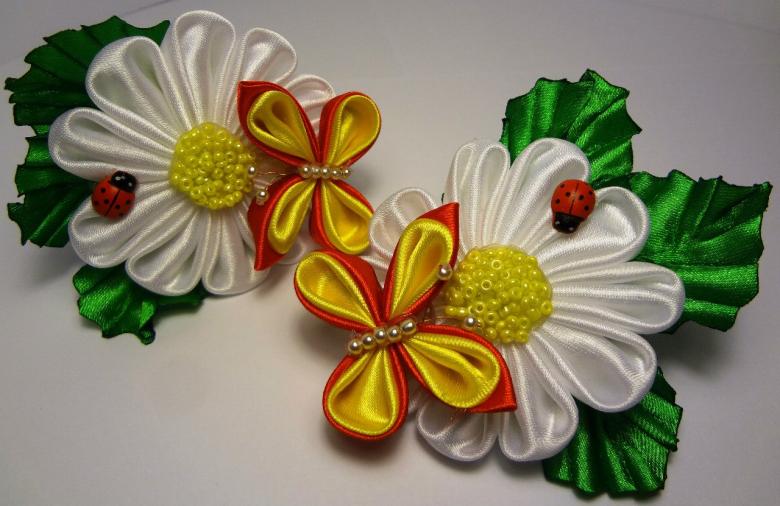
Before making a flower in the technique of canzashi should first select the colors of satin ribbons so that they match each other. From the narrow petals you can make both inflorescences and leaves, changing the colors. Round petals are always used to make an inflorescence.
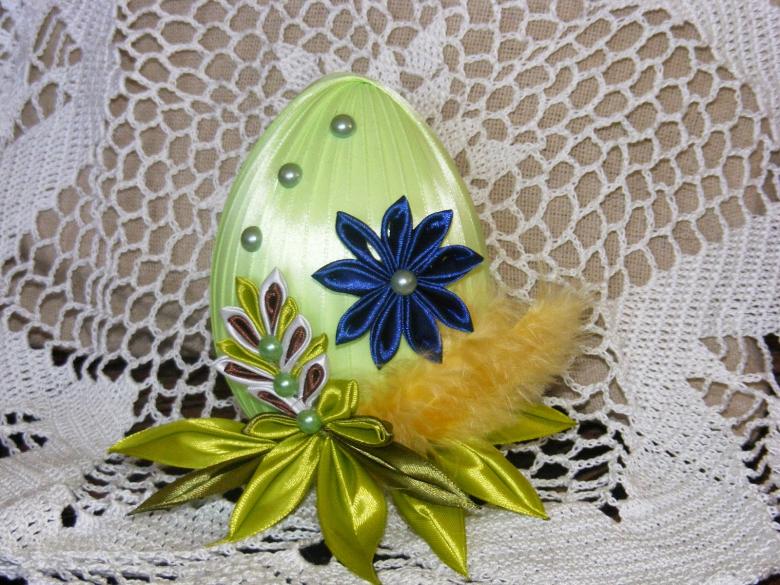
Having made the required number of blanks, the master begins to assemble them into a single floral composition. For this purpose, glue and thread are used, with which the petals of the flower are usually assembled. To master the basics of the kanzashi technique, you need to start by making a simple flower, in which round petals will create inflorescences, and narrow leaves will create twigs.
Master class on making a narrow petal
First you need to cut blanks from satin ribbon. For the convenience of work, it is worth taking a ribbon 5-6 cm wide of green and red. Using scissors or soldering iron, cut squares with a side equal to the width of the ribbon.
To create a flower you will need to make 7 wide petals of red. For them to cut 7 squares. For the green leaves will need 5 blanks. When the material is cut, you can move on to the manufacture of narrow petals.
Now we take the green workpiece and start folding it with his hands or using tweezers, so that there is a triangle, the fold should be up. Then the right end is bent to the left. To workpiece is not unfolded, it must be held with tweezers.
Then once again the triangle is folded from right to left. The ends and the folds should always be trimmed.
The folded ends are trimmed slightly and melted over a lighter. To make the material melt and not burn, it is necessary to hold the material at the bottom of the flame, holding the workpiece with tweezers. The bottom edge is also trimmed and melted. Leaf blanks ready. In the same way are made the remaining 4 leaves.

Master-class on making a round leaf in the technique of kanzashi
A red square is rolled diagonally in a triangle. Then every angle is bent to the top, which is located below. We get two parallel folds exactly in the middle of the workpiece.

One edge of the bend is bent on the other. It turns out the triangle. Holding the workpiece with tweezers, you need to cut a little free edge and melt them over a lighter. Also flatten and melt the bottom free edge.

The edges of the petal must be glued together. You can do this with your fingers, letting the material cool down a bit so as not to burn yourself. Then from the wrong side drop a little glue into the recess and glue the petal, so that it is round and does not stick out. Following the same pattern to make another 6 petals for the inflorescence.
Assembling a flower in the technique of kanzashi
Red petals should be threaded on a sharp corner on a thread with a needle and make an inflorescence out of them. For the work, you should use transparent threads, for example, monofilament, so that they were not visible later on the decoration.
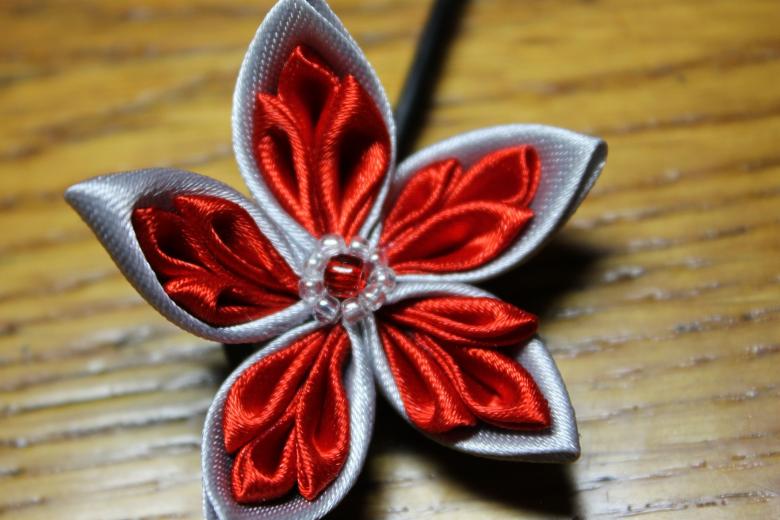
Cut another red square from the satin ribbon. Also cut out an even, small circle for the base of the flower from cardboard. Glue the cardboard circle to the middle of the piece of ribbon and fold all the edges inward, covering the cardboard base by pre-cutting the material around the circle with an indentation. The flipped edges of the material are also glued to the cardboard.
Grease the inside of the blank and glue it to the back of the flower. Use glue, not a glue gun, to glue, as you want the glue to take time to set. This will allow you to trim all the petals properly.
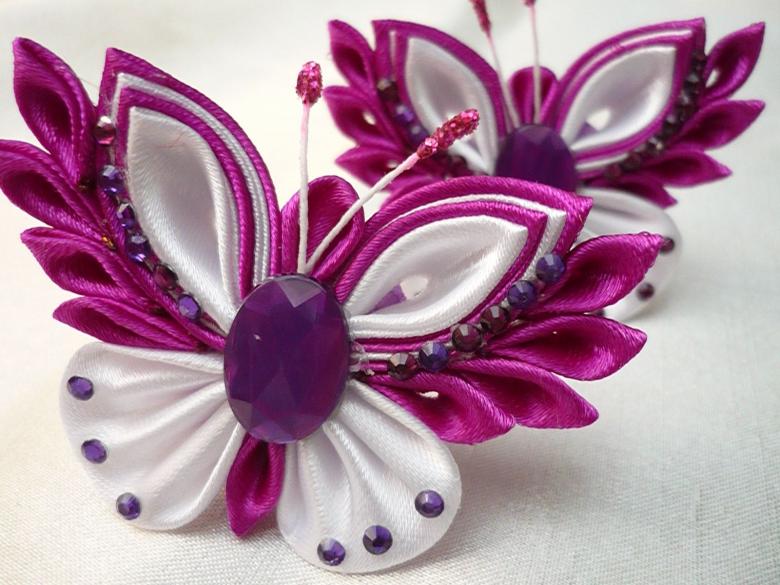
Using gel glue, glue the bottom tips of the two green leaves together. In the same way another pair of leaves is glued. The fifth leaf is glued to the twin leaves. After a triple leaf is glued to the double leaf.
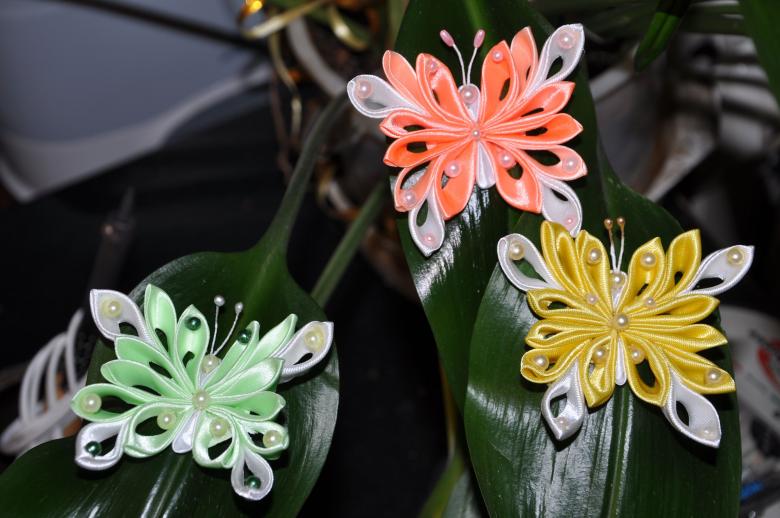
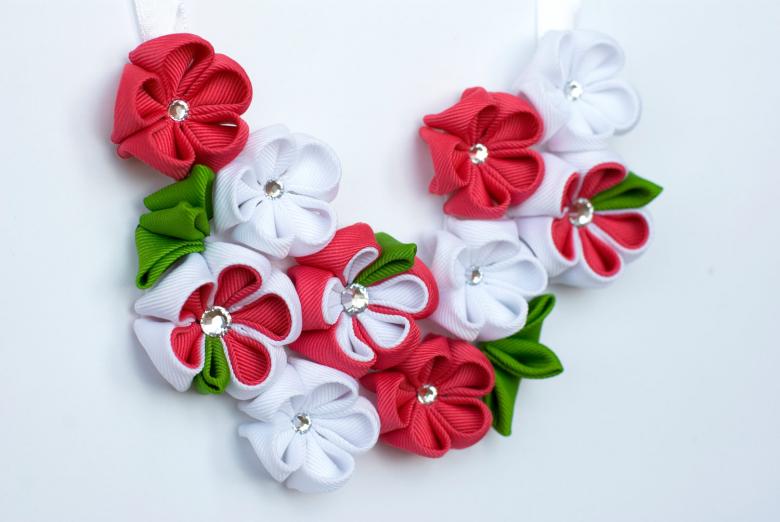
The resulting green branch is carefully glued between the petals of the inflorescence. In the middle of the flower glued beads or rhinestones. Such a flower composition can be glued to a clasp with a base to make a brooch, or to a hairpin.
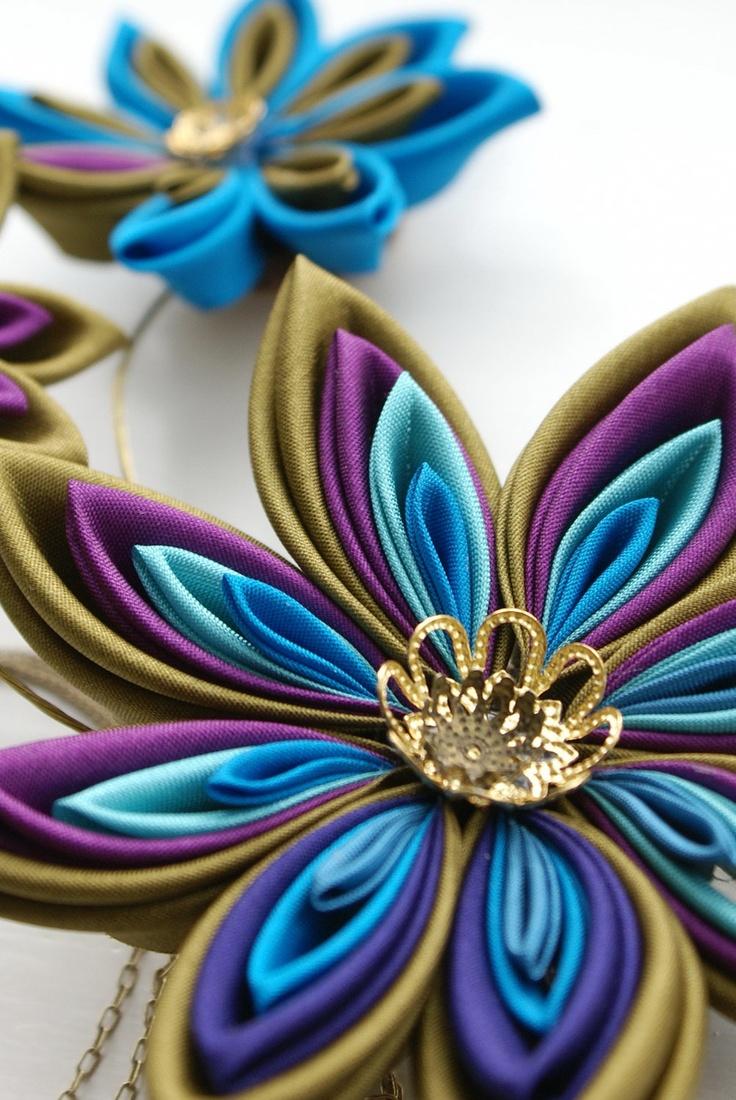
Having mastered the technique of making narrow and round petals, you can proceed to the creation of original decor for different products. Before proceeding to work, you should think carefully about the colors of the flower and the product, which it will decorate.


