Felt crafts - types of felting, features work, step by step master classes
The technology of felting with unspun wool, or felting, allows you to create exclusive products with your own hands. The range of products that can be made in this way is very large:
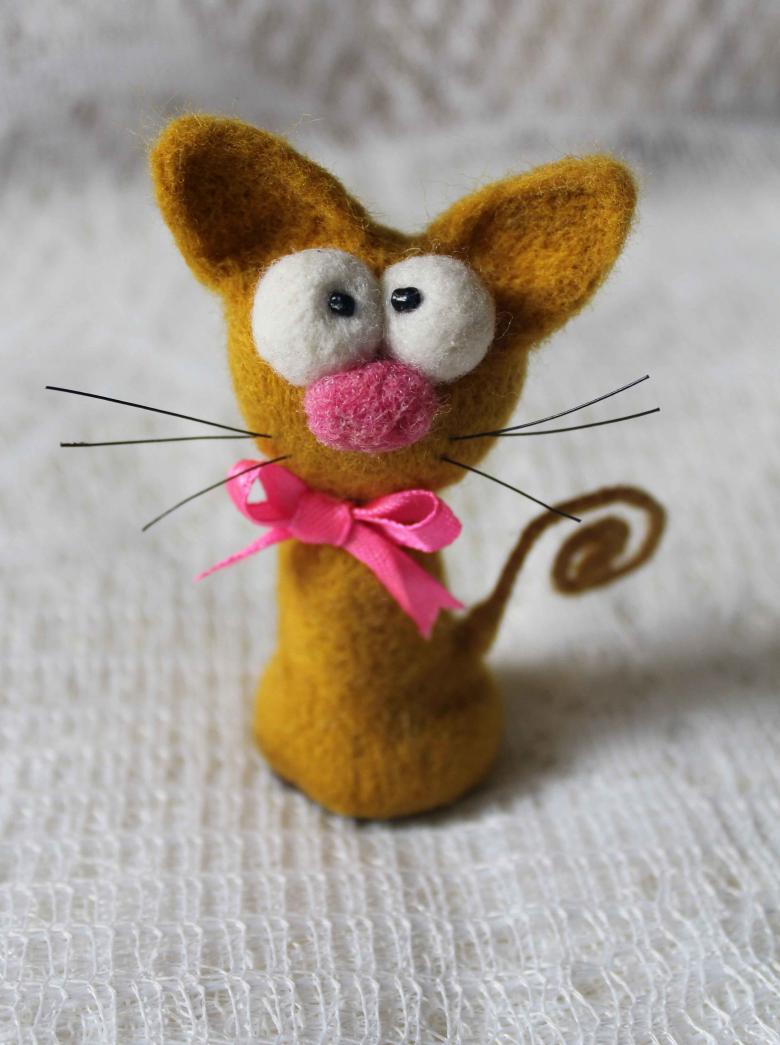
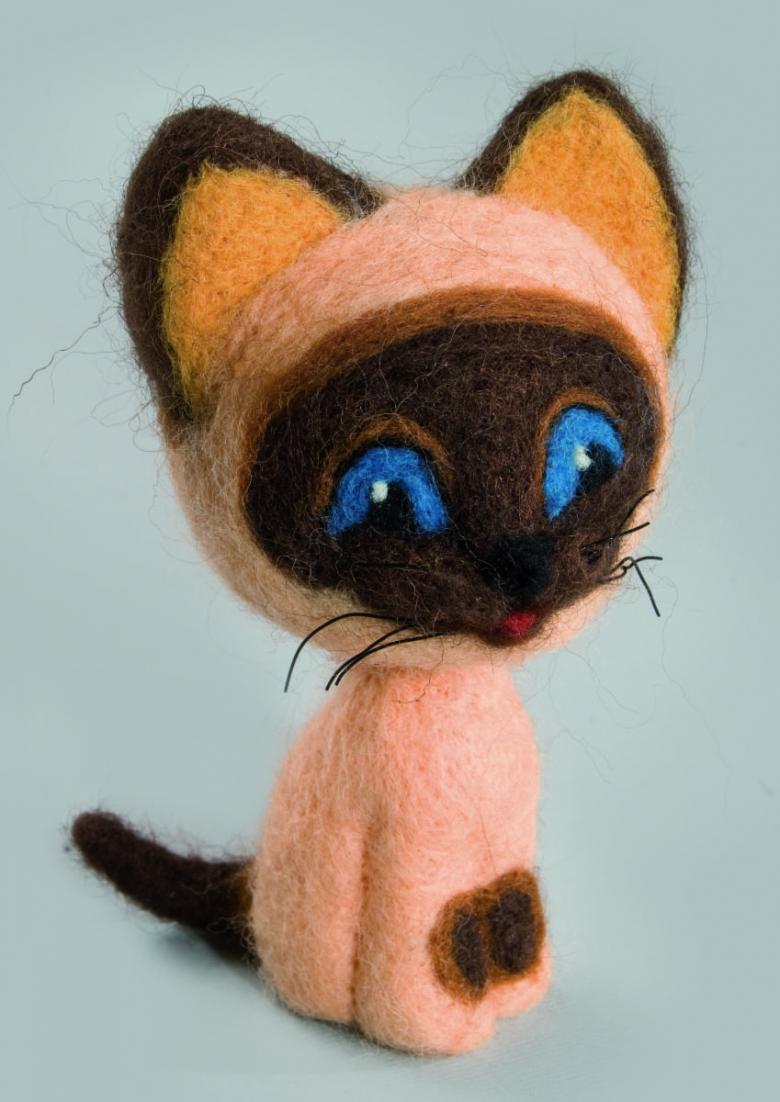
- toys;
- clothes;
- shoes;
- hats;
- bags;
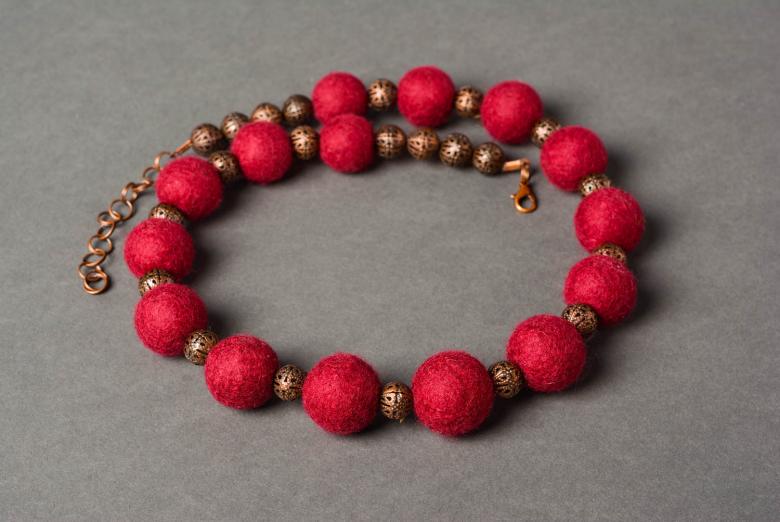
- jewelry.
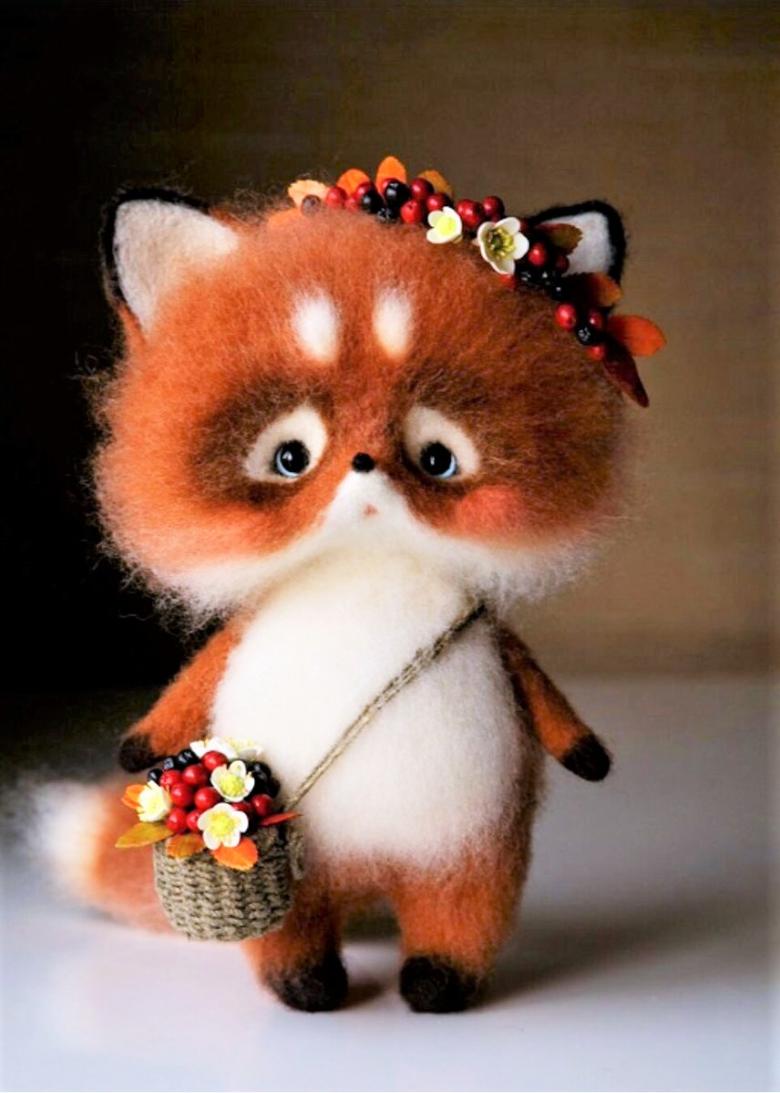
The use of unspun wool for clothing, footwear, hats and household utensils has long been known. Today, such needlework is experiencing unprecedented popularity.
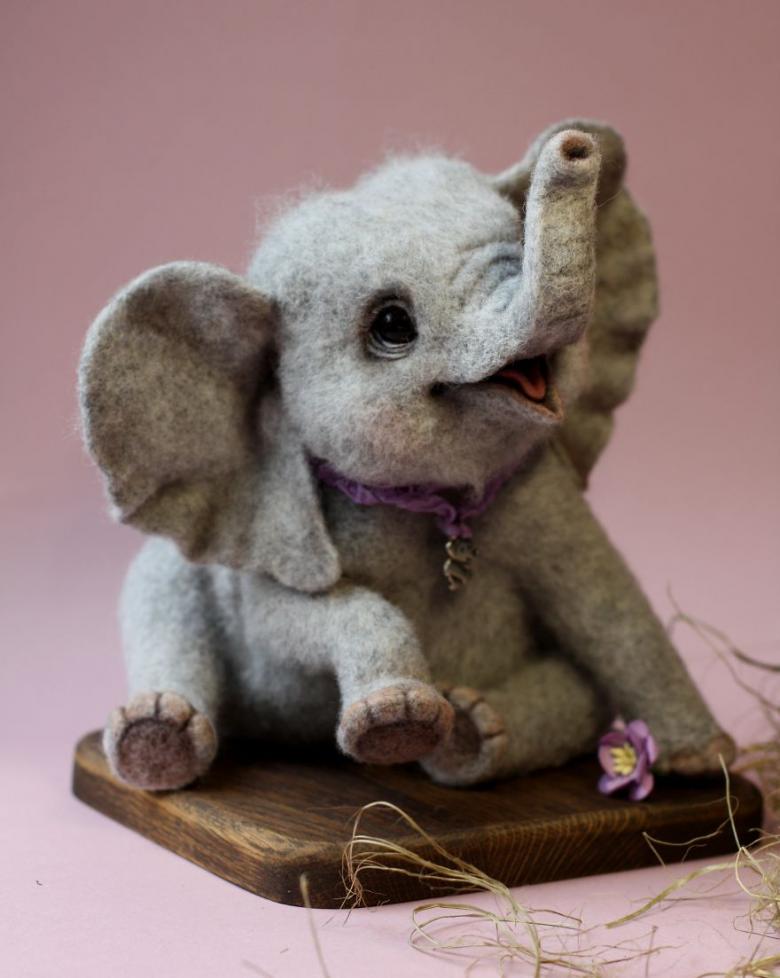
Having mastered the technique of felting, needlewoman can not only transform your closet and home, but also get a second profession, which will bring a significant increase in the budget. Handmade felted things are very popular among today's fashionistas.
Felting: Features of Technology and types of felting
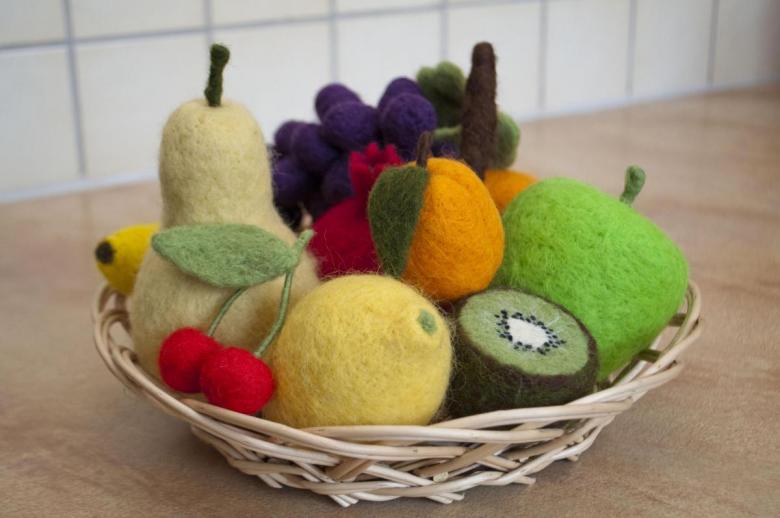
Felting of unspun wool is based on the fact that the lush fibers are bunched into a dense material through a special technique of their processing. There are two types of felting: dry and wet. By dry felting the wool fibers are created voluminous products.
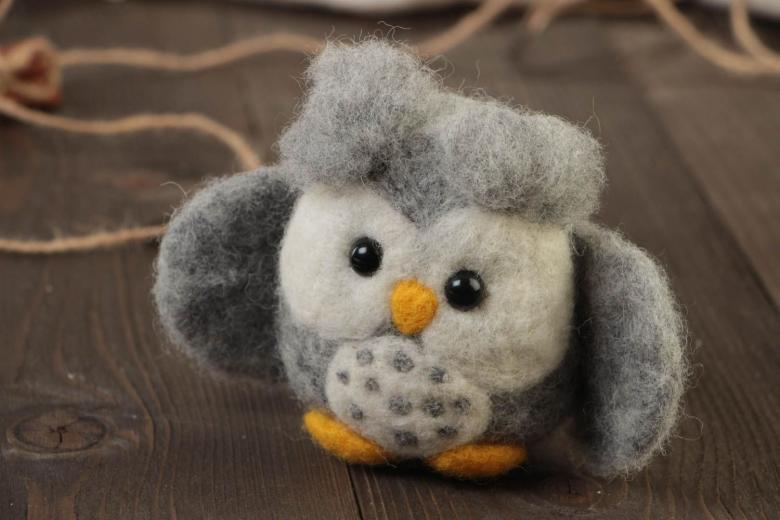
Dry felting
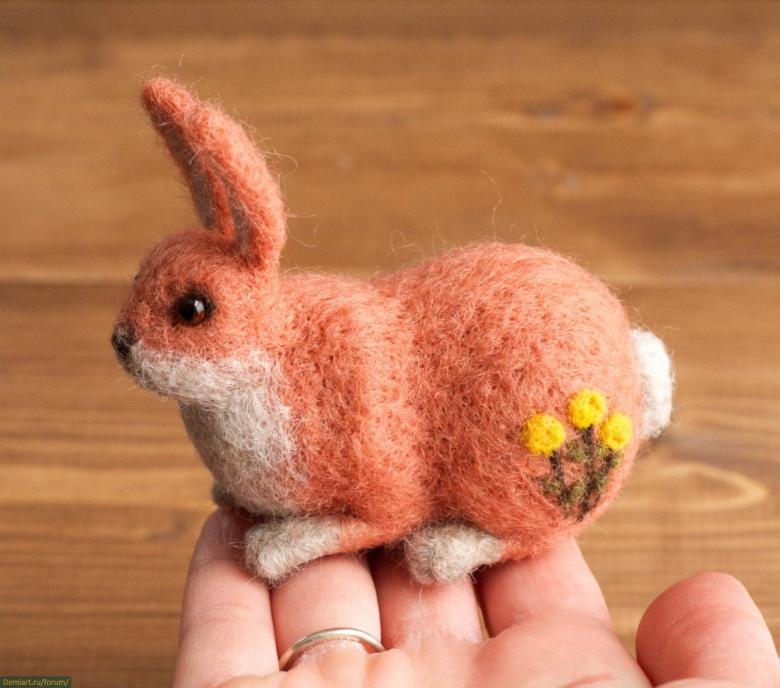
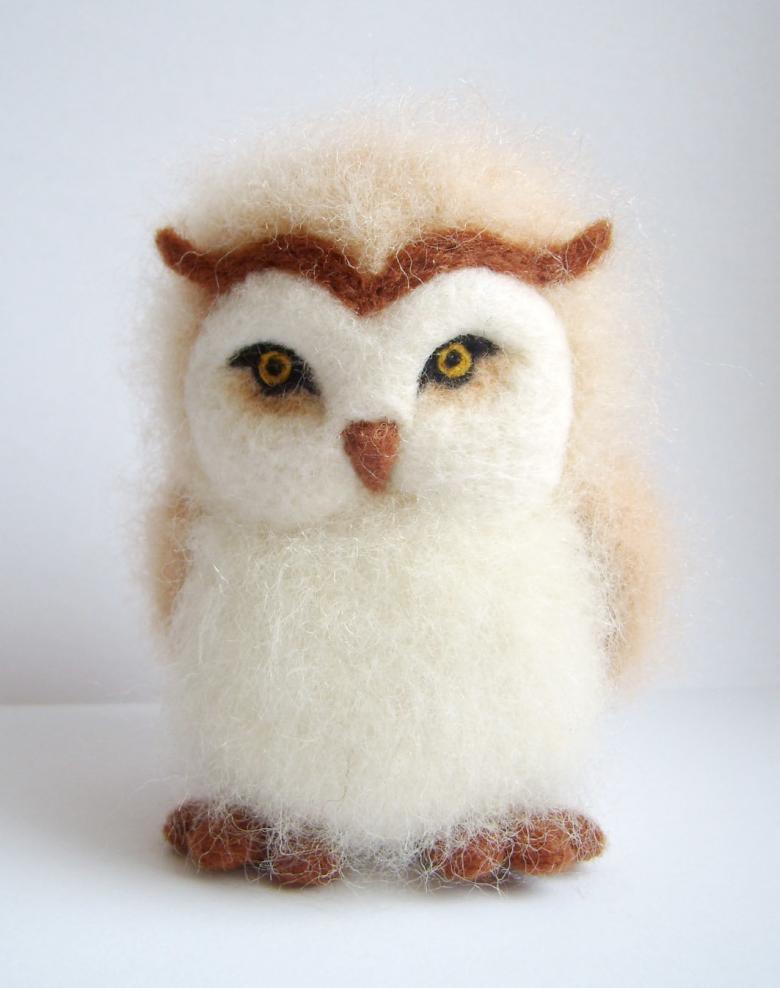
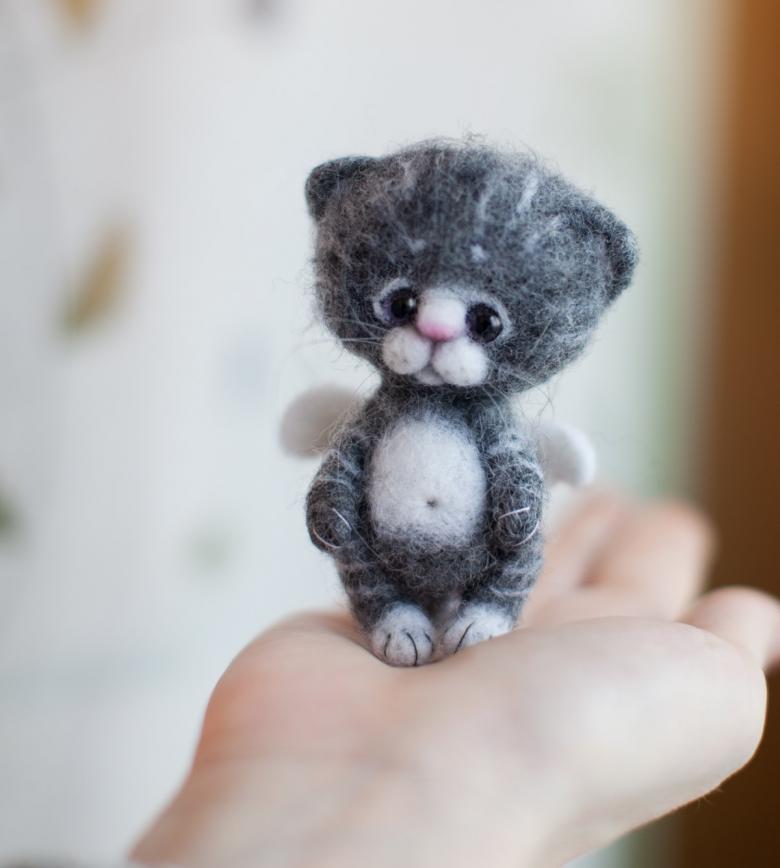
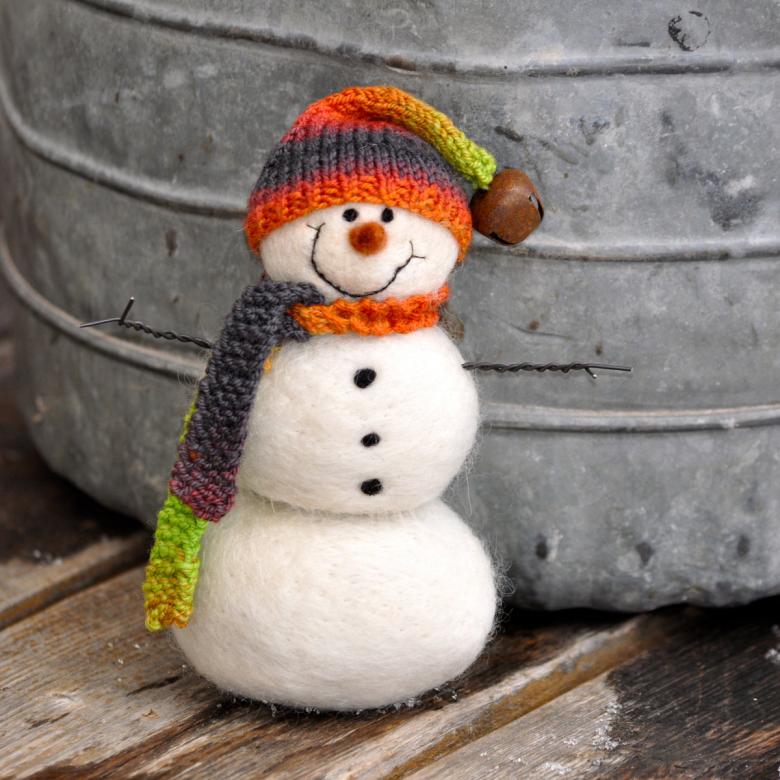
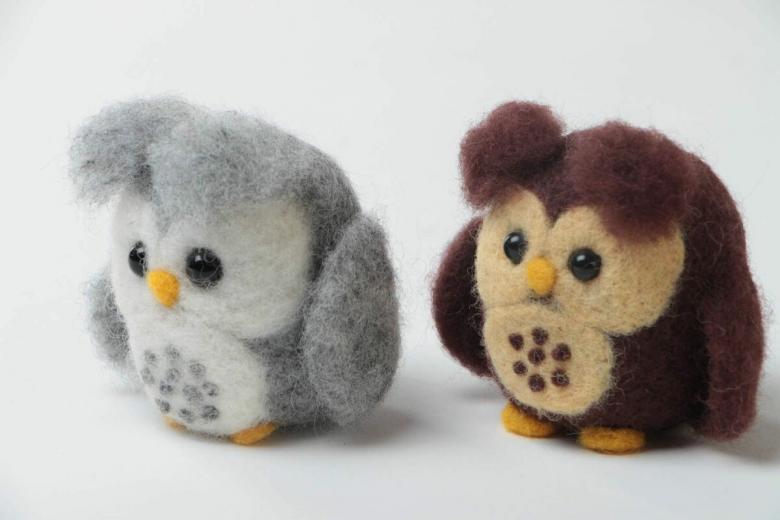
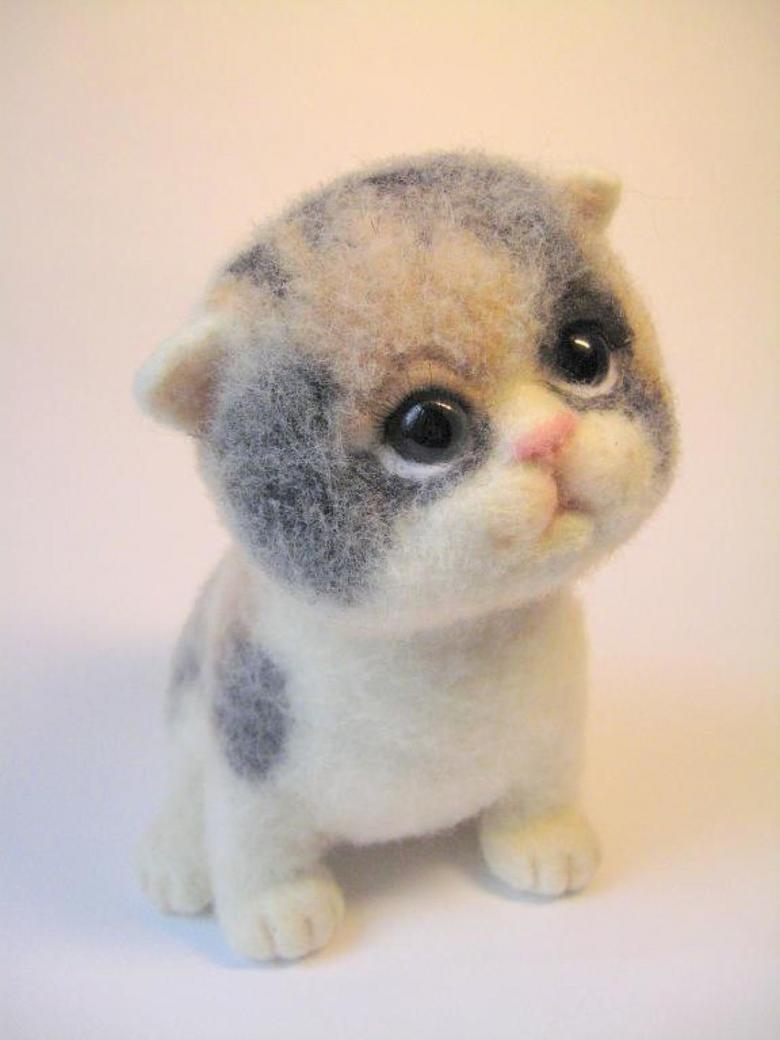
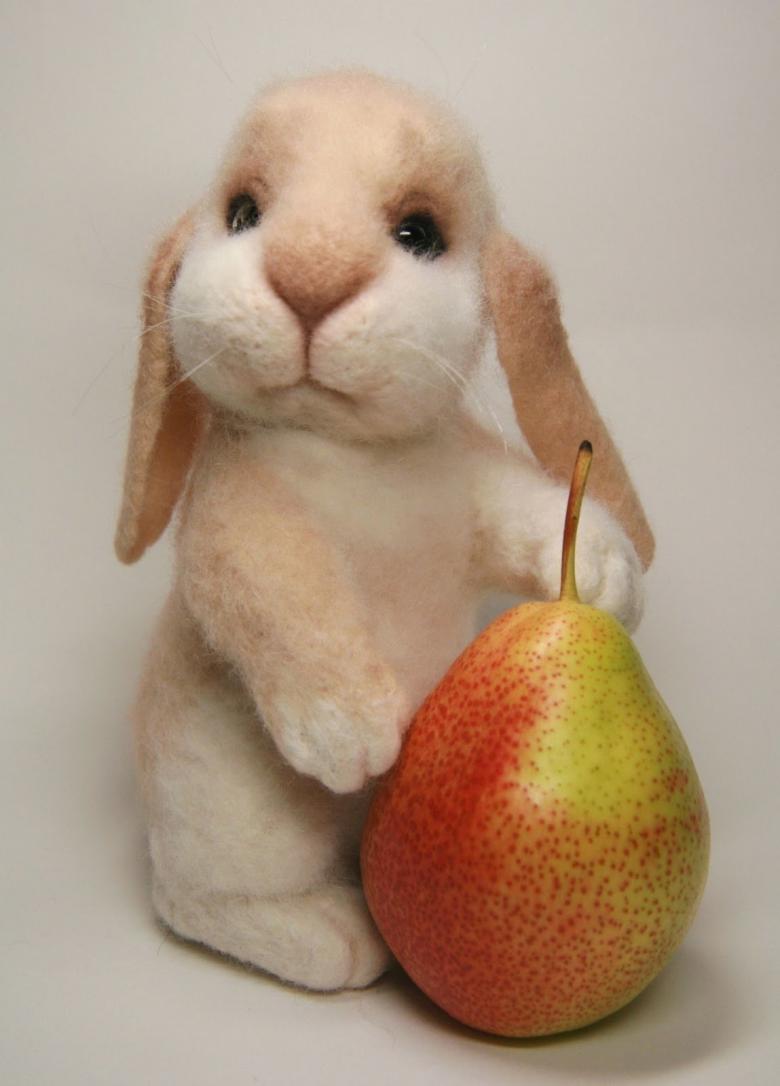
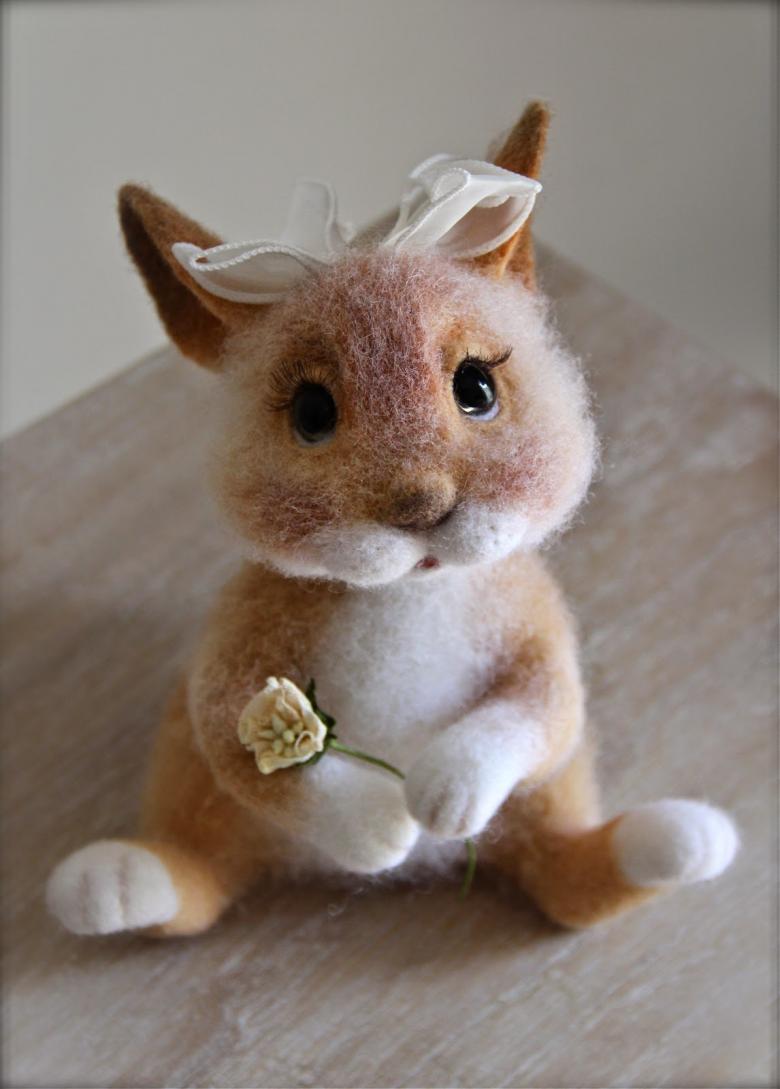
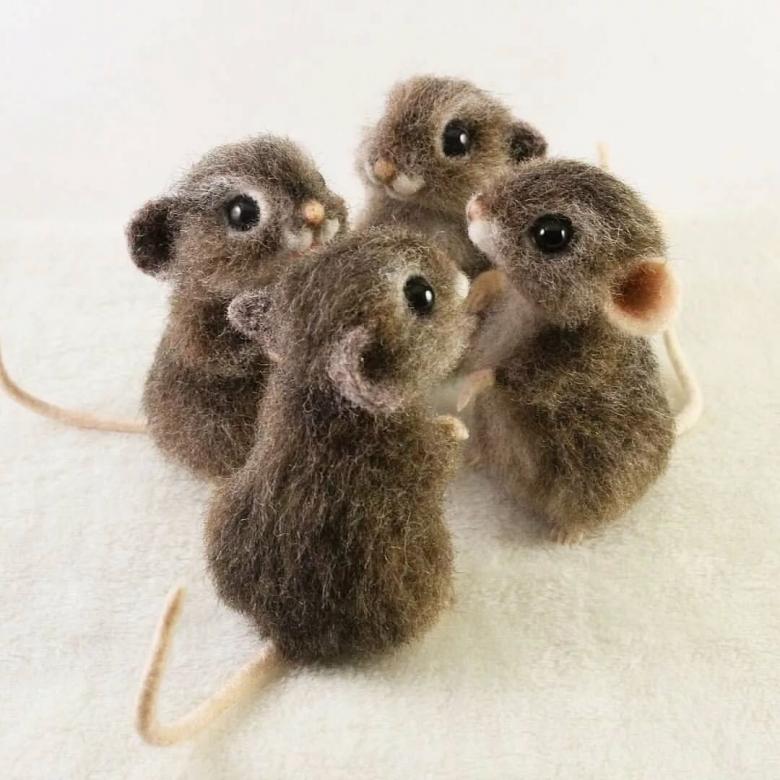
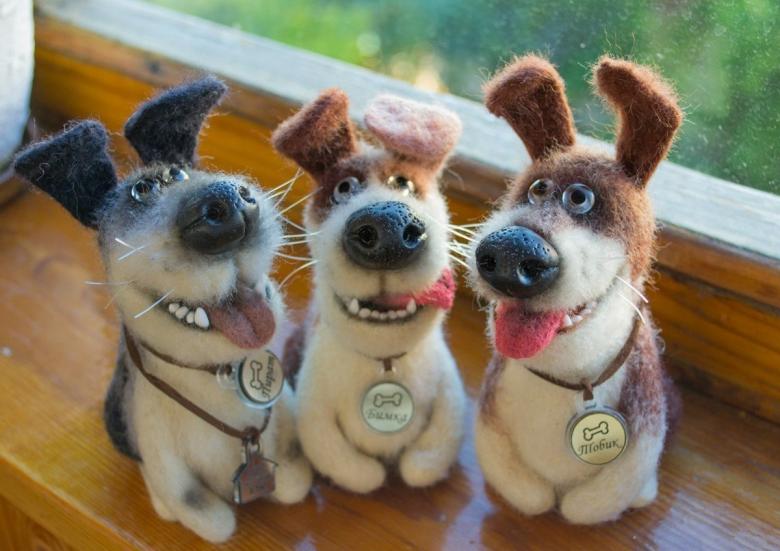
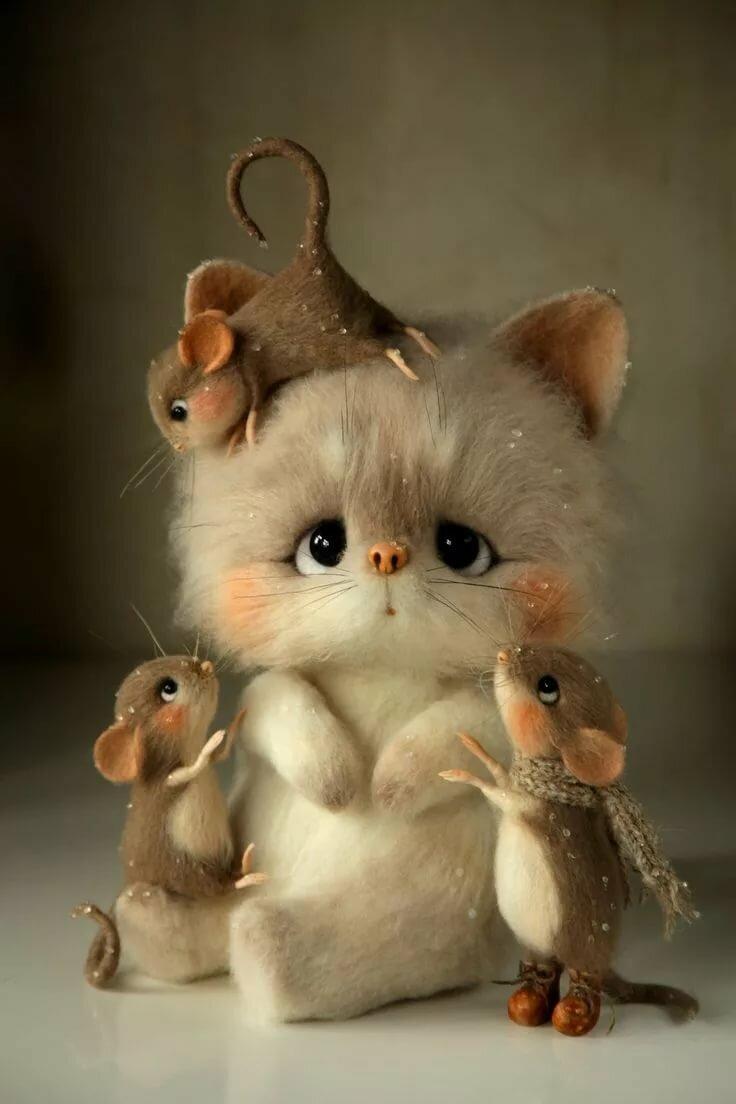
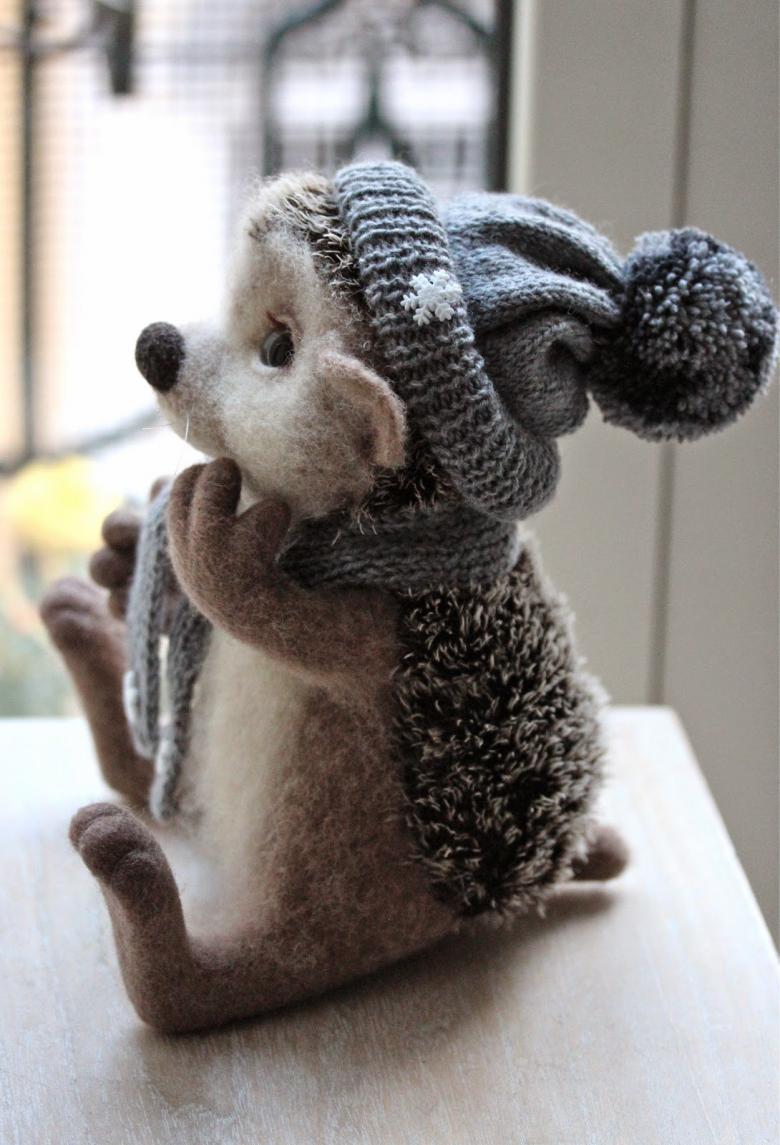
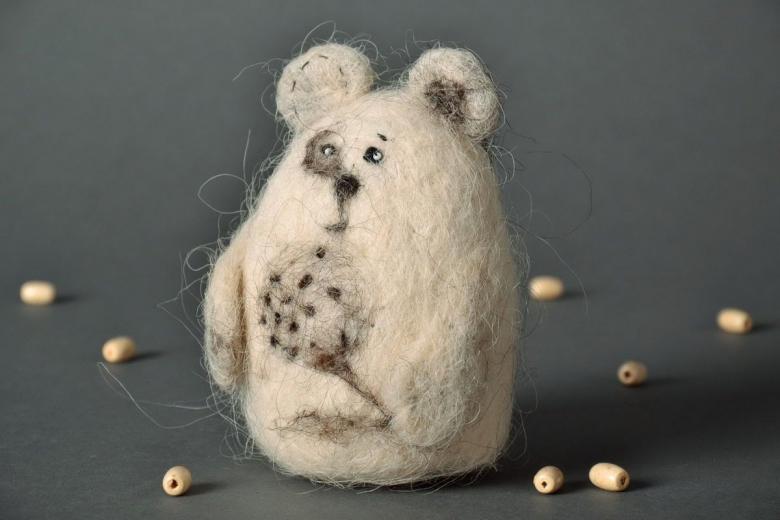
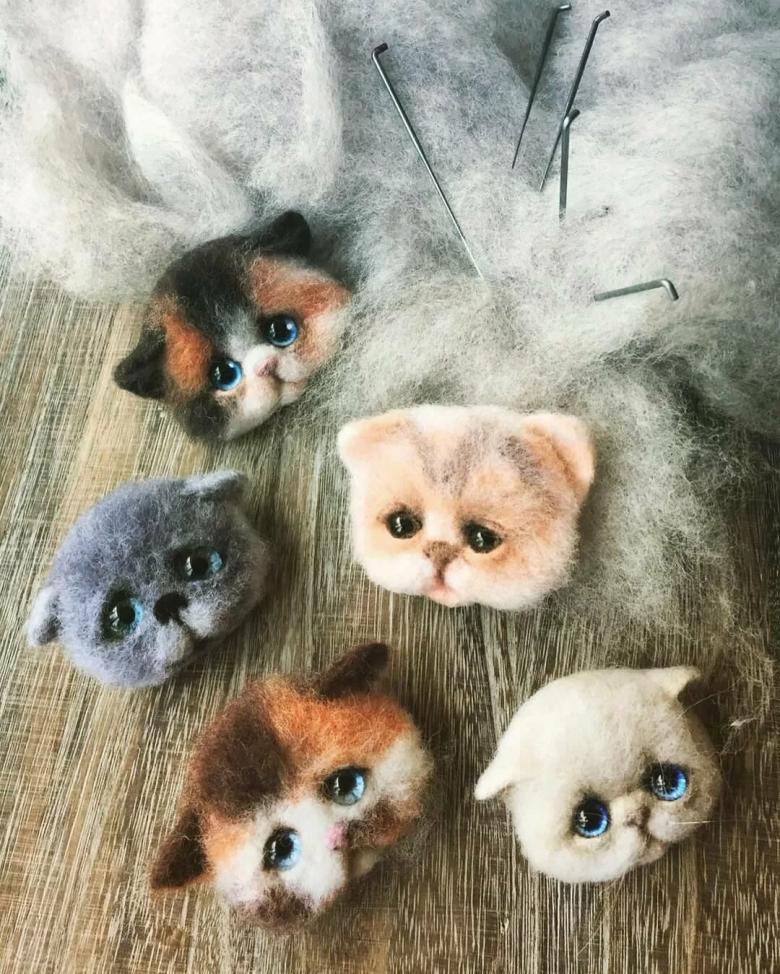
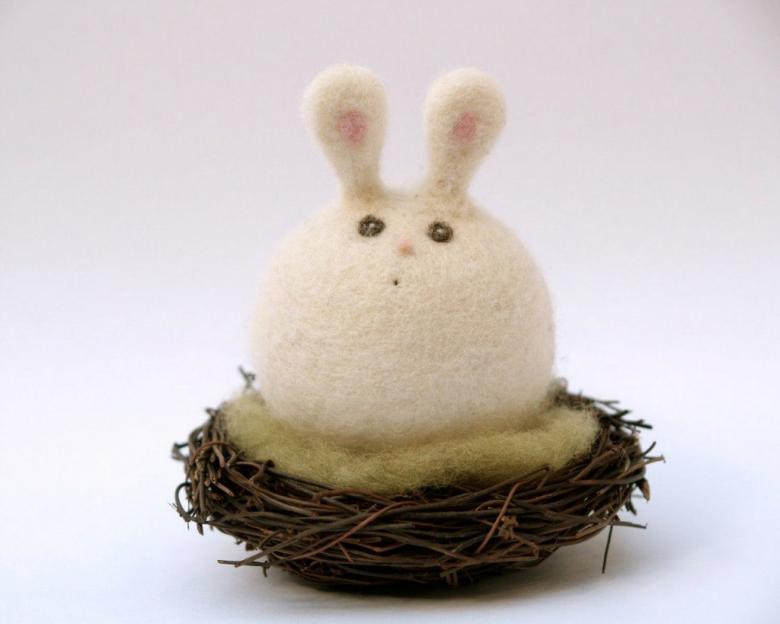
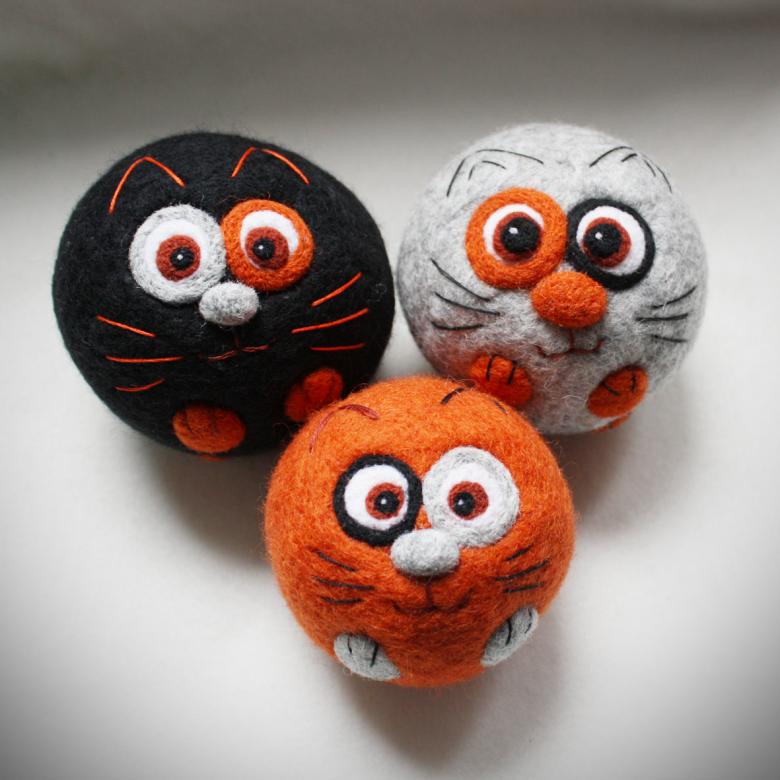
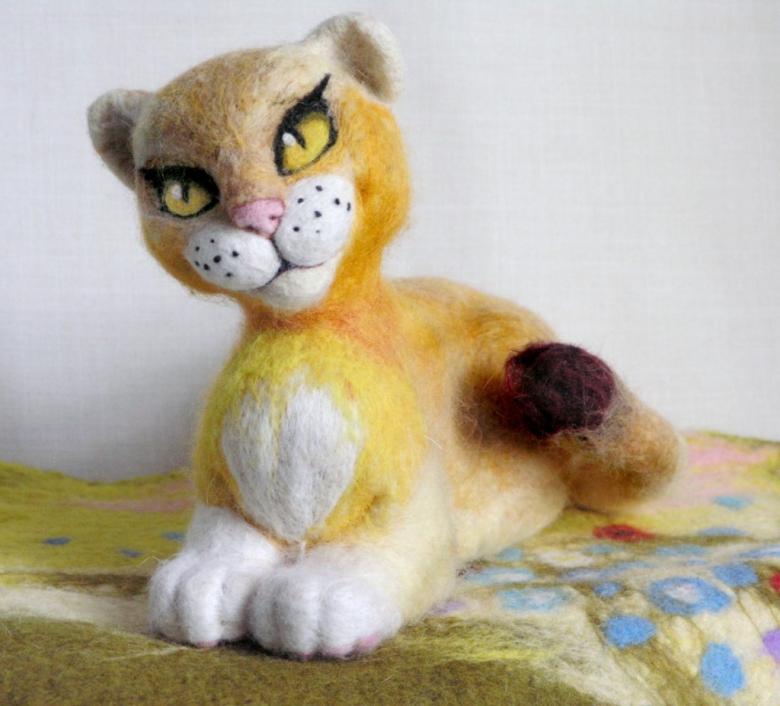
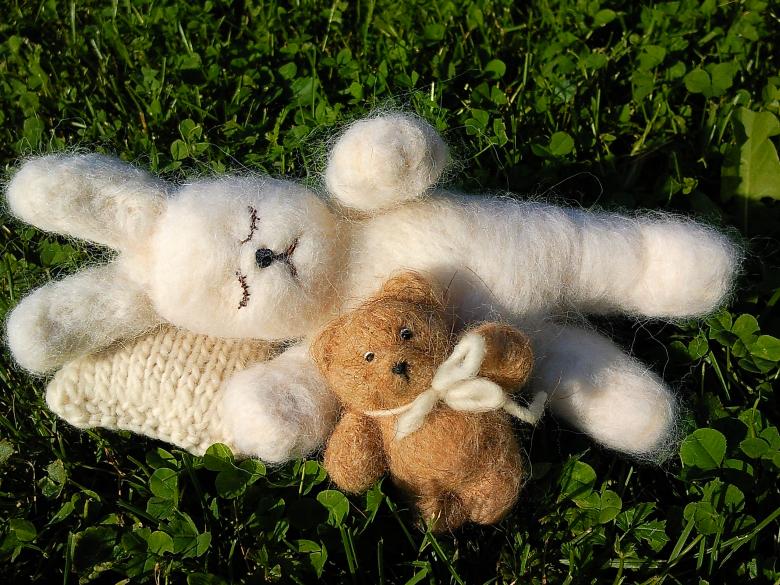
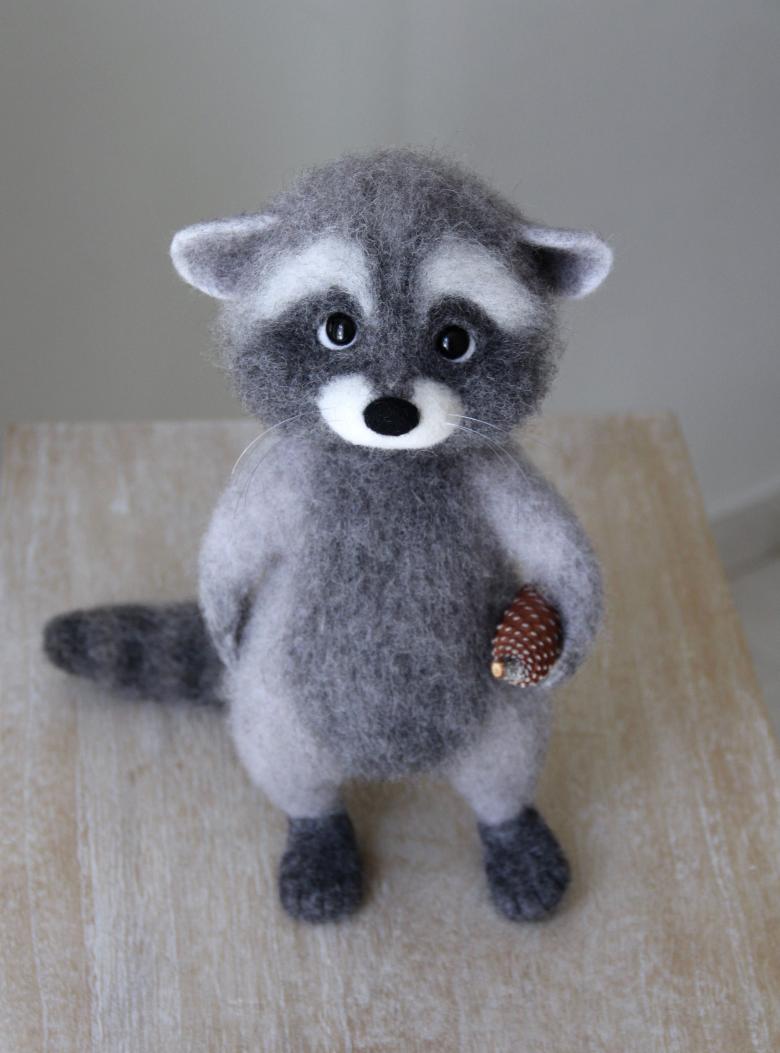
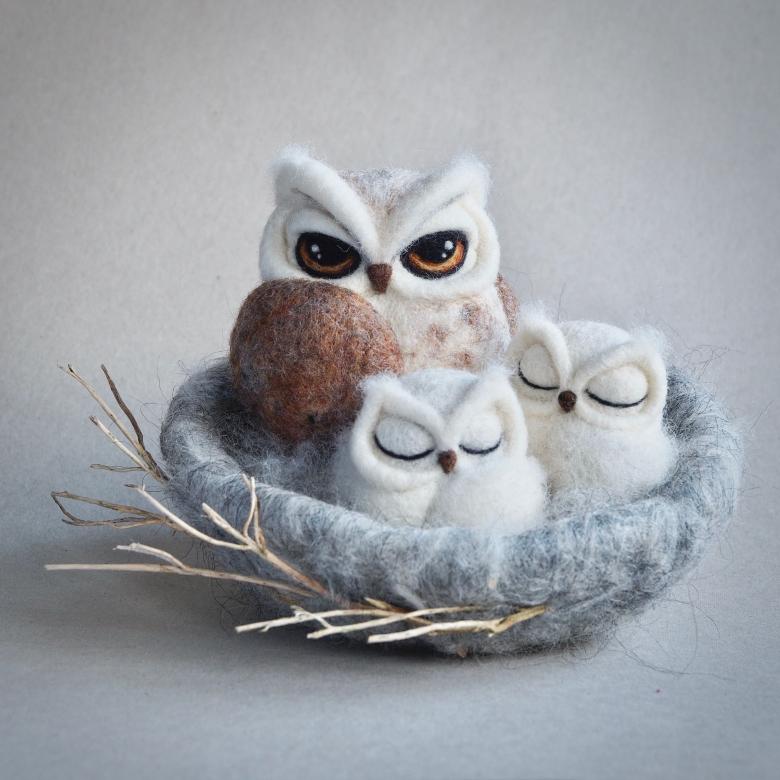
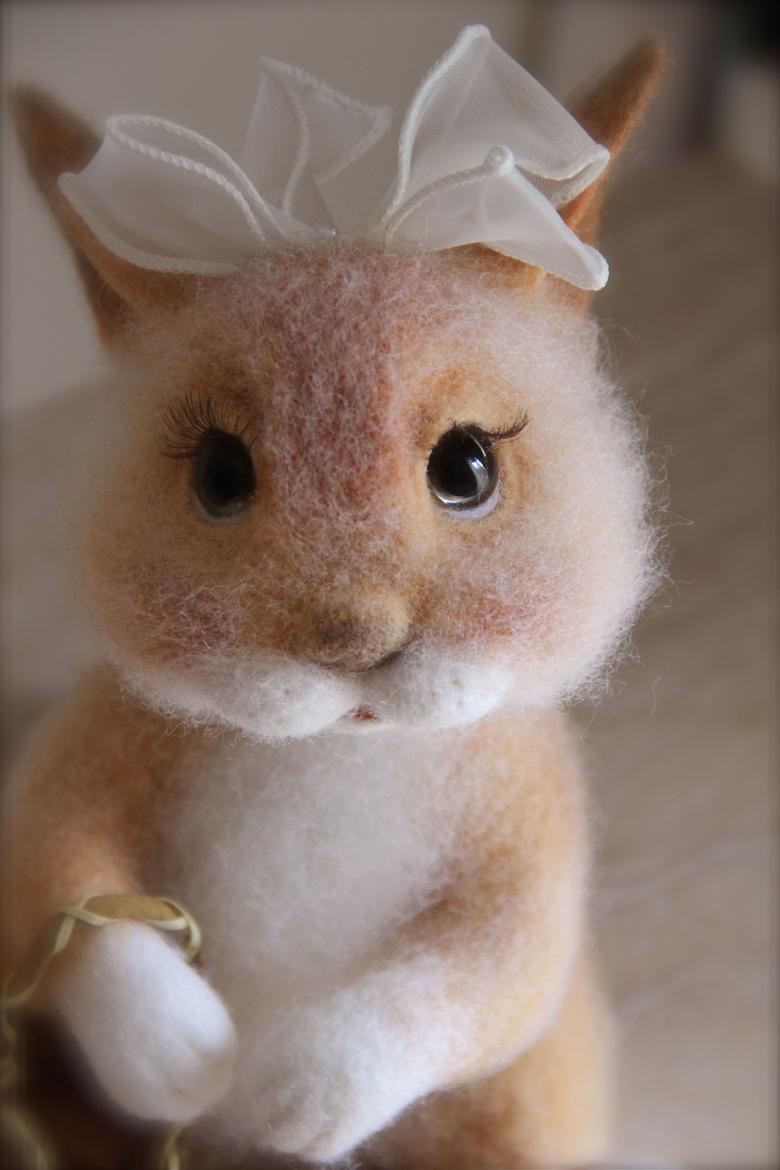
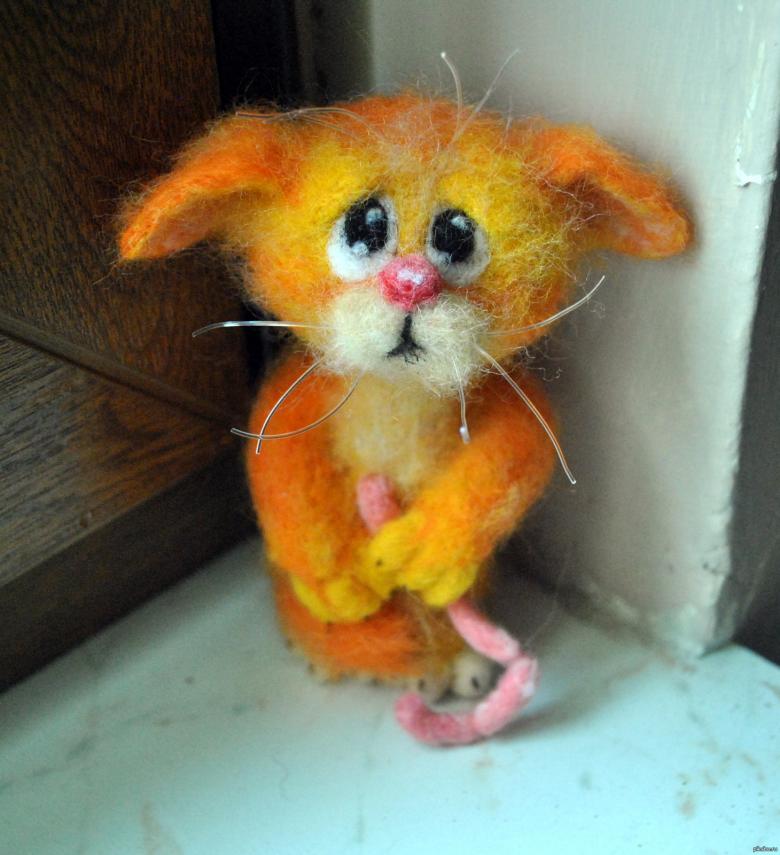
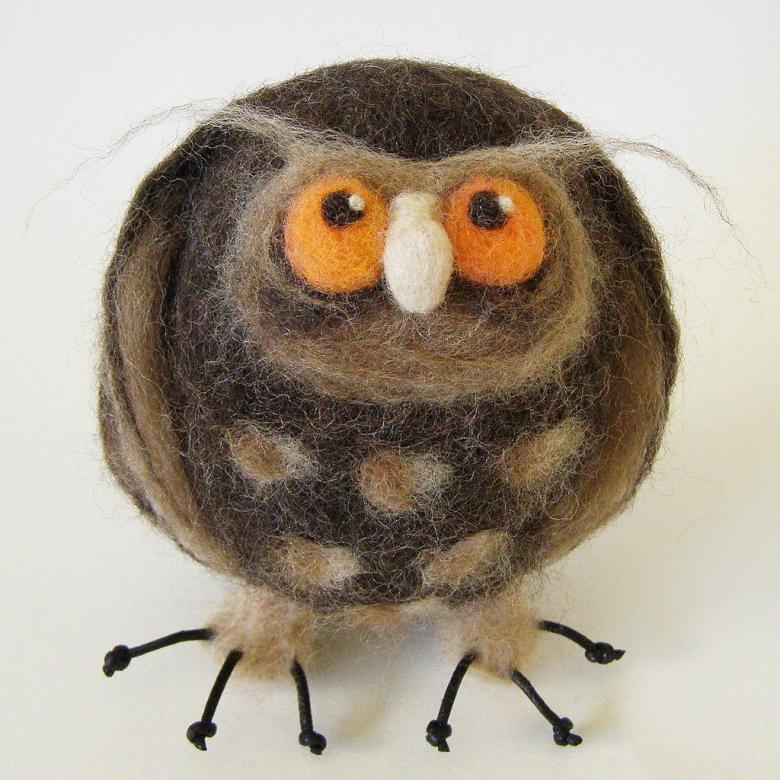
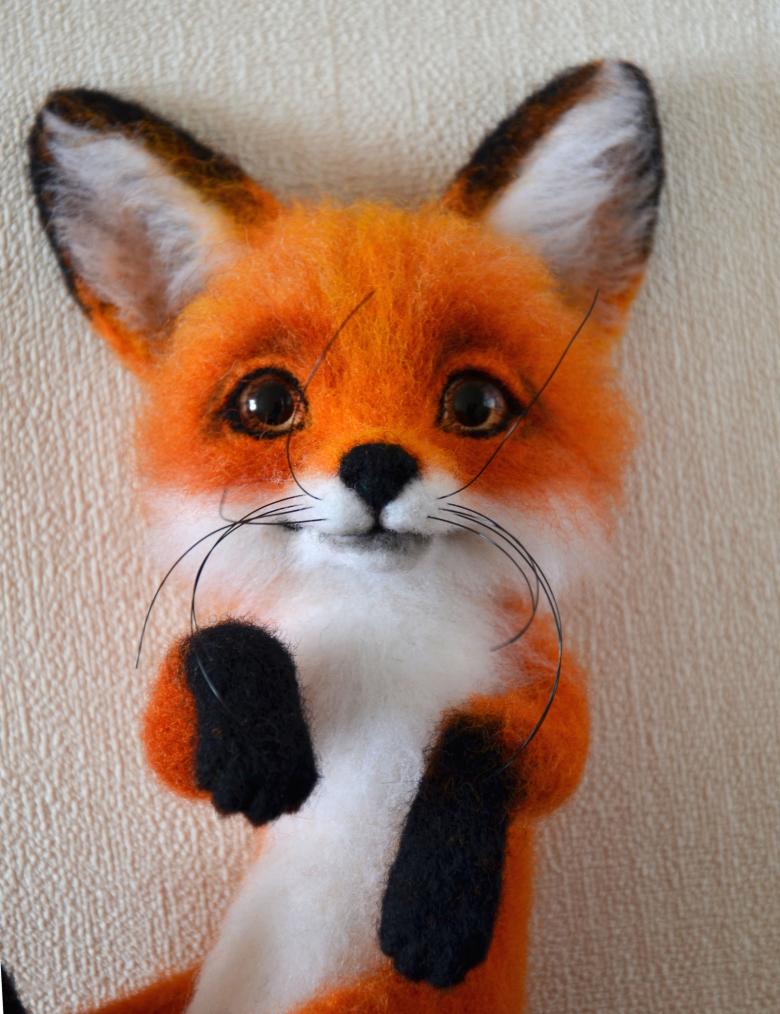
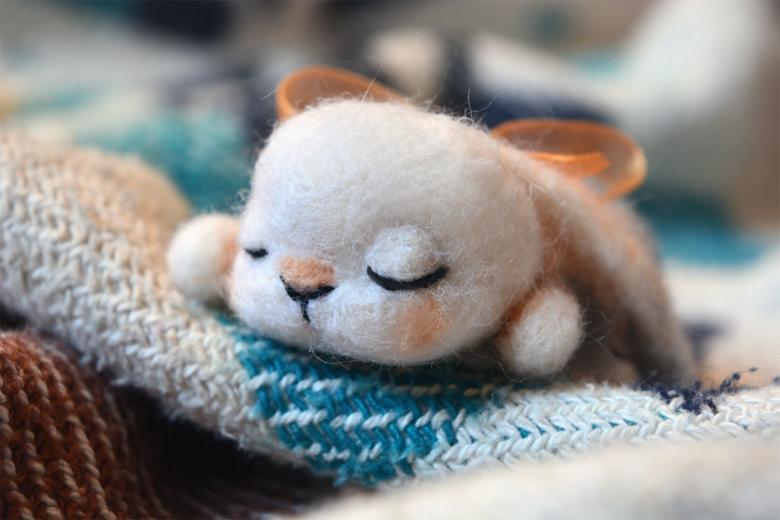
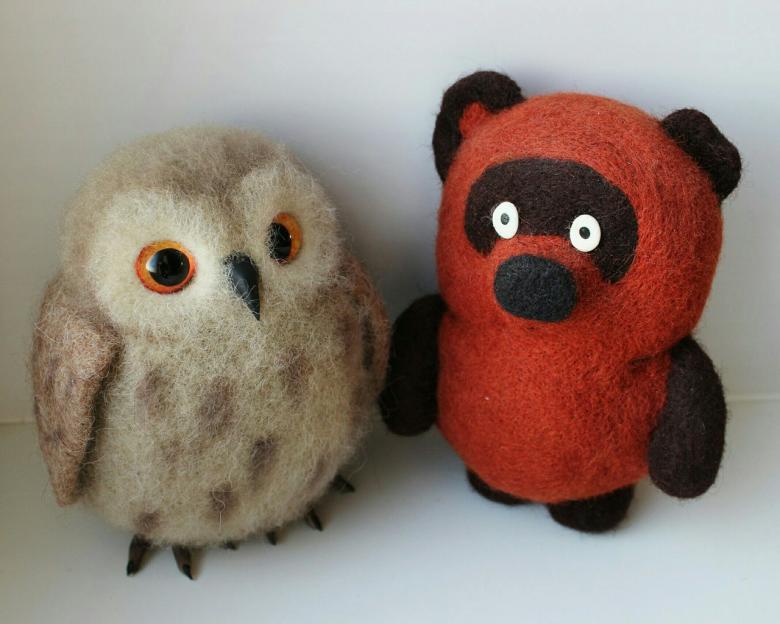
Such a technique needlewomen use to make incredibly cute interior toys and decorations. Masters use a special set of needles.
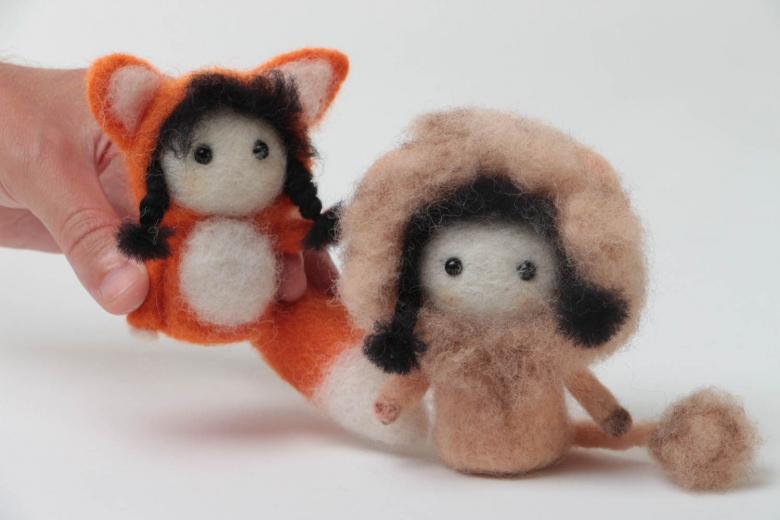
Dry wool is felting with special jagged needles, spreading it on a sponge or brush. This is a fairly simple way of felting three-dimensional wool products, which allows you to adjust the size and shape of the workpiece by simply adding the desired amount of raw material. The added wool is simply stuffed in the right place with a needle to create
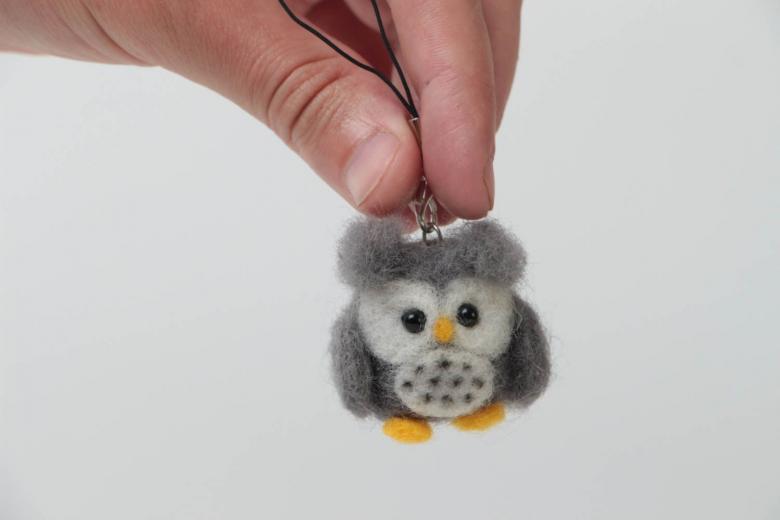
The dry felting technique first uses thick needles. As the workpiece thickens, the master switches to thinner tools. While felting, the needle in the hand is always perpendicular to the wool workpiece. By hammering the needle with the serrated hand into the woolen lump, the master gradually turns the wool into a thick lump of felt.
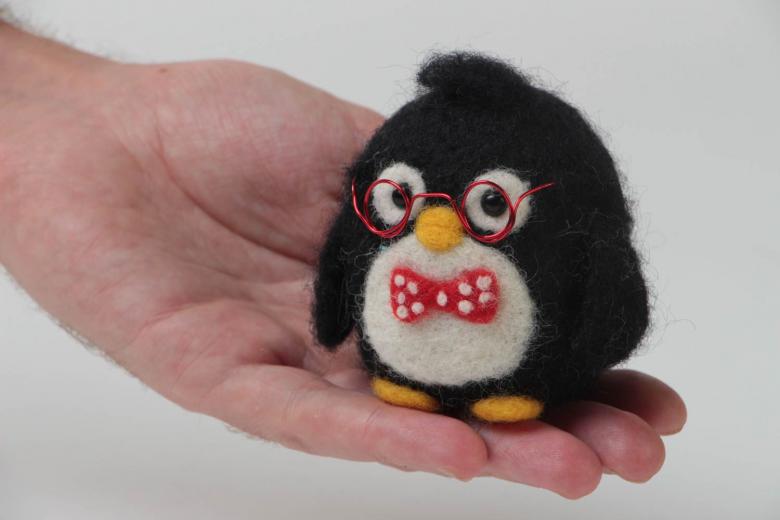
Wet felting
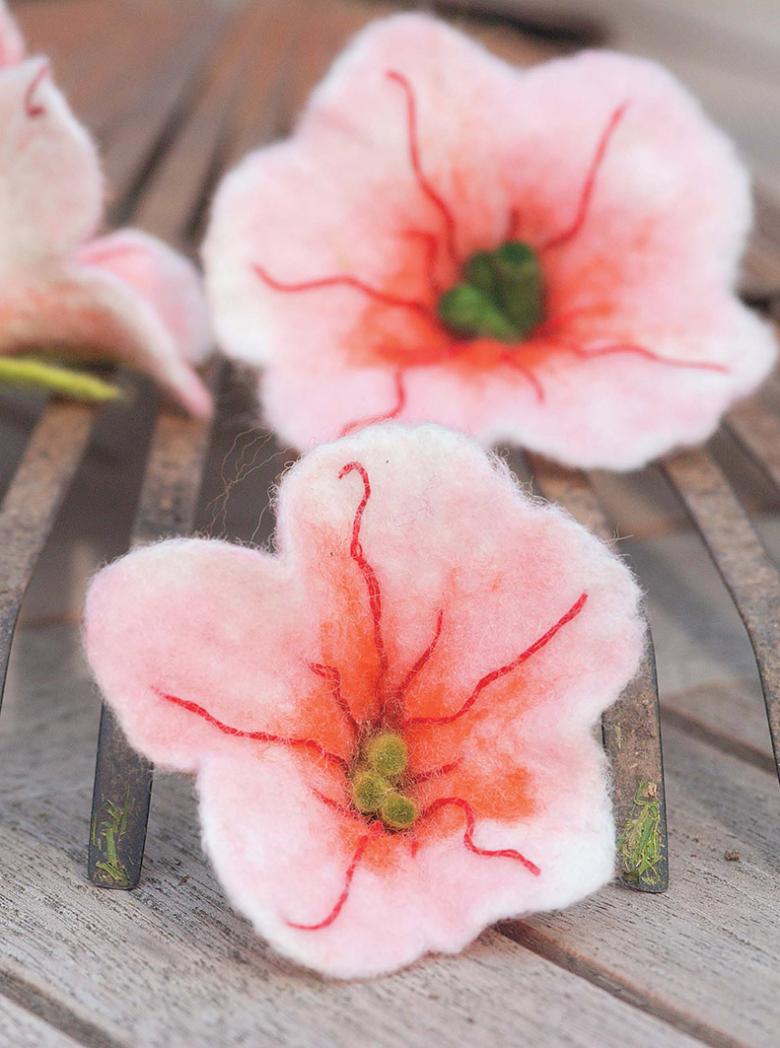
This technique is used to create thin felts that have the characteristics of dense woven materials. First, the wool is moistened with a soapy solution, and then begin felting by hand.
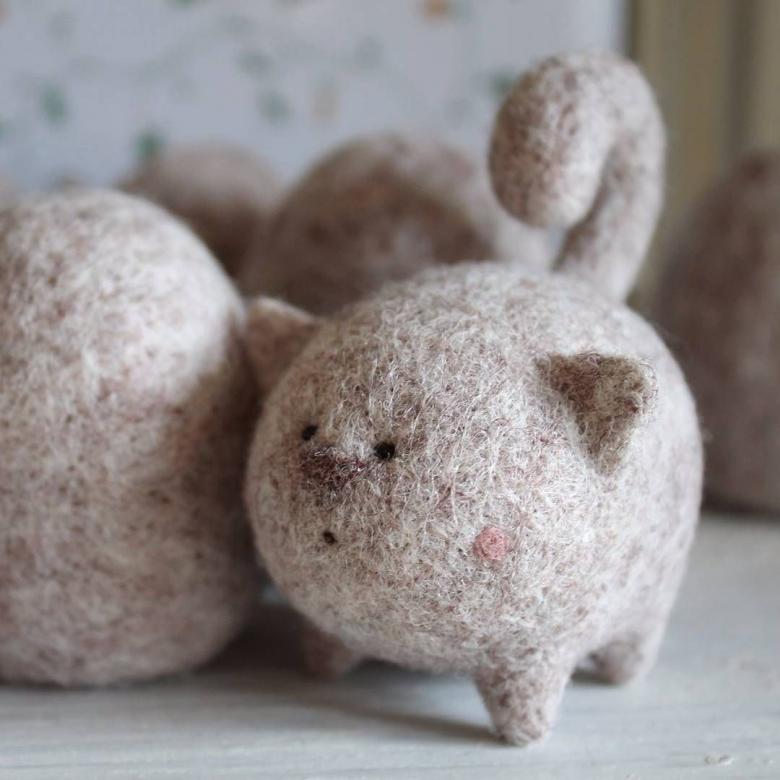
The basic steps of wet felting consist of the following steps:
- Prepares a soapy solution of hot water and chopped laundry soap, which should infuse for 2 hours;
- A piece of oilcloth is laid on the work table, and gauze is placed on it;
- Wool is placed on the gauze, which is moistened with water. The raw material can be monochrome or multicolored. In the latter case, before wetting the material, it is necessary to properly spread the colors on the base;
- the prepared wool is wet with soapy solution, covering the wool with a stitch or kapron;
- after having removed the excess of soap solution from the workpiece, you can begin felting with your hands: rubbing and tamping the woolen workpiece until it becomes homogeneous and thin.
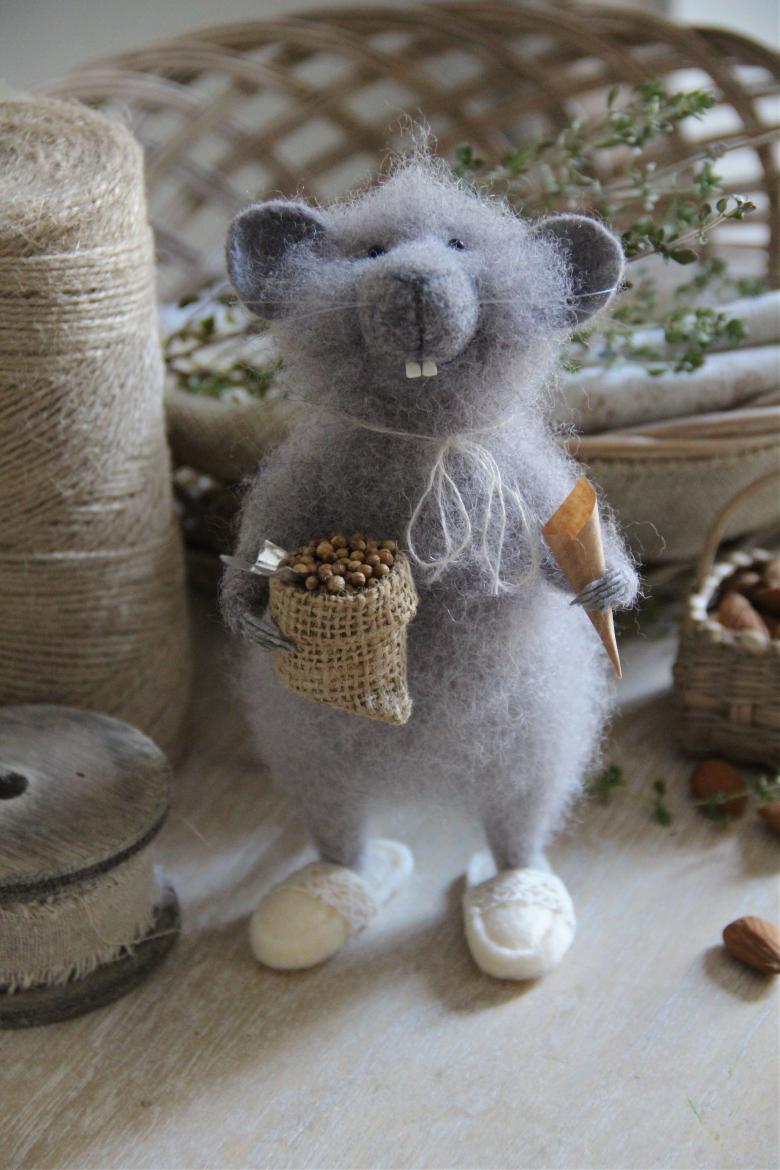
Mixed technique felting
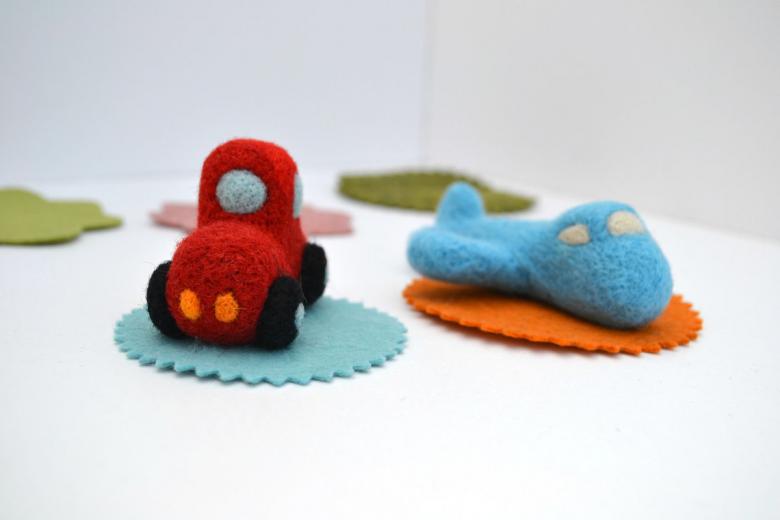
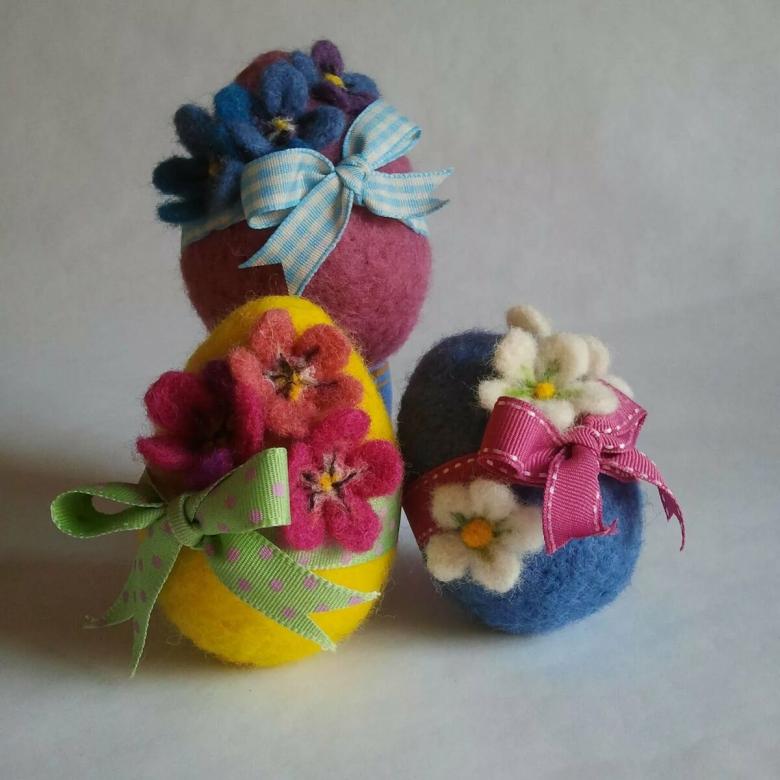
Masters often use in the work two techniques at once, when you need to make flat and volumetric parts of felt for the product. This is how toys, bags, brooches or beads are usually made.

Tools and material for work
Tools are usually used in dry felting, in the technique of wet felting, felting is made of wool by hand. You can buy a special set for felting, which includes:
- needles with serrations of different sizes;
- backing;
- folder machine.
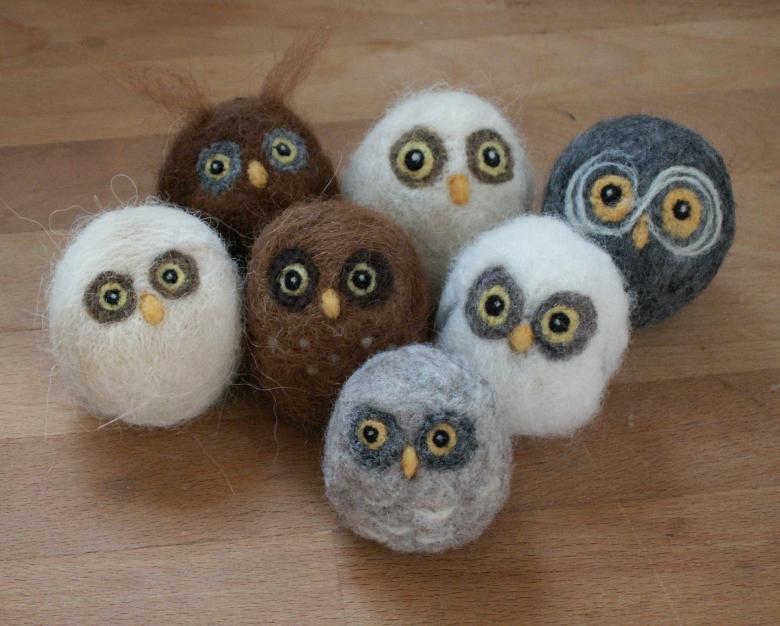
You can also use sponge or foam rubber as a backing.
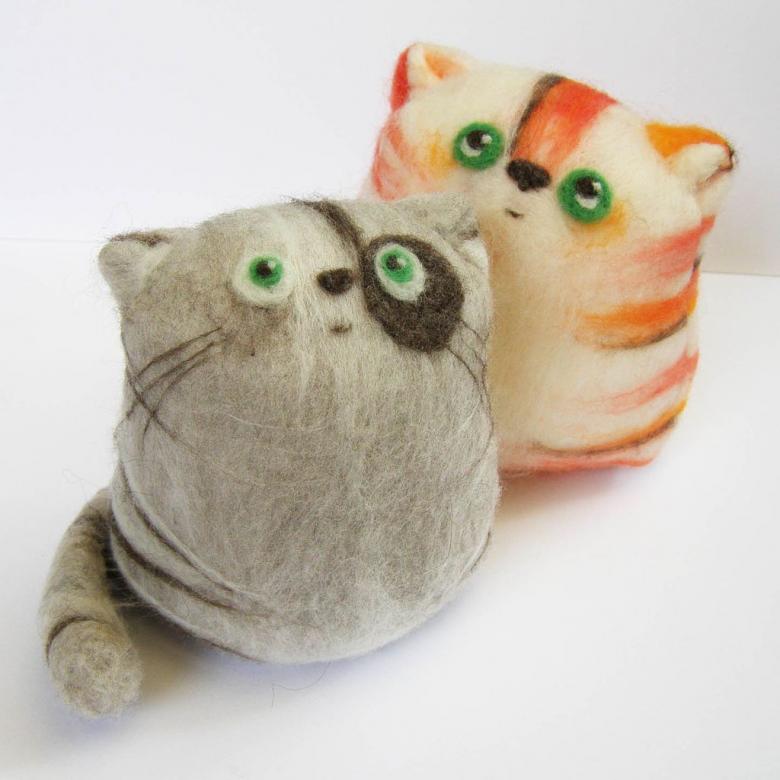
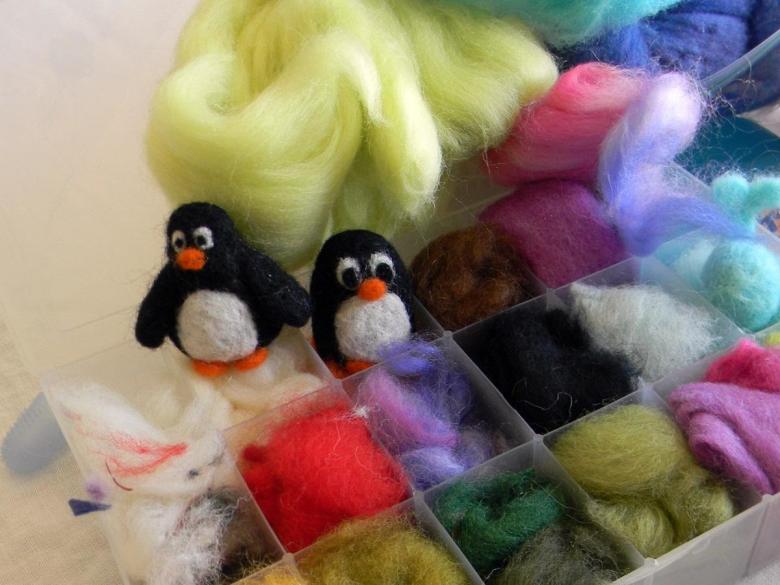
Raw materials for felting are mostly fibers of sheep, rabbit, goat wool, as well as viscose and silk fibers, which can be dyed or have a natural color.

Dry felting classes
You can master the technique of dry felting on a wool toy. The master class on making a cheerful sheep will bring great pleasure from the work done and will allow you to make such a cute souvenir with your own hands:
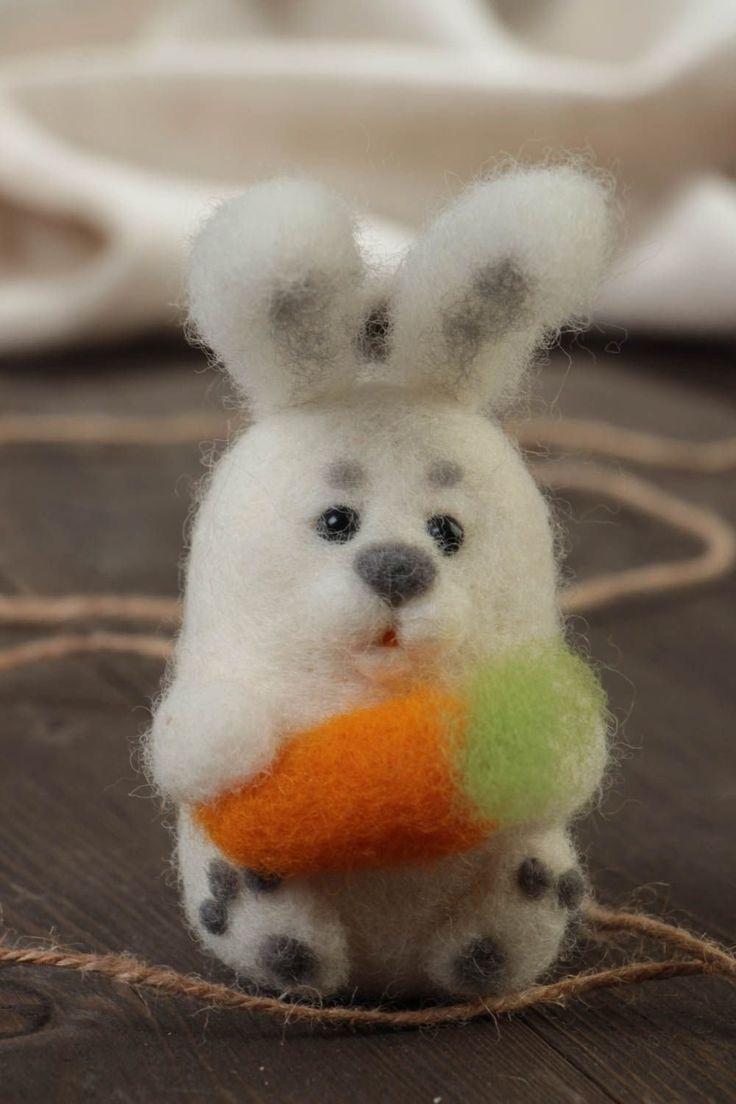
For the work you need to take:
- unspun wool in gray or white, brown, orange and blue;
- beads for eyes;
- felting needles;
- sewing needle;
- thread;
- scissors;
- orange or blue yarn;
- knitting needles;
- backing for felting.
Job description:
From gray or white wool you need to roll a roll in the shape of the letter G and felting it with a needle. This will be the blanks of the head of the sheep.
Add an equal amount of wool to the head blank on the side and felts the cheeks of the sheep.
In the sewing needle thread, insert the needle through the neck and out at the point of the eye. Thread a bead and sew on one eye. Then repeat the operation with the second bead. Needle out around the neck and make a strong hidden knot.
On the muzzle of the sheep, use a needle to make a mouth and a nose, and then draw them with a simple pencil in the recesses created and again make a hole in the place of tinting to fix the coloring.
Then roll out of wool in a drop shape and needle felting the body of the toy.
Pile feet without ending their tip. Wool must be loose at the end of his feet. In the same way to felting feet.
Form the brown wool like valenki and felt first thick and then thin needle. Weld them to the feet of toys with incomplete end. When the feet in the valenki will be ready to nail them to the body with a needle.
Put some wool in the area of the tummy and thighs on the torso and felting. Make handles and mittens of colored wool, similar to the feet, which are then welded to the handles.
Attach the head to the body by felting and sewing with a needle. Make small triangular ears out of wool for the head of the toy, leaving the fluffy bottom. Then attach both ears to the head with a felting needle.
Knit on thin needles a small scarf of orange or blue color and decorate the lamb with it.
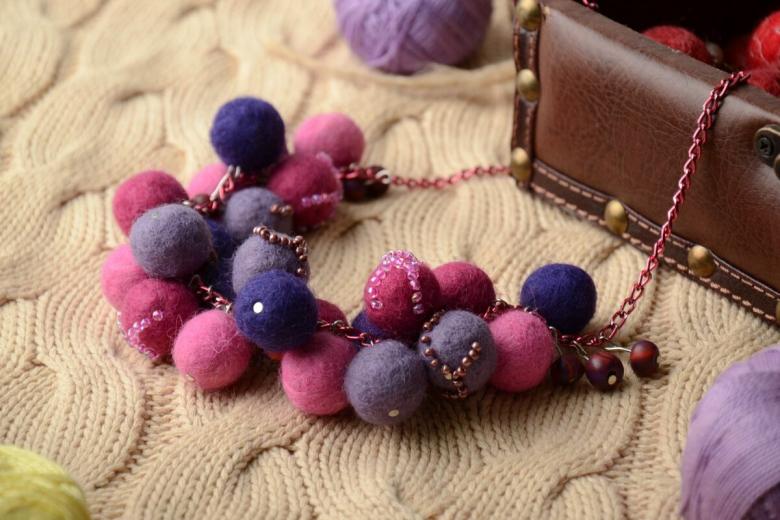
Combination felting wool beads
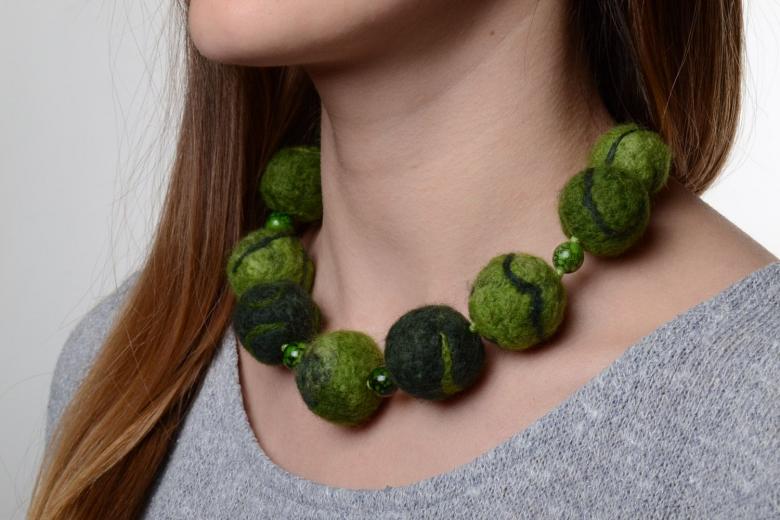
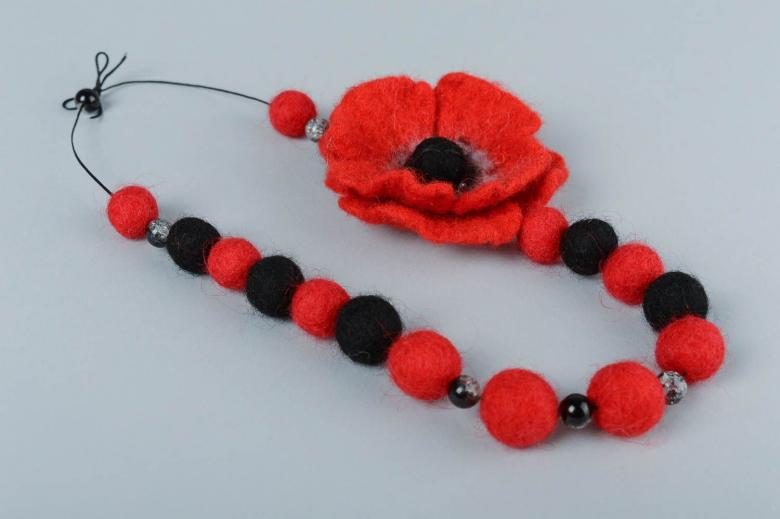
An interesting decoration can make even a beginner needlewoman, using a simple technique.
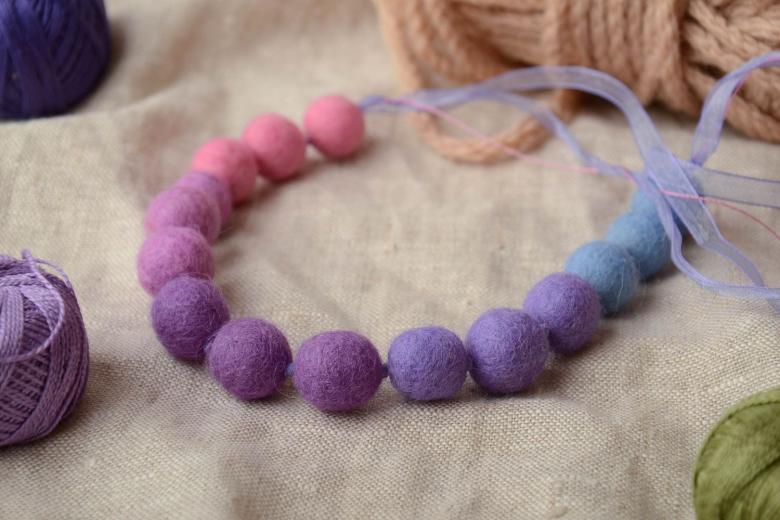
To work you need to prepare:
- Unspun wool of a suitable color;
- small skeins of yarn of a lighter shade;
- soapy water;
- string for beads;
- sewing a thick needle with a wide eye;
- felting needle #38;
- terry towel.
Workflow:
First you need to coil small balls of yarn of the right size, the number of which is determined at random, depending on the length of the beads.
Wrap the balls of wool so that there are no gaps.
Carefully nail each bead over the entire area with a needle, then soak it alternately in a soapy solution and roll it in your hands until the surface of the wool is dense. At this time the beads should be regularly moistened with hot water. All the beads are treated in this way until they are hard enough.
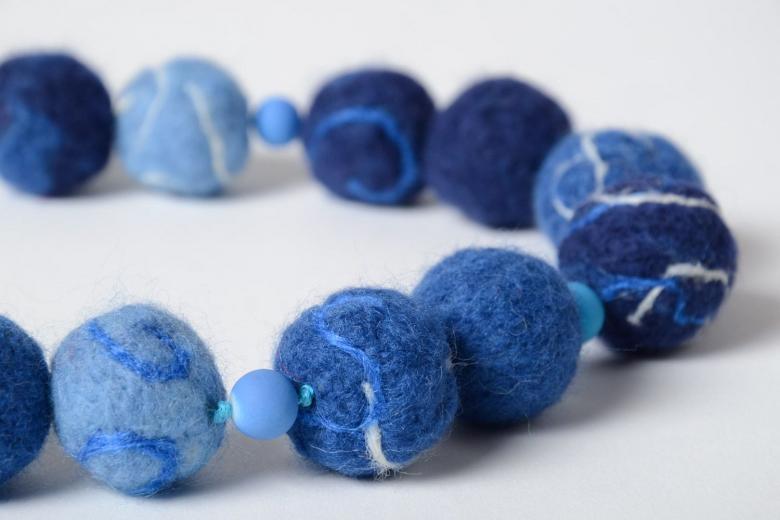
Then the blanks for decoration should be well washed under running water, dried with a towel and dried on a radiator.
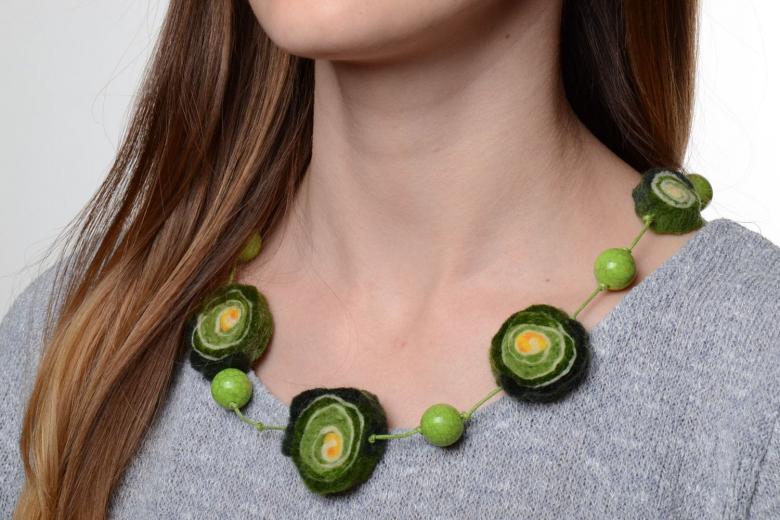
In a large needle, a decorative cord is threaded, on which the beads are then strung. At each end of the ornament you should attach a small lock, which can be bought in a sewing accessories store.

Having mastered the manufacture of such simple items using felting, you can move on to more complex articles of unspun wool. The work will be a pleasure for the craftswoman. It is noticed that the more items are made in the technique of felting, the more active creative work of the master. Handmade felting products will decorate your home and become a great gift for your loved ones.

