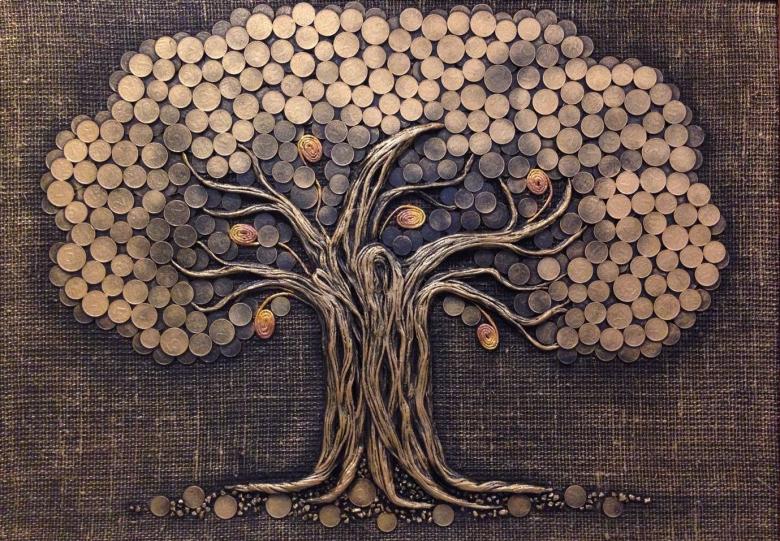
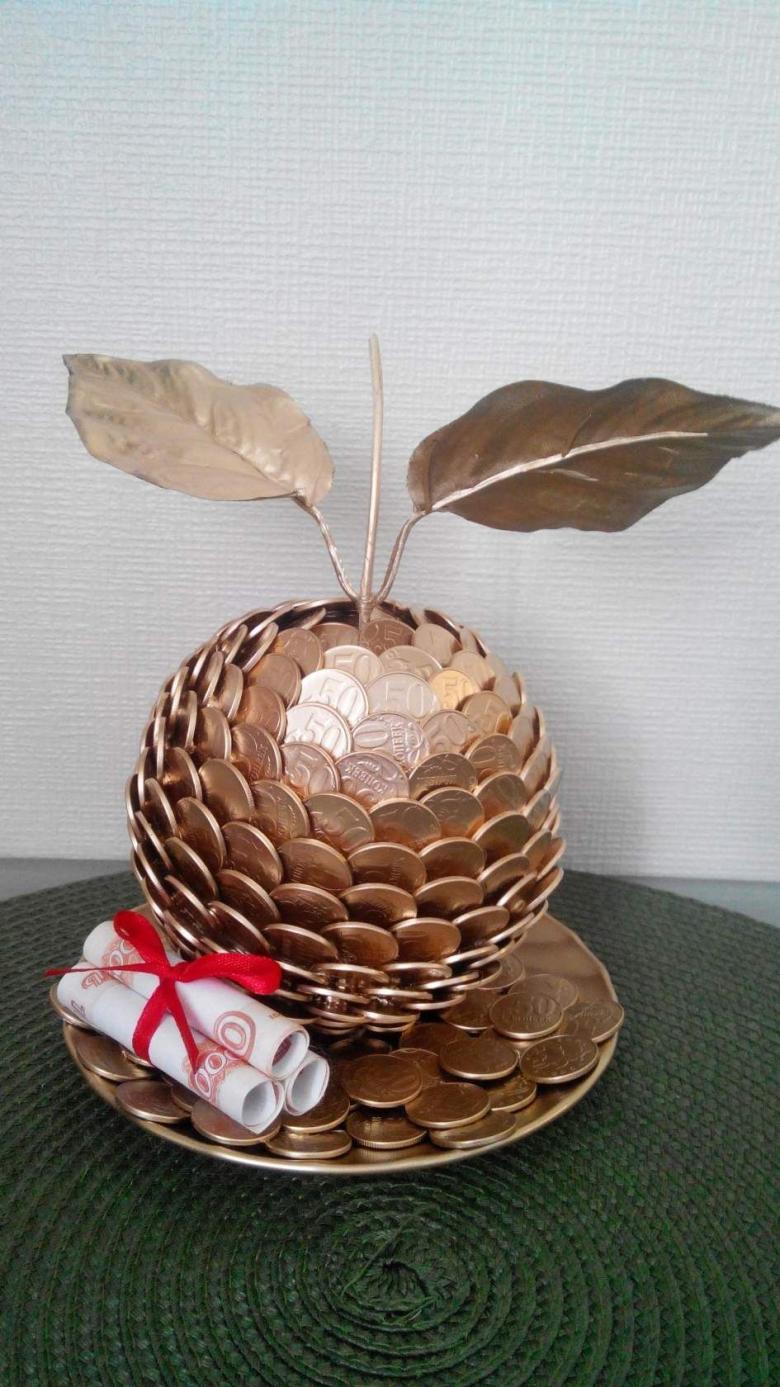
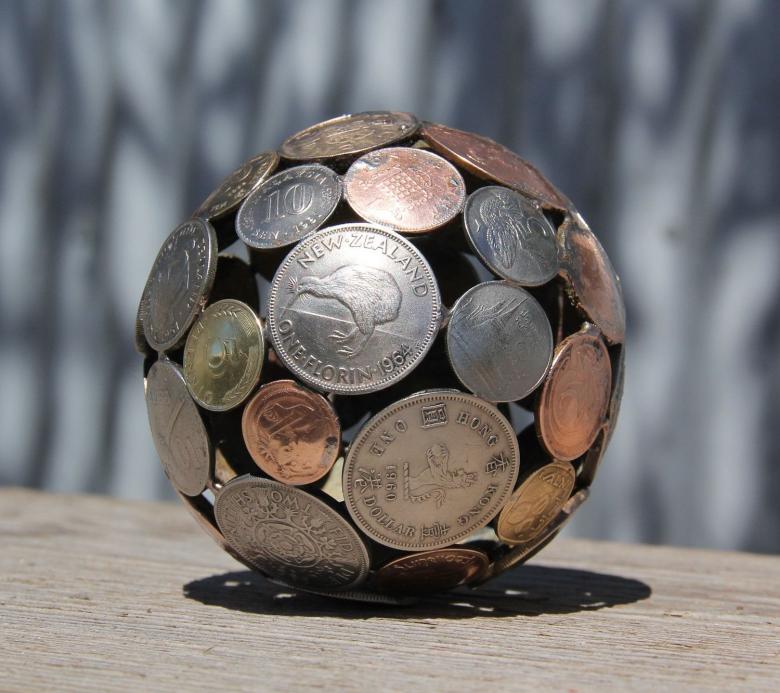
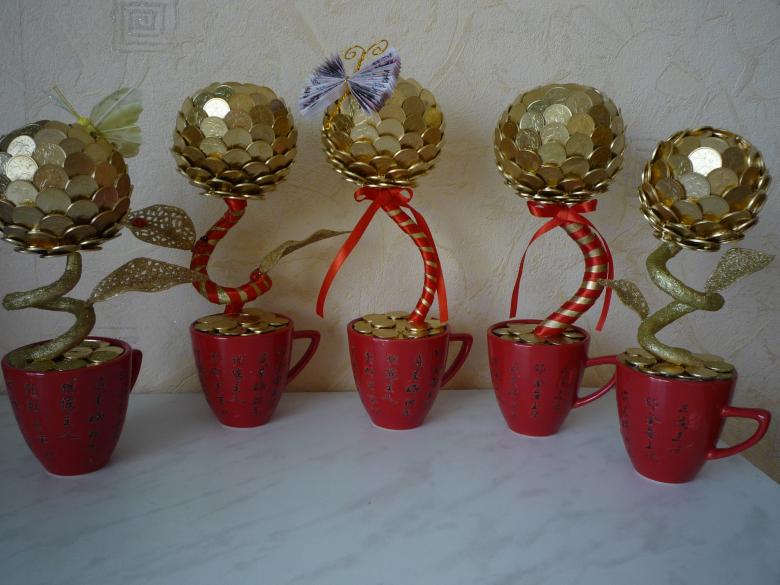
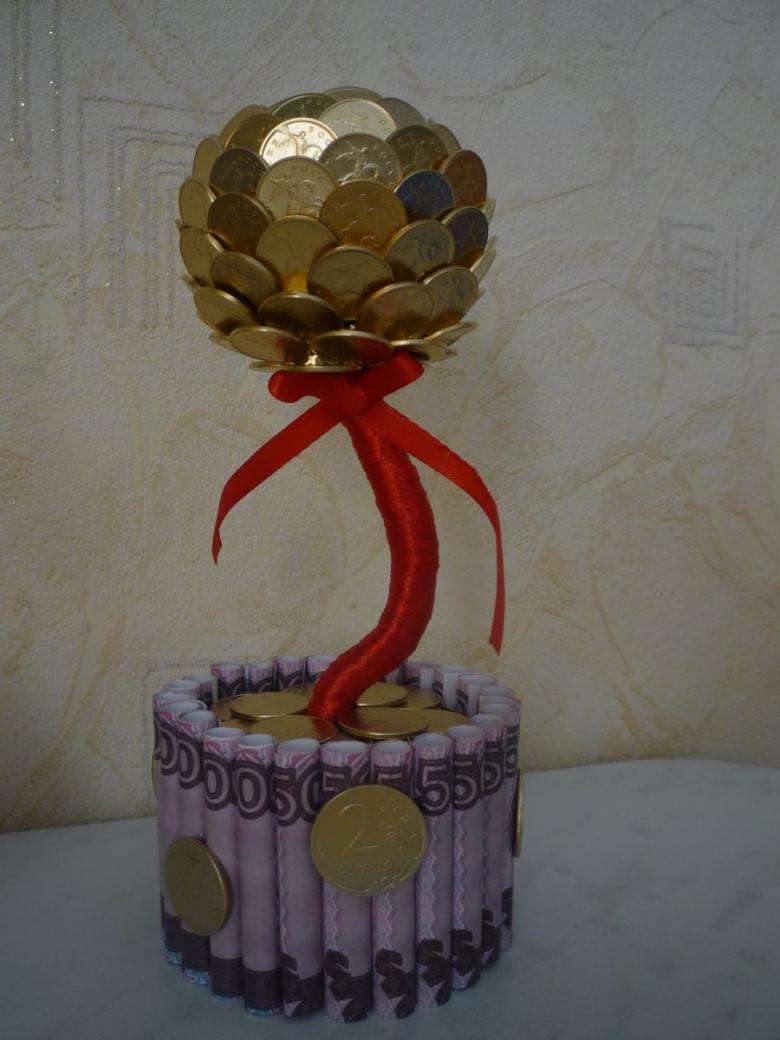
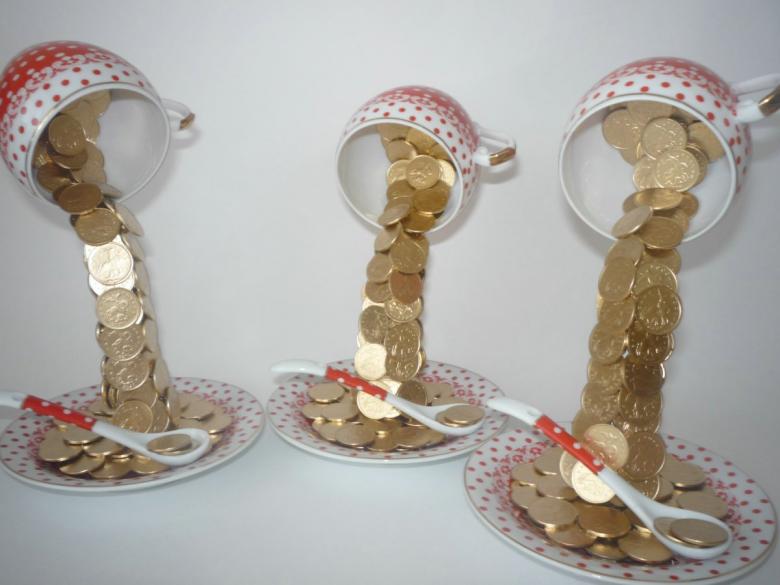
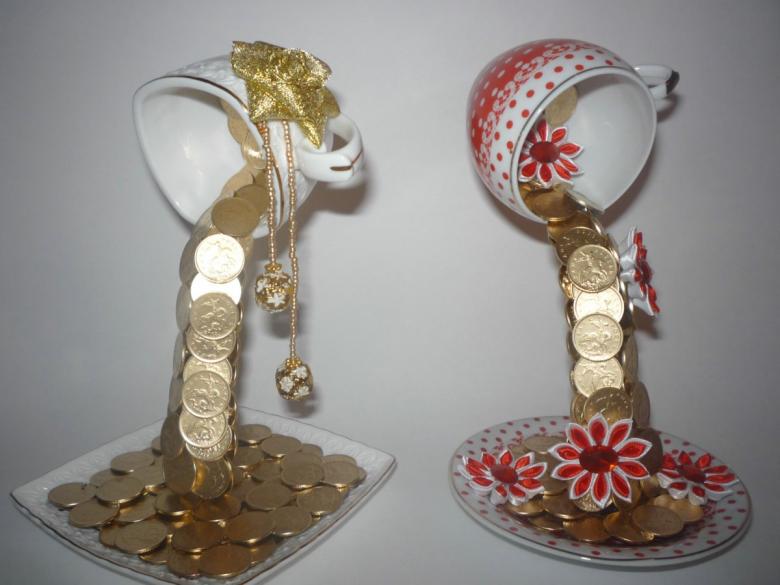
Coin money crafts - a selection of step by step master classes with photo examples
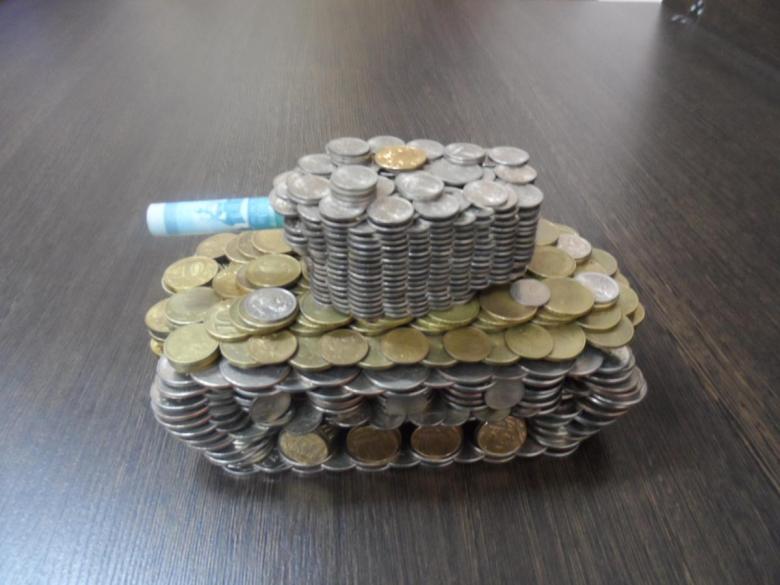
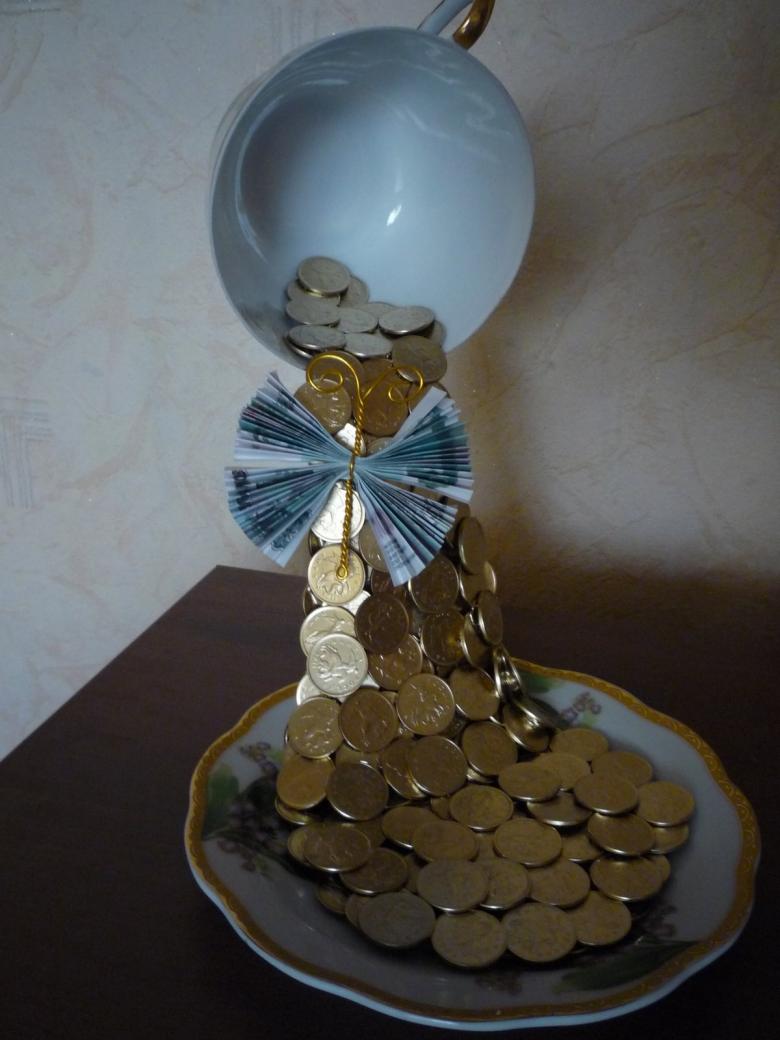
For sure all of us still have coins of 1 or 5 kopecks. Where do you keep them, and what do you need them for? Use your "small capital" in practice - create a unique handicraft from coins. A money toad - give it as a gift to a close friend. An antique ship with a chest full of coins - make with your child. Your son will be delighted, you will be pleased.
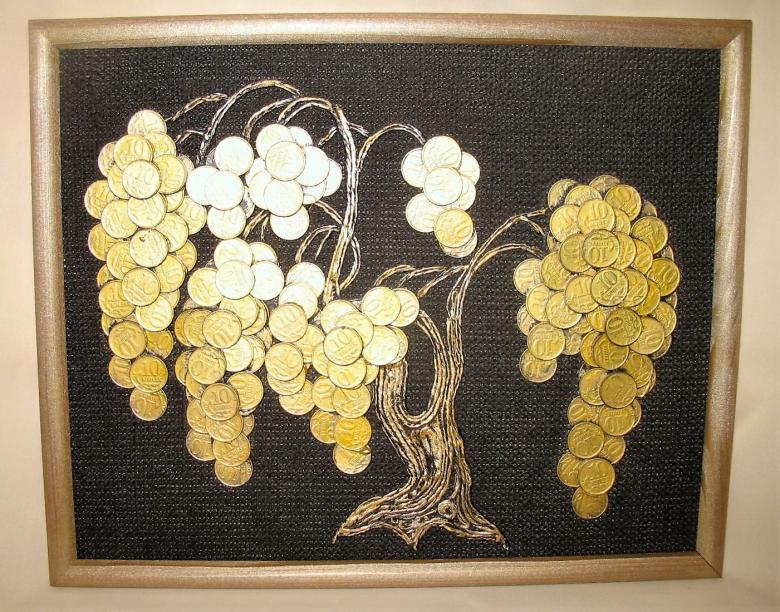
Funny ideas, in fact, a lot - it would be imagination and desire. But today we will get acquainted with more simple models of crafts from ordinary penny coins. But let's make a toad after all!
What models are we going to work with?
From the depths of pantries and garage shelves we pull out all the necessary material:
- Coins of all denominations, which you will definitely no longer need.
- Glue. (Take extra-strength glue, since we will be using non-paper materials).
- Paints and brushes.
- An old jewelry box or toy chest. If it is not available, just take a sturdy box, but a small one.
- An ordinary picture frame.
- Clear glue.
- A glass bottle.
- A piece of burlap.
- Thread with needles, scissors, some thick yarn.
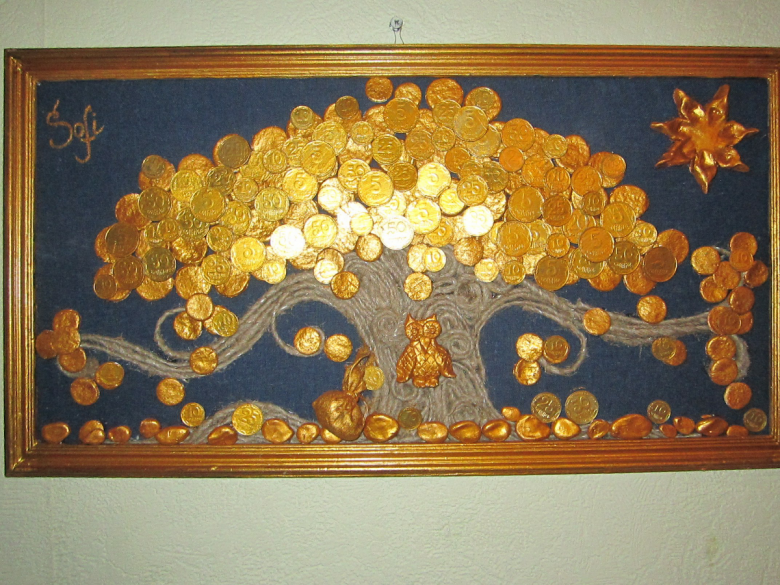
What models of handicrafts we will create today:
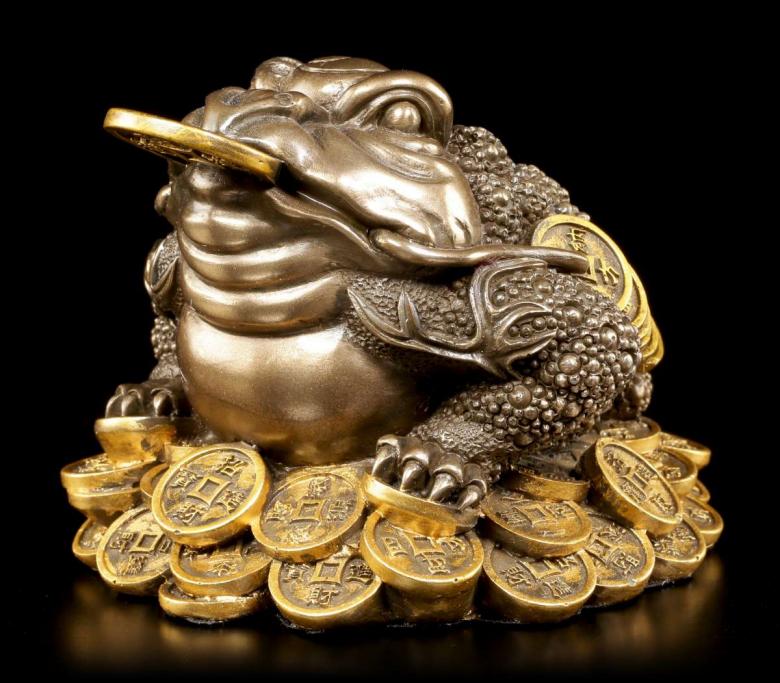
- Money souvenir "toad on coins".
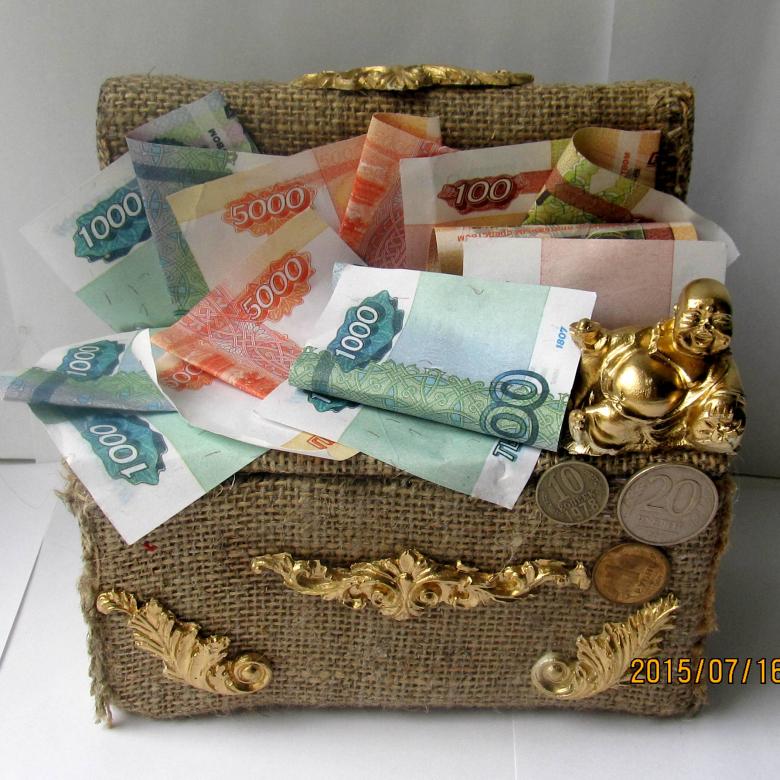
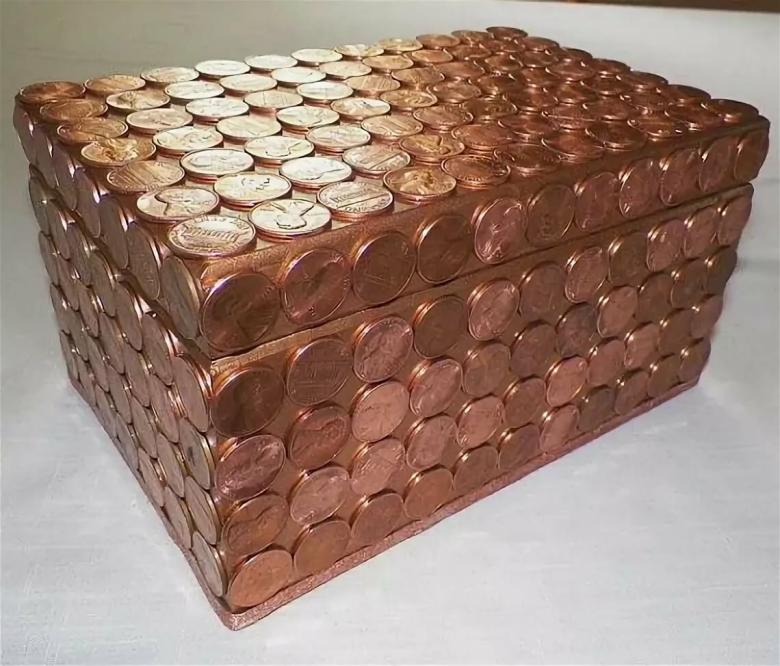
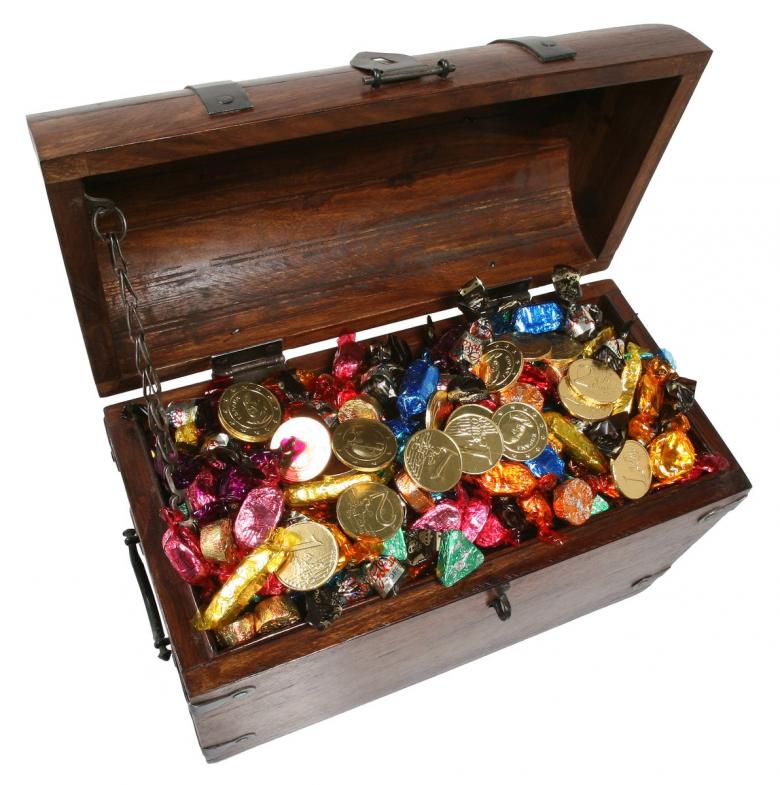
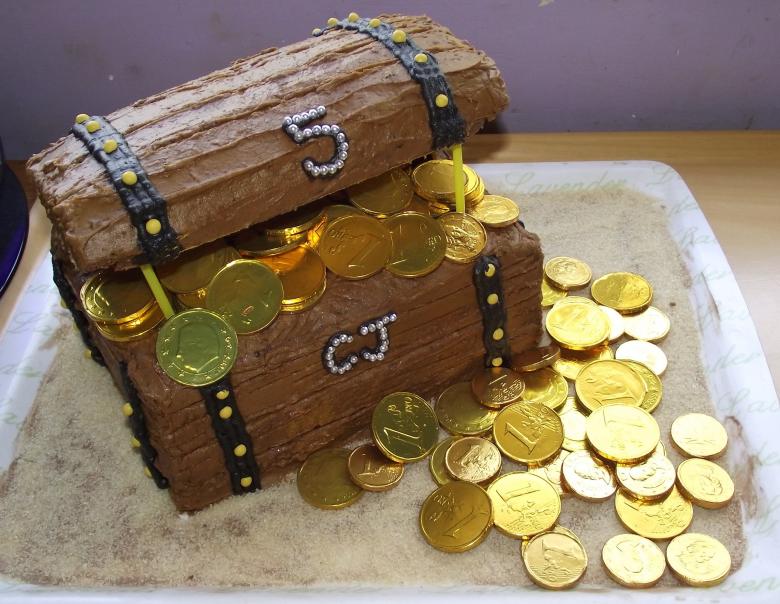
- A chest with a treasure.
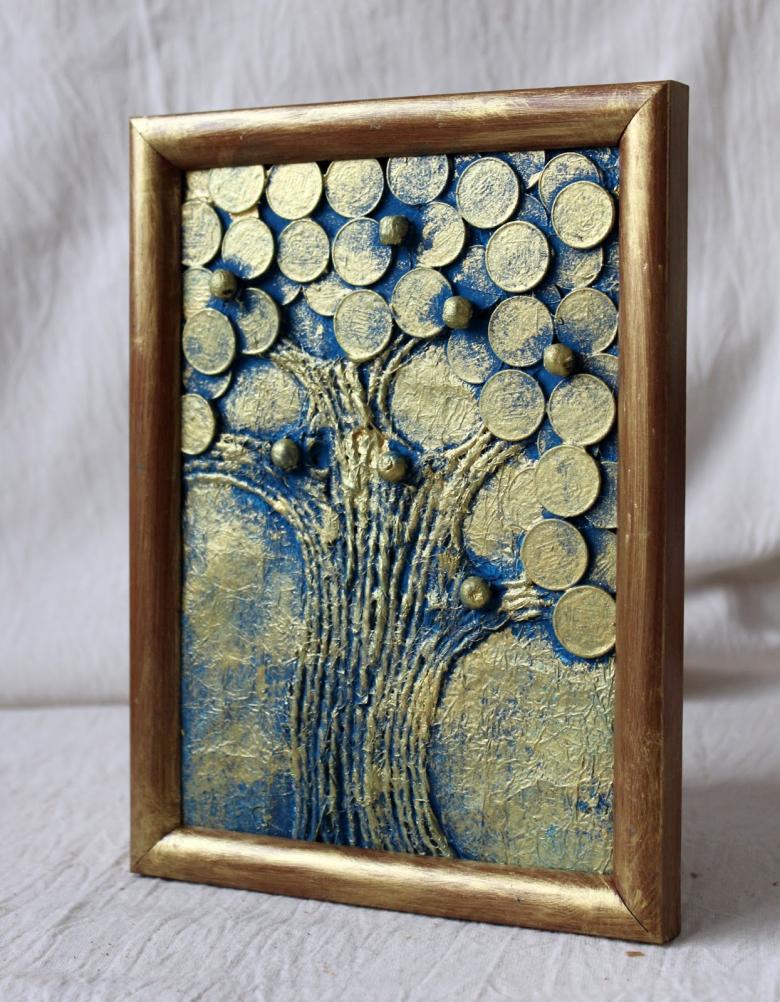
- Frame for a family photo.
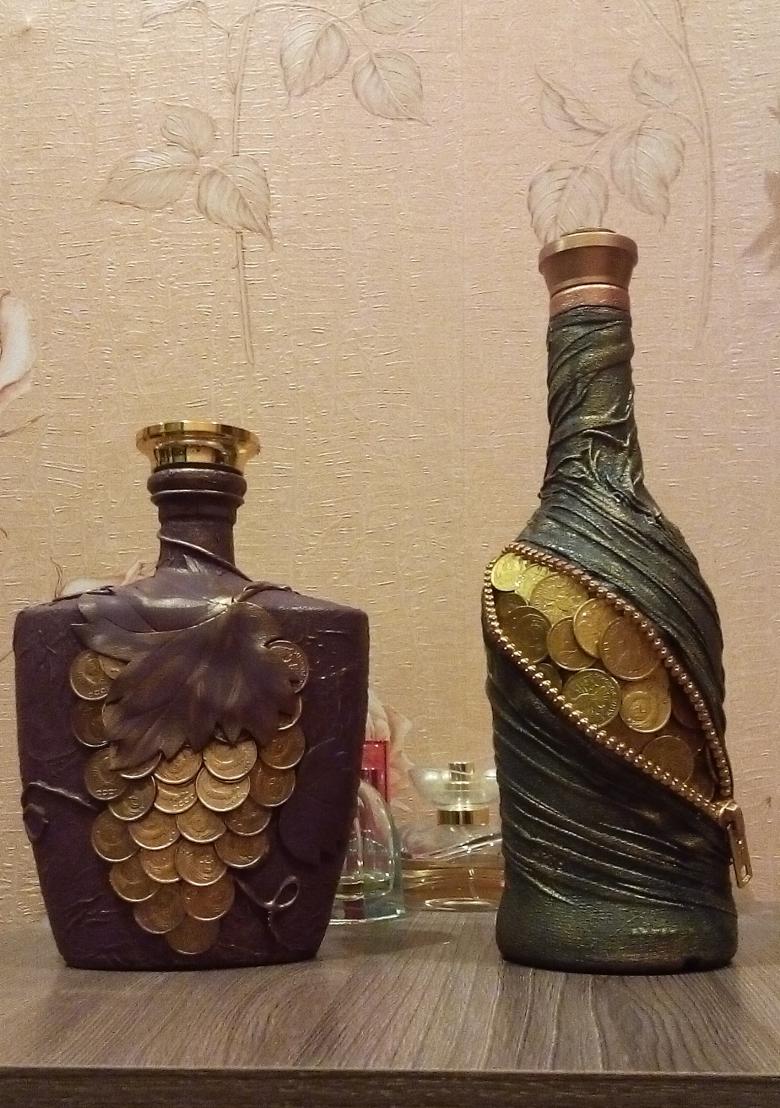
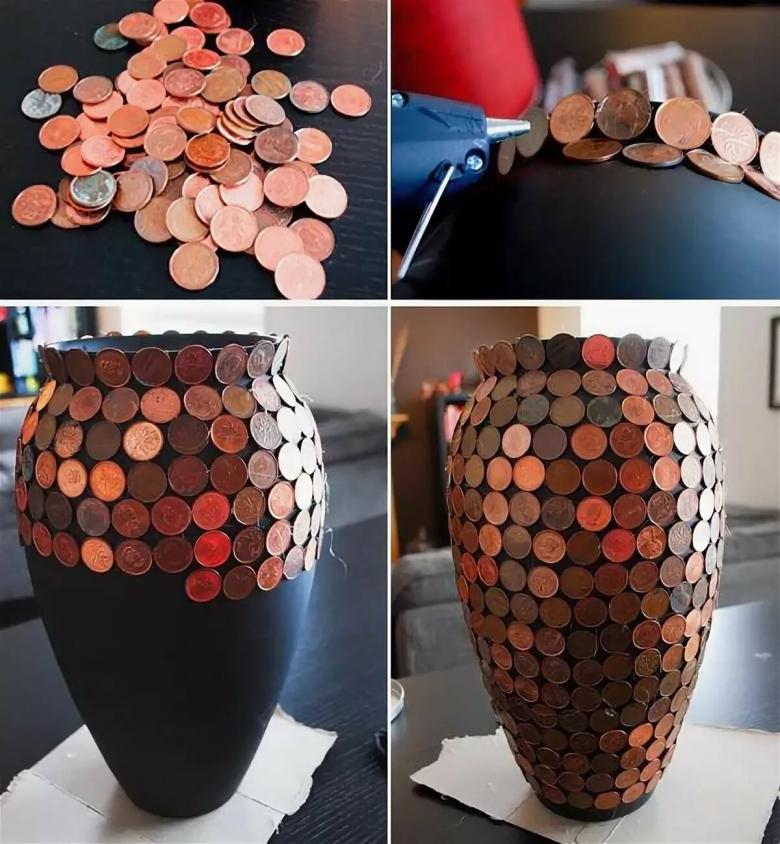
- Antique bottle with coins.
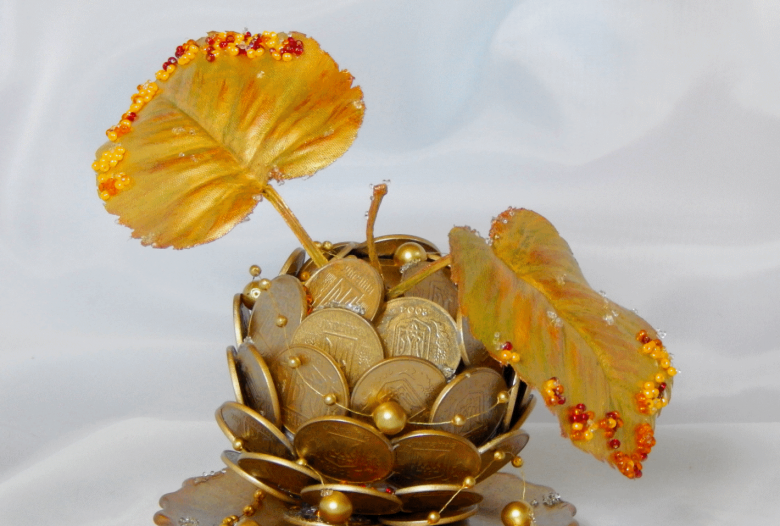
Master-classes with step-by-step instructions
So, we proceed to the realization of the most creative ideas, how and where to apply old unnecessary coins.
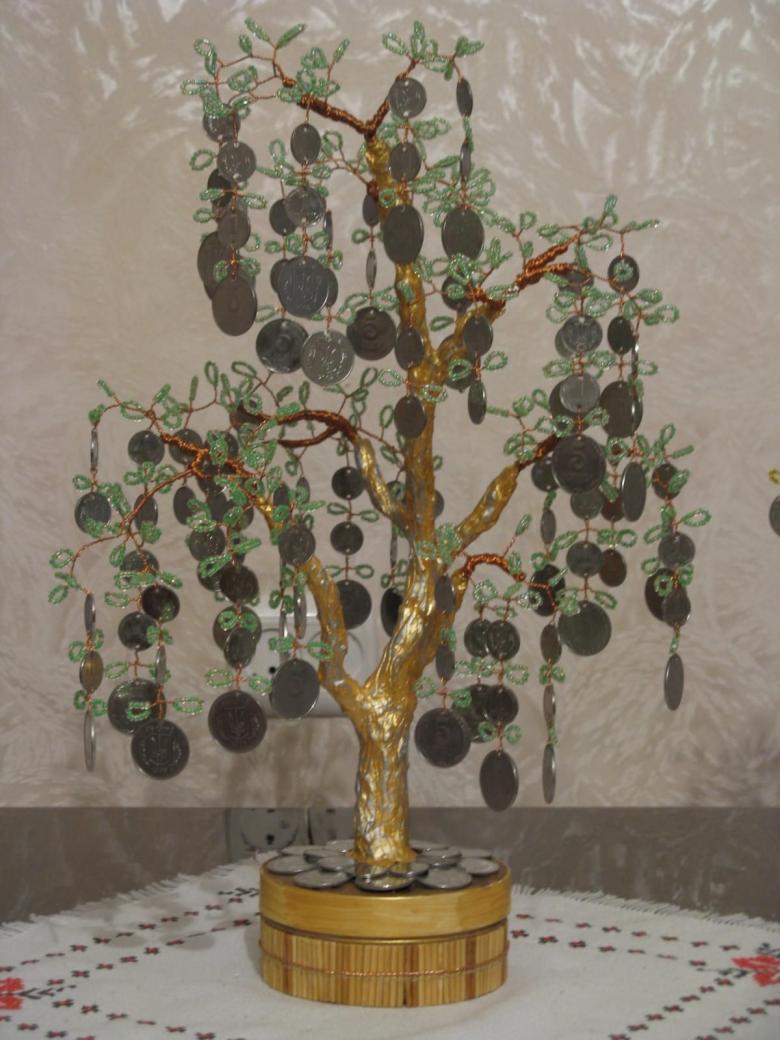
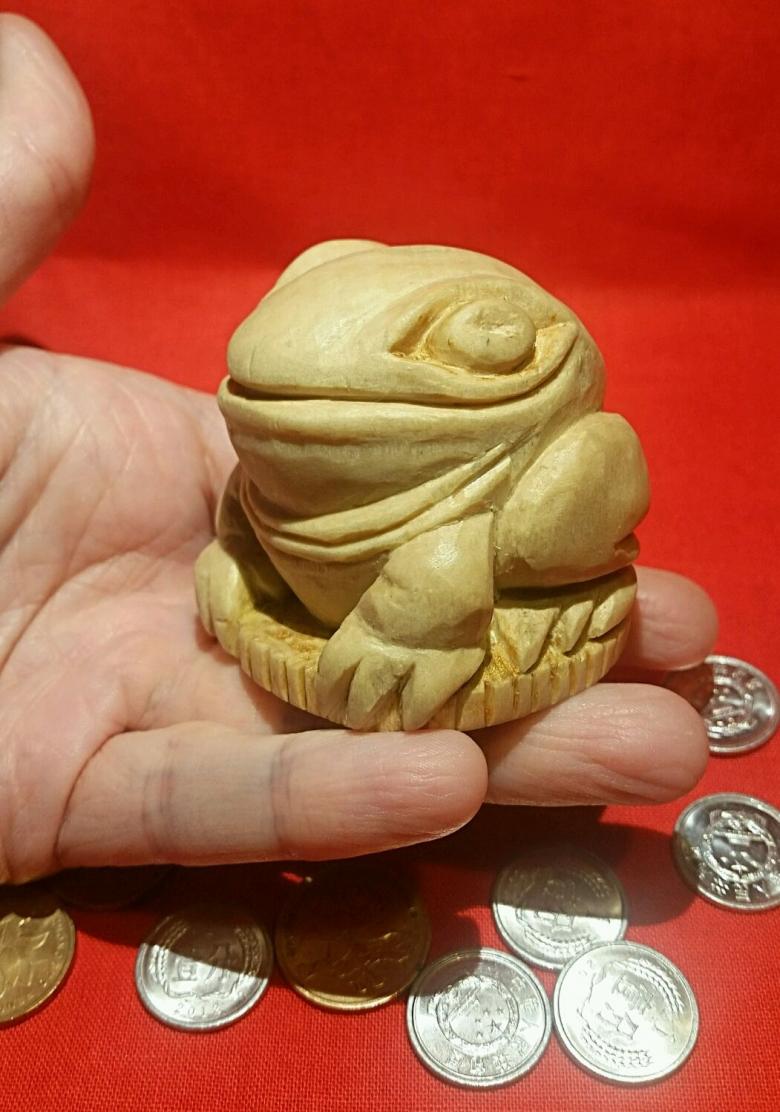
Money souvenir "toad on coins"
For the work we will need:
- A small figurine of a frog: a tin or regular rubber one for the bath. If there is no suitable toy at hand, do not get upset. Our money souvenir we will sew ourselves. In this case, to the set of materials add fabric, thread, needles, burlap, a template for the figure.
- Glue.
- Coins.
- Gold nail polish with sequins.
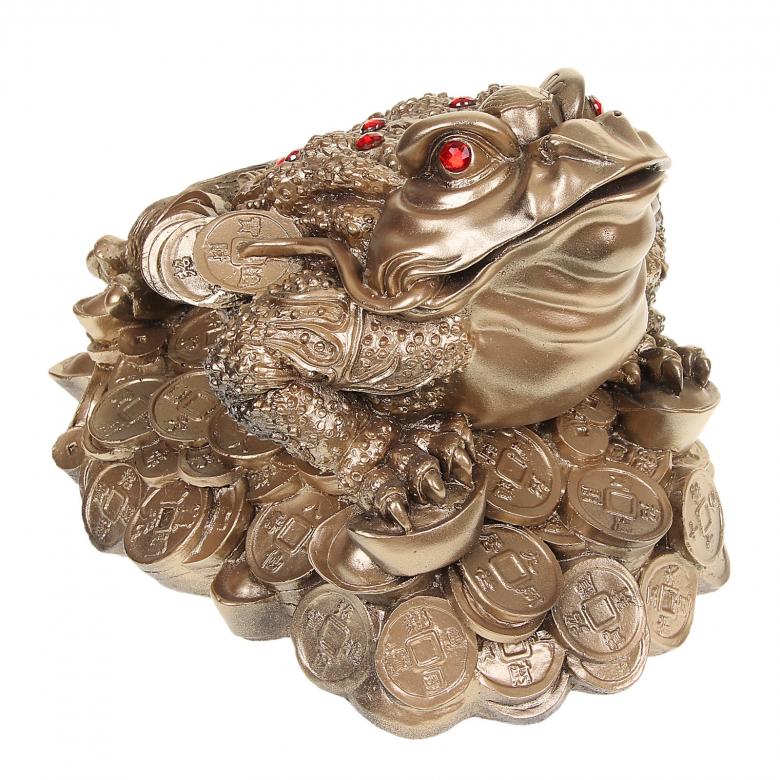
Step by step diagram instructions for the master:
- Let's prepare our model of a frog. If you use a rubber or tin toy, coat it with nail polish and leave to dry.
- If we will sew a soft model, then download the template from the internet. According to the pattern we will cut out of fabric. Fold to shape, stitch the seams. Turn the product inside out, stuff with stuffing and now close up tightly. The finished model is best painted with watercolor paint or gouache.
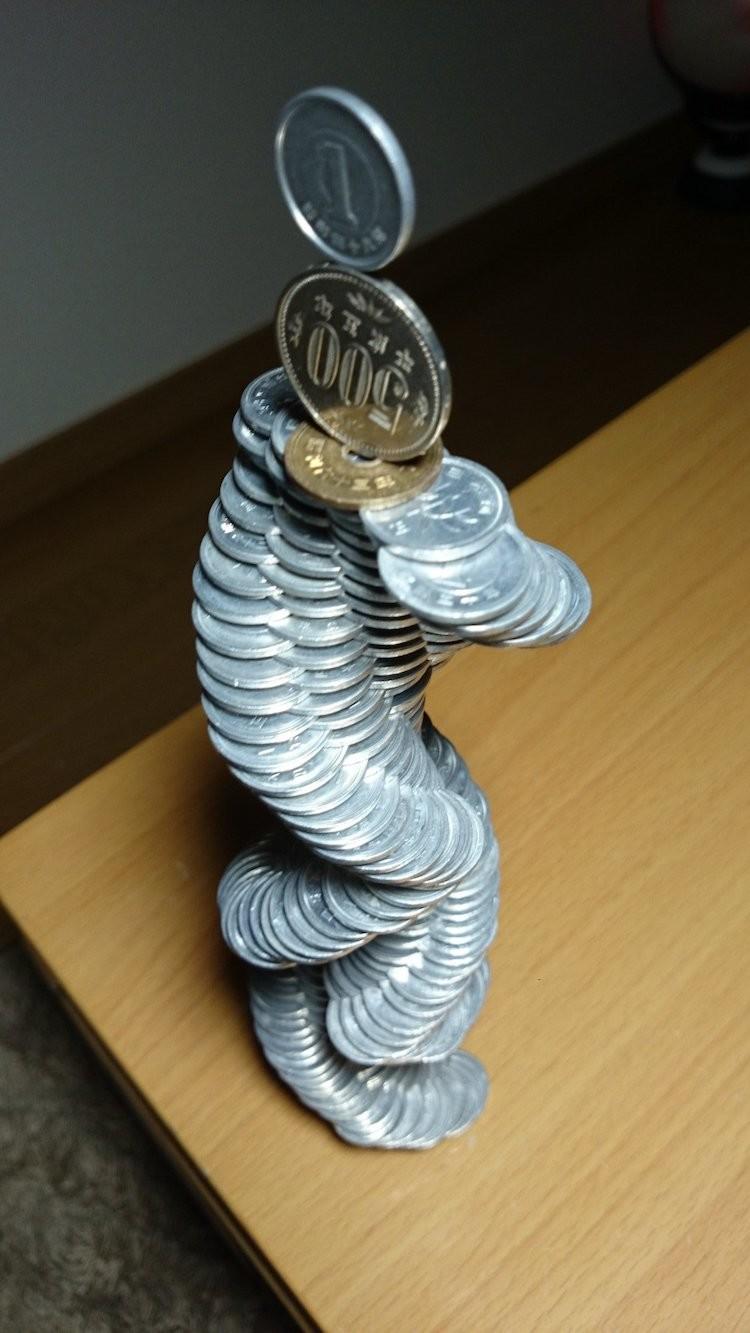
- Now our task is to make a pedestal of coins. To do this, dab the coins with glue and put one on top of the other in staggered order.
- Once the base is well dried, apply more glue to the top layer of the pedestal and attach our toad. Put a penny post under the front paw.
- Now you can paint our pedestal with varnish. The handicraft takes on an amber hue and a dazzling sheen.
Give your handicraft to a loved one as a souvenir, and he will surely appreciate it.
Create a chest with a treasure
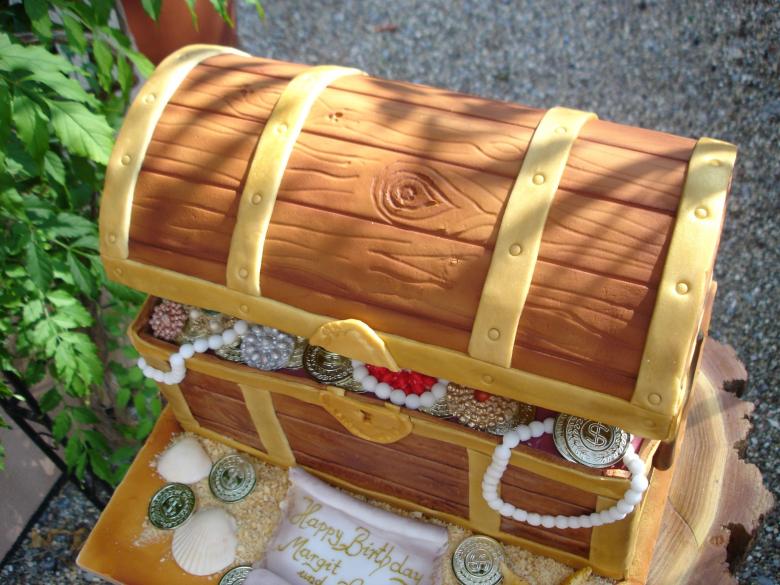
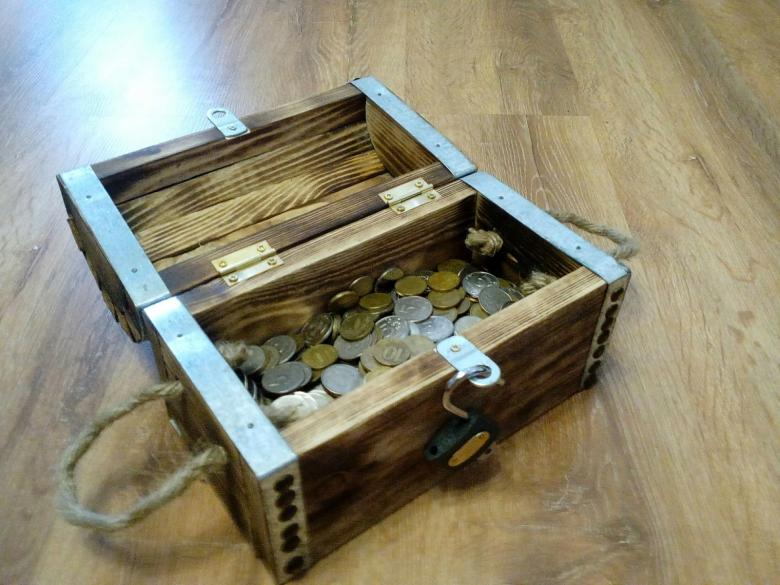
A gilded chest or mahogany chest is an excellent decoration for creating large-scale compositions. Such a craft will decorate your desk or a child's desk, as well as successfully fit into the interior of any room in the house.

For the work we will need:
- An old music box or toy chest.
- A piece of chain (you can with partially torn rings).
- Coins.
- Glue.
- Paint, clear varnish.
- Brushes to use with paint.
- Gloves.
Step-by-step scheme-instruction for the master: - First we will work on creating the image of the chest itself. Put on gloves and prepare your work area.
- Clean the interior and exterior of the box of dust and possible debris.
- Brush all the surfaces with a stain gun. Allow the object to dry.
- Finish with the next layer of clear lacquer. Allow to dry as well. The stain will give the chest a dark red appearance and the varnish will add a natural shine.
- Once the product is ready, continue with the work. Apply a layer of glue to the bottom of the casket, arrange the first batch of coins. Spread the pennies loosely, so you save material. You can simplify the task - use any solid filler up to 2/3 of the volume of the chest, and place one or two layers of coins on top.
- Leave four pennies for the exterior decoration. One of them glued to the outer wall of the chest, almost at the lock, the next - slightly below, the third - the line of the bottom. Glue the fourth coin to the edge of the box only ¼ of the circumference. This will give the impression of a fully dropped coin.
- Coat all coins with gold nail polish. Allow to dry.
- Lower the lid of the chest, but not completely, fix the fold with varnish or glue.
- It remains to decorate the chest with a chain. Glue the chain on top of the chest, creating a broken lock effect.
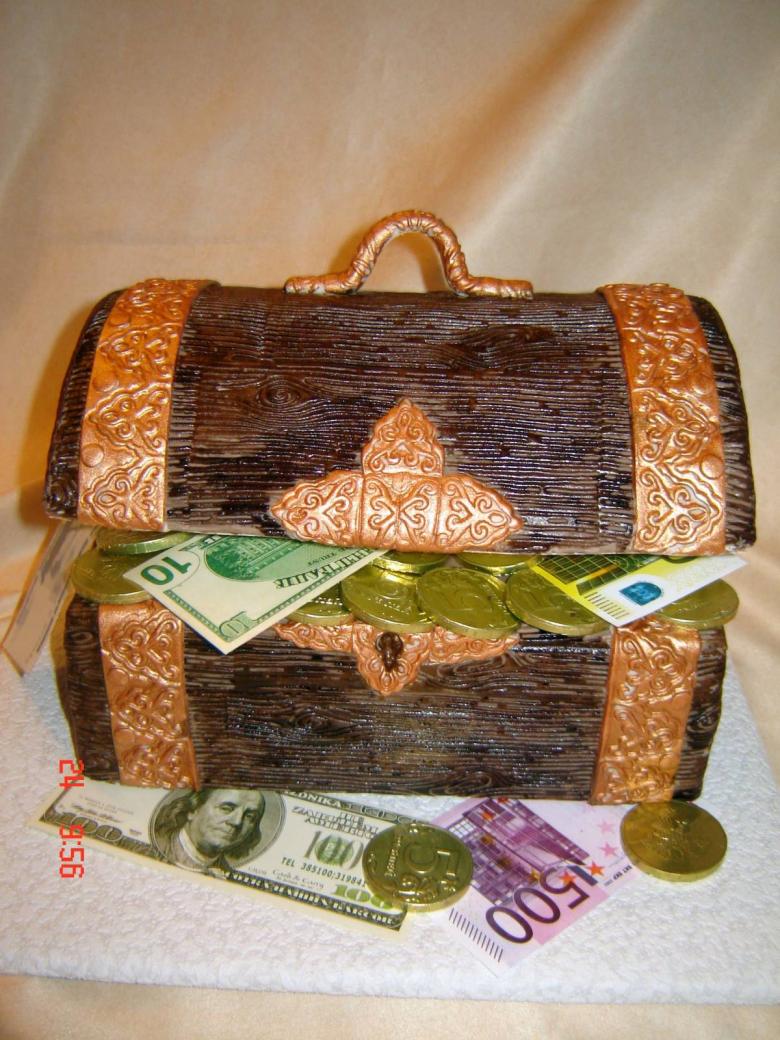
Treasure chest ready. Remember, making this model involves working with persistent types of glue and technical fluids, so only parents can do the work or supervise it!
Frame for a family photo
Today we offer you to work on creating a beautiful and unusual frame for your common photo.
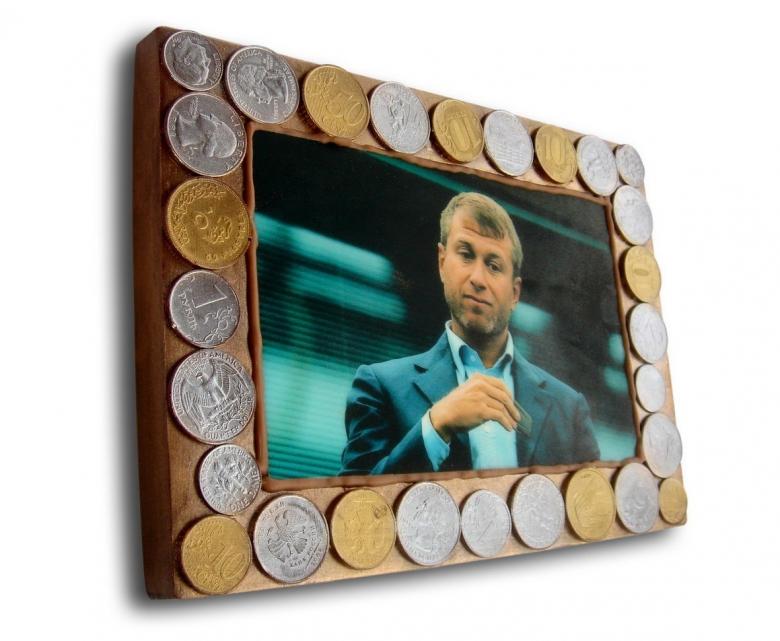
For the work we will need:
- A photo frame.
- Glue.
- Coins.
- Transparent varnish.
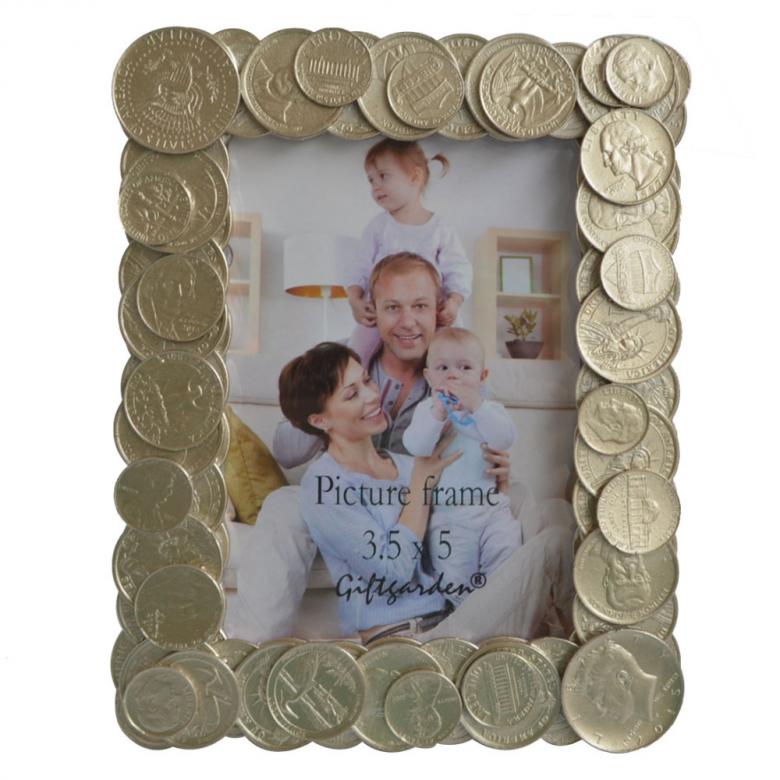
Step-by-step instructions:
- Clean the frame of dust.
- Apply glue and glue the coins on the surface of the frame.
- When the glue dries, varnish the frame with clear varnish.
- If you want to diversify your work, paint each coin in a different color and then varnish it. You will get a stylish and colorful frame.
Choose your favorite family photo, frame it and put it in a prominent place. Admire it every day!

Making a Vintage Coin Bottle
The spirit of travel and adventure lives in all of us, and even if it doesn't, no problem. A decorative bottle filled with gold medallions will successfully complement the interior of the house.
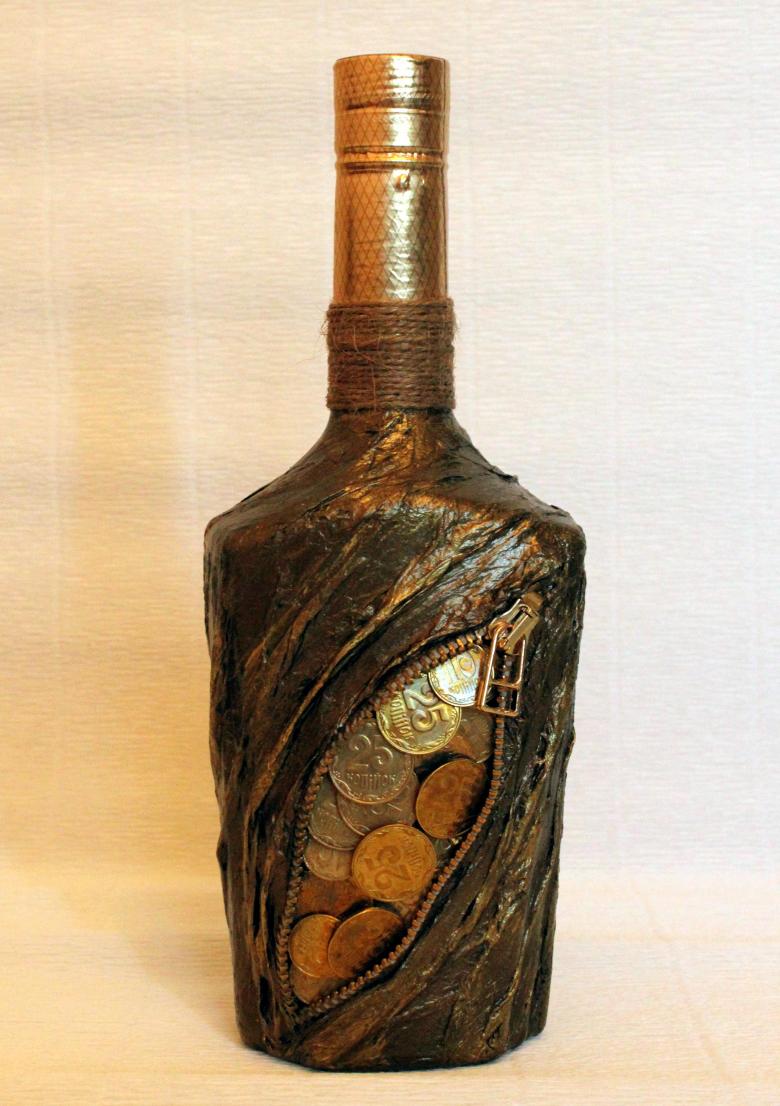
For the work we will need:
- A normal glass bottle, you can from under wine or lemonade (volume 0,75 or 1,0 liters).
- A piece of burlap.
- Thread, needle, yarn with coarse threads, scissors.
- Glue.
- Coins.
- Gold nail polish.
- Transparent nail polish.
- Brushes to work with nail polish.
- Cork.
- Watercolor paint.
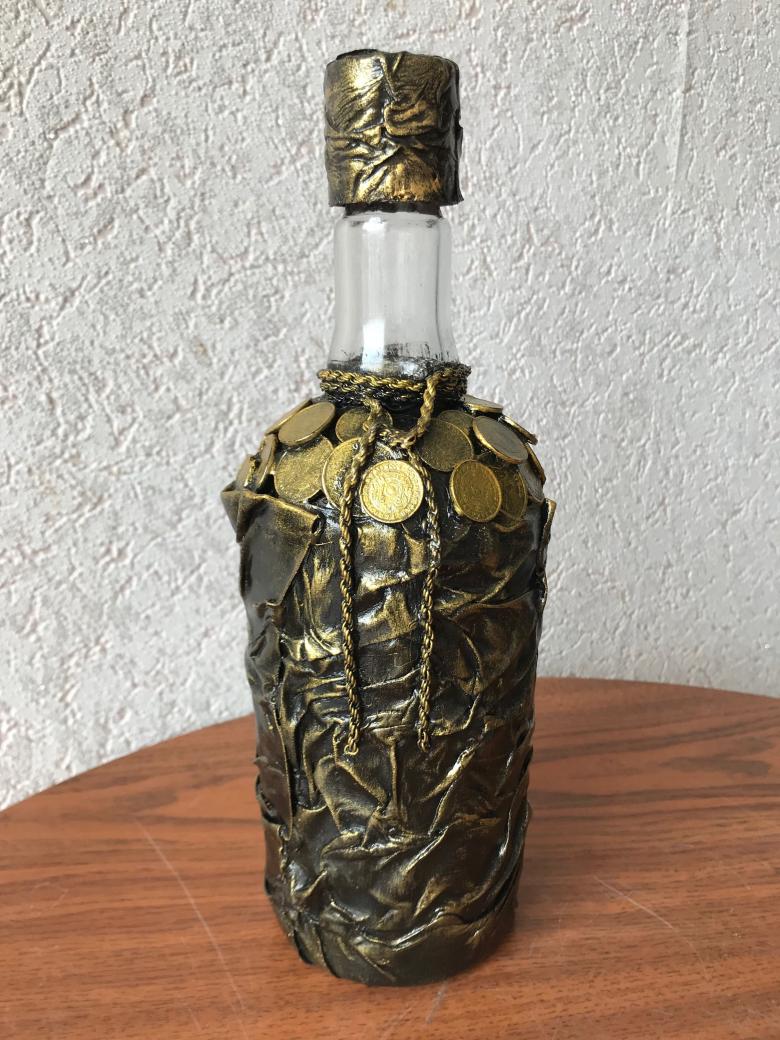
Step-by-step scheme-instruction for the master:
- Let's prepare the coins: let's cover them first with gold varnish, then with a transparent medium. Let's leave our gold medallions to dry.
- Let's take care of the bottle. Measure its height and length. Roughly, according to the measurements we will make a pattern. Using a template of burlap, cut out the piece we need.
- Sew the cover for the bottle. Start sewing from the bottom. Not halfway to the top, stop the stitching. Now begins the most unusual work. The side edges of the burlap sack should be sewn with large stitches, using very thick threads. We do this so that the stitches are visible. This is a decoration to create an image.
- Slightly divide the stitched edges to the sides and proceed to decorate the bottle itself. We apply glue, lay the gold medallions. In places you can make them so that they are on top of each other. When the glue dries, bring the edges of the burlap back together, but not completely. The observer should be able to see the coins in the bottle.
- Scrawl on a piece of paper any unknown characters (find it on the Internet), stain the paper with dark pastel colors, and cover with clear varnish.
- Glue the note under any edge of the burlap.
- Don't forget the cork. Paint it gray or brown and insert it in the neck.
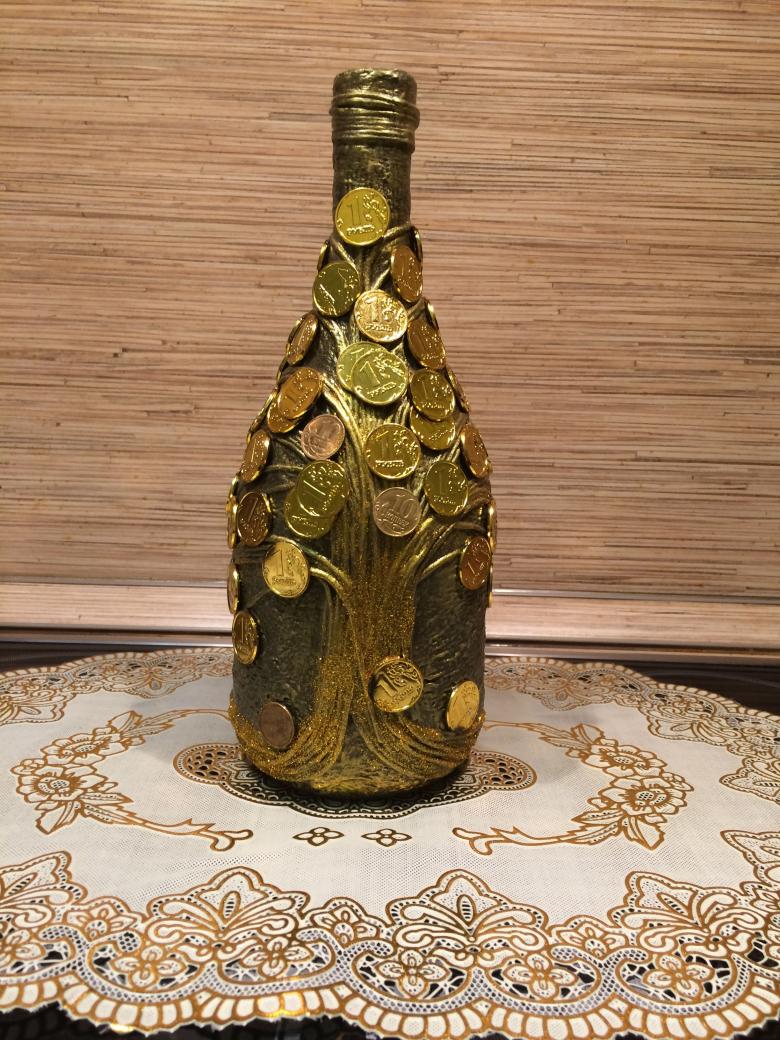
Our vintage bottle is ready. You have "fished" it out of the depths of the sea with your own hands, and now you can proudly show off to friends and guests!
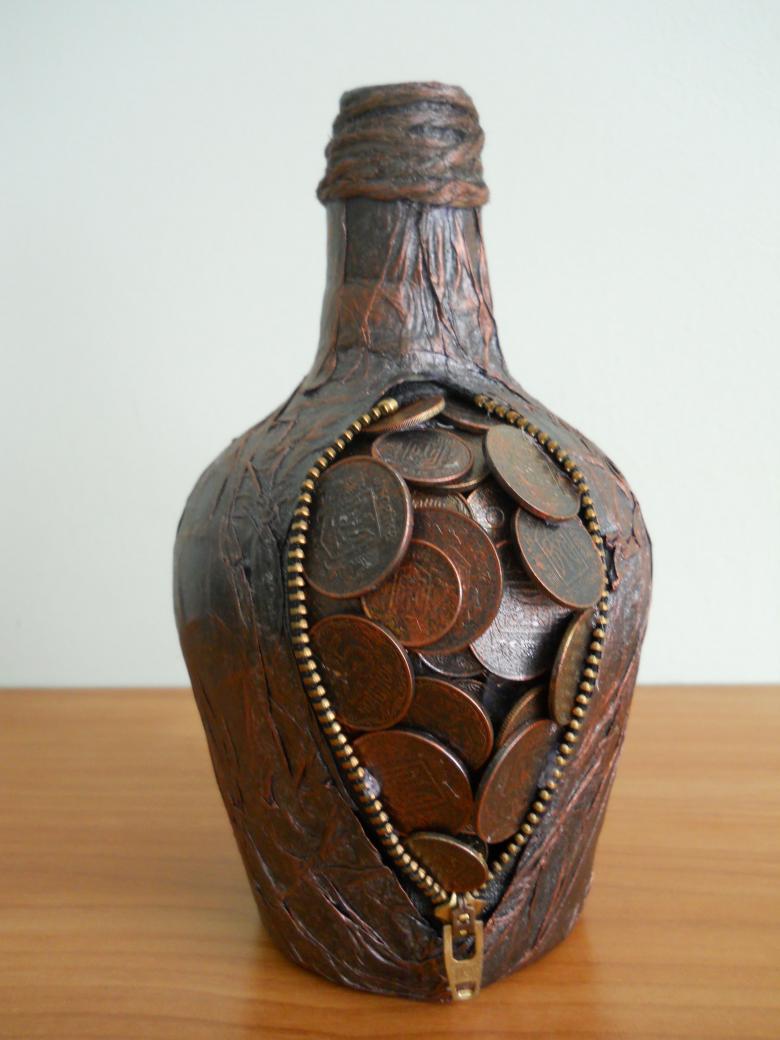
We've learned a few amazing ways to create coin crafts today. You saw for yourself how ordinary Russian kopecks were transformed into antique gold medallions and rupees, how an old lemonade bottle got a new rich image.
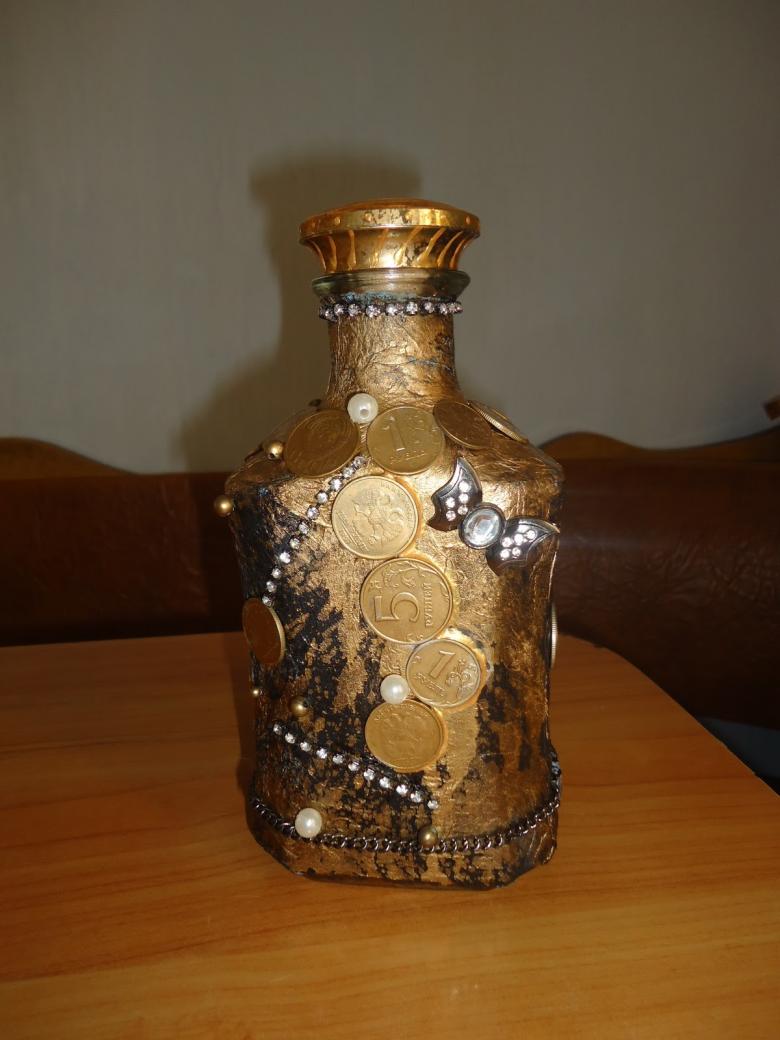
Pull out your garages and pantries of unnecessary things, and together we will create new amazing crafts!

