Isolon handicrafts - interesting step by step master classes (69 photos)
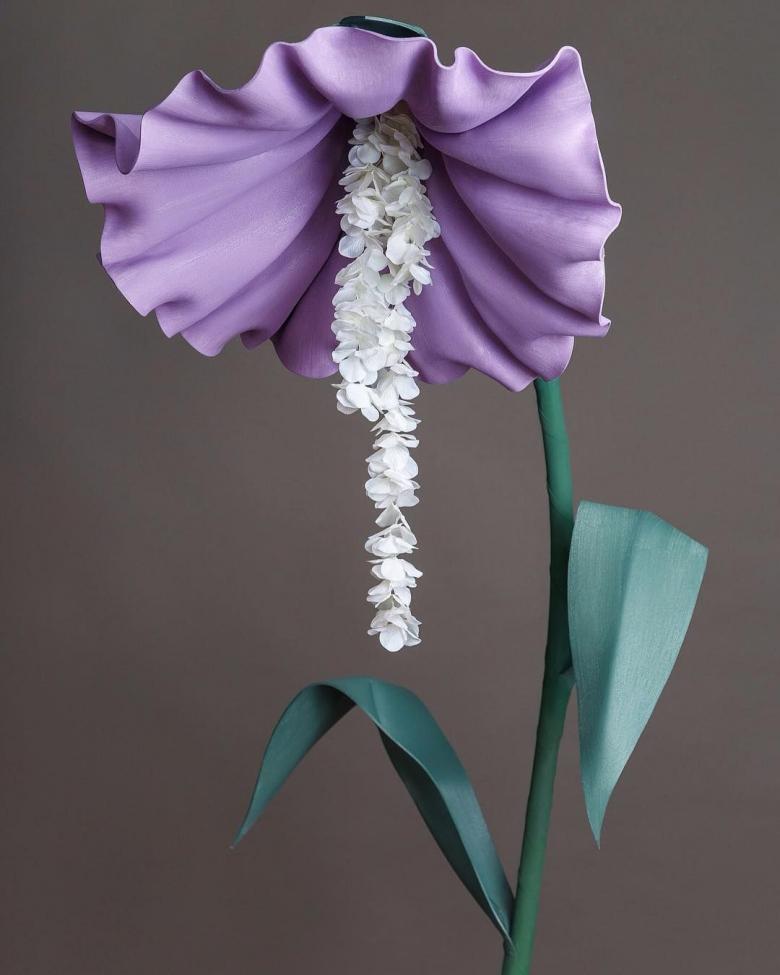
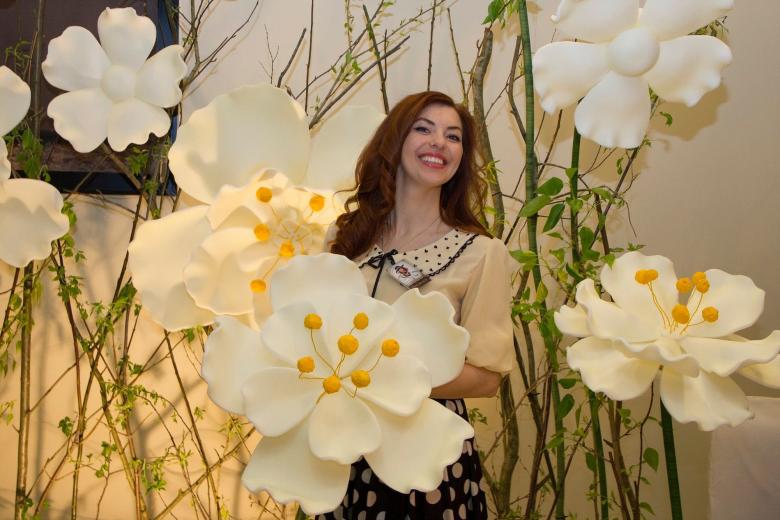
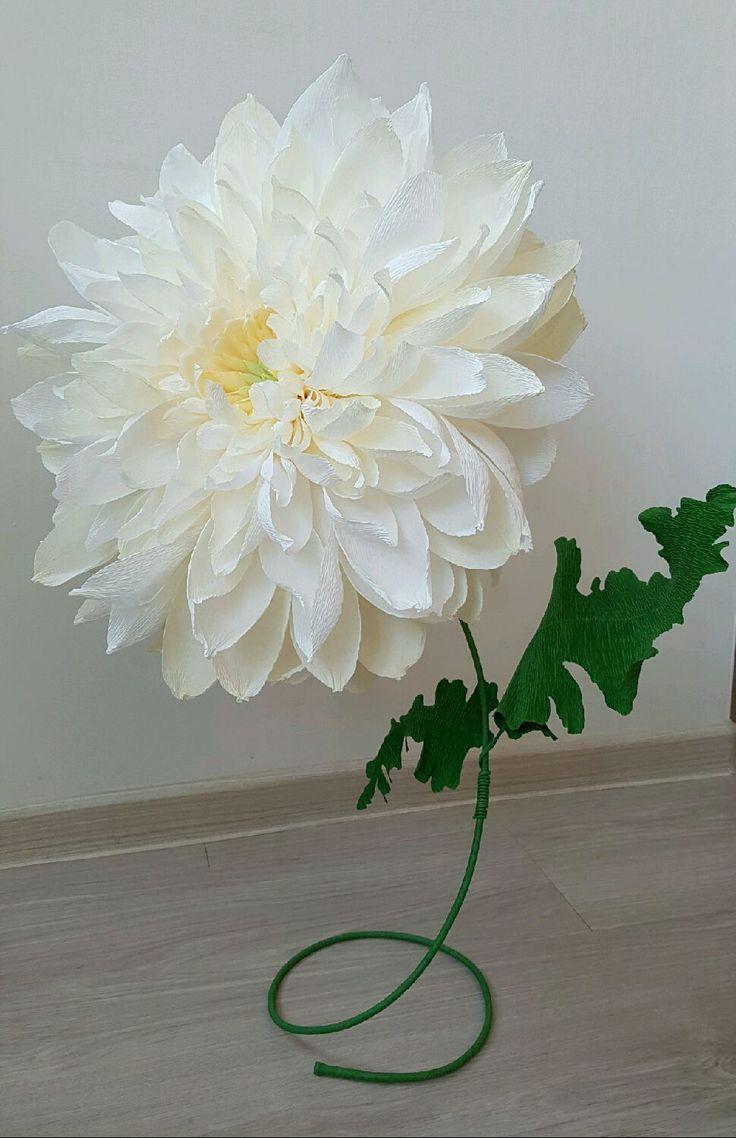
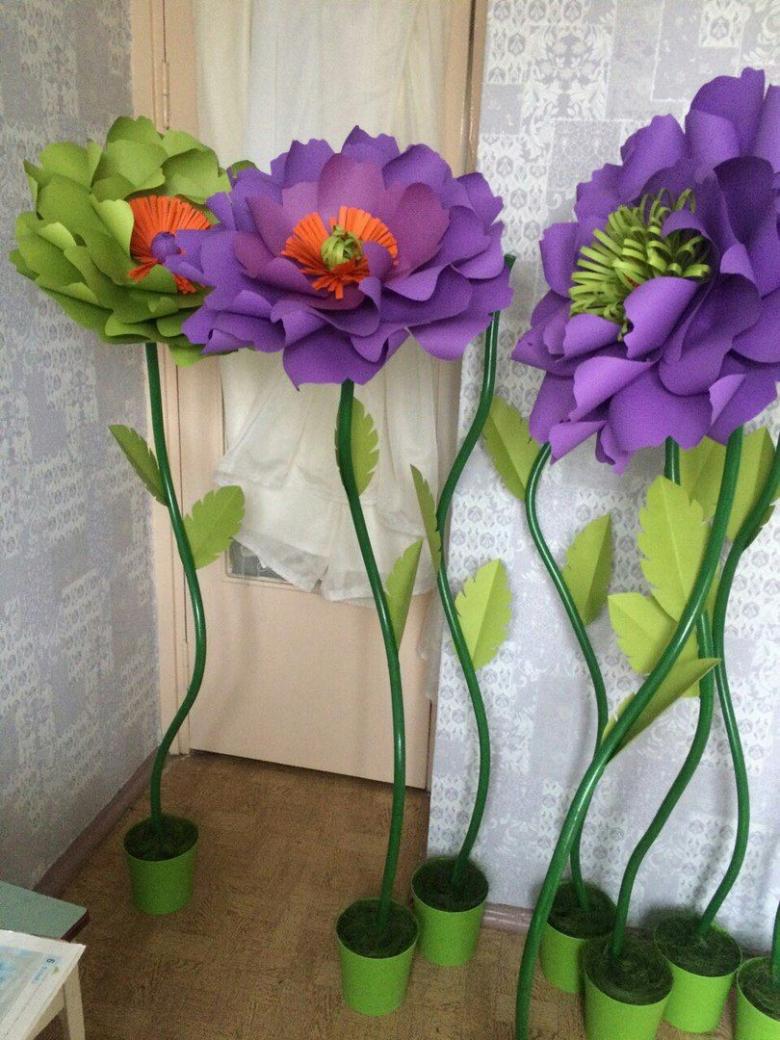
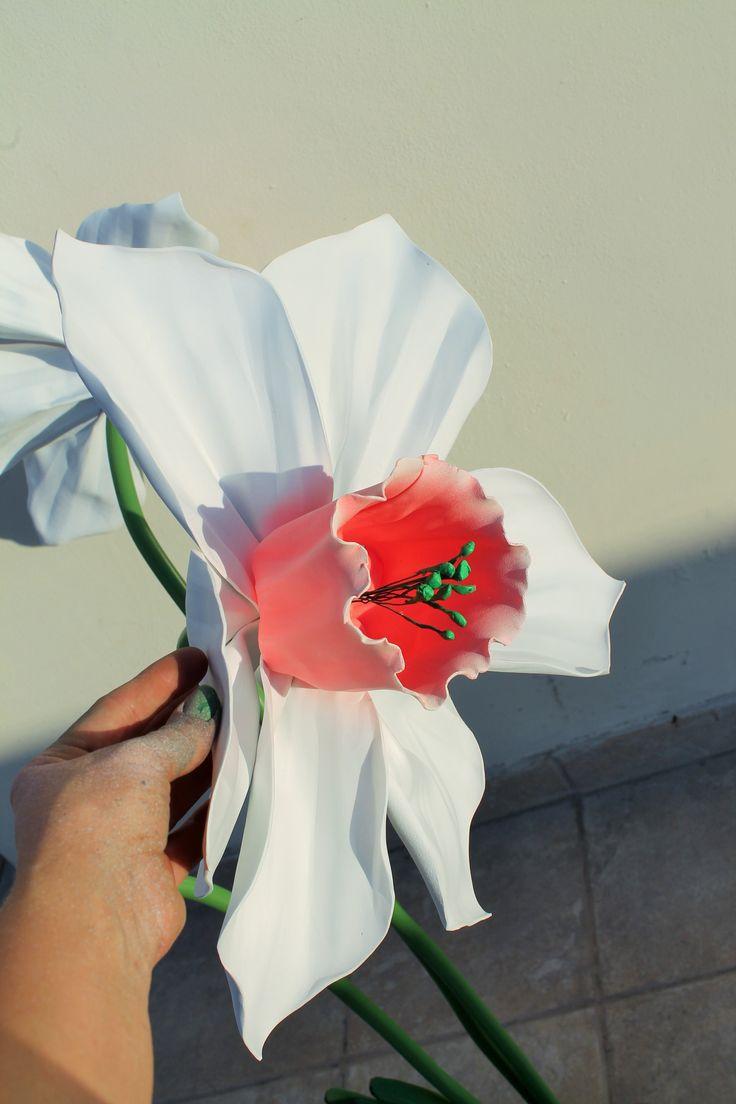
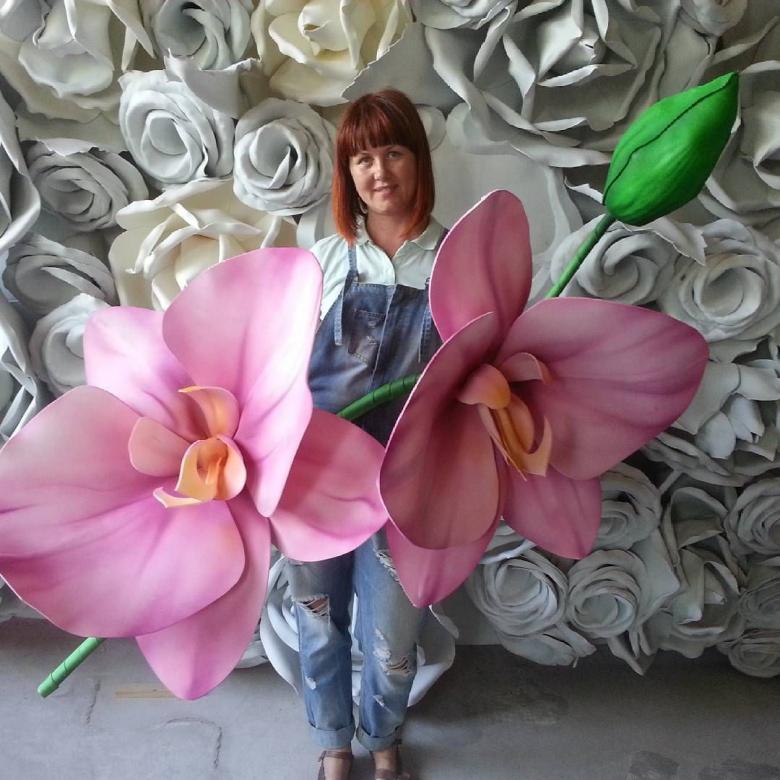
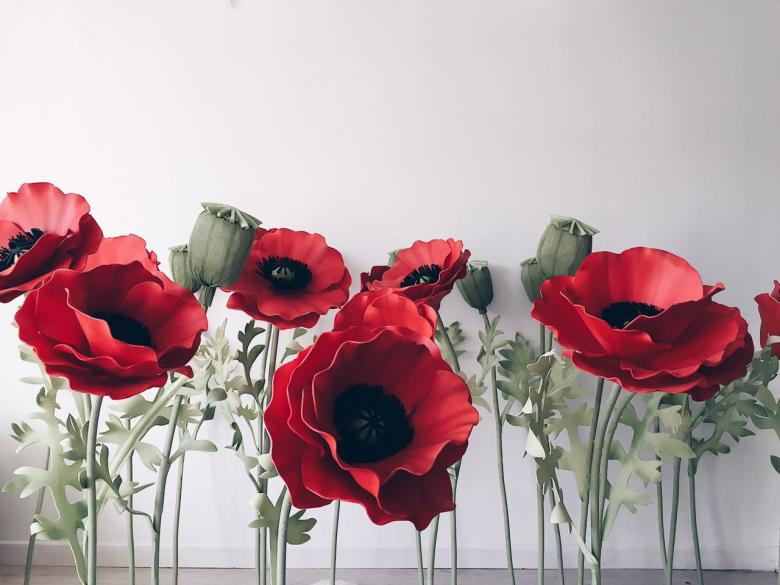
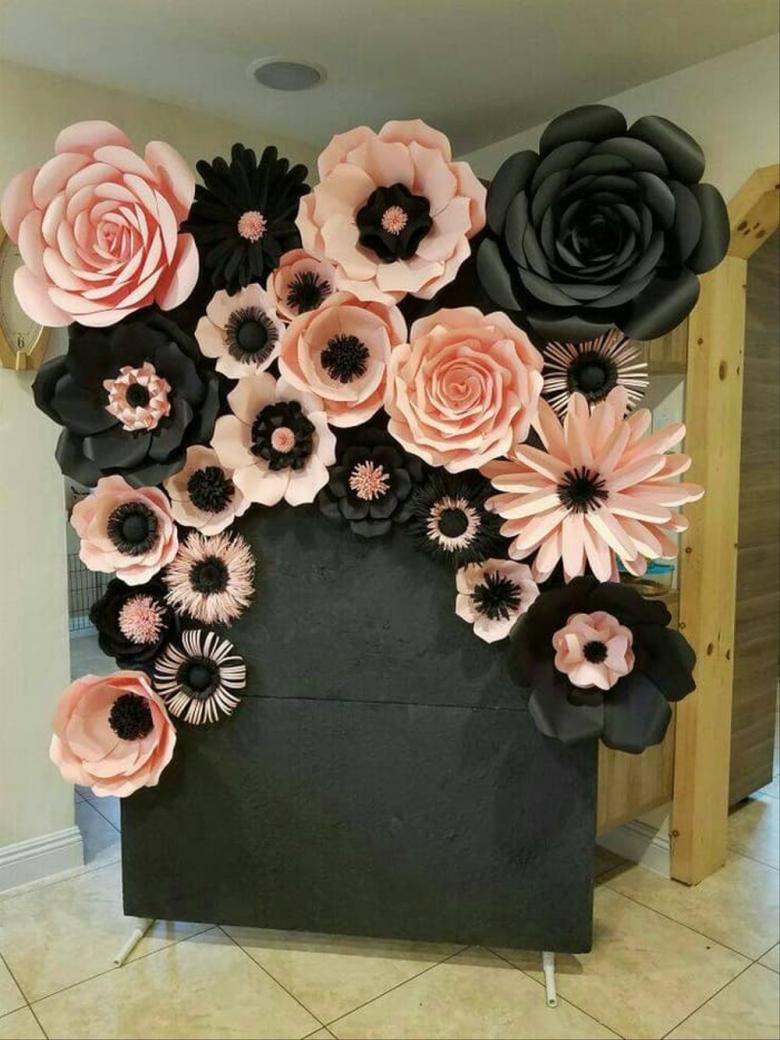
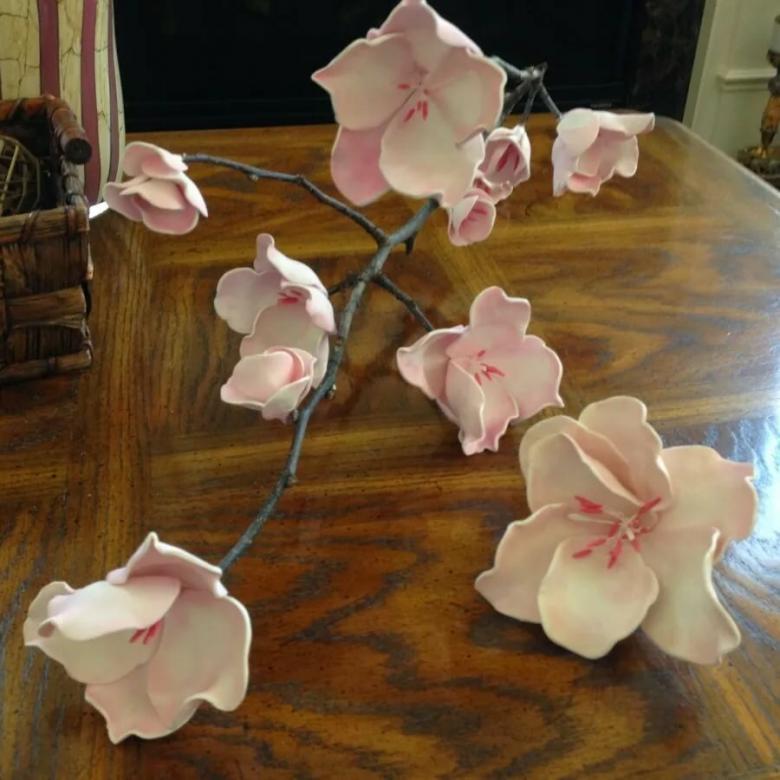
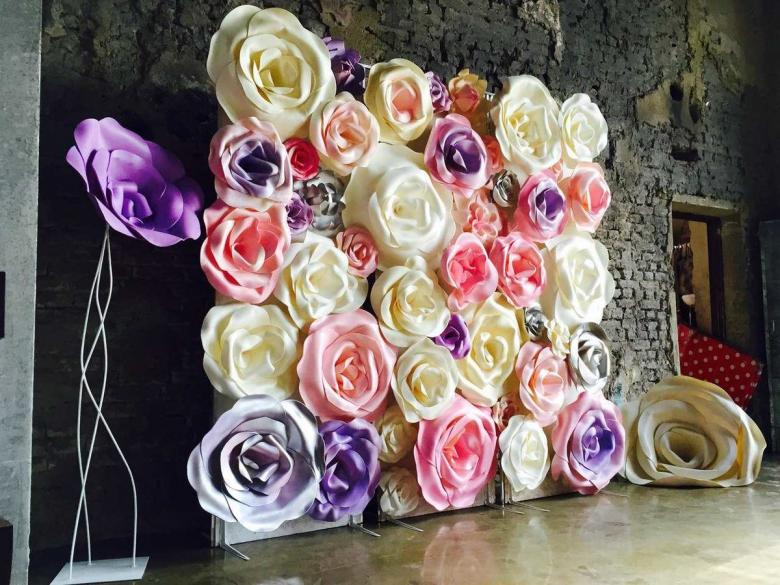
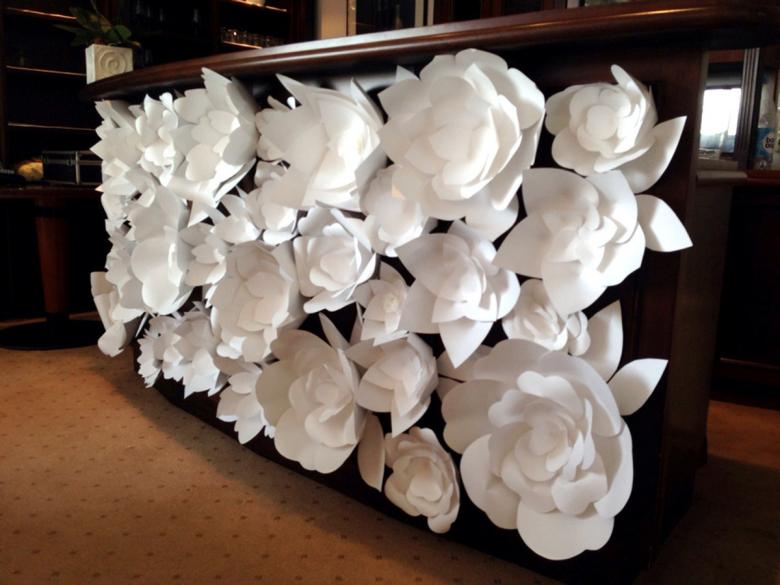
It is not uncommon to see beautiful flowers that look like live ones. And close up you are surprised to find that they are made of artificial material, which is called isolon.
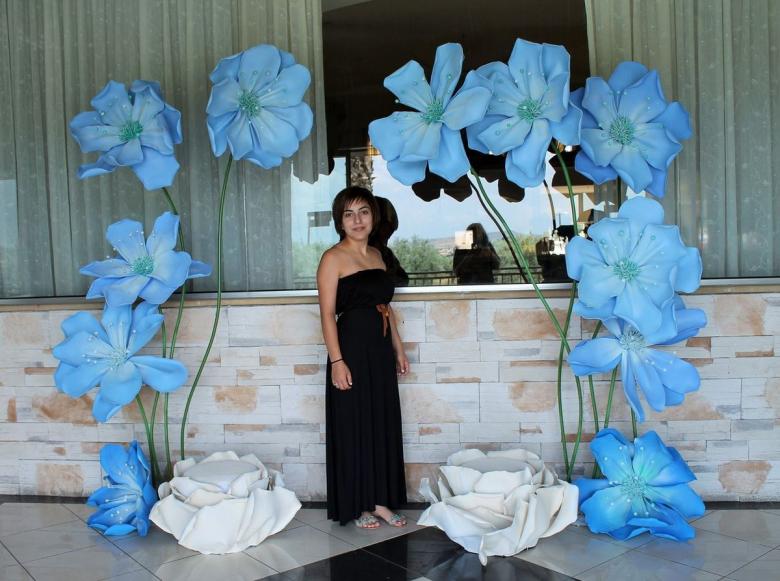
Isolon is polyethylene foam, a rather capricious material, which is more difficult to work with than foamir, but it has its pluses. It is easier to find (every construction store sells it), it is cheaper, it is odorless.

Foamiran has a pungent unpleasant smell, it takes shape easily, but it is difficult to find on the market. Foamiran is sold in specialized stores, and it is also quite expensive.

For crafts are suitable for both materials, but since isolon is easier to find, we will consider crafts from isolon.
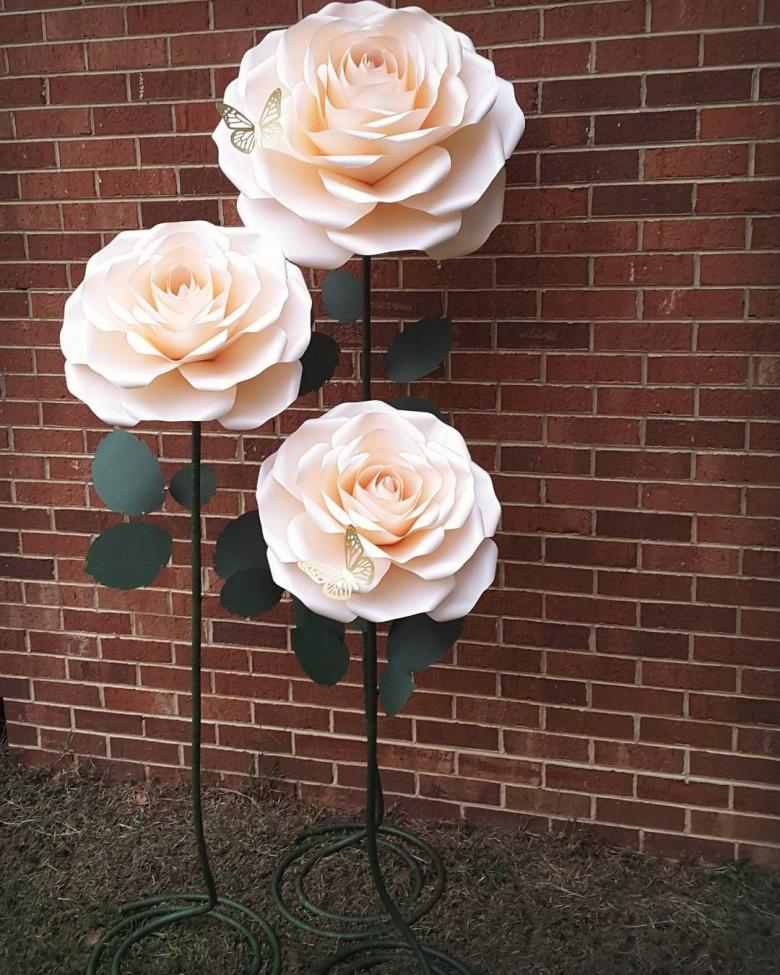
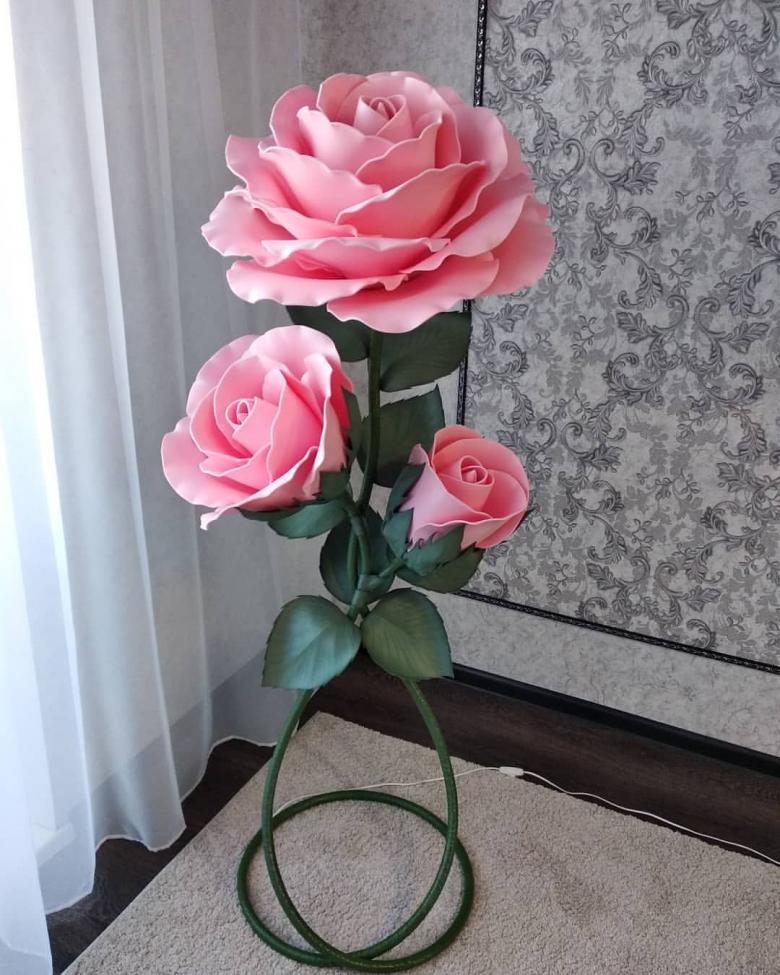
Large glowing rose
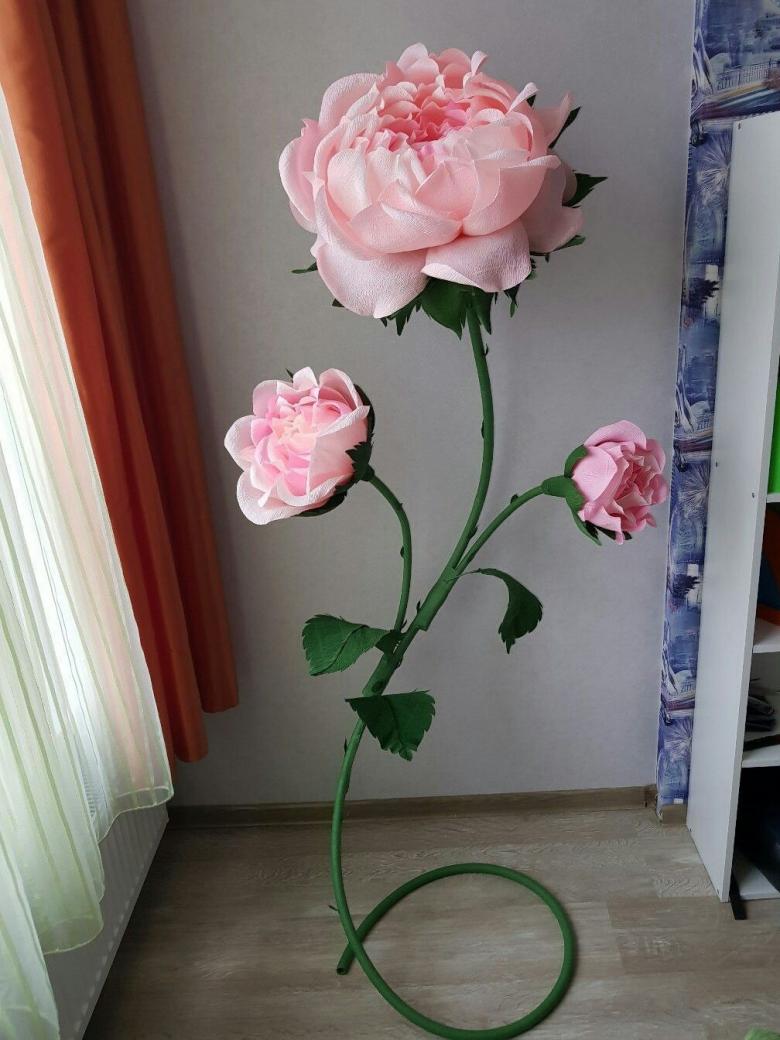
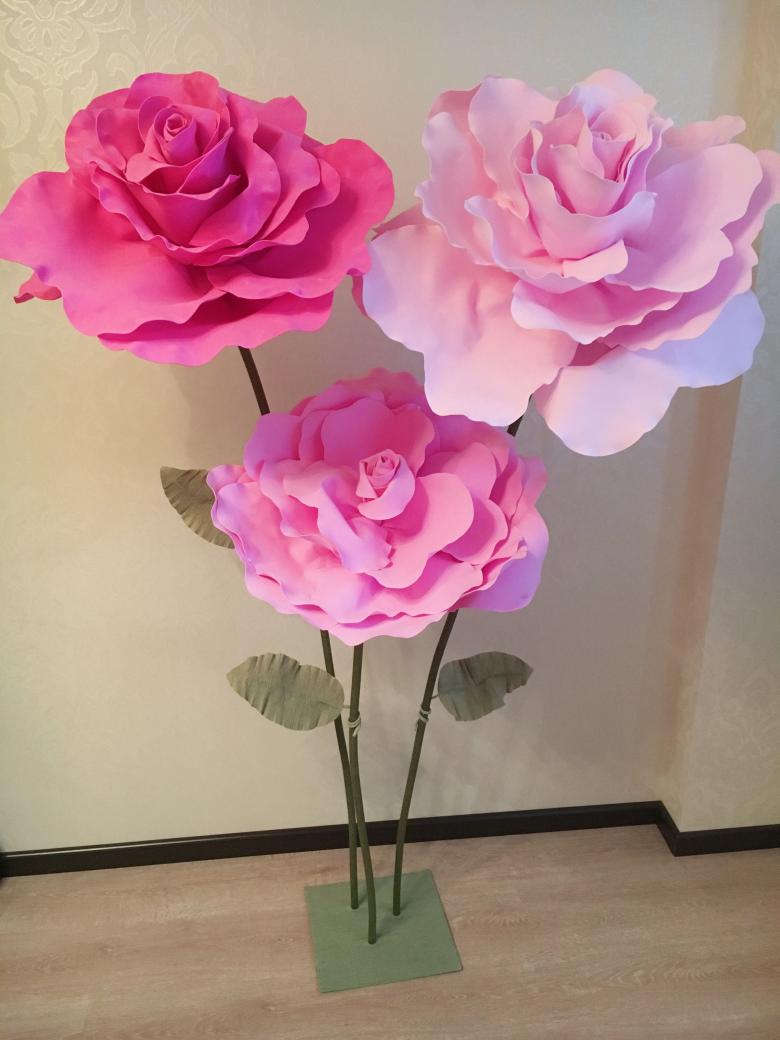
This material is most often used to make flowers, such as roses. They look very beautiful. Many people doubt that they can make such beauty with their own hands. But you should not think so.

Flower from isolone is one of the easiest crafts. Everyone can learn how to make a rose.

For a flower you will need:
- Isolon - 5 strips one meter long, the width of each strip increases: 15cm, 15cm, 23cm, 30cm, 33cm.
- A round container with a lid made of plastic.
- 1 cartridge
- A hot glue gun.
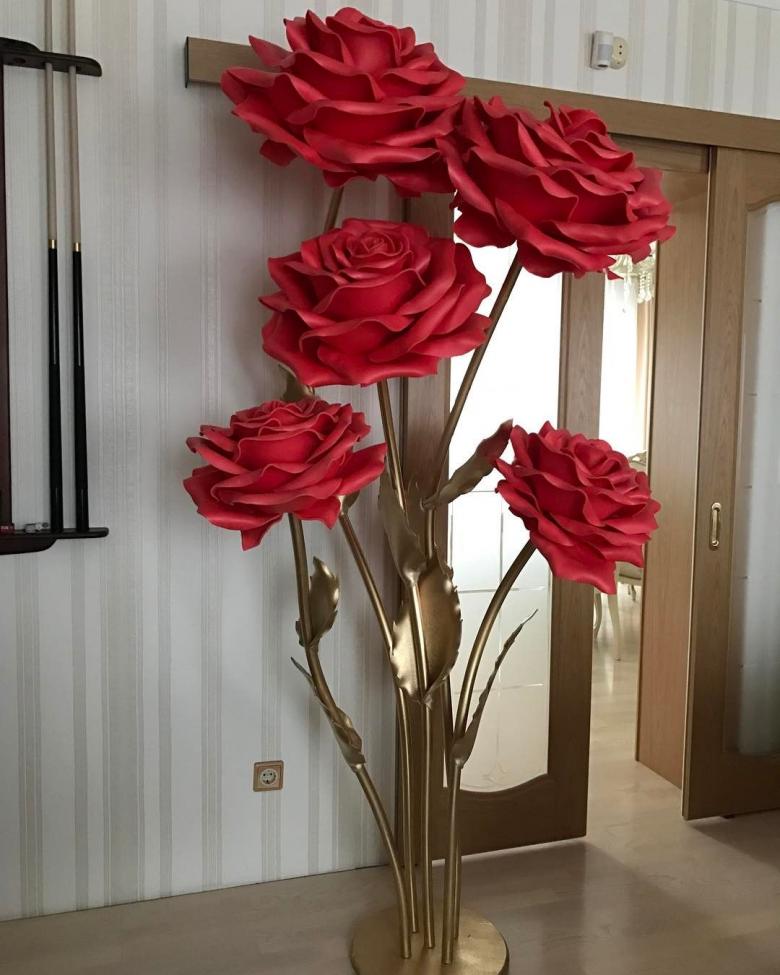
First, we need to cut in the middle of the lid from the container a circle with the same diameter as the cartridge. Try to cut a circle as close as possible to the cartridge, otherwise when you insert the cartridge, it will hang out in its socket.
Take a 0.5-0.7 liter container. It should be long and resemble a plafond. Insert the cartridge into the lid, screw in the bulb and close it all into the container, screwing the lid on.

Next, take a strip of 15 centimeters wide and, measuring 11 centimeters long, cut off the strip. Thus you get a square 15 × 11 cm. Next, you should cut from the same strip one more square and so continue until the strip ends. Do the same with the remaining strips.
Cutting a square of the next strip, its length should be added 1-2 centimeters. That is, the next strip you will cut, adding to the length of the square of 1-2 centimeters. You get a square with sides 15 × 13. So you need to do with all the strips.
Cut out the petals of our beautiful rose, leaving a few of the smallest squares. To do this, bend the square in half and cut out half a petal. Unfolding the material, you will get a whole symmetrical petal.

There are many different step-by-step instructions online in the form of photos and videos of how to do this. You can also find a free master class on how to make large flowers out of isolone.
Having cut out the petals from the squares, proceed to glue them to the container. To do this, turn the container upside down and start gluing the remaining squares, bending them with a cone. The angle of the cone must face up. That is, you need to roll something like a cube and glue it to the bottom of the container, wrapping the ends of the walls.
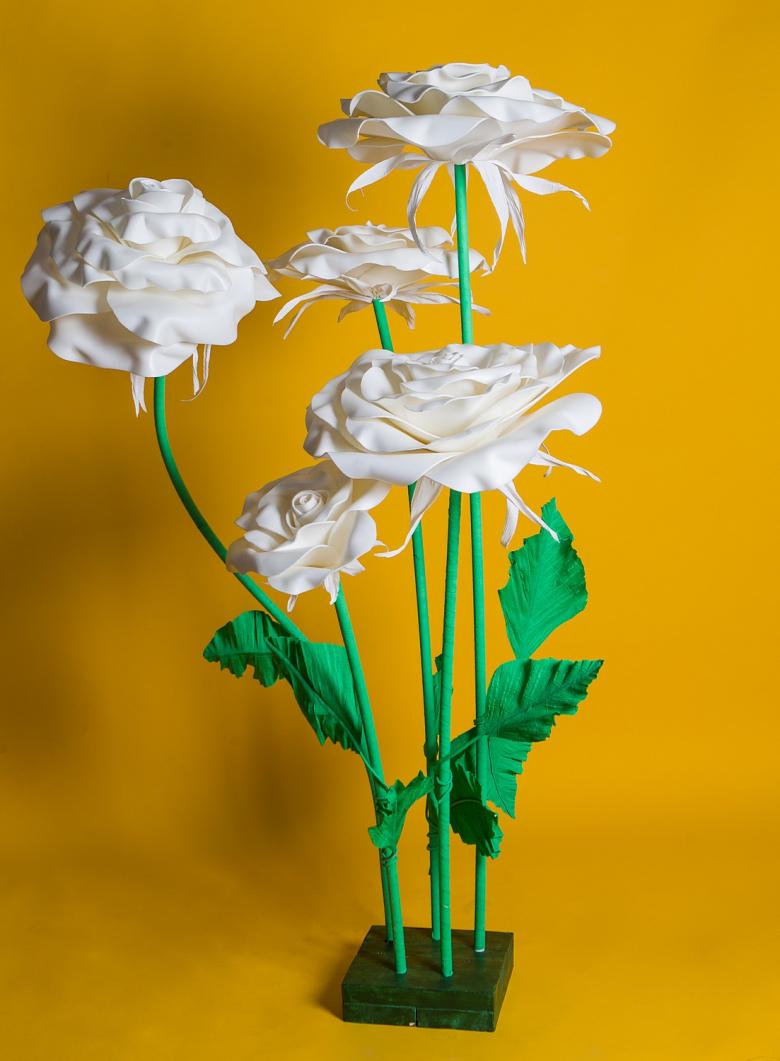
Next comes another square, but the corner of the cube is needed to slightly open, so that the previous cone looks out of it. You get something like an unopened rosebud. As if the rose is not fully opened. Such a core of the rose should be glued from 4-5 squares. And each time the previous corner should be visible.

Then we need to start gluing petals. Continue to choose the smallest petals first. They should also glue, tightly twisting in the shape of a cylinder, as if the rose is just beginning to open. Thus, it is necessary to glue all small petals around the container. To make them stick and twist better, you need to warm them with a hair dryer.
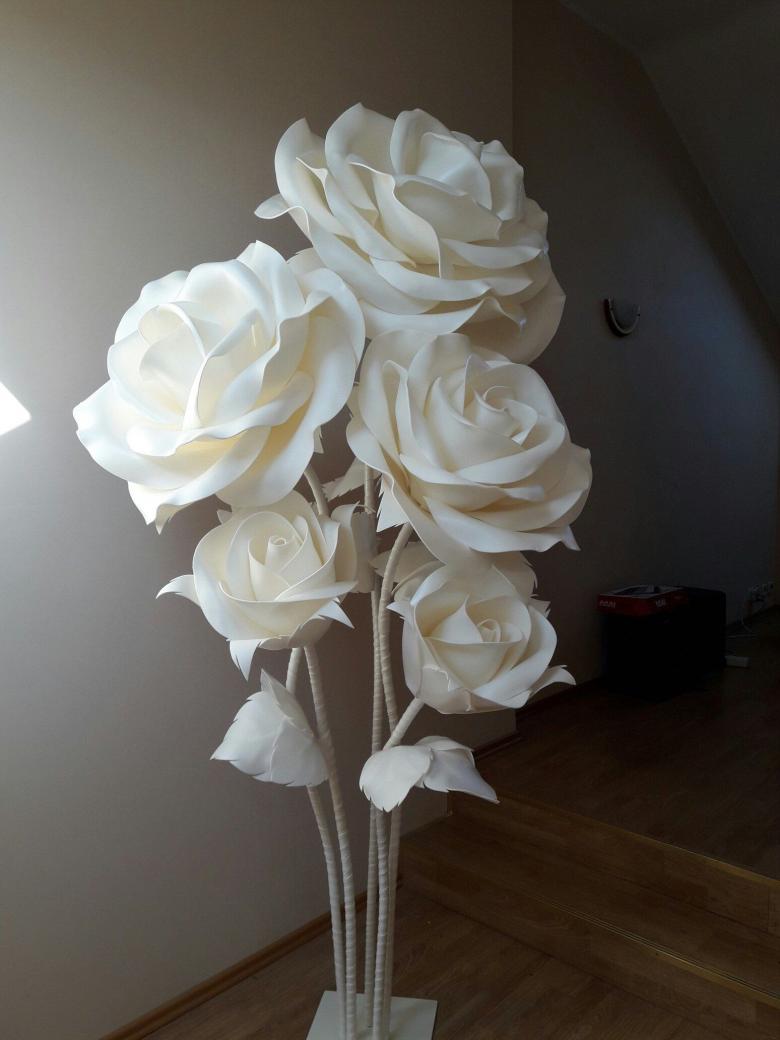
When there are only parts of large size, you can begin to bend them outward a little, as real petals are bent. To do this, take a petal, heat it on one side from above and with two hands bend it outward, with your fingers should slightly hold this side, forming a triangular fold. Then you need to glue it to the base. Do the same with the next petal. You have to bend only one side of both petals, for example, the right side. That is, you will bend the top and the right side.

We have glued half of the rose. Next we will make more open petals. To make more open petals, we will bend outward already two sides. And you will also need to bend a little bit and the lower part, imitating a real rose petal, which has taken the form of a shallow bowl.

Do not forget that each piece must be immediately glued to the base. So you will see what shape your flower takes, and where you need to glue the next part. To make the petals bent on both sides, you will need about 11-12 pieces. Make sure your flower is symmetrical.
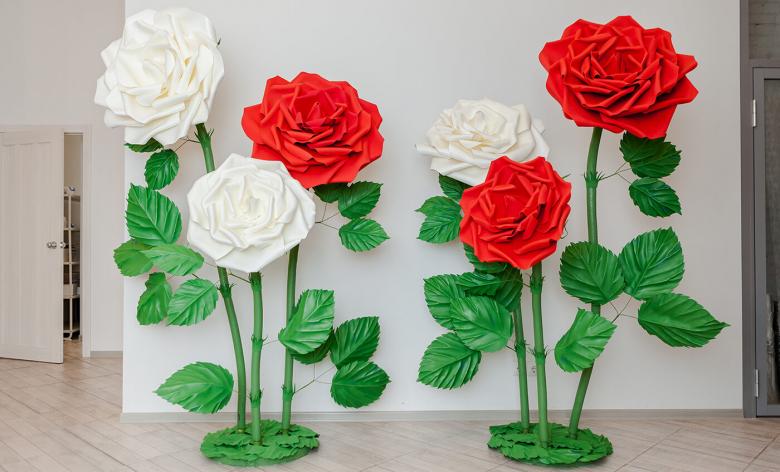
The rose is ready! Flip the flower container over and screw on the lid with the bulb. Plug the socket into the power outlet. Run the wire into a plastic tube about 1 meter long and secure our rose on the floor. You can wrap the tube with green tape. It will mimic the stem. The large floor lamp is ready.

Big candy
A large candy out of isolone can be made even by a beginner who has not yet had a hand.
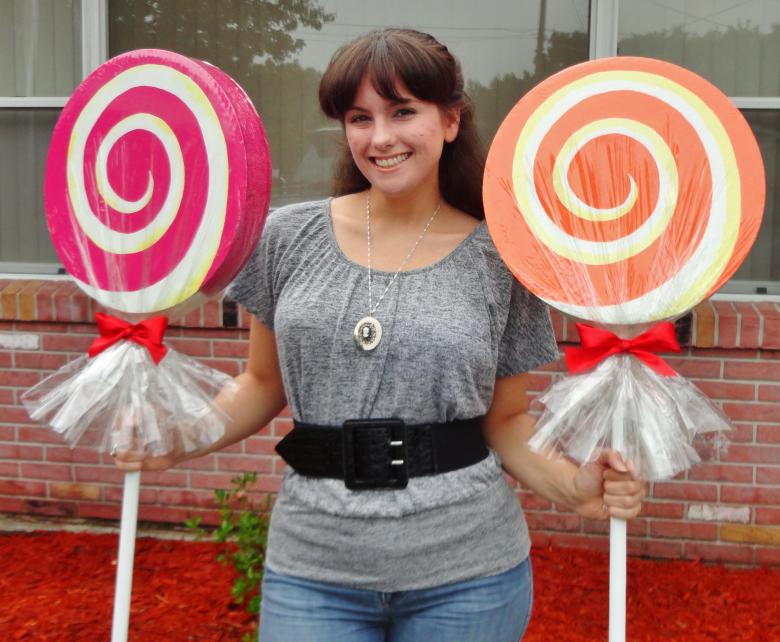
For this we will need:
- Pringles chip wrappers.
- Isolon sheet
- Colored tape of any material
- Scotch tape
- Super glue
- Star stickers

Instead of the packaging from the chips you can take a tube larger, then you will have a large candy - rostovaya.

We will consider a candy from a Pringles package.
If you think your future candy is too thin, you can increase its thickness with absorbent cotton and tape. Simply wrap the tube evenly with absorbent cotton and secure everything with tape. Make sure that there are no irregularities and bumps on the candy, otherwise in the end it will all be visible and the candy will turn out sloppy.

So, we prepared the tube for further wrapping with a sheet of Isolon. Choose the width of the sheet according to the diameter of the tube, so that the ellon completely wrapped the workpiece, and there is still material for overlapping glue. The length should be longer than the length of the candy, because the sheet of icing will represent the wrapping. It is necessary to leave about 10 centimeters on both sides.
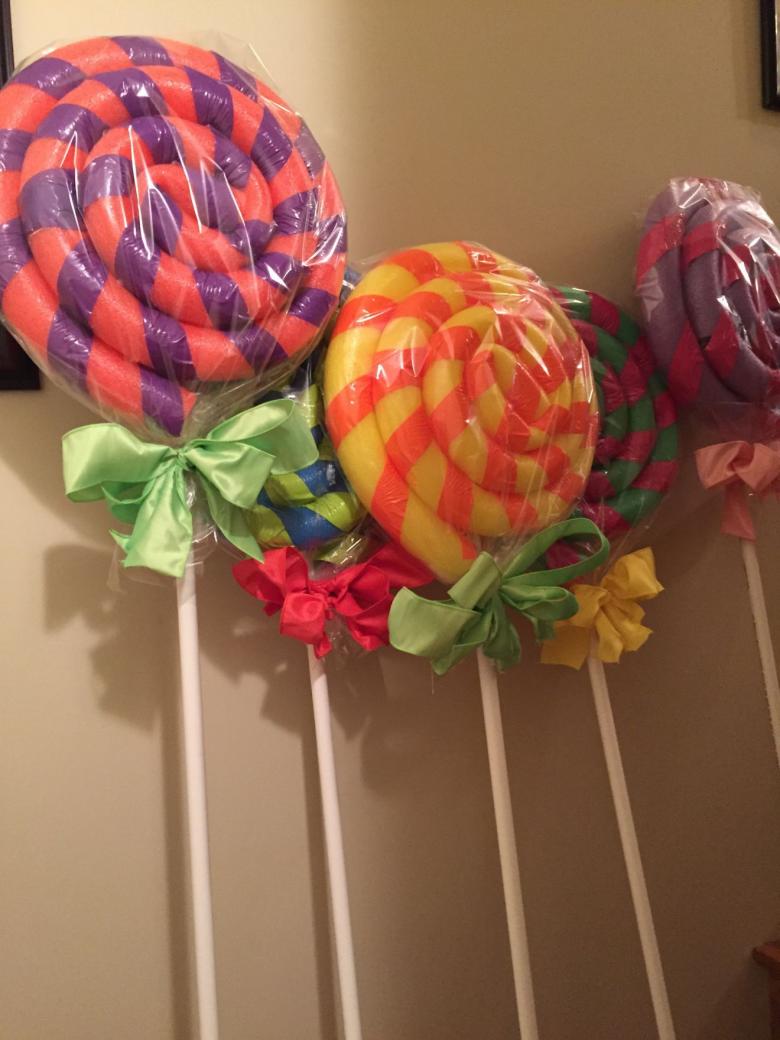
Then we will start to wrap our candy. You can choose the color of the material at your discretion. It can be blue, green or pink isolon. The brighter the candy, the more festive it looks.
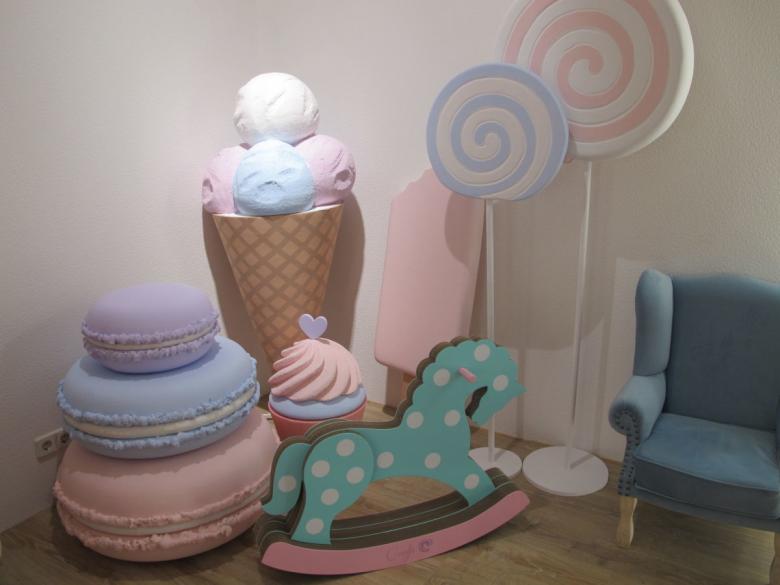
Wrap the tube with the material and warm it up a little with a hairdryer on all sides so that the isolon can lay down better. Try to make sure that the wrapping is even and all the corners are level with each other.
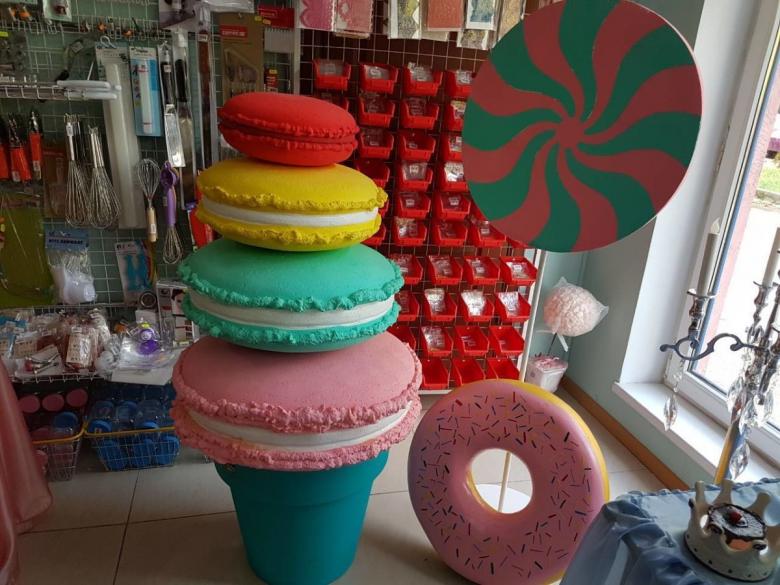
Then fold one side of the candy as if you wanted to wrap it. Straighten the folds a little and warm the place with a hairdryer. Do the same with the other side. You get the shape of a candy. Tie two sides of the candy wrapper with ribbons and pretty bows. It is desirable that the color of the ribbon contrasts with the color of the wrapping. For example, if the isolon is yellow, then the ribbon can be green or red.
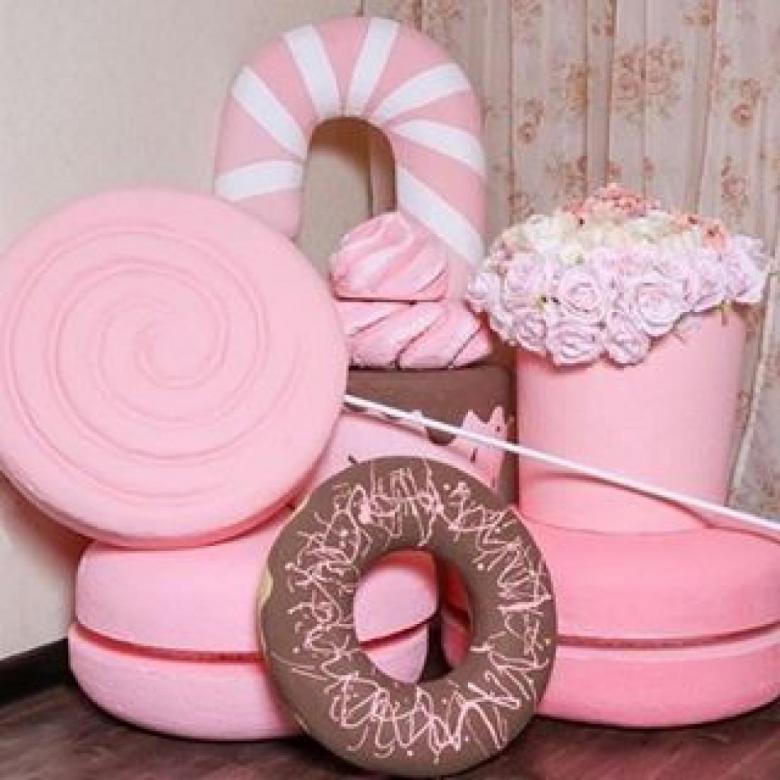
Our large candy is almost ready. It remains to decorate it with stickers of stars or other decorations on all sides.
Such a handicraft can be put under the Christmas tree for the new year. Kids will be delighted.
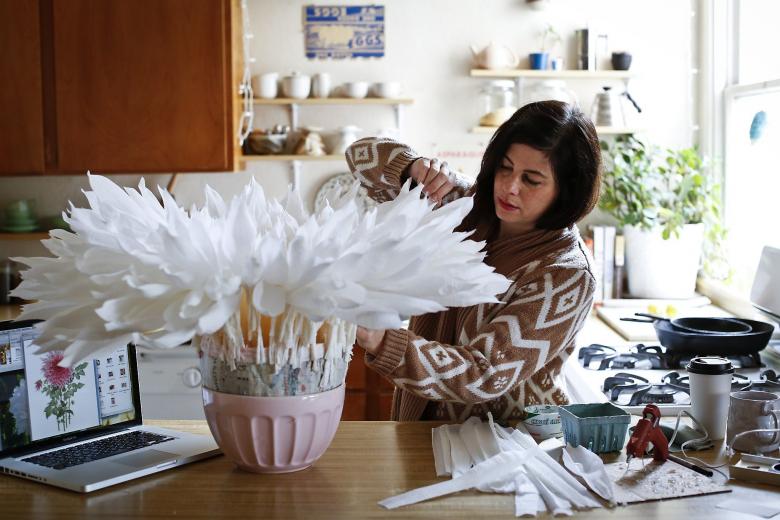
As you can see, such crafts can be done by anyone who wants to learn something. One should only want to and you can make a real masterpiece, which will not differ from the decorations from the store.


